Craft if Forward: Garden Journal

This month’s craft it forward goes to Emma at Greenhousing.   Emma is a fellow gardener, helping things grow in her own special garden in the UK.

She started Greenhousing: Big Plans for a Small Garden with her husband to:

plan and keep a record of our hard and not-so-hard work.

Luckily we have been hoarding lots of plant pots of various sizes, seed and drip trays, pot trays, seeds, weed suppressant fabric, vegetable and tomato fertiliser, etc. so we can make big plans without having to spend a lot of money.

The garden is an odd shape at the back of the house, with fencing on three sides and a corner of a neighbour’s garage jutting into it.  The big plan is to work around any obstacles and grow some tasty food and lovely flowers and plants.

She hasn’t posted for a while, so I’m hoping life simply got busy and that all is okay.

Garden Memories

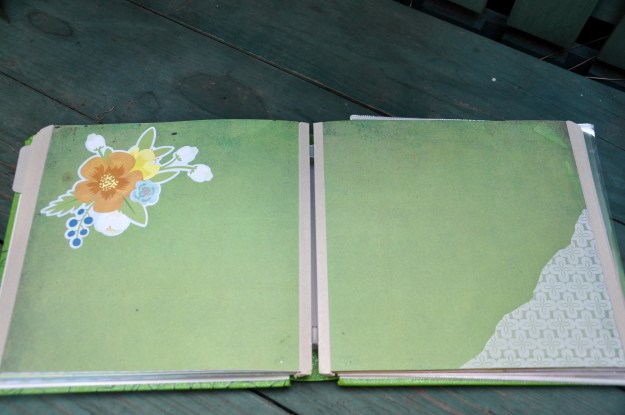
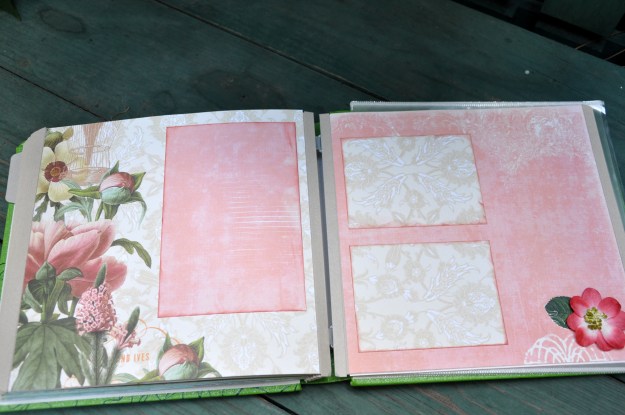
I started by gathering garden-inspired paper and embellishments.  Oh how I tax myself [wink-wink]). I assembled an 8 x 8 book/album, small enough to carry into the garden to record notes on garden progress.  It can also be used to save photos of her garden successes or remembrances of her first year with a lovely greenhouse.

Here are a few sample pages:

garden journal page 1 garden journal page 2 garden journal page 3 garden journal page 4 garden journal page 5 garden journal page 6 garden journal back cover

What is Craft it Forward?

Here’s how it works. The first five people to comment on the original post receive a handmade item with the gardening nirvana touch. In return, they agree to pay it forward, crafting their own unique item for the first five people on their list. Craft it Forward encourages community, creative spirit and camaraderie. It also encourages flexibility, so I expanded my list from five to seven based on interest in the project. Isn’t it fun making your own rules?

Further, in the era of the internet, who doesn’t like ‘real’ mail? If you haven’t started your own Craft it Forward, today is a good day to get going.
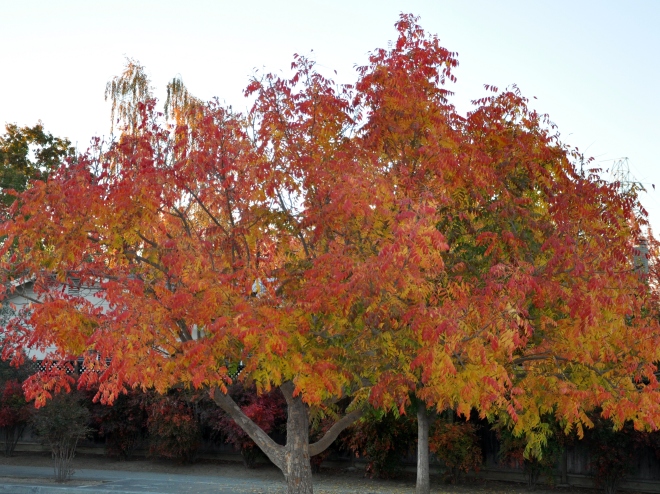
The Colors of Fall: Our Own Special Tree

colorful leaves

Colorful leaves

New England states are known for stunning displays of fall color.  My husband and I crossed the country by train one year so we could enjoy the spectacular (and fleeting) beauty.

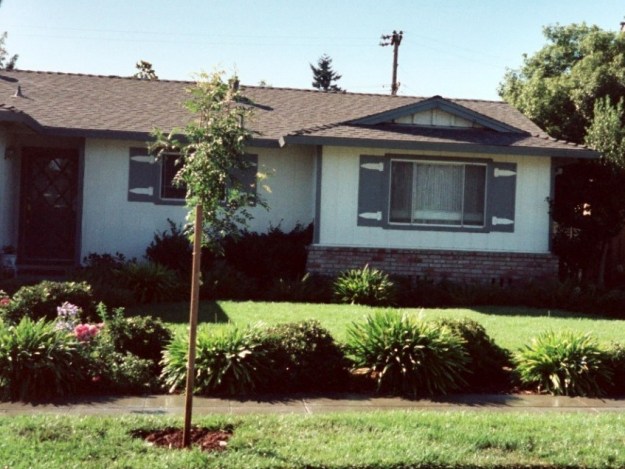
We also had the good sense to plant our own fall color in the strip of land between the street and the sidewalk.  Though there were four beautiful trees growing in the back yard when we bought our house in 1996, we didn’t have a single tree out front.

August, 1996

Planting the tree
August, 1996

We planted two that first year, and have since planted a couple more.   The Magnolia shows off in early spring with huge, snowy-white flowers but the fall belongs to the splendid Chinese Pistache.

The City of San Jose requires a permit before planting a tree in the sidewalk strip, the space between the sidewalk and the street.  They provide a list of “approved” street trees.  Approved trees must have non-invasive roots, non-staining fruit and other good-neighbor qualities.  In the past, neighboring streets sported Liquidambar trees.  They’re pretty but a nuisance when planted curbside.  Invasive roots lift the sidewalks, causing myriad tripping hazards, and the seed pods are hard enough to twist an ankle when stepped on.  I remember getting them caught in the wheels of the boys’ s stroller and later in the undercarriage of scooters.  One by one, homeowners removed the Liquidambar, leaving neighborhoods bereft of trees.

A few years back the trend reversed, and once again families are planting trees.

Planting a tree is an act of hope and optimism.  It also says “I’m here to stay!”  My family moved a lot when I was a child, and I moved even more during college and my early working career.  The same was true for my husband. Planting a tree outside our front window said  “we plan to stay awhile.”

chinese pistache newly planted

August, 1996

chinese pistache spring

Spring, 2011

Now and again my husband grumbles that our tree is not as tall or as full as the one across the street.  I immediately come to our trees’ defense and assure him that it’s just fine.  BK (before kids) we used to measure the tree’s height each year.  We settled into life raising two boys, and measured their growth each year instead.

Winter Views of the Pistache

Growing boys, sleeping tree

Now we have three strapping teenagers (two boys and one tree) and all three are taller than me.  The colors of fall, and our beautiful tree, are an introspective time to reflect.

chinese pistache

November 12, 2013

hummer in pistache

This little hummingbird sang while I raked

Reclaimed Fences, Birdhouse Charm

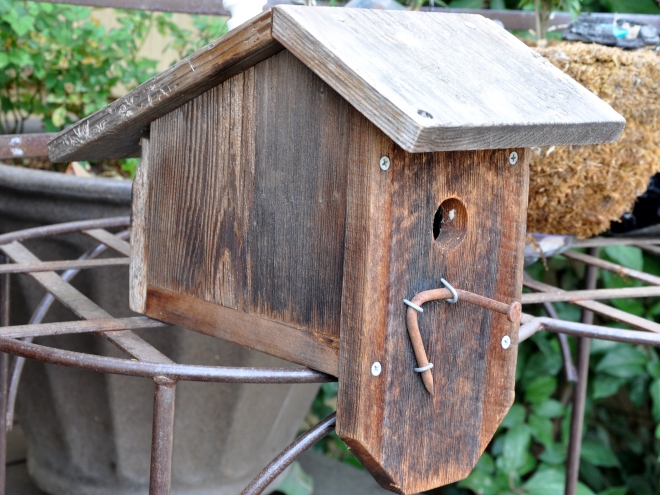
My friend, Michele and her family get together every year and make birdhouses. They reclaim wood from broken fences and other old materials, then craft them into unique designs. I’m the lucky recipient of this charming model, below.

reclaimed fencing birdhouse

Reclaimed fencing

I love their family tradition of gathering and creating together. I’m also a huge fan of reclaiming materials and giving them a new life.

back of birdhouse

Back of birdhouse

They attached the back of the birdhouse  with screws for easy removal and cleaning. Weathered wood blends beautifully into the landscape.

Ceramic "chimney"

Ceramic or porcelain “chimney”

The birdhouse “chimney” is a vintage ceramic or porcelain insulator. Once used as old telephone wire insulation, the markings  indicate manufacturing by WP or Wisconsin Porcelain. The top of the insulator reminds me of a peppermint Lifesaver. I’m never far from my sugar-loving roots. Ha!

DSC_0012

Even the rusty nail is re-purposed, artfully bent into a perch.**

Do you have gift-making family traditions?

Related Articles:

**I plan to display this lovely birdhouse as a piece of art. If you want to attract nesting birds to your yard, here are a few safety tips.

Looking Back at the Corner Garden

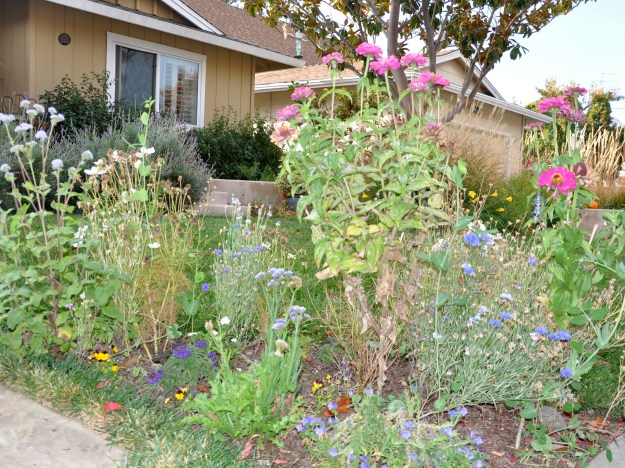
Earlier this year I removed a small patch of lawn, a corner near the sidewalk facing the house. Originally I thought I would plant annuals and perennials, but decided annuals would be more fun. Perennials, once established, require little maintenance. I wanted a bit of action in my new flower garden and it’s action I got.

sidewalk corner

Corner near the sidewalk

April:

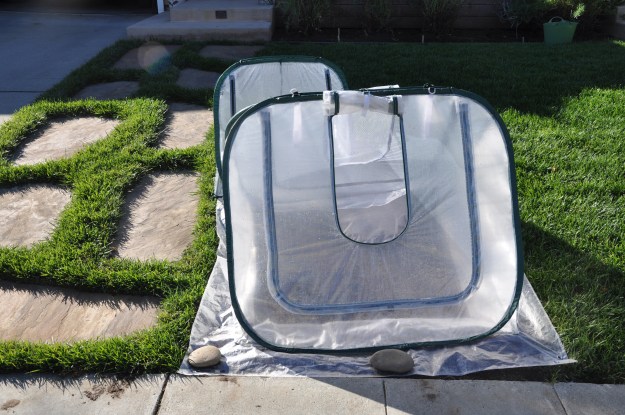
After removing the grass and preparing the soil, I planted seeds, including Sunflowers, Bachelor Buttons, Cosmos and a Spring Mix of assorted purple plants.  I covered it all with a portable green house. The goal was to keep digging critters away from the seedlings to give them a fighting chance.

It half-worked. None of the critters were able to dig, but I couldn’t keep it well-watered either.

The seeds didn’t get enough consistent moisture, and next to nothing germinated.(I did get one sunflower).

green house covers

April, 2013
Seeds tucked in for warmth and safety

May:

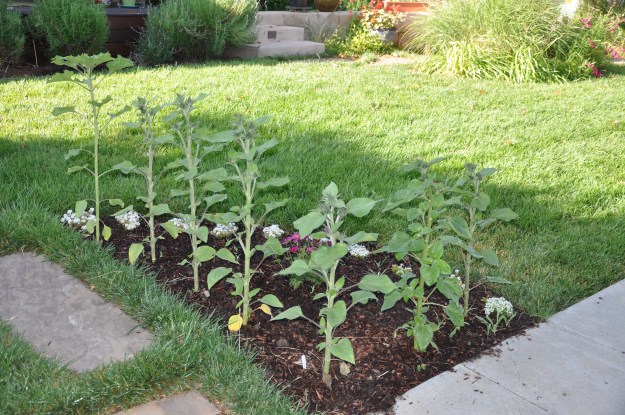
Disappointed but not defeated, I headed to the nursery and bought a few cell packs. I picked up a dozen sunflowers as a compliment to the one that grew from seed, my signature annual Alyssum and a few flowering annuals.

sunflowers and annuals

May, 2013
Sunflowers, Alyssum and assorted annuals

June:

In early June, I drove up to the house in an unseasonal windstorm, and saw the fruits of my recent labor (the sunflowers) bending in the wind. I dragged a bench, a folding table and anything else I could think of and braced all the plants. I’m sure the neighbors wondered why I would move the bench to the edge of the sidewalk, but desperate times (sunflowers in peril) require desperate measures (in this case looking foolish). That said, I’ve gone out to lunch with girlfriends wearing a wig and false eyelashes so I suppose my concerns about looking foolish are moot. Ha!
sunflowers and bench

June, 2013
Sunflowers staked to the bench

July/August:

The summer heat settled in and then this happened. The Bachelor Buttons, Cosmos and assorted seeds took off.  Every week something new popped up.  What a joyous experience. As the sunflowers died back, the annuals filled in. This also became my test garden. I bought (and forgot) about three pink zinnias and left them to suffer the heat out back.  I replanted them in the sidewalk garden and they flourished.

sidewalk garden flowers

September:

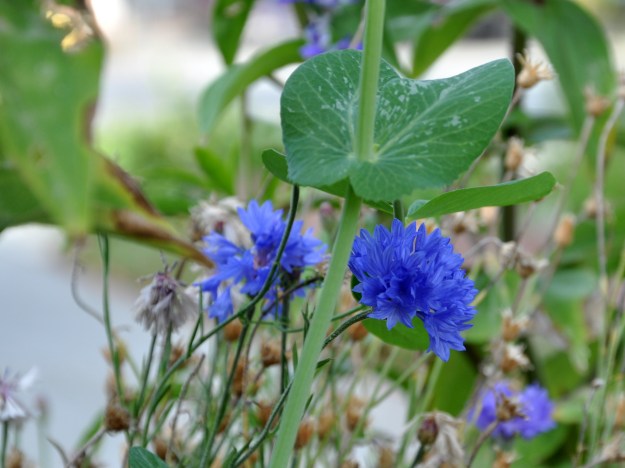
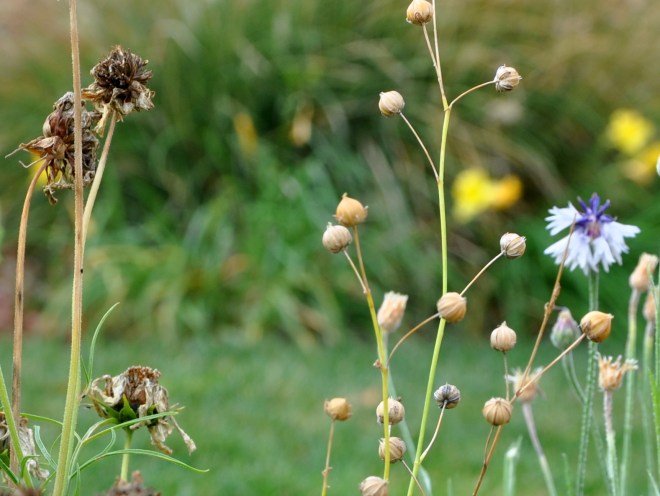
The Bachelor Buttons started going to seed, testing my resolve. The orderly me wanted to deadhead the flowers and trim back dying branches. Daily visits from the birds kept me in check. It was nice to see them swoop down and grab a bite. Another plus, re-seeding. As the birds and squirrels drop seeds, they’re likely to regrow the following season. We all win!

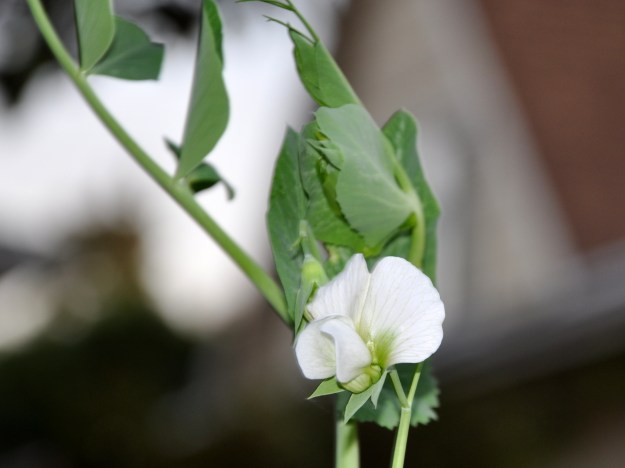
I planted most of my garden peas in the curb garden, but since I had plenty, I planted a few among the summer annuals. As the annuals died back, the peas could take their place.

zinnias and cosmos

October:

October was all about pumpkins and Halloween. Drip irrigation and a warm sun kept things humming along.

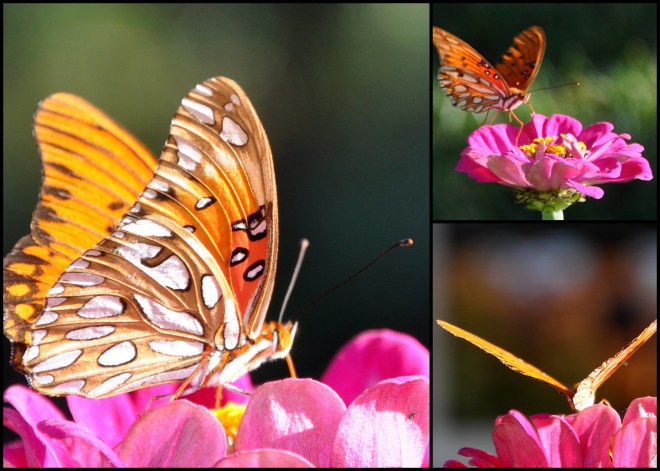
Oh, and this visitor:

butterfly collage

November:

The peas are growing among the summer annuals and will need to be staked soon.  Still lots of color but the zinnias are starting to decay.  Nightly temps in the forties signal the end of summer weather, even when it does make it to 72 F by mid-day.

going to seed

November, 2013
Going to seed

garden peas and flowers

November, 2013
Garden peas grow among the flowers

DSC_0021

What’s next? Time to collect seeds for next year. I’ve snagged a few here and there, but I need to make a concerted effort now before our promised Monday rain. Oh wondrous rain, how I’ve missed you.

Then on to planning for next year. Happy weekend. I’ll see you Monday.

Garden Peas, Hold the Salt

first of the peas

First of the garden peas

We grew up eating peas, both fresh and canned. We loved them. When we moved to the States, it stunned our classmates to see my sister and me eating them from our lunch tray at school. Looking back, I don’t remember anything really delicious arriving on a school lunch tray but somehow those peas were edible, at least to us.

Kids would scoop there peas on to our trays and dare us to eat them. It was a nifty party trick. I don’t have many positive memories of lunch at school, but I do remember eating the offered peas and enjoying the attention that came with it.

Now I’m growing my own peas. Straight from the vine, they’ll be fresh and crisp.  Inside is the hidden treasure: a row of nature’s green pearls.

sweet pea unfurling

Shoots and ‘ladders’

Although I’ve always known that peas were good for you*, I didn’t know they were also good for the environment.  According to The Worlds Healthiest Foods:

Peas belong to a category of crops called “nitrogen-fixing” crops. With the help of bacteria in the soil, peas and other pulse crops are able to take nitrogen gas from the air and convert it into more complex and usable forms. This process increases nitrogen available in the soil without the need for added fertilizer. Peas also have a relatively shallow root system which can help prevent erosion of the soil, and once the peas have been picked, the plant remainders tend to break down relatively easily for soil replenishment. Finally, rotation of peas with other crops has been shown to lower the risk of pest problems. These environmentally friendly aspects of pea production add to their desirability as a regular part of our diet. – Source WHFoods.org

sweet pea

Pea perfection

sweet pea flower

Pretty flowers give way to legumes

*Of Note:

Apparently peas aren’t good for everyone. Peas contain naturally occurring substances called purines.  Taken in excess they can cause health problems in people with gout or kidney stones.  The purine converts to uric acid.  They suggest limiting any high purine-containing foods such as green peas. Who knew?  You can find the complete article here.

Alliterating Peppers

There is something about peppers that invite alliteration. It all started when “Peter Piper picked a peck of pickled peppers…”

Personally I prefer my peppers un-pickled,

Enticingly edible, eatable and esculent,

Perfectly pleasant,

Pretty, pleasing and plump,

Effortlessly enjoyed and

Raw

How about you?

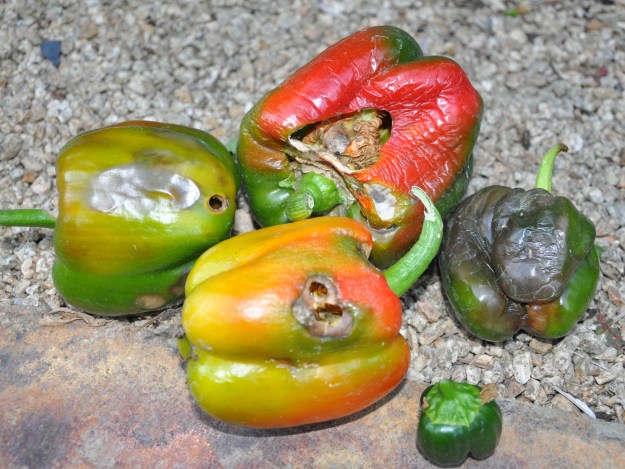
Fall bounty

Fall Bounty

peppers

You win some, you lose some,  Pepper Pests

Seeing Red

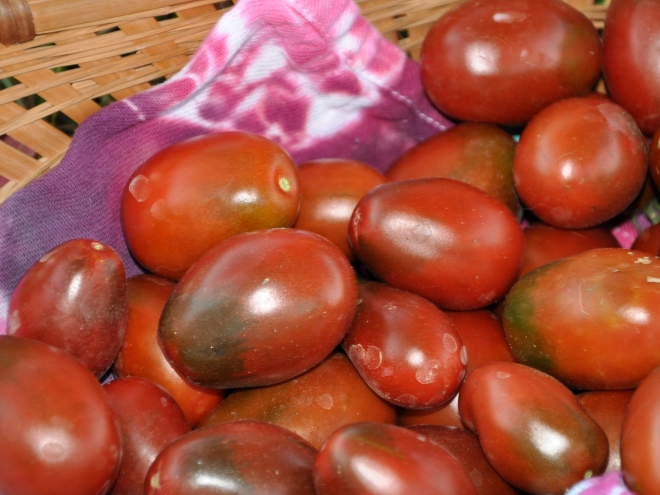
Roma tomatoes and Chinese Pistache leaves

Roma tomatoes and Chinese Pistache leaves

I’m seeing red.

I like it! The cherry and heirloom tomatoes died back a month ago, but our Roma tomatoes continue to grow unabated.

In November.

This is Silicon Valley after all, originally known for its rich, agricultural roots.  But I’m still amazed at the prolific production of this plant.  I did a bit of reading and learned that the plant will continue to produce, as long as daytime temps remain about 60F  (15C).  That explains it.  We’ve had a mild autumn so far.

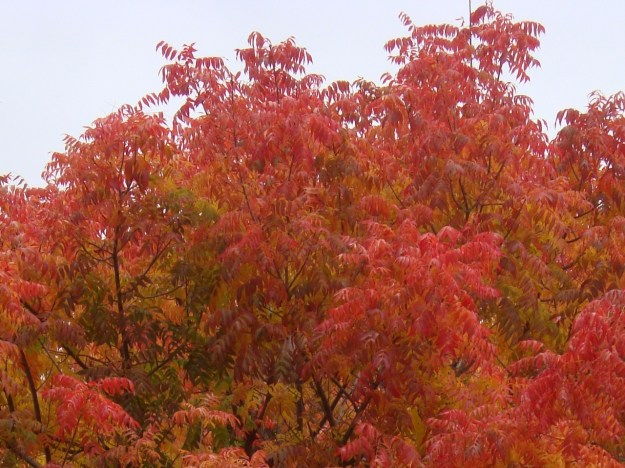
While the Roma happily churns out fruit in the back garden, the Chinese Pistache flashes red outside my kitchen window.

Pistacia chinensis (Chinese pistache)

Pistacia chinensis (Chinese pistache)

The Pistache’s slow, beautiful descent into dormancy is under way.  The colors are magnificent. I’m grateful to live in this beautiful valley with such optimal growing conditions.

roma tomatoes

Seeing red

DSC_0007
Further Reading:

How to Braid A Carrot

Note: I’ll have to put some thought into tagging this post.  I’m not sure anyone ever did a Google search using the term “braid carrot.”  Here goes:

Step one:

Purchase nursery six-packs of small, leafy carrot starters.  Make the following assumption: each cell contains one carrot plant.

Step two:

Plant accordingly.  Be sure to gather the neighbor’s day-care kids.  Turn tiny people into future gardeners.

Step three:

Wait 50 – 70 days.  Publicize your countdown in your blog sidebar.  This is an important step for those of us with “menopause brain.”

Step four:

Take the sage advice of a couple of bloggers who inquire “did you thin the plants?”  (Note: In my gardening defense, I know about thinning seeds.  I just ASSumed they were pre-thinned before I bought them.)

Step five:

Dig up a few ‘spare carrots’, in this case, the carrots planted on the other side of the curb garden as back ups in case the tiny gardener’s crop fails.  (One or two did and I was able to fill in accordingly) Realize, oh-oh…I didn’t thin the plants.  Thin one or two and watch them droop.  They didn’t like waking up early.

Step six:

Reset the countdown in the side-bar from 50 to 70 days and wait some more.

Step seven:

The most important step of all: Watch the tiny gardeners cute, wondrous faces as they dig up a carrot and realize what they’ve grown.  Picture me smiling from ear to ear.

carrot harvest 2

Tiny gardener harvesting carrots

carrot harvest 1

Carrot unearthed

And if you’ve read this far, here is the tutorial I promised.

How to braid a carrot:

  1. Refer to steps one through seven.
braided carrots

Braided Carrots

A Feast Fit For a Squirrel

squirrel in the fruit treeWhen you carve a lot of pumpkins, you end up with lots of pulp.  It smells divine!

We grow carving pumpkins, not known for their tasty flesh, so we usually scoop out the pulp, set aside some seeds, and compost the rest.  That’s how we got this season’s crop: via the composting bin.

On my way to the compost pile earlier this week with the pumpkin innards, I made a detour.  We have a nice clearing under the fruit tree, the perfect spot for snacking (if you’re a squirrel).  I dumped a big pile of pulp and seeds under the tree, figuring I could always move it elsewhere if there were no takers. Ha!

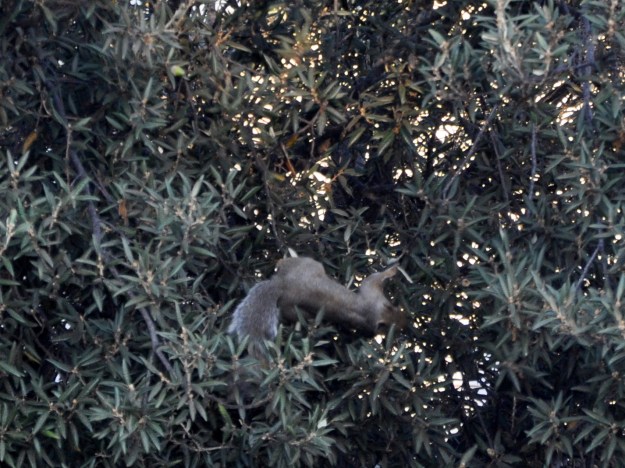
It’s been a busy week, so I temporarily forgot about it.  From the kitchen window on Thursday, a squirrel posed for me on the deck, but didn’t bother to wait for me to fetch my camera.  Not above a small bribe, I gathered a handful of raw almonds and headed out, camera in tow.  He performed some acrobatics in the tree, seen below diving to the lower branches before heading over the fence and away from view.

squirrel antics

“Flying” squirrel antics

I came back inside feeling a bit dejected, looked directly out the back door and did a mental head slap. While I was busy chasing a squirrel around the front yard, one of his friends was out back enjoying a feast.

squirrel eating pumpkin

Wow…this is good.

squirrel eating pumpkin

I know, I know…my diet starts tomorrow

I tiptoed outside, sat down in a chair, and snapped away. The visiting squirrel and I enjoyed the feast together and bonded over our mutual love of gardening. When he had his fill, he planted a couple of seeds on my behalf.

squirrel planting seeds

.I’ll plant this one over here…

squirrel planting seed

…and I’ll plant another one over here.

squirrel

Was that my phone or yours???

squirrel in tree

Sorry…I need to take this call.

squirrel in the garden

Gotta run. Thanks for the feast.

Cue the music: the circle of life.

The Weeping Pumpkin Mystery

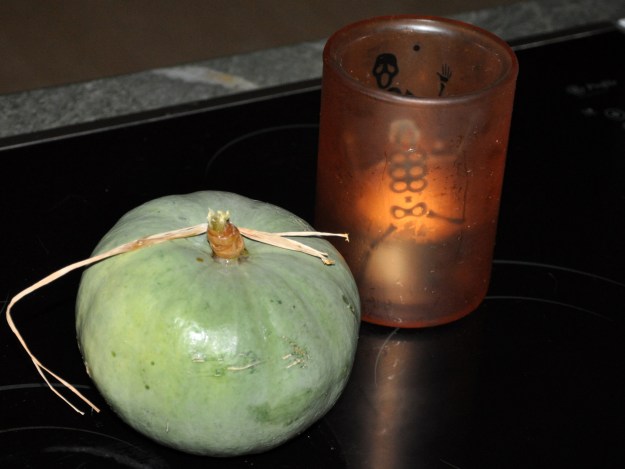
weeping pumpkin

Trying to stem the tide…or tie the stem

My pumpkin is weeping.  It’s been weeping for a week.

What appears to be a ‘crown pumpkin’ self-seeded in the small strip of lawn between the curb and the curb garden. The vine traveled the length of the box, flowered, and eventually produced a small, green pumpkin. Generally speaking, pumpkins start out as small, shiny-green fruits. As they grow the fruit turns a duller green, than yellow and finally orange.

This one remained green. I chalked it up to its late-season arrival and assumed it would remain green ever after. Unceremoniously, I snapped it from the vine, dug out the remaining plant, and added it to the compost pile.

Then the strangest thing happened. Clear fluid dribbled out of the top of the stem. I assumed it would stop in an hour or so, but by the next day the pumpkin sat in a puddle of slime. I turned the pumpkin upside down over a bowl and left it.  The next time I checked, the bowl was full!

The pumpkin remains firm and healthy, but the stem continues to weep. I found a strand of raffia and tied it around the peduncle. Still it weeps.

It’s a mystery.  Any guesses?

weeping pumpkin

The Weeping Pumpkin Mystery

Happy Halloween!