

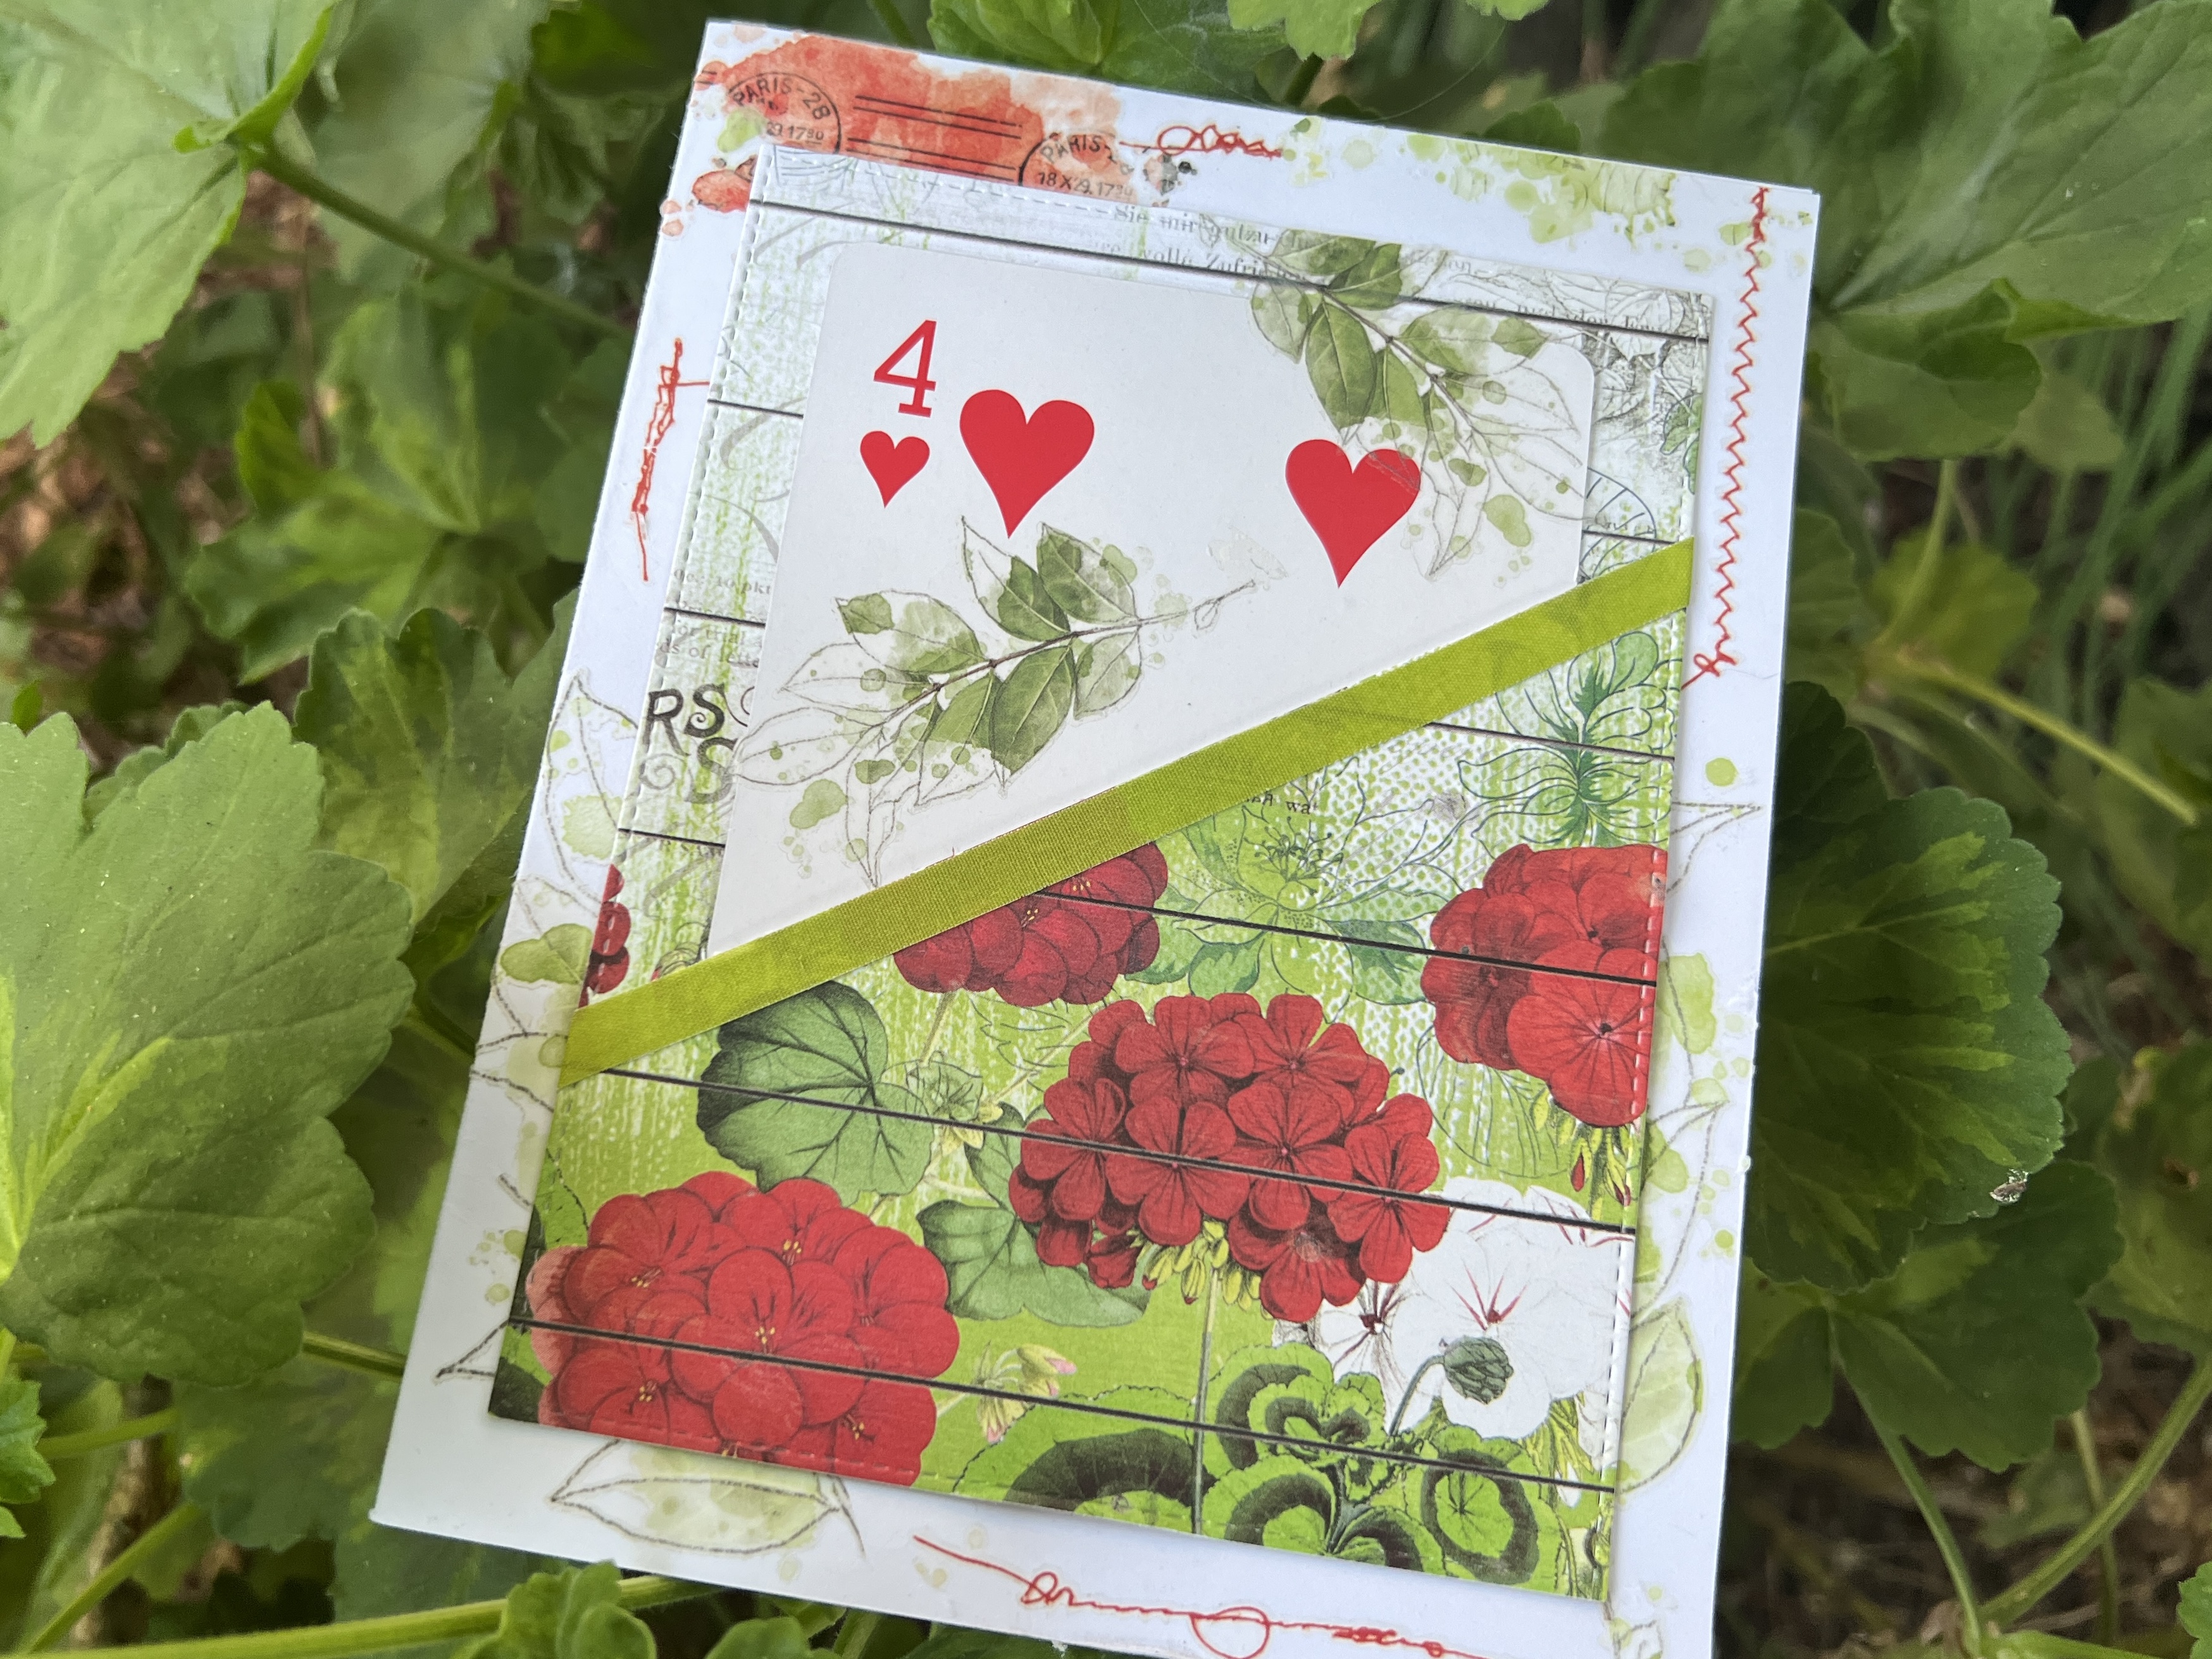
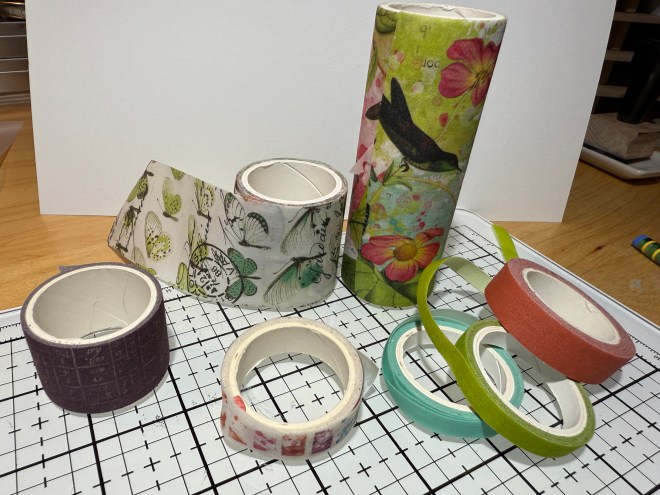
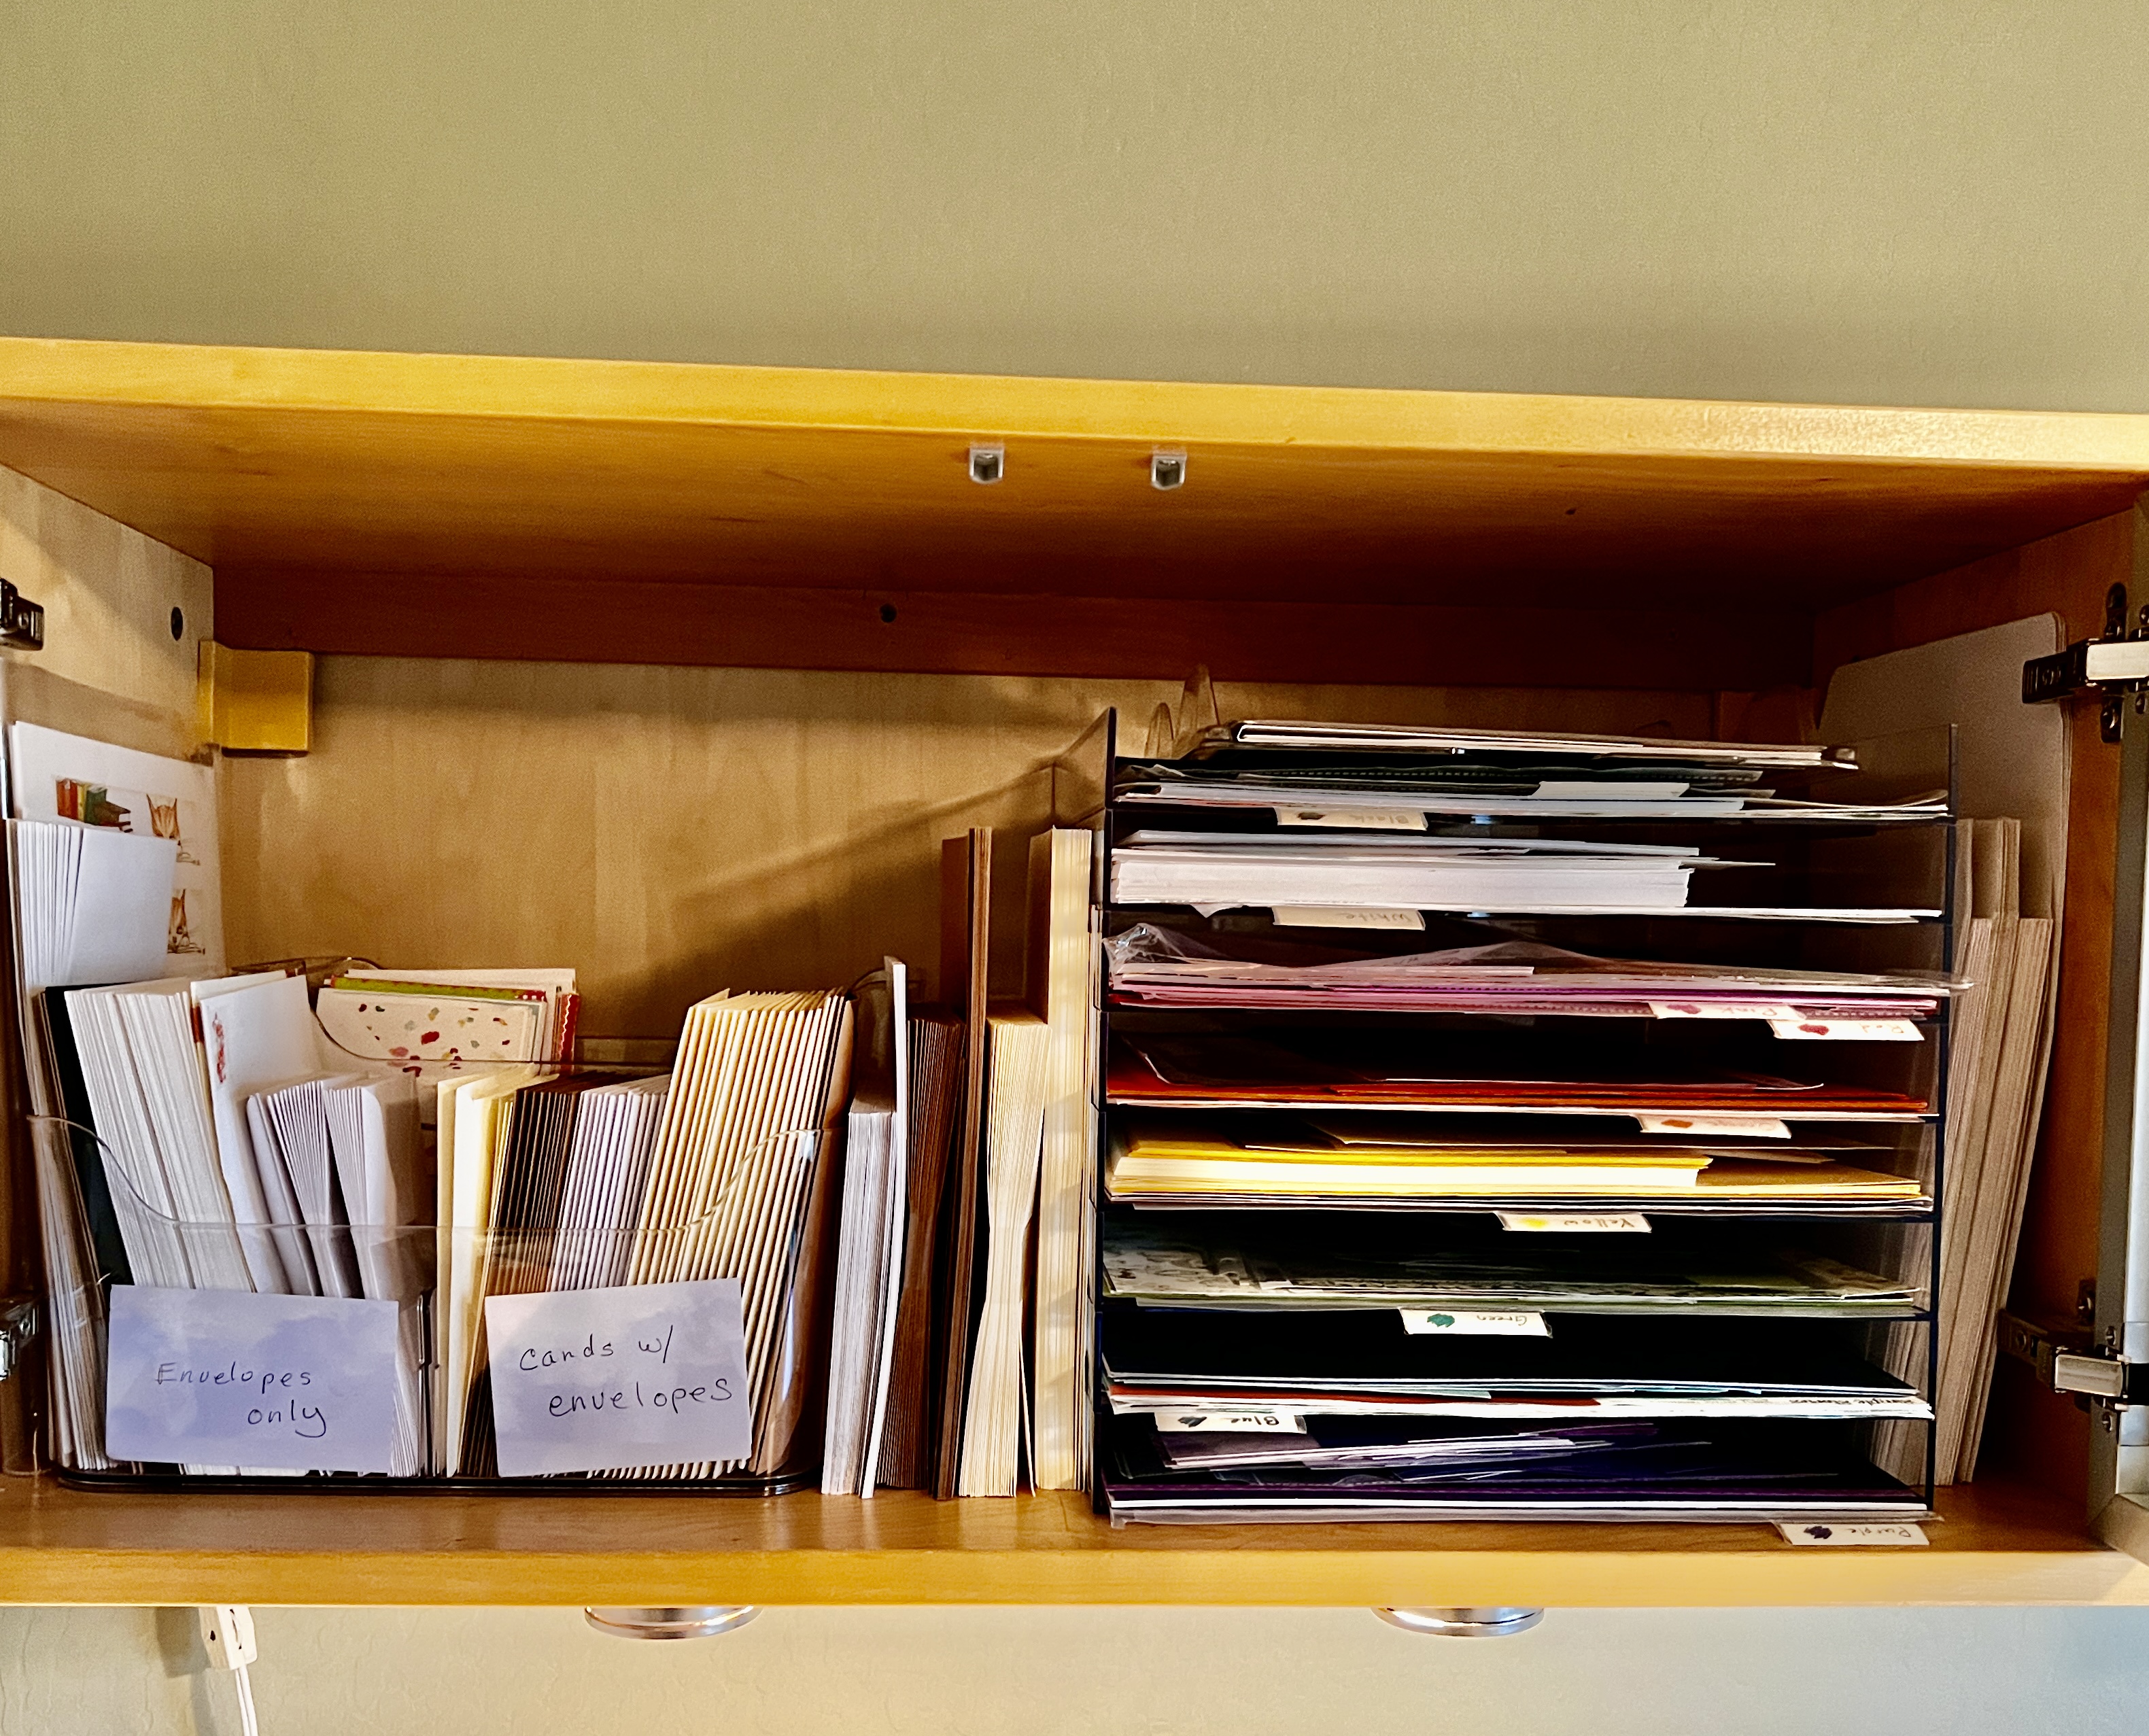
I’m sharing two cards for this month’s challenge to create with scraps, hosted by Kate at Tall Tales of Chiconia. The idea is to use up your stash, be it paper, fabric, or any other crafty medium, by creating something new.
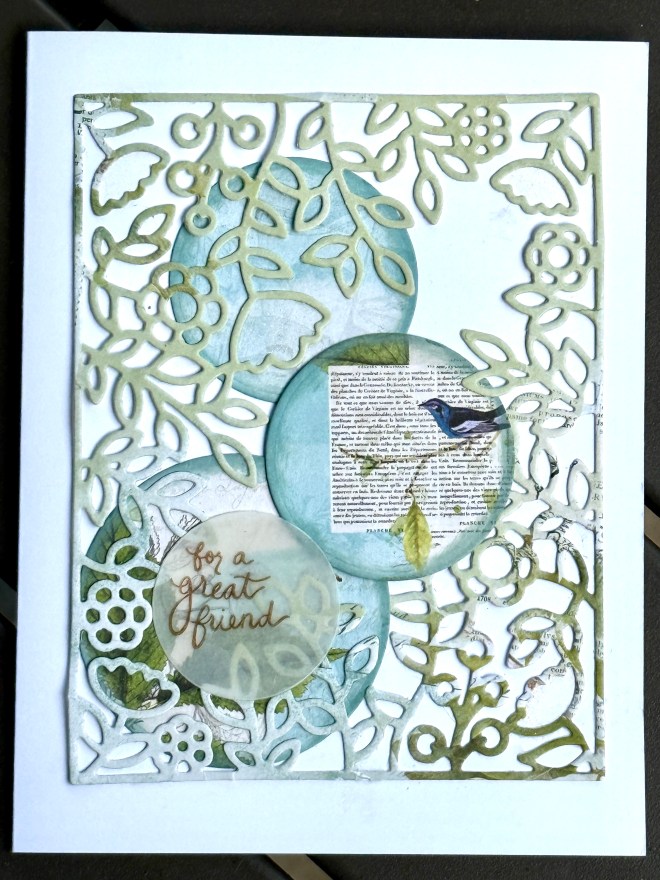
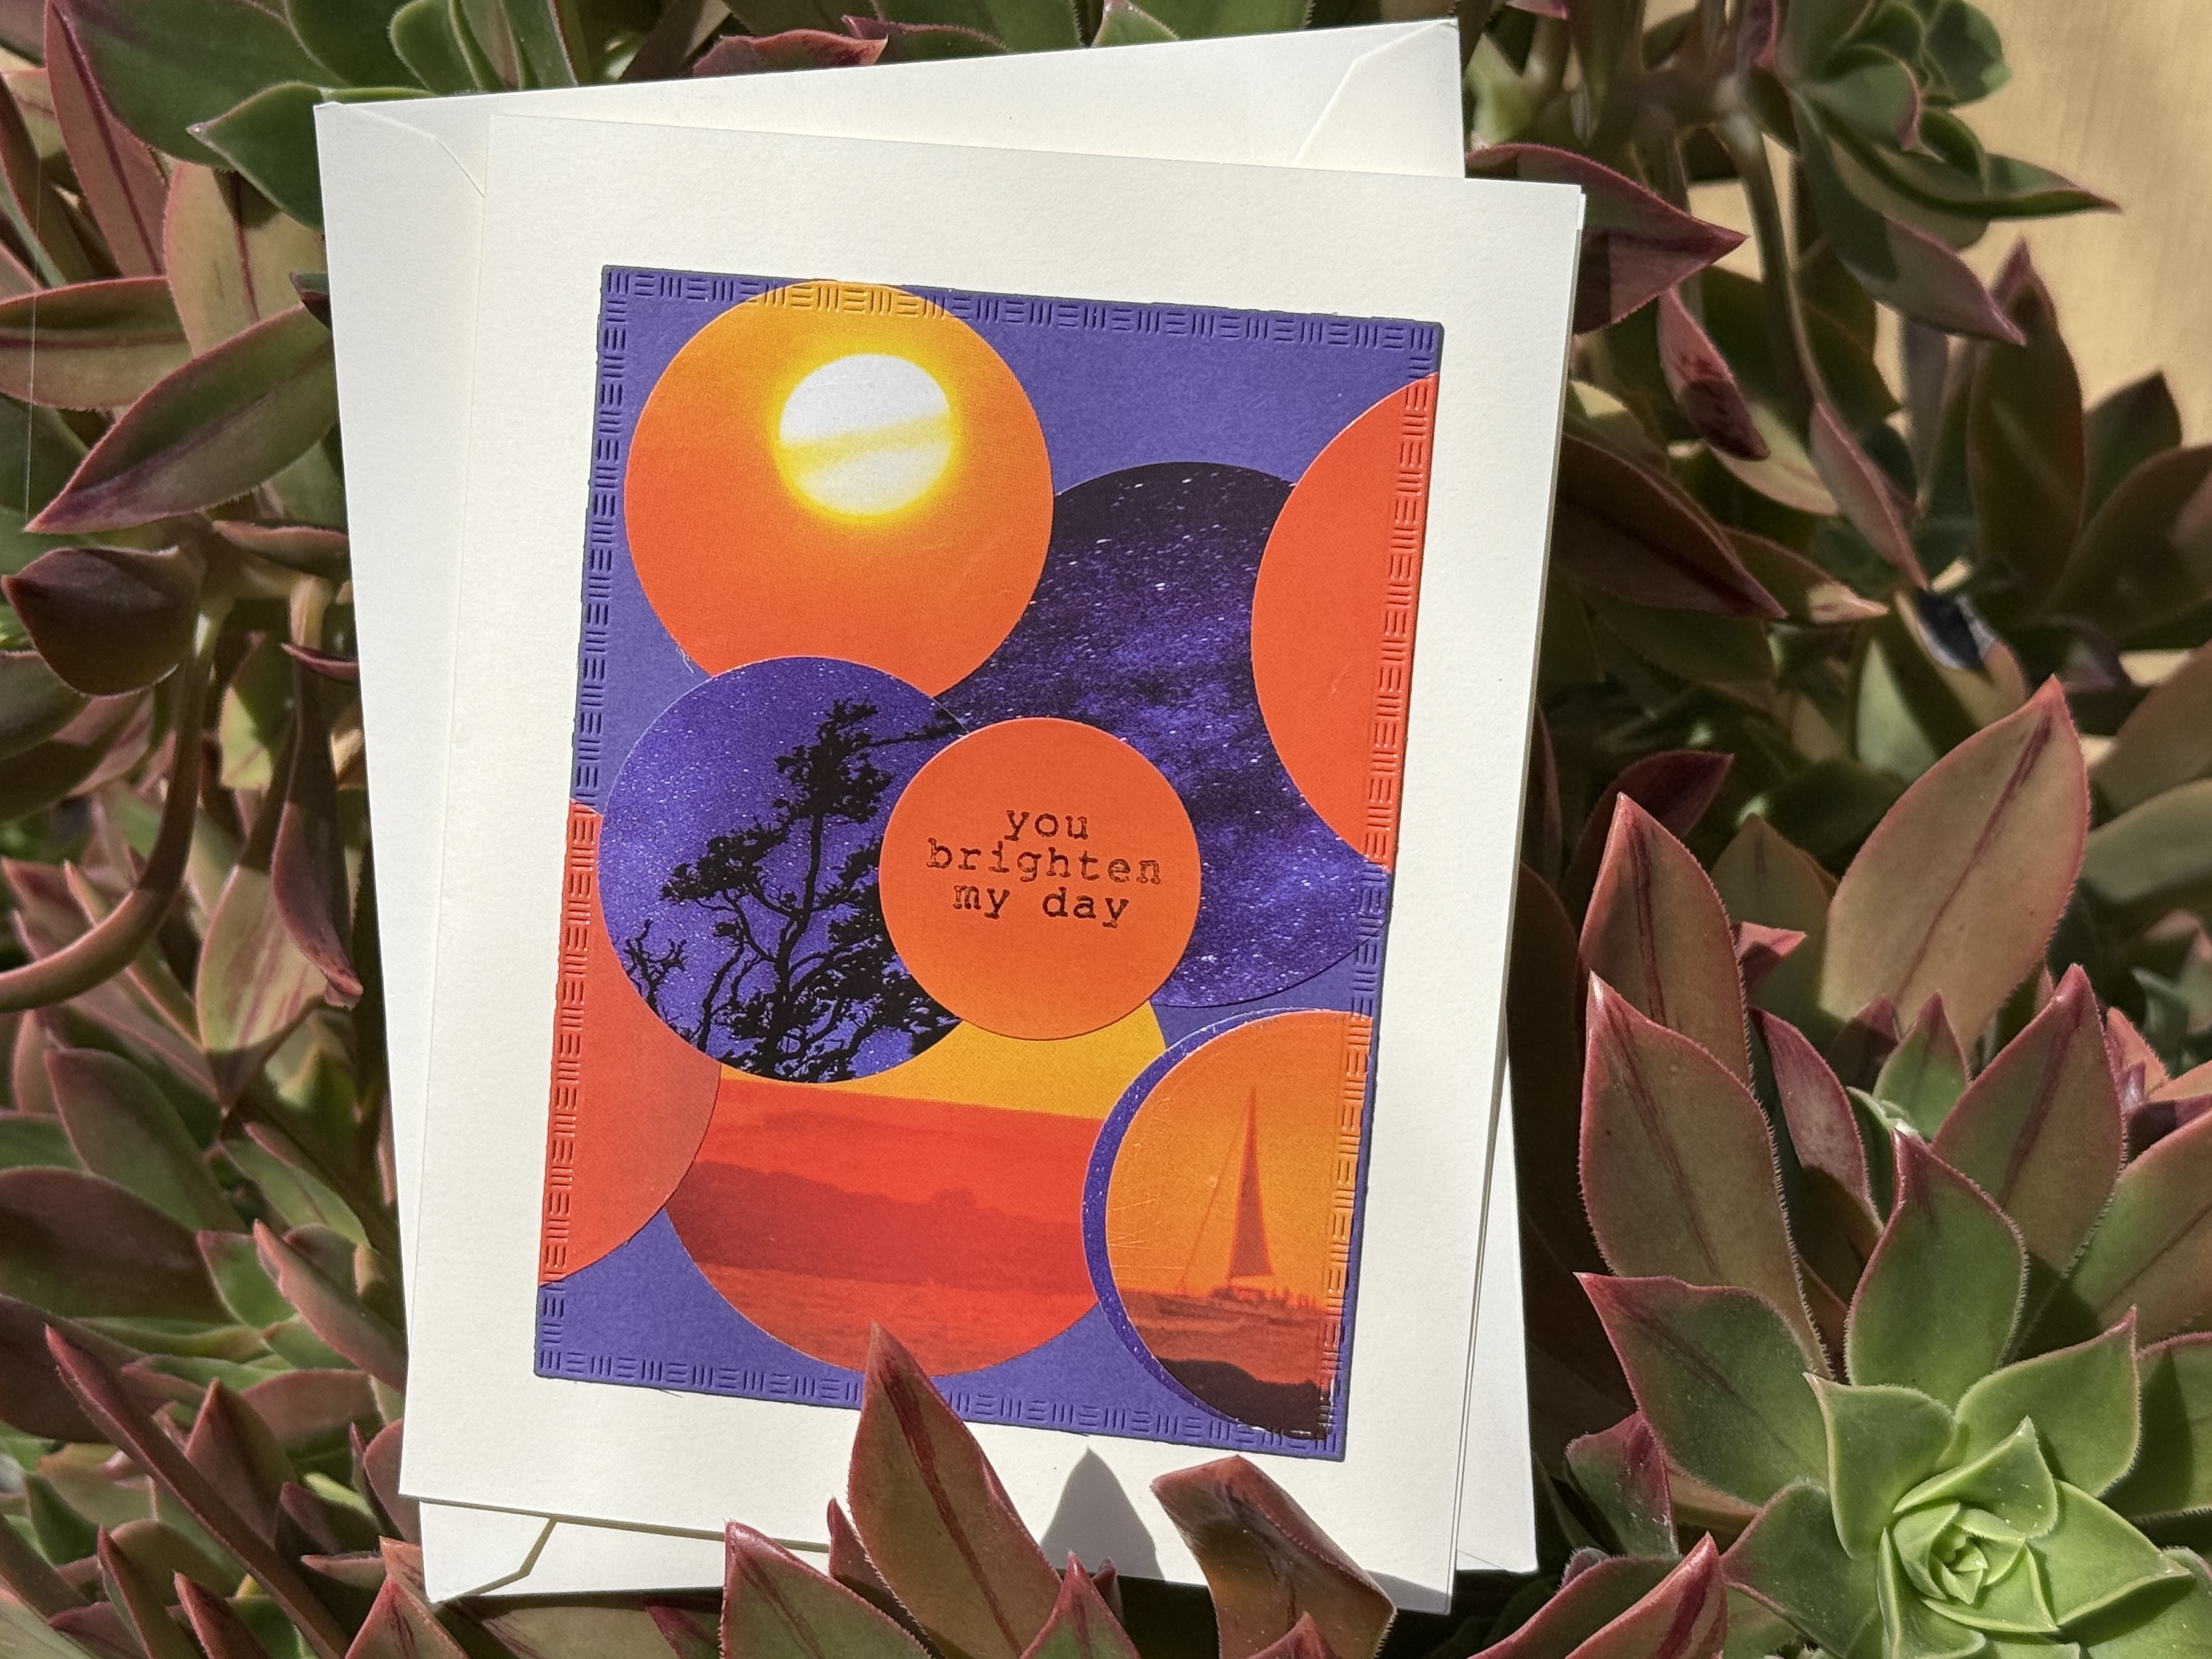
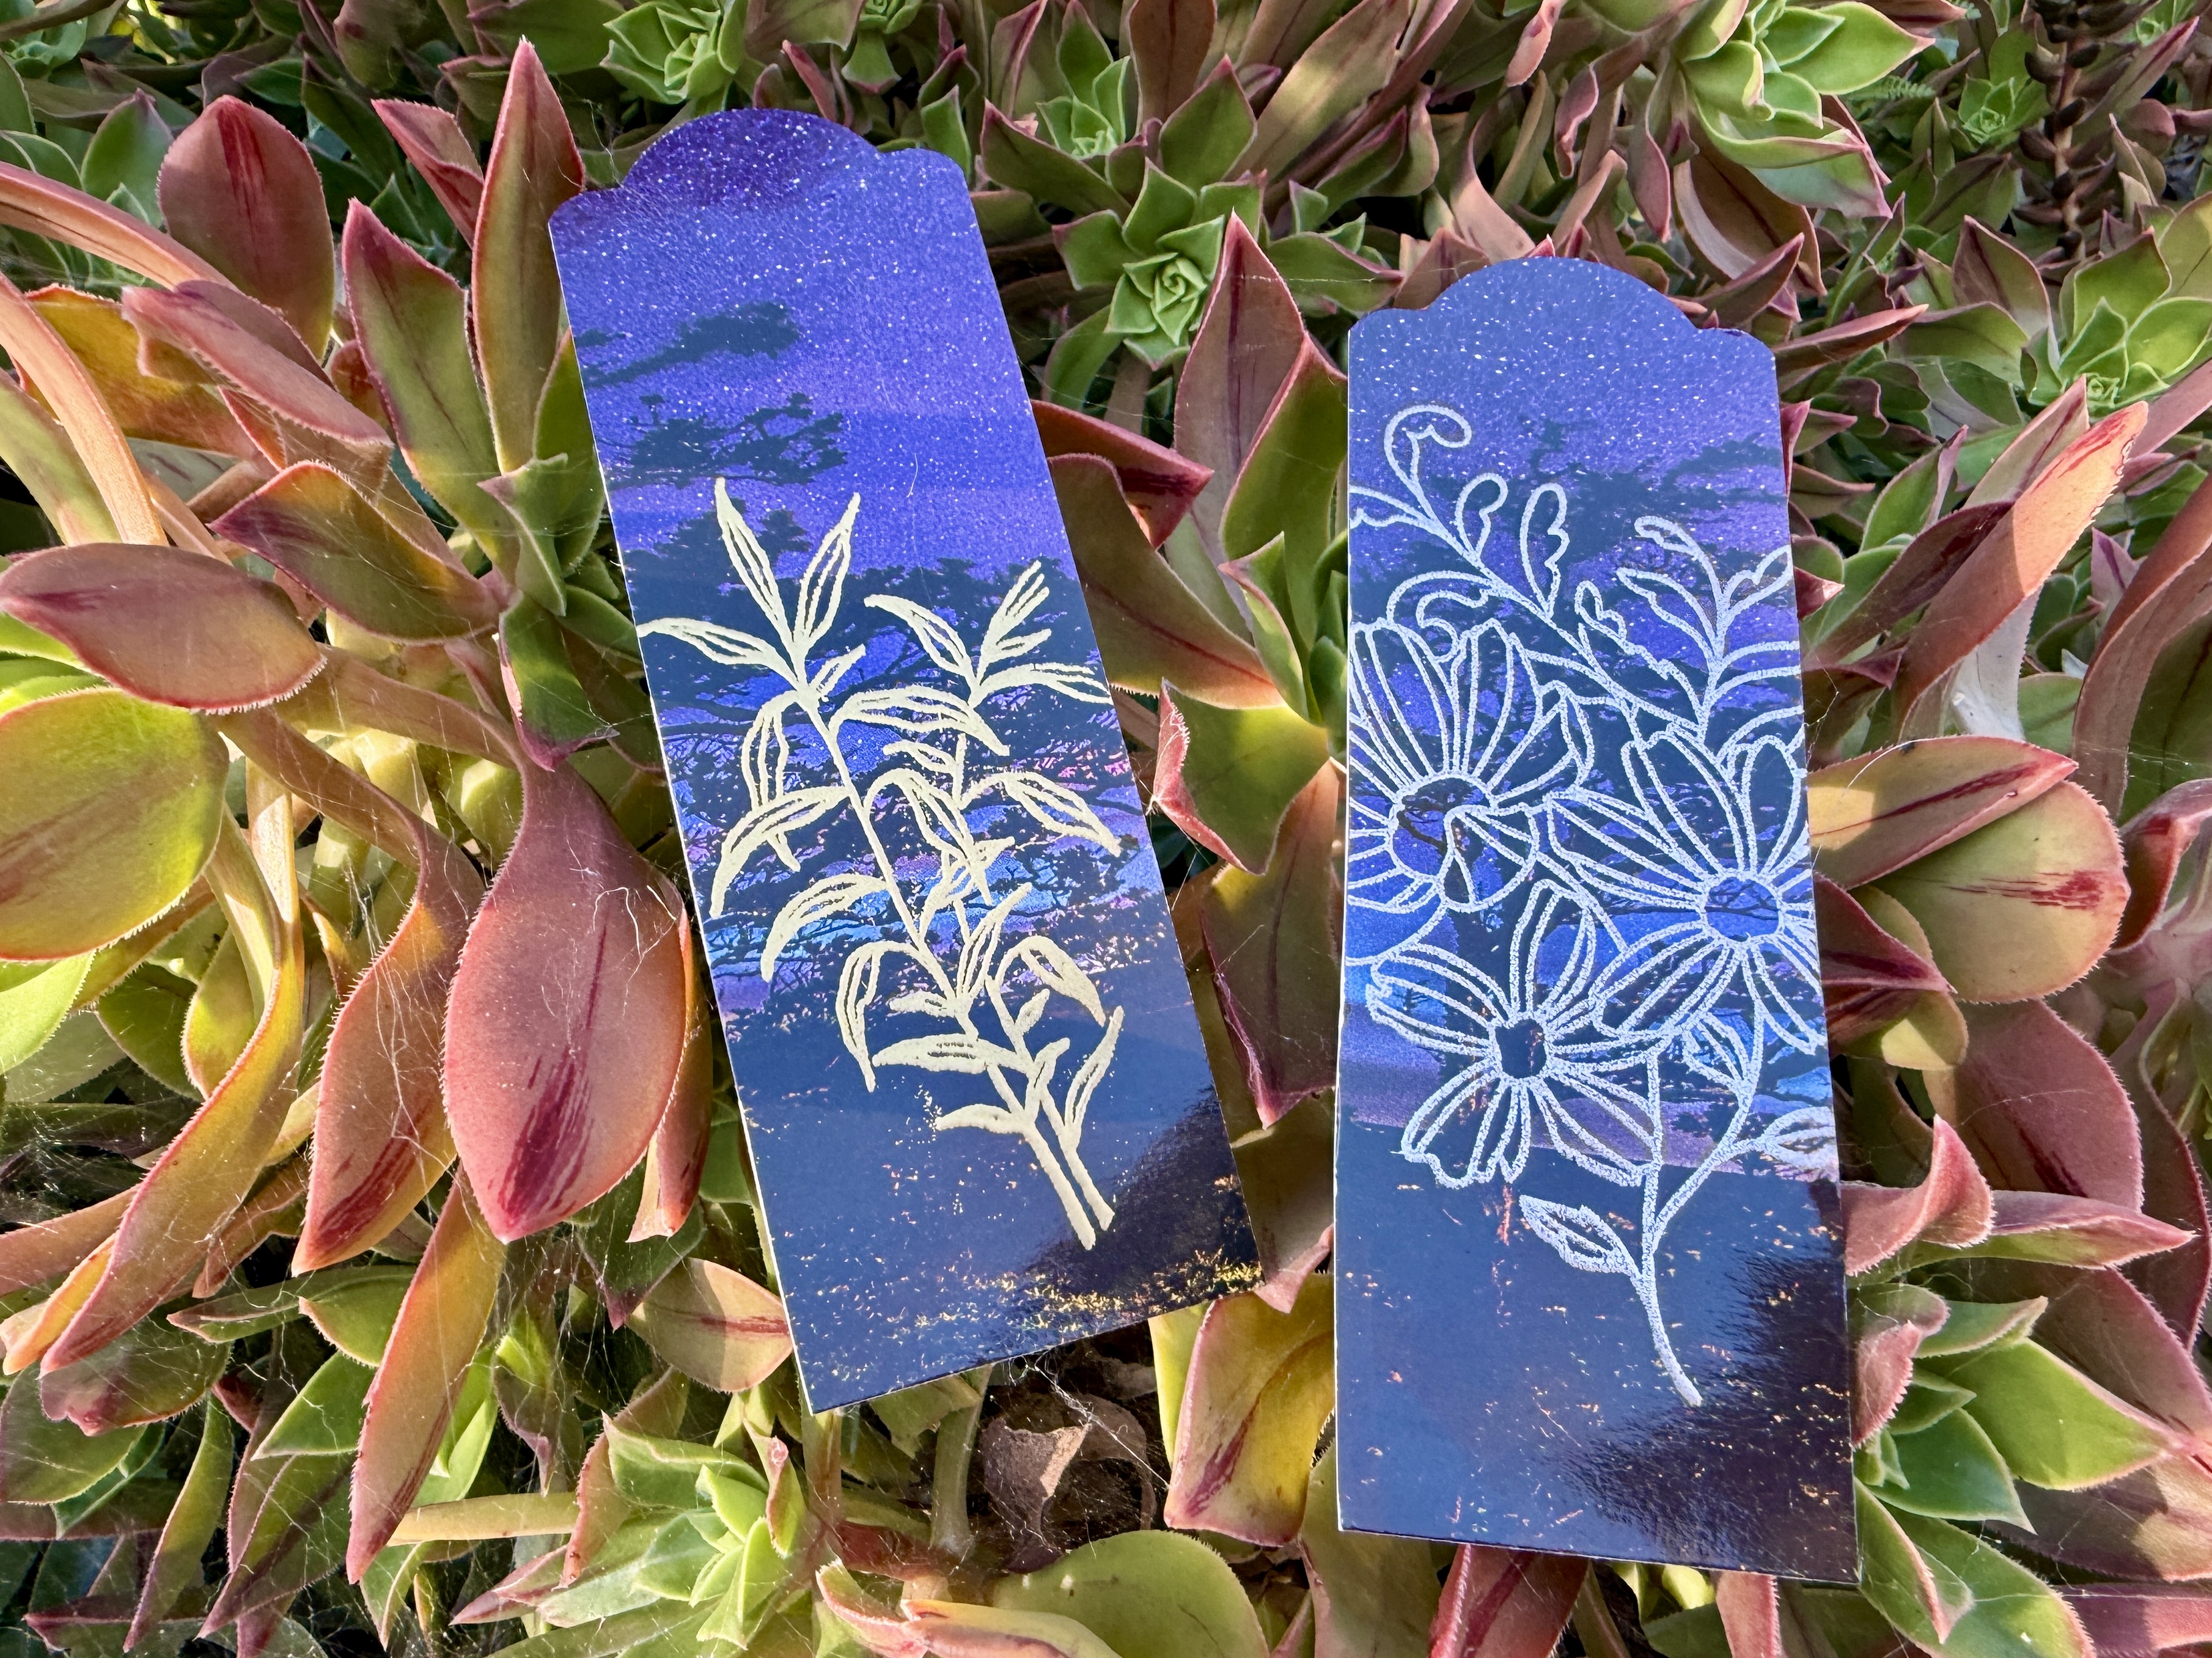
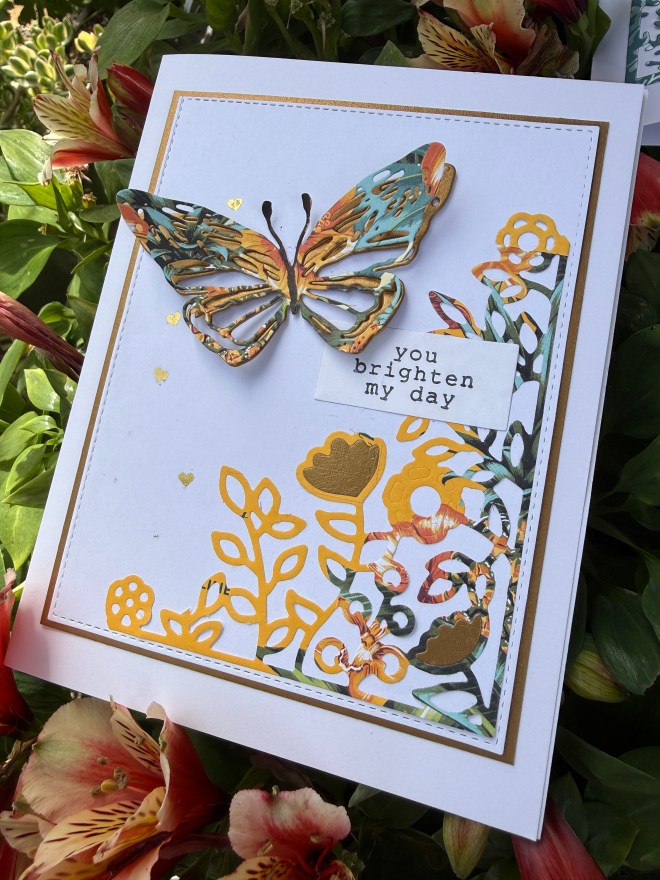
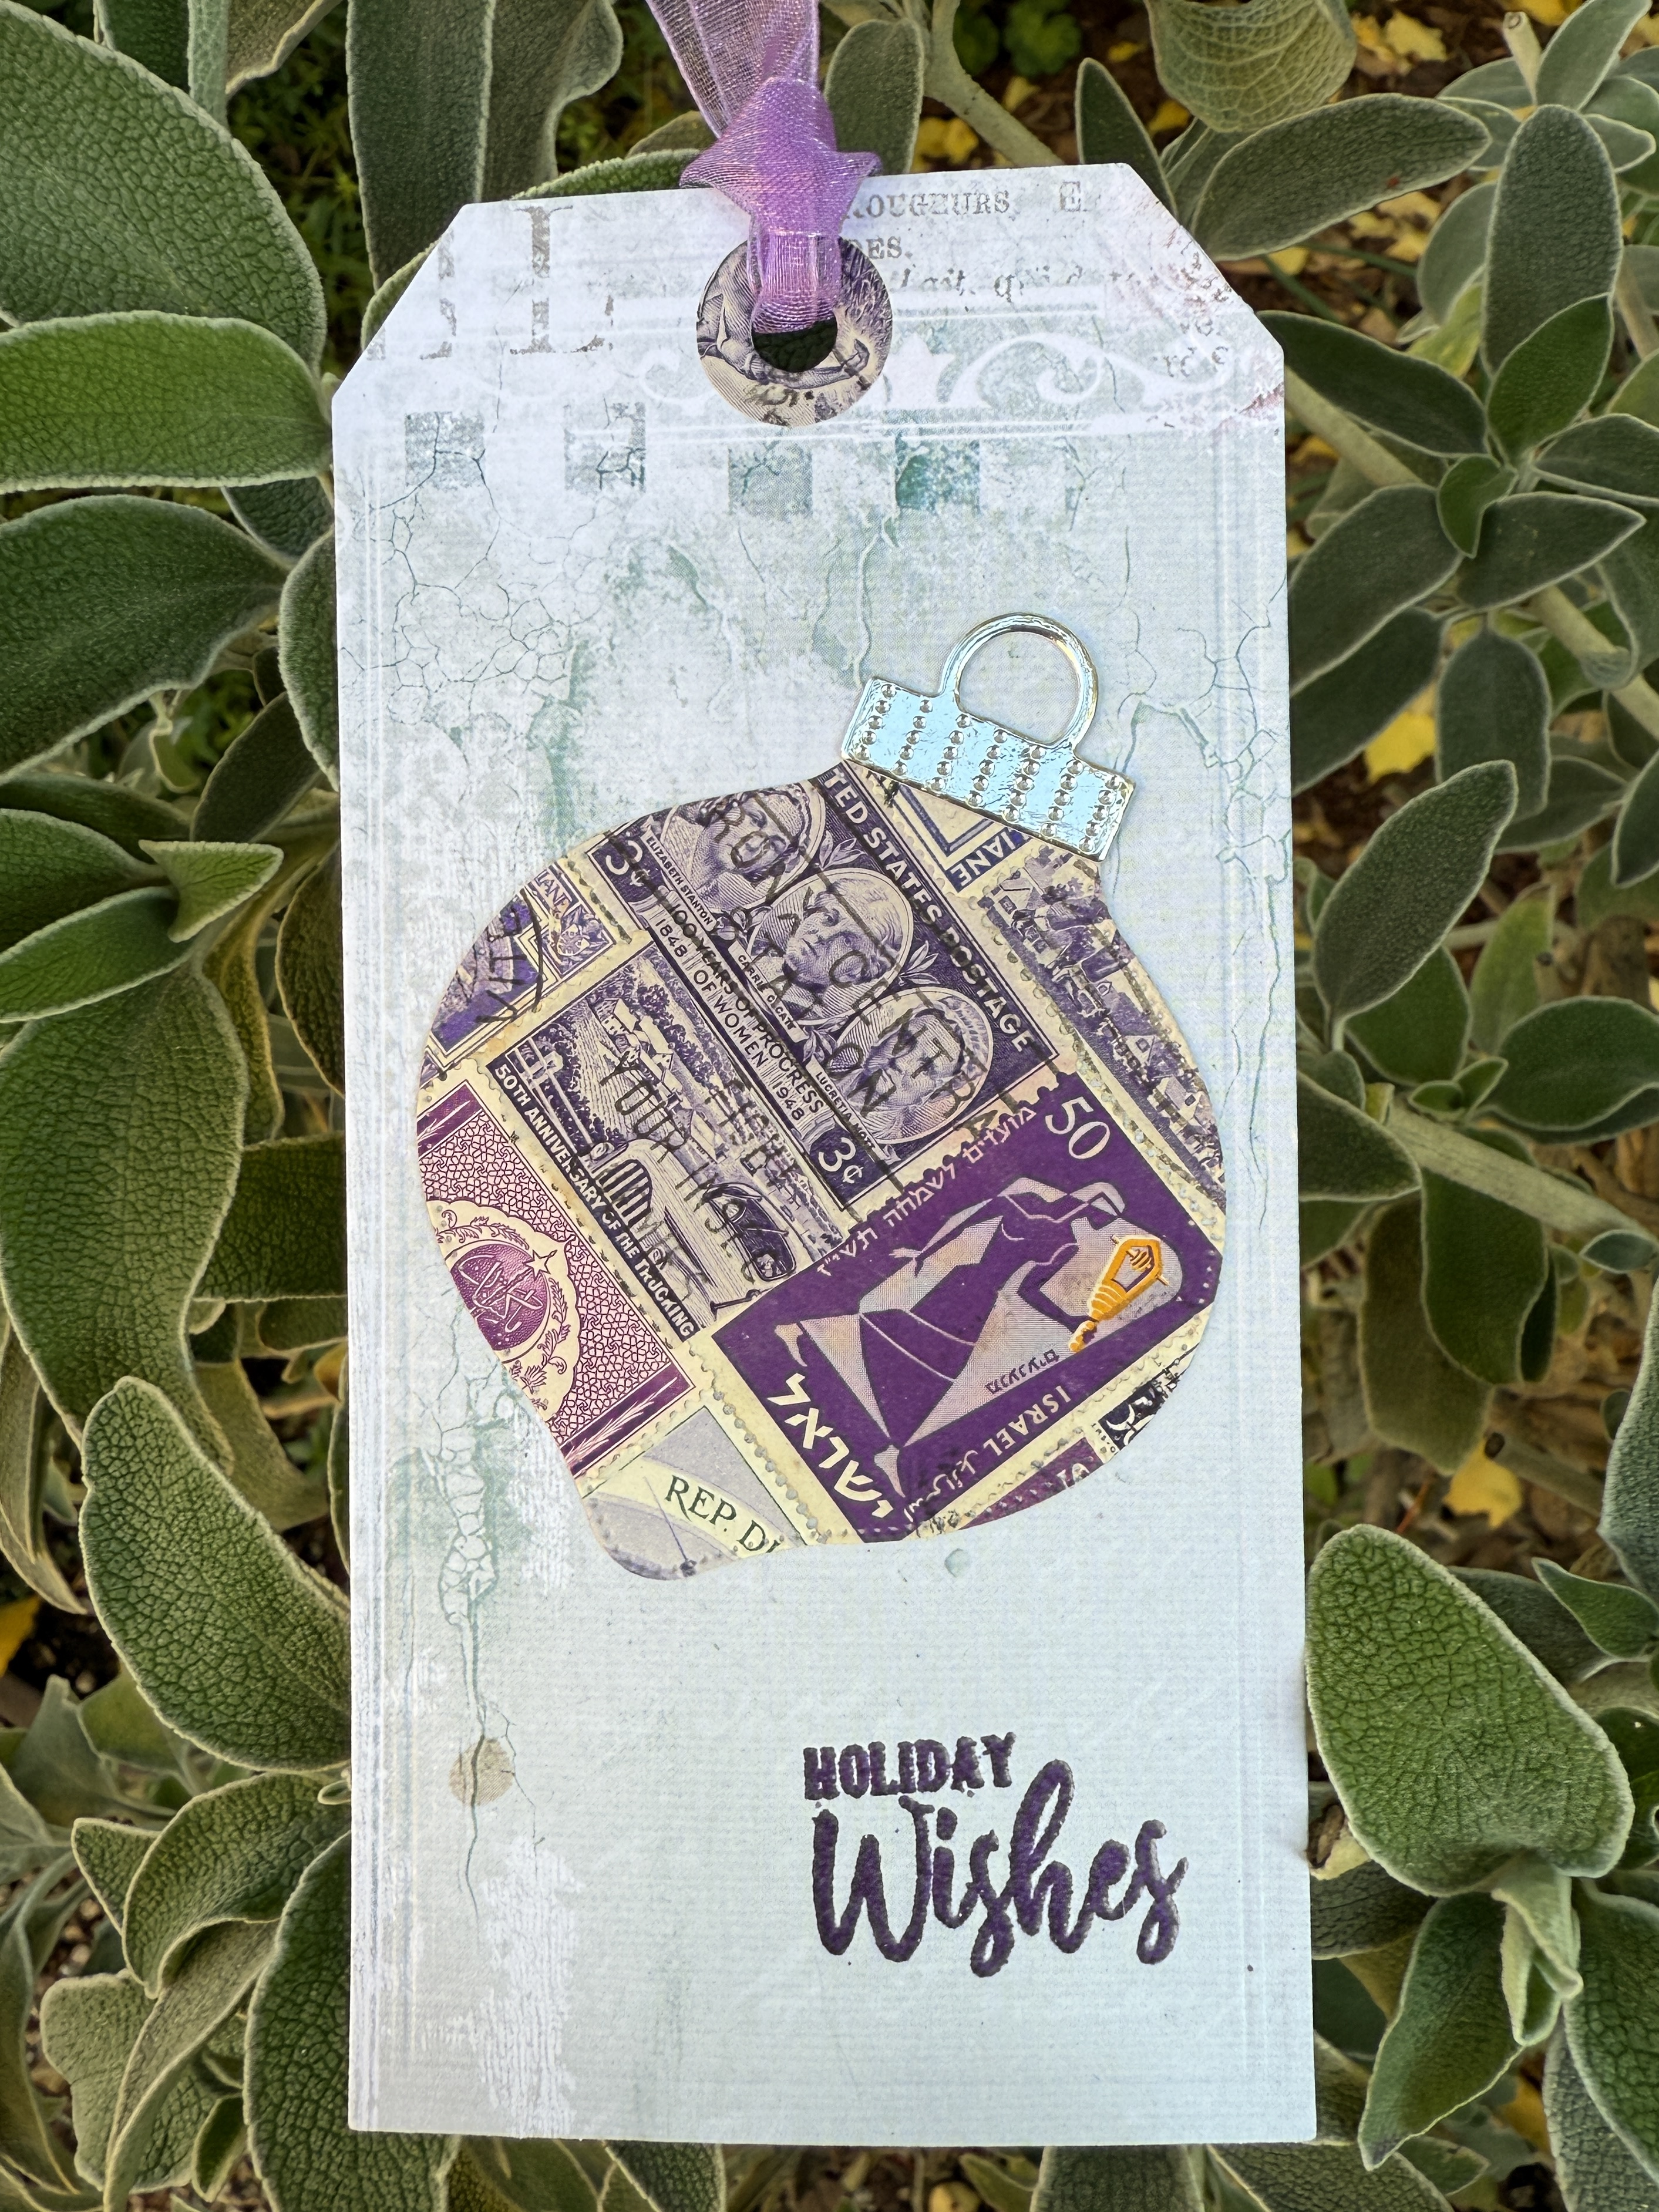
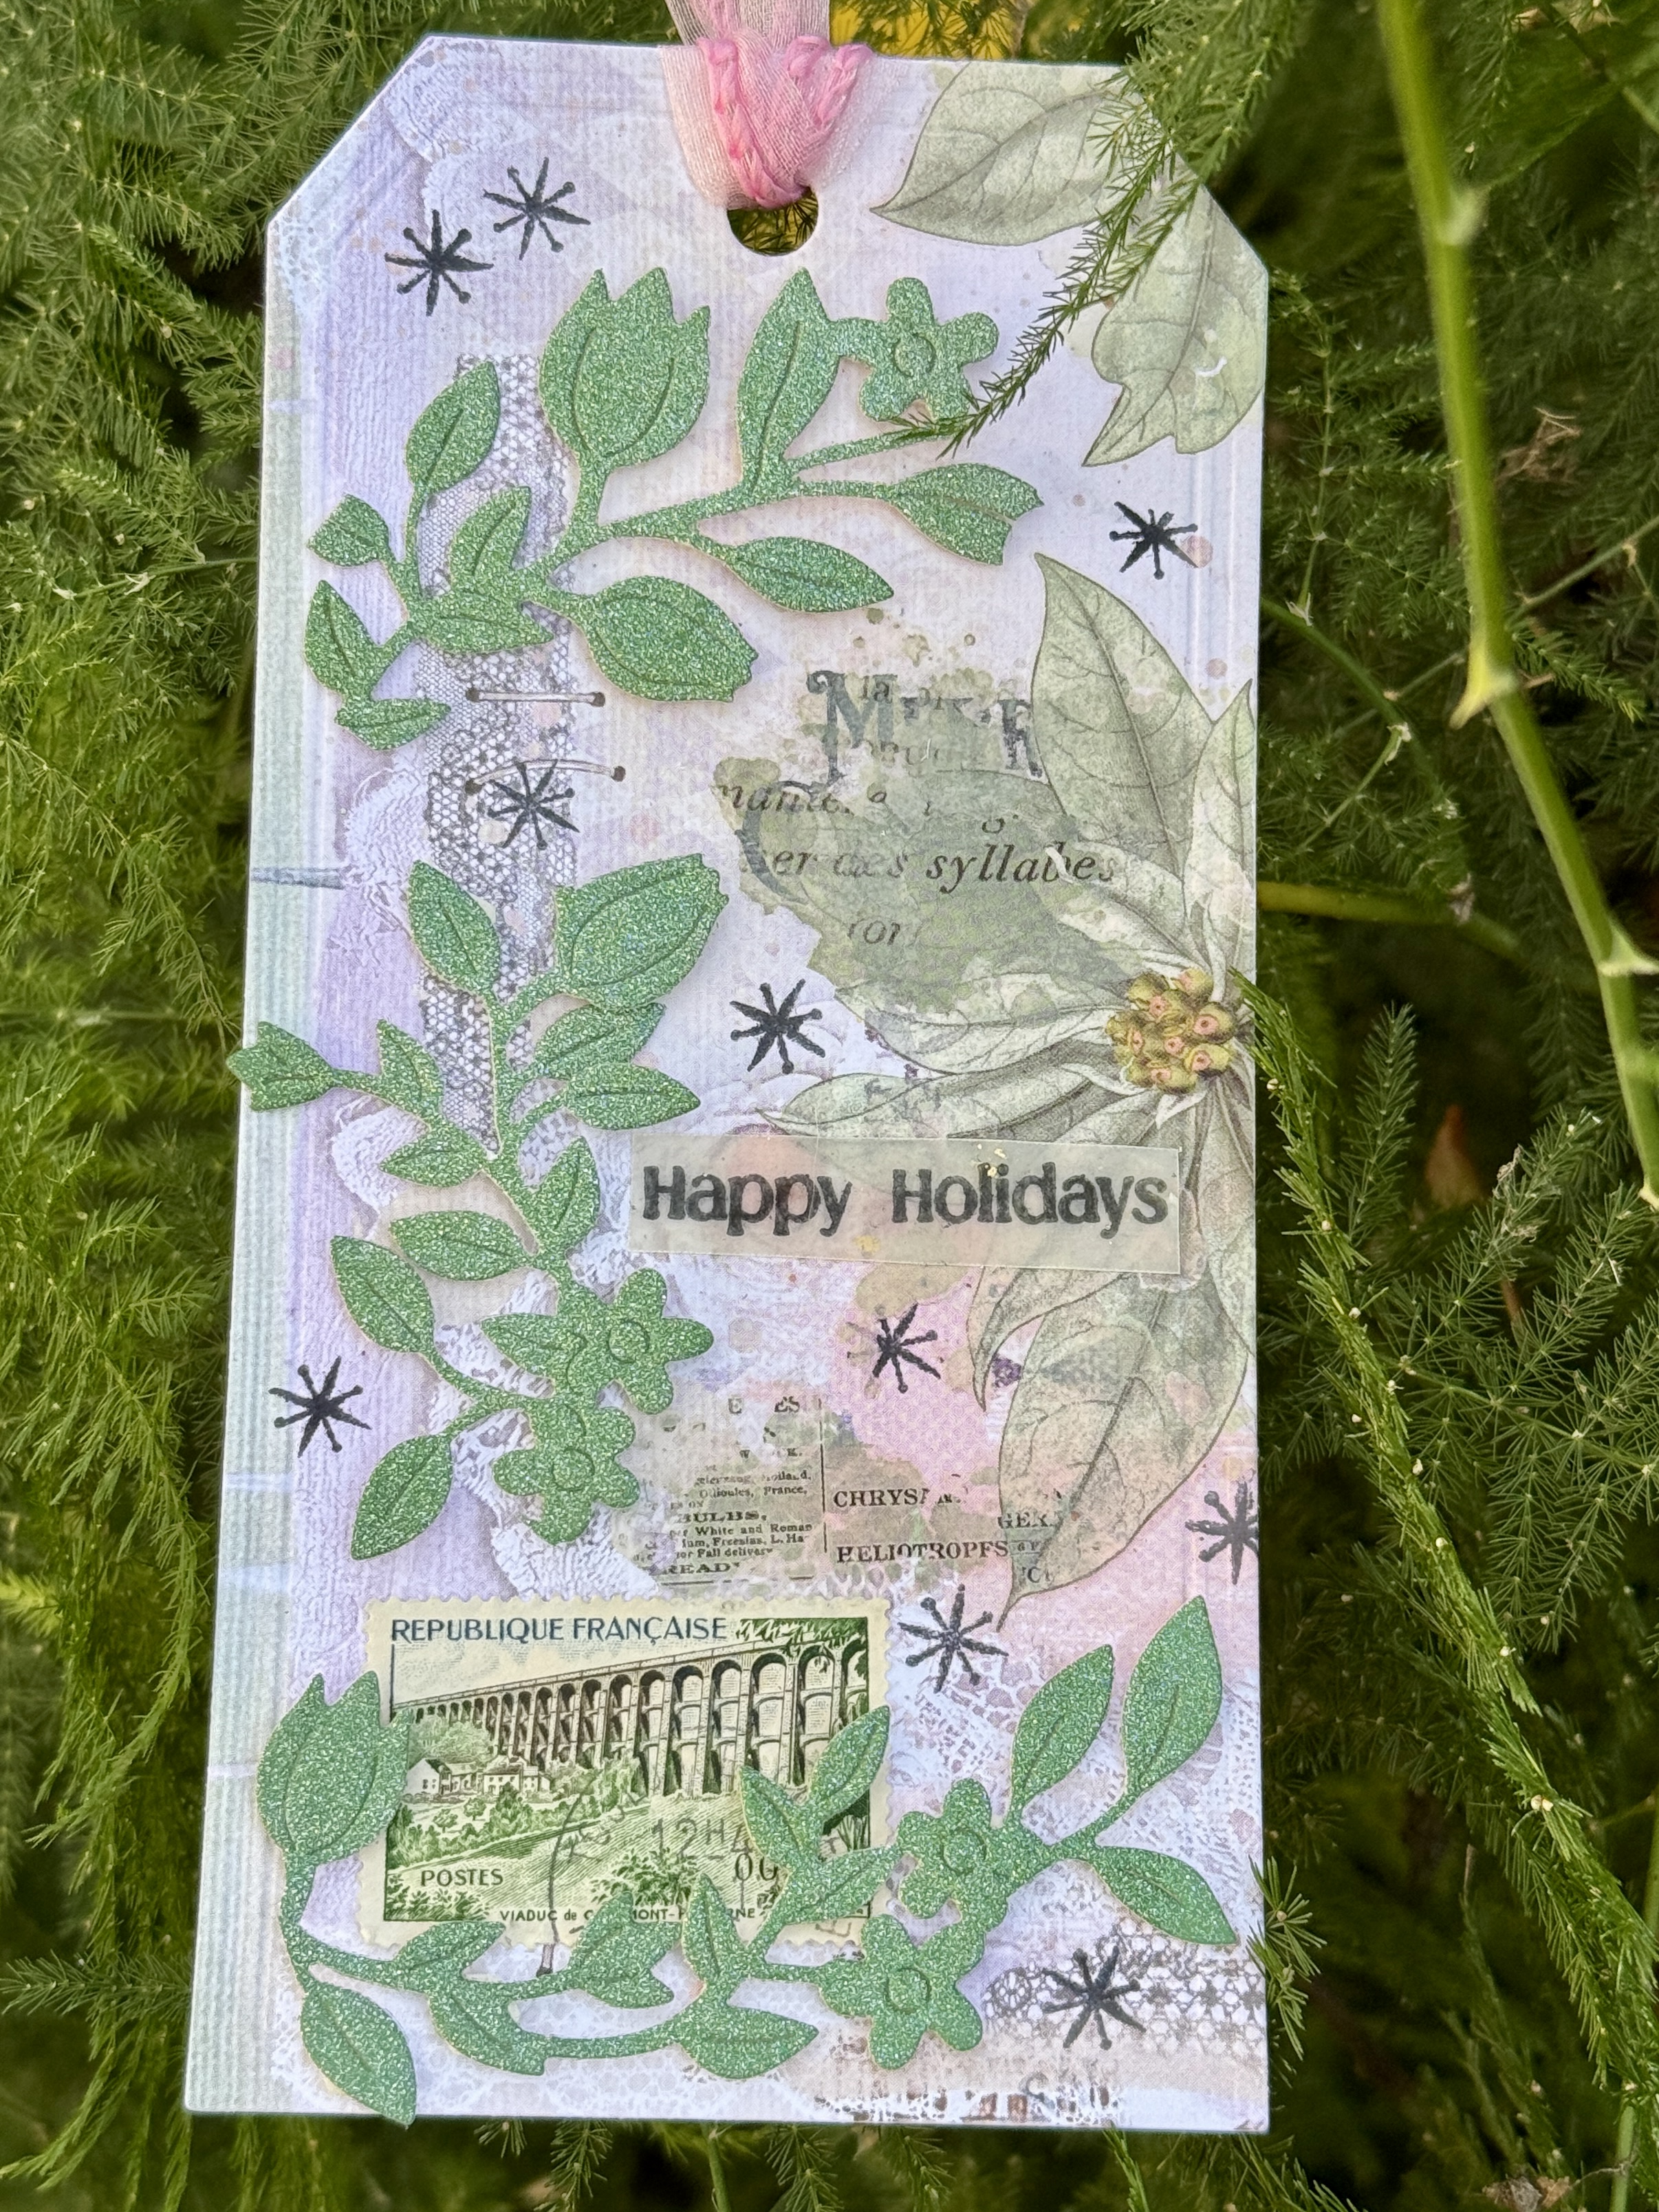
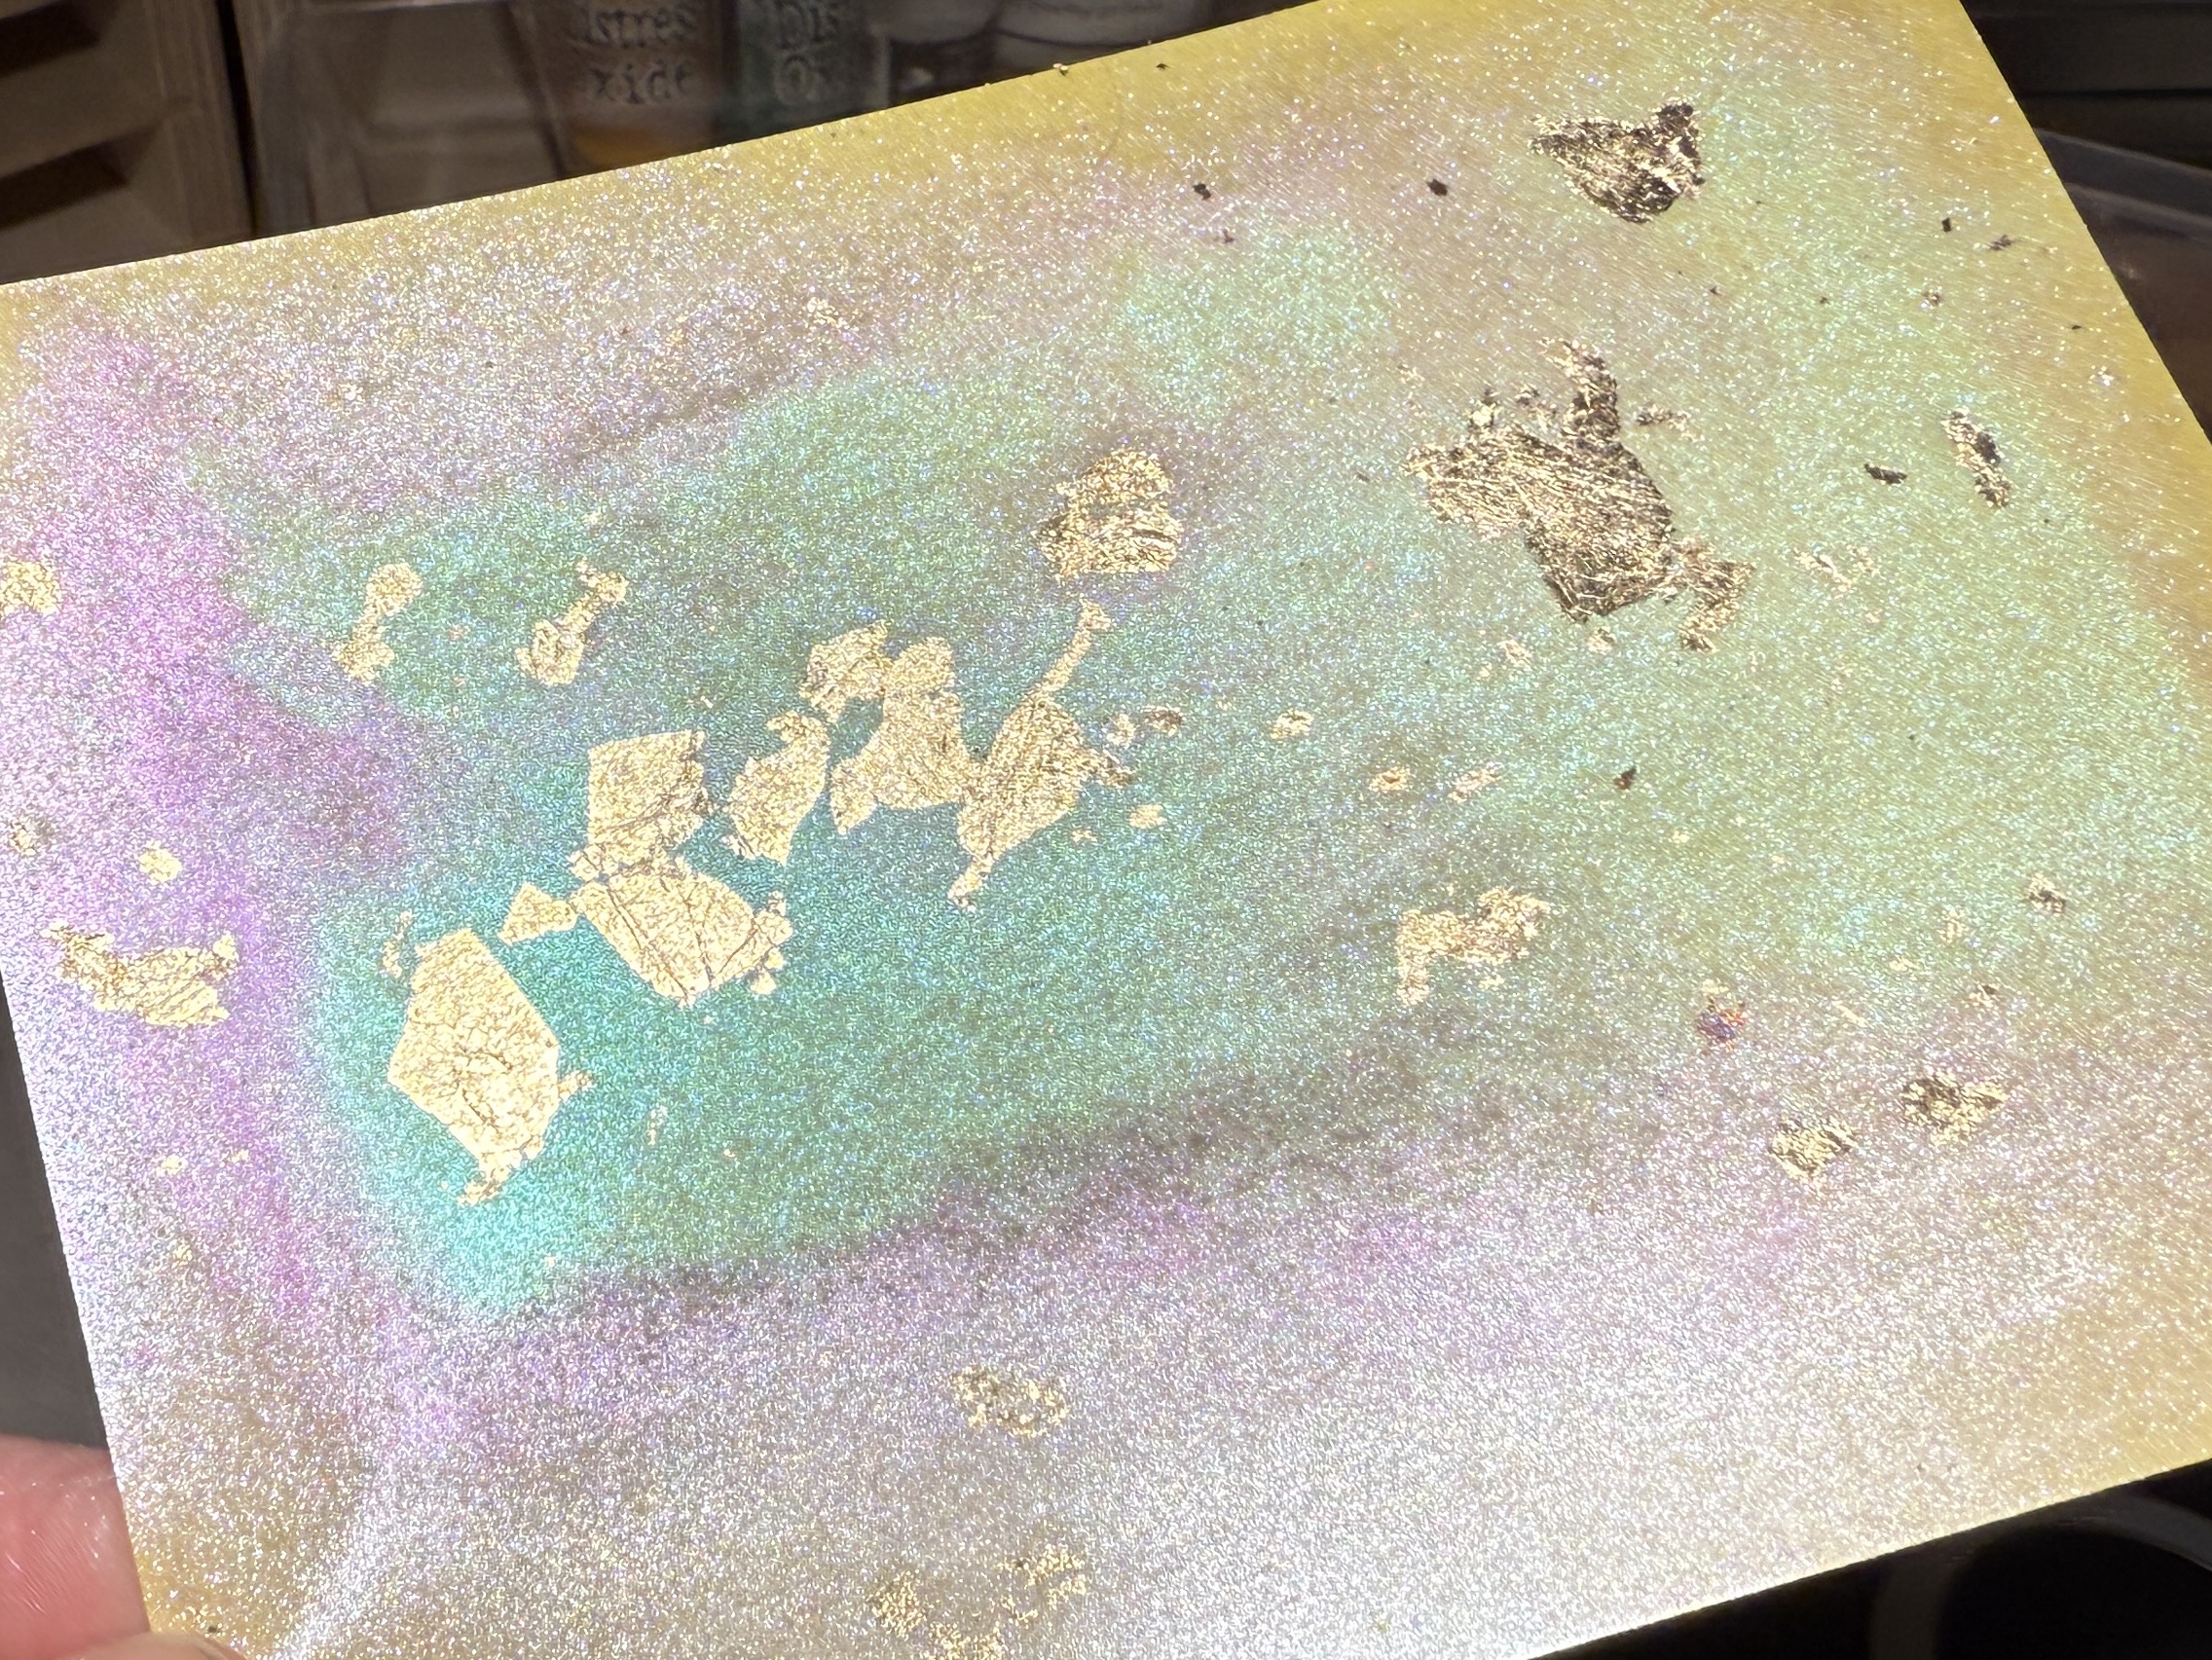
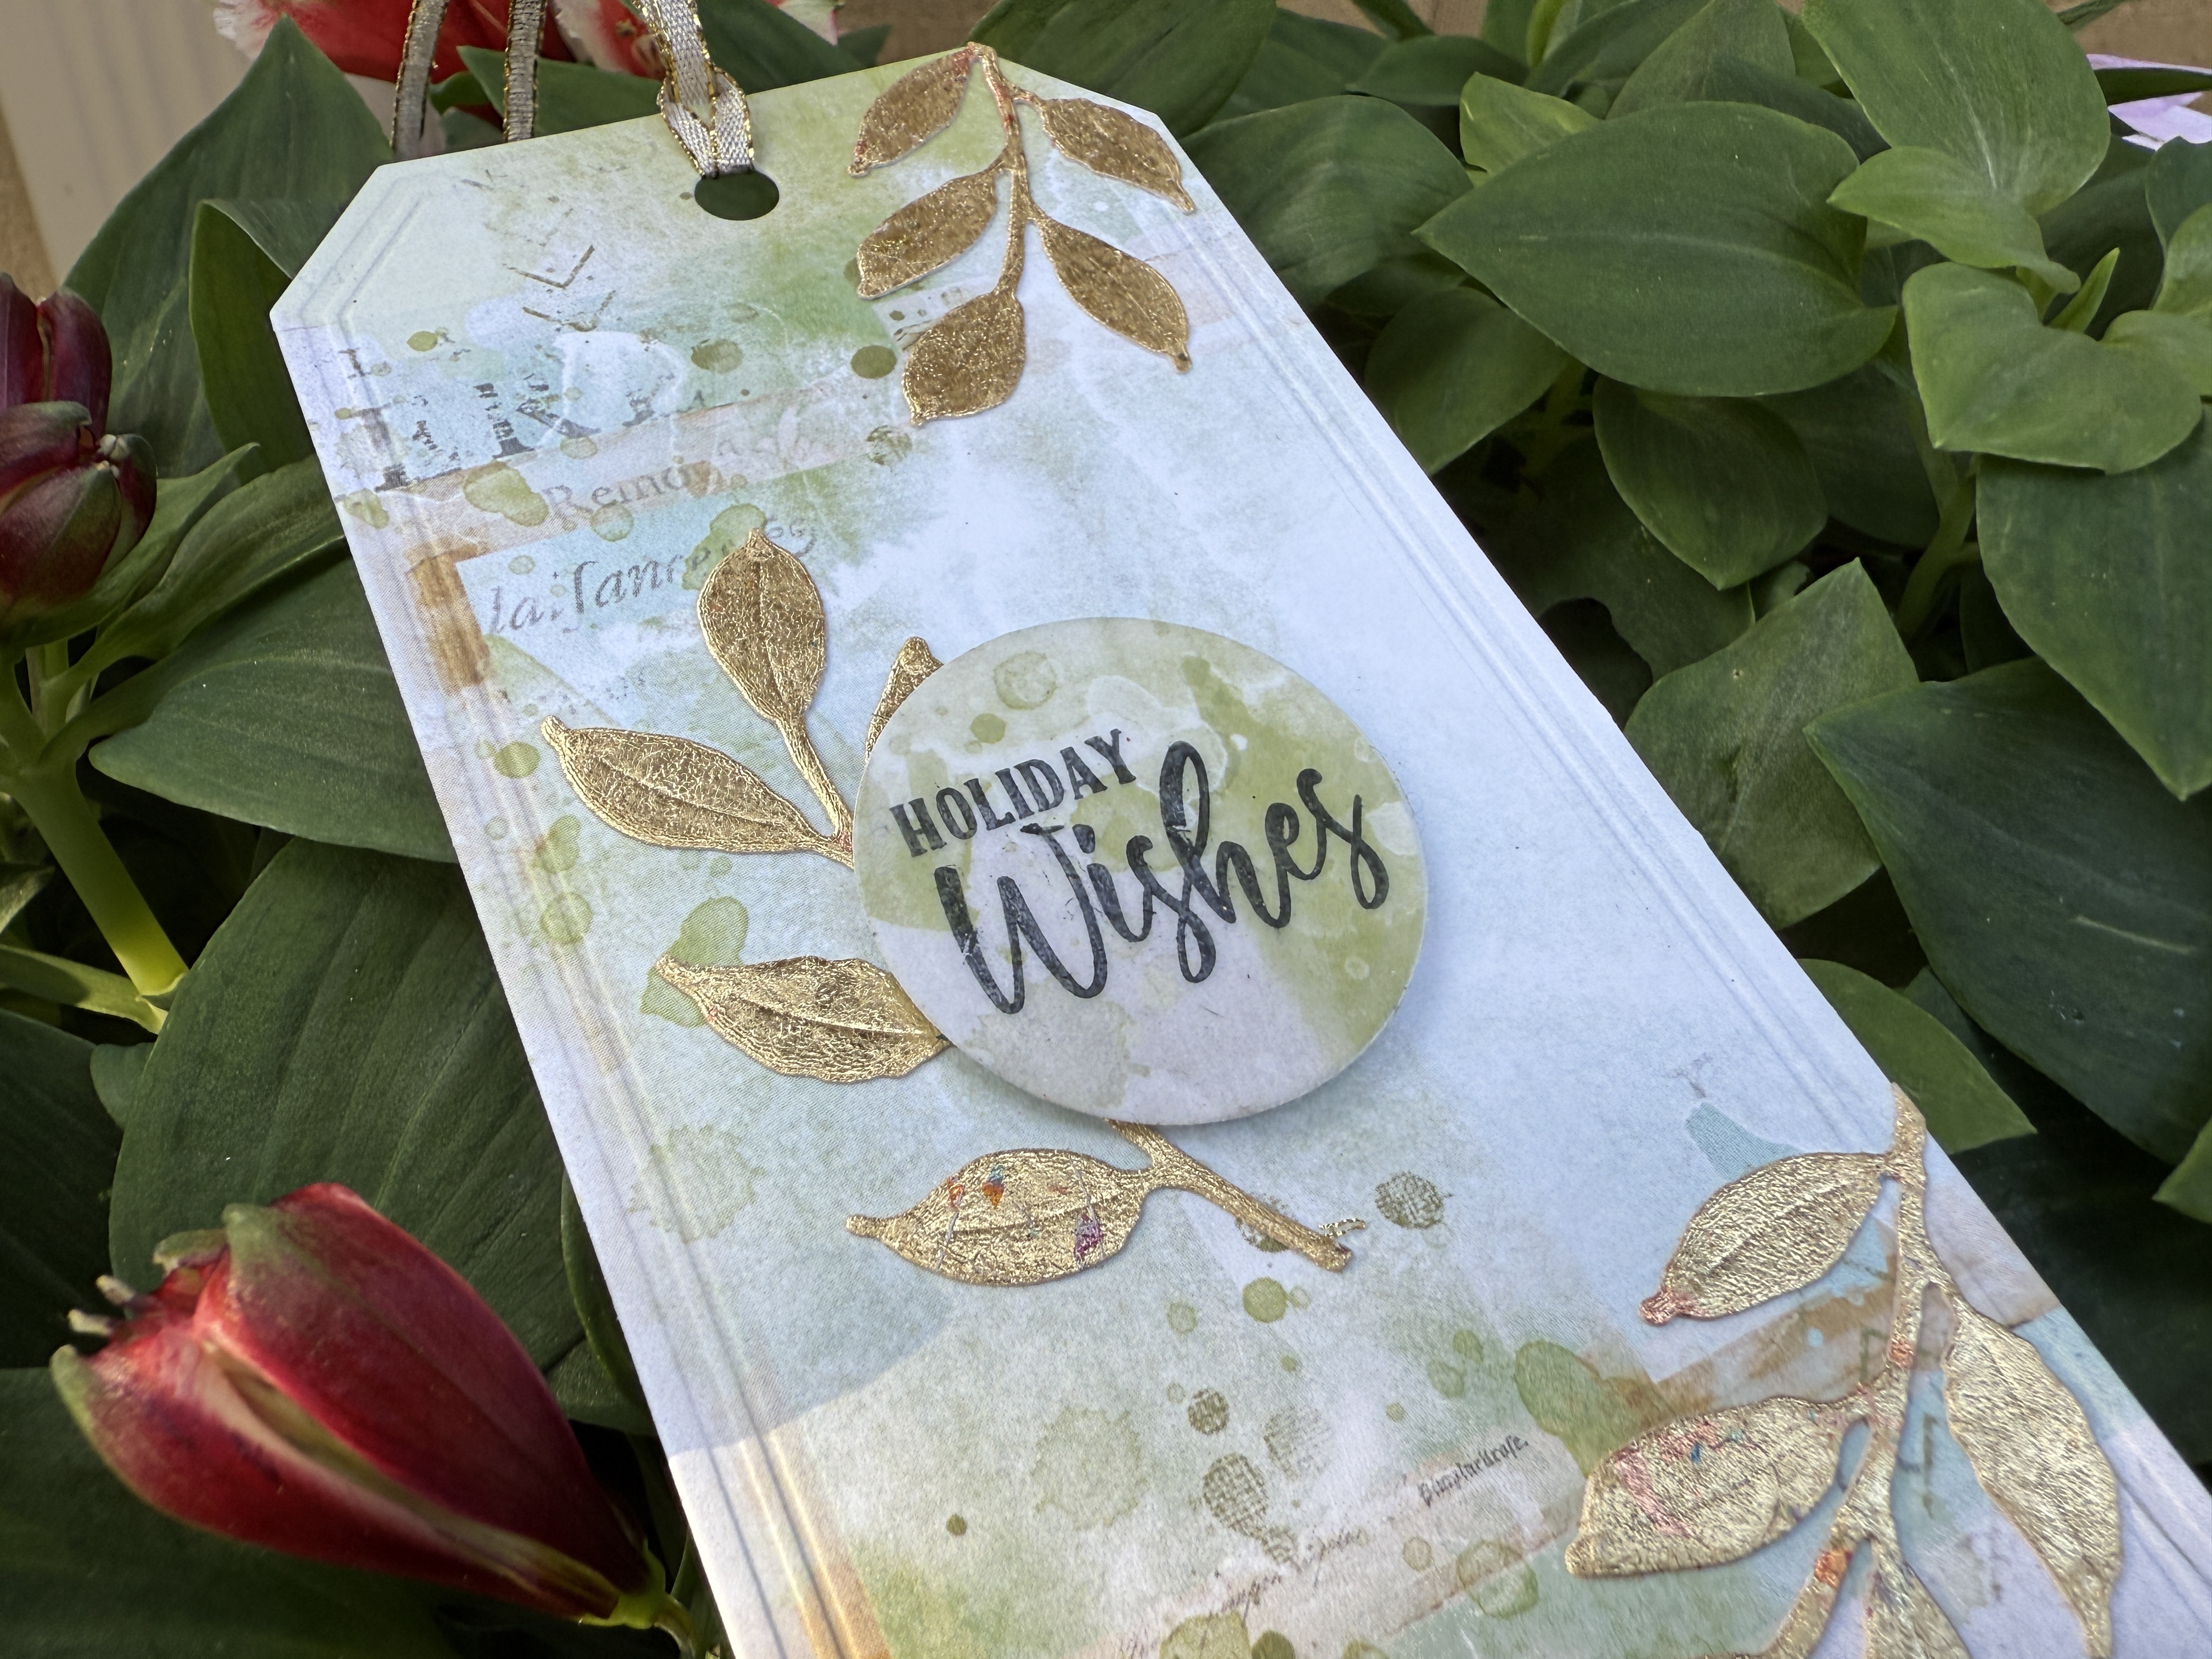
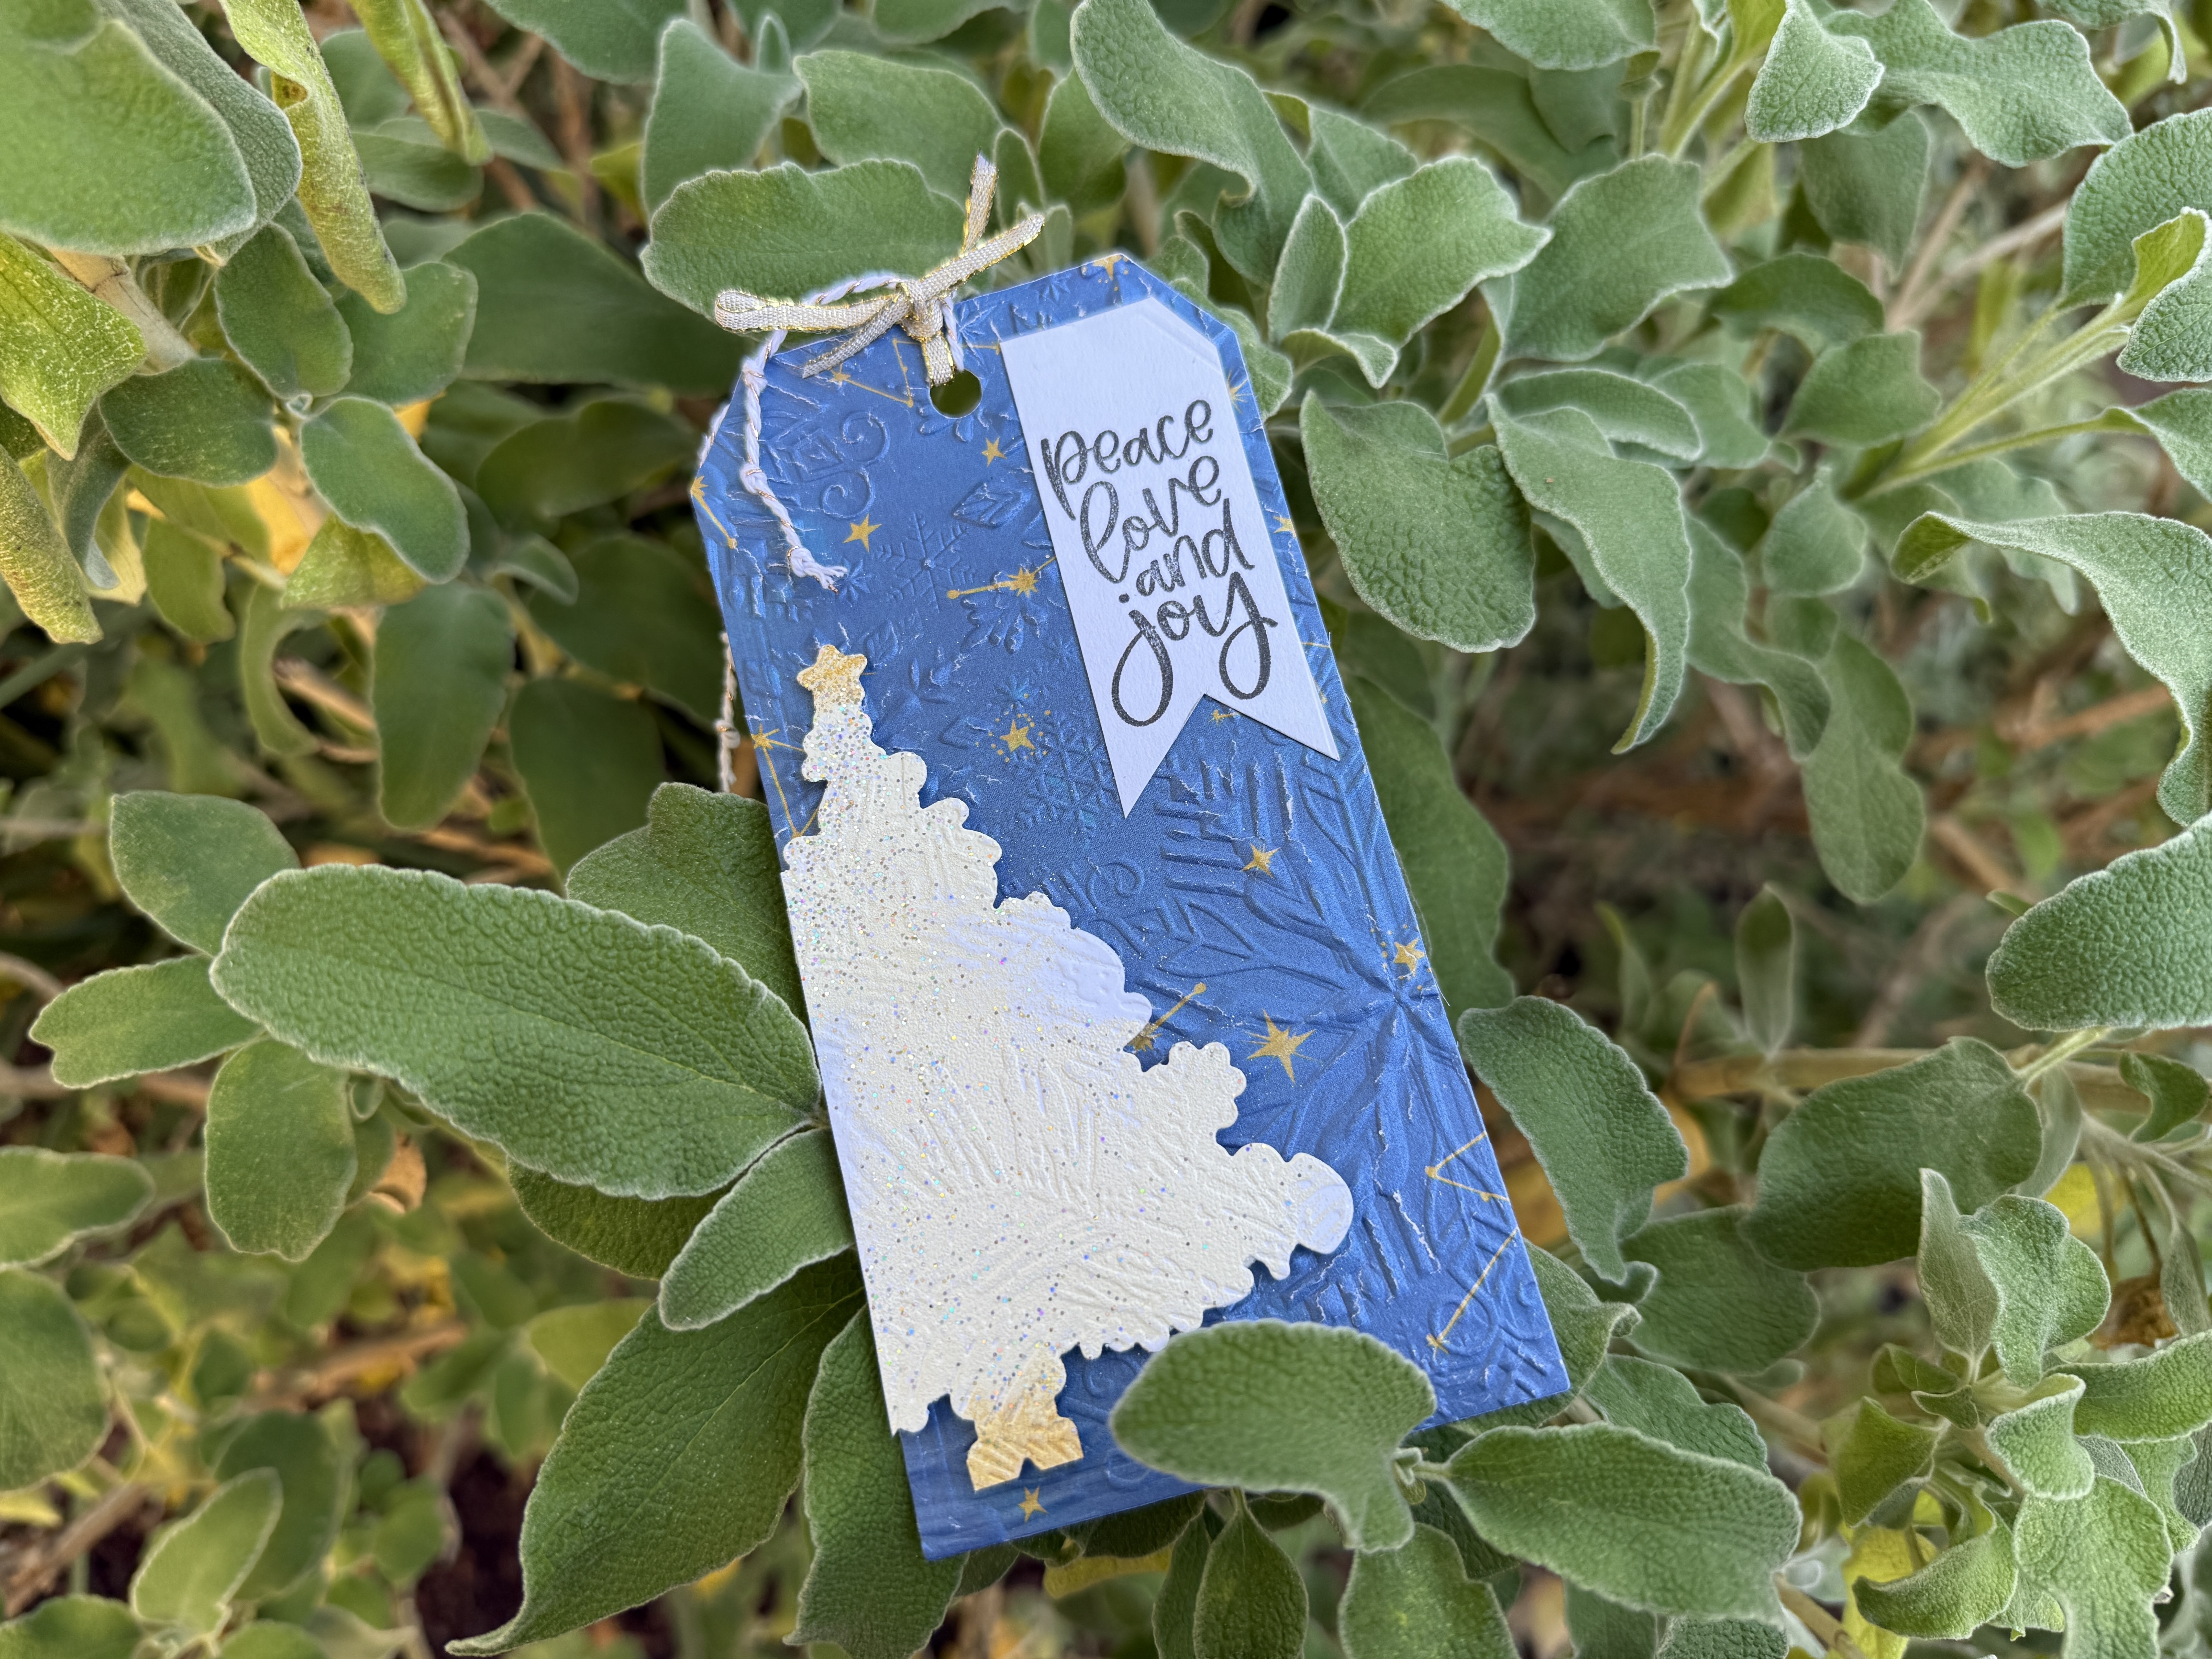
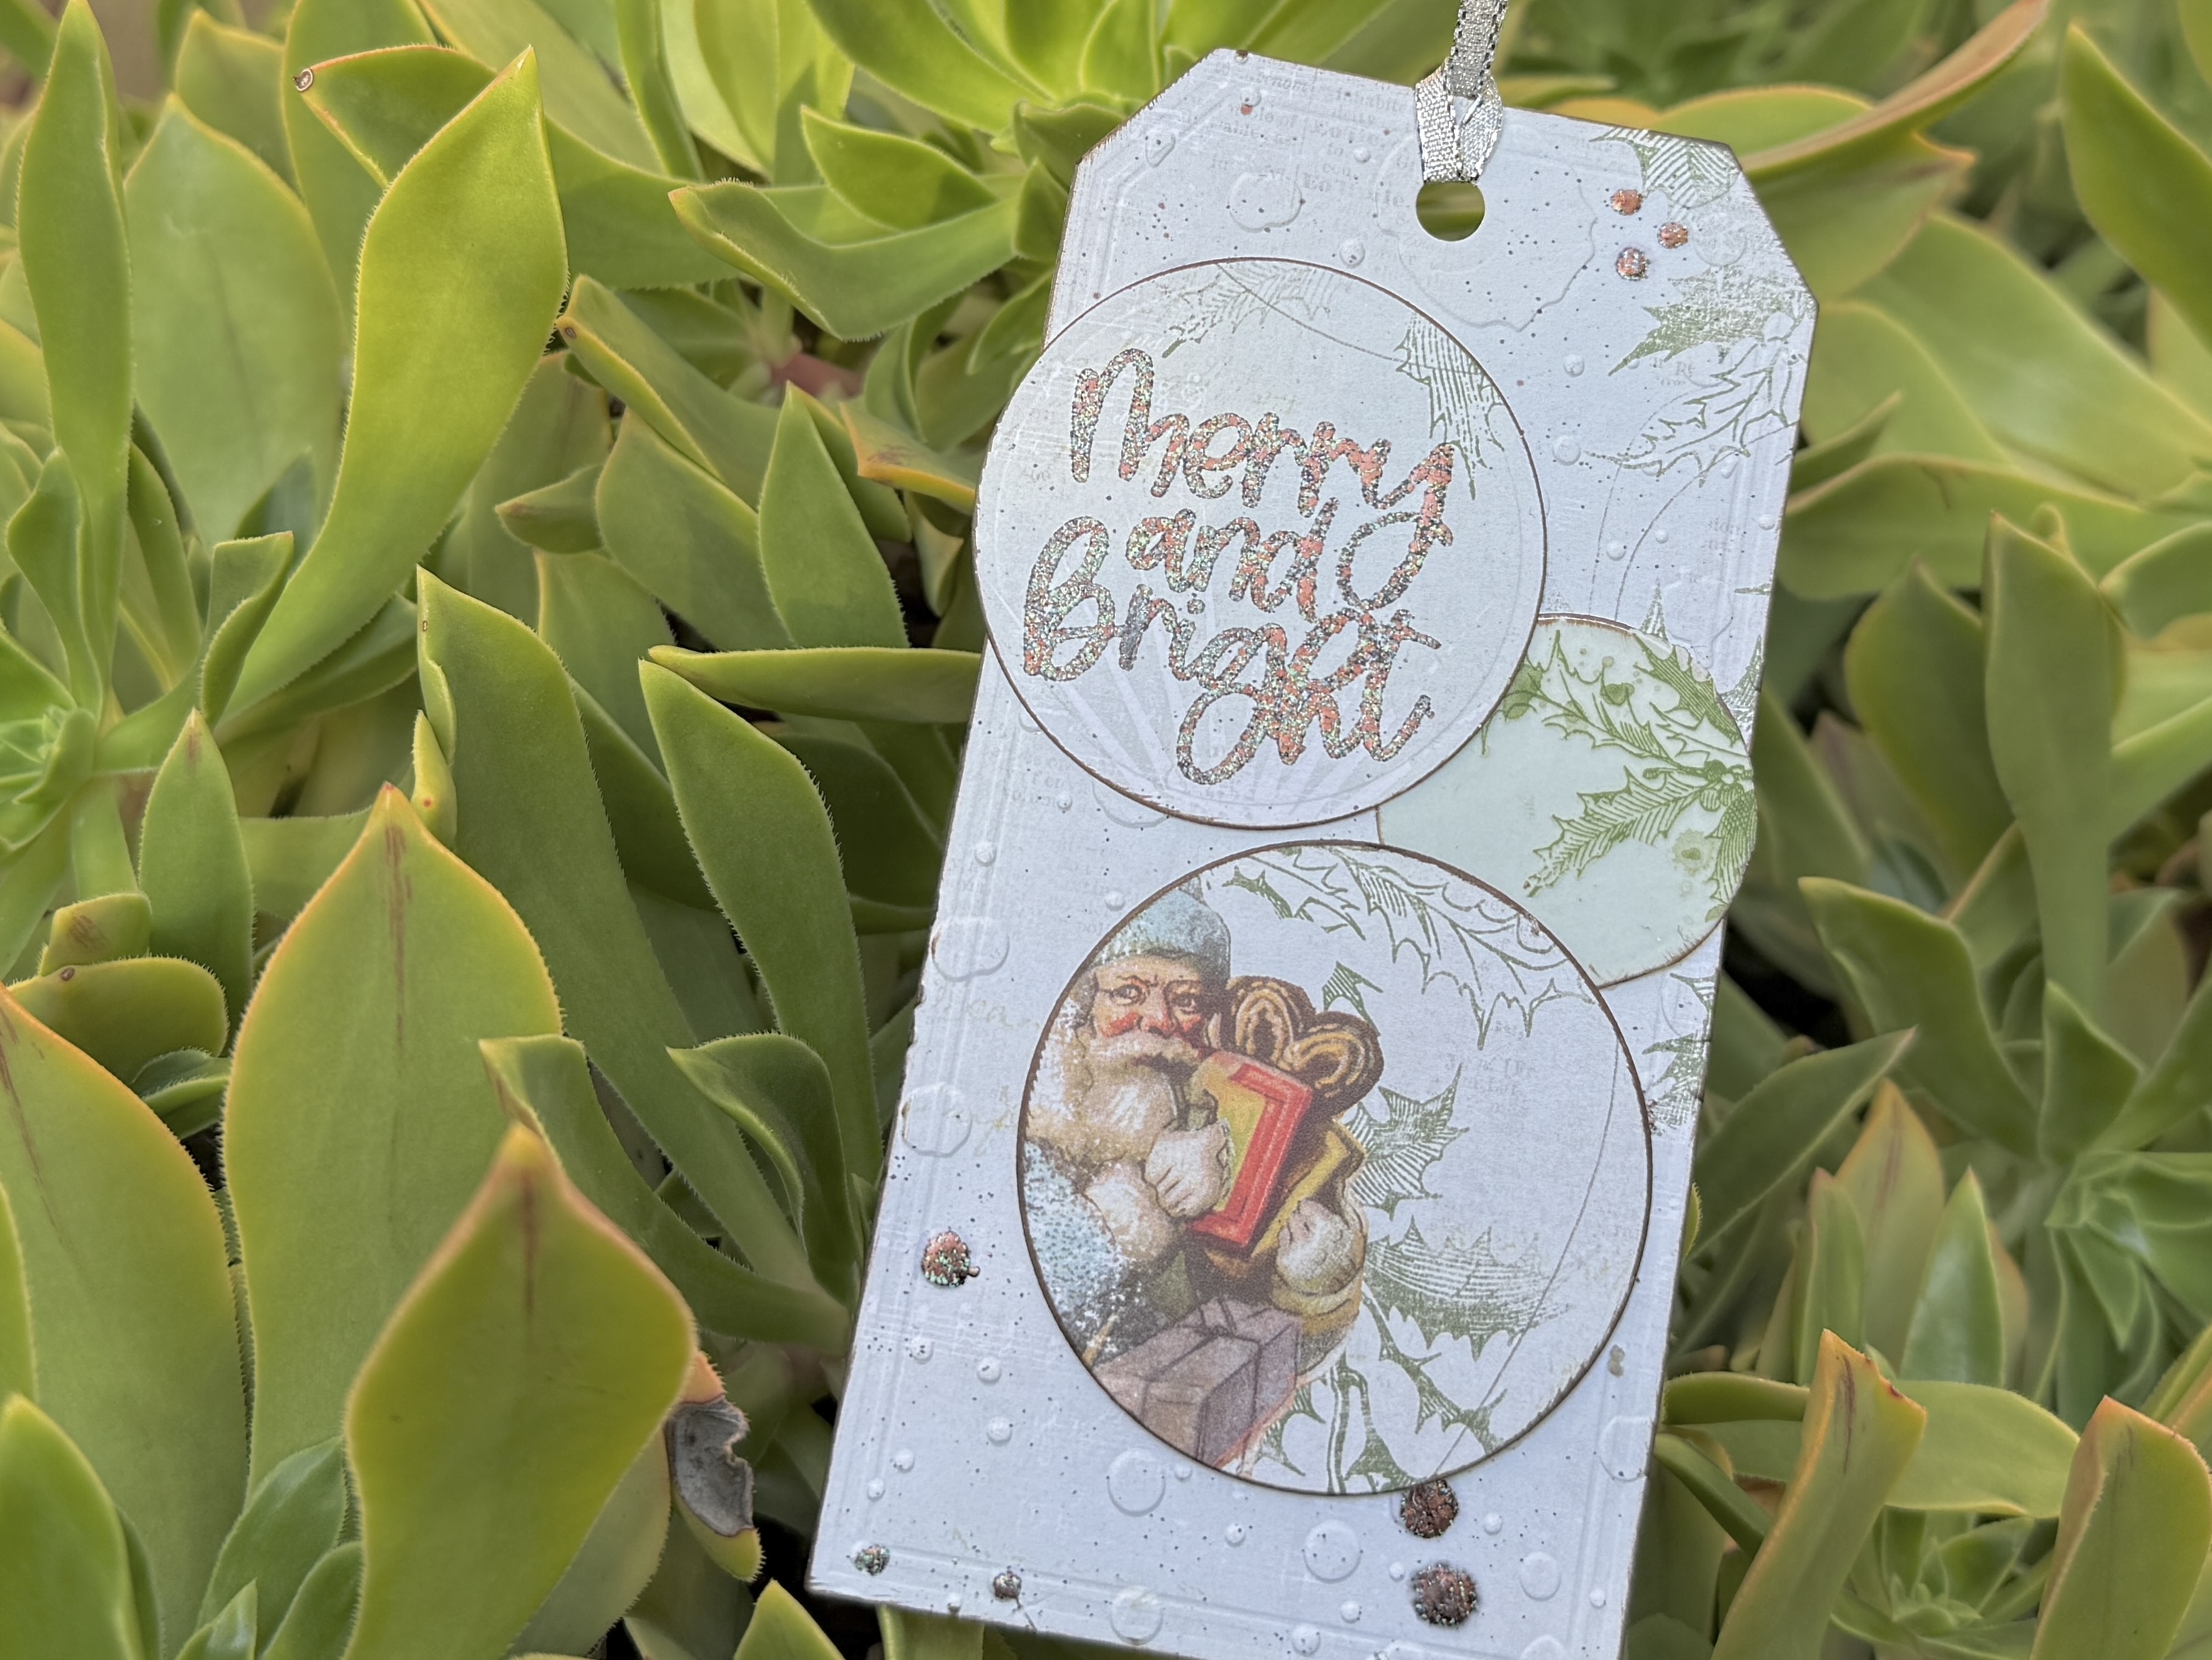
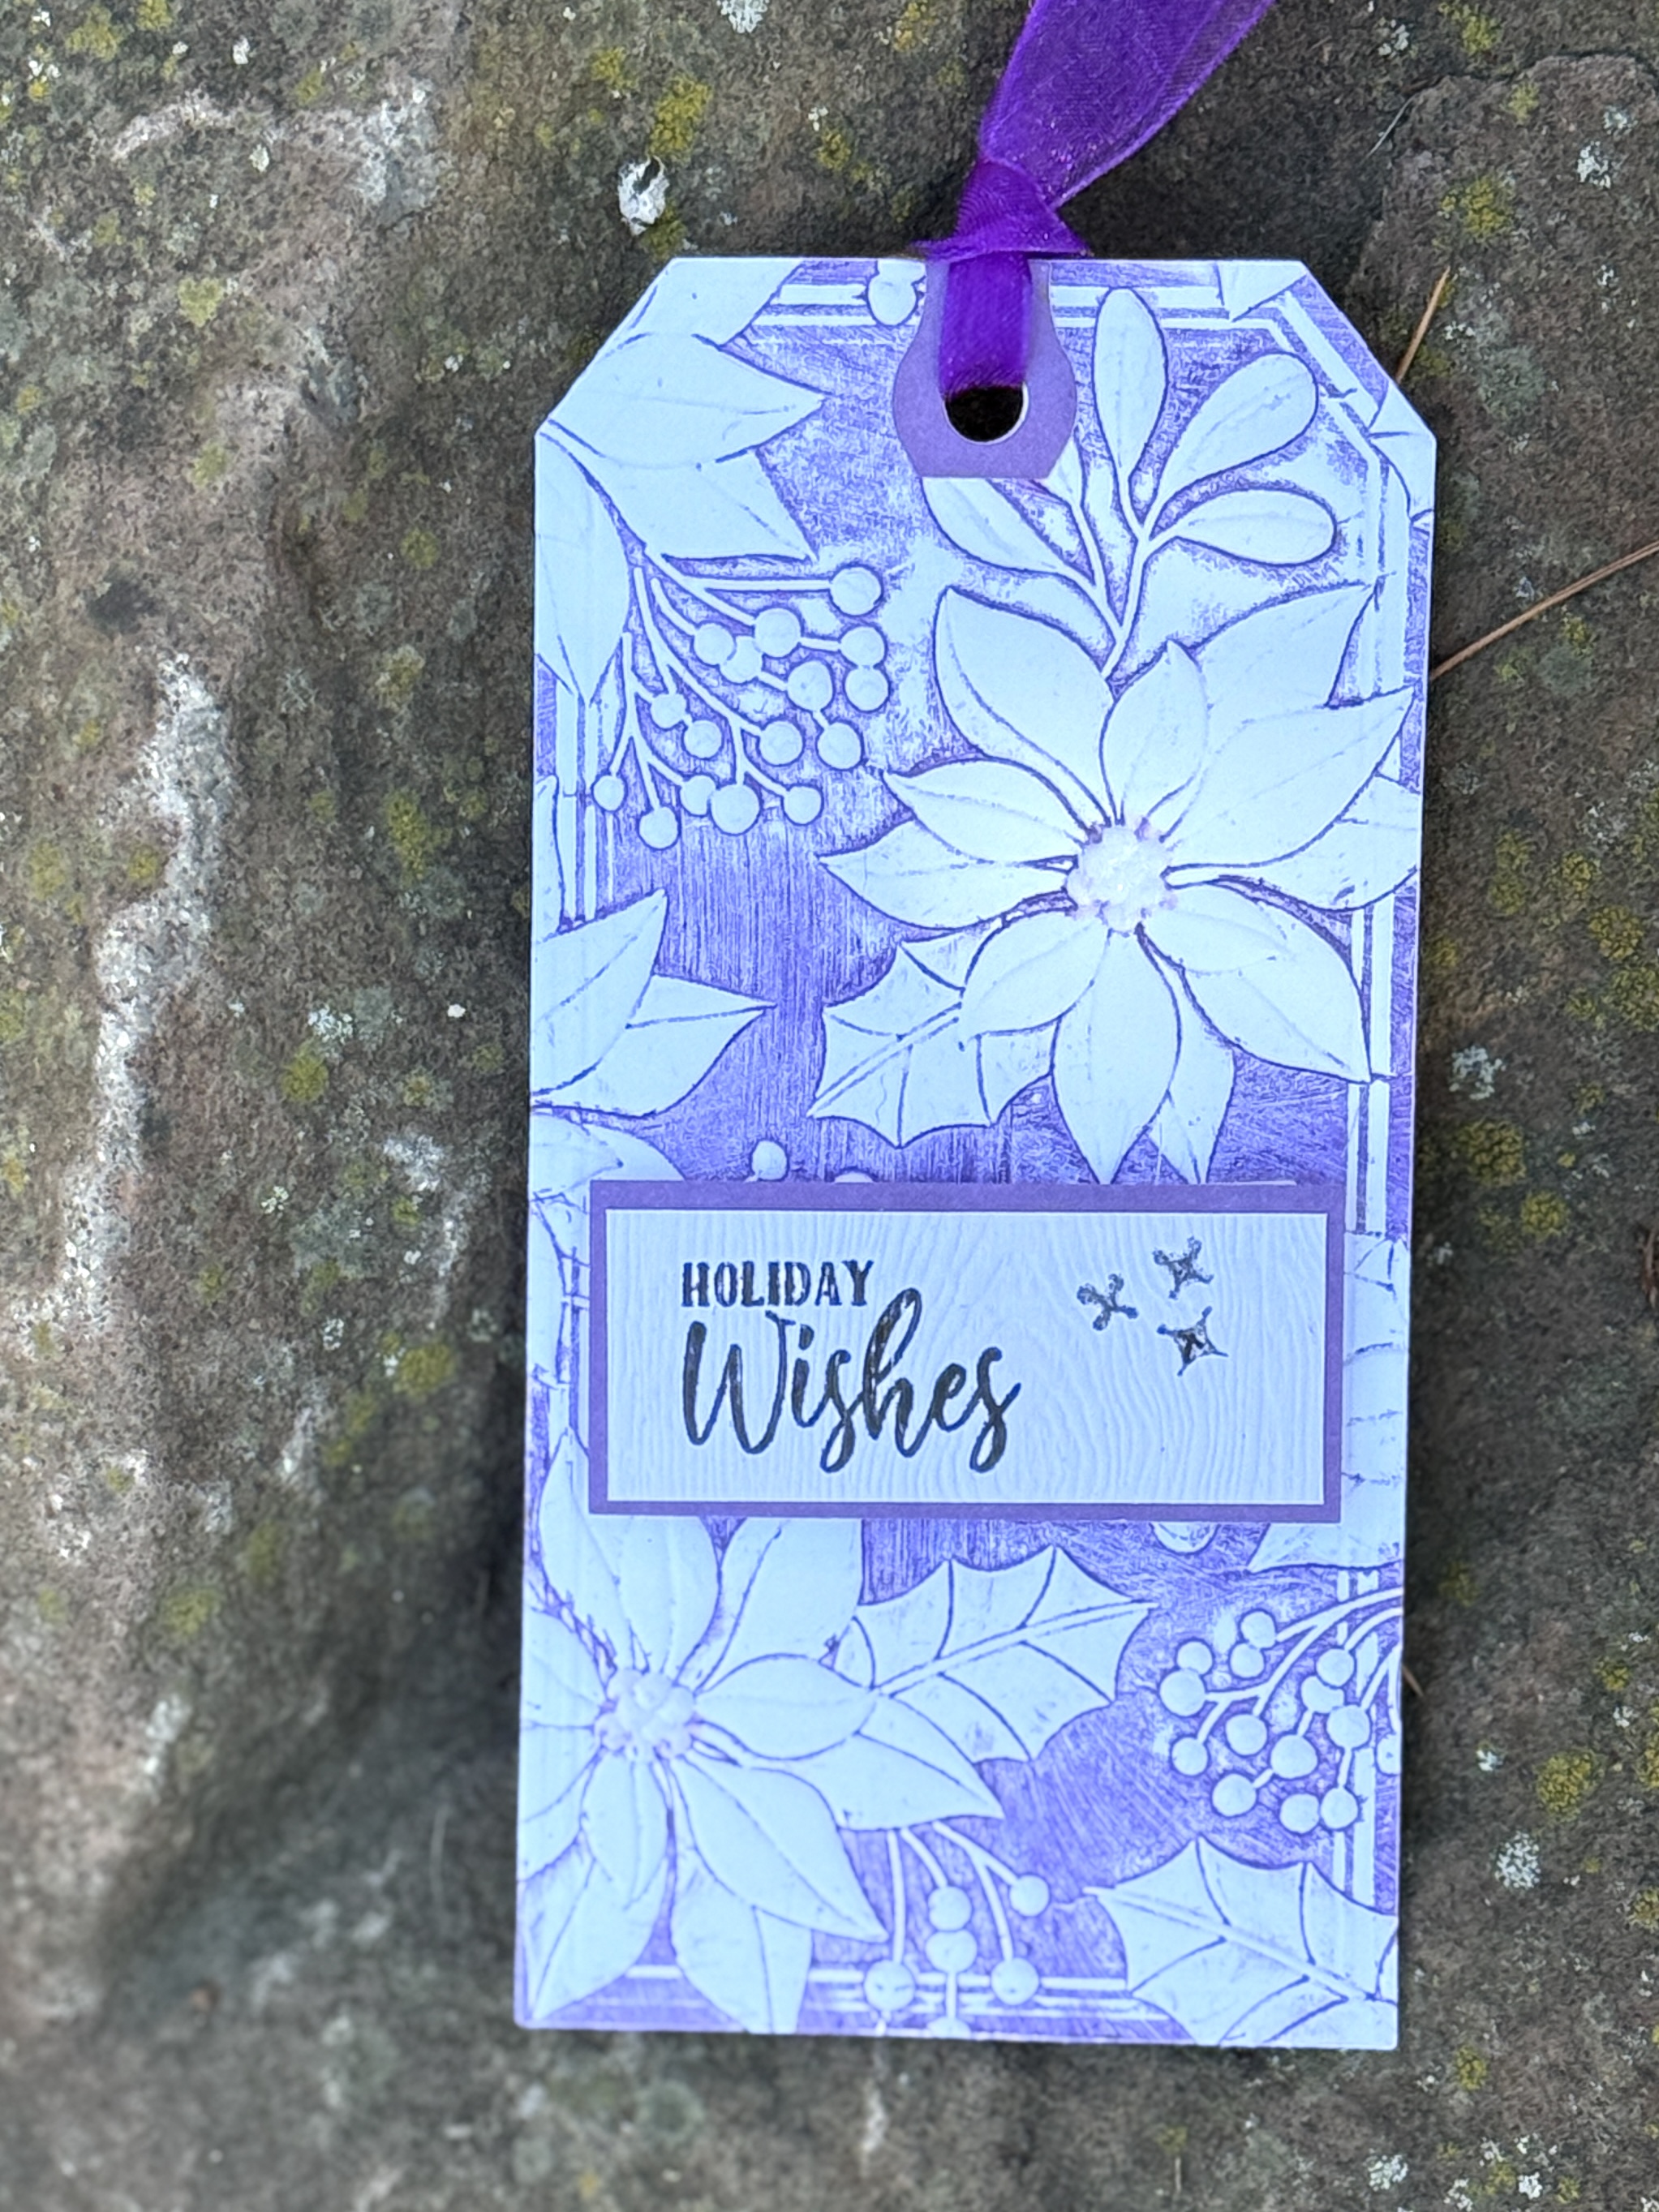
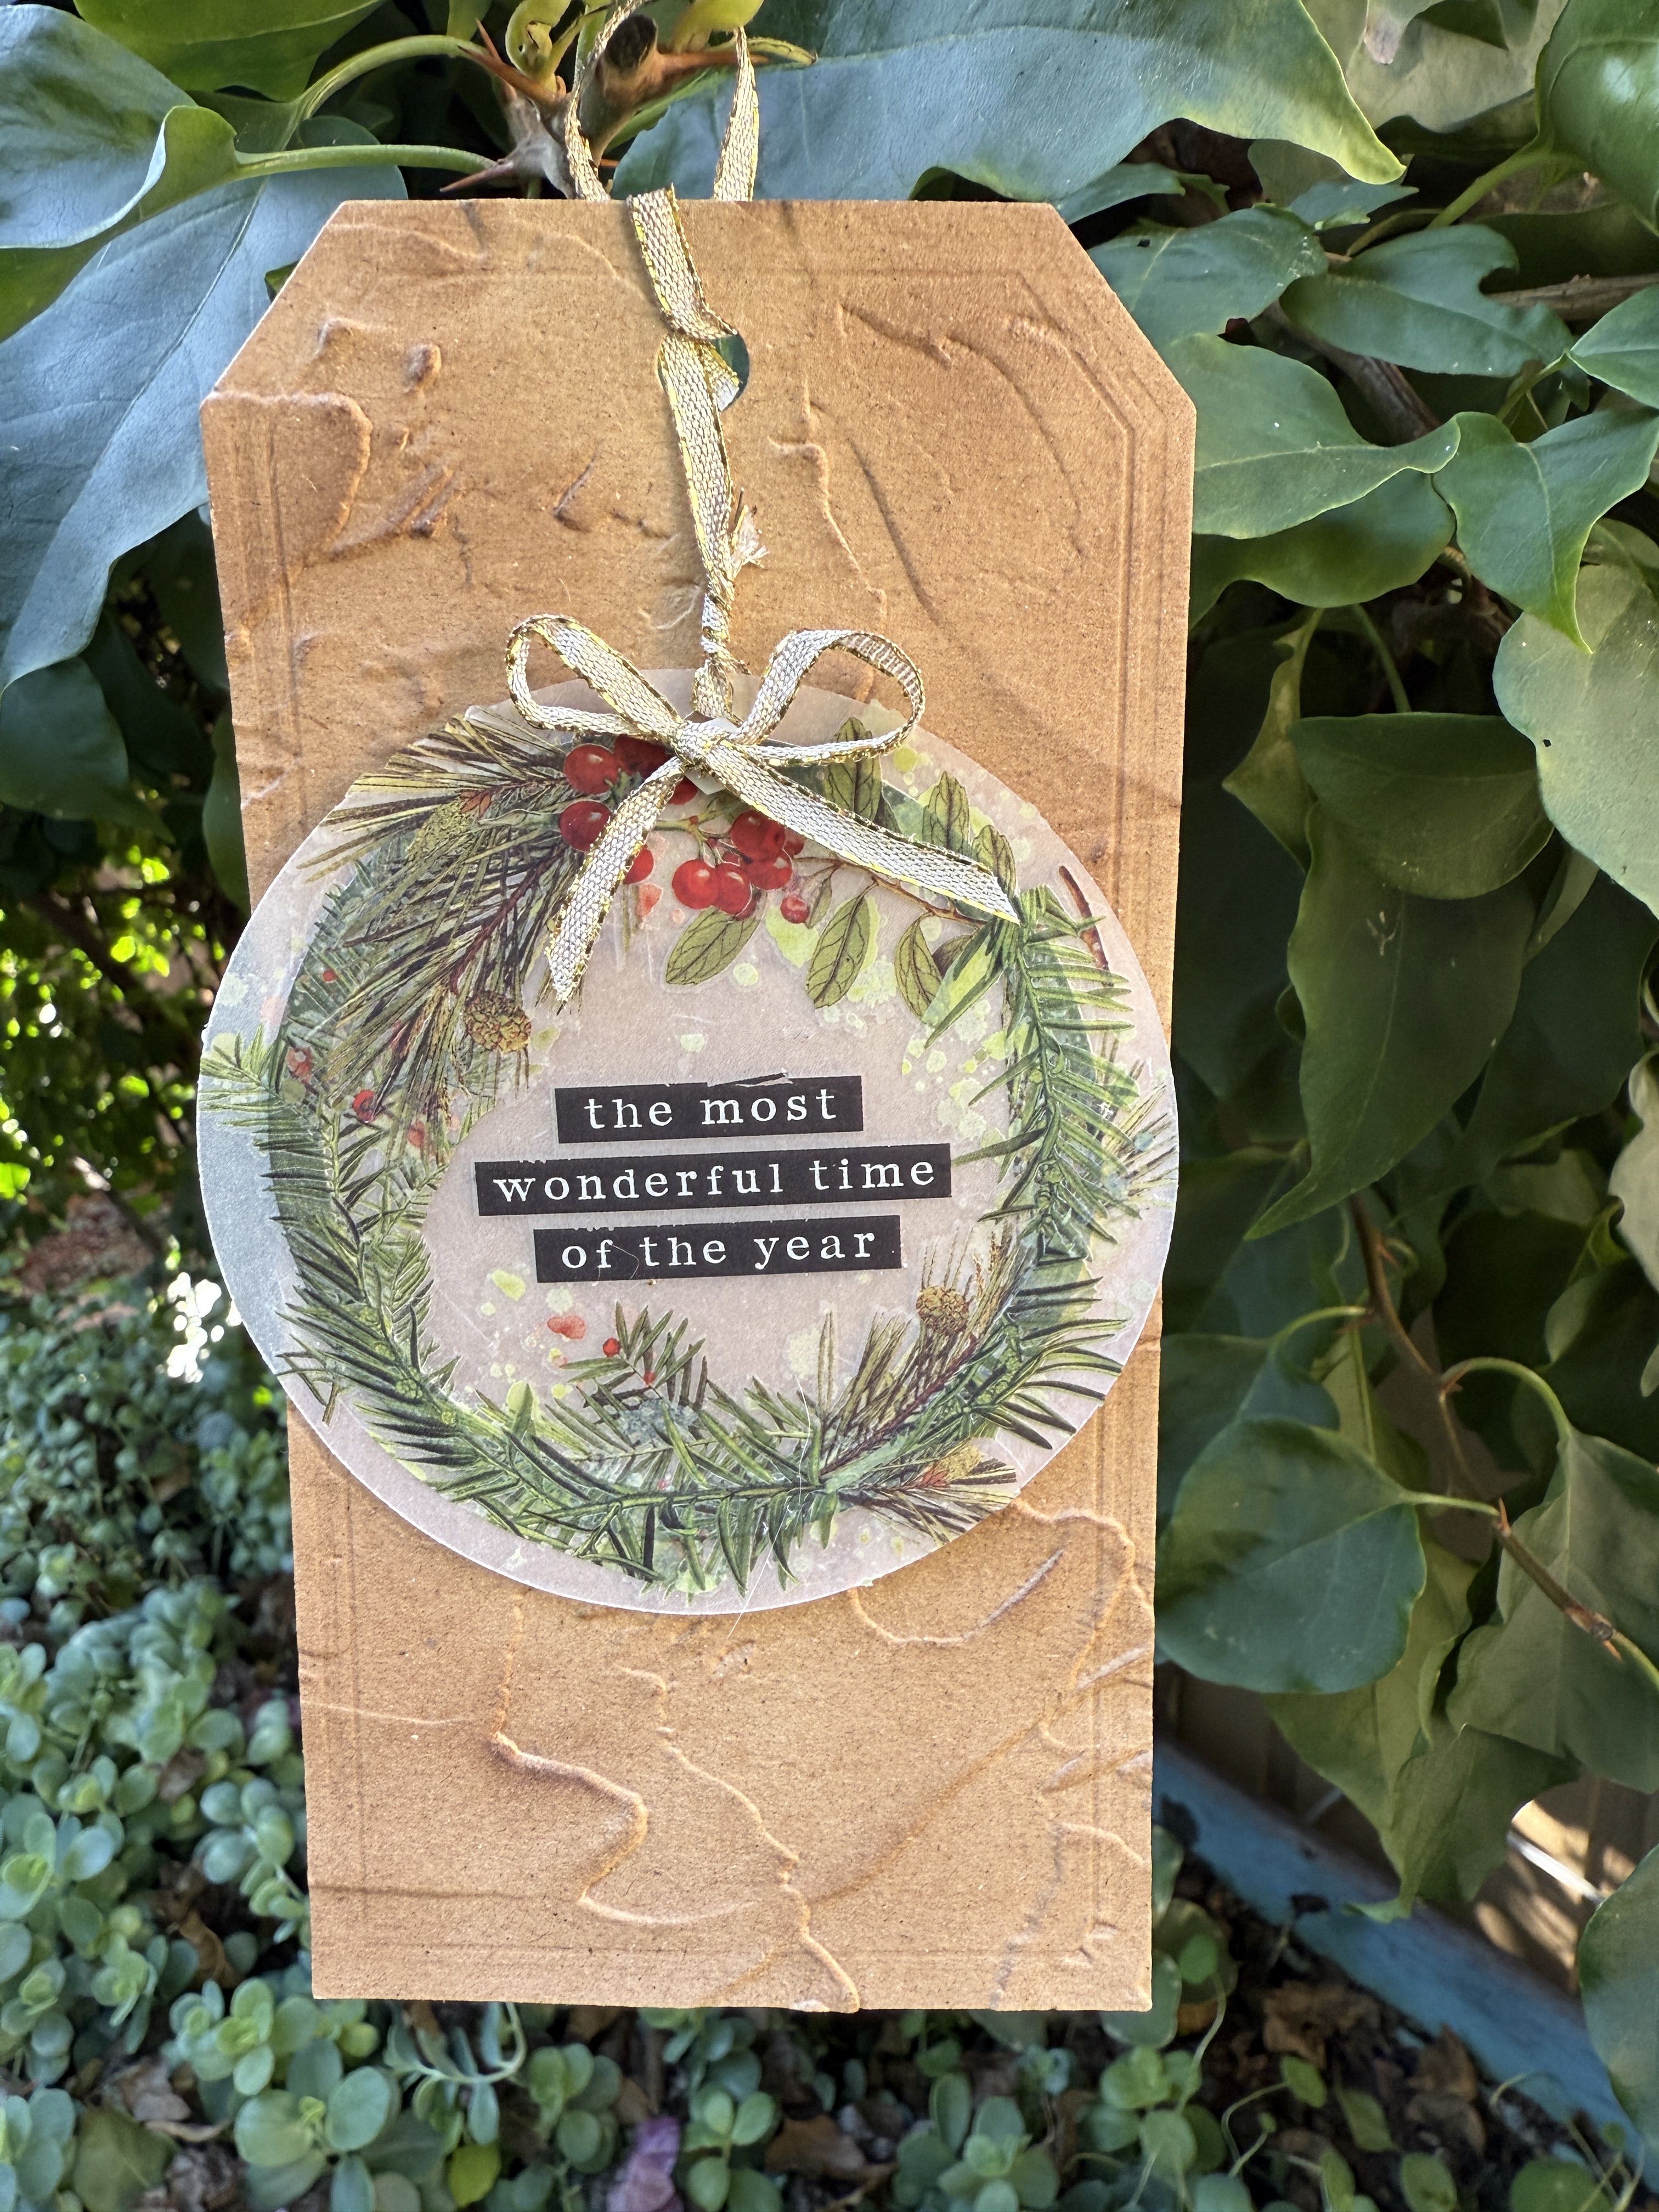
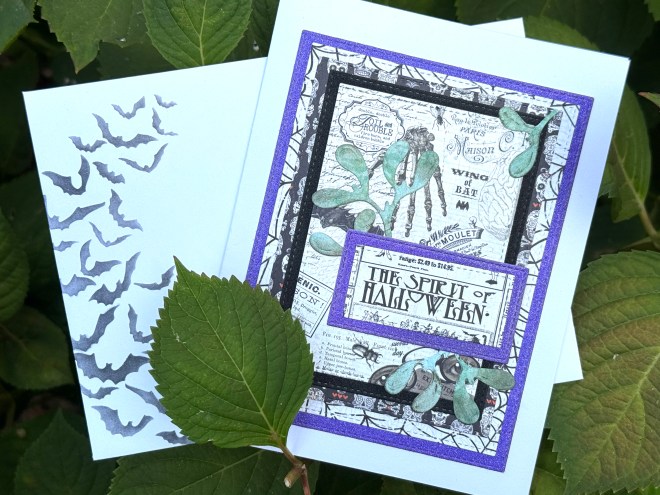
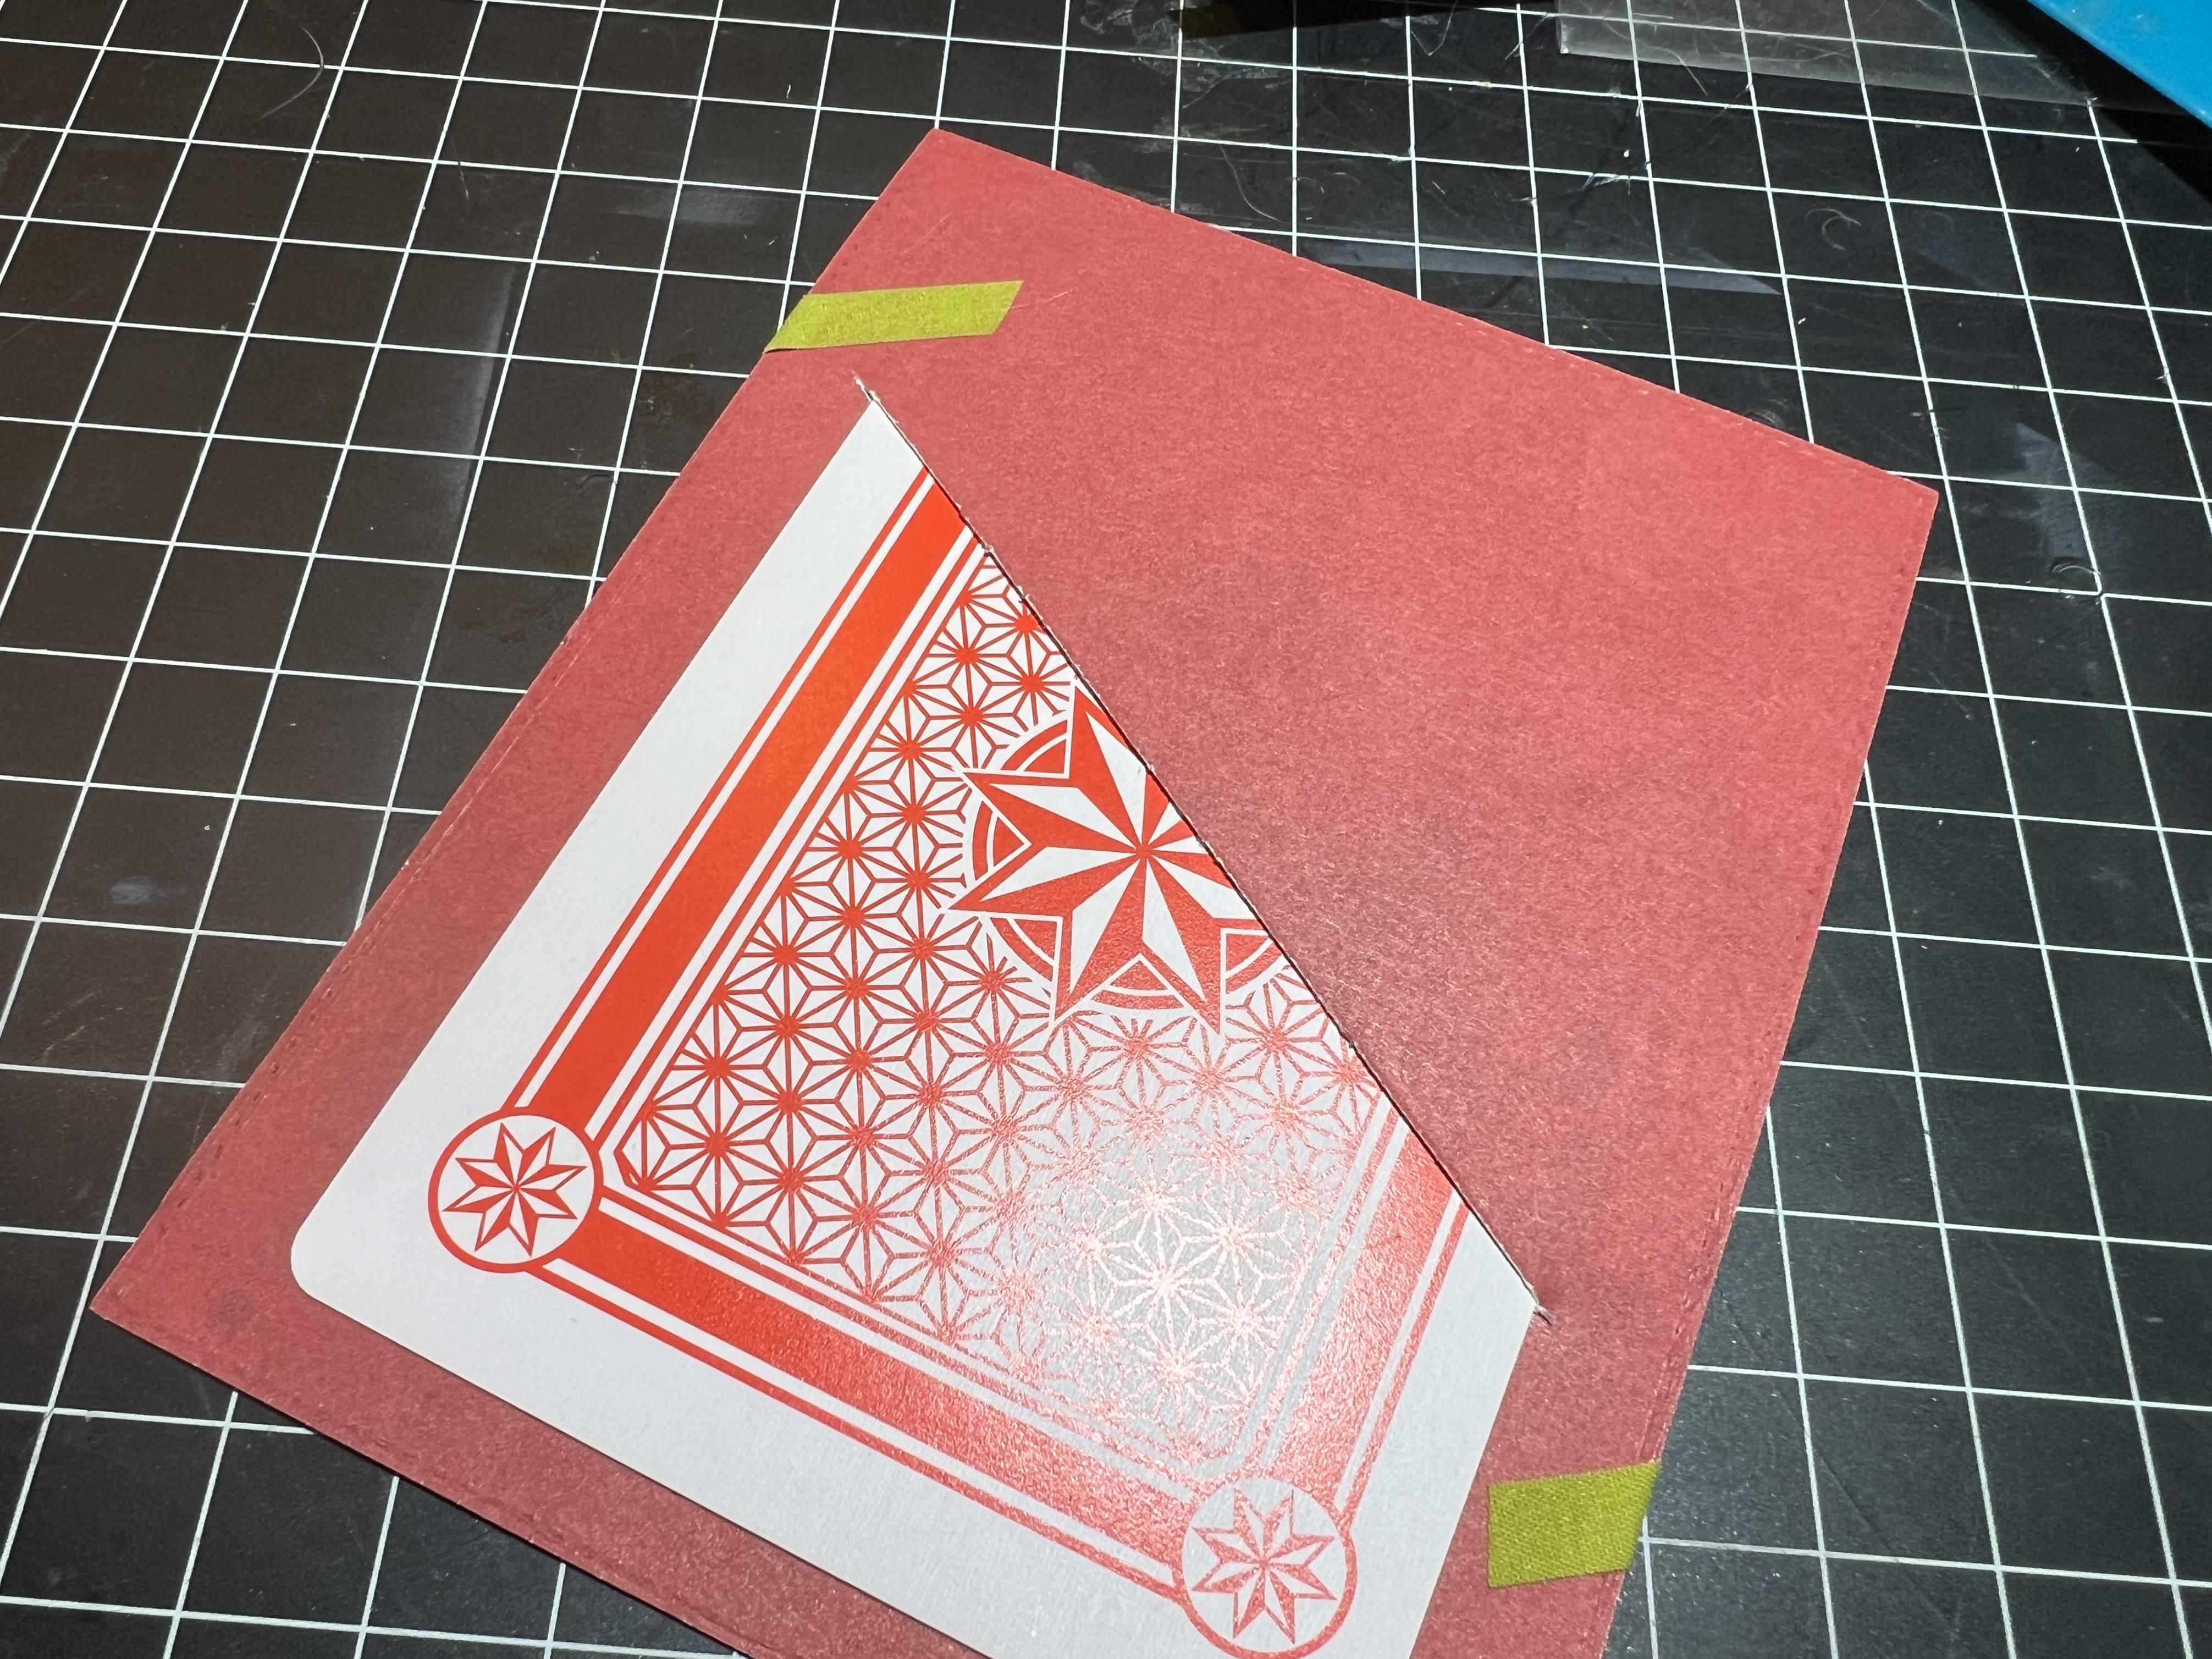
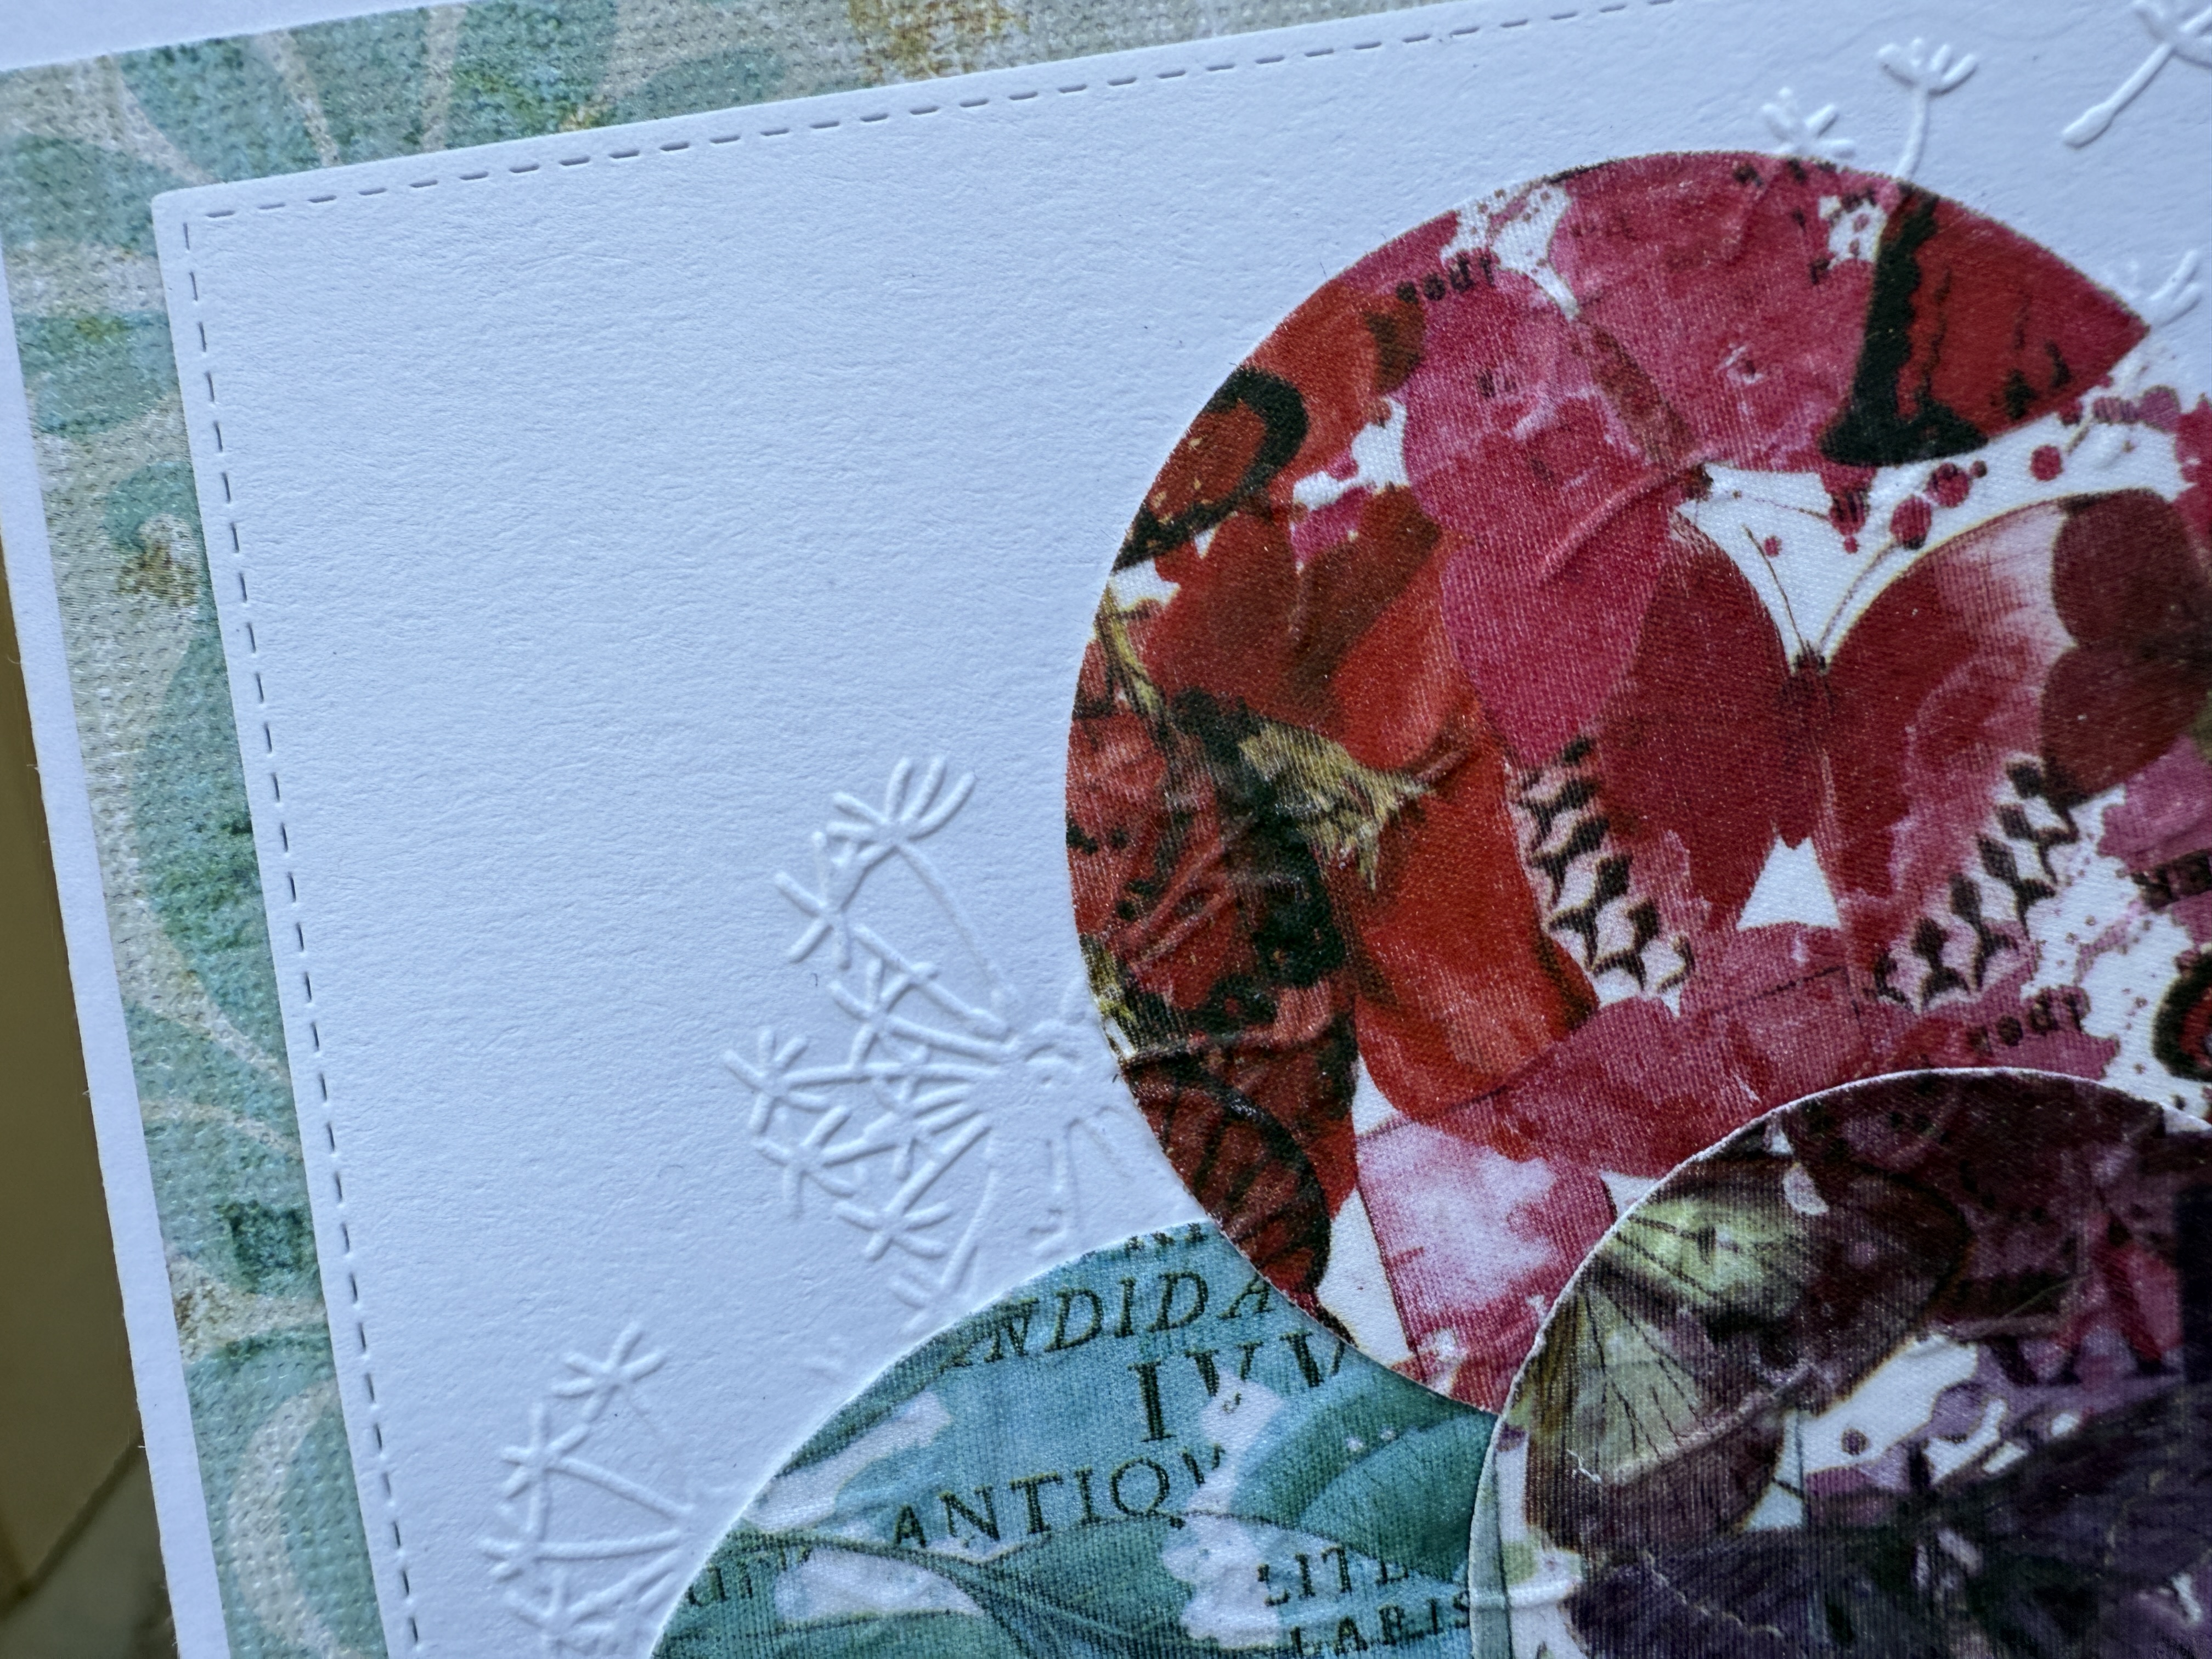
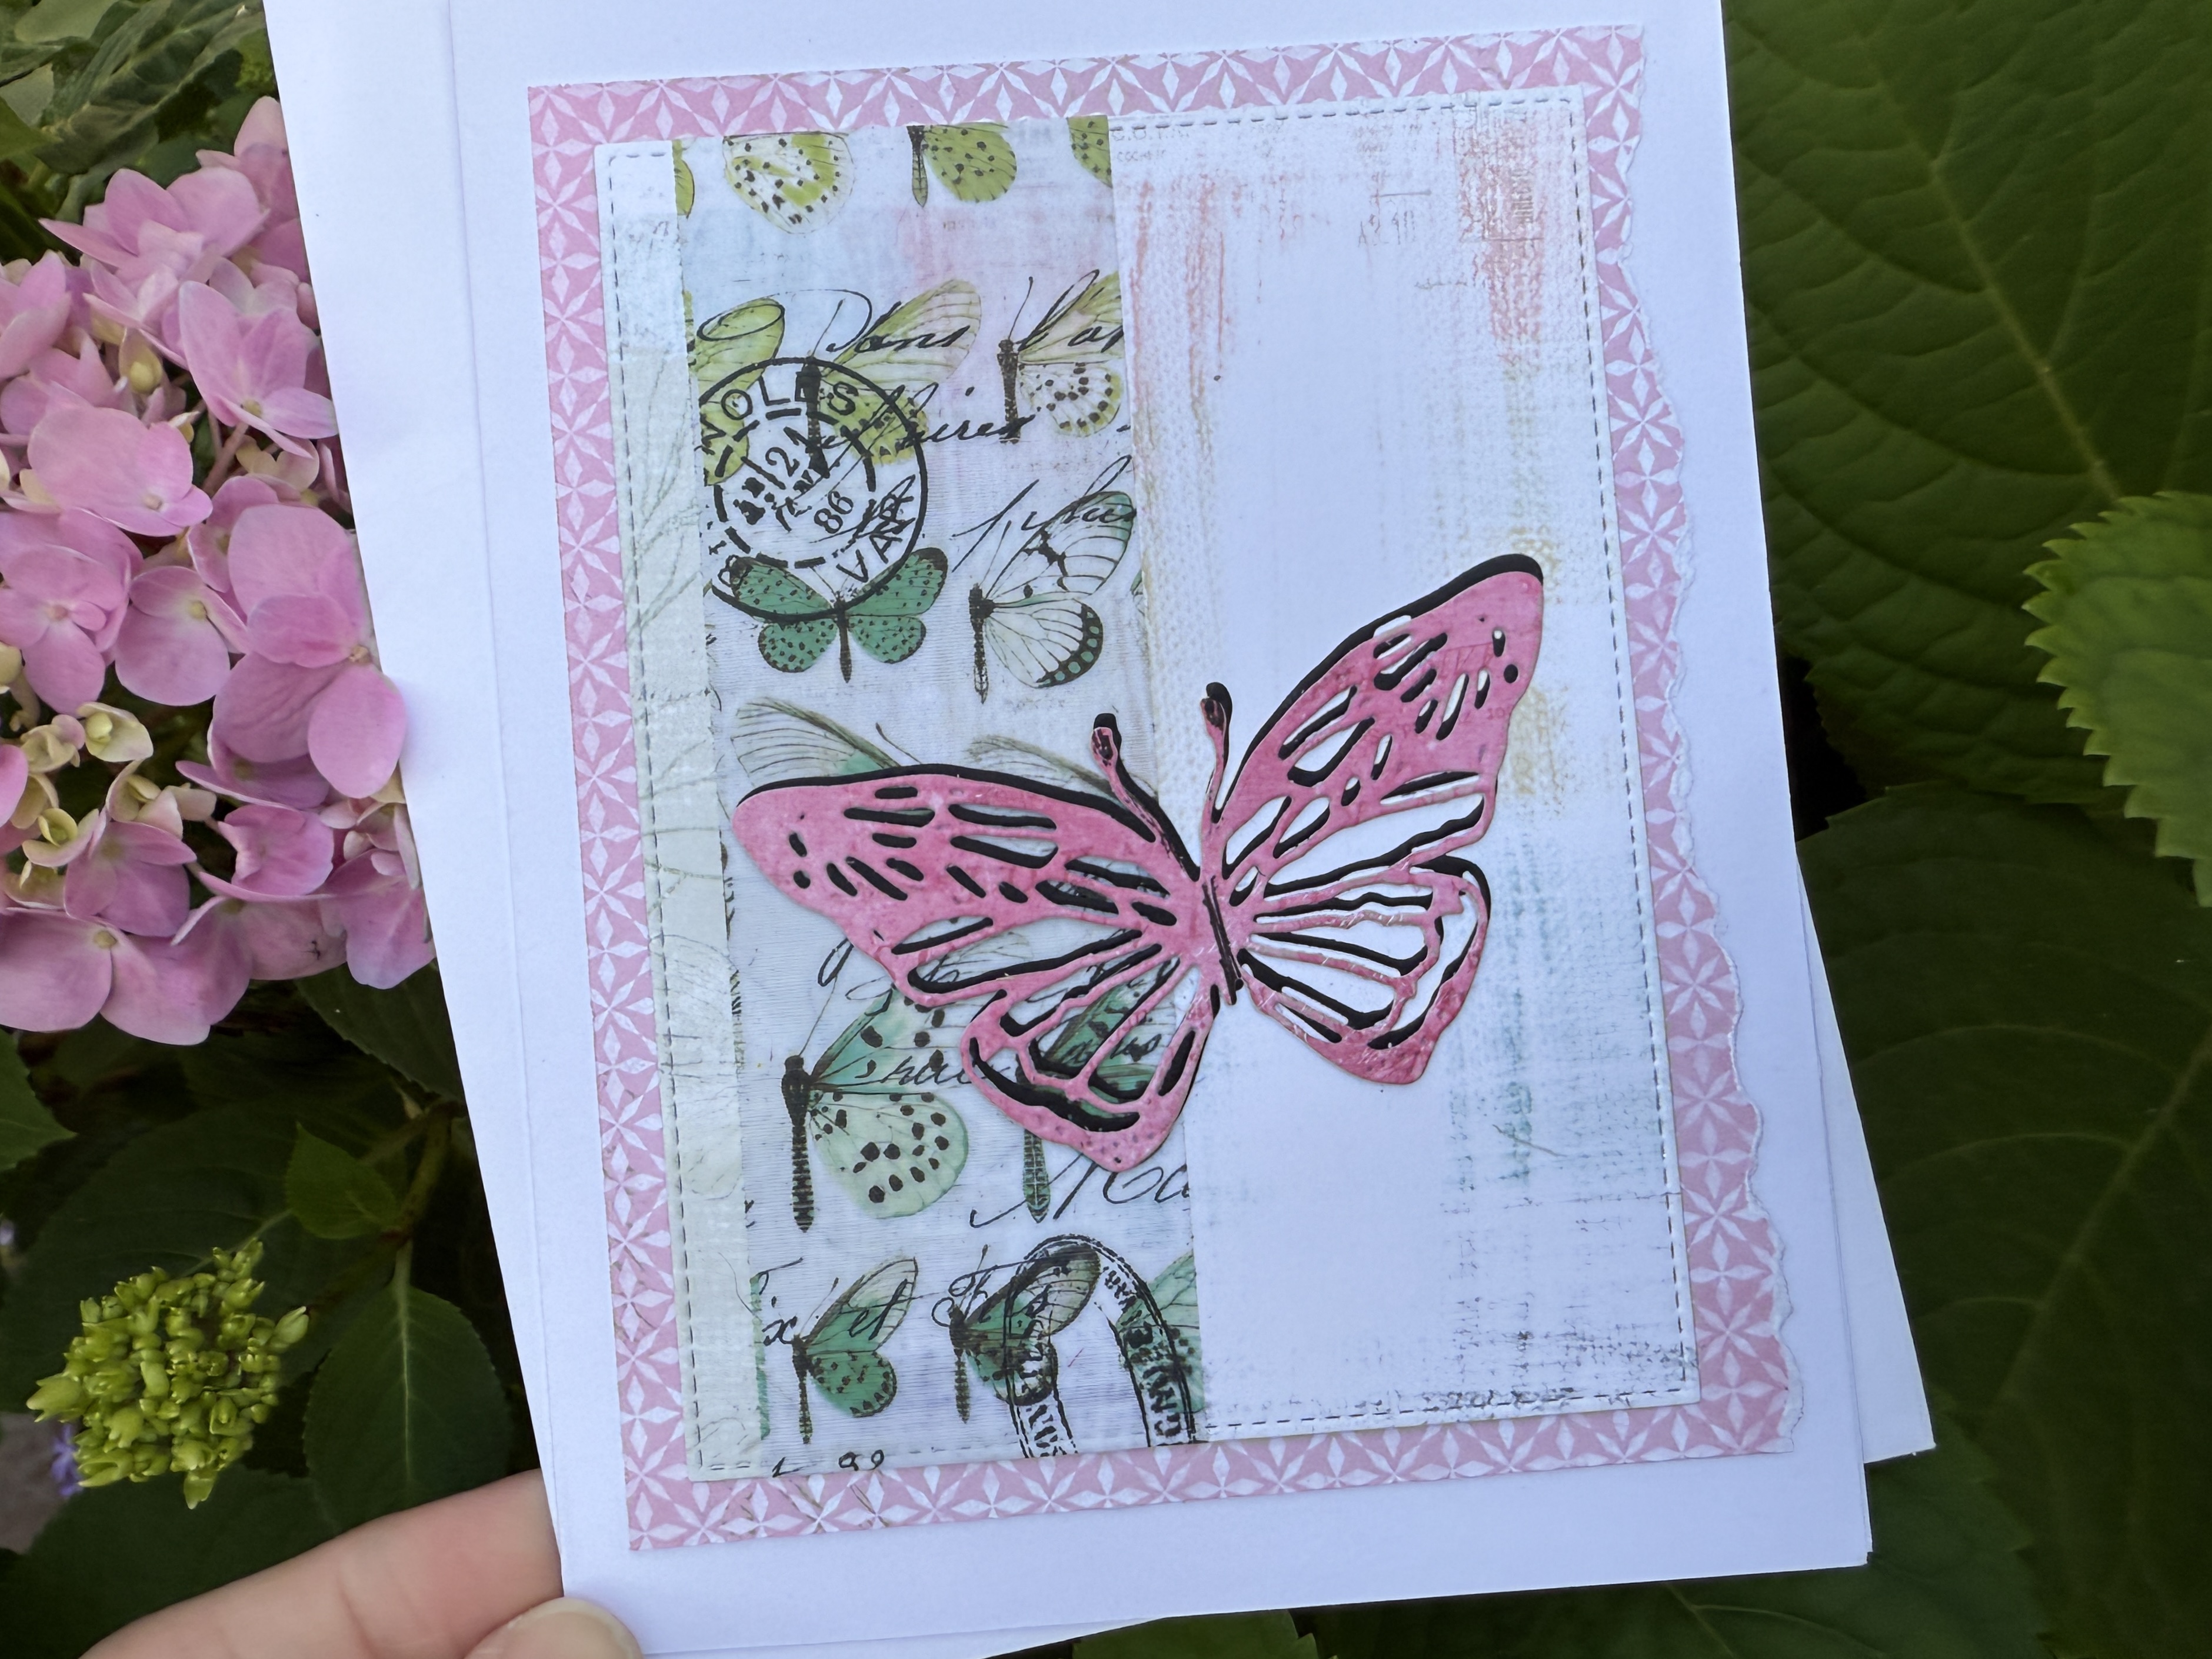
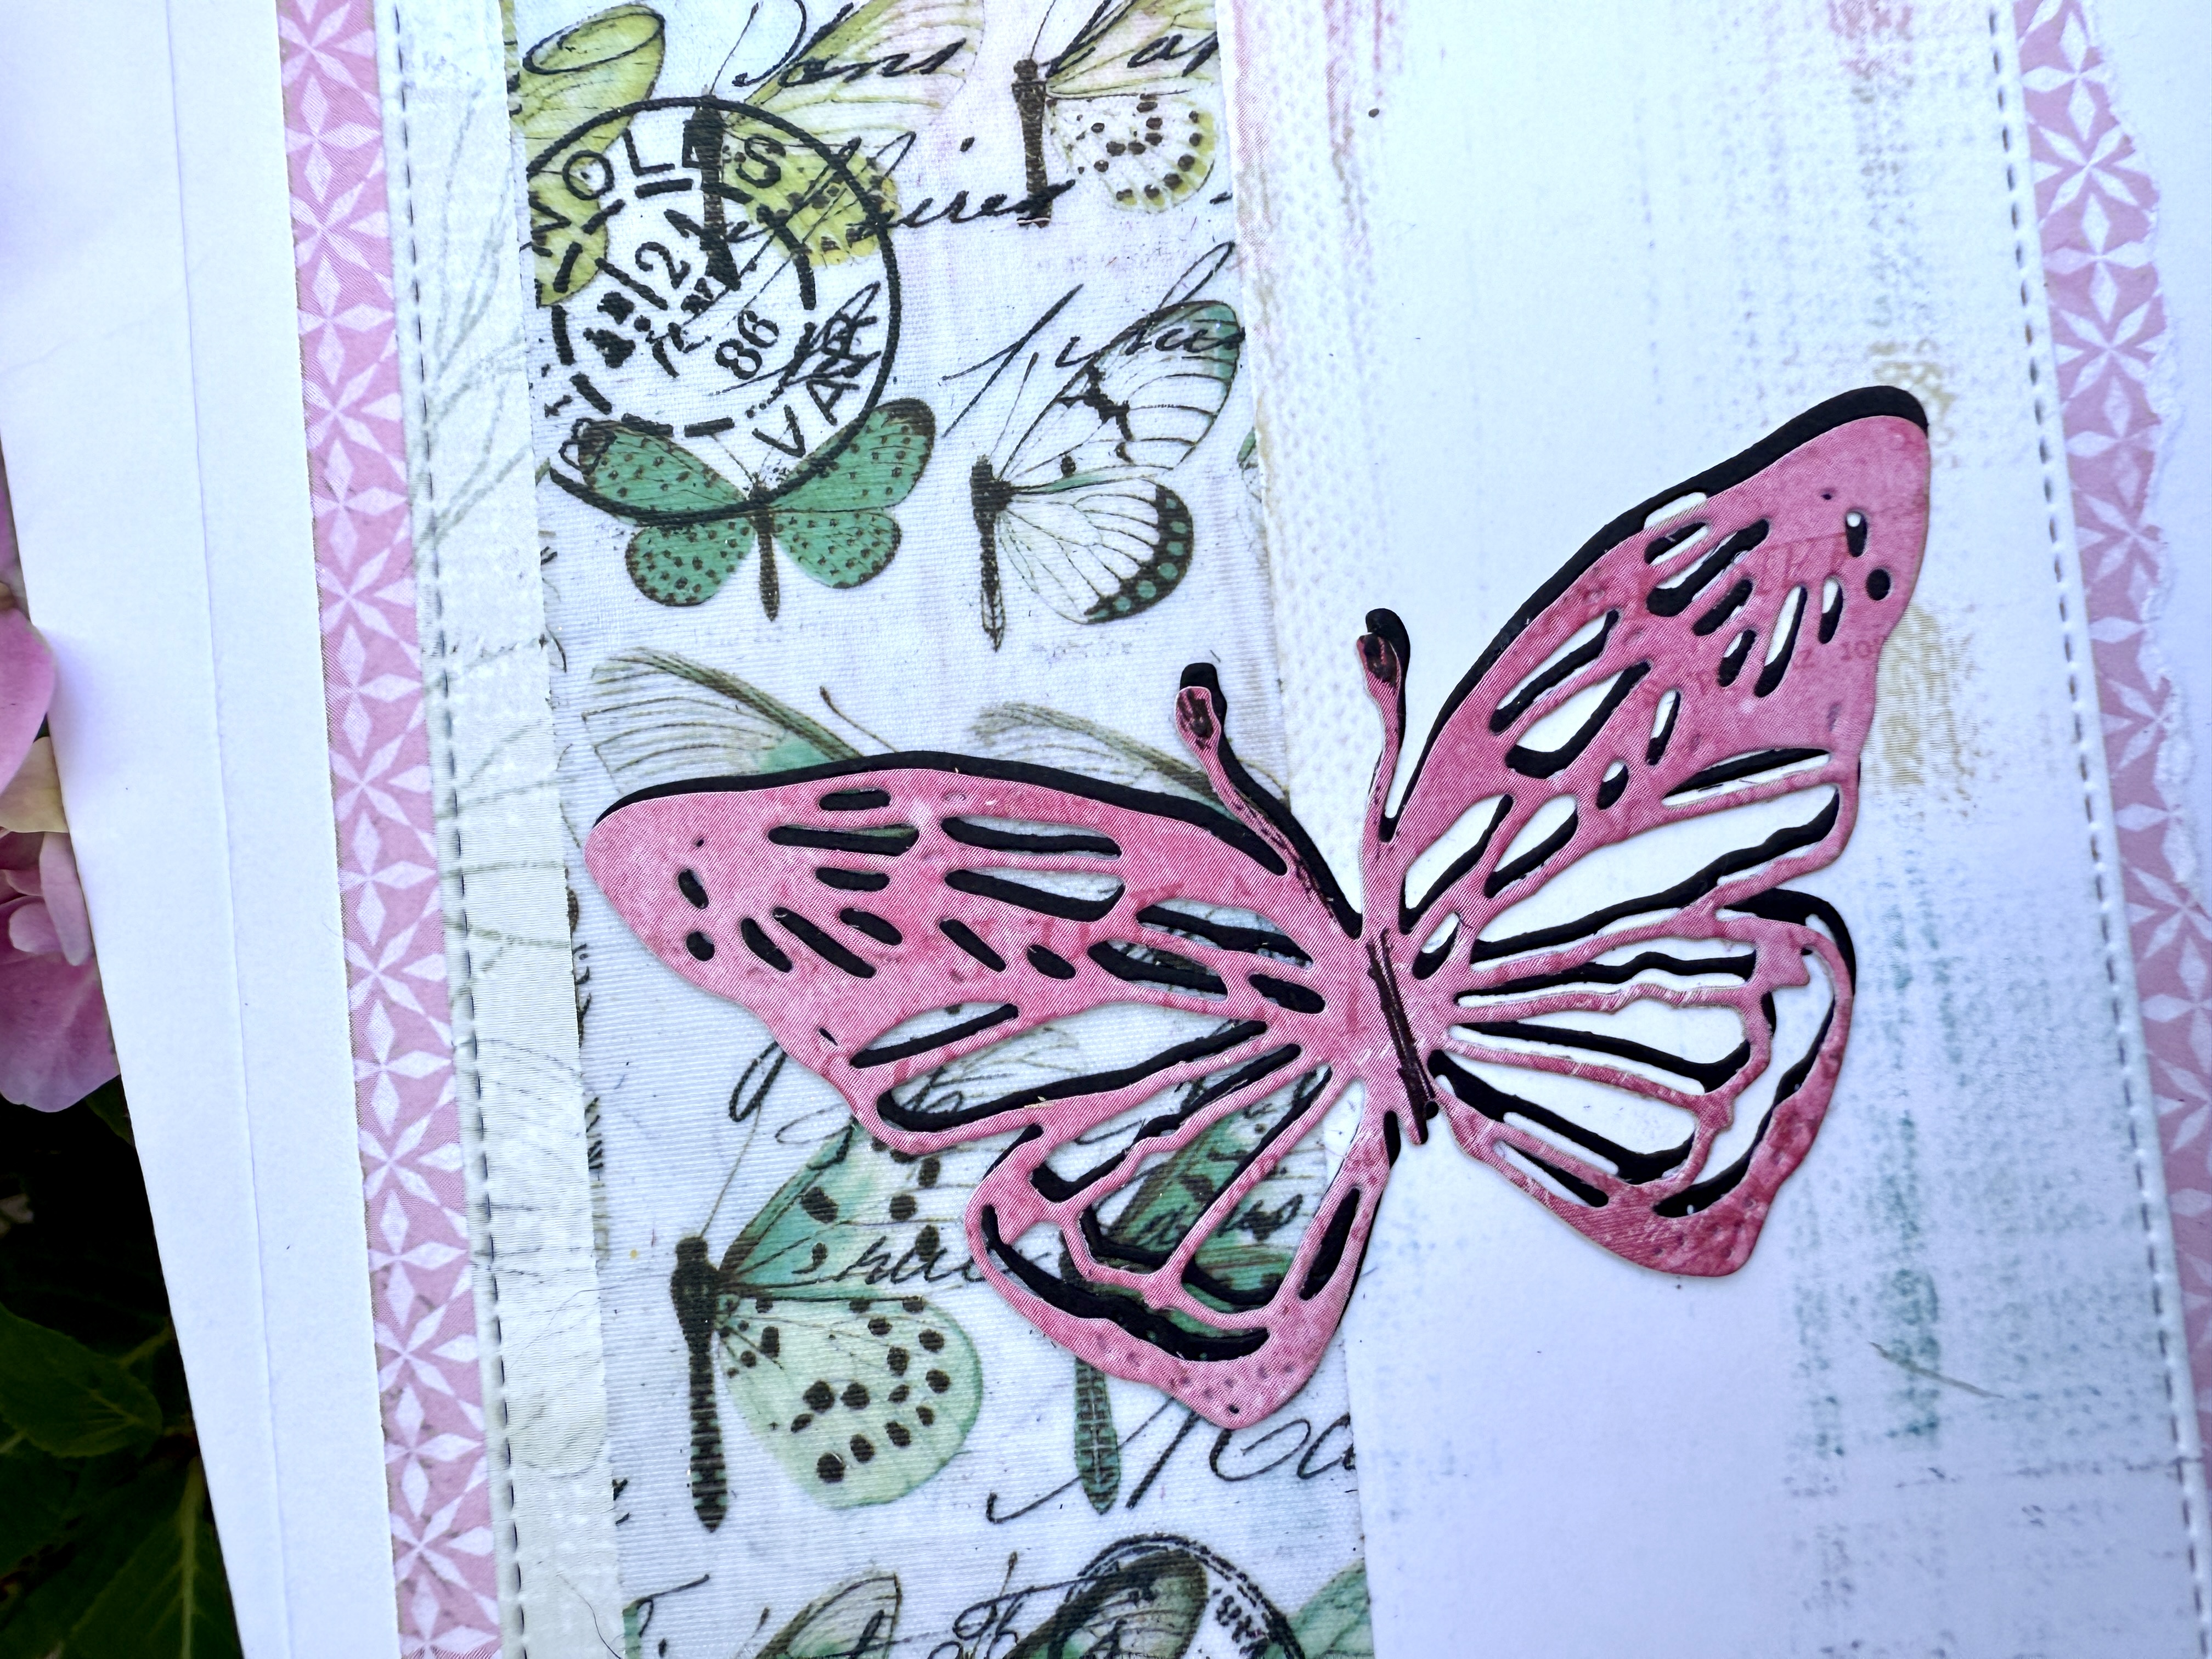
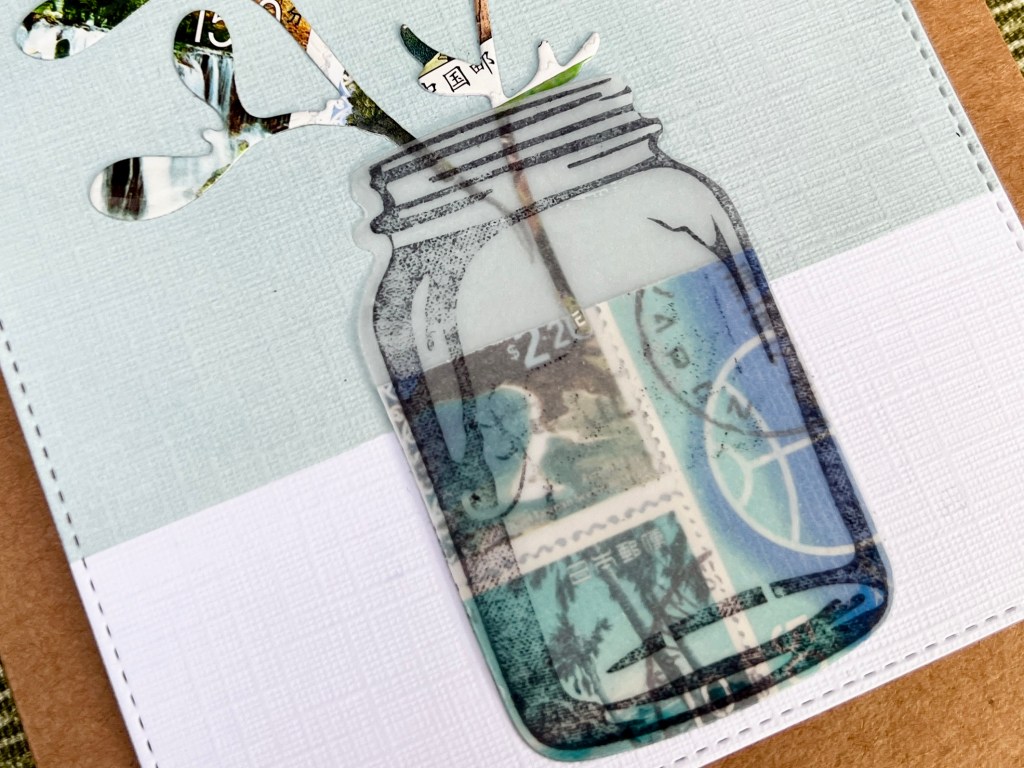
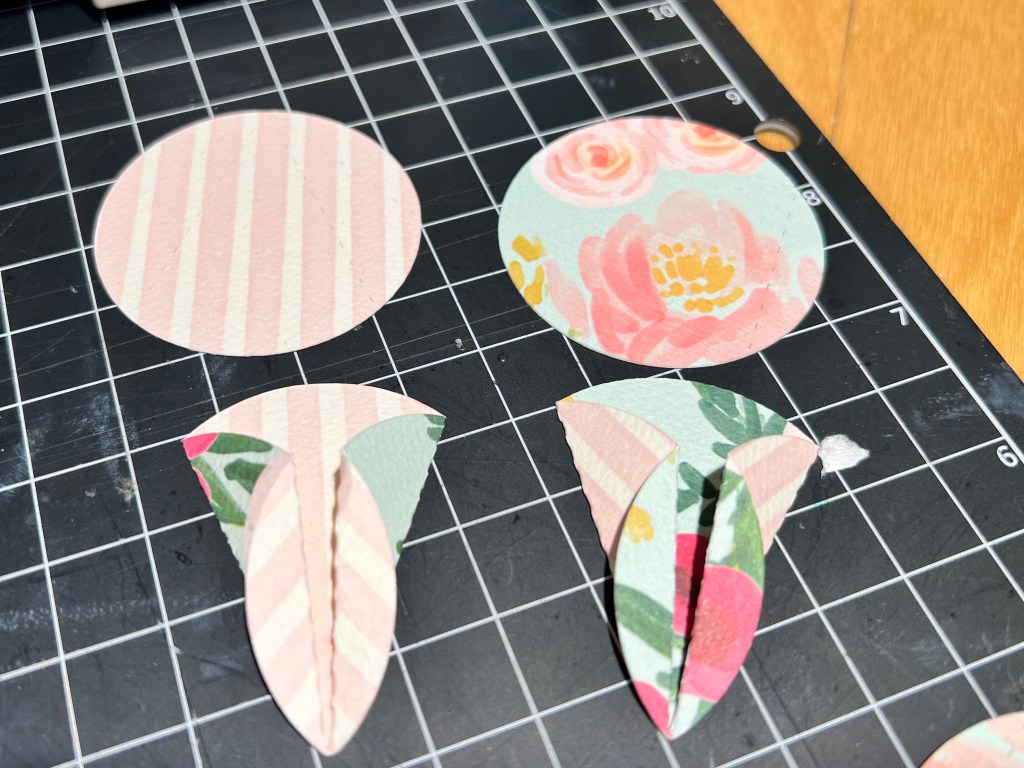
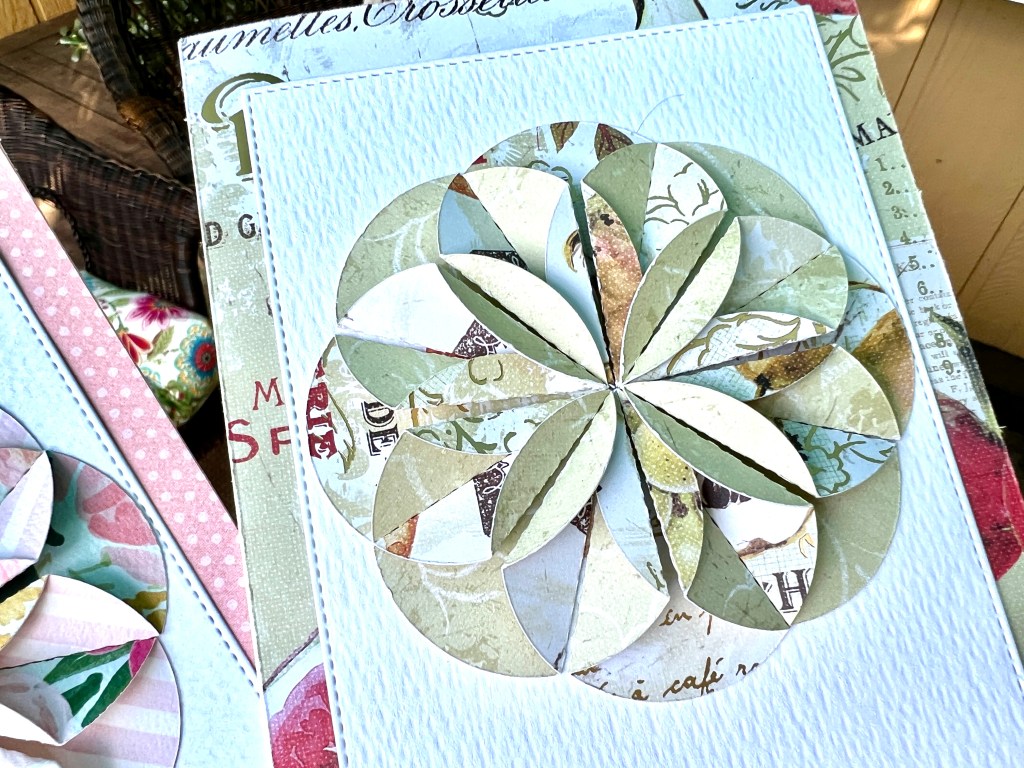
The first card uses a pair of patterned paper scraps. The green print is subtle once it’s die-cut into the leafy background, but it still adds variation in tone. The blue mixed-media styled paper is the last bit of one of my favorite paper packs from 49 and Market. I used it to cut three circles. For dimension, I brushed the outline of each circle with a dark blue distress oxide ink, then added a greeting using vellum. I brushed a light amount of ink on the white card background to soften it, and that’s one scrappy card done.
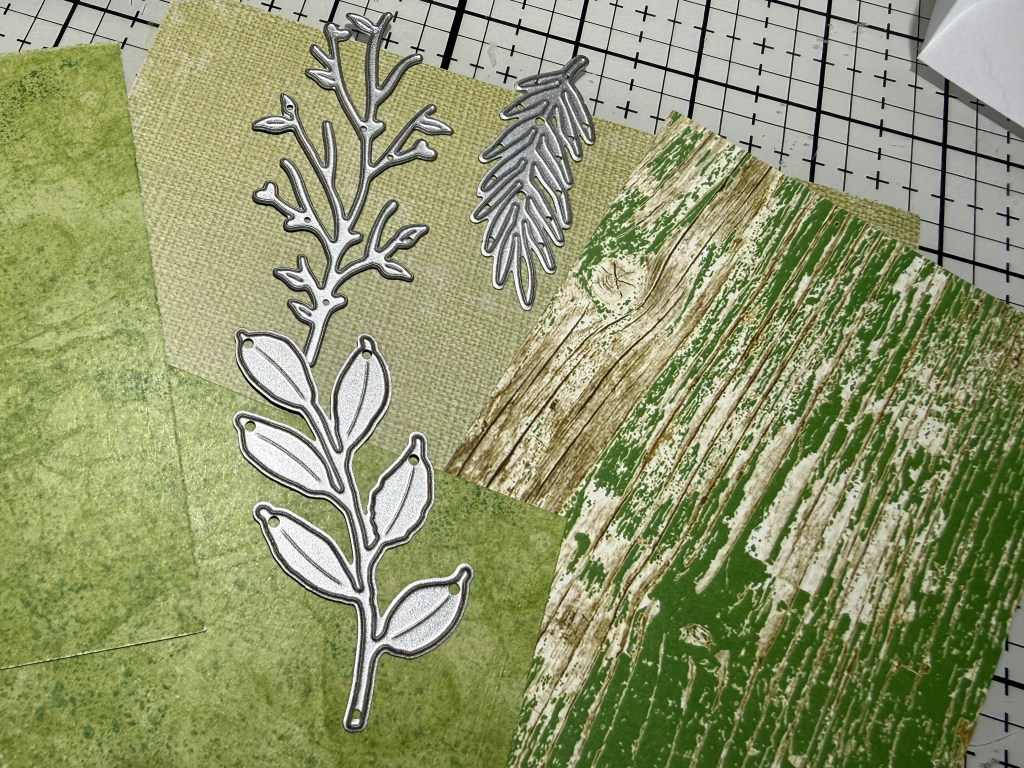
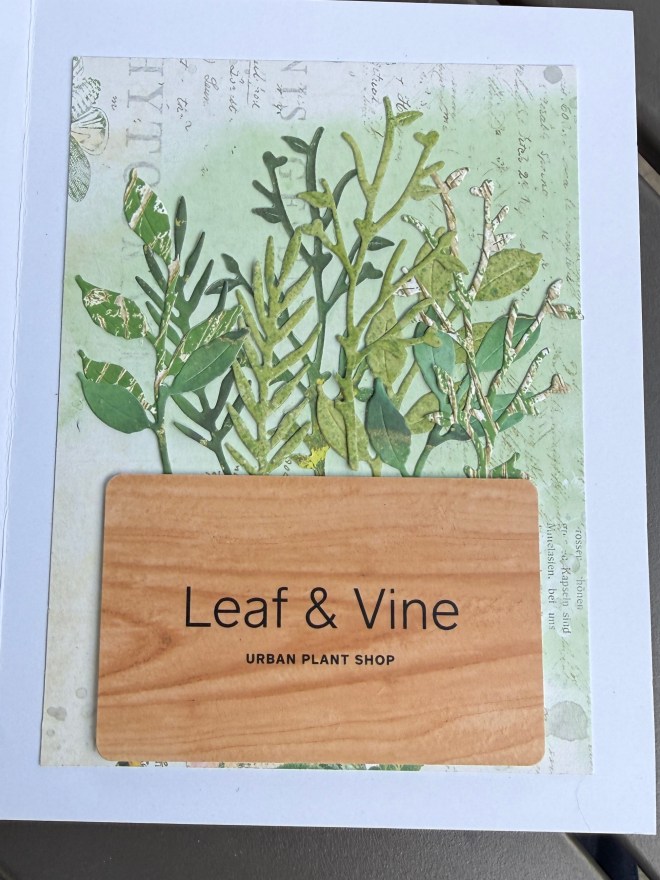
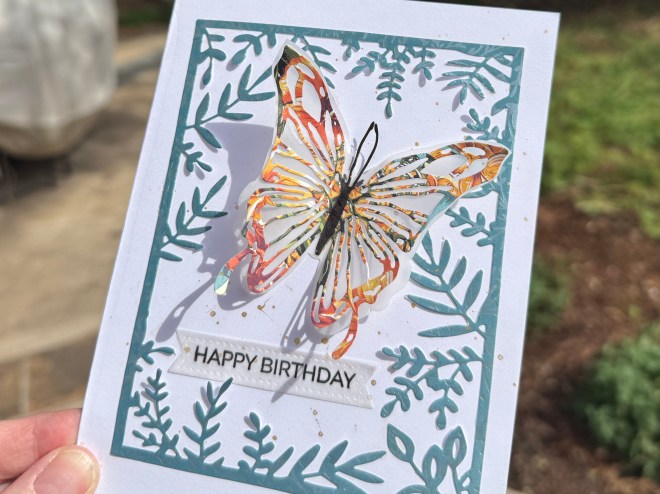
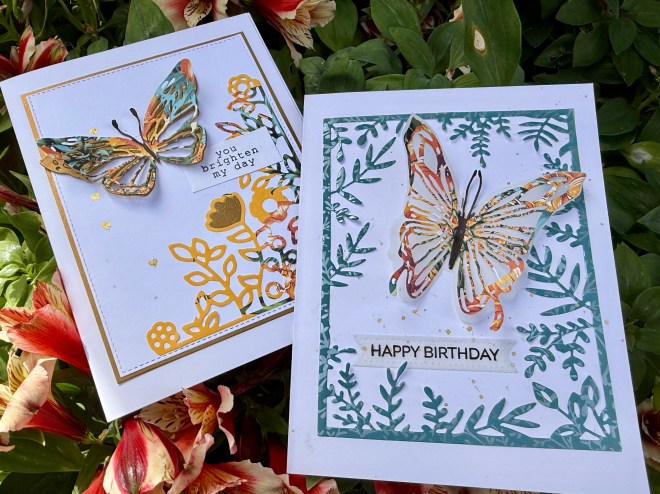
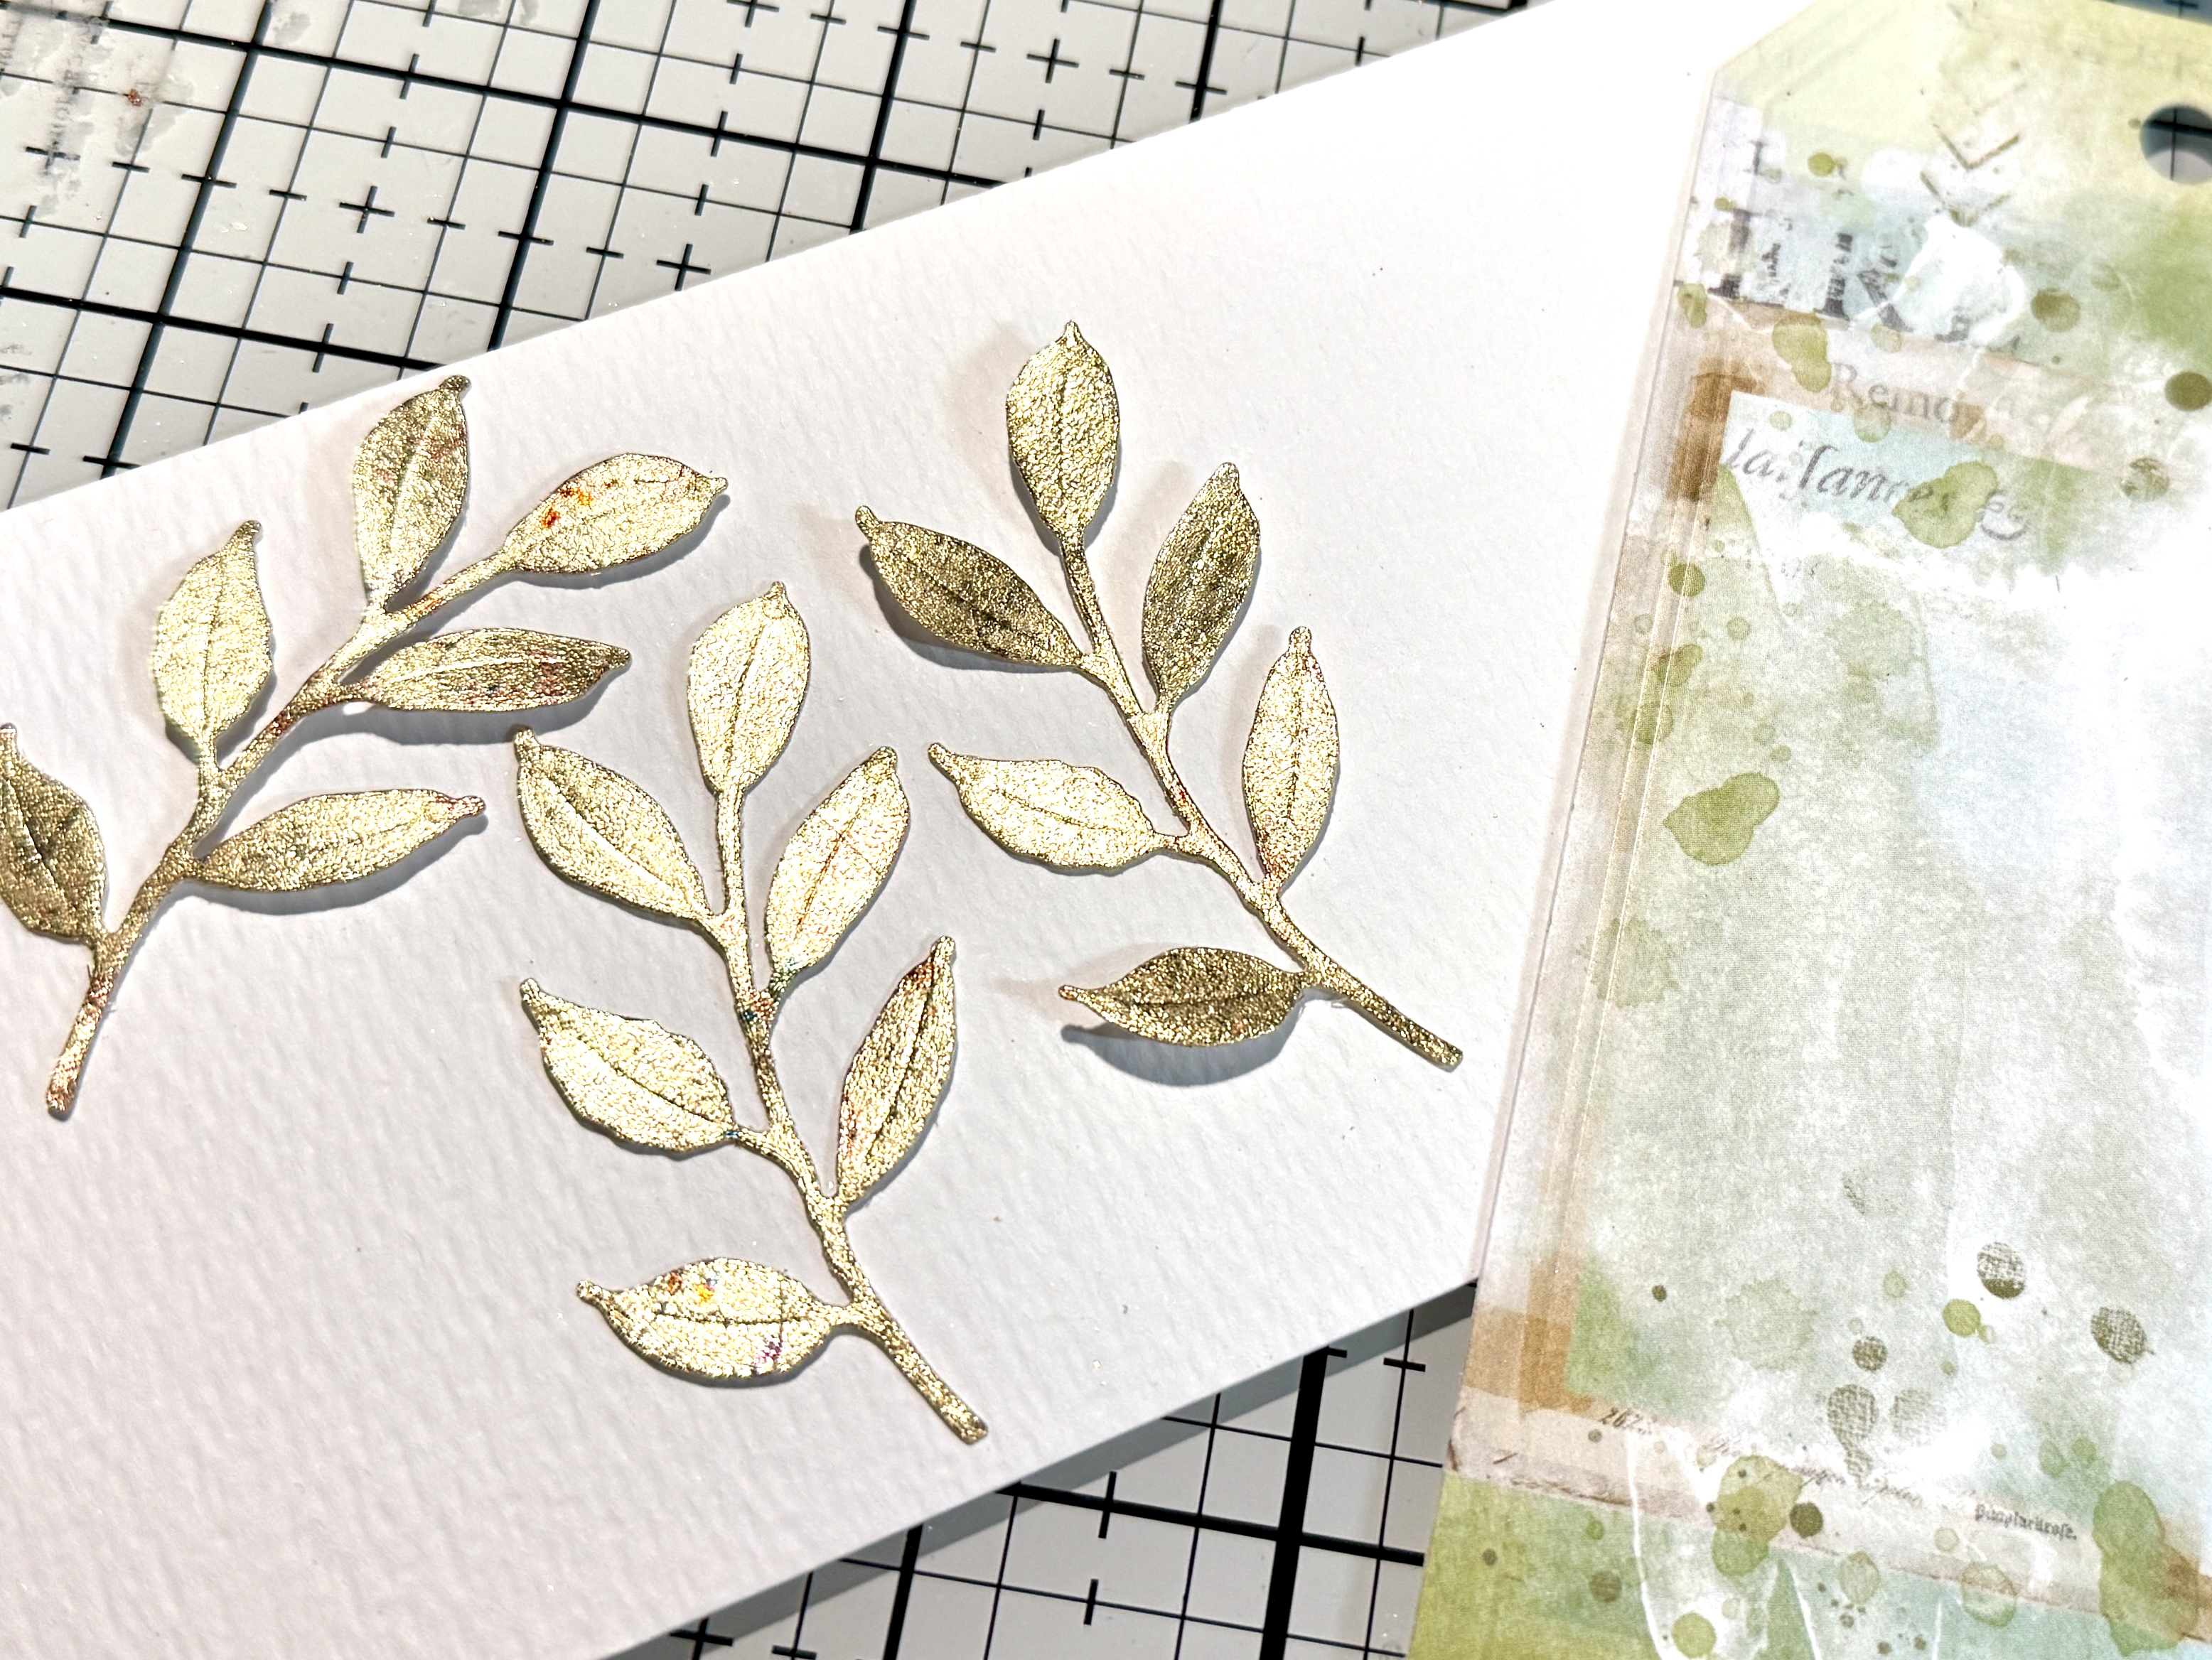
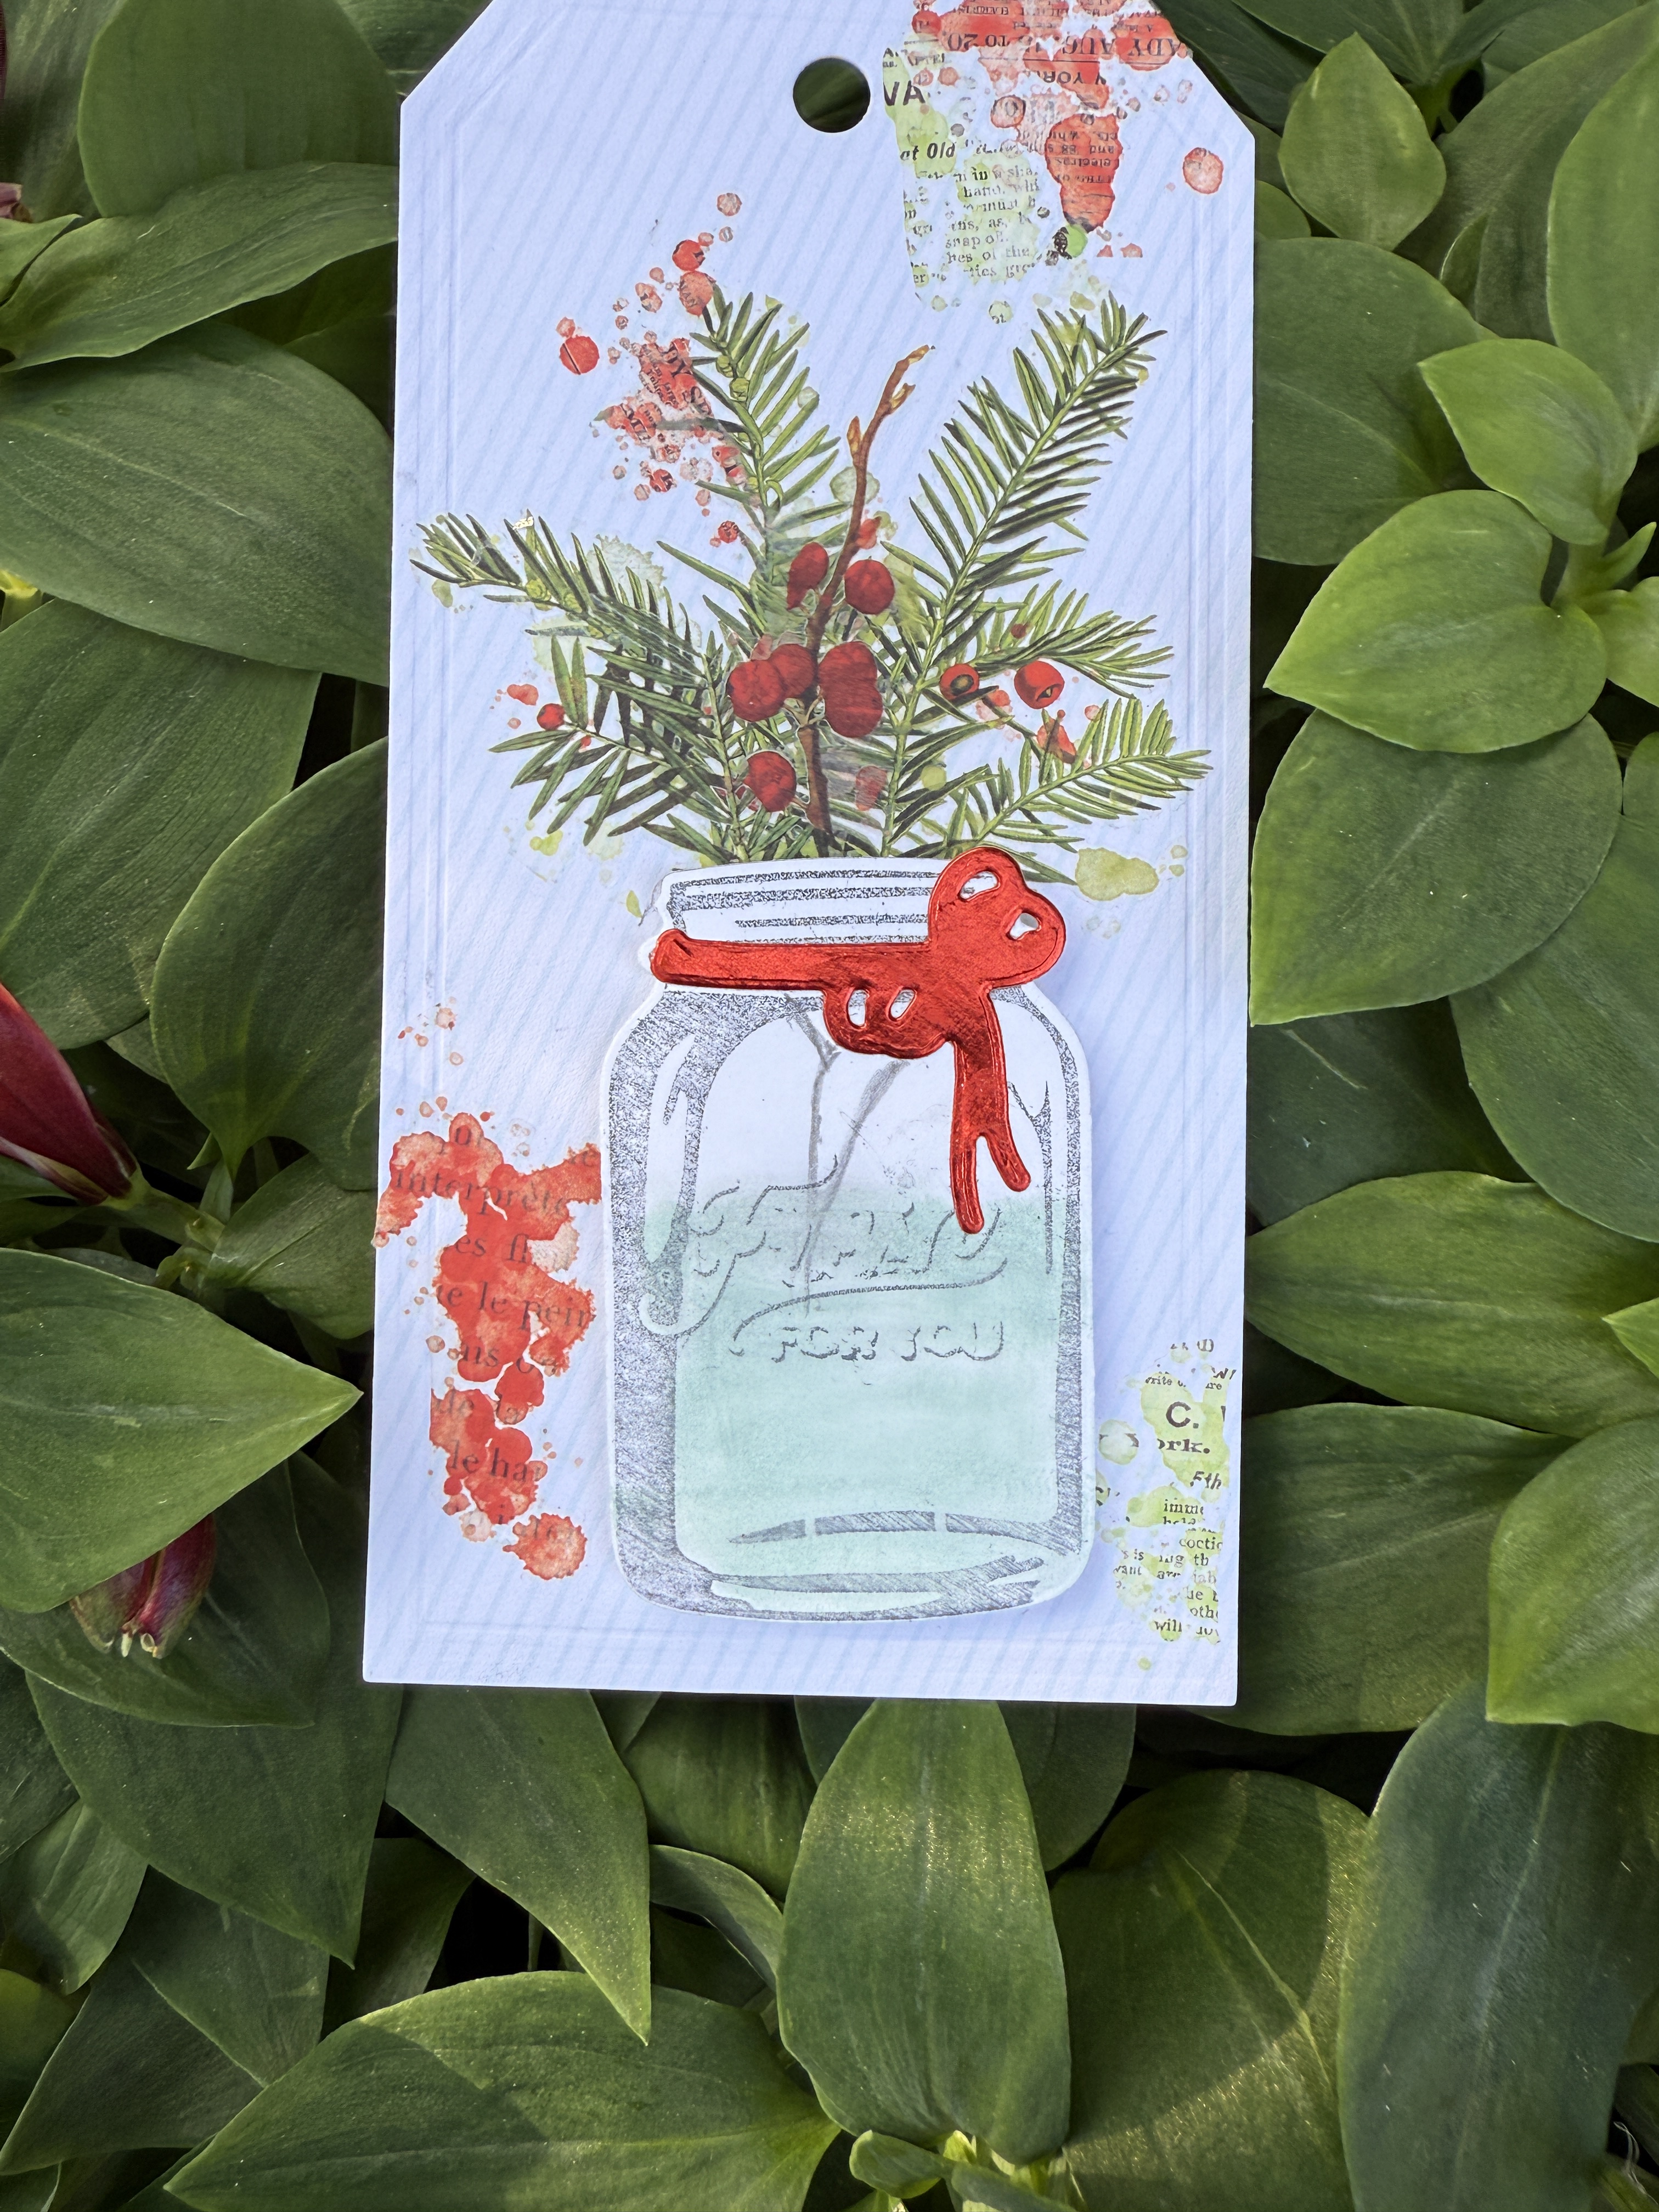
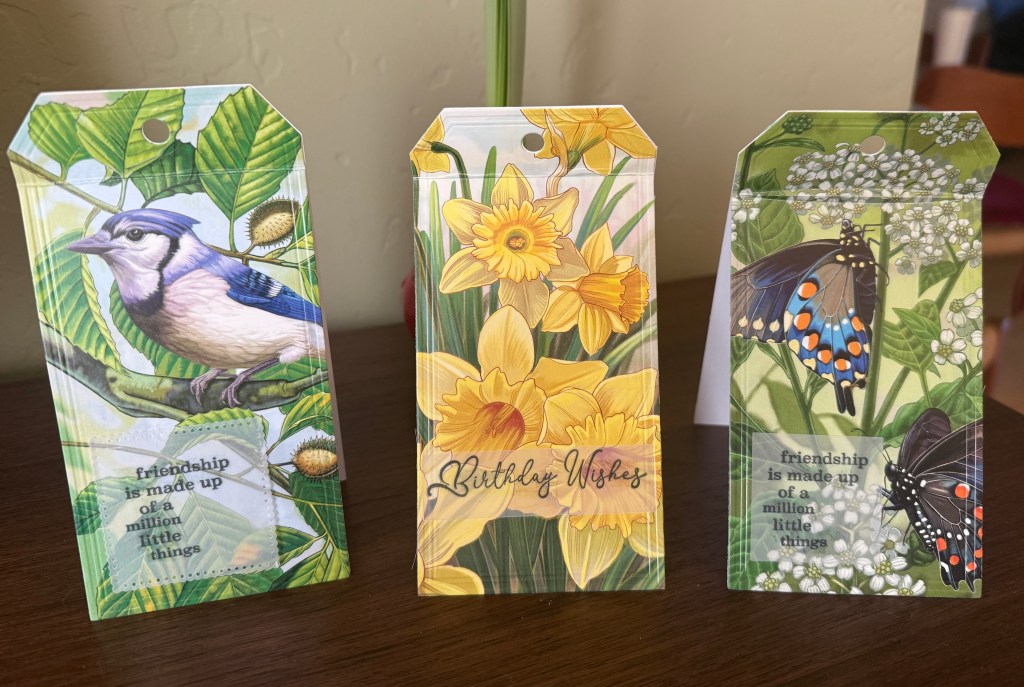
I had a lot of fun with this second card, using a variety of my seemingly endless green scraps to cut multiple pieces of foliage to create a birthday card.
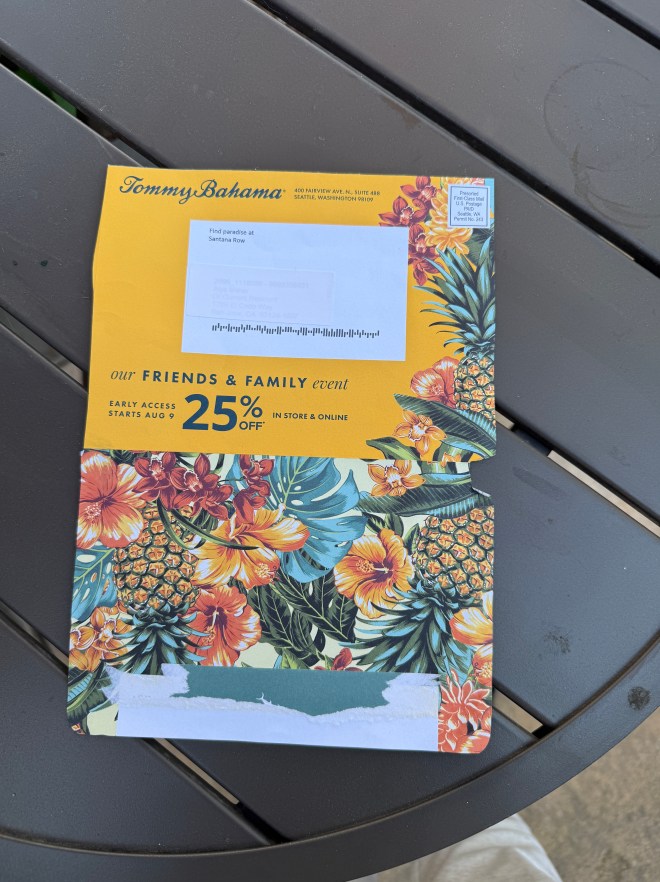
My friend has recently started collecting and nurturing house plants. She told me about a shop called Leaf & Vine that sells houseplants and indoor plant accessories created by local artisans.
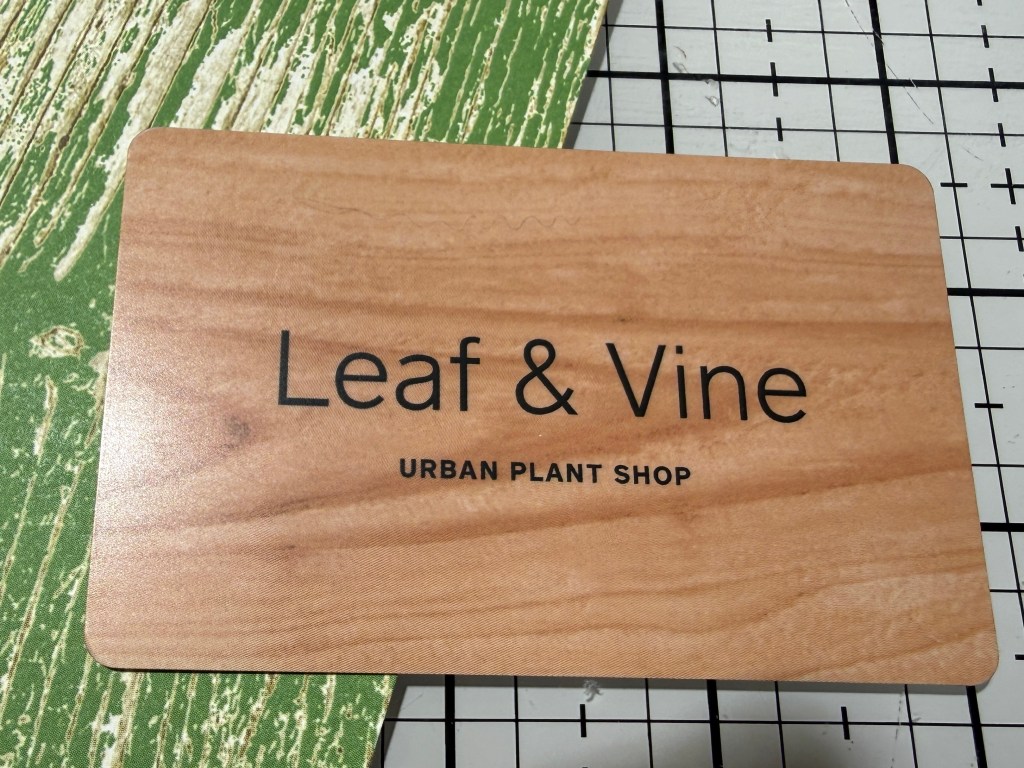
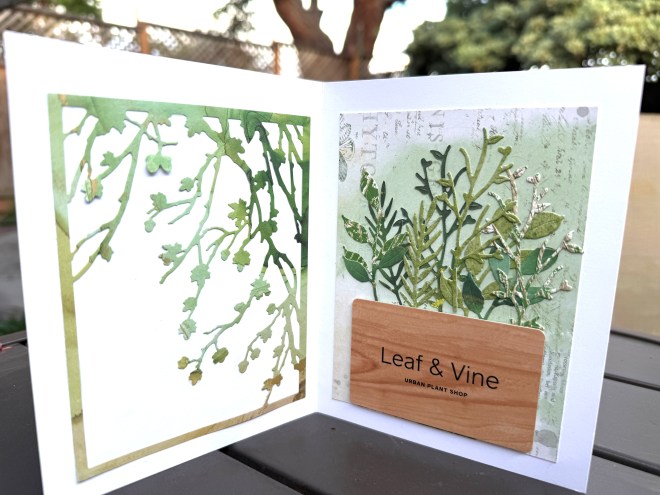
I bought her a gift card to the store and incorporated it into her birthday card as a faux planter for my scrappy foliage. The gift card is adhered with foam squares, but it can be removed easily when she decides to redeem it.
Thank you, as always, Kate, for inspiring this monthly challenge.
You can see what other bloggers are up to at the following links.
Kate, Eva, Sue, Lynda,
Birthe, Turid, Tracy, Jan,
Moira, Sandra, Chris, Alys,
Claire, Jean, Dawn, Gwen,
Sunny, Kjerstin, Sue L, Vera,
Ann, Dawn 2, Carol, Preeti,
Viv, Karrin, Alissa, Tierney,
Hannah and Maggie


You must be logged in to post a comment.