ScrapHappy: Stone Paper Card

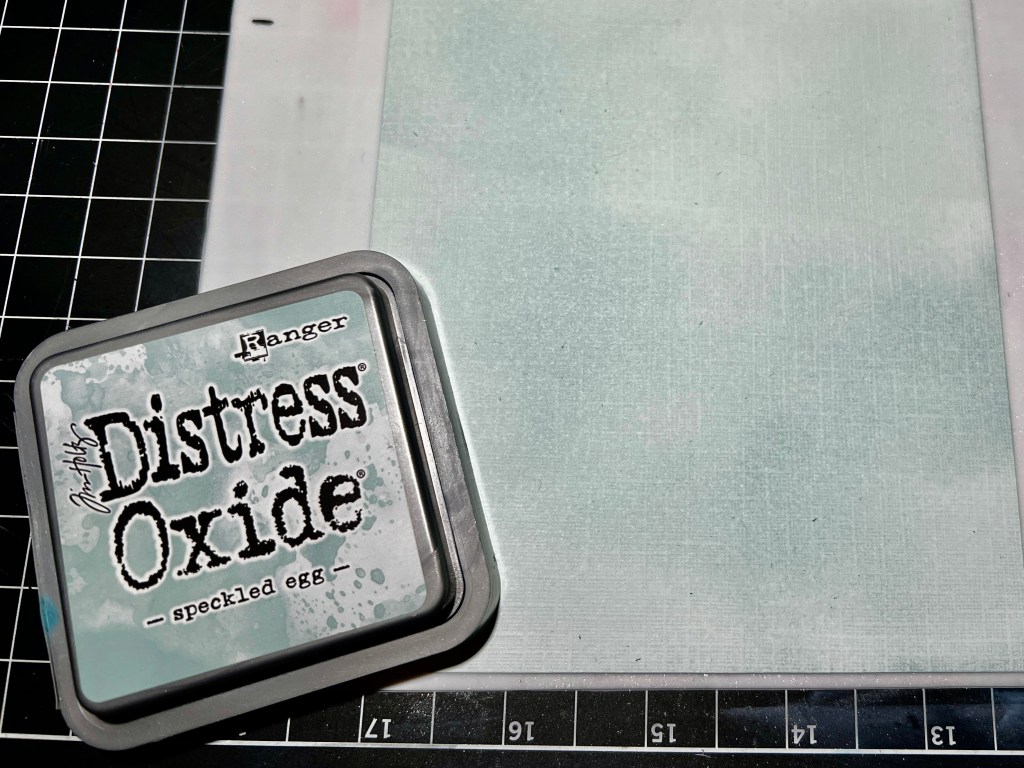
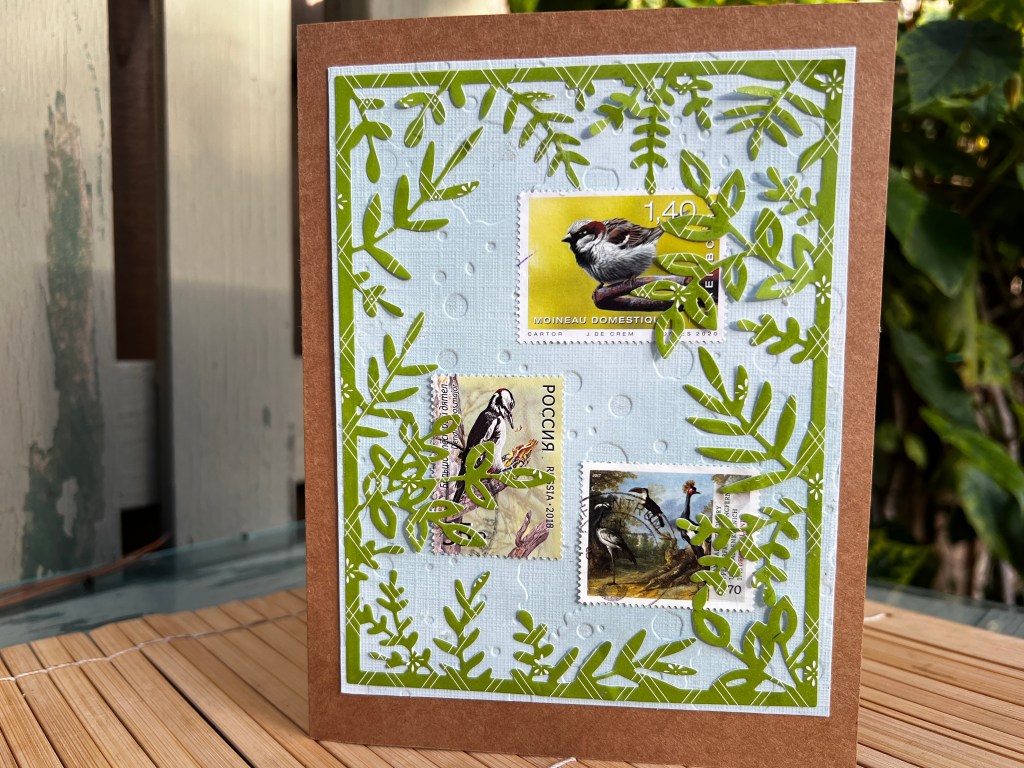
I made a card for this month’s ScrapHappy post (shocking, right?) using a scrap of white paper, inked to a lovely shade of blue, and a salvaged piece of Stone PaperĀ®. Yup, Stone Paper is a thing.

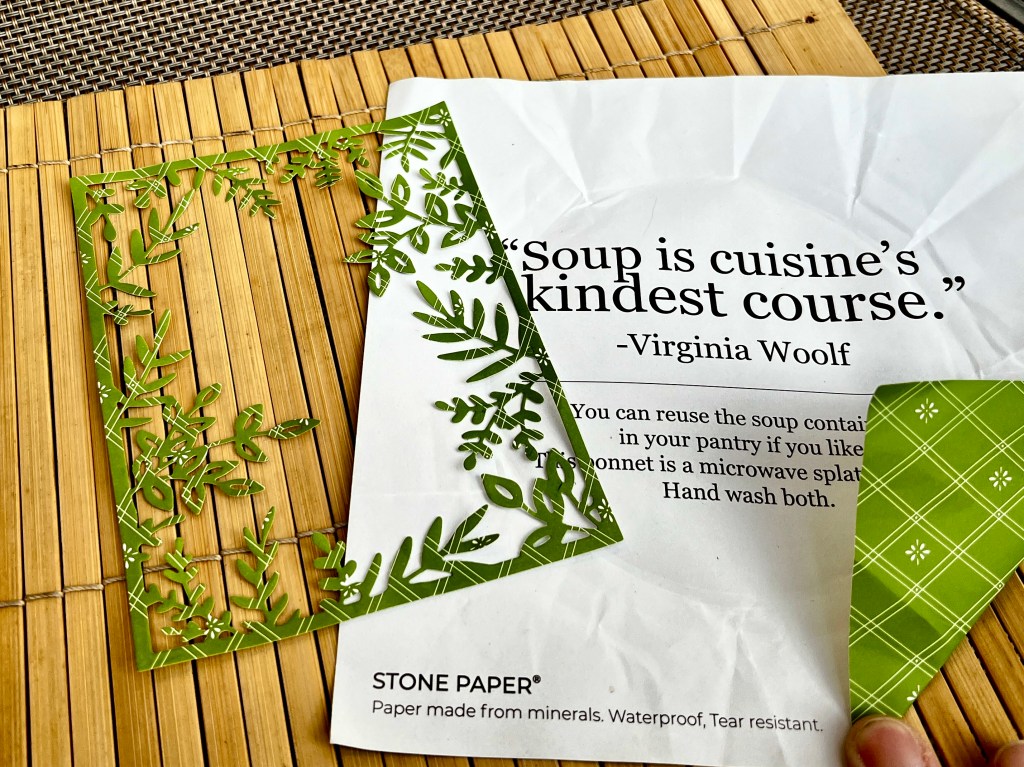
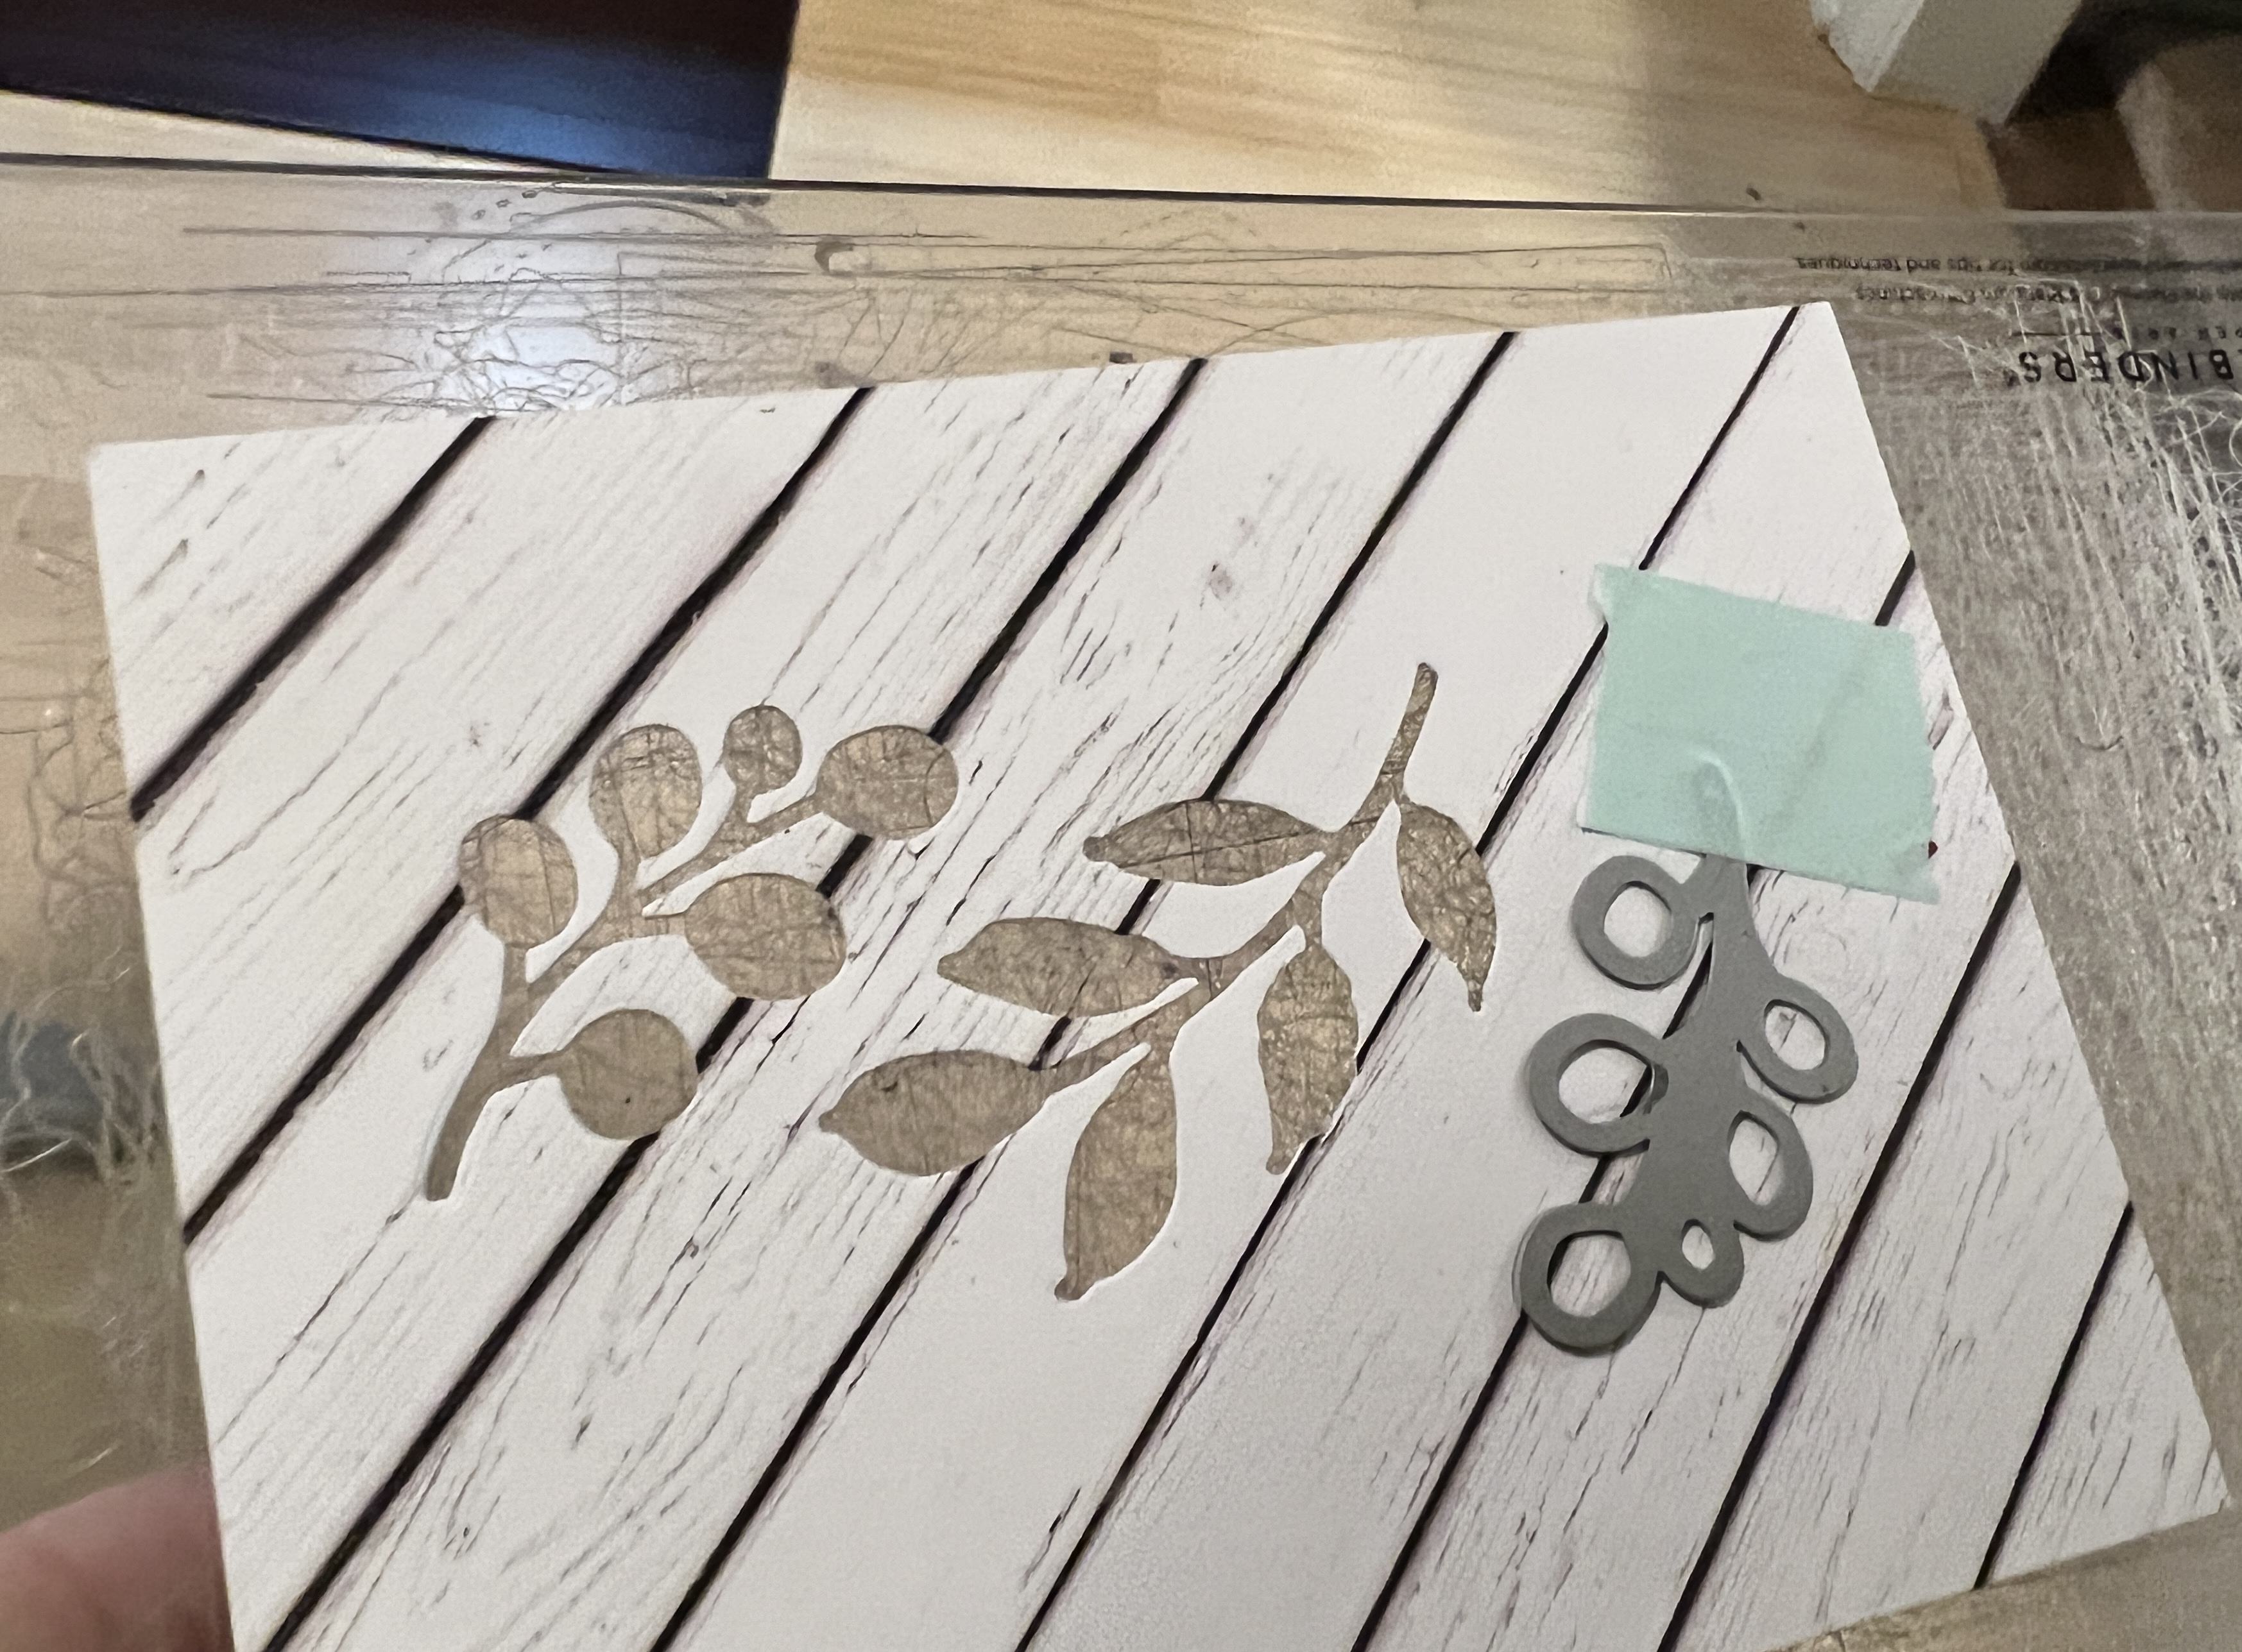
Last fall, my friend Barbara sent us a care package from Spoonful of Comfort, a delicious, soup-based meal. The soup arrived with a reusable cover made from Stone Paper. We devoured the soup, and I saved the cover for a future card.

I’ve crafted with Stone Paper before. The paper is soft to the touch, easy to cut, strong, and sustainable.

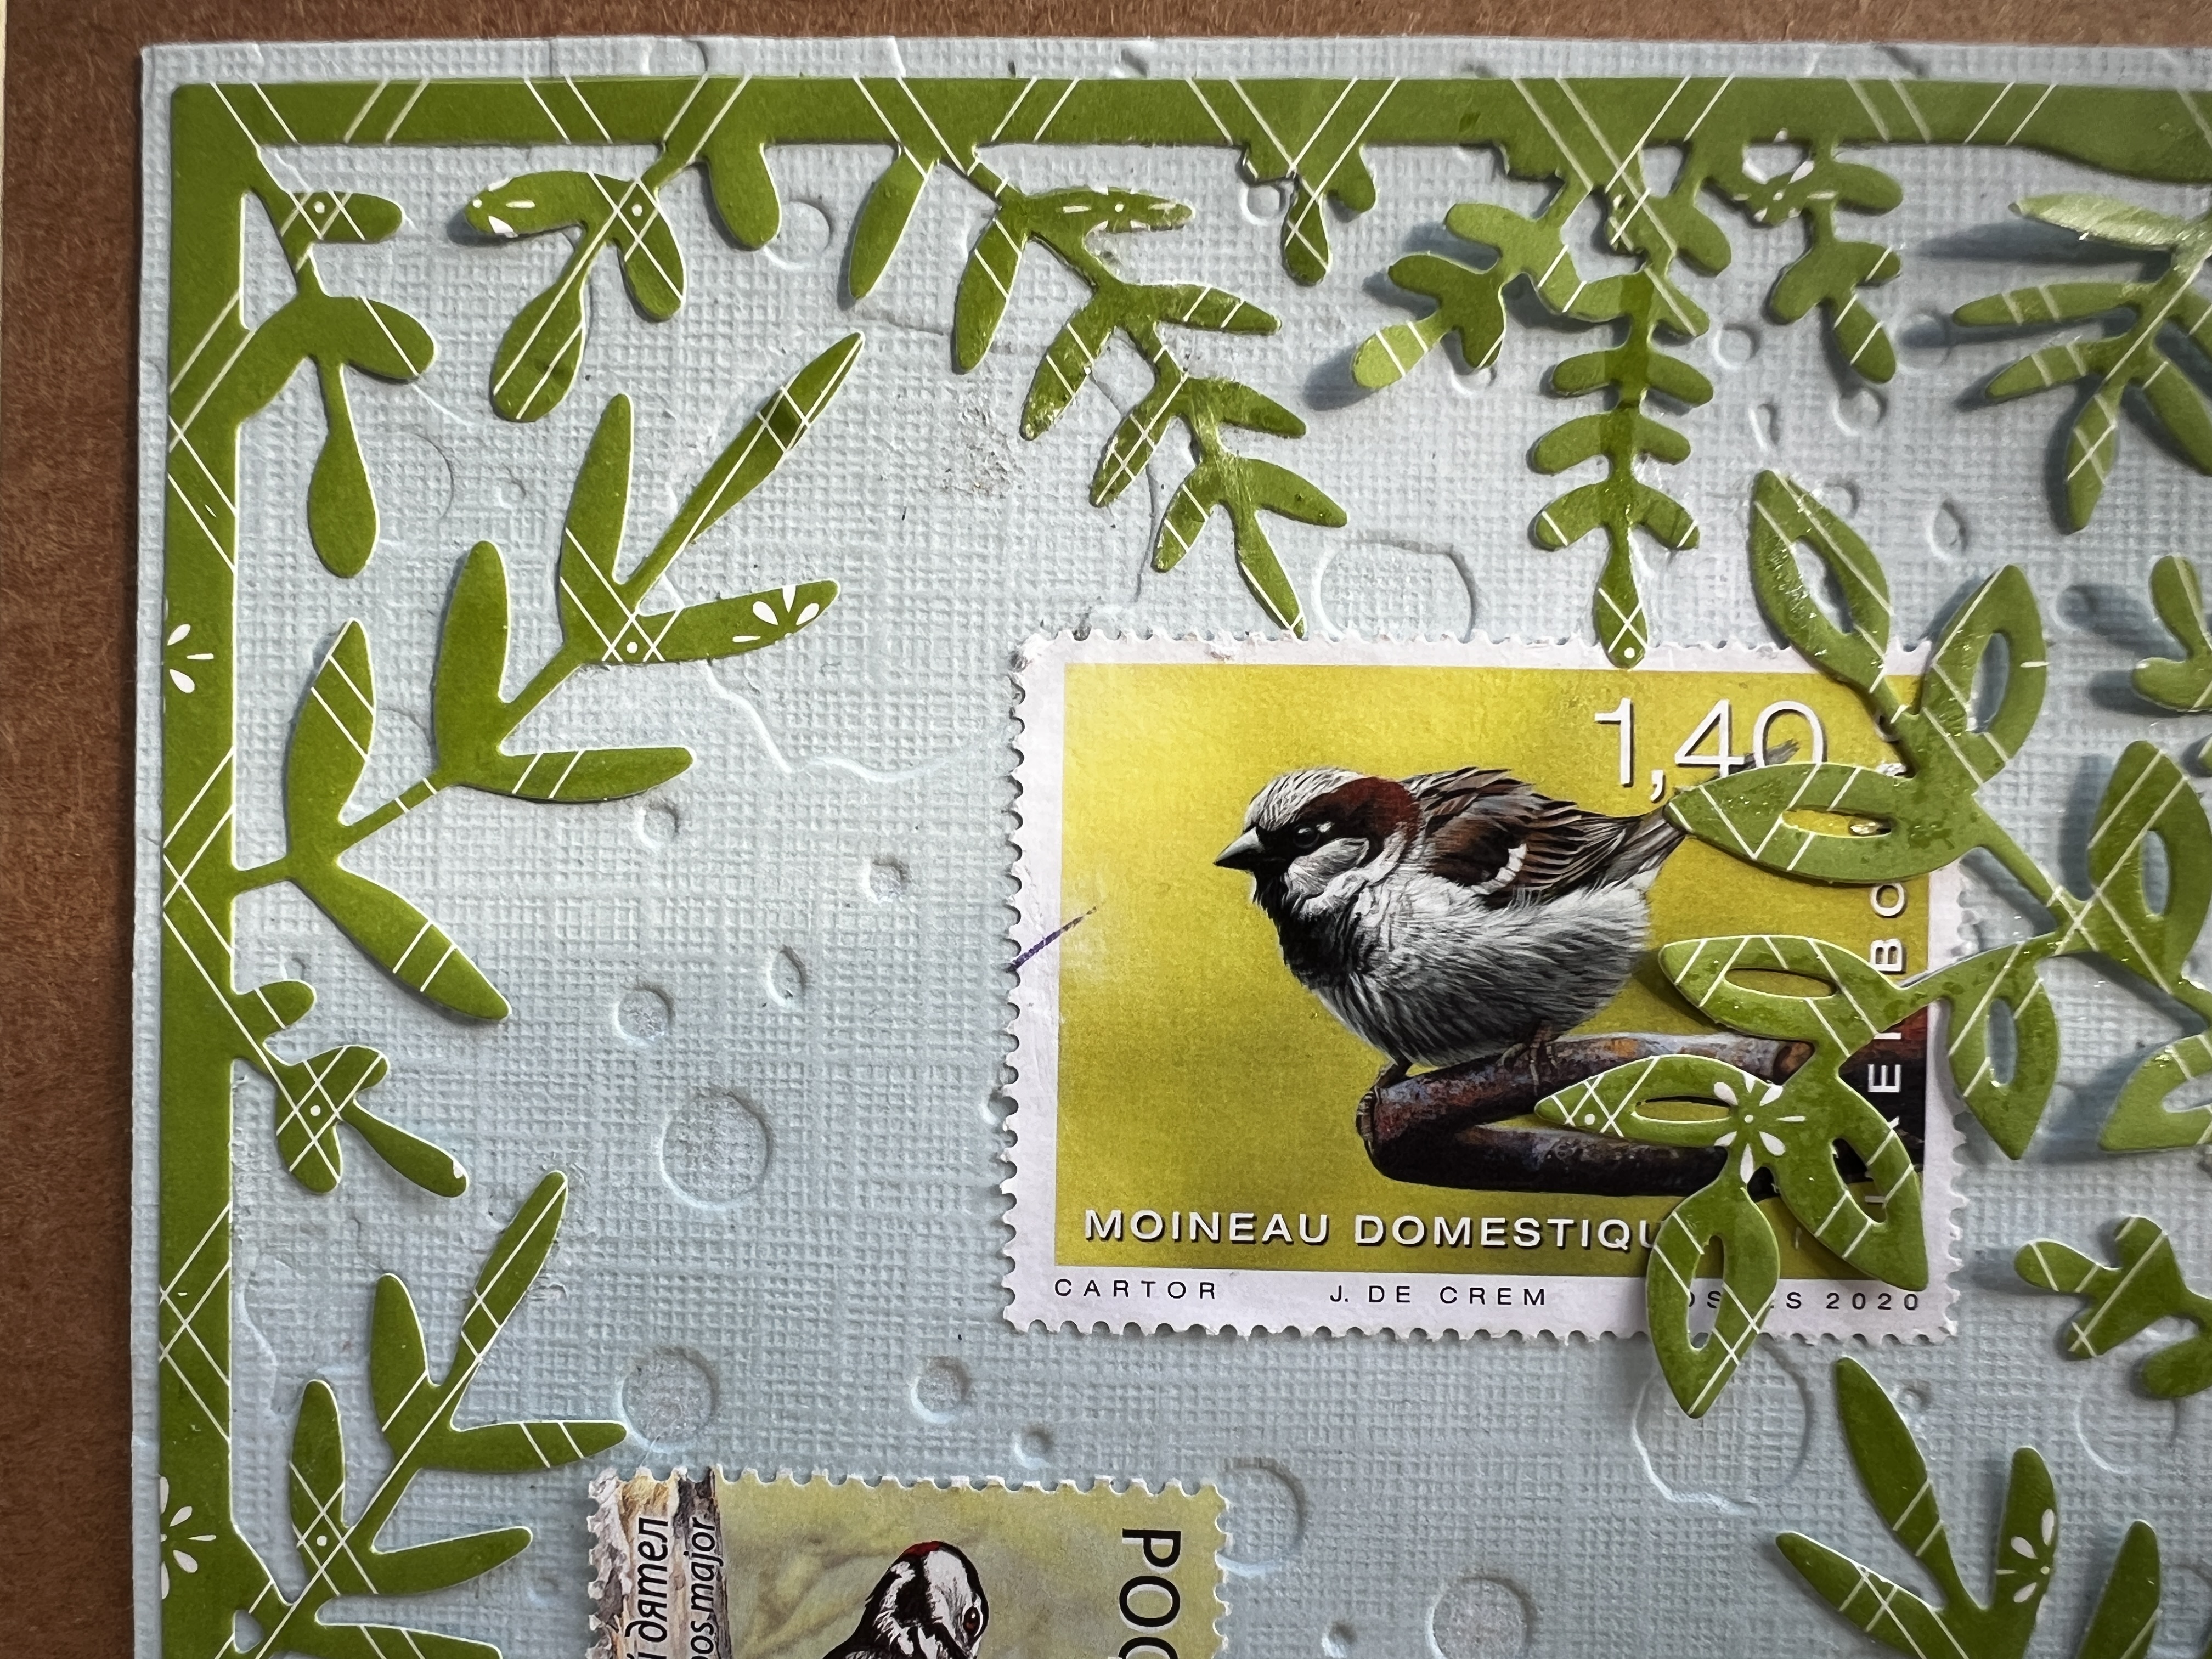
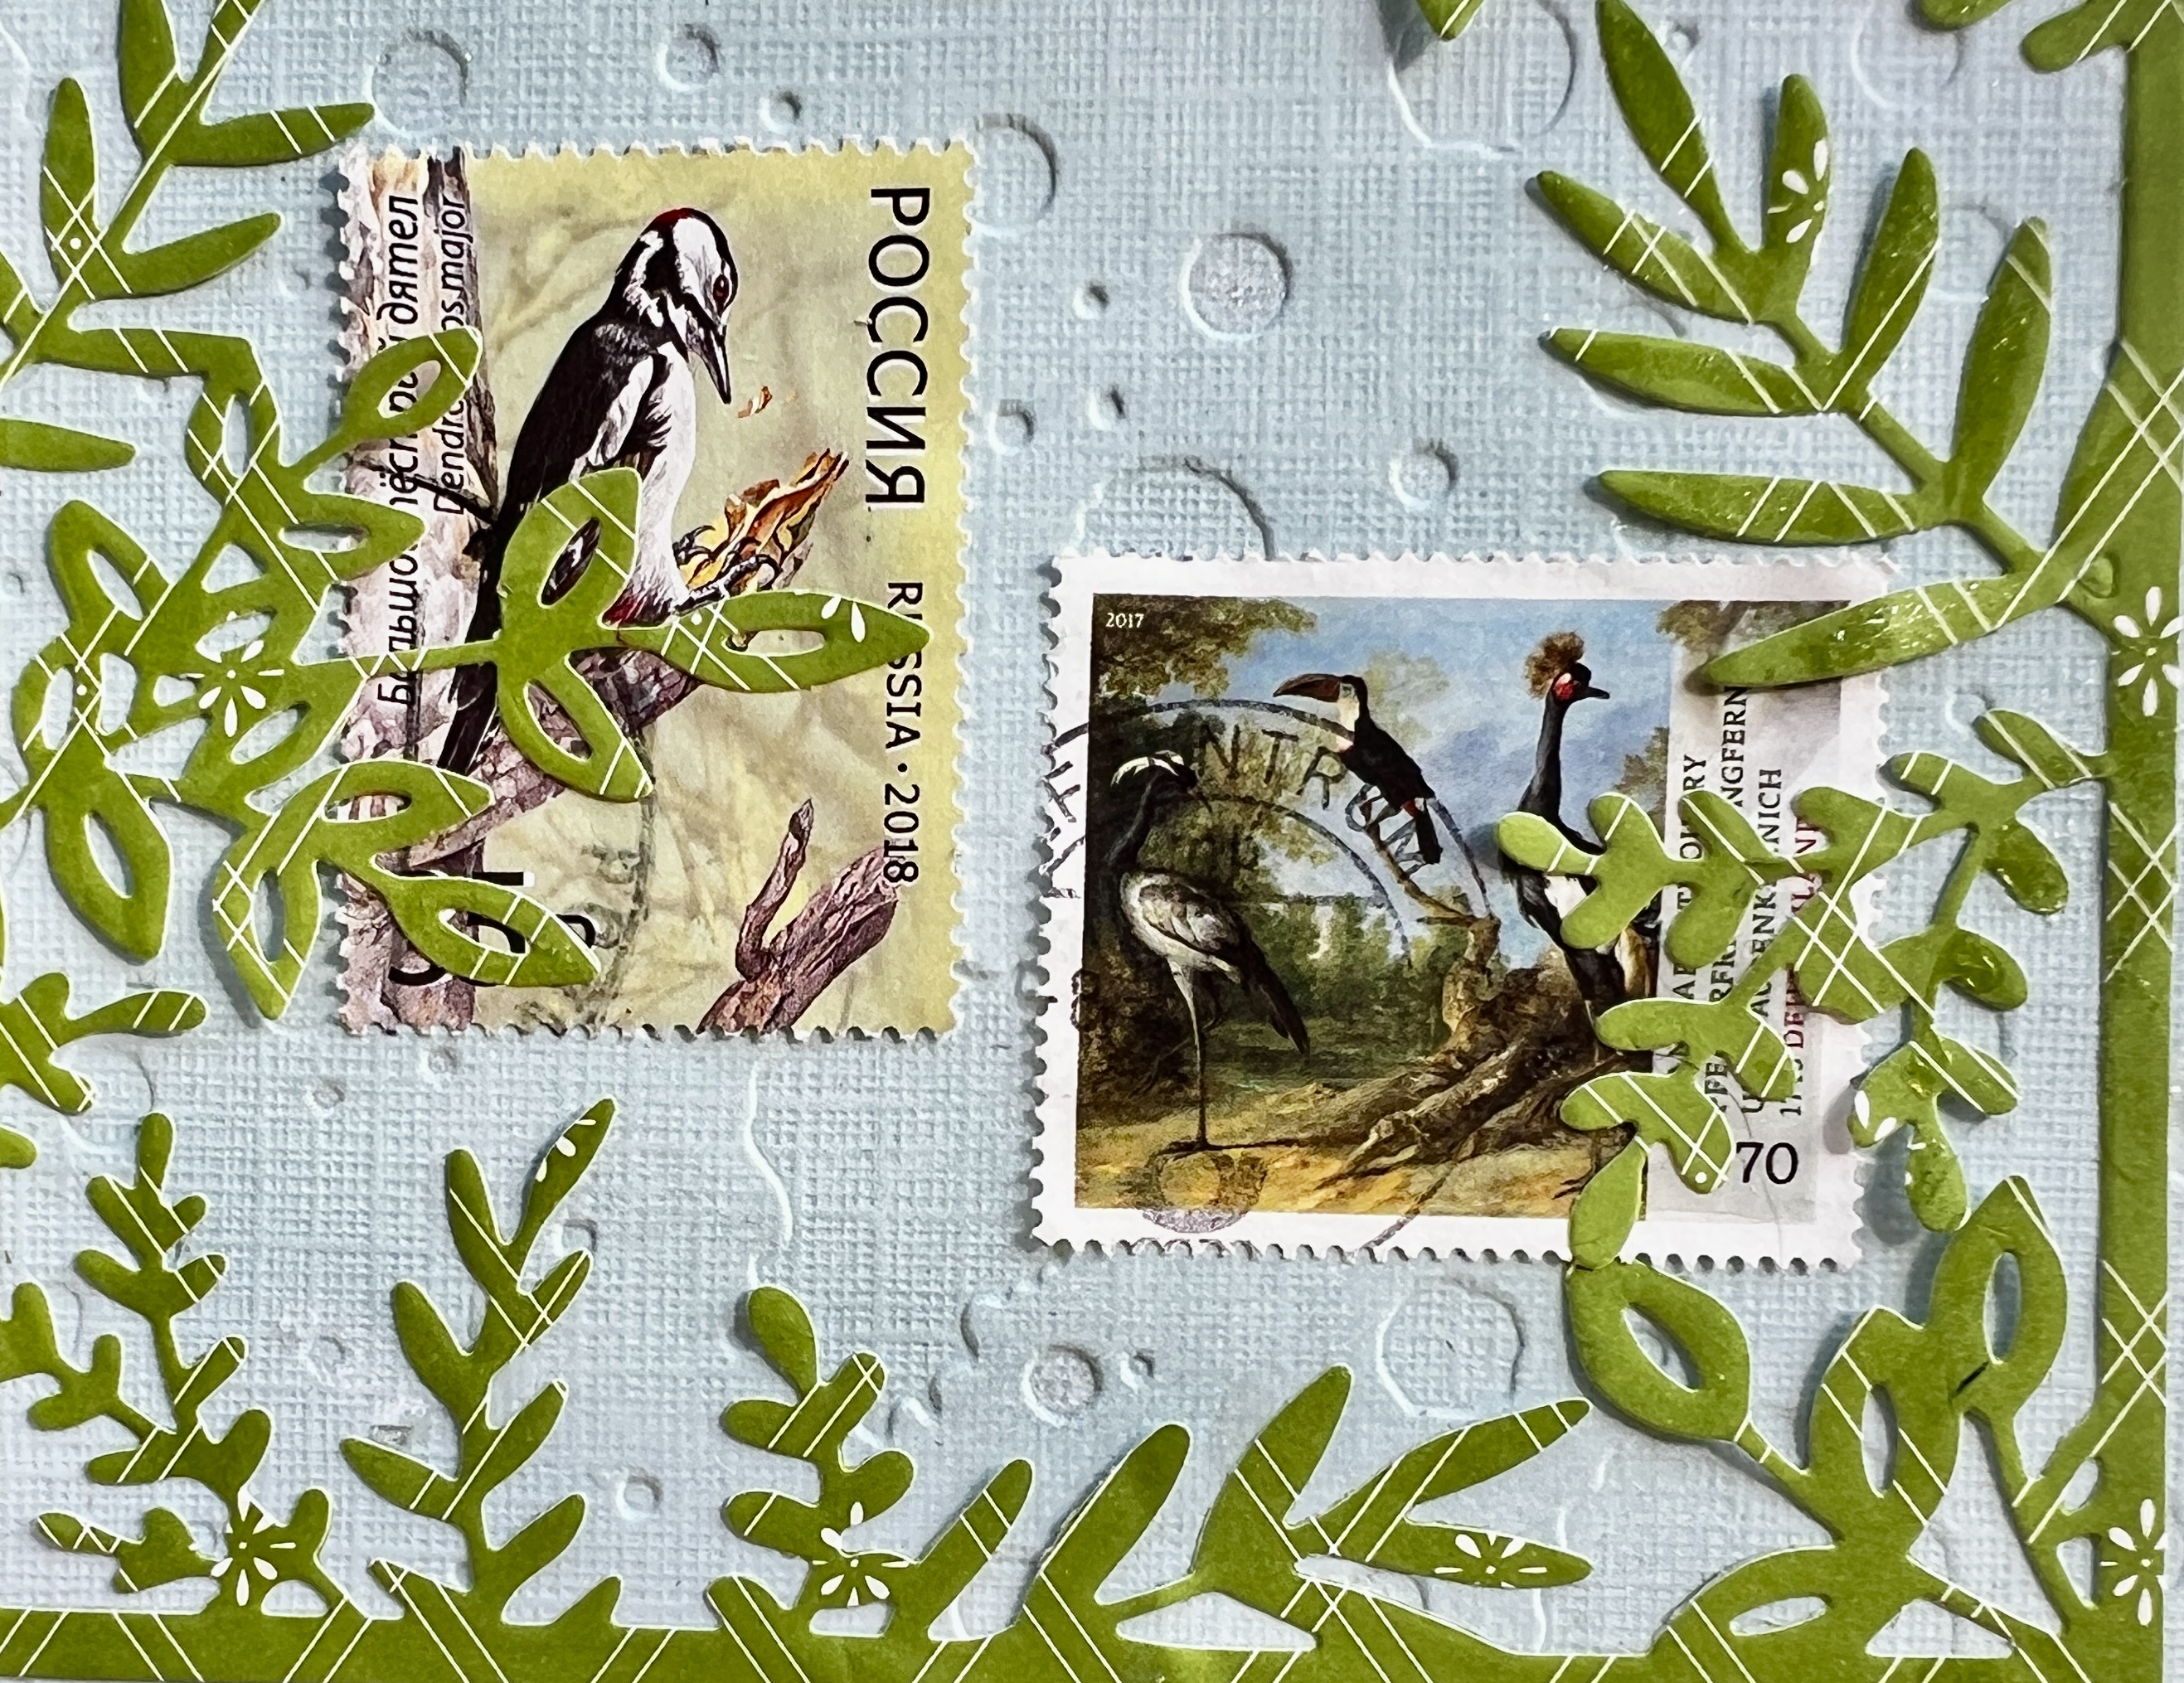
Barbara loves birdwatching, and as it often happens, the disparate pieces clicked. I made her a card by die cutting the “soup bonnet” from her gift and adding three wild bird postage stamps from my stash.

I added texture to the blue background using a spatter-patterned embossing folder, then used a glitter pen to create the illusion of raindrops on a window.

Thank you, Kate, for organizing ScrapHappy each month.
Click the links below to see what other crafters have shared this month. If you want to join us, please get in touch with Kate. She does a fantastic job keeping this fun and organized.

Kate,Ā Gun,Ā Eva,Ā Sue,Ā Lynda,
Birthe,Ā Turid,Ā Tracy,Ā 
Jan,Ā Moira,Ā Sandra,Ā Chris,
Claire,Ā Jean,Ā Dawn,Ā Gwen,
Sunny,Ā Kjerstin,Ā Sue L,Ā Vera,Ā 
Ā Ann,Ā Dawn 2,Ā Carol,Ā Preeti,Ā Viv,Ā Karrin,Ā Amo,Ā Alissa,Ā 
Lynn,Ā TierneyĀ , andĀ Hannah

Paper Quilts and Purple Hearts: Creating Cards With Postage

The cards featured in today’s post are the last in a series of greeting cards I designed using postage stamps. I’ll definitely make more in the future. You can read the first two posts here and here.

While most of my cards feature postage from several countries, this quilt-inspired card features sixteen flower stamps from Germany (Deutschland). I wanted to create a paper quilt, so I spaced the stamps symmetrically, with each color following a diagonal pattern. I used my quilt embossing folder to add to the effect and added a green border.

This card feels unfinished, but I’ve yet to figure out why. I love the stamps. It needs something to break up the symmetry, but what? Creative input is welcome.

The following two cards use a simple collage technique with a monochromatic theme. I had an extensive collection of blue stamps to begin with, so it allowed me to pick and choose. I went with the brightest blues, using sizes that allowed edge-to-edge contact.

Here is the finished card. I mounted the blue collage on a white background, then wrapped some vellum with a birthday sentiment so you can see all the images. I used fifteen stamps from eight countries: Austria, China, Finland, Germany, The Netherlands, Russia, the United Kingdom, and the US.

Purple stamps are uncommon, so I needed a die to feature the few that I had. I went with a heart.

In some cases I used the corner of a multi-colored stamp, saving the five prominent purple ones for the center. There is a bit of luck at play here, too. As I pulled together this card for my sister, I found one purple stamp from Canada, where we’re from. Sharon loves music, so finding the Charlie Parker stamp with the beautiful background seemed equally fortuitous.

I assembled the purple heart from twelve stamps representing Australia, Canada, France, Germany, India, The Philippines, Poland, Russia, Spain, and the US.

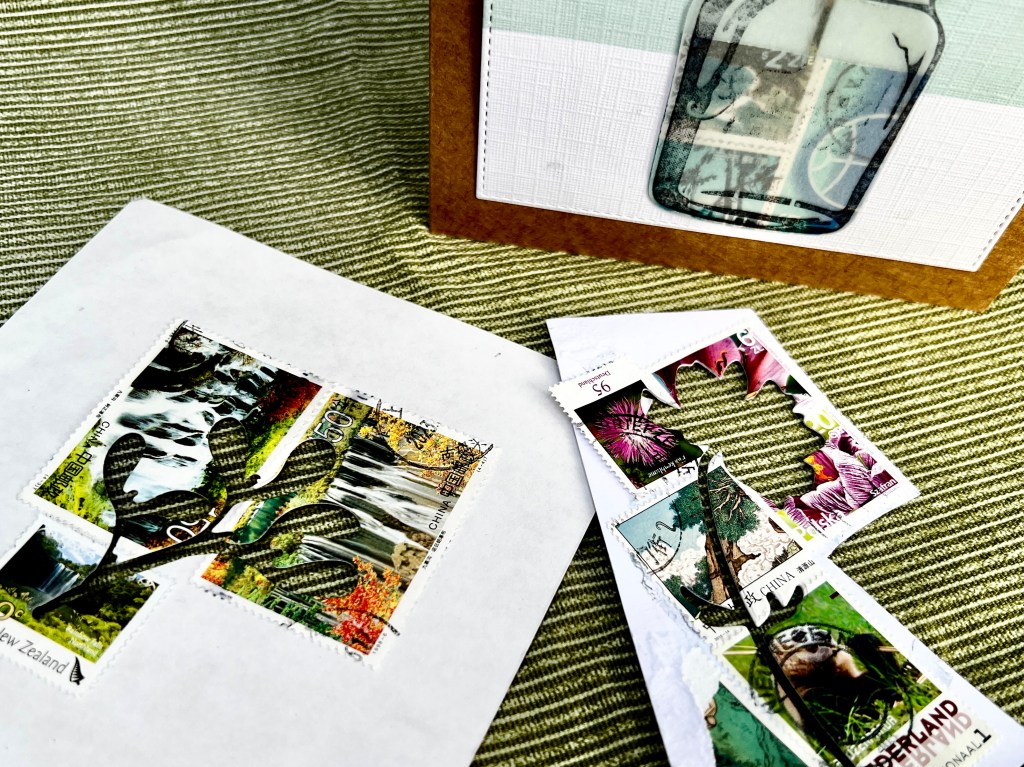
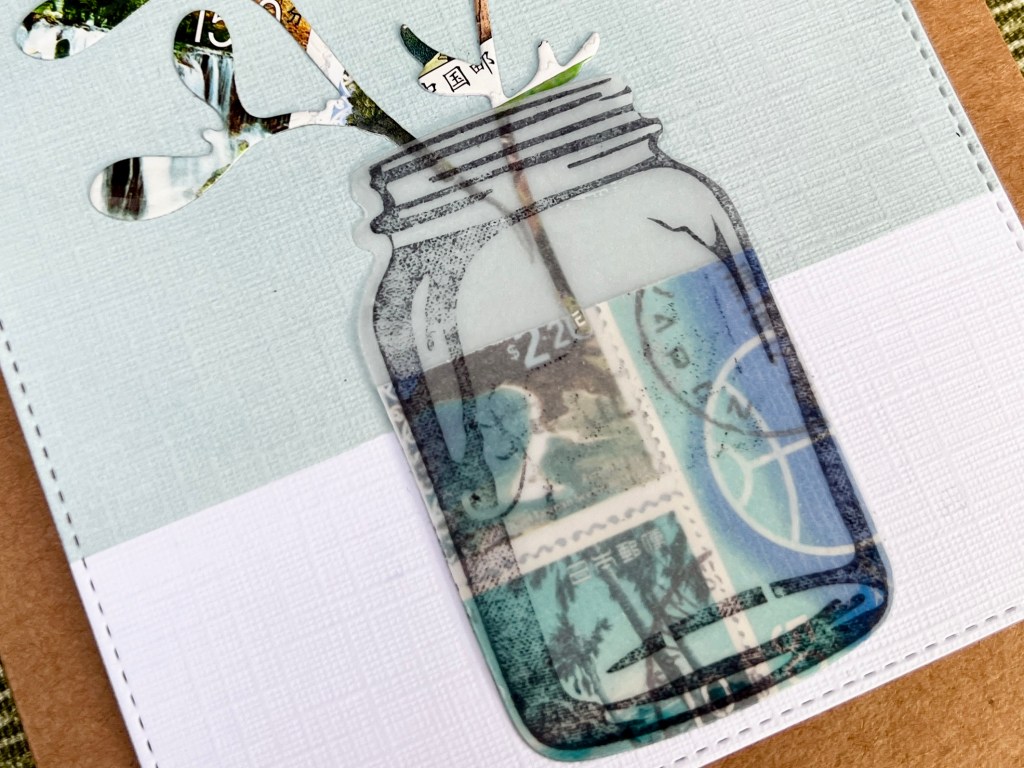
This last card is my favorite. I used three stamps for the greenery, five for the flower, and four for the vase. I like its simplicity.

I assembled this card using white textured card stock, giving the top third a wash of aqua ink. I stamped the image of the jar on vellum in black ink, then tucked a few blue stamps behind it. Postage used for this card came from China, Germany, Japan, The Netherlands, New Zealand, and Poland.

This is also a card that I can see myself replicating.

Before tidying my desk, I made a handful of bookmarks for our Little Free Library.

Playing with postage has been a lot of fun. Thank you for following along.

Flowers and Cats, Wild and Domestic: Creating Cards with Postage

Today I’m sharing three of the cards I created using my postage stamp stash. The cards run the gamut from pedestrian to quirky. You can read more about the start of this process here.

Along the way, I tried keeping track of the countries represented as I created the cards. I had so much fun.

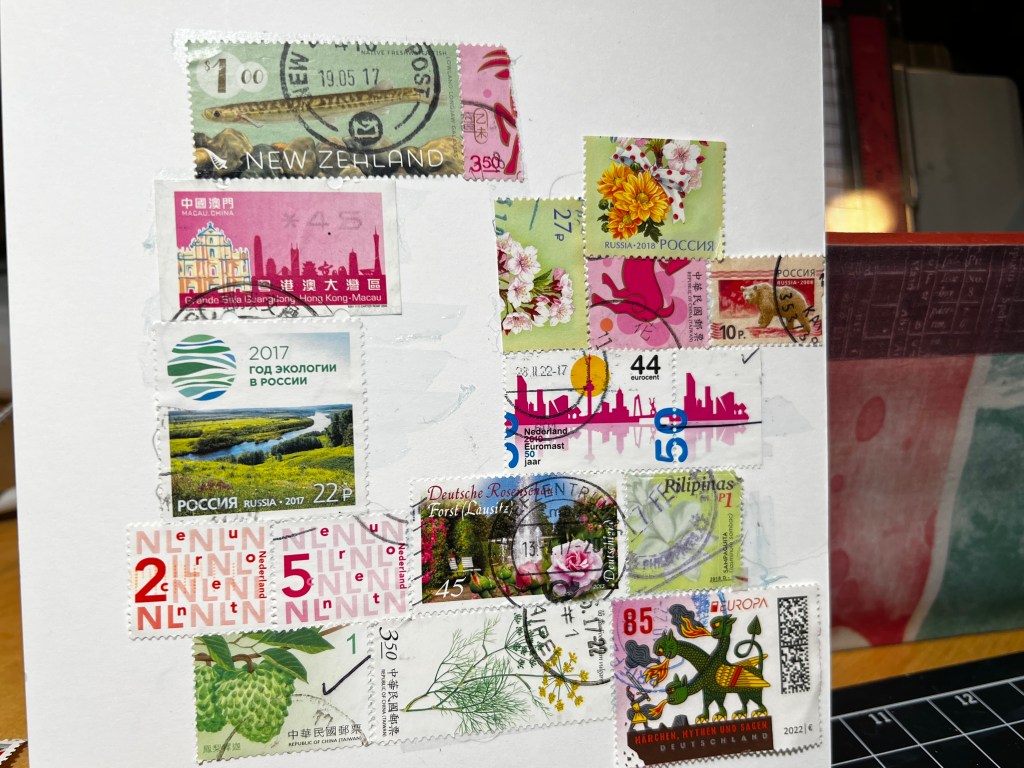
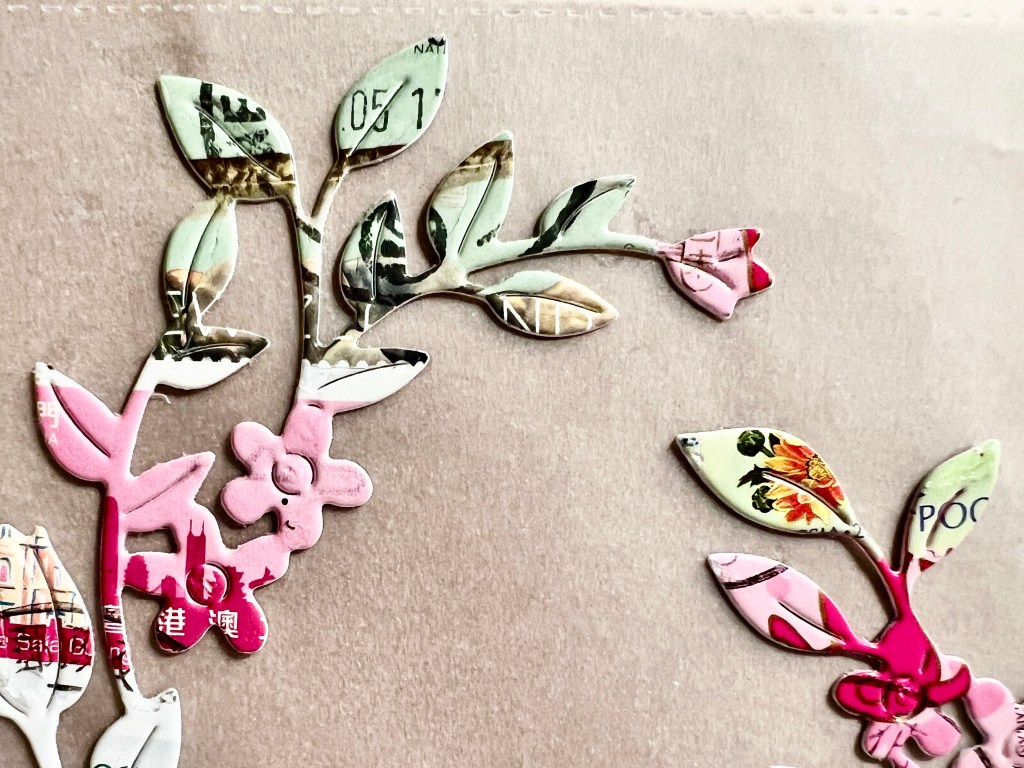
This first card took a bit of planning. I used a beautiful new floral die by Hero Arts and 15 stamps from nine countries. I had to cut two stamps to get the colors in the right place, but for the most part, I enjoyed the challenge of placing the whole stamp for maximum color effect.

Here’s how it looked just before running it through my die-cutting machine. Countries represented in this card include China, Germany, Hong Kong, The Netherlands, New Zealand, The Philipines, ROC-Taiwan, Russia, and the US.

Here is the finished card. I placed the floral postage wreath on velum, then added a hand-stamped sentiment to a pink paper scrap.

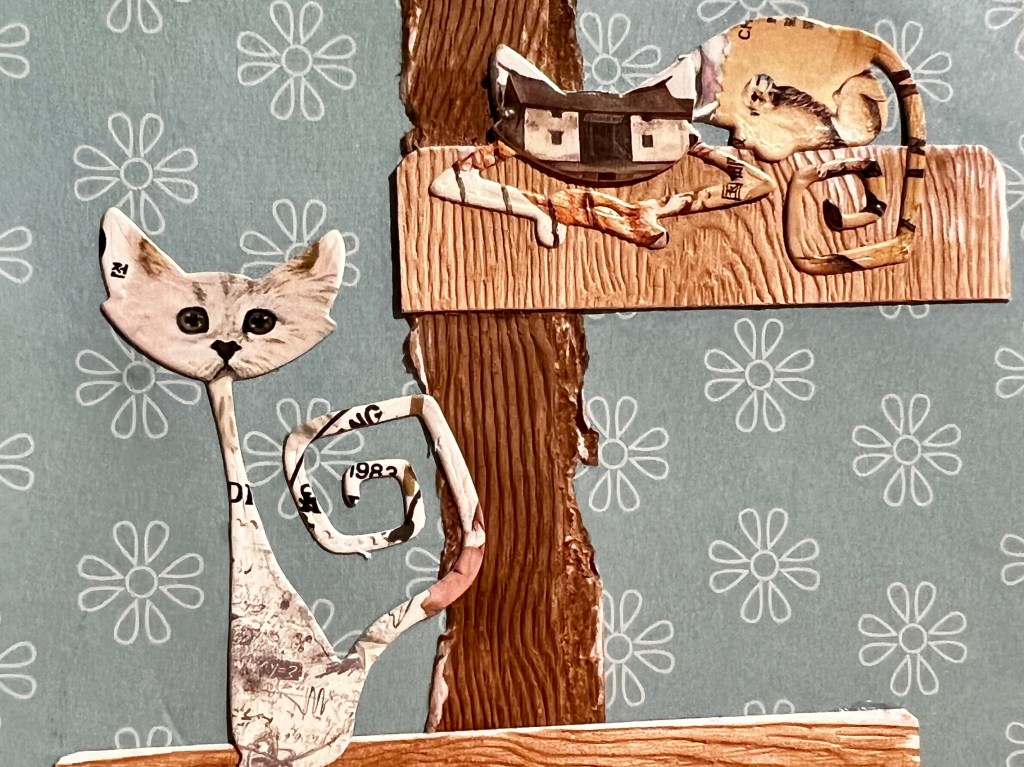
The next card falls into the quirky category. When sorting my stamps, I set aside images of cats, hoping for inspiration.

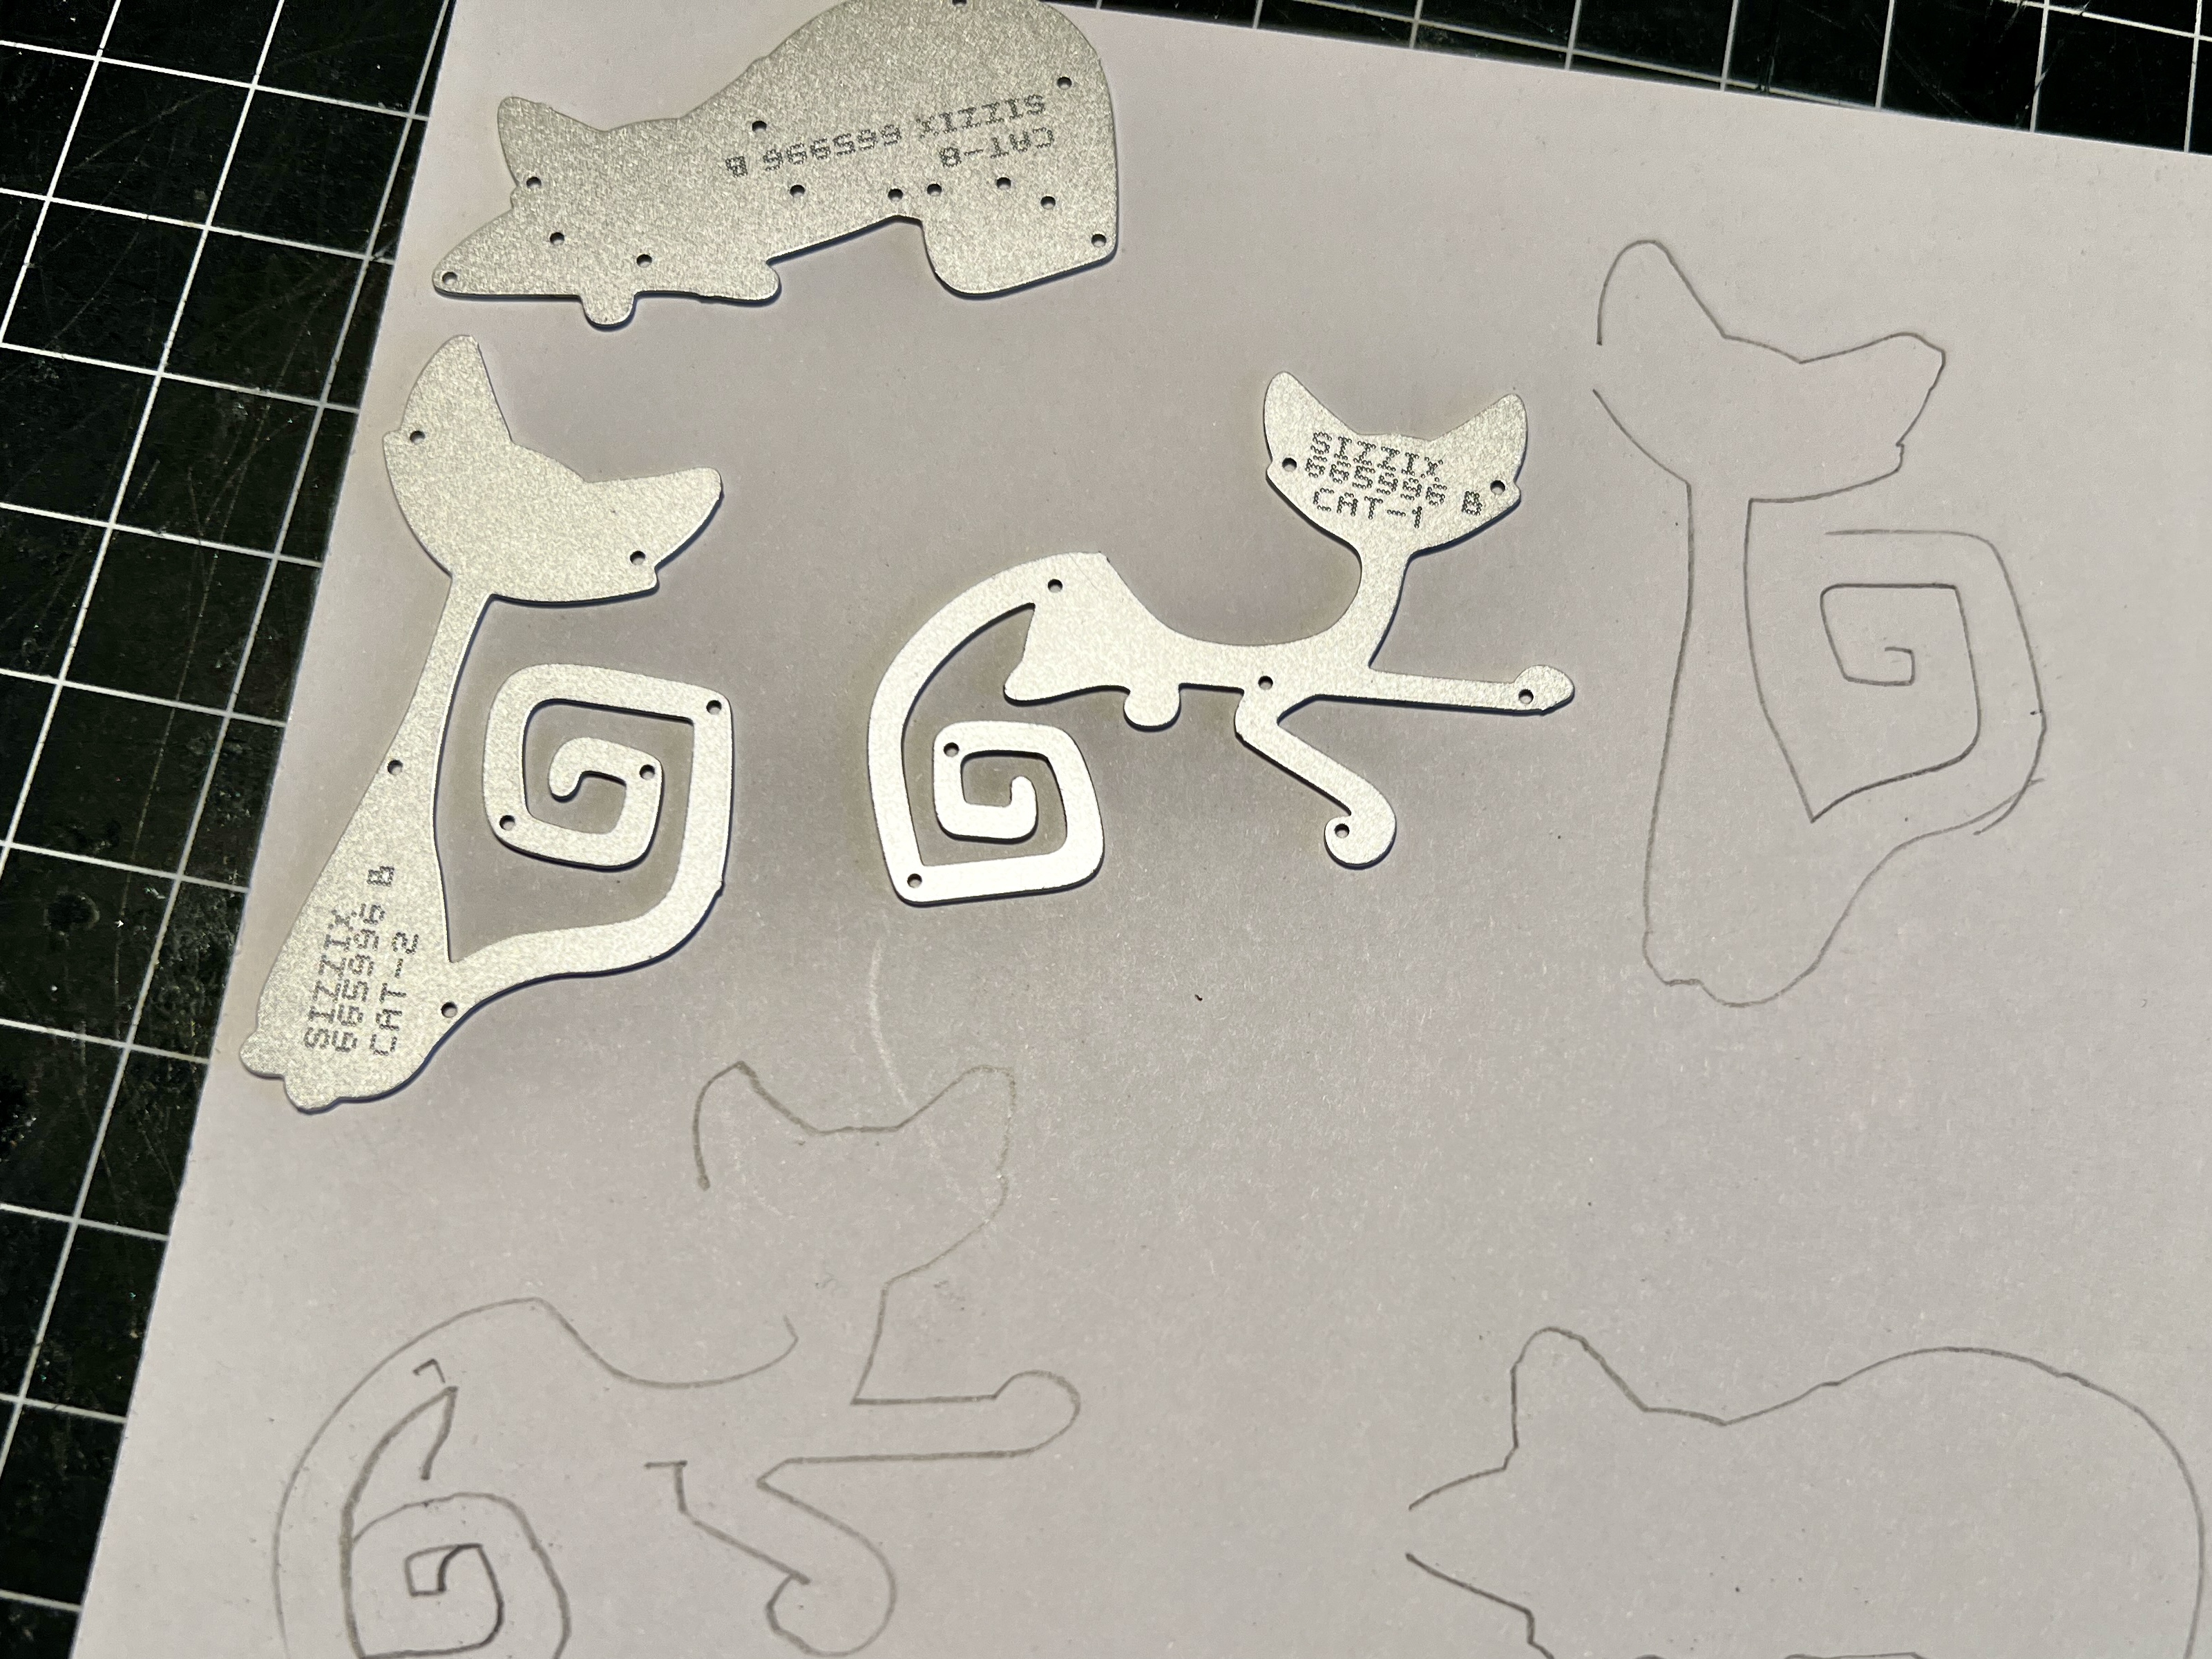
I have a set of Sizzix dies featuring cats, something I hoped to use at Halloween. It occurred to me that I could try using the cat dies with the images of the postage cats facing forward. It worked for two of the three cats. Before I knew it, I had “constructed” a cat condo using textured woodgrain paper, various inks, and a sanding block to emulate a well-loved cat tree.

I still needed a face for the middle cat, but the remaining cat postage didn’t work. After pawing through several more stamps and some trial and error, cat number three got a pair of cool glasses courtesy of this stamp from China.

I used coordinating colors for the body of each cat. I finished the card by adding floral paper to the background, reminiscent of kitschy wallpaper. Now that’s quirky. Countries represented in this card include China, Korea, Lithuania or Lietuva, Malaysia, The Netherlands, and the US.

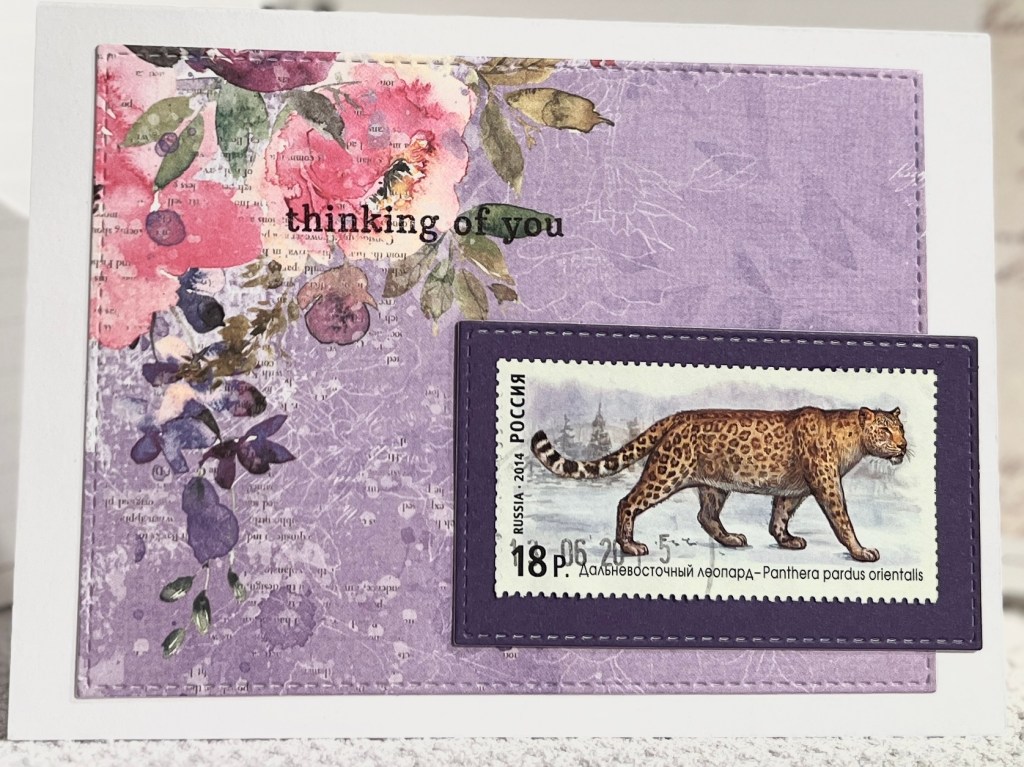
Today’s final card uses a single postage stamp from Russia. My sister loves wildcats, and her favorite color is purple. This over-sized stamp combines both. I used a stitching die to cut two rectangles, added the wild cat stamp to the smaller one, and stamped “thinking of you” in the upper corner. I know she’ll enjoy it.

I’ll be back tomorrow with more cards.

Here is a helpful link if you are new to card making. It’s called The Ultimate Card Making Techniques Glossary

ScrapHappy December: Covered Booze Box and a Few Scrappy Cards

It’s the middle of December, or in Kate-speak, it’s time to show off our monthly ScrapHappy challenge as we wind down the year.

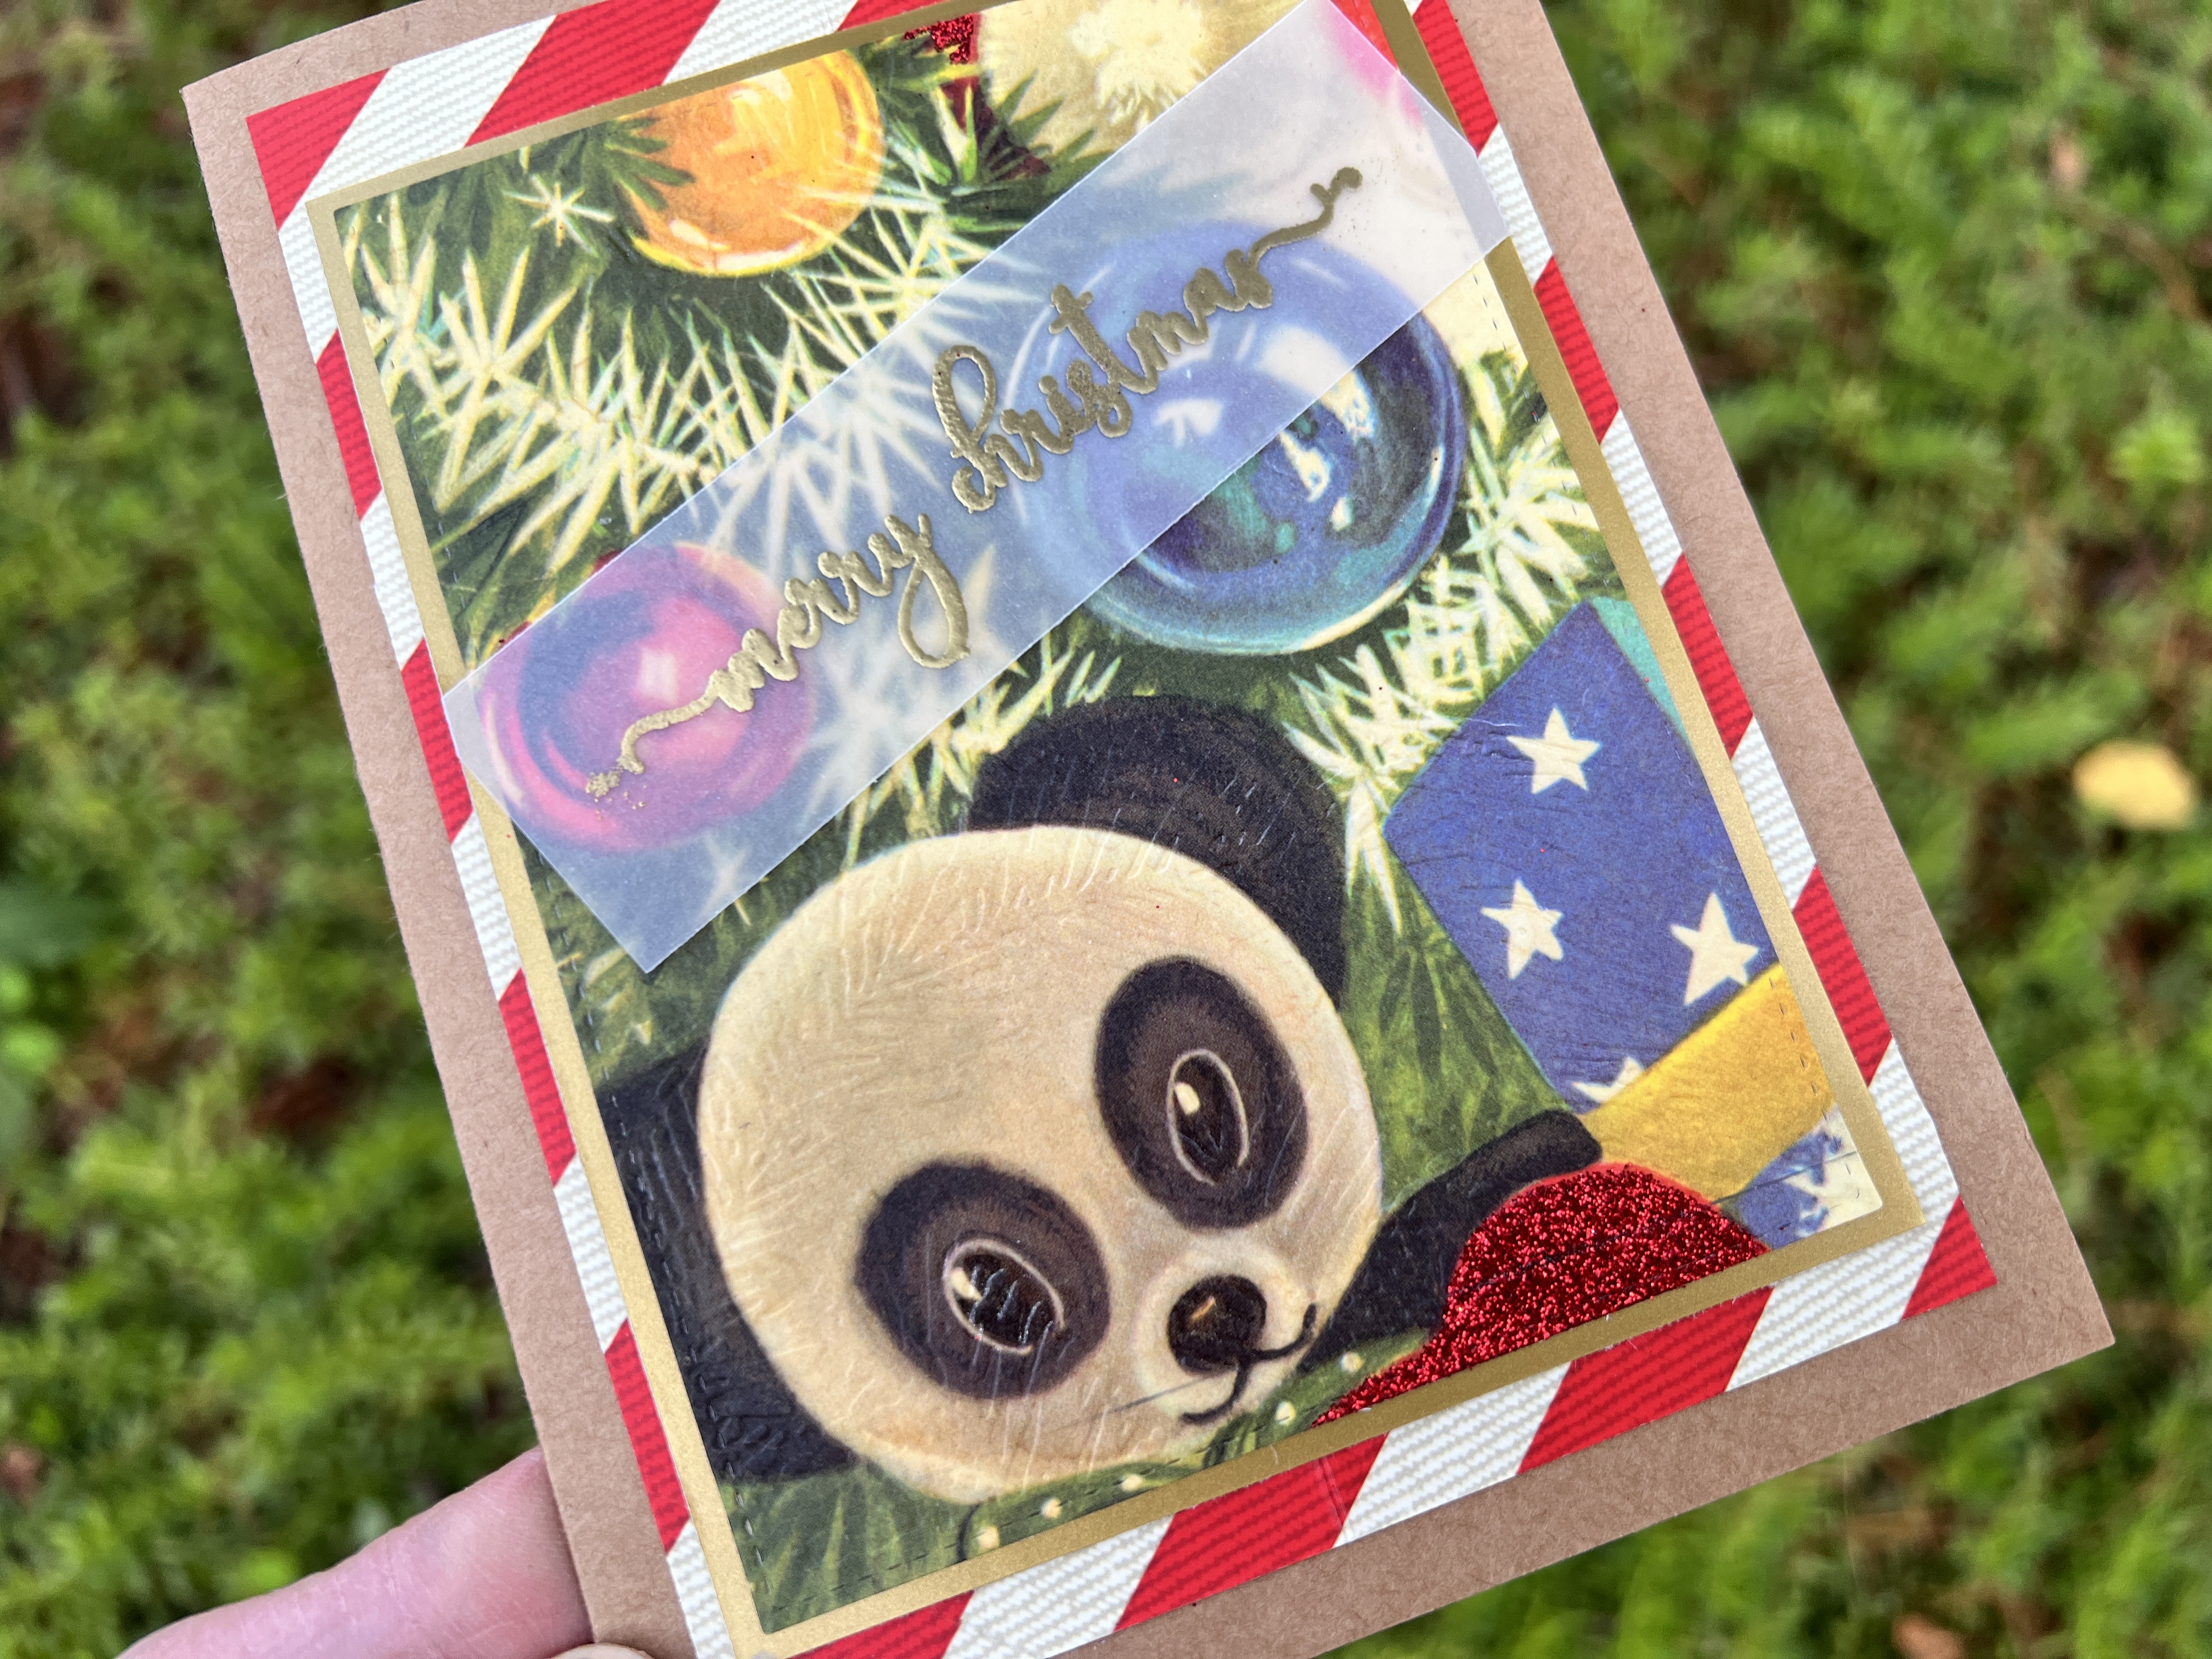
I have a few things to share this month, starting with a Christmas card made from a damaged gift bag.

After removing the striped paper from the sides and bottom of the bag, I selected the lower corner of the bag facade featuring a panda plushy. Those eyes melt my heart. Once cut to size, I used a dry embossing folder to add texture to the card, then cut it with a stitching die from my stash.

I created a mat for the card using the paper from the side of the gift bag and then added a thin border of gold paper for contrast. I used my glitter gel pen to add highlights where the original artist used them on the bag. A small greeting embossed on a heavy vellum finished the card.

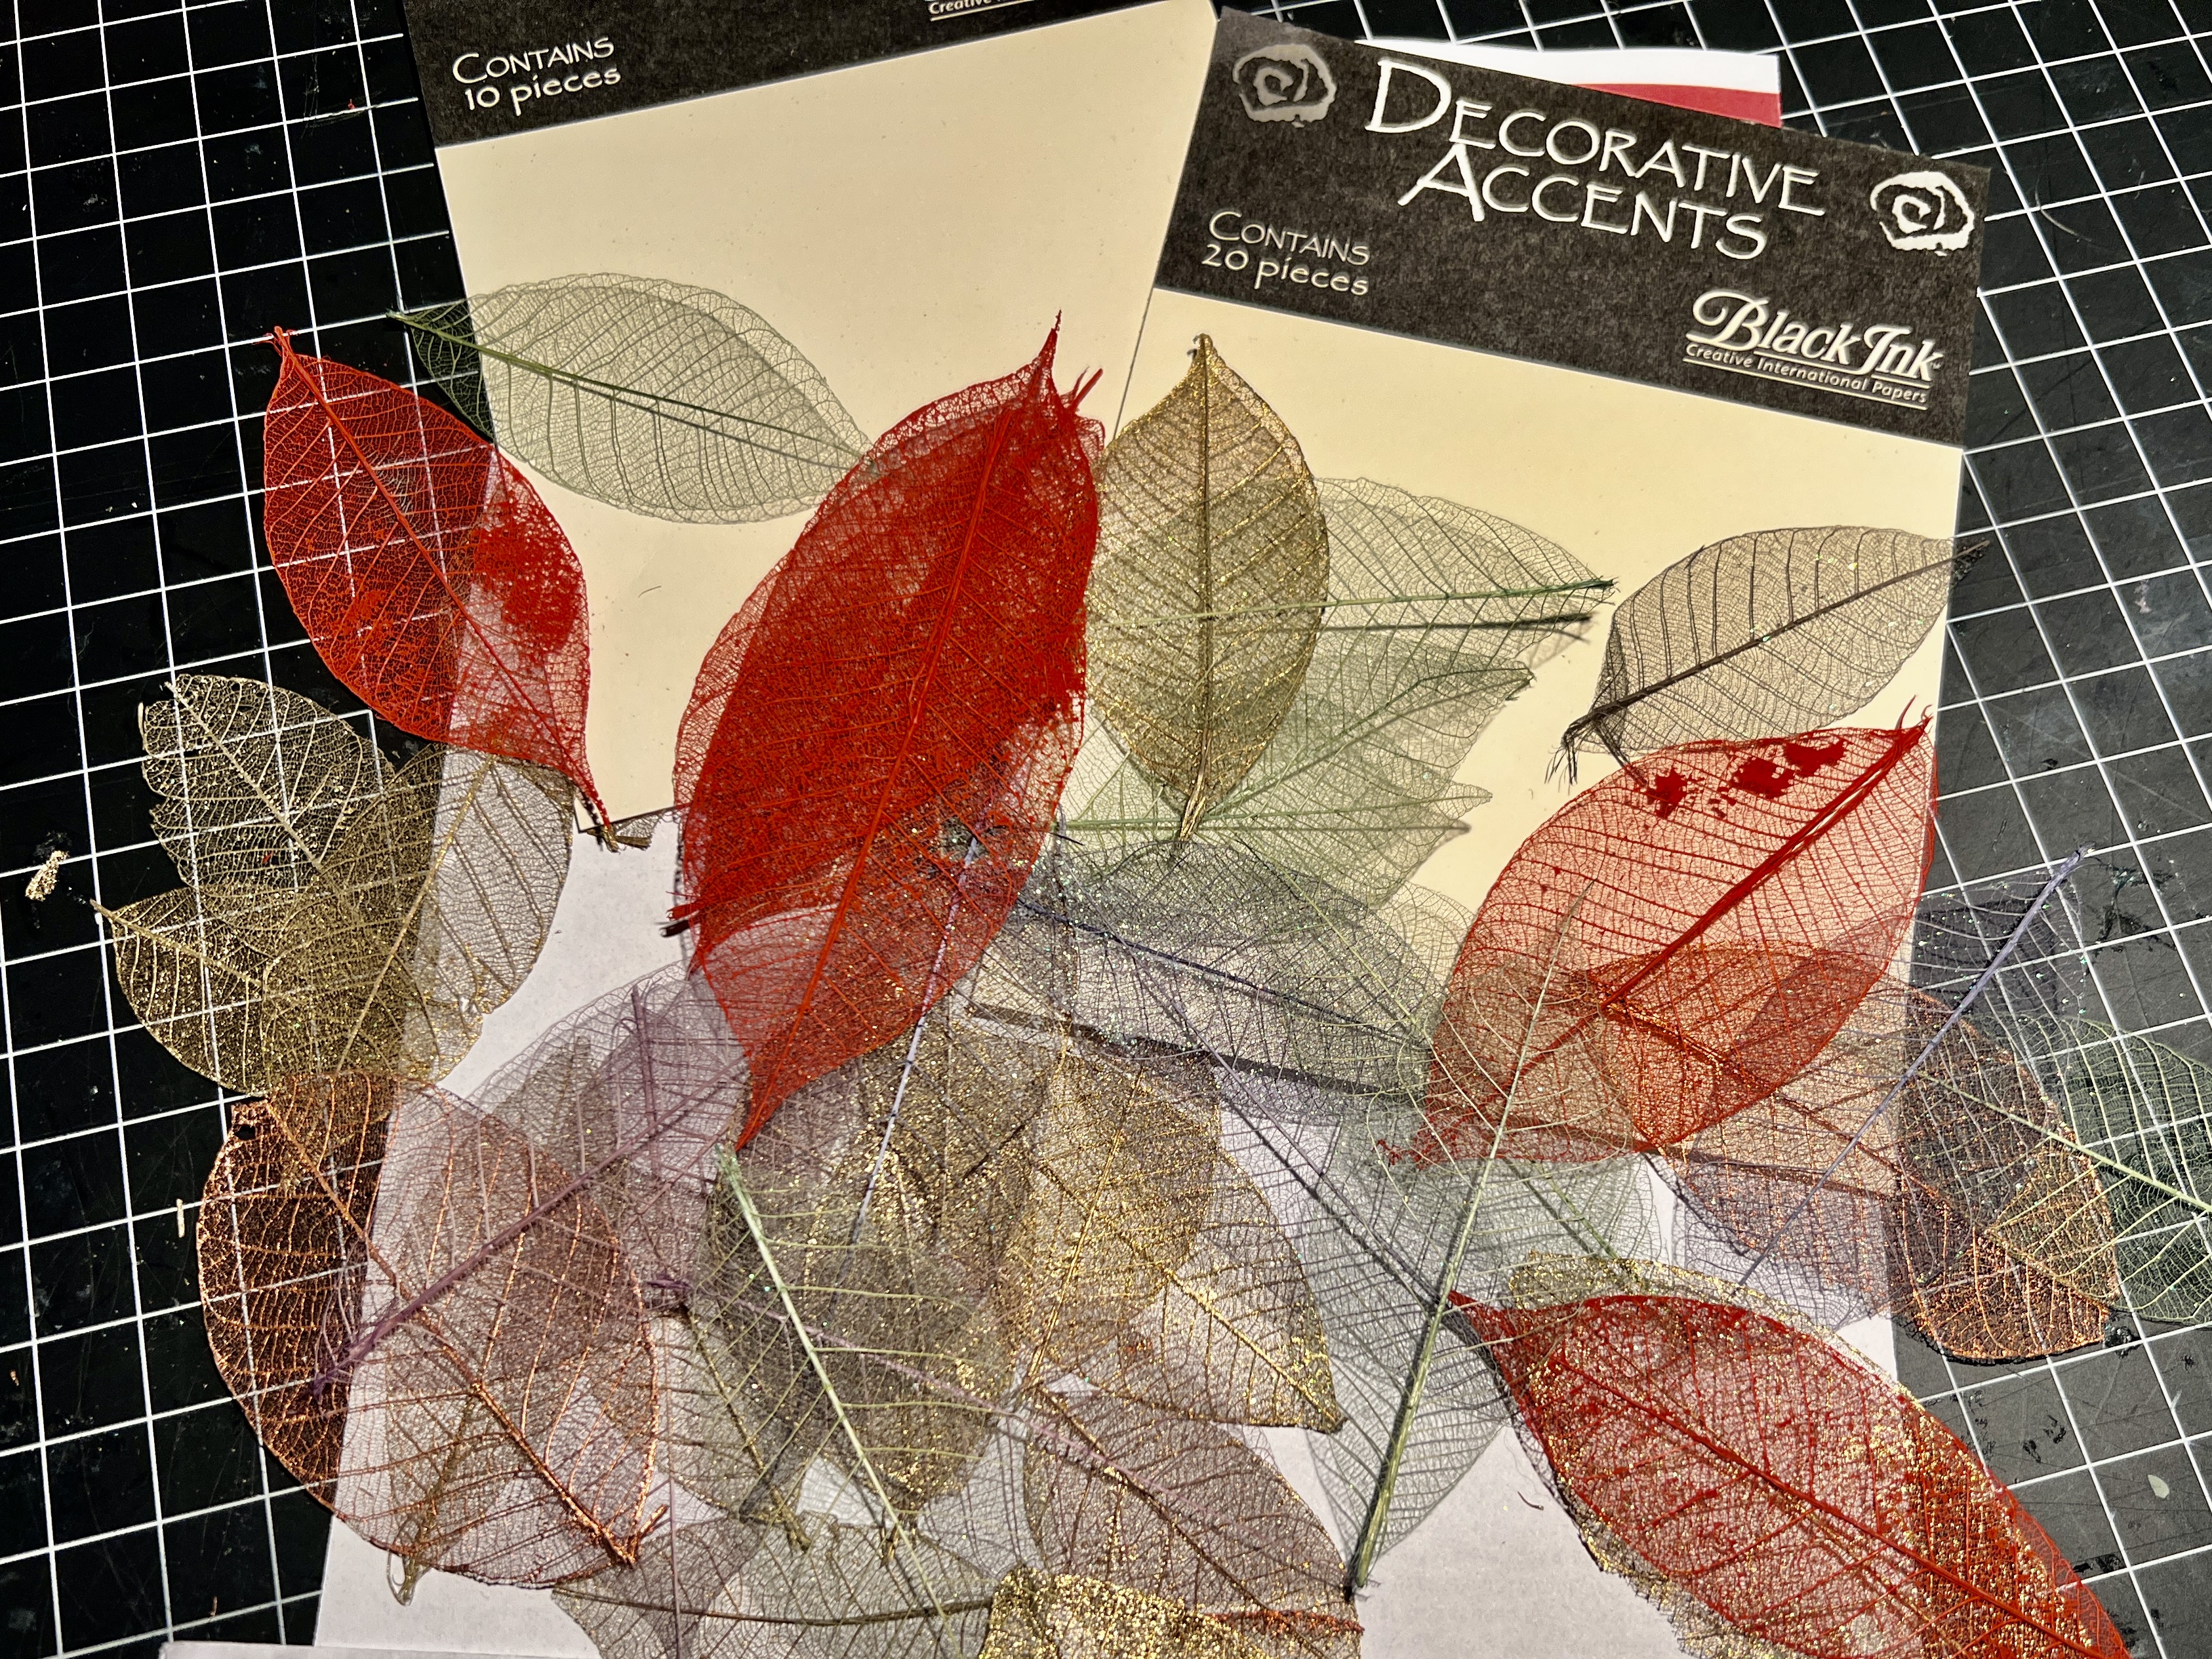
Next, I created a series of cards using leaf skeletons gifted by my friend Mary. She said, “I thought you could use these to make cards,” so I did. The leaves came in an assortment of sizes and colors.

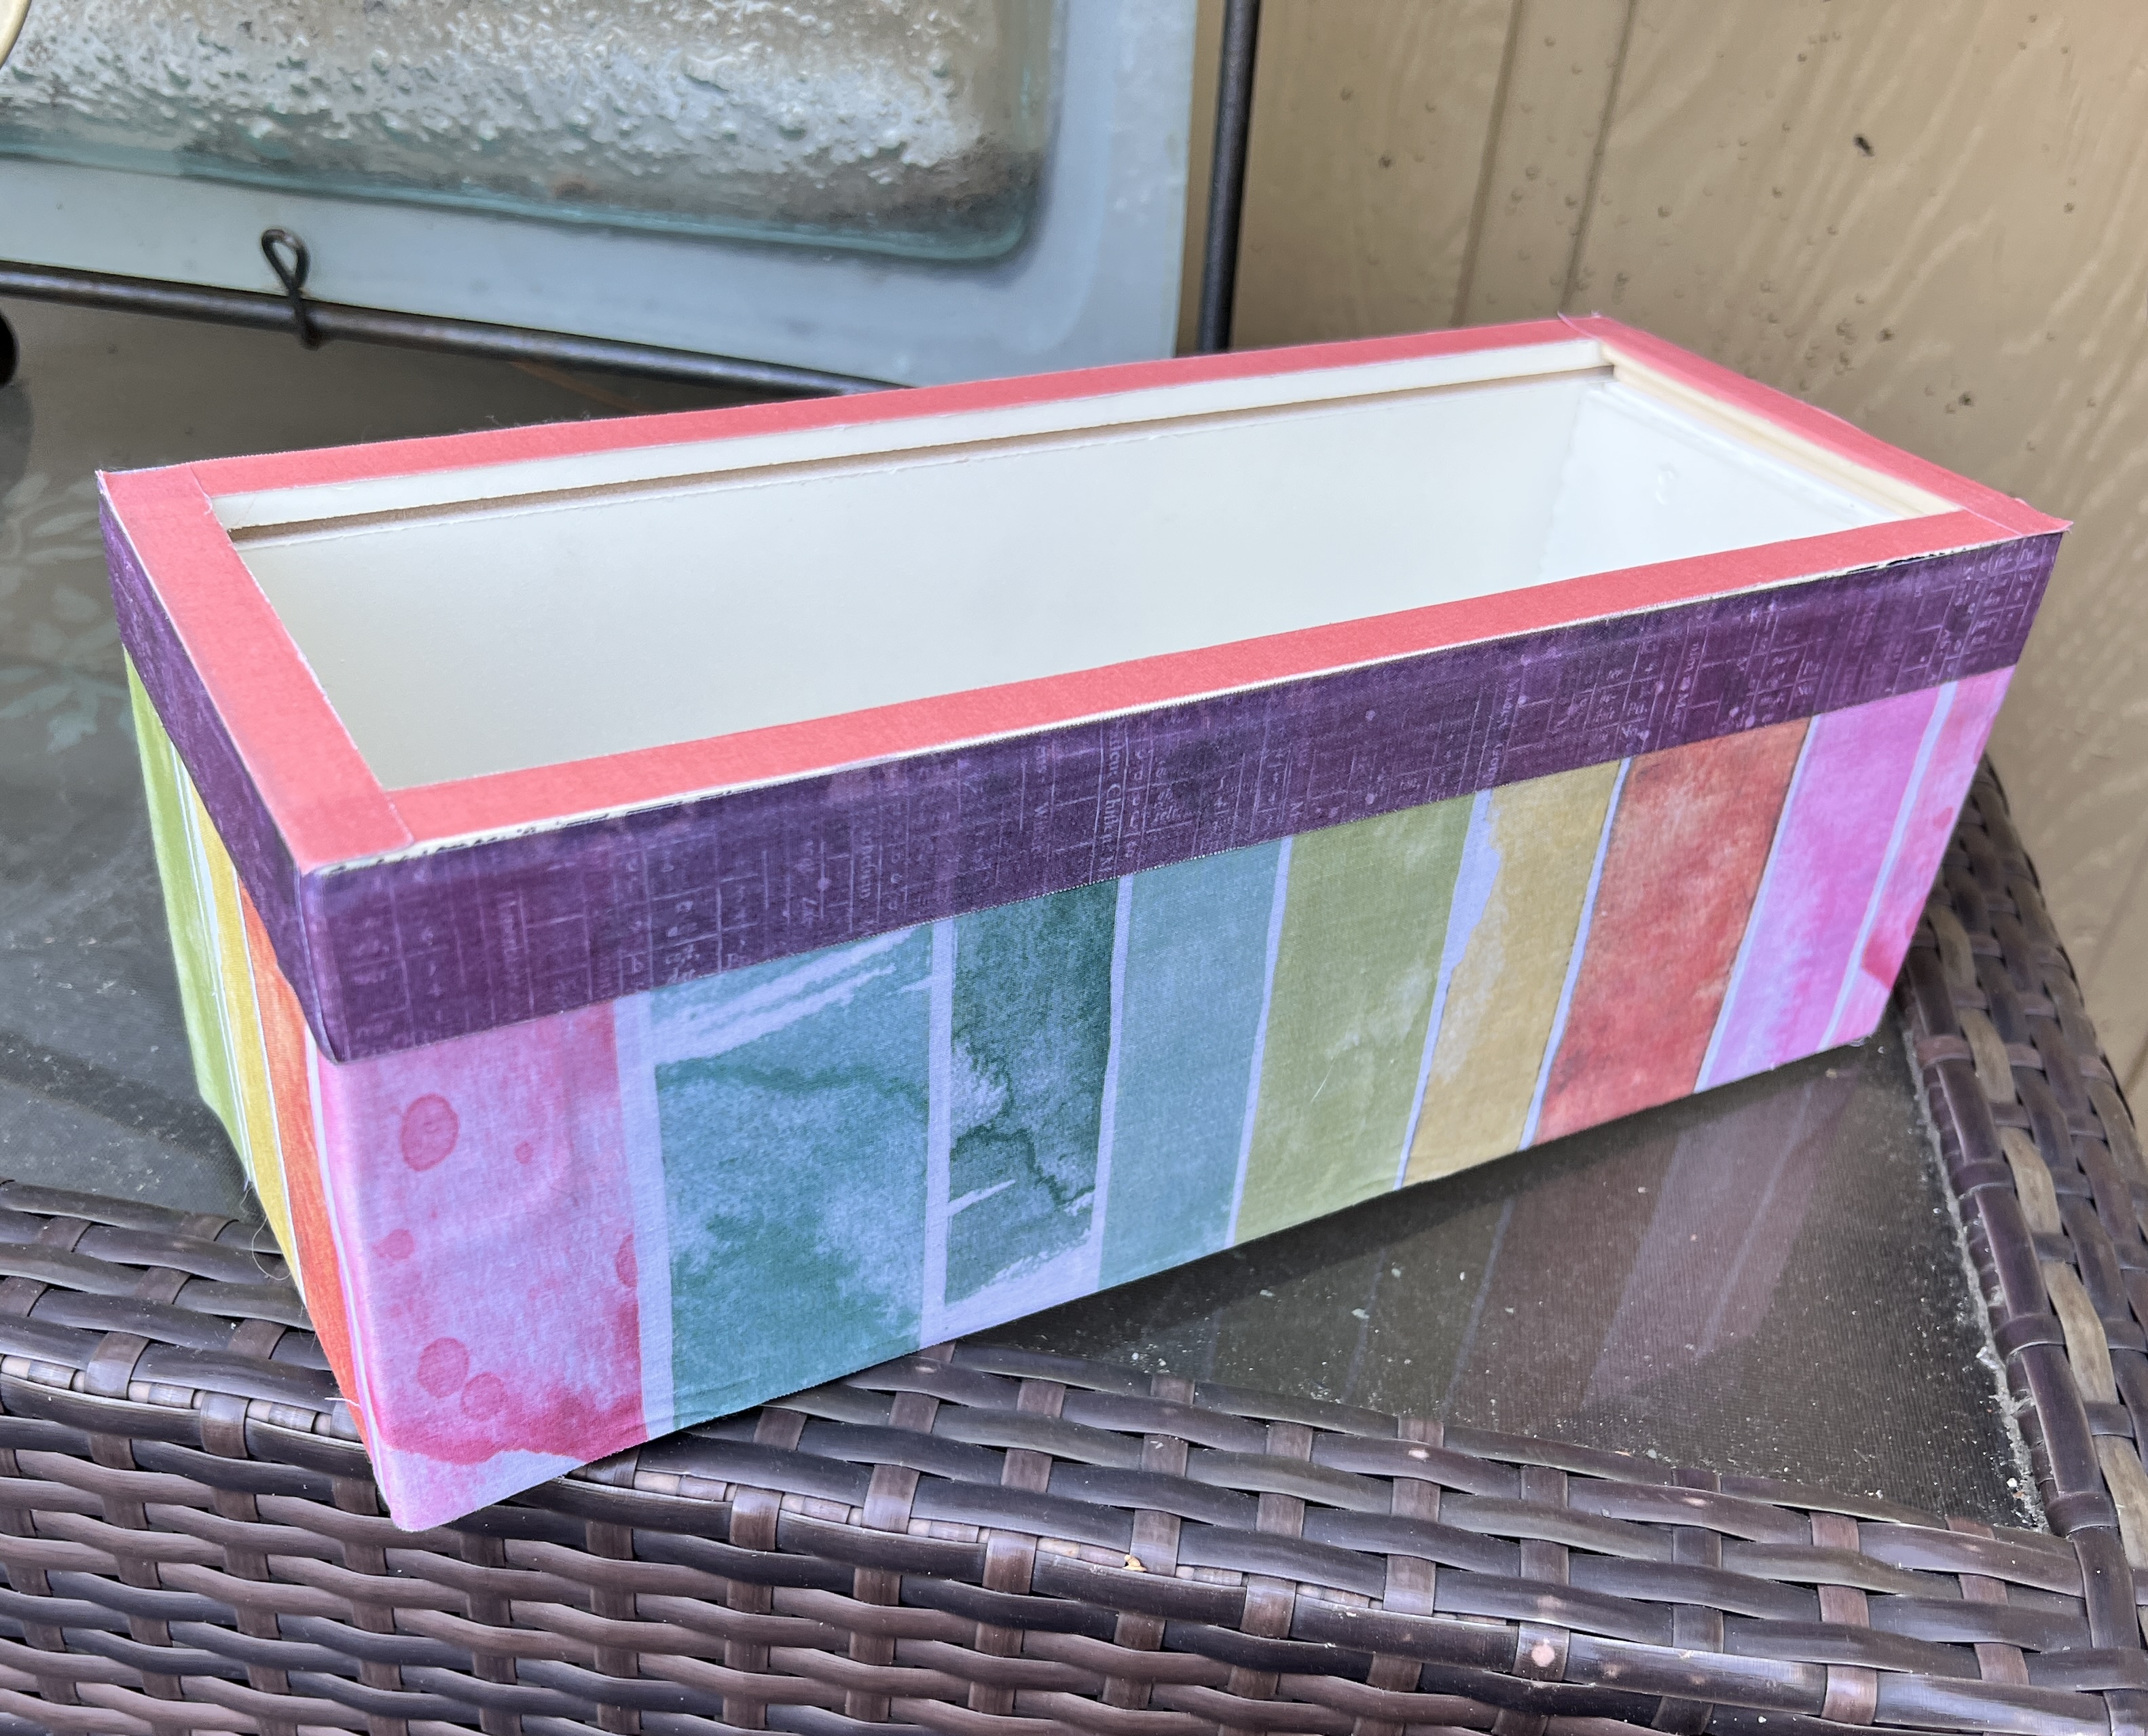
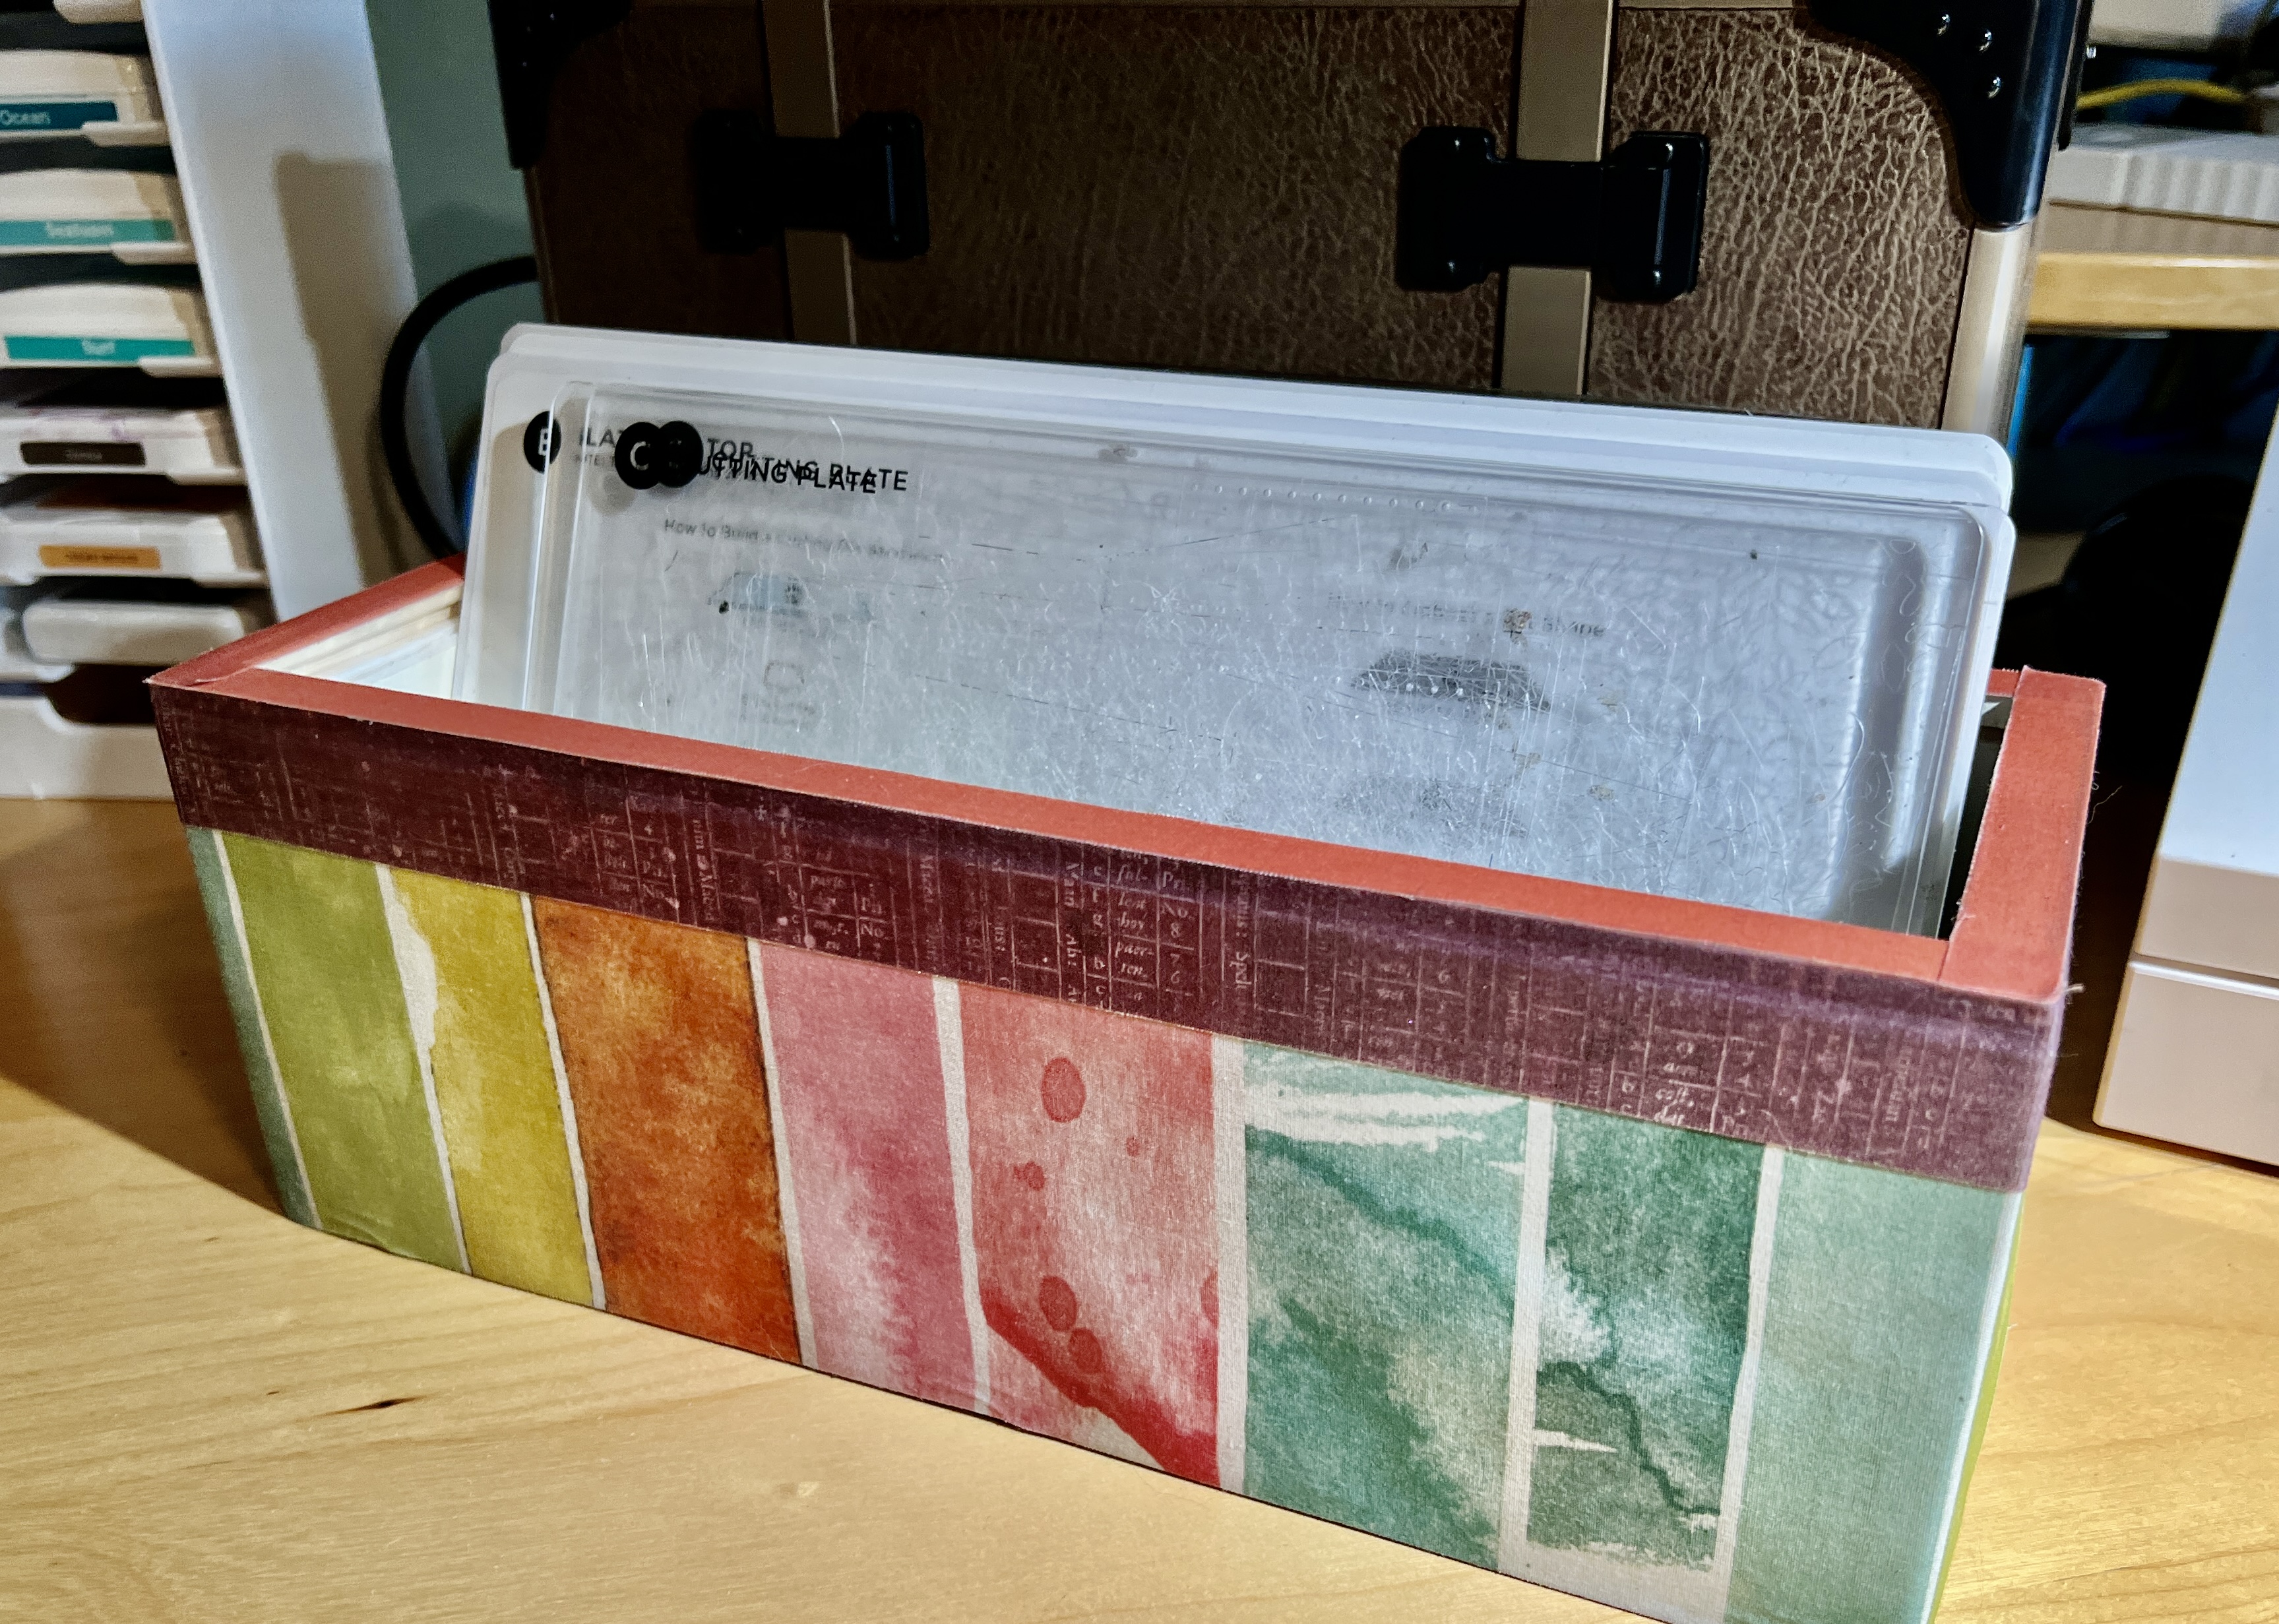
My last share is a wooden box gifted to Mike with a bottle of long-forgotten alcohol. I claimed the box for storage on my crafting table as it is sturdy and the perfect size for the various plates I use for my die and embossing machine.

It sat unadorned for a year before I gave it the Washi tape treatment. The wooden box has a slot for the lid, so one of the four sides needed leveling. I settled on take-out wooden chopsticks, building the edge in layers till even.

All three of these projects were a lot of fun. On that note, please look at some of the other fun ScrapHappy projects at the sites linked below.

Thanks, Kate, for inspiring us to put our scraps to use.

KateGun, EvaSue, Lynda,
Birthe, Turid, Susan, Cathy,  Tracy, 
JanMoira, SandraChrisAlys,
ClaireJeanDawnGwen,
Sunny, Kjerstin, Sue LVera, 
 Ann, Dawn 2, Carol, Preeti,
NĆ³ilinVivKarrin, Amo, Alissa
Lynn, Tierney and Hannah

ScrapHappy: So Soon?

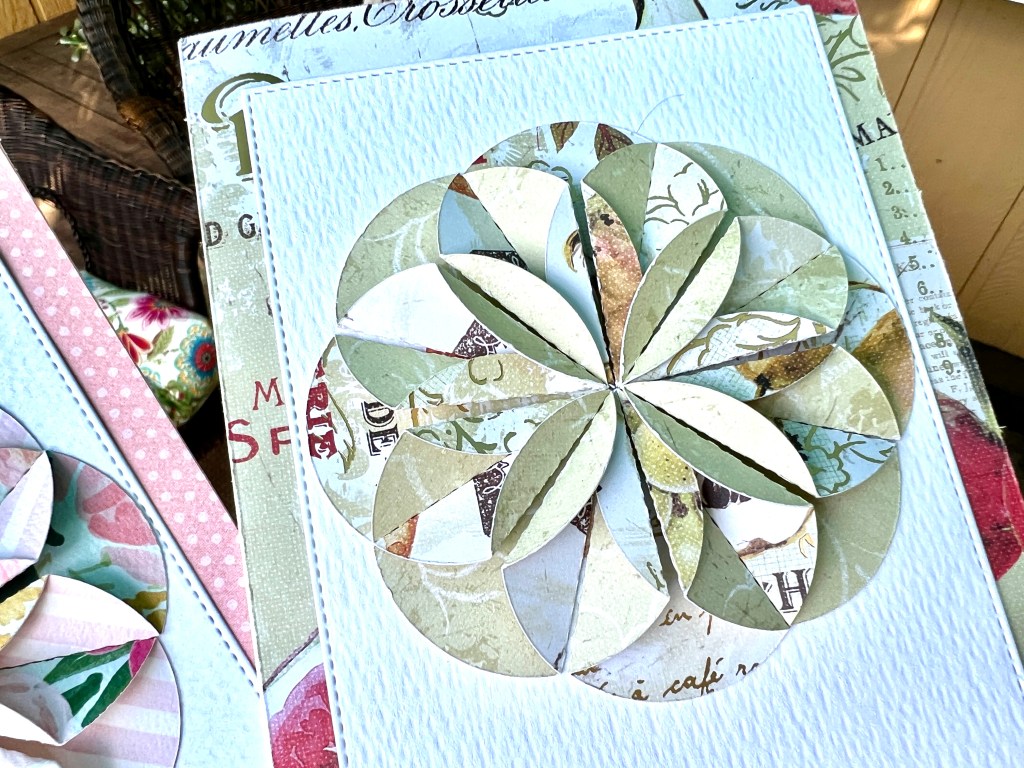
The 15th of the month arrived in a flash. I hate to miss one of Kate’s ScrapHappy posts, so I pulled some paper scraps and made a pair of cards.

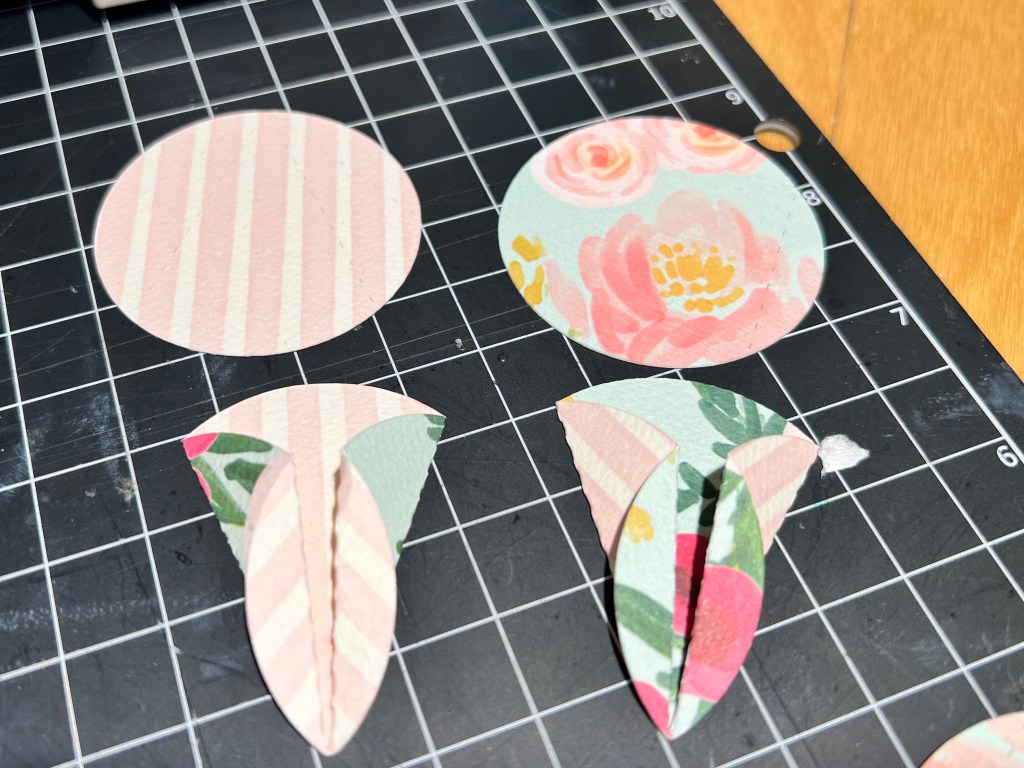
I used my Silhouette Cameo die-cutting machine to cut the circles. It feels like a touch of magic when you fold the edges of the circle into a V, showing the reverse side of the paper. I alternated the pattern to show off both sides of the print.

It will surprise no one that I have lots of floral paper in my stash. It’s what I’m drawn to again and again. The last two pics are closeups of the paper quilt. I used white water-color paper, but for some reason it looks blue in these shots.

That’s my small contribution this month. Please click the links below to see what other makers are up to. Thanks as always, Kate.

Ā Kate,Ā Gun,Ā Eva,Ā Sue,Ā Lynda,
Birthe,Ā Turid,Ā Susan,Ā Cathy,Ā Ā Tracy,Ā 
Jan,Ā Moira,Ā Sandra,Ā Chris,Ā Alys,
Claire,Ā Jean,Ā Jon,Ā Dawn,Ā Gwen,
Sunny,Ā Kjerstin,Ā Sue L,Ā Vera,Ā Edith
Ā Ann,Ā Dawn 2,Ā Carol,Ā Preeti,Ā Debbierose,Ā NĆ³ilin,Ā Viv,Ā Karrin,Ā Amo,Ā Alissa,Ā Lynn,Ā TierneyandĀ HannahĀ Ā 

ScrapHappy for Flower Cards

ScrapHappy for Flower Cards

Once a month, Kate inspires a group of bloggers to dust off their scraps and embrace the ScrapHappy vibe. I’m always up for the challenge of creating from scraps. Kate is a talented quilter, a raiser of chickens, a gardener, and an all-around good soul. Check out her blog for more inspiration and fun.

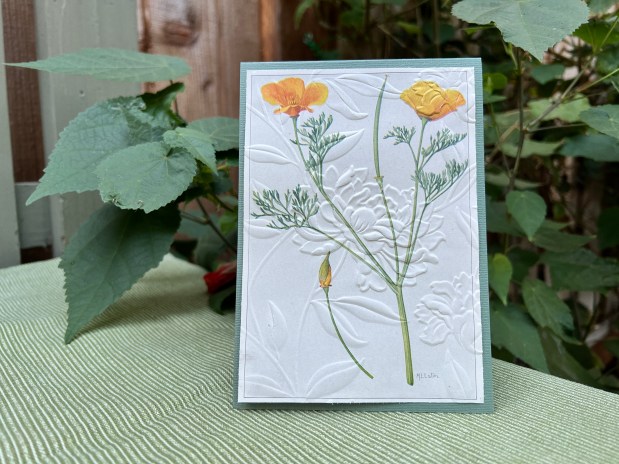
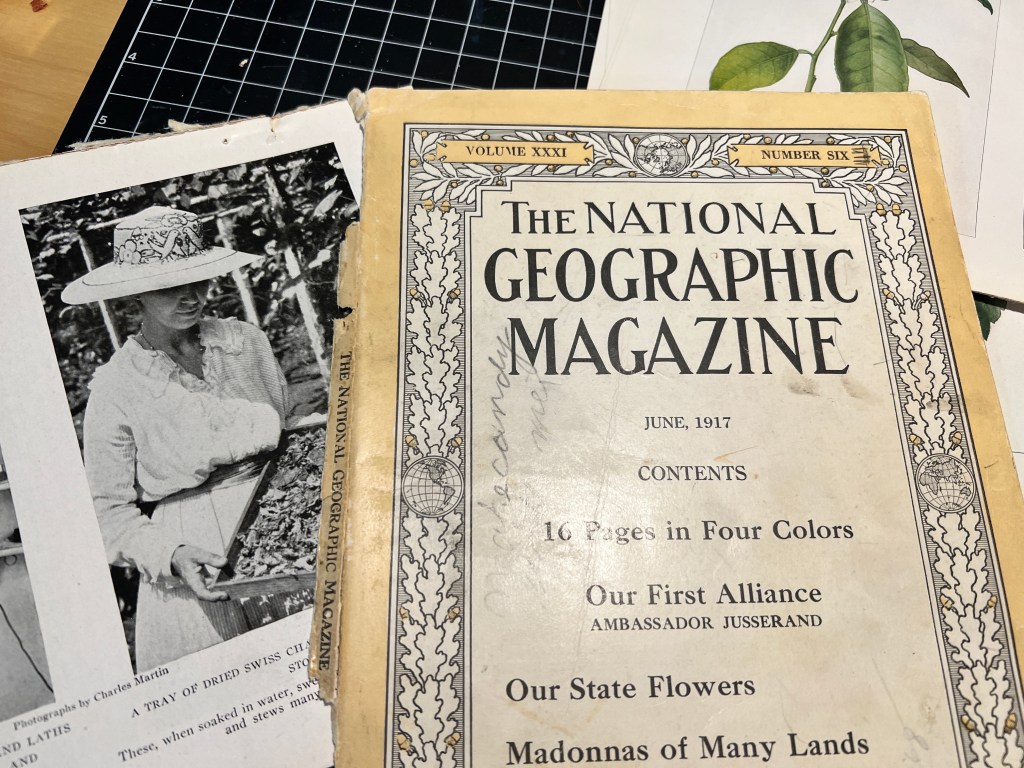
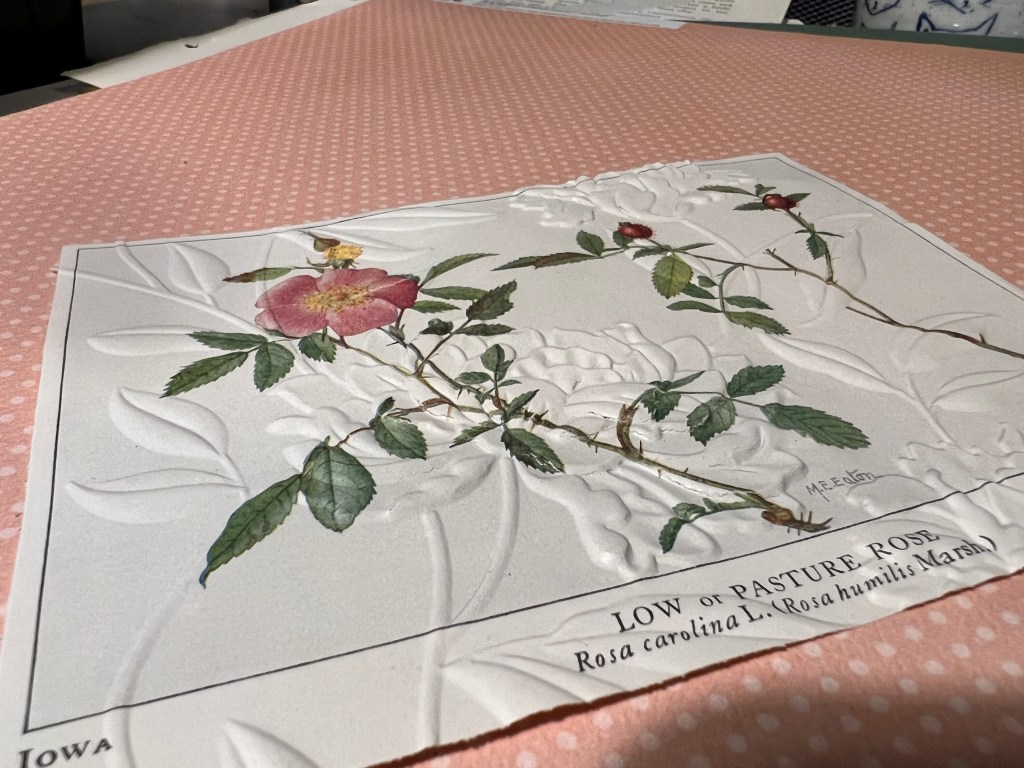
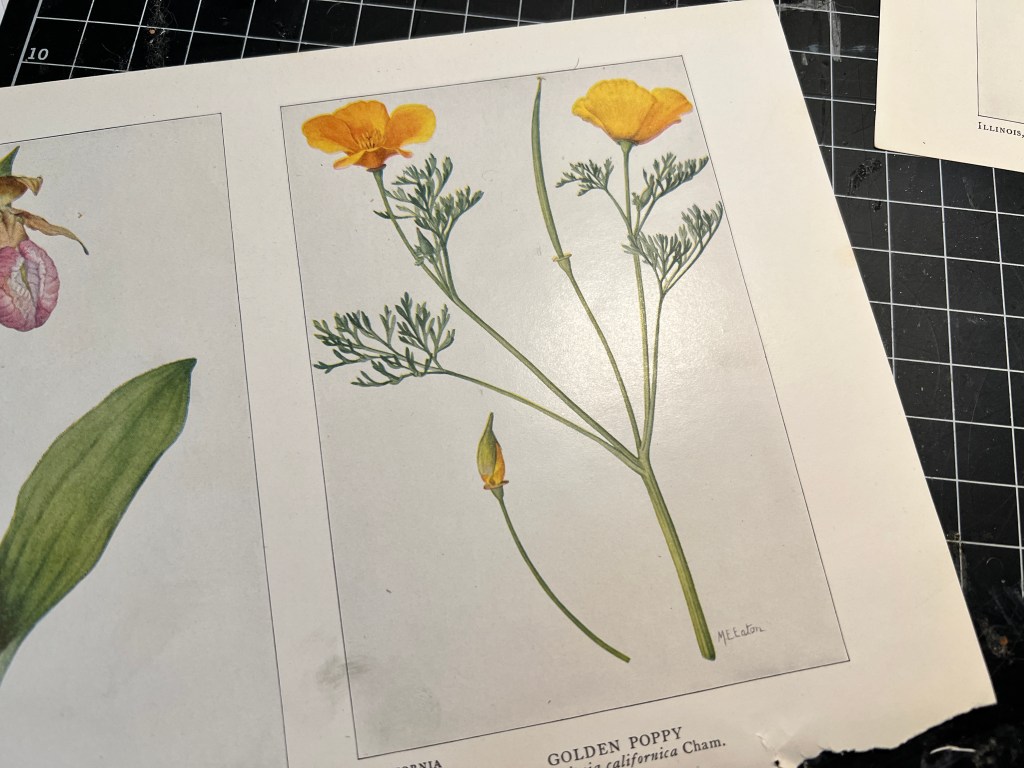
It’s fair to say that I took the directive to “dust off your scraps” literally. My friend Donna gave me a pair of National Geographic magazines several years ago. She knew I would appreciate the flower prints in the magazine’s fold.

I’ve pulled out both issues from my drawer many times, but I couldn’t decide what to do with them. It’s one thing to use a five-year-old-scrap but quite another when the scraps are pages of a magazine published over one hundred years ago. The fragile paper doesn’t leave any margin for error.

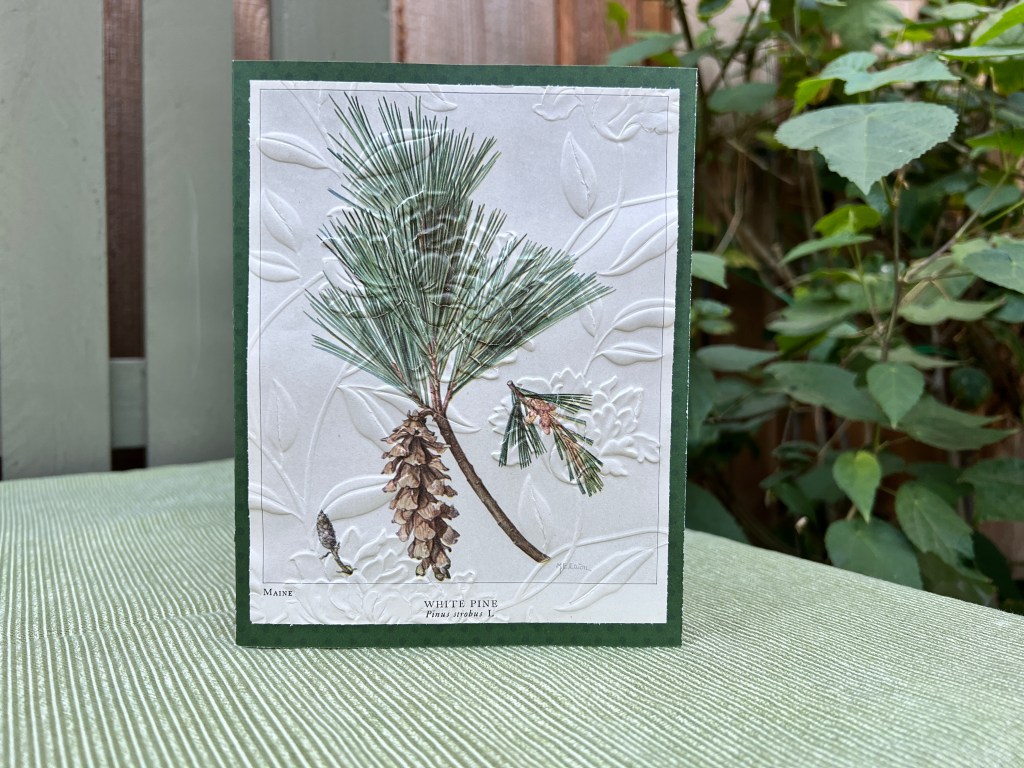
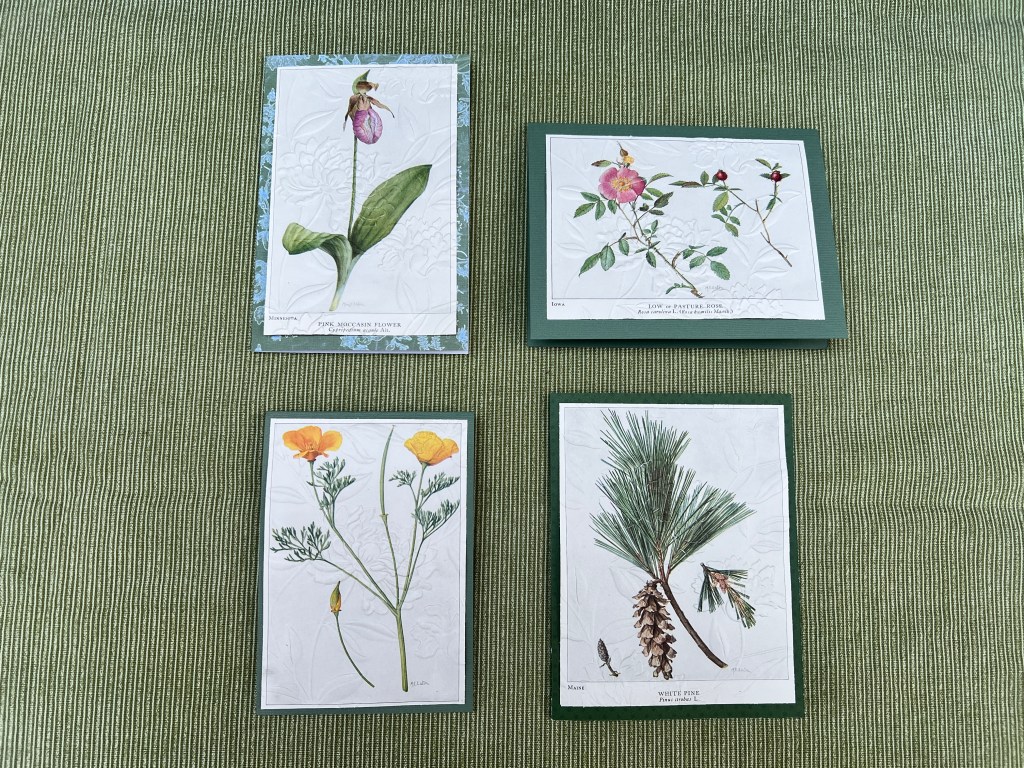
I decided to turn some of the smaller prints into cards. I trimmed them to size, leaving a small border and the identifying state and the flower’s name.

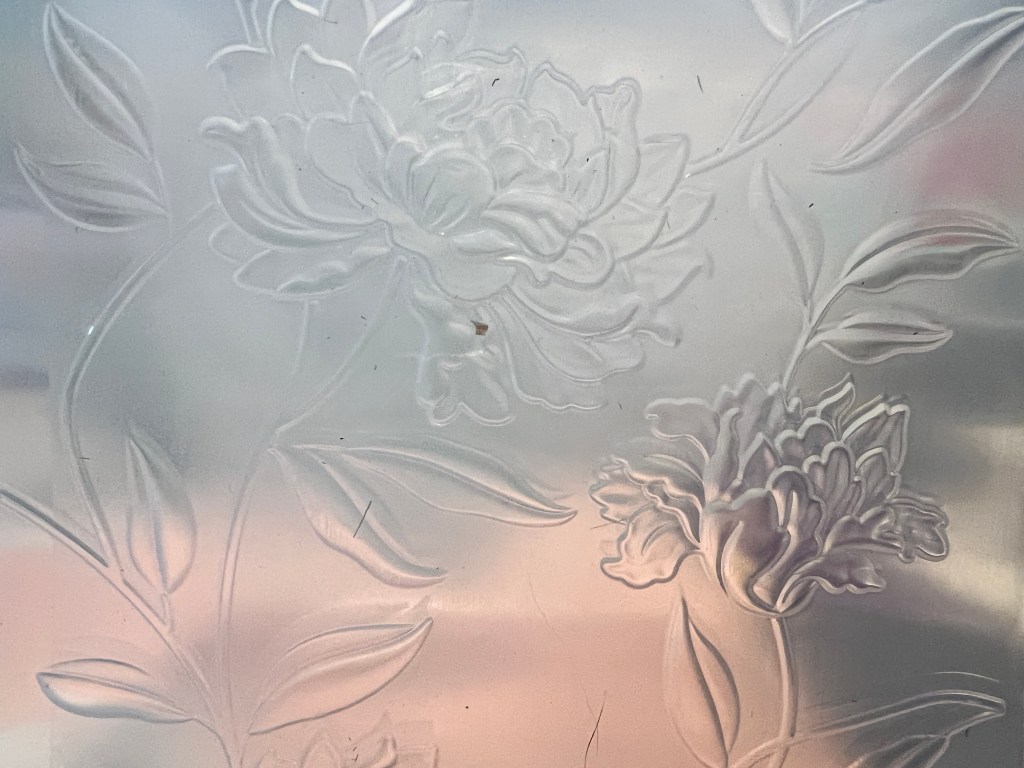
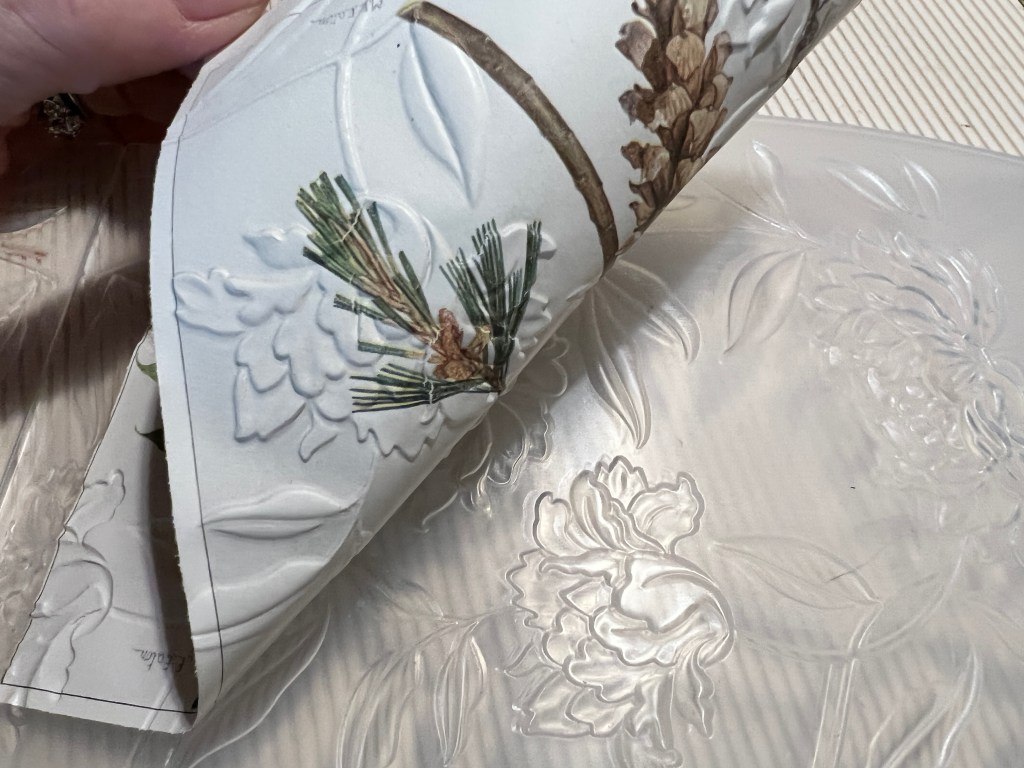
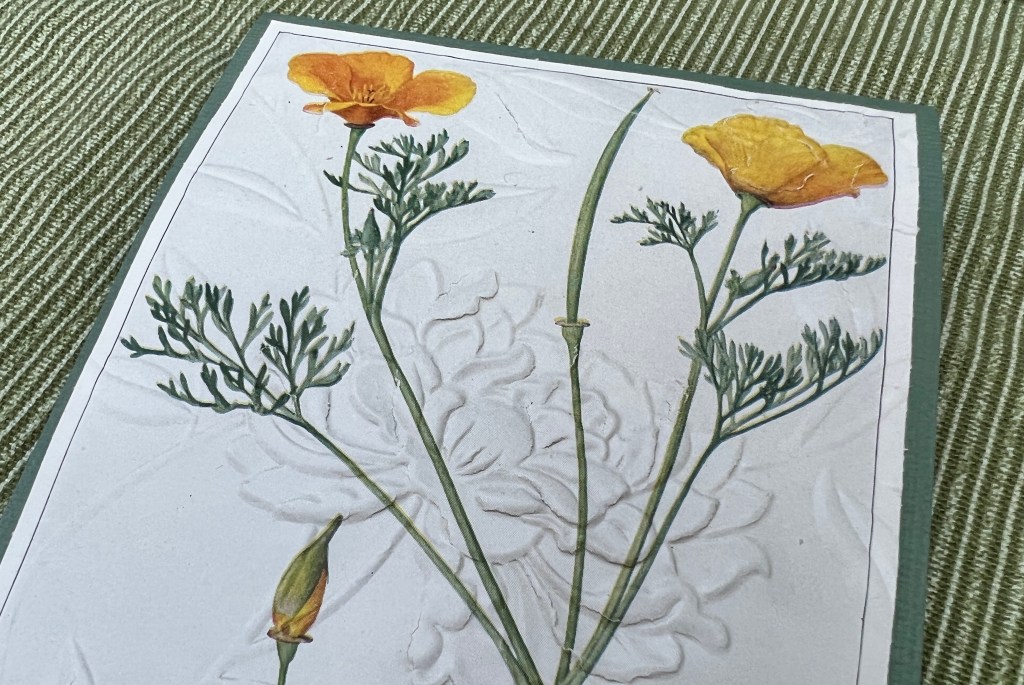
They needed a little oomph, so after testing on one of the magazine’s ads, I cautiously proceeded. I ran each print through my die machine using a floral embossing folder. It applies just enough pressure to emboss the card without tearing the paper.

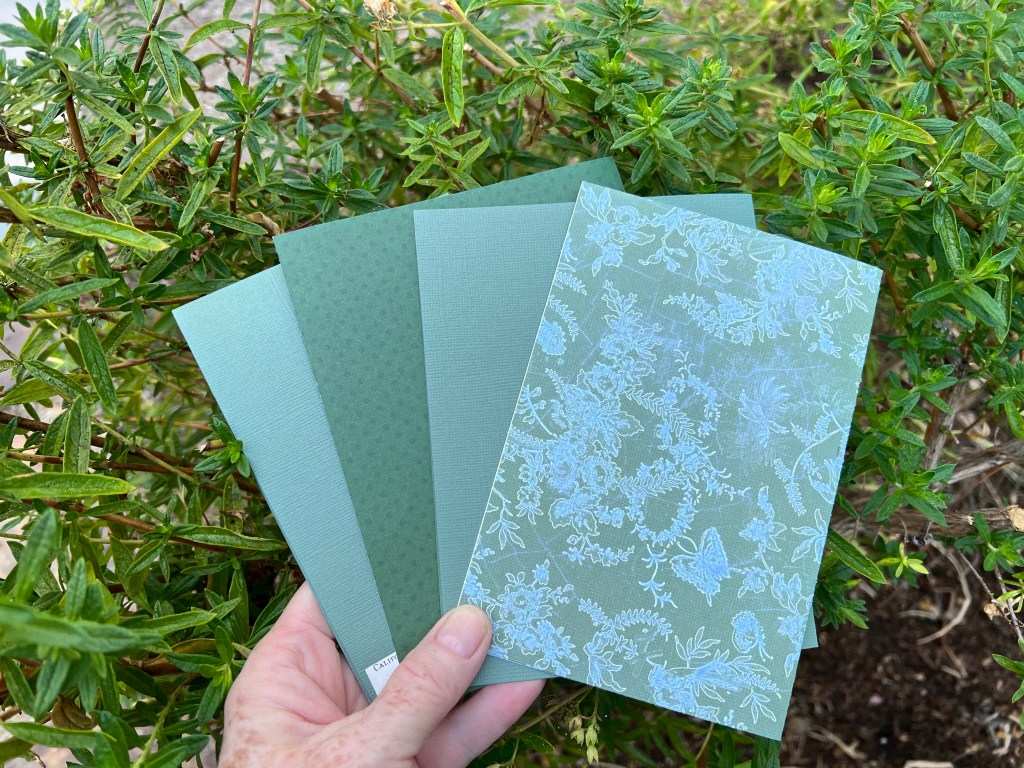
Using my green scraps, I found the perfect paper to create four cards.

I had one tear when I tried removing the tape backing. As a result, the California poppy description is on the back of the card. Otherwise, I’m both pleased and relieved with the results.

I’m looking forward to mailing the cards to dear friends.

Are you crafty? Scrappy? Come join us on the 15th of each month and let us see your ScrapHappy creation.

Check out these creative blogs:

 KateGun, EvaSue, Lynda,
Birthe, Turid, Susan, Cathy,  Tracy, 
Jill, JanMoira, SandraChrisAlys,(that’s me)
ClaireJeanJon, DawnJuleGwen,
Sunny, Kjerstin, Sue LVera,
NanetteAnn, Dawn 2, Carol,
Preeti, DebbieroseNĆ³ilin and Viv

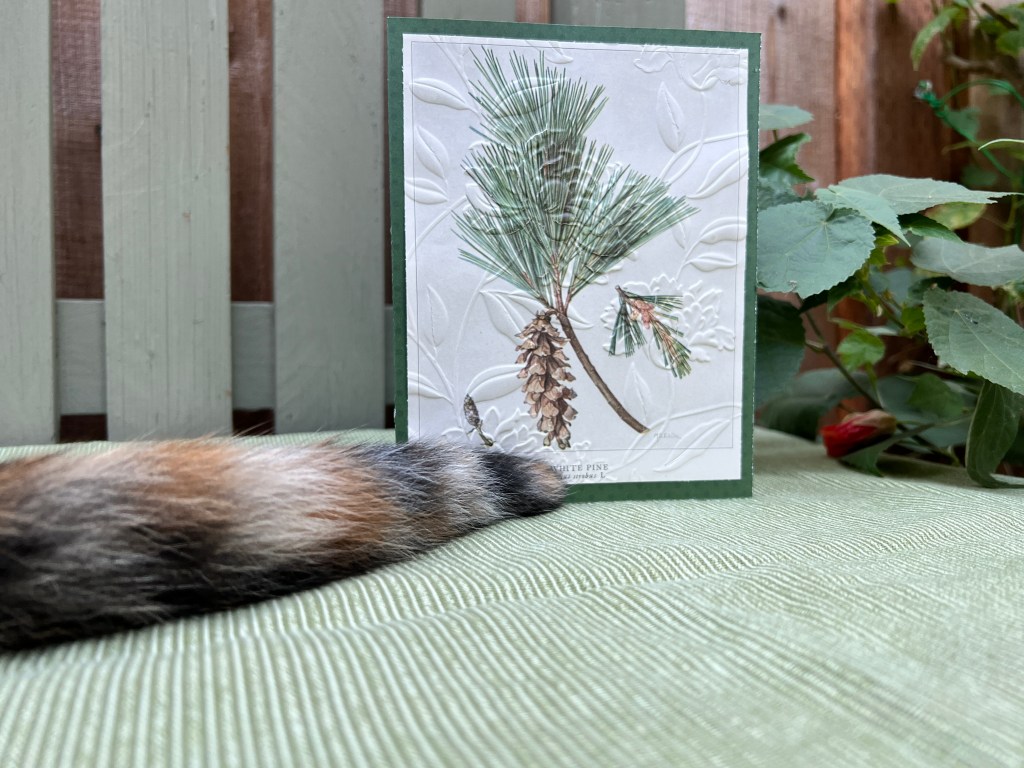
Postscript: Here are some photo outtakes. Tessa had to get in on the action

ScrapHappy Snowflake Card

It’s December 15, or in Kate’s speak, time to gather lingering scraps and give them a new life.

I enjoy the challenge of Kate’s ScrapHappy days. Even in December, with the holiday hustle in full swing, it’s nice setting aside some time to craft. I had a sewing project in mind this month, but it will have to wait.

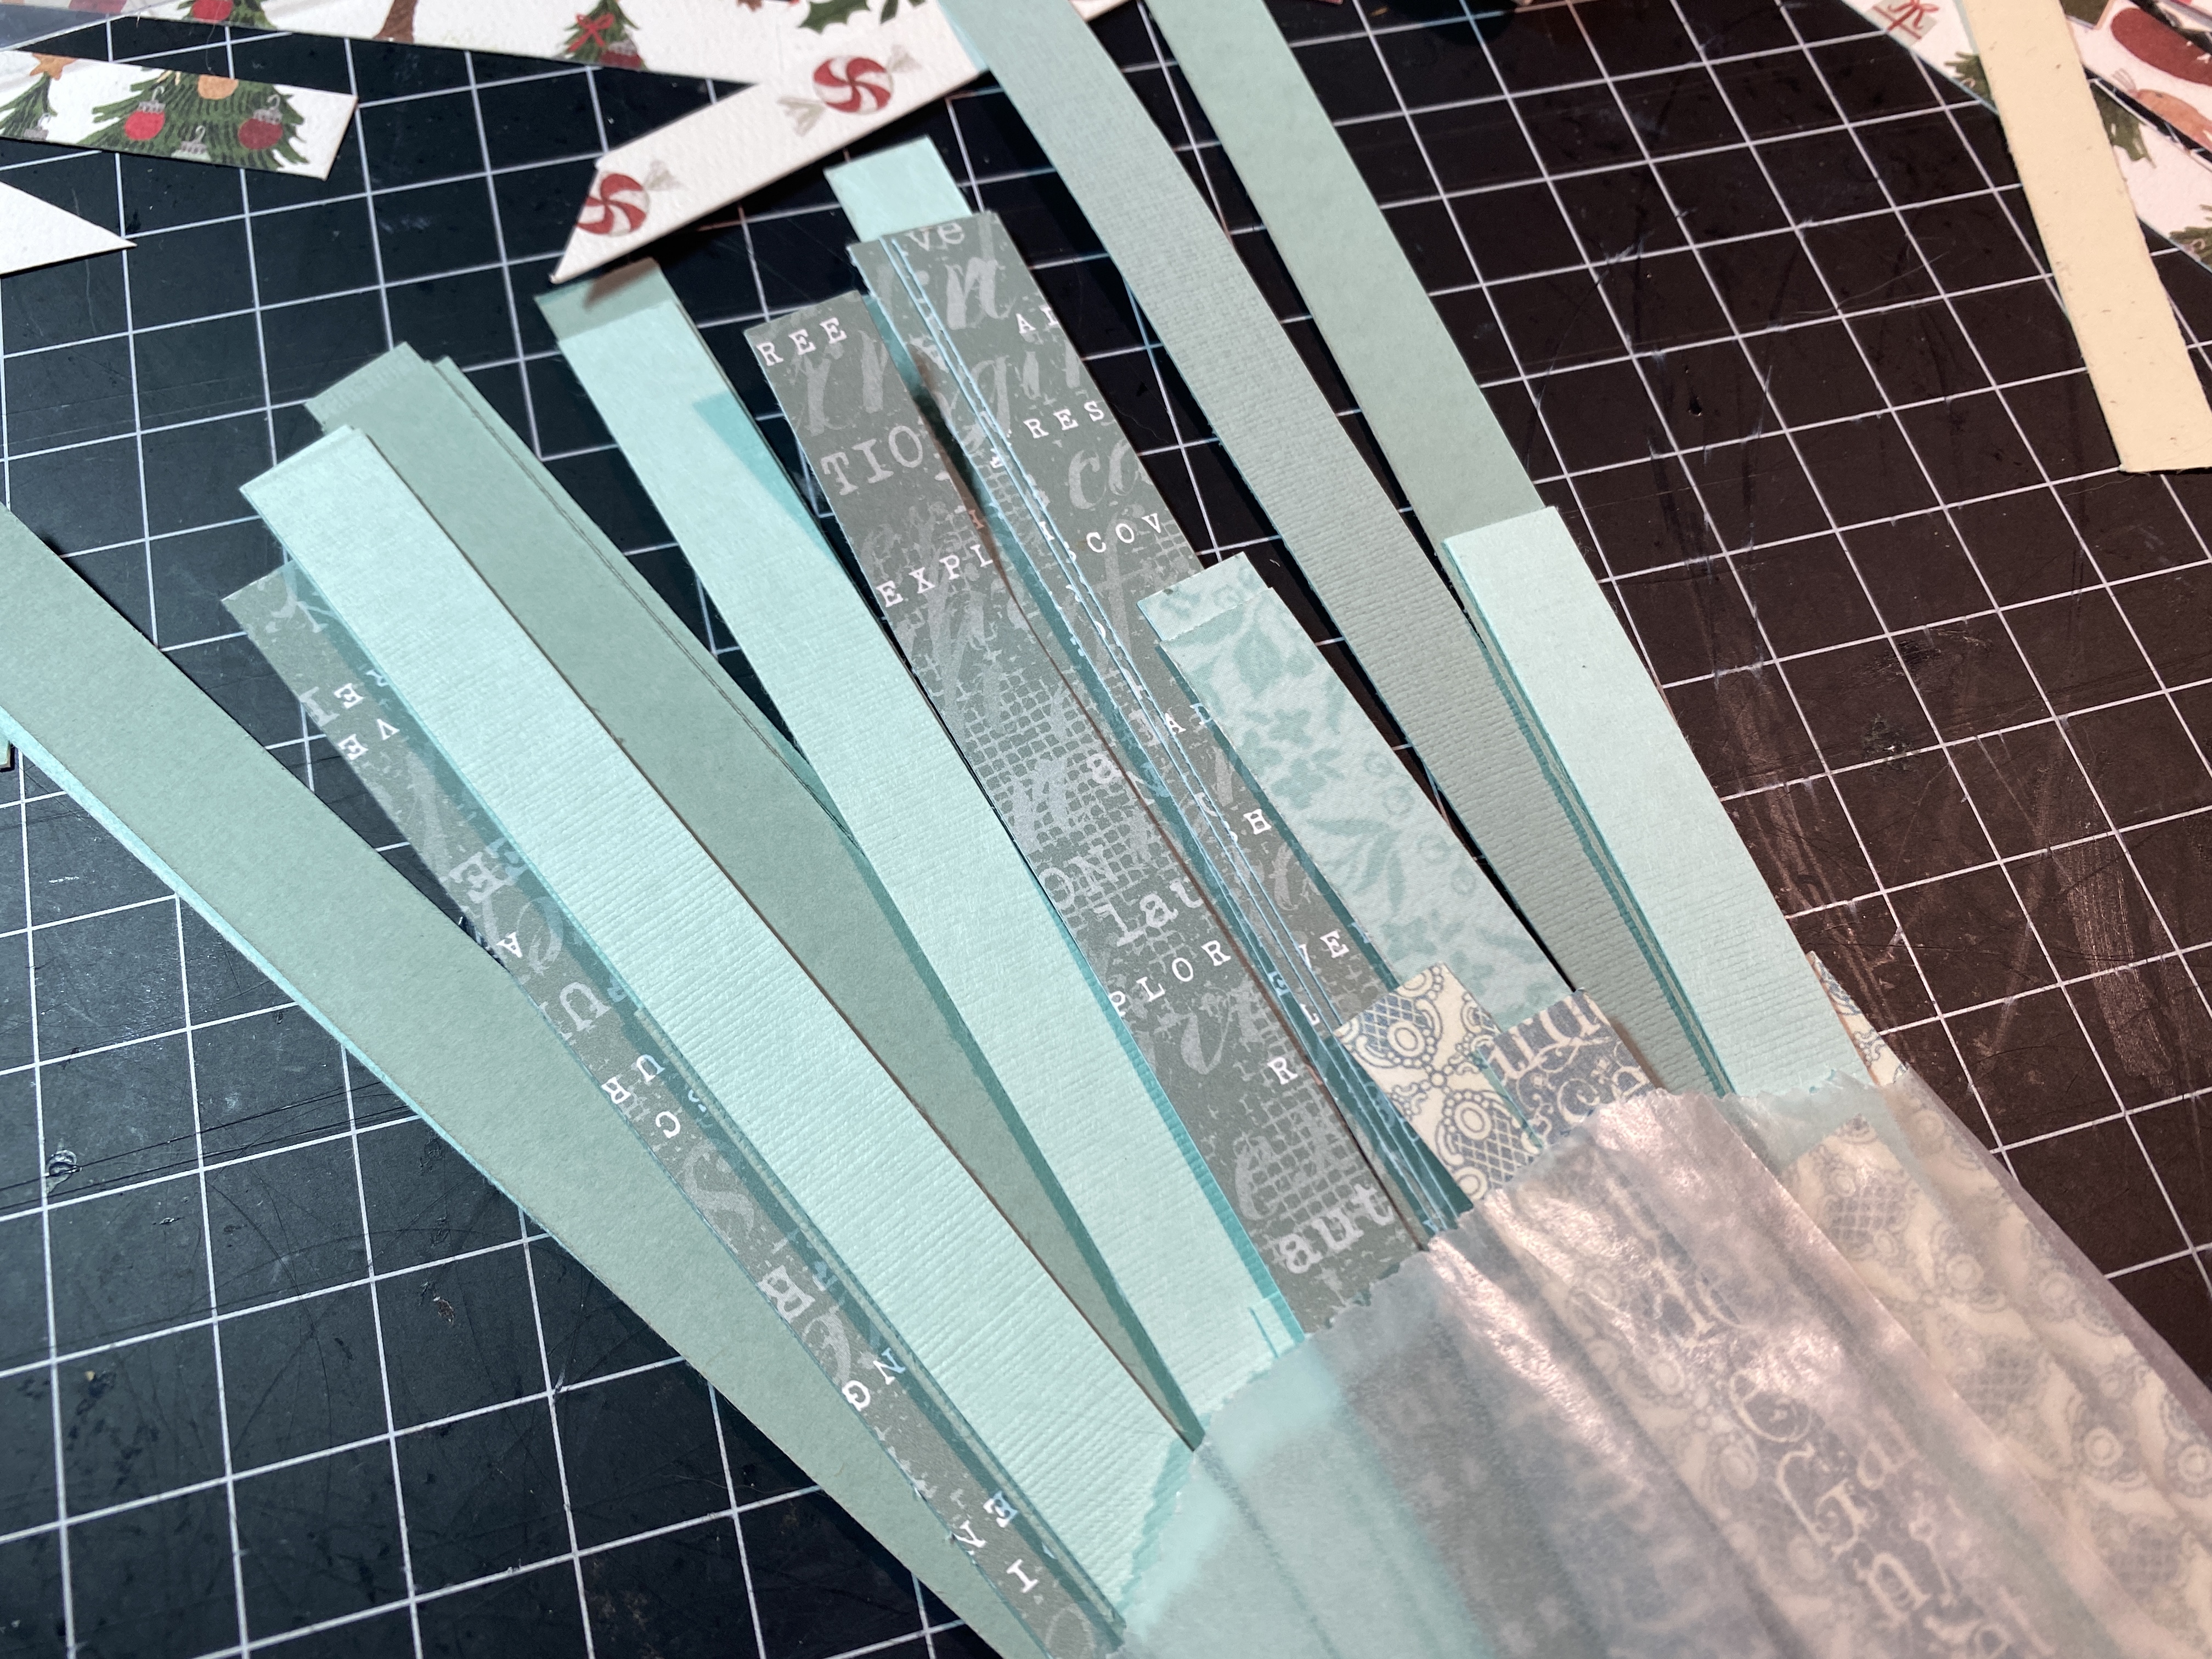
Tis’ the season, so a Christmas card seemed the obvious choice. I used leftover aqua-colored paper strips, gluing them at an angle on scrap paper. After trimming the raw edges, I ran the piece through my paper embosser using a snowflake pattern.Ā 

Assembling monochromatic hues of aqua, then embossing them with the snowflake pattern created an interesting texture for the card. I’ve made strip cards before, but I generally use complementary colors.

As luck would have it, I found a scrap of shiny silver paper to frame the card sentiment and the embossed background. This challenge has inspired me to make more monochromatic cards in the future.Ā 

It should also inspire me to keep the door closed, but where is the fun in that? One of my embellishments went missing, later recovered and removed from the underbelly of a particular cat. I’ll leave it to you to sort the outcome of the Sticky Kitty Caper.

Kate, thanks for keeping us organized and engaged.

Kate, our hostGun, EvaSue, Lynn, Lynda,
Birthe, Turid, Susan, Cathy,  Tracy, Jill,
Claire, JanMoira, SandraChris,
KerryClaireJeanJon, HayleyDawn,
Gwen, Bekki, Sue L, Sunny, Kjerstin,
Vera, NanetteAnn, Dawn 2, Noreen,
Bear, Carol, PreetiEdith, Debbierose, and Jule

Wild About Washi Tape

Have you joined the Washi Tape craze?

Washi tape gift box

I first spotted this colorful tape on a wall at MyMaido, a Japanese stationery store at Santana Row. An artist used the strips to make a small mural. Though intrigued, I couldn’t see myself using it in that way.

Over the next few years the colorful tape started popping up in crafting stores, the Scrapbook Island and on Pinterest.

The tape has been around since 2006. In a nutshell, it’s masking tape made beautiful. It’s easy to apply and easy to remove. According to Tofugo

Washi is made of up the Japanese characters 和 (wa) which means harmony and is often used to symbolize Japan, and ē“™ (shi) which means paper. So put them together, and it means Japanese paper. Unlike western paper which is made from tree pulp, washi is made from Japanese shrubs. Washi can be made of almost any plant, but is typically made from ganpi, kozo, mitsumata, or sometimes hemp. Washi is known in the west for the beautiful designs that are printed or painted on it, and its differences from other papers through its light weight and textured feel.

I’ve always loved stationery, especially stickers and tape. It’s hard to describe the appeal, but it’s been there my whole life. I bought a couple of rolls of Washi tape at Scrapbook Island to use on a card, but then the rolls sat in my craft stash on standby, wondering what to do next.

Now I can’t get enough of it. The prices have come down while the variety of colors and prints has multiplied exponentially. Some of the earlier tapes didn’t adhere as well, but that’s improved too.

My friend Kelly uses colorful Washi tape to outline her gorgeous package labels. I capitalized on her idea and do the same. I also like using it to cover the ugly markings on a reused box before shipping.

My friend Stephanie crafted a gorgeous card using the tape, and from there, inspiration struck: I used a similar pattern to cover a plain brown box with a friend’s favorite colors before sending it as a gift.

No room is safe from this tape. Several years ago I hung a framed magnetic board inside a kitchen cabinet to keep phone numbers and coupons at hand.Ā  Eventually the frame broke from constant use. I re-framed the board with Washi Tape, then added a few contrasting strips like a shelf under the cards.

Washi tape magnet board

Framing a magnet board

When I converted my son’s bedroom into a guest room this fall, I spruced up the wall lamp shades with postage-themed tape. It really added a nice finishing touch and was fun to do.

Washi tape lampshade

A bit of lampshade bling

It was nice receiving this free letter-opener in the mail but it’s not much to look at. I covered the advertising with Washi tape, beautifying an otherwise utilitarian object.

washi tape letter opener

Beautifying my office supplies

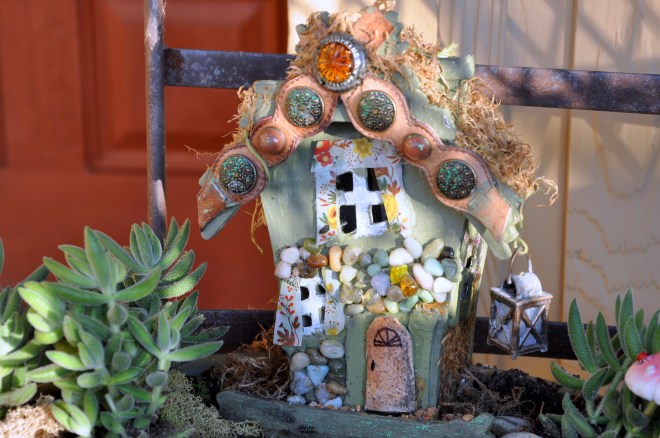
Even the tiny house in my fairy garden got a new set of floral Washi tape drapes.

Can you tell I’ve been having fun?

How about you? Do you have a favorite something that you just can’t get enough of?

Newly Hung Washi Tape Drapes

Newly Hung Washi Tape Drapes