Getting Things Done

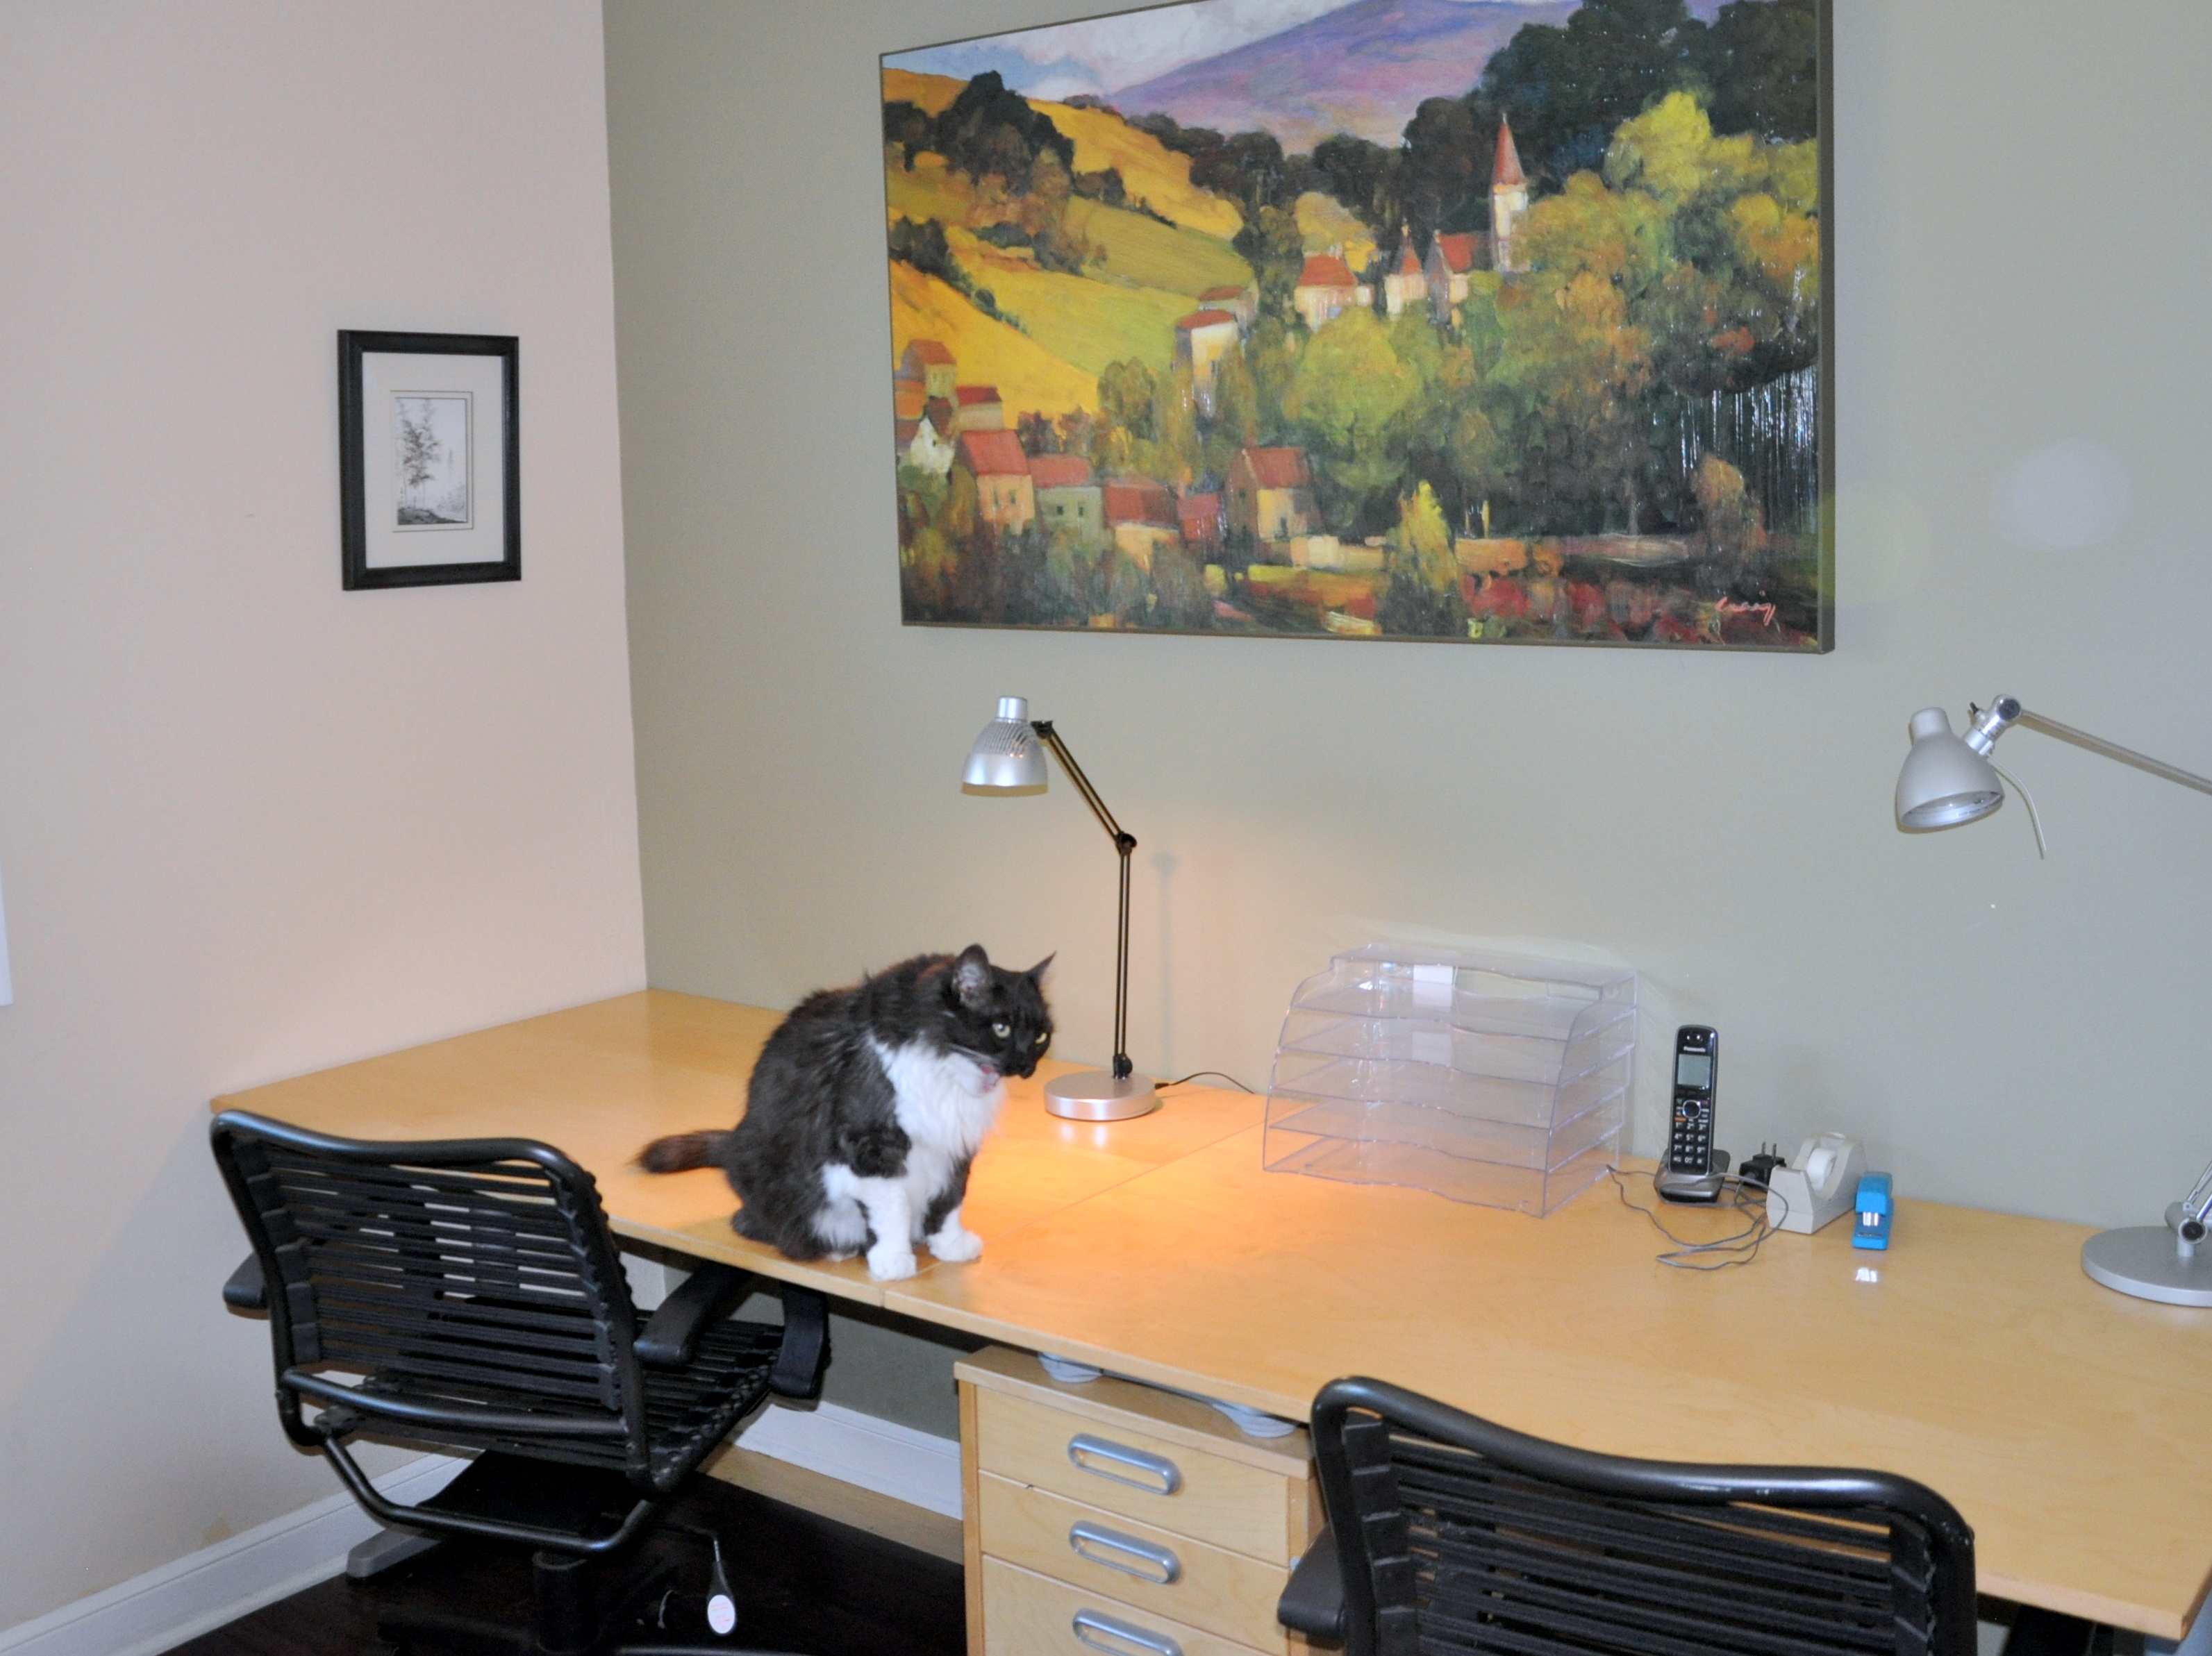
I’ve been a woman on a mission for several months, clearing out our side yard, updating photo albums, and disposing of unwanted items in our garage and home.

It’s not difficult for me to let things go. I’m sentimental about letters and photographs, but not much else. That said, a few items require negotiations when married and with two sons.

Now that both of my young men have graduated from university and moved into their own space, it’s been a good time to assess. My younger son hung on to wires, cables, electronics, defunct phones, etc., which I knew would never again see the light of day. He willingly went through it on his last visit home, and just like that, 95% went to an e-waste location with just a few treasures remaining. My husband, Mike, is also a “cable guy,” so that apple doesn’t fall far from the tree. We also sorted my son’s backpacking and camping gear and donated a bag of things he’s outgrown. It feels good.

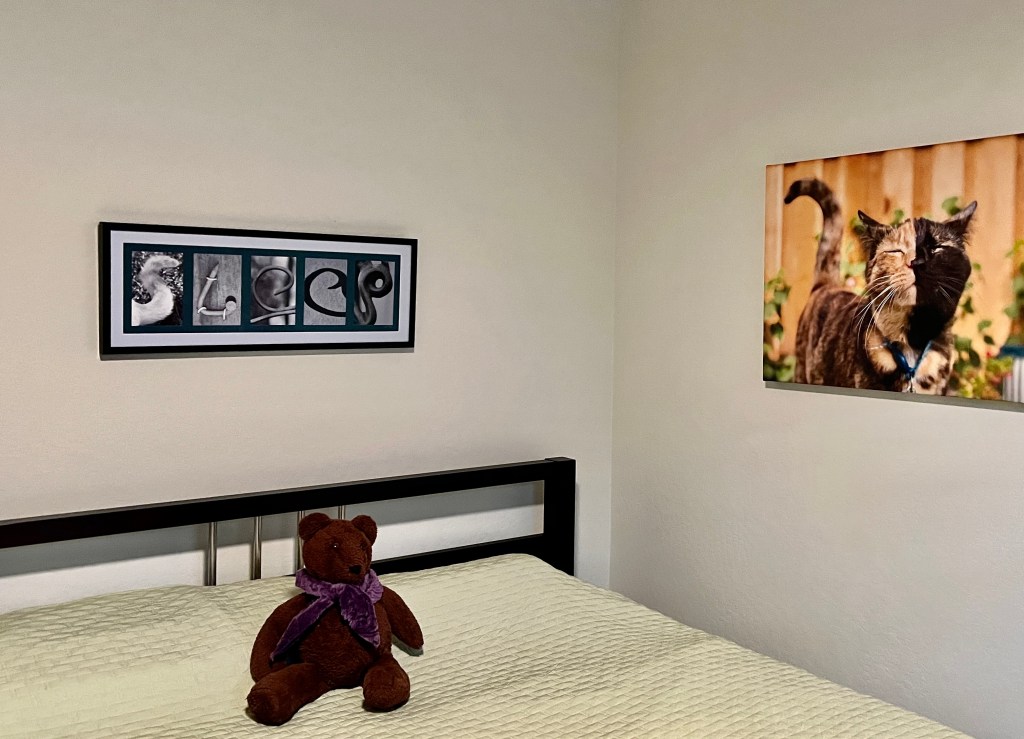
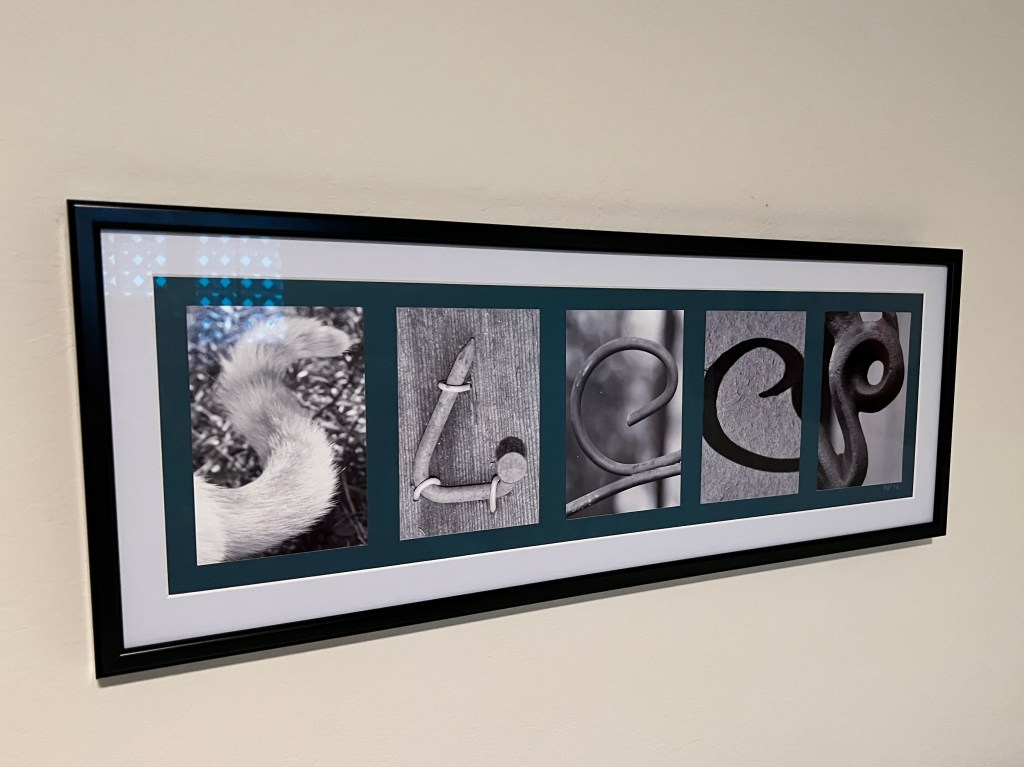
I relocated several of the photos he took in high school from the hallway into his room and had one series of pictures framed and hung over the bed. The photo series spells out SLEEP. Now, I can frame his diploma and graduation photo and put it next to his brother’s in the hallway.

The messiest job involved clearing out the side yard. Since we don’t have a basement or a usable attic, we use this side yard for storage. I have a RubberMade storage container that fits the width of the area, and we’re using it for off-season items.

I consolidated two bins and made room for both in the shed. I passed on two small patio tables and a few planter boxes to a gardening friend, and the remaining items were recycled or tossed. After years of working as a professional organizer, I’ve found ways to dispose of most things responsibly. While I’m happy to give something away, I’m not crazy about adding to the landfill.

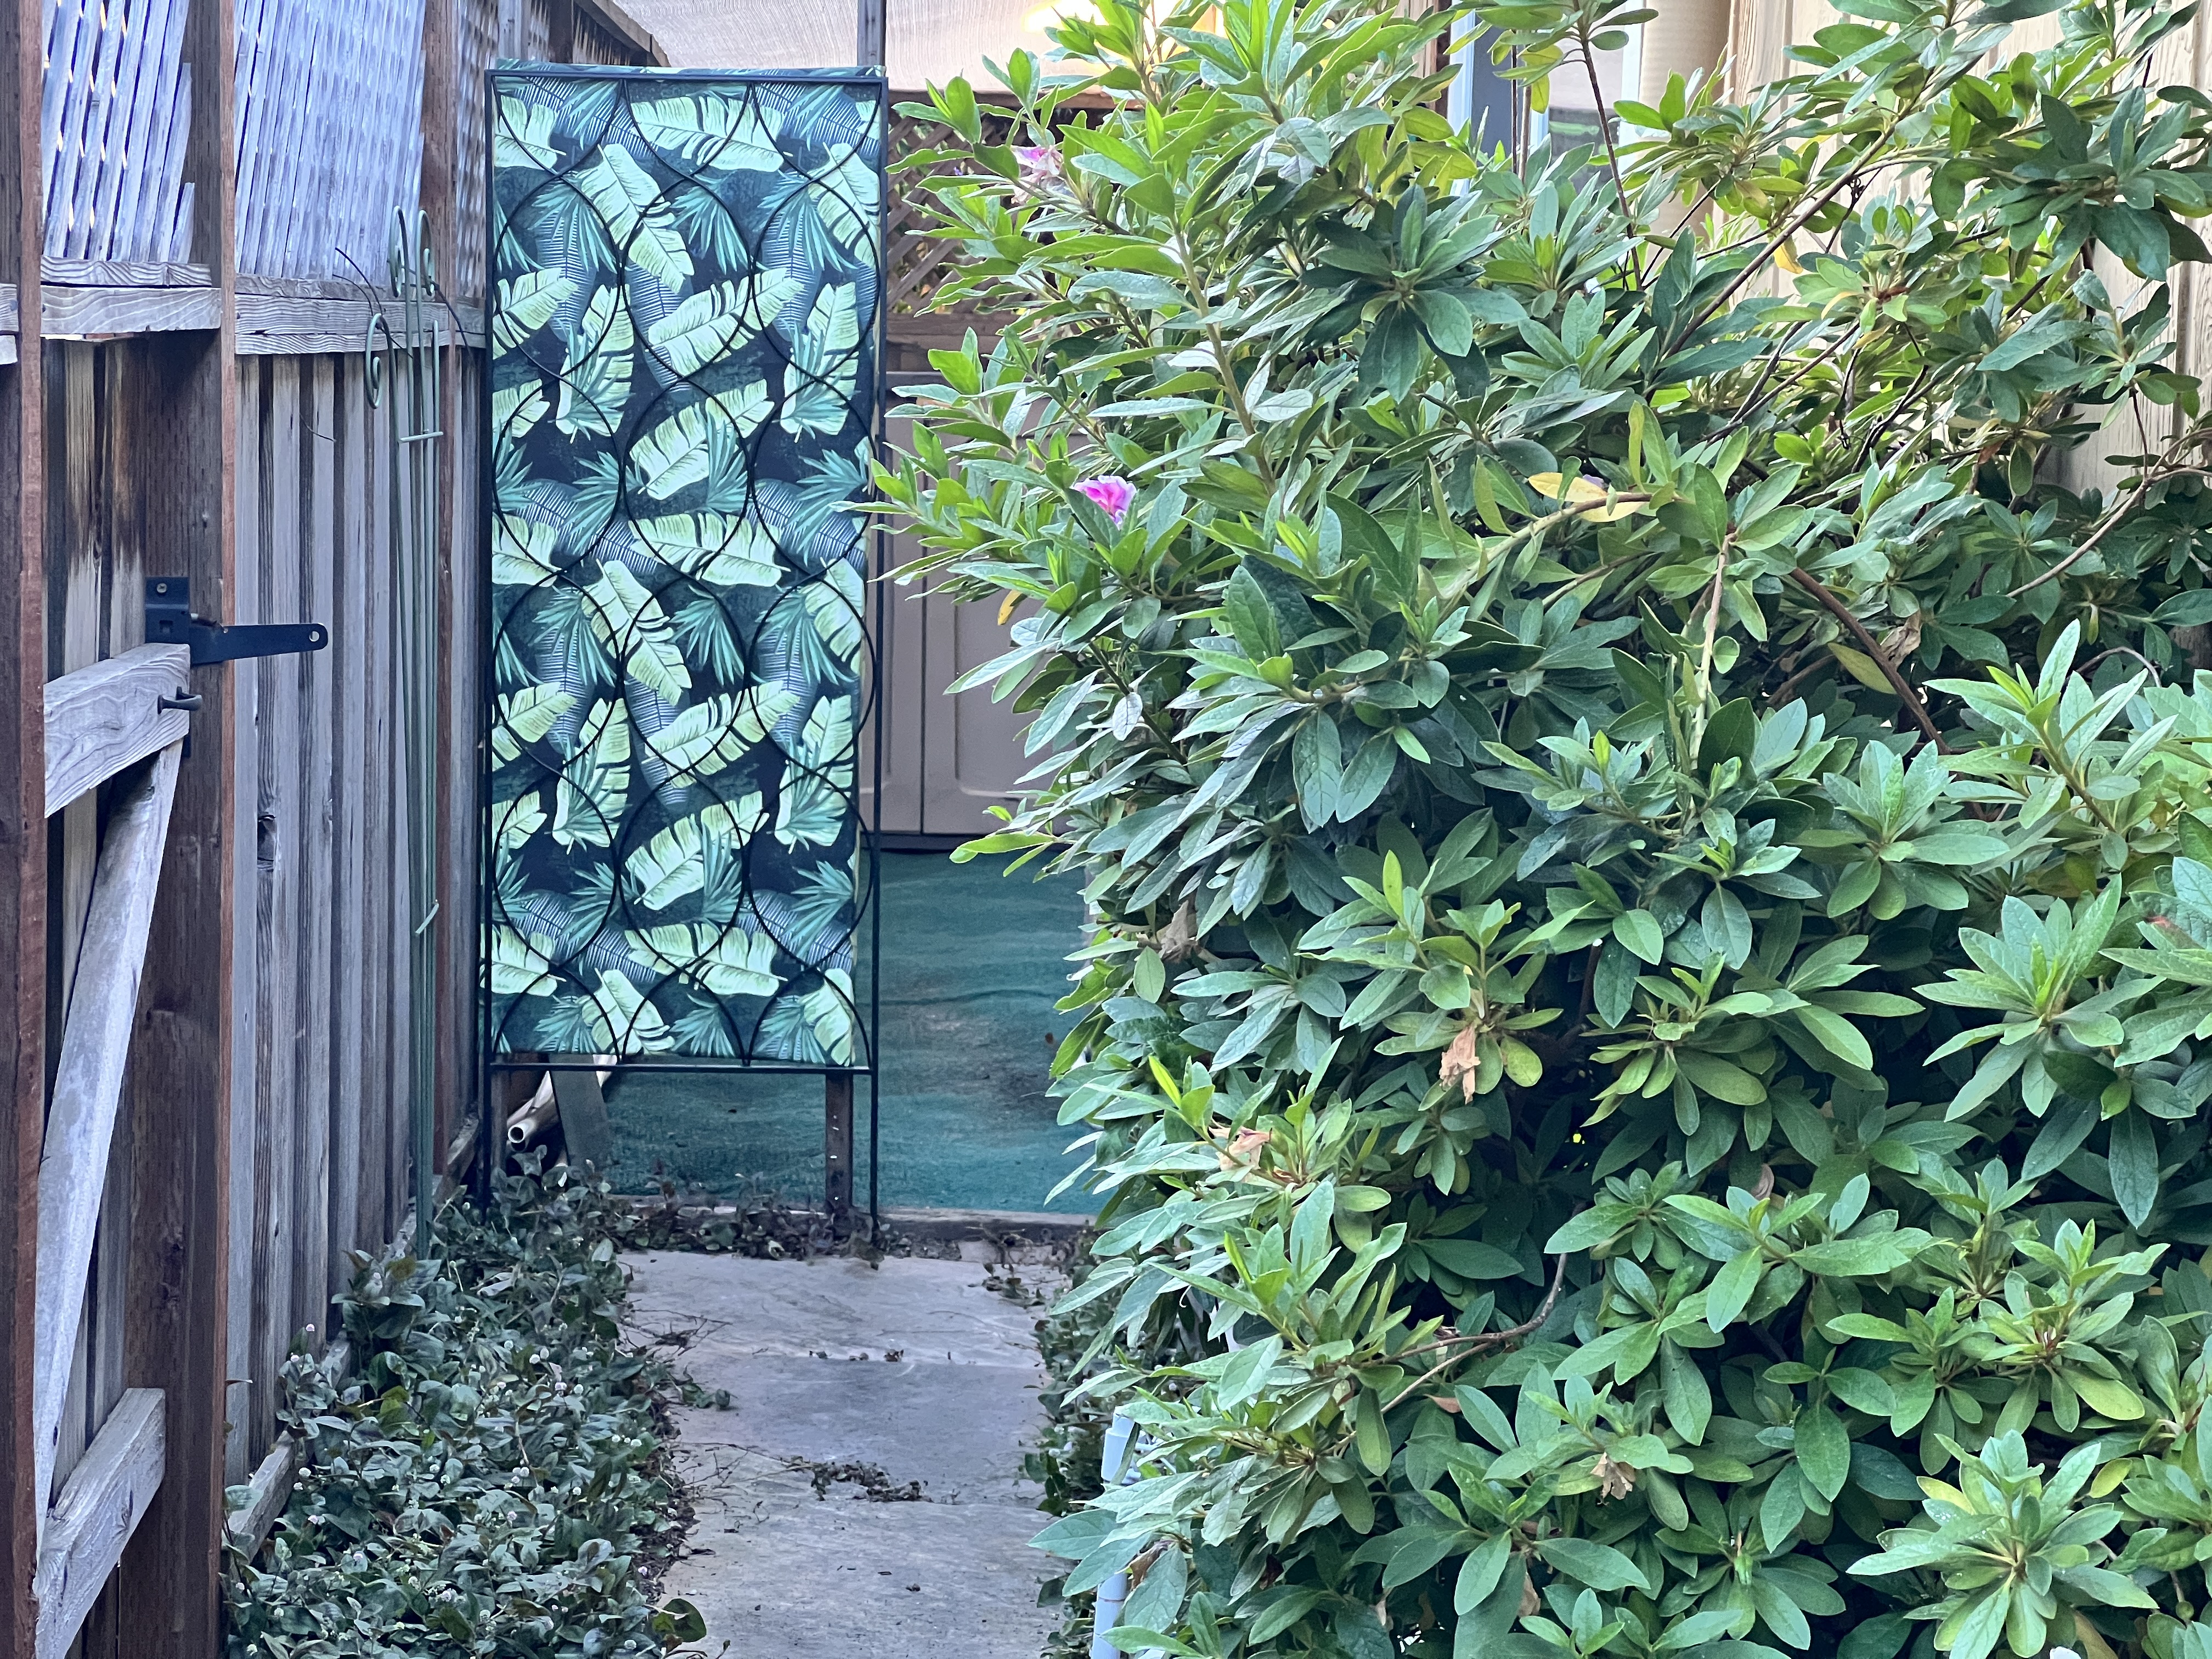
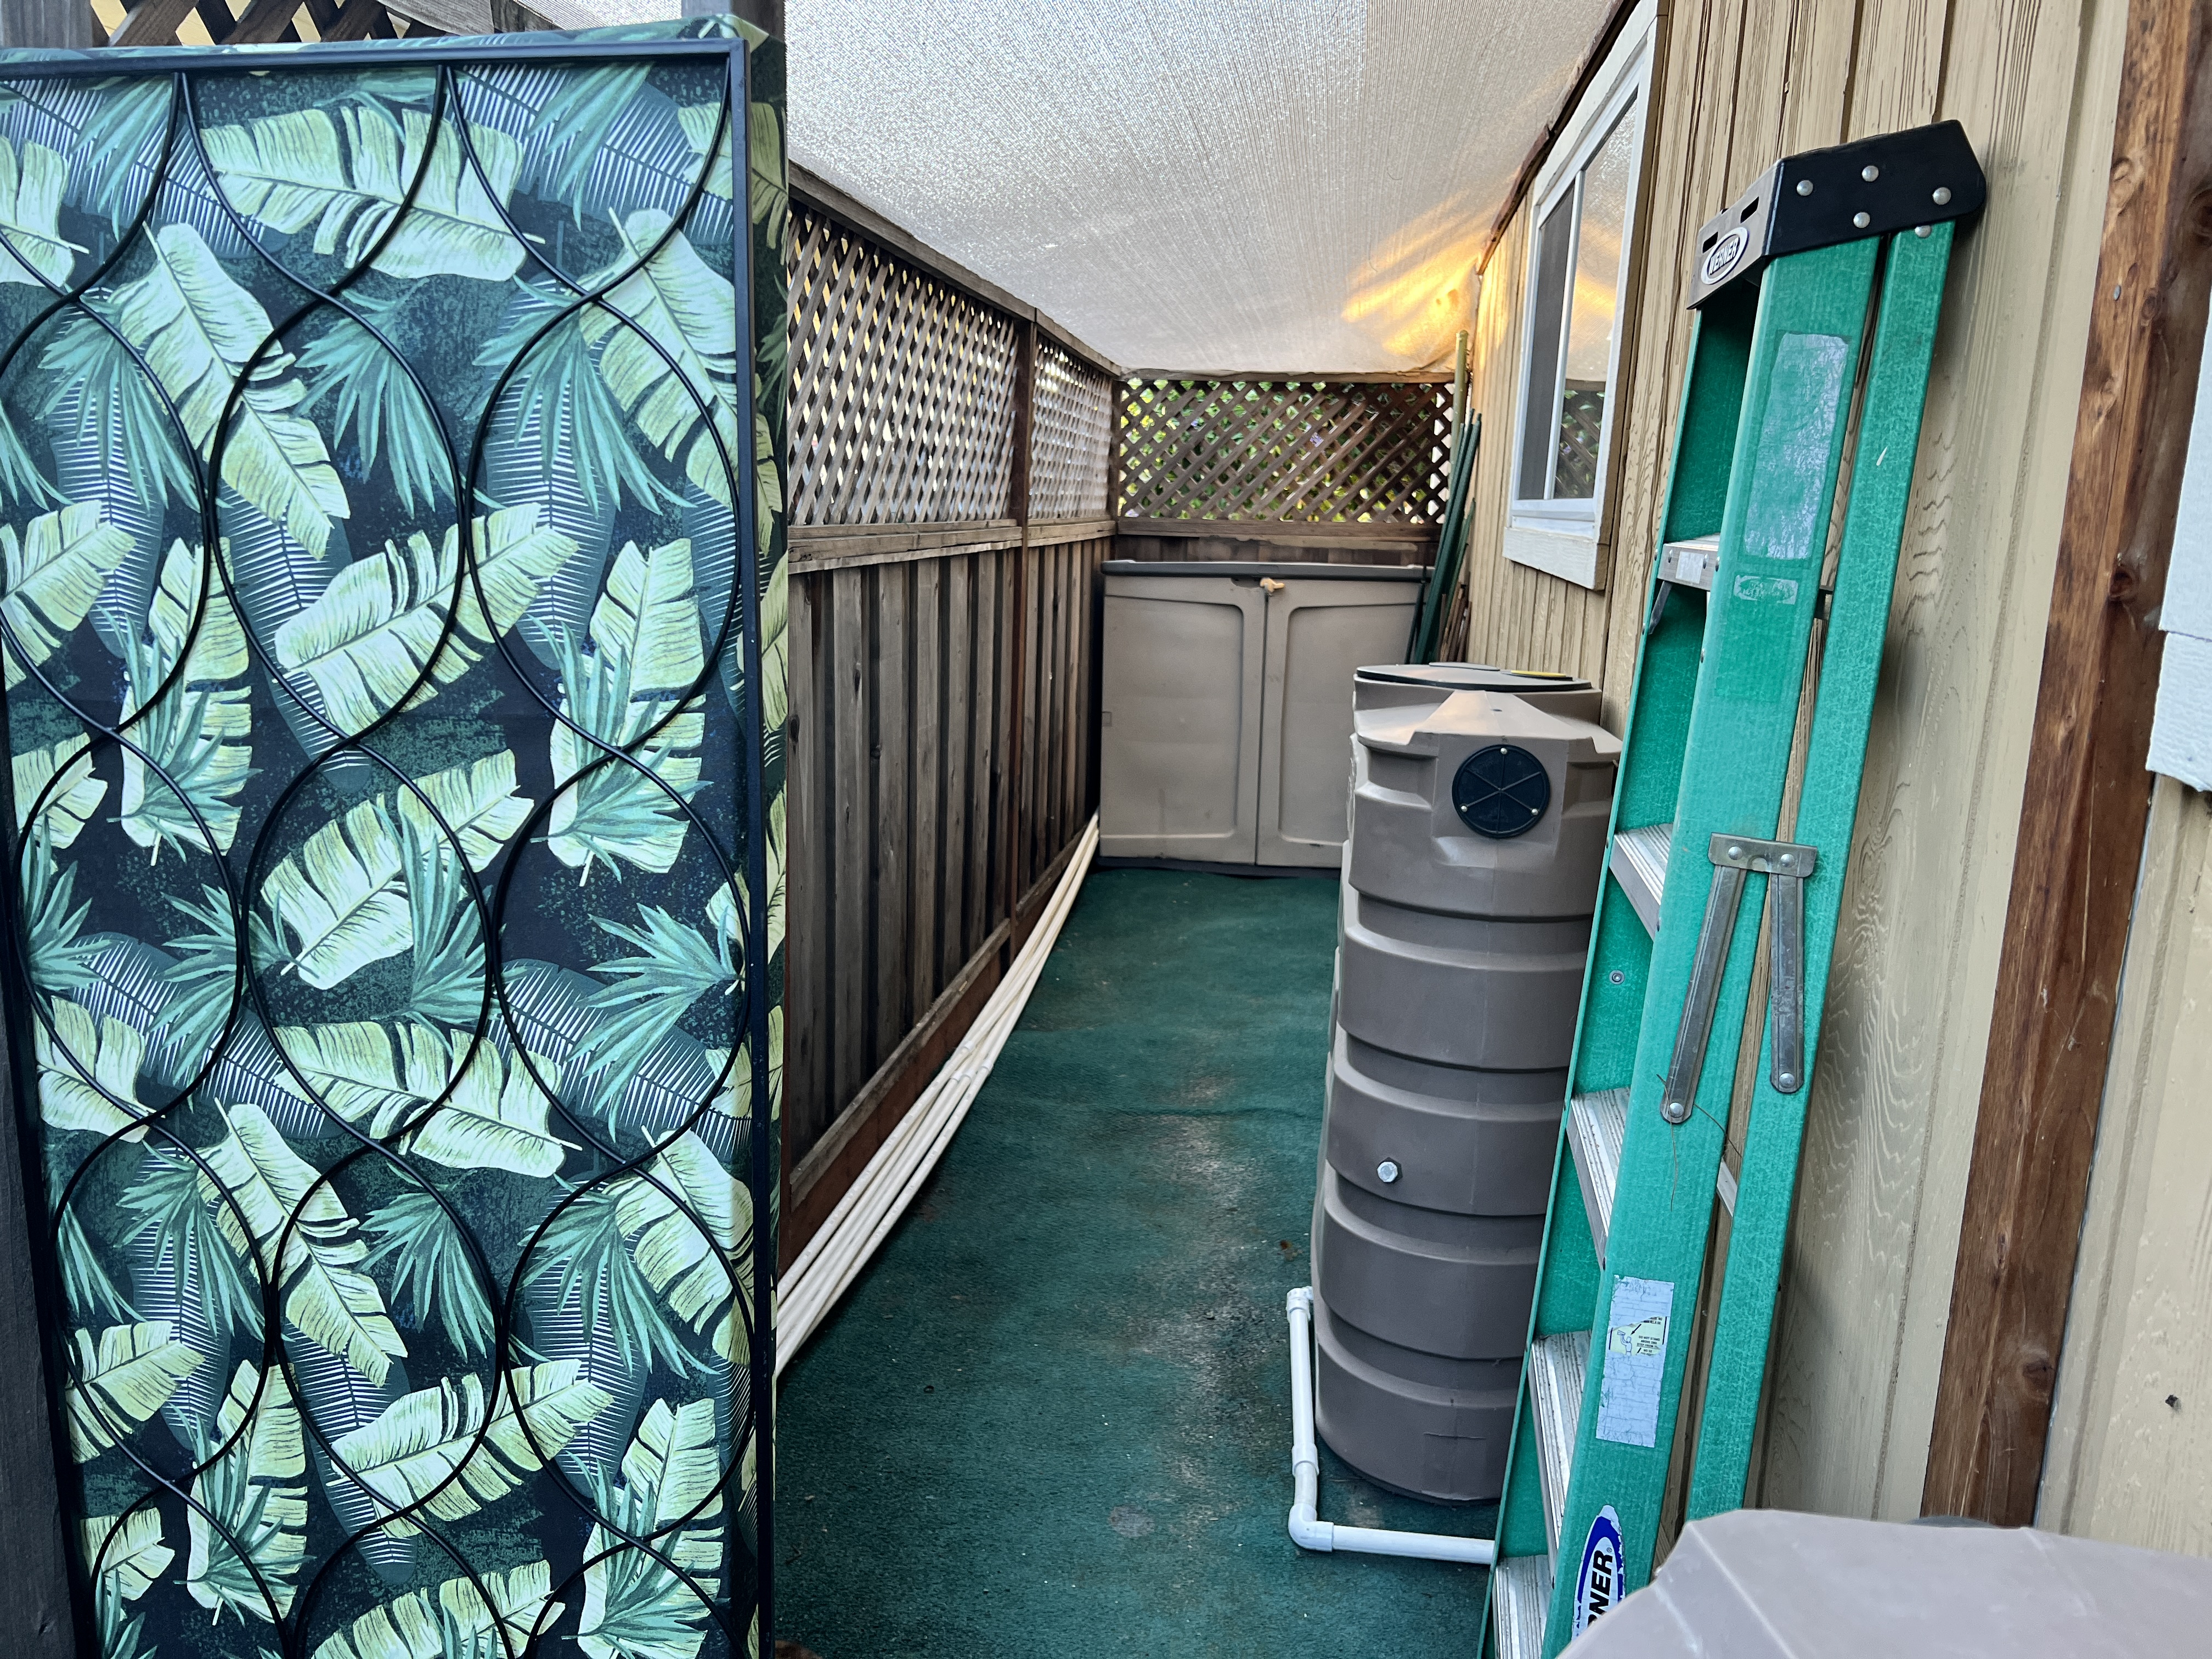
Our water tanks also line the side of the house. I hung a piece of upholstery fabric behind a trellis, so this area is camouflaged when we sit on the garden swing.

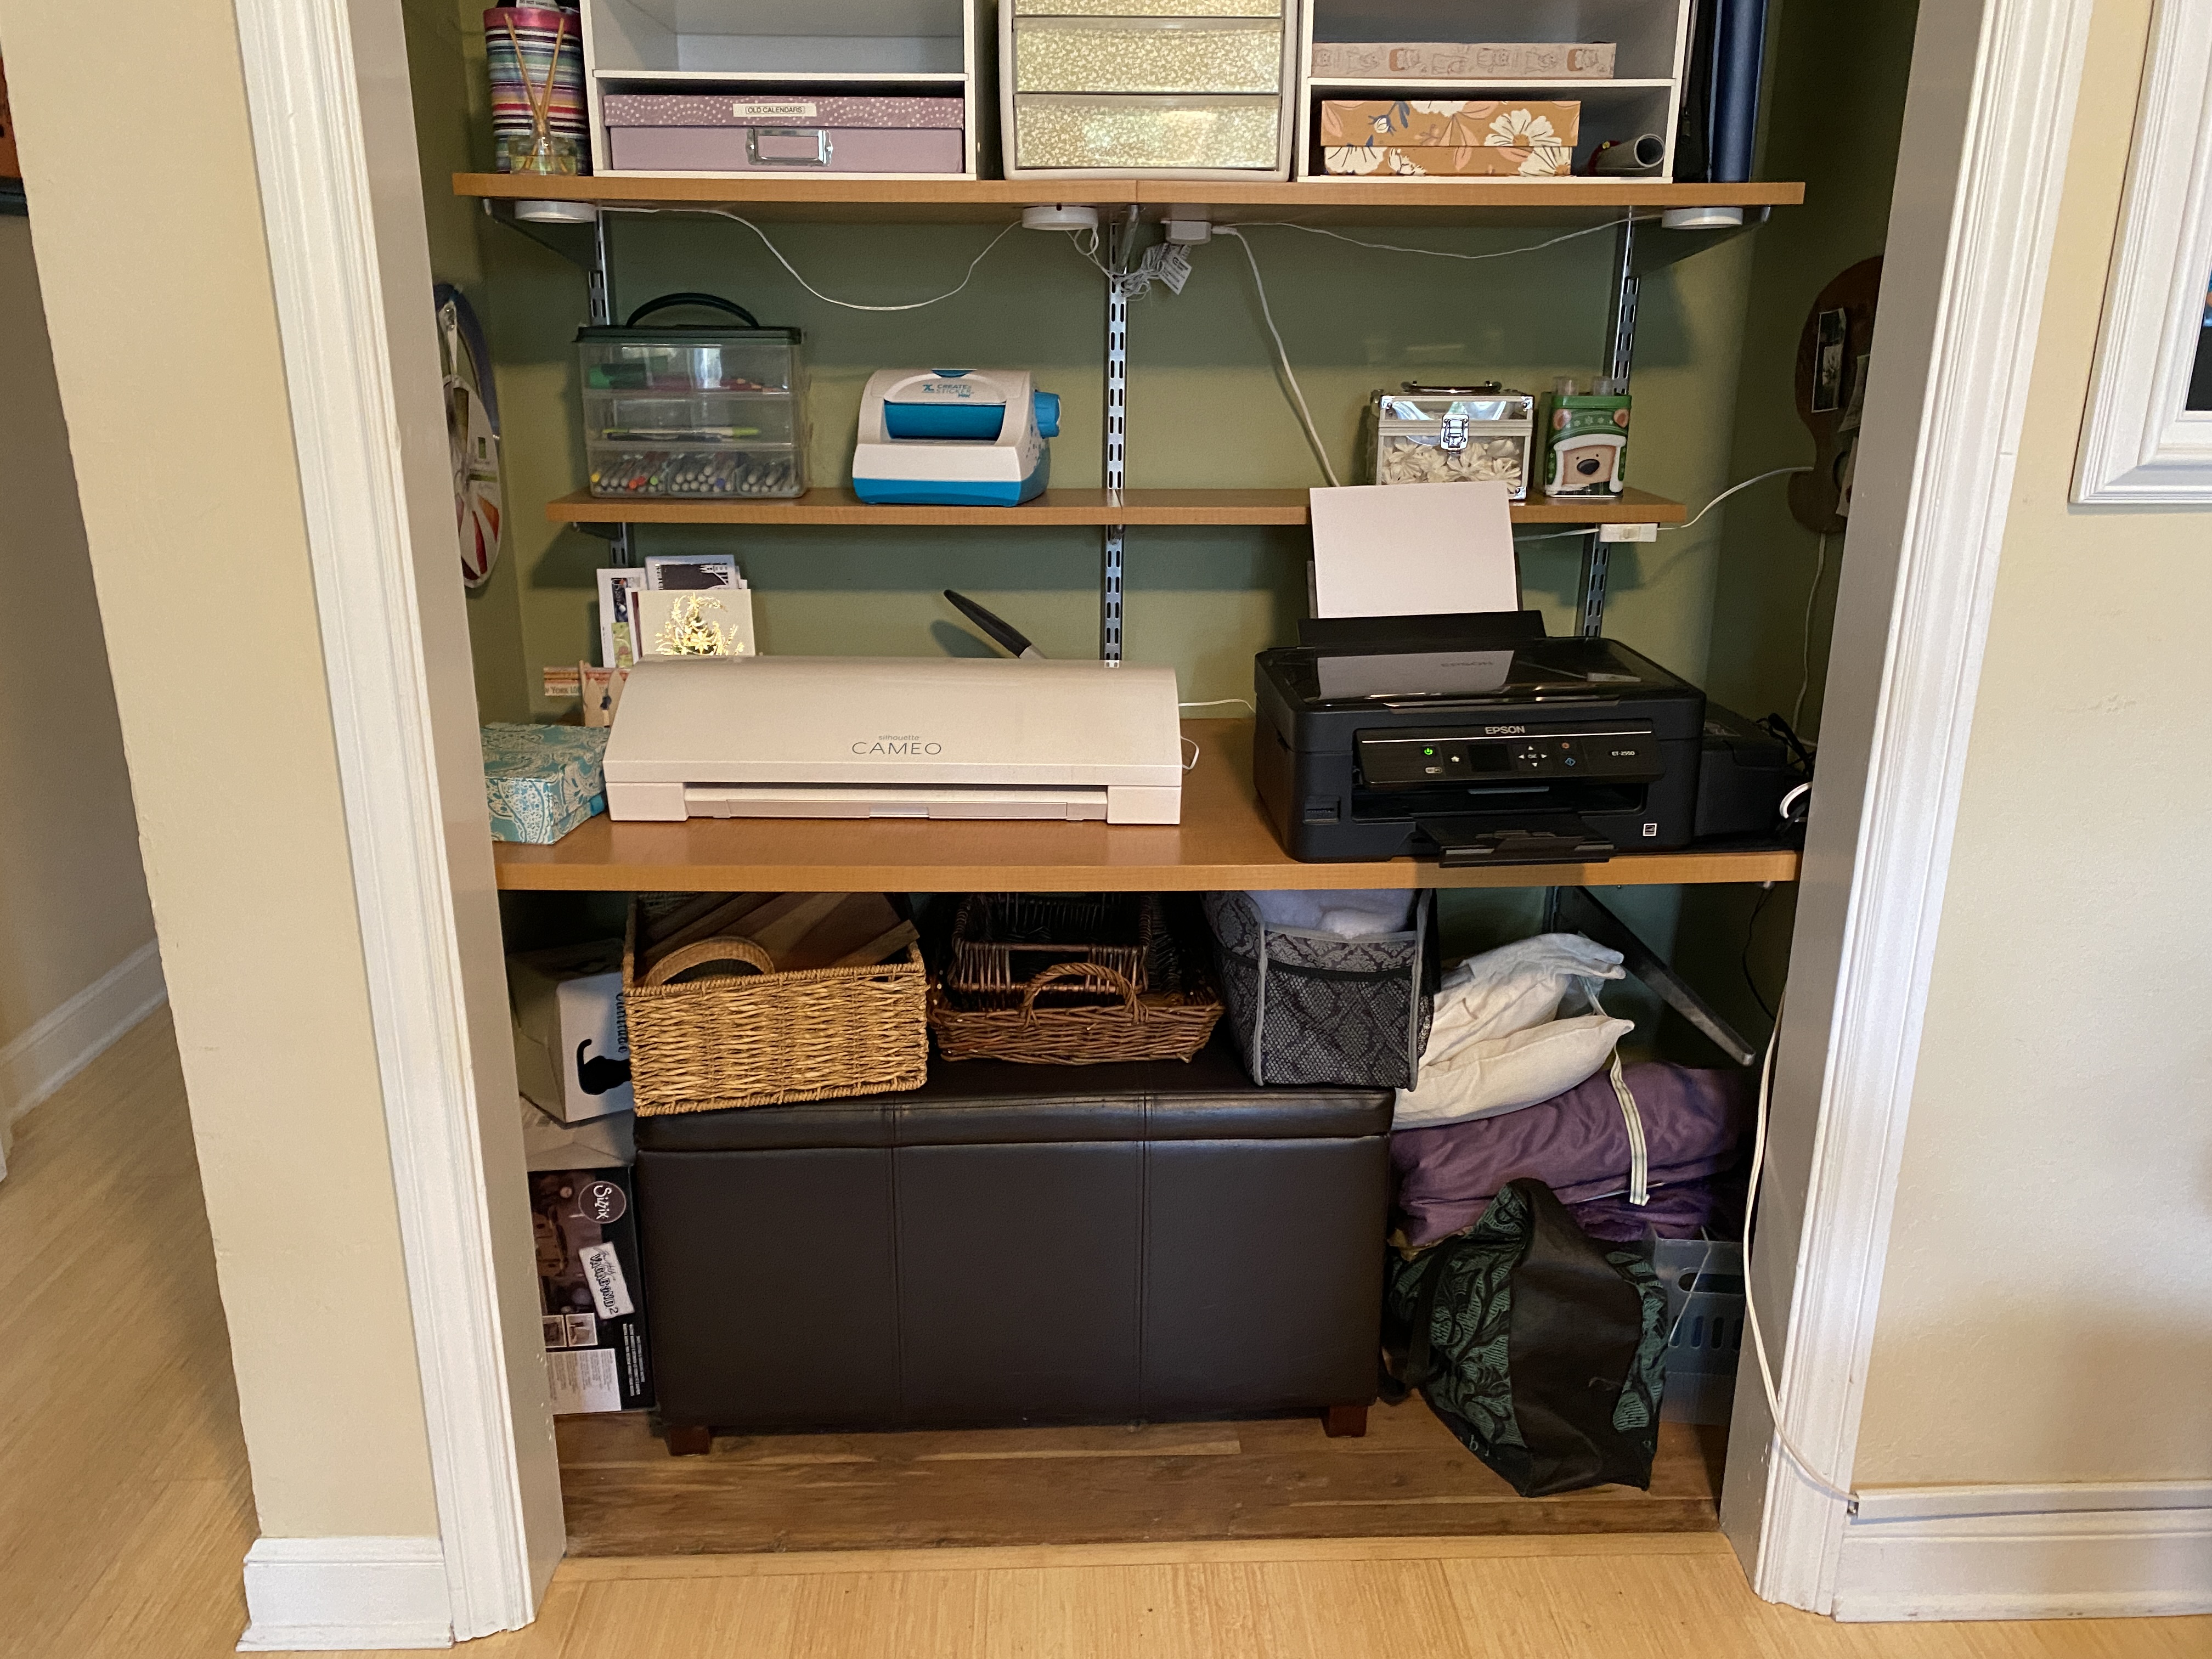
Next up, the garage. Now that paint stores can color match from a small swatch; it’s no longer necessary to keep back-up paint. Further, I’ve learned from experience that the paint on the walls fades, so touching up a scratch only works for about a year after painting.

Benjamin Moore Paint sells tiny containers in all colors and sheens, about the size of a spice jar so that you can try a small sample with far less waste. I took eight gallons of half-used paint to a local PaintCare site, making room on a lower, more accessible shelf for other items.

With a nod to Swedish death cleaning, I unpacked four small cedar boxes with the cremains of beloved but long-deceased cats. The boxes were difficult to open, part of why I didn’t deal with them in the past, and the accompanying emotions. It didn’t feel right leaving them in a cupboard for my sons to deal with after we’re gone.

One by one, I scattered the cremains of Slinky, Grant, Collar-Collar, and Fluffy on different days and in various areas of the garden.

It’s been an emotional journey but a cleansing one and a gift to myself and the ones I love.

A Craft Space of My Own

I’ve been looking forward to a dedicated craft space to call my own for years. When our boys were young, Mike and I used our fourth bedroom as a home office. During the grade-school years, we added a pair of desks for the boys. They completed homework in that room and used the computer under my watchful eye. I crafted in a small area on my desk, or I joined friends once a year for a weekend away to work on our scrapbooks.

When my oldest left for university, I planned to reclaim part of this space for my sewing machine. My younger son quickly spread out using all the available surfaces. The room morphed again as a place to hang out with his friends.

In 2018, my youngest son left for university, and at long last, I had a dedicated craft space of my own.

Lindy marveling at the cleared surface

I started organizing my craft space that year, but a few months later, I found myself fully immersed in my volunteer work with Lifted Spirits and started spending a lot of my time downtown.

I put some structure in place at the time, and what a treat its been to have everything I need at my fingertips!

Now that we’re “sheltering in place” in Santa Clara County, I’ve finally put the finishing touches on this room.

My original plan was to set up a sewing area on one desk and a paper-crafting area on the other one.

The table is too deep for my machine and my foot pedal to work well together. Since I like spreading out when I sew, I decided to convert both sides into paper crafting. I can use my dining table when I sew.

Now I have a place for my Silhouette Cameo cutting machines and more surface area for work.

Cameo die cutting machine (a Christmas gift from Mike)

Cleaning up and reorganizing the space didn’t take long, and what a difference it’s made. I enjoy working on cards and assembling craft kits for the curb, and it is a pleasure working with a clean and uncluttered (for now) desk.

My reorganized crafting space

I enjoyed gathering inspirational art for the wall. It’s a collection of mixed-media, watercolor, collage, embroidery, and fiber arts from friends and family. I love having it gathered together and displayed in my creativity corner. I have several pieces from fellow bloggers, including Anne, Kelly, Marlene, Pauline, and Wilma, representing Australia, Canada, the US, and New Zealand.

I’m now surrounded by art created by family and friends.

On the pale yellow wall, the green heart is a gift from my friend, Carrielin. We met in college doing a play together, and we’ve remained friends all these years.

The custom-died monkey sitting on the heart is a gift from my self-described hippy friend, Laura.

All three read hearts we’re machine-embroidered by the talented Marlene, who blogs at insearchofitall.

From Canada, a mixed-media tag by artist Wilma Millette. You can find her gorgeous work on Instagram @creartful-dodger. To the right of Wilma’s piece is another mixed-media creation by the talented Kelly Daye. We met through blogging and have become the best of friends.

On the green wall, I hung Dad’s wooden painter’s palette. It’s a cherished memento. Oil painting was one of Dad’s many hobbies. I affixed three black and white photos to the pallette: My dad in the center, a picture of his completed model of the Golden Hinde, and the storefront of my parent’s flower shop in Seaforth, Canada. They’re all treasures. The Bay Bridge oil painting is also my dad’s work.

Below the palette is a mixed-media piece by Pauline King, a treasured gift for my 60th birthday. Pauline is known in the blogging world at The Contented Crafter.

Next to Pauline’s work are a pair of watercolor teapots by Anne Lawson. Anne is a Melbourne Artist who “captures the beauty of the #naturalworld in watercolour or ink.” You’ll find more of her work @annelawson54 on Instagram.

My father’s wooden oil painting palette

Repurposed wine crate stores stamps and punches

I like being able to see everything at a glance. Assorted cat mugs store my pens and tools. See-through bins store craft ribbon, dies, and acrylic stamps.

I removed the sliding doors to the room’s closet several years ago. It now houses our printer, most of my sewing supplies, extra baskets, and a few other crafting tools. Here’s what it looked like before re-organizing the shelves.

Starting Point: A four-foot closet in the same room stores craft materials, our printer, sewing projects and my Cameo cutting machine

This is what it looks like now.

After: craft room closet sorted with room for a chair.

Have you tackled an organizing project during your time in quarantine?

Organizing Everything: When Spring Fever Strikes

Nothing is safe when spring fever takes hold. I go into a cleaning frenzy. The men in the house are used to it by now. After all, I organize other people for a living. My family is not immune.

With my oldest son away at college, his room took a minimum of fuss. He’ll be home tomorrow for spring break, so I made a few adjustments to his room and that was that. I’m excited to have him home for a week.

My youngest son entered his teen years and forgot all about his tidy ways. We’ve tried to negotiate (keep my door closed, he says) but I still go in there to fetch laundry and to air out the house. Clutter makes me uncomfortable. I need to work on my boundaries and he needs to work on the tidy factor. We’re both a work in progress.

My husband usually dreads the annual closet sort, but this year was different. He recently lost almost twenty pounds, so he was happy to give away all the clothes that no longer fit. He looks and feels terrific. We’re on the same eating plan, but he’s lost almost twice the weight. Men. What a lucky metabolism.

organized closet husband

My husband’s side of the closet

organized closet

My side of the closet

Once I get going, I don’t want to stop. After sorting out the clothes in our shared closet, I got out the duster and the vacuum and cleaned the mysterious cobwebs at the top of the closet, and the shoe dust below.

When I say “shared closet” I should also add that Lindy likes to spend her big sleep of the day in our closet. I’m storing a scrap-booking cart for my sister in there.  Within days Lindy claimed it as her own. Oh my goodness though, all that fur.

Here’s what I did. I folded a small, soft blanket to the size of the cart, then attached it at the top using a trouser hanger. It makes the spot even cozier, while helping contain the fur. It’s easy to wash and put back as well. For added measure, I hung an old vinyl suit cover, the kind that comes free with a man’s suit, on the other side to minimize the flying fluff.

organized closet for cat

Lindy’s napping spot (my side of the closet)

lindy waiting

Lindy is wondering when she can have the closet back

I should probably vacuum in there more often, but there are five million things I’d rather do.

With the closets sorted, I moved on to my toiletries. I moved them into our bedroom to make more room for the boys in the hall bathroom they share.

bedroom organized toiletries

My crafting area also needed some TLC. It’s amazing the disarray one creates from making a single project. It’s all about experimenting. I’ll take out my acrylic stamps, then the stamp pads, paper and more paper, scissors, adhesive and on it goes. When I’m done, the piles in my limited space have accumulated.

organized ribbon

Craft Closet: Organized ribbon and Washi tape

organized crafts cutting tool sorter

Crafting tools and supplies

organized crafts and litter box-001 organized crafts and litter box-003 Years ago I converted the small closet in our home office into a personal crafting area, but it didn’t last long. Believe it or not, the place where I once sat now houses the cat’s litter box.

Please don’t judge.

organized cat box

Organizing the cat box

It’s a long story, but the abbreviated version is this: Slinky moved into the house but was afraid of all the other cats. This was the only place to put an out-of-the-way litter box. Soon the other two cats adopted this litter box, too. They no longer used the boxes in the bathrooms. I prefer cleaning one box over three, but I do miss the leg room. The cats run this place.

It feels great having the closets sorted, along with my crafting materials. I continue to store my crafting materials in the top half of the closet, while the kitty facilities remain below.

hiding the cat box

Hiding the cat box

It’s all about compromise, right?

I’ve been in a cleaning frenzy outdoors as we get things ready for spring planting. I’ll save those details for another post.

Organizing Magazines: Periodical Peculiarities

Aunt Alys 1933 Magazine Cover

Here’s one magazine I wish I had: My Aunt Alys on the cover of Health and Strength, 1933

The nature of magazines makes them challenging to organize. Unlike books with an index, trying to find a certain article, recipe or idea usually means thumbing through the pages. Even that has its limitations. If you buy or subscribe to several, you’ll quickly lose track of the content. Magazines are peculiar periodicals. Trying to organize them is time better spent on activities you enjoy.

My advice for organizing magazines is…don’t.

Magazines are topical in nature. Weeklies cover current events, whether its news, entertainment or both. They’re meant to be read and tossed. If you can’t bear to toss it, consider sharing it with a neighbor or co-worker. If you know you’ll be passing it on, you’ll take the time to read it. When we’re busy, news magazines may sit for weeks because we don’t have time to read them. If you can’t read it now, chances are you won’t read it later. Why? Because its old news. My advice is to read it and toss it. If weeks go by and you still haven’t read it, out it goes. If it’s habitual, is it time to let the subscription go? Consider following one of the news organizations online or via Twitter instead.

Monthly magazines generally have more content, and don’t always have a ‘shelf life.’ Recipes, decorating ideas or an inspirational article have tremendous appeal. Hobbyist magazines share the latest tips for horse grooming, new garden ideas, or craft patterns along with tips and advice. But consider this: according to Ad Week, advertisements make up 45 to 50% of the pages in an average magazine. This means that for every magazine you store, you’re dedicated half of your storage space to preserve ads. Without a proper index and only half the pages filled with content, keeping monthly magazines long-term is a losing proposition.

Here are some ideas instead.

Limit your subscriptions.

I love reading magazines myself, so I appreciate their appeal. I have many interests, including gardening, crafting, movies, books, and household DIY. It’s fun looking at the latest fashions and I enjoy reading news from my industry.  That said, my time to read is finite *because* I have so many interests. I subscribe to two paper magazines: Entertainment Weekly and Real Simple. I read them cover to cover, setting aside the time to really dig in and enjoy them. Entertainment Weekly covers books, movies, music, television and trends in all those industries.  Real Simple covers fashion, organizing, home decorating, gardening and cooking with a clean editorial layout that I enjoy. I stay current on my industry through an online forum. And if I’m really craving gossip, I can always find it online or in the lobby at my next dentist appointment.

Save what you’ll use, then toss the rest.

If you like to collect and try recipes, then tear out the one that appeals to you and put it in an organized binder. I have a simple binder organized by soups, salads, main courses and desserts. After you try the recipe, you can decide if it’s a keeper. If not, out it goes. Pinterest is another great way to sort and store recipes and its all online. Then you’ll always be able to access it from there.

If you’re saving decorating ideas, consider scanning the pictures and creating a digital folder. Or do what Marlene of In Search of it All does: take a photograph of the idea you want to save and let go of the rest. You can also scan the pages and store them digitally for easy retrieval or using a scanning service to do the same.

Know when to hold ’em, know when to fold ’em.

Some of us are tactile. Reading a magazine online is not the same as holding it in our laps, turning the pages and referring back to the inside cover to see what we missed. My friend Donna goes to the library on the weekend and thumbs through dozens of magazines. She gets the tactile and visual pleasure at no cost and without the burden of storing them. If she sees something worth saving, she can take a picture with her phone or make a photocopy at the library.

Boxes and bags and baskets, oh my.

So what do you think? Are you ready to reclaim some space and your sanity by sending those magazines back out into the world. Here are a few ideas:

Donate your magazines to a thrift store. A few of our charity shops sell back issues from the past year.

Leave a few at a bus stop: My mom used to do this. When she finished her paper or magazine, she left it at the bus stop. Someone always picked it up to read it.

Ask your child’s school if they want them for art projects. We’ve been asked many times over the years to donate magazines for class projects. (Always double-check for appropriate content).

Recycle. Put that paper to use for a second time.

Enjoy all that new-found storage. I’ll bet you’re feeling lighter already.

Thank you Sheryl at Flowery Prose and Marlene of In Search of it All for inspiring this post.

Of possible interest:

Organizing Your Herbs and Spices

lavender flowers dried

Dried Lavender

Thanks for sharing your thoughts and suggestions on last week’s Organize This post. I’m passionate about organizing and gardening, so writing a weekly feature should be fun.

Cathy, the fabulous cook, gardener and blogger at Words and Herbs is looking for a way to organize her extensive collection of herbs and spices in a ‘very small spice cupboard.’

Since I’ve not seen Cathy’s kitchen or her spice collection, the following ideas are generic in nature, and should apply to everyone.

Gather and Review:

While it’s tempting to skip this tedious step, it’s often the most fruitful. Haul out all your herbs and spices from cabinets, counter tops and drawers and spread them out in one place. If you love to cook, you probably have an extensive collection.

Spread a large table-cloth or newspaper on your table or counter so it’s easy to tidy up any spills. Set out your spice and herb jars and packets so you can see everything. If you have 50 jars or less, alphabetize into A – L and M – Z. If you have 100 or more, break it down even further. Alphabetizing serves two purposes: it allows you to search for duplicates and it makes it easier to keep your spices in order for regular use. Most markets and grocery stores display spices in alphabetical order so you can find what you’re looking for. It makes sense to do this at home as well.

Consolidate:

If you have duplicates, see if you can consolidate them into one container. Before doing so, check the herbs or spices for potency and freshness.  According to Spices Inc., whole spices and dried herbs, leaves and flowers will keep 1 – 2 years, whereas ground spices and herbs will keep for about a year.

Purge:

Painful, I know, but if your spices have gone off, or have lost potency or flavor, it’s time to let them go. Did you buy a special ingredient that you’ll never use it again? It’s okay to let that go too. You can’t recoup the cost and those spices are taking up valuable cupboard space. Finally, if you’re a fabulous cook, you may receive gifts of herbs and spices. After graciously thanking the giver, consider passing them on.

Organize:

Yes! Now you can put your system in place.

Spices are best stored in glass containers with tight lids in a cool, dry place. Though you’ll want them close by when you prepare your dishes, you don’t want them close to the stove (too hot) or the dishwasher (too humid). Boy, those spices are temperamental!

Consider investing in a generically sized set of jars. When the jars are all one size, it makes it easier to see what you have and easier to put it back where you found it. It’s also helpful if you’re the cook, but someone else puts things away.

At home, we have the luxury of large kitchen drawers. Our spices are laid on their sides in a   drawer for easy access. In smaller spaces, I’ve helped clients organize spices in a drawer by relocating items like tea towels, or seldom used utensils to another location, freeing up drawer space.

If storing them in drawers is out of the question, consider storing your spices in bins you can easily remove from your cupboards. Spice jars are small and not really well suited for the average design of a cupboard. Lift out bins take care of two issues: they contain the smaller jars, keeping them from rolling to the back of the cupboard and they catch spills, making clean up a lot easier.

There are a number of gadgets on the market designed for organizing spices, but I’ve found that most of them are limiting, either in size or ease of use. Most cooks have far more spices than the average storage system allows. The simpler the better.

Finally, all kitchens are not created equally. A fabulous cook living in a small studio apartment will find it challenging to house everything. Consider rotating your meals in such a way that you can get by with less, or store your less frequently used herbs and spices in a shoe box in an out-of-the-way place.  Just be sure to keep an index card listing what you have and where with your other spices so you can retrieve what you need when you need it.

Bon appétit!

Note:

Do you organize or organise? I’m writing from North America so I organize with a ‘z’. Apologies to my readers outside of the US and Canada. You can read more about the origins of the word at Grammarist.


Organize This: From Chaos to Calm, One Week at a Time

Organizing people, places and things has always been a passion. My mom said she found me in her room organizing socks at the age of two. All embellishing aside, that story illustrates my interest from an early age.

About two months ago I decided to add a feature to my blog and polled all of you with suggested titles. I’ve combined the two most popular titles into one overly long title for now, but will plan some additional tweaking as time goes on.

Organizing Garden Tools

I’m going to kick off the feature with some garden tool organization. I’ve been using this system for three years now, with great success.

In the past I would make do with the odd bucket or two-dollar tool caddy, but as you know, when your hobby grows, so to do your tools. I headed to our local hardware store and put together a system for ten bucks.

For starters, I wanted to personalize my new tool organizer.  I have nothing against Husky who made this fabulous system, but you must admit they have a grouchy-looking logo.  Since I’m organized at heart, I used a jewelry finding full of hearts.  I covered the grumpy husky with a permanent marker, then attached the hearts with a safety-pin.  Now I can change out the bucket jewelry when the mood strikes.

Husky Bucket Jockey

I hid the logo with a jewelry finding (with apologies to Husky®)

I use the inner pockets to store my hand tools, including spades, pruning tools, and hand saws. My garden fork hangs from an outer pocket, originally intended for a drill. I cut an unused garden glove to cover the prongs so I don’t scrape my leg on the rough edges as I carry it from place to place.

Bucket Interior

Bucket interior

Gloved garden fork

Gloved garden fork

Drill holder doubles for tools and gloves

Drill holder doubles for tools and gloves

The Bucket Jockey includes a strap attached to the exterior. I don’t know its intended use, but I’ve re-purposed it for twine. One of the tricks I learned on a garden tour was to cut several lengths of twine ahead of time so you have them at the ready when you need them. I threaded several pre-cut lengths of twine through a couple of binder rings.  They’re attached near the ball of twine.

Strap and Hook

Strap and hook attachment

Garden Twine and binder ring

Pre-cut strands of garden twine attached with binder rings

strap holds garden twine

Strap holds garden twine

"Bucket Jockey ®" for garden tools

Organized and ready to garden

Now all my hand-held tools and garden accessories reside in one easy-to-access, portable system.

Your Turn

I would love to hear your ideas for future posts. What are your organizing interests or challenges?

If you want to make a request privately, you can write to me using my contact form.

Here are a few general ideas:

Home Office/Small business:

Efficient use of email

Managing paper flow

Effective filing

Kitchen:

Improving layout and work flow

Shopping and meal planning

Dealing with ‘granny gear’

Holidays:

Organizing the holidays

Organizing gift-giving

Micro-Organizing:

Socks, socks and more socks

Where should I store the cat food?

Drowning in magazines

etc.

I’m looking forward to your comments, below.

Plan-Free: My Mellow-Yellow Weekend

We had a mellow-yellow, no plans weekend. I loved it. That’s not to say I didn’t do anything, but that I enjoyed doing ‘whatever.’

First up, crafting a wreath:

wreath detailI’ve had an idea bouncing around in my head for a while and wanted to give it a try. I’ve been drying a few hydrangea blooms, now faded to a soft purple-gray. The sage is winding down the season, but still has plenty of purple plumage to spare. The thought was to wrap strands of the soft sage along the edges of the wreath, punctuated with three hydrangeas and a bit of ribbon. The colors are lovely, but the implementation is all wrong. Further, the more I worked with the hydrangea, the more I damaged the brittle blooms. Stay tuned for my sad little tale later this week.

Next up, seed organizing:

Oh, how I love organizing. And seeds. And my computer.

I gave my Seed Keeper an end-of-season clean out. It’s a great place to collect and store the seeds, but after a busy spring, I’d neglected the contents. When I had finished planting, I tossed empty seed packets into the box, thinking I would later use them for record-keeping.

Seed Keeper Deluxe

Seed Keeper Deluxe

Head slap: I keep a blog. So, remembering the log part of blogging, I tossed the torn packets into the recycle bin. (At one point I thought I would save them to make cards, but muddied finger prints and torn edges helped me realize the error of my ways.)

The clean out left plenty of room for this season’s seed collection, my most methodical and organized to date.

Matching garden photos with the seeds I plan to store, I created a photo collage.  I sized the collage to fit a sheet of name badge labels, passed it through the printer and voila, an easy way to make seed packets. Using glassine envelopes on hand from last year, I included the name and the year, added the label and seeds, and filed them in my nifty Seed Keeper.

flower seed packets

Flowering annual seed packets ready to fill

flower seed labels

Photo collage for identifying seeds

squirrel on the fence

Looking for directions (sorry buddy, these seeds aren’t for you).  The peanuts are one house over.

End of the weekend, project:

I connected with Emma at Greenhouse Starter over the weekend and made plans to ship her Craft it Forward treasure.  I stayed up making a card to go with it, the perfect end to my mellow-yellow, no plans weekend.

Are you making your way through Monday or still hanging on to the weekend?

Organizing Garden Tools: Bucket Jockey® Goes “Green”

Bucket Jockey® where have you been all my life!?

In all my years of gardening, I’ve simply “made do” with my tool storage.  For the past several years I’ve used a small plastic caddy intended for cleaning supplies.  Not bad for a two dollar investment.

So I can’t tell you how excited I am with my upgrade: an all-in-one tool storage caddy from Husky® and Home Depot.  I’m not sure why I assumed this would be a costly investment. I grew up in an all-female household, so I never really learned my way around a hardware store.  For just ten dollars I was able to create this system, below.

For starters, I wanted to personalize my new tool organizer.  I have nothing against Husky who made this fabulous system, but you must admit they have a grouchy-looking logo.  Since I’m organized at heart, I used a jewelry finding full of hearts.  I blacked out the logo with a permanent marker, then attached the hearts with a safety-pin.  Now I can change out the bucket jewelry when the mood strikes.

Husky Bucket Jockey

I hid the logo with a jewelry finding (with apologies to Husky®)

I used the inner pockets to store my freshly cleaned and sharpened hand tools, including spades, pruners, saws and weeders. My garden fork hangs from an outer pocket, originally intended for a drill. I cut an unused garden glove to cover the prongs so I don’t scrape my leg on the rough edges as I carry it from place to place.

Bucket Interior

Bucket Interior houses tools

Gloved garden fork

Gloved garden fork

Drill holder doubles for tools and gloves

This would typically hold a drill. It works well for gloves and a garden fork.

The Bucket Jockey includes a strap attached to the exterior. I don’t know its intended use, but I’ve re-purposed it for twine. One of the tricks I learned on a garden tour was to cut several lengths of twine ahead of time so you have them at the ready when you need them. I threaded several pre-cut lengths of twine through a couple of binder rings.  They’re attached near the ball of twine.

Strap and Hook
Strap and hook attachment

Garden Twine and binder ring

Garden Twine

strap holds garden twine

Strap holds garden twine

"Bucket Jockey ®" for garden tools

“Bucket Jockey ®” transformed

What a joy to have all the tools sharpened, cleaned and stored in one easy to access, portable system.

On the subject of organizing, I recently launched my new and improved organizing website and blog, Organized at Heart. If you’re interested, please take a look.  If you would like to follow along, you can subscribe to receive regular updates.