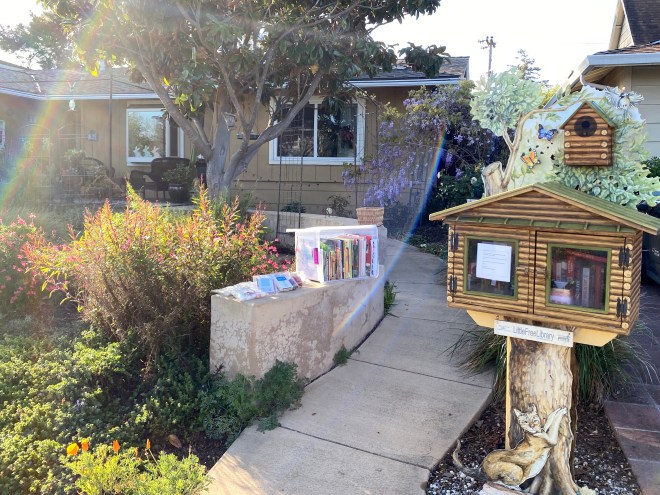
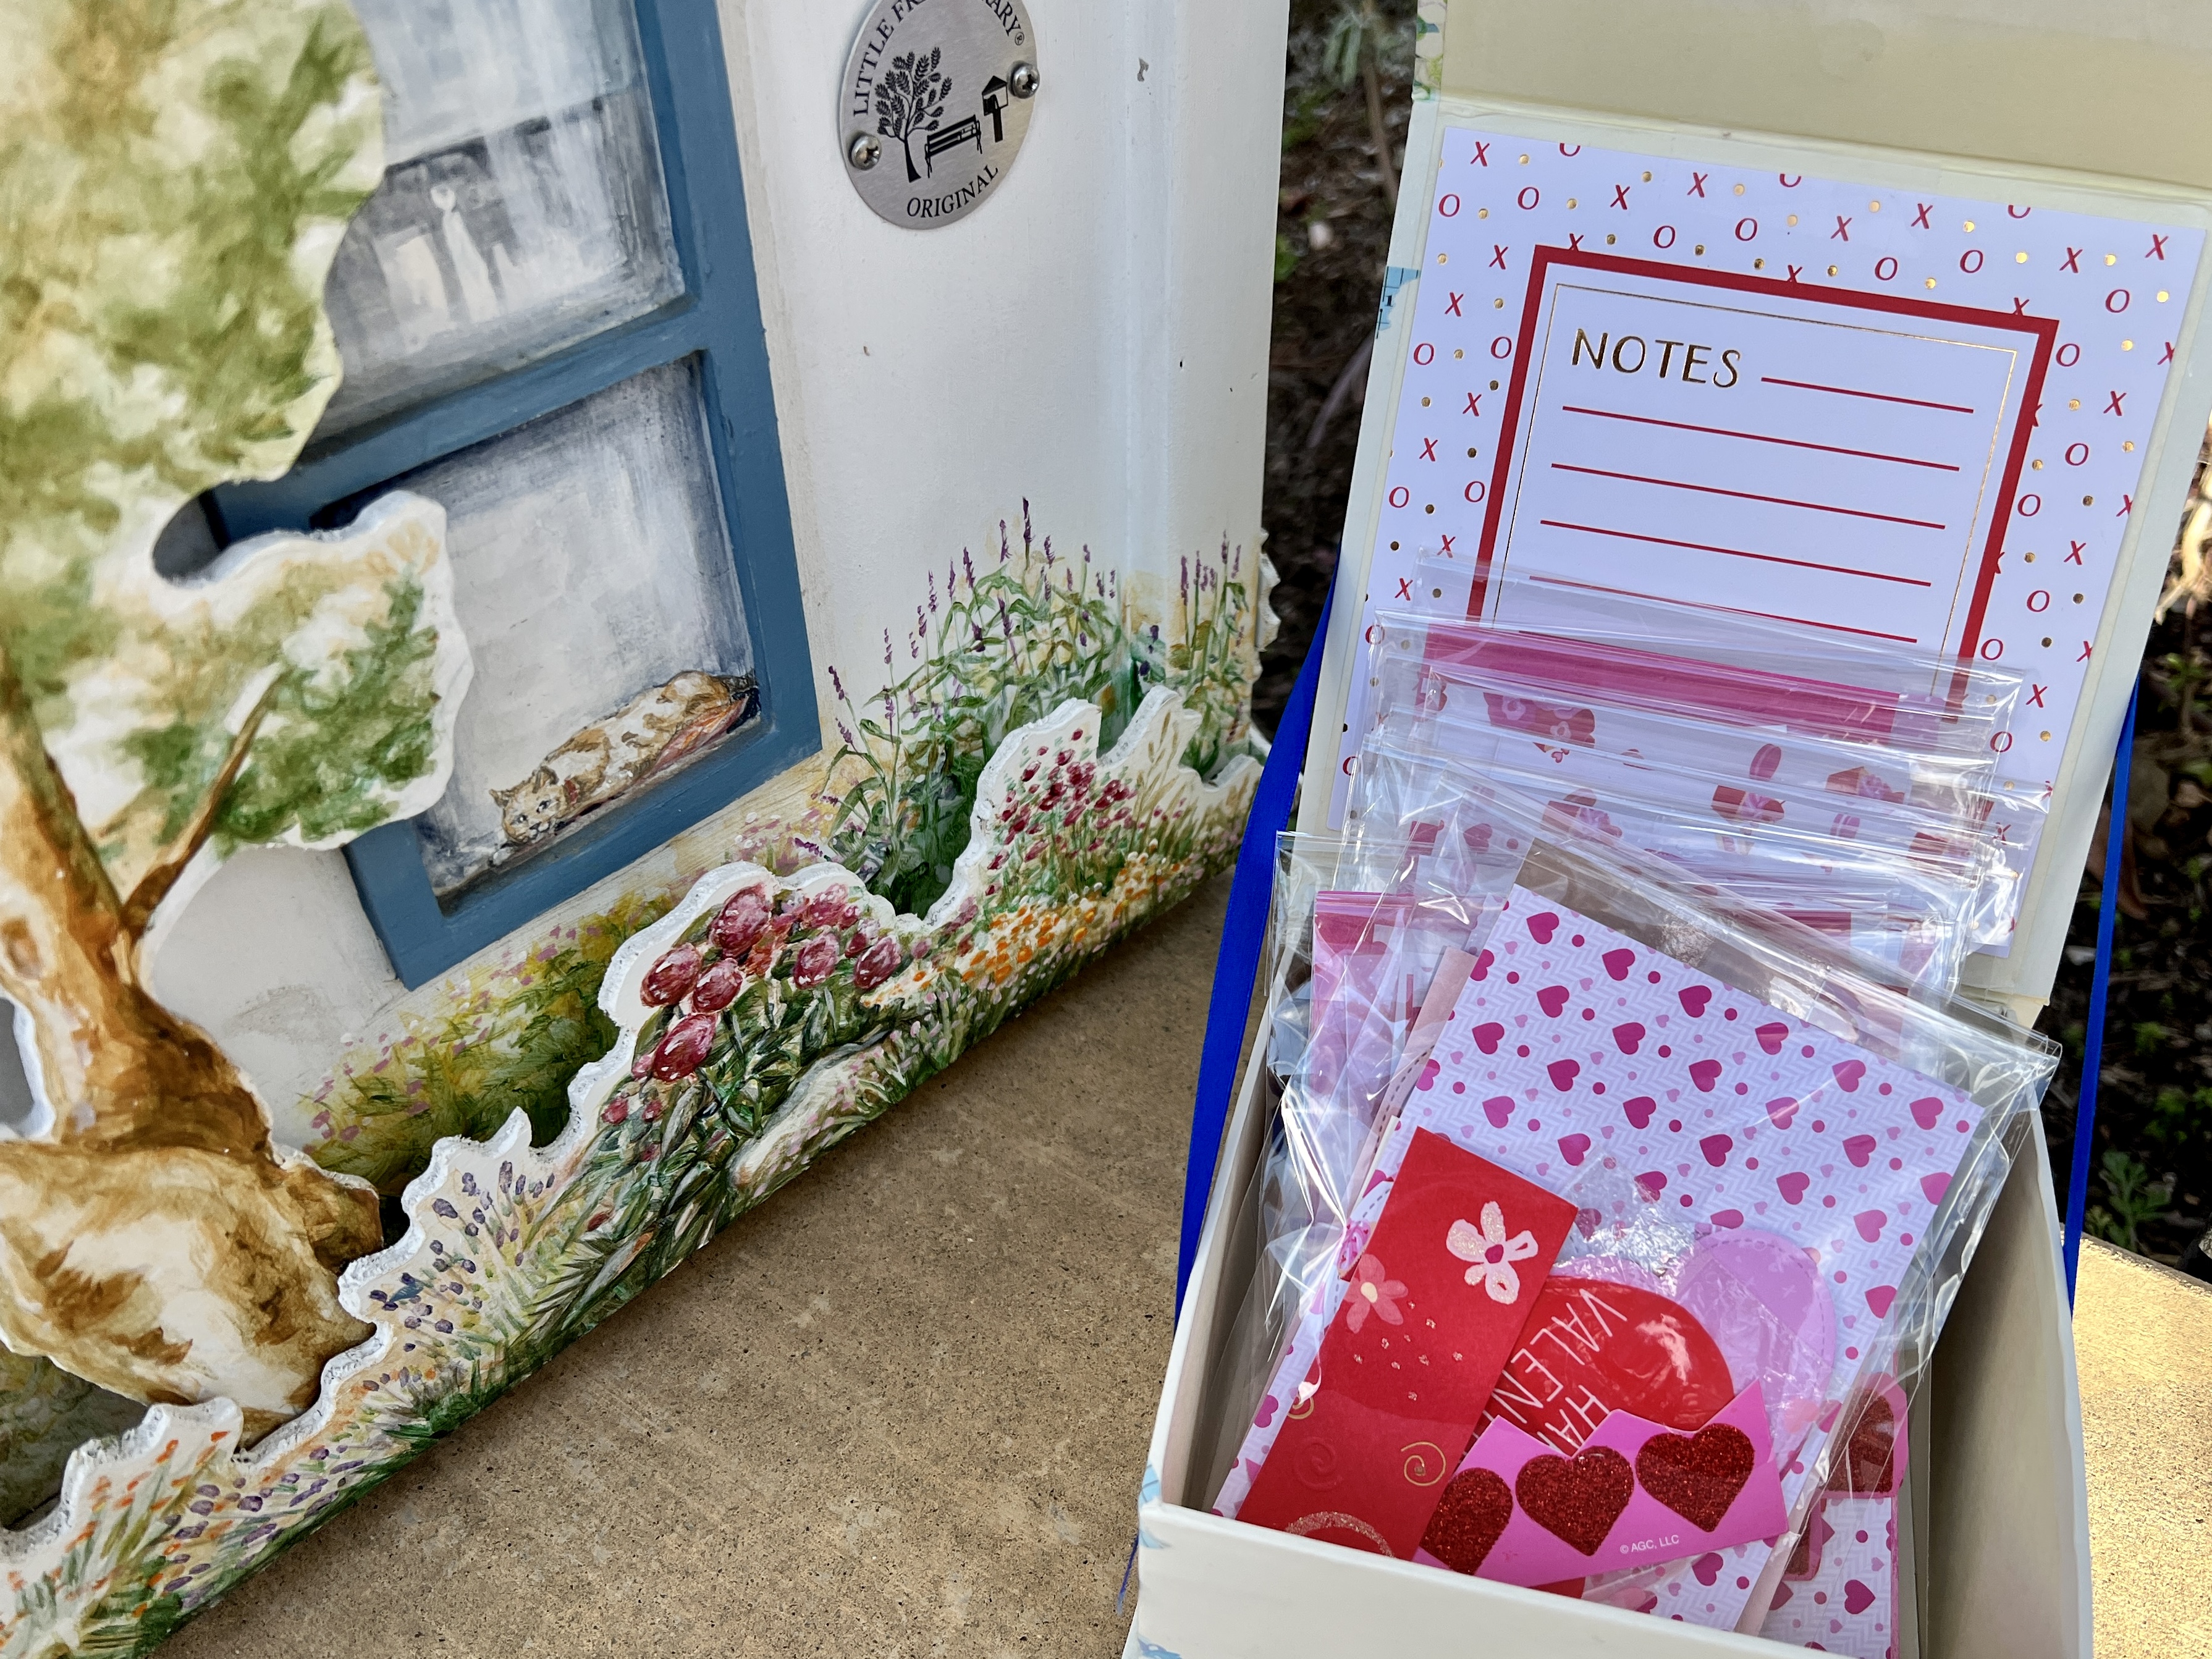
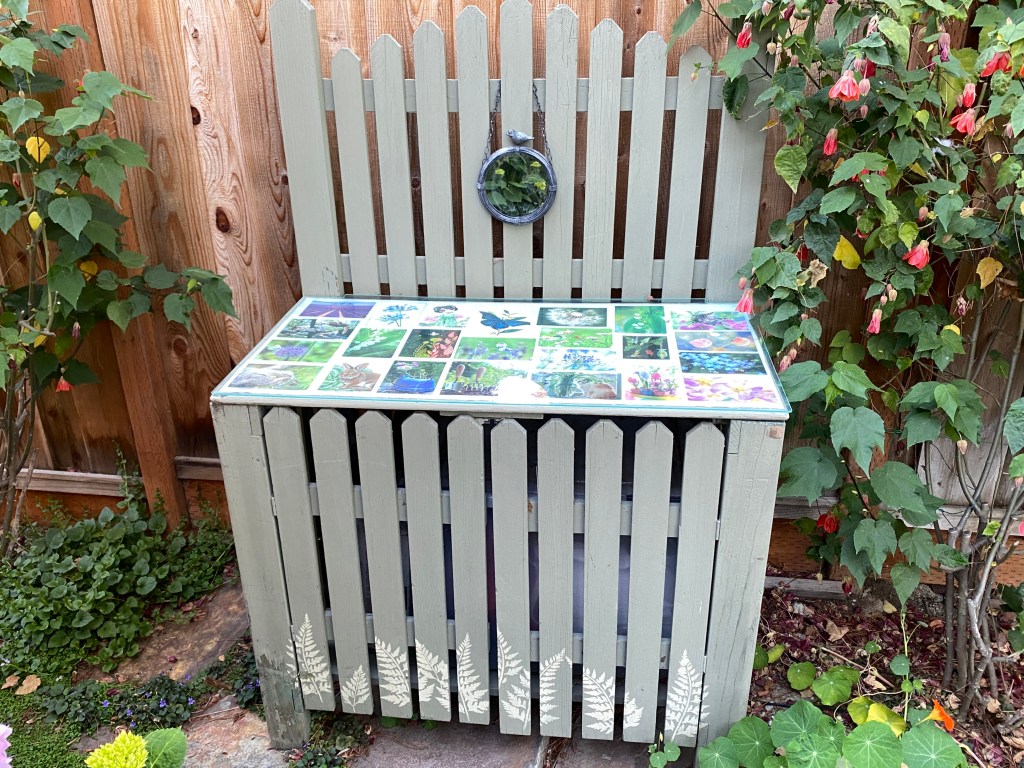
Our Little Free Library, surplus children’s books, and craft kits, just off the sidewalk in front of our home.
What’s a ScrapHappy post?
It’s an opportunity or an excuse to make something entirely out of scraps. Our host, Kate, of Tall Tales from Chiconia, encourages the use of scraps to make something useful or beautiful or both.
If you would like to join us, please see the details at the end of this post.
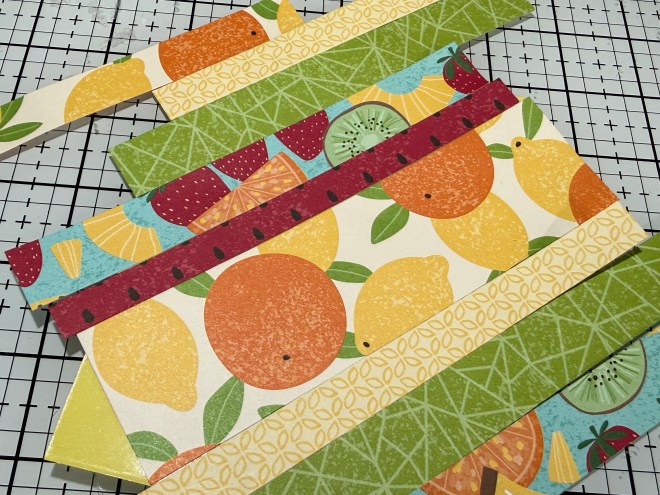
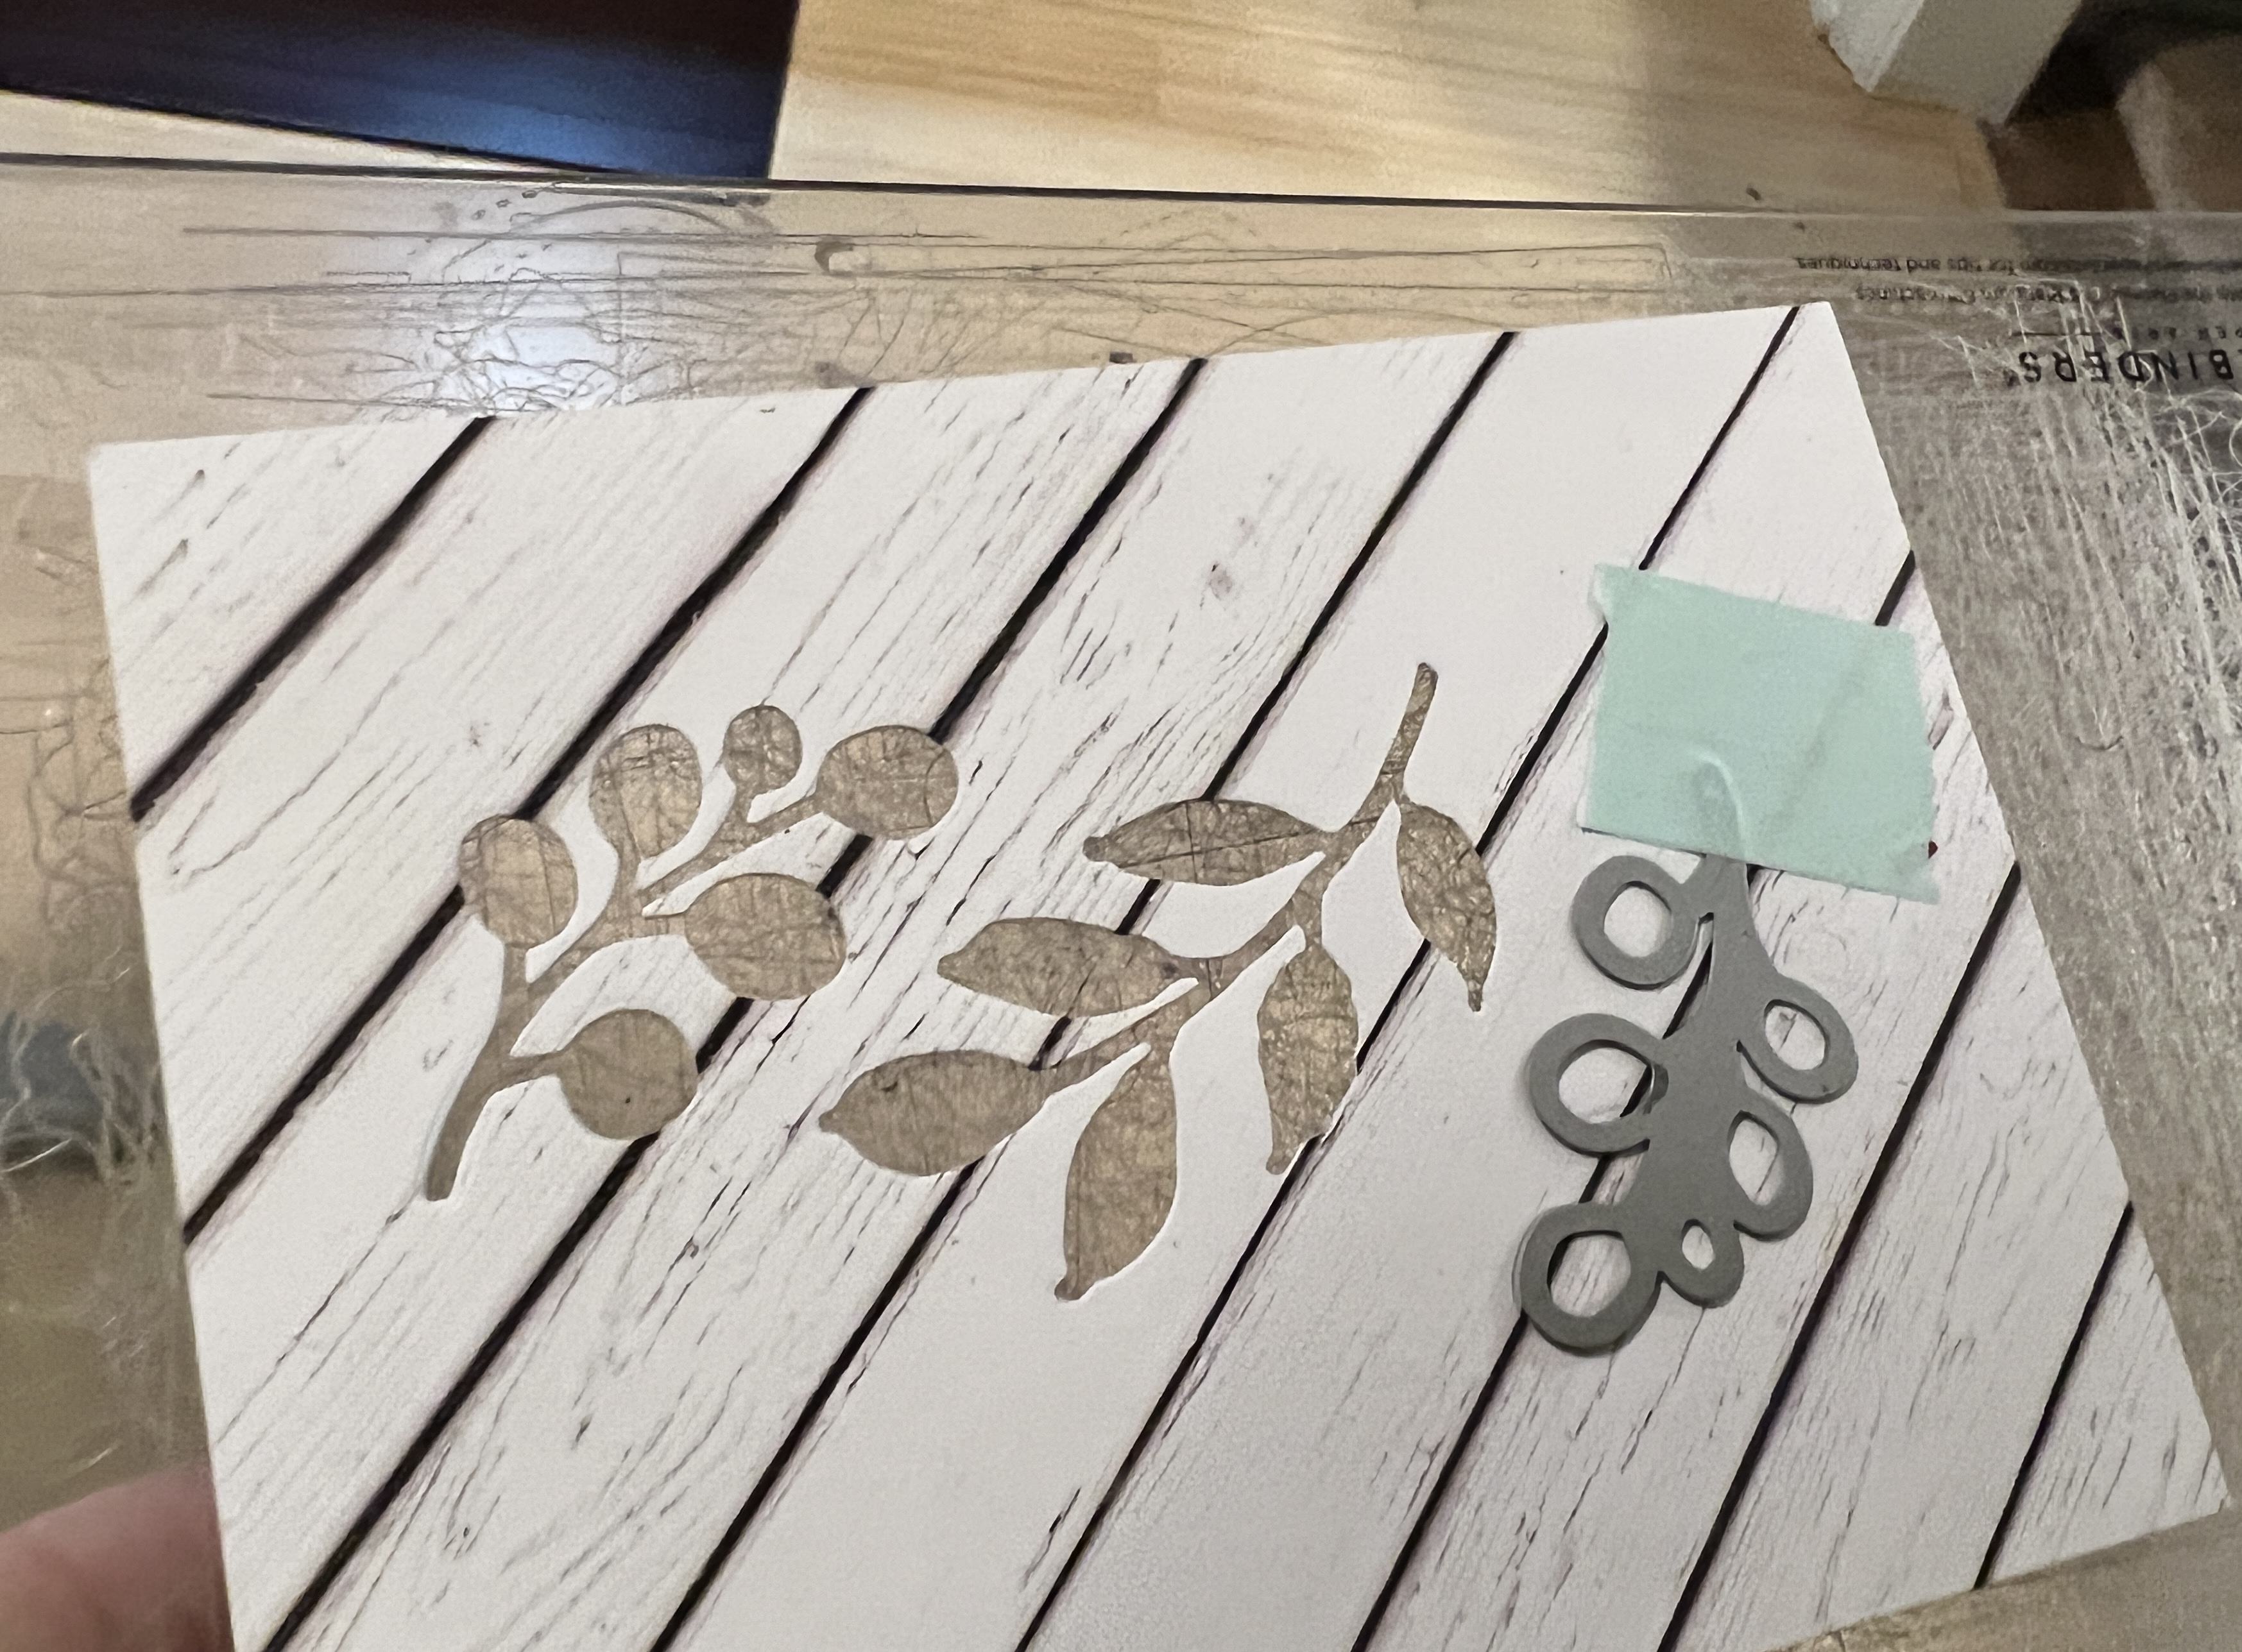
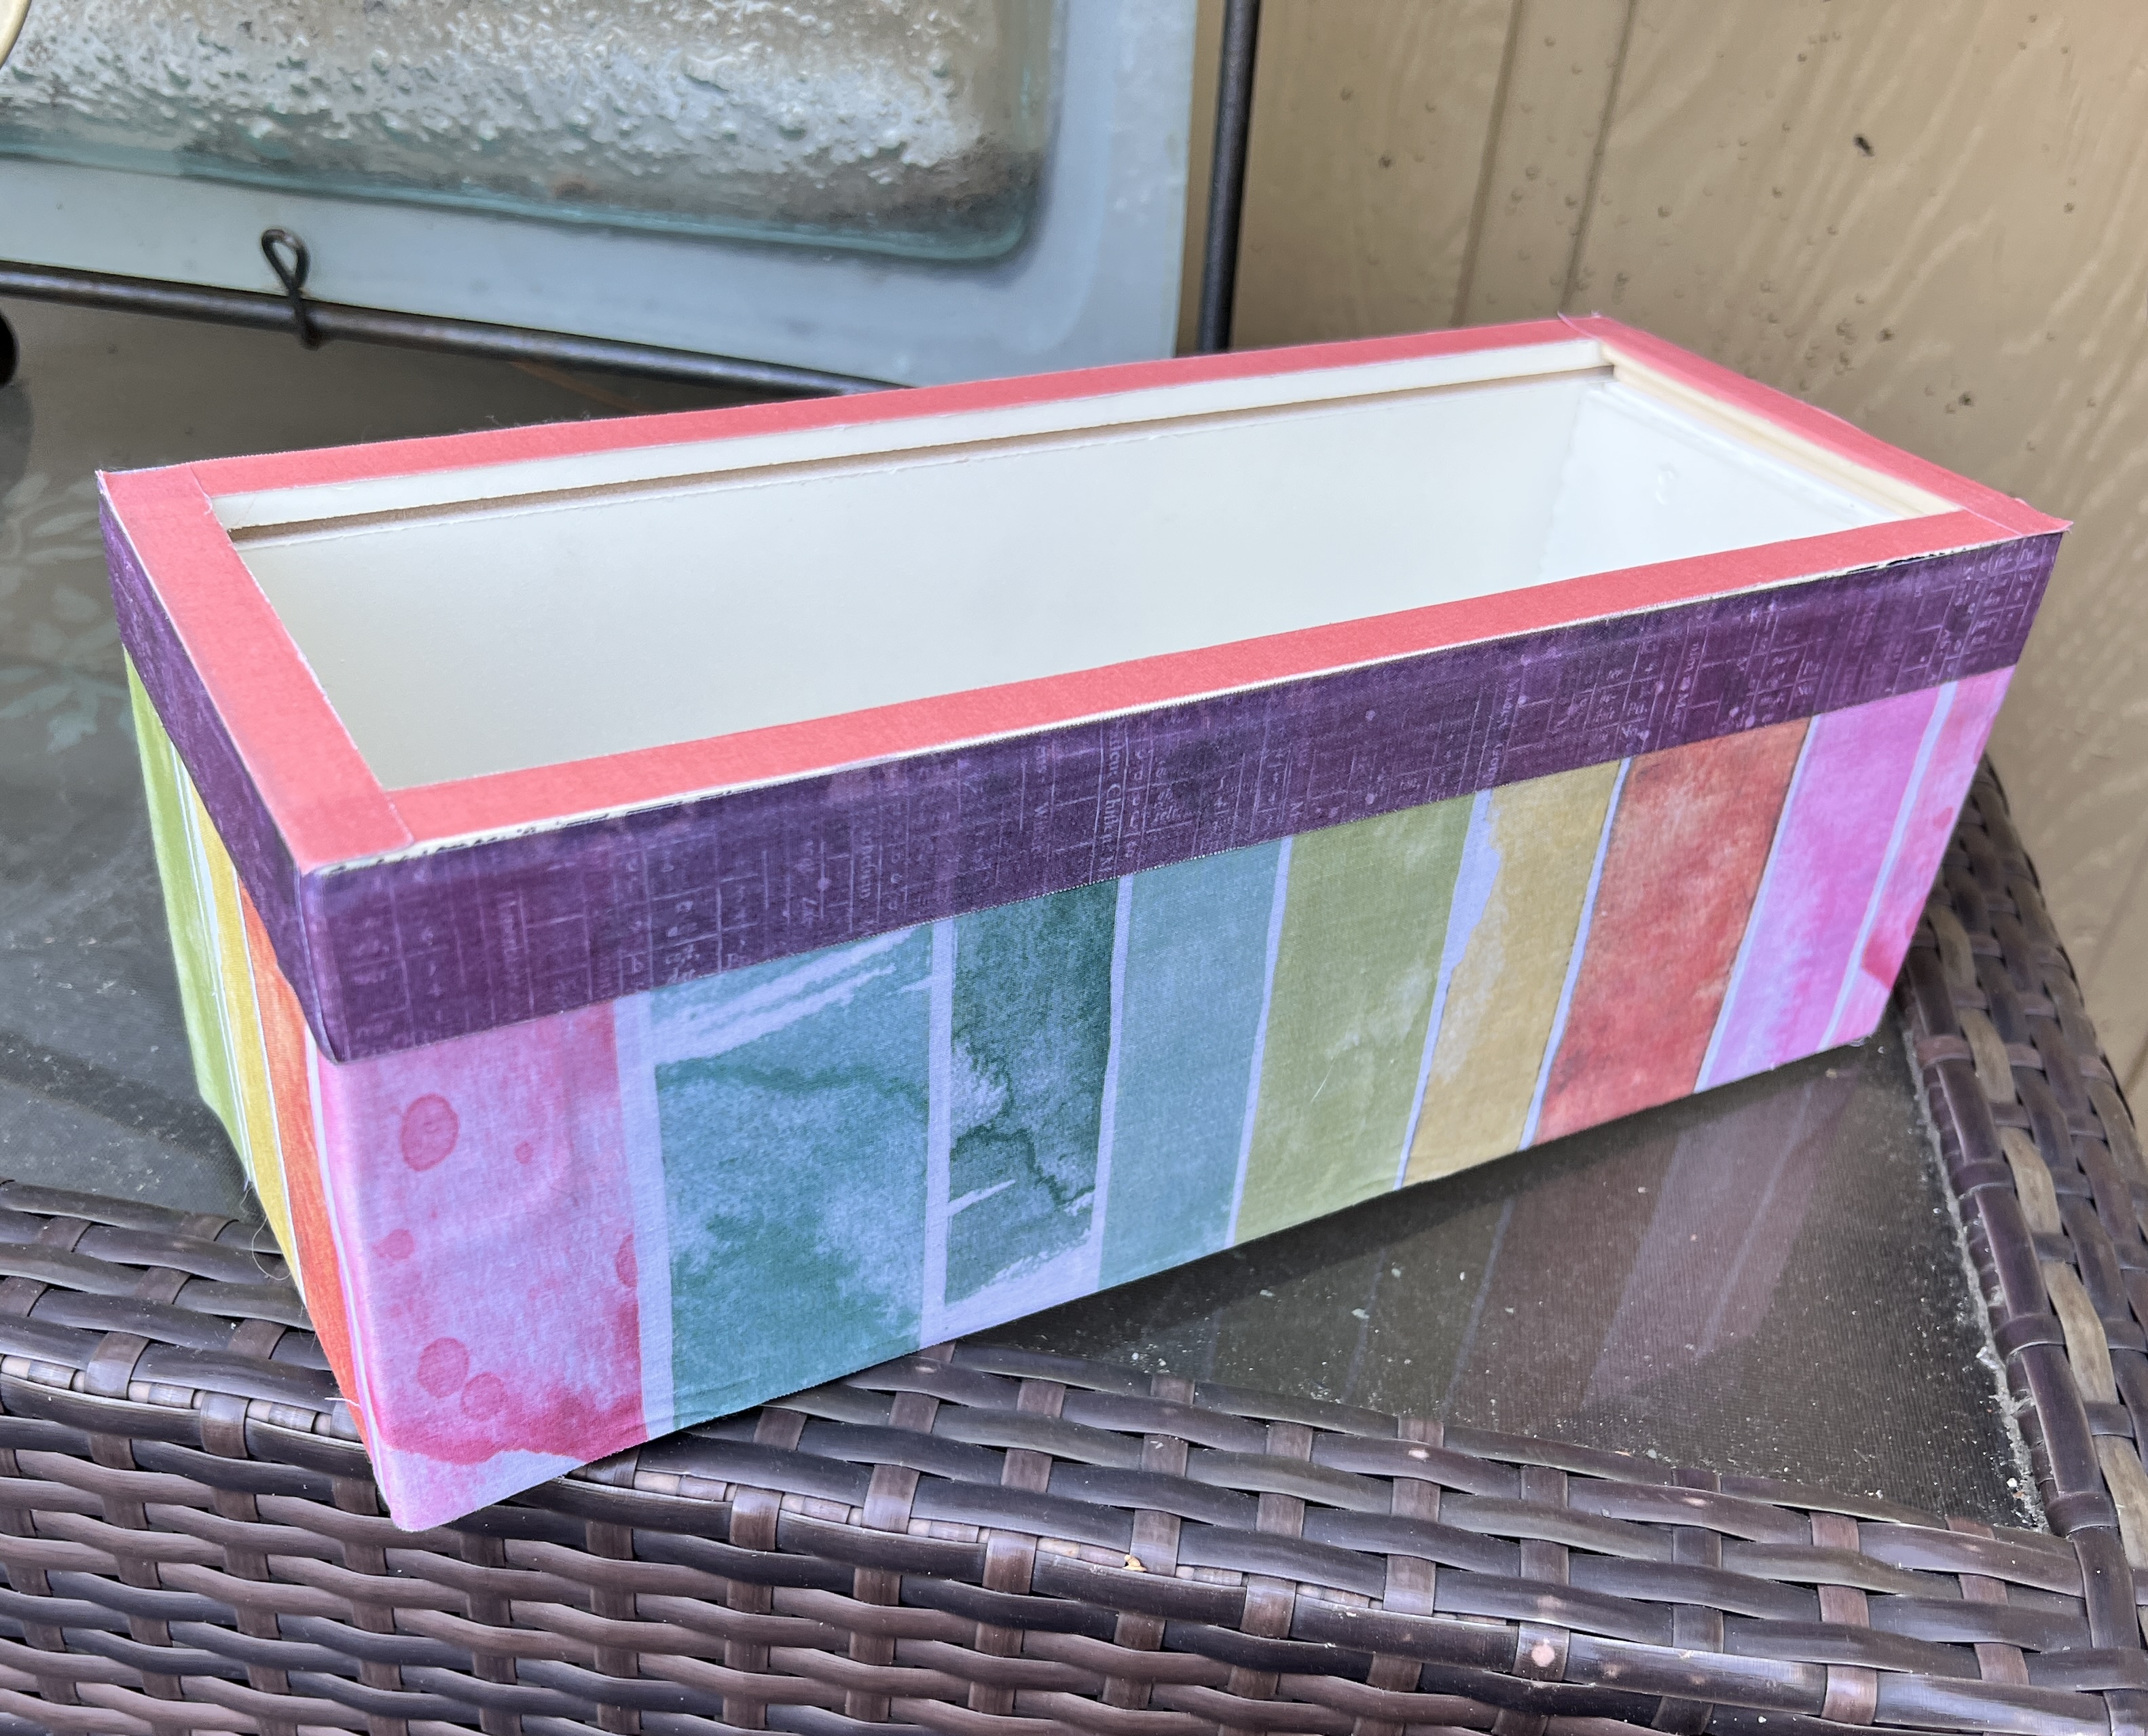
I reorganized and tidied my paper crafting area last week and took a hard look at everything I had. I set aside items that have remained idle. I pulled together paper punches and acrylic stamps, ink pads, and paper, and created small craft kits. In other words, I used some of my scraps and materials so that others could make their own ScrapHappy® creation.

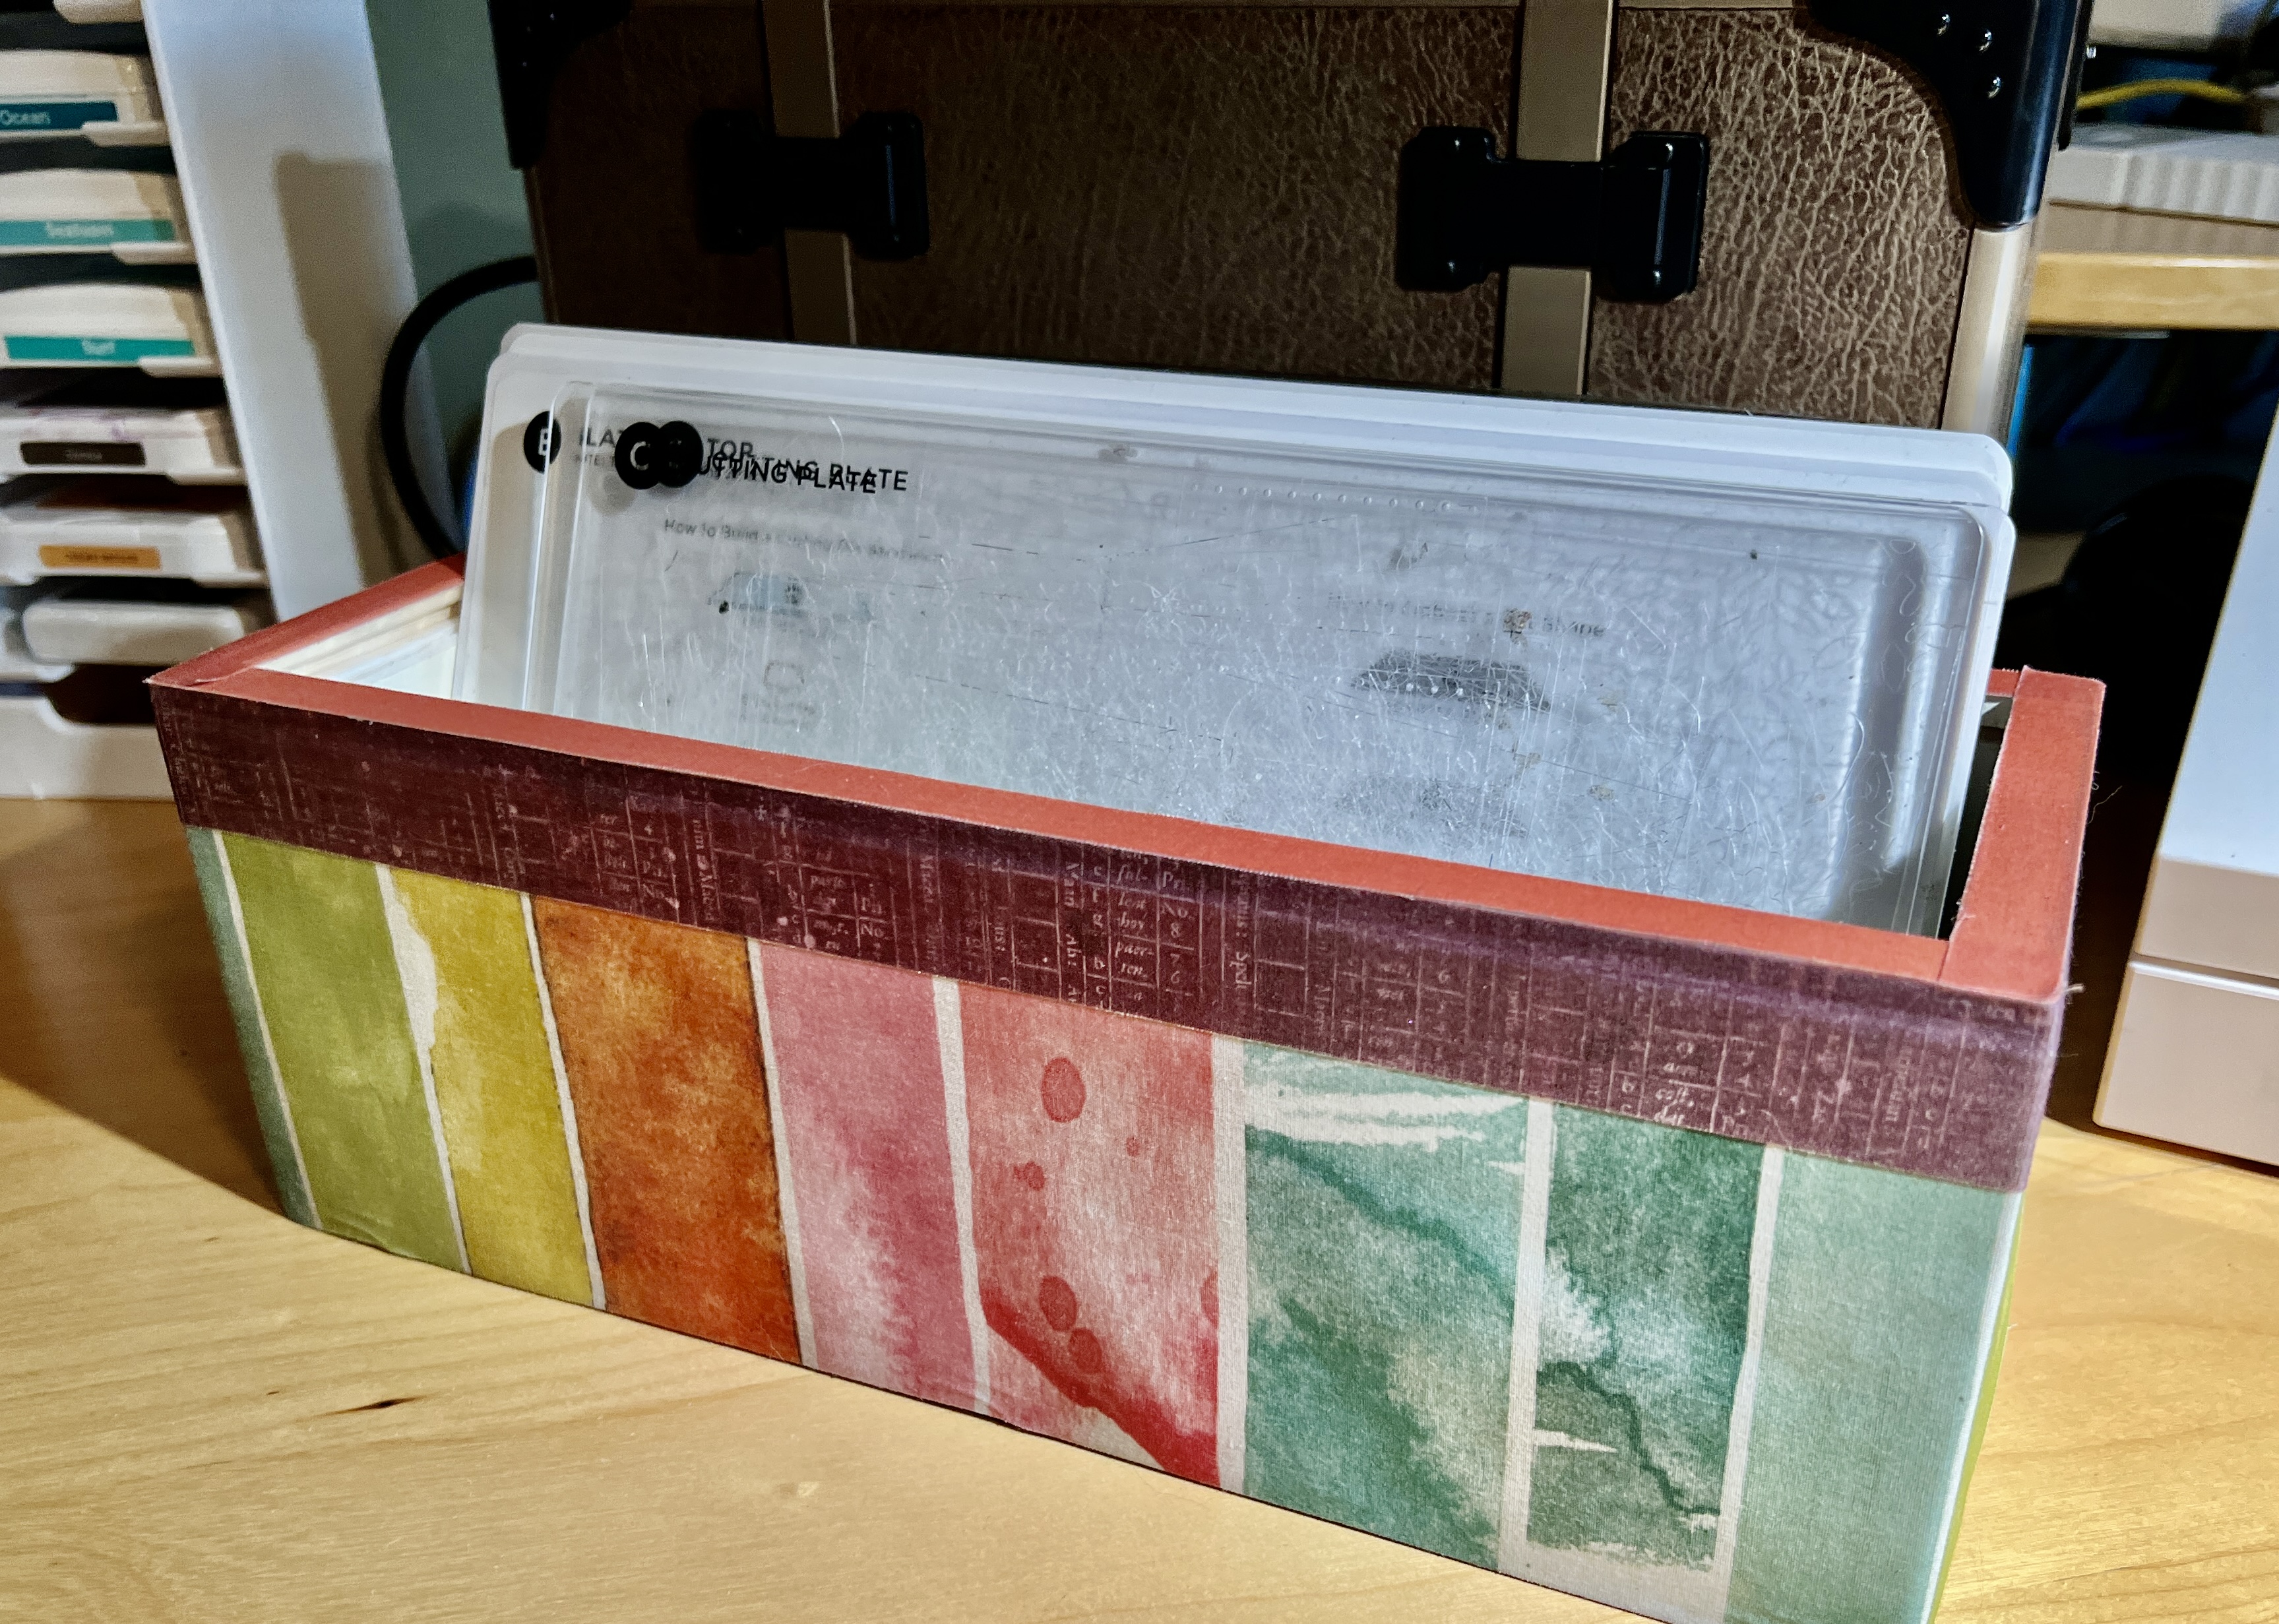
Assorted kits for the taking

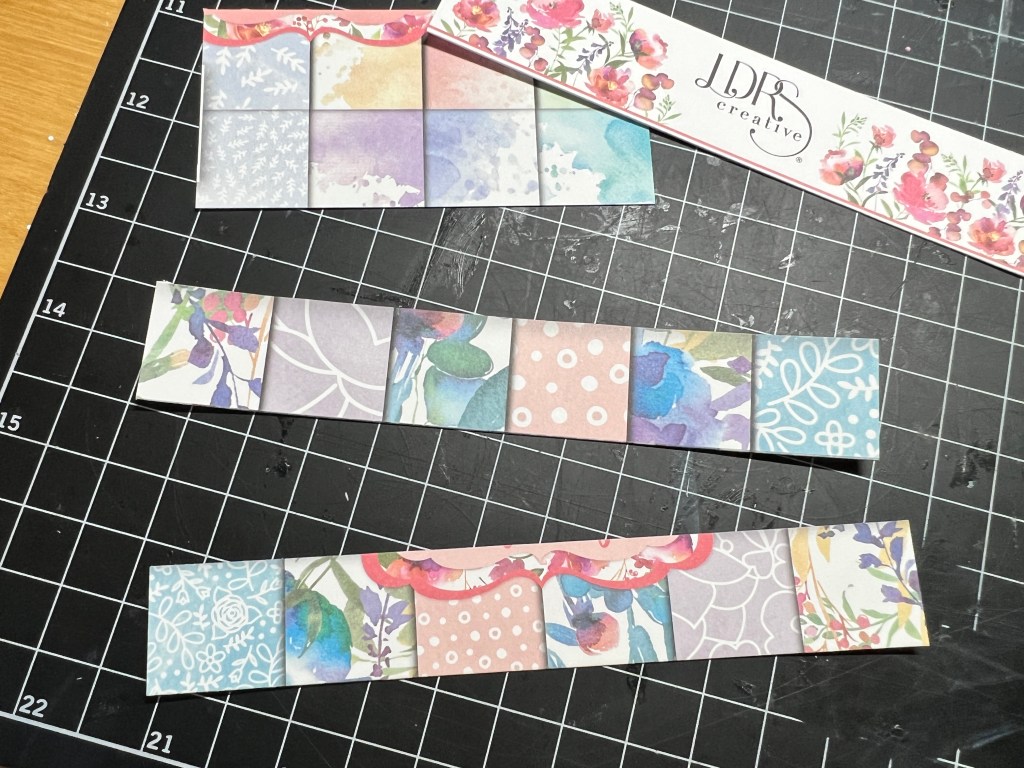
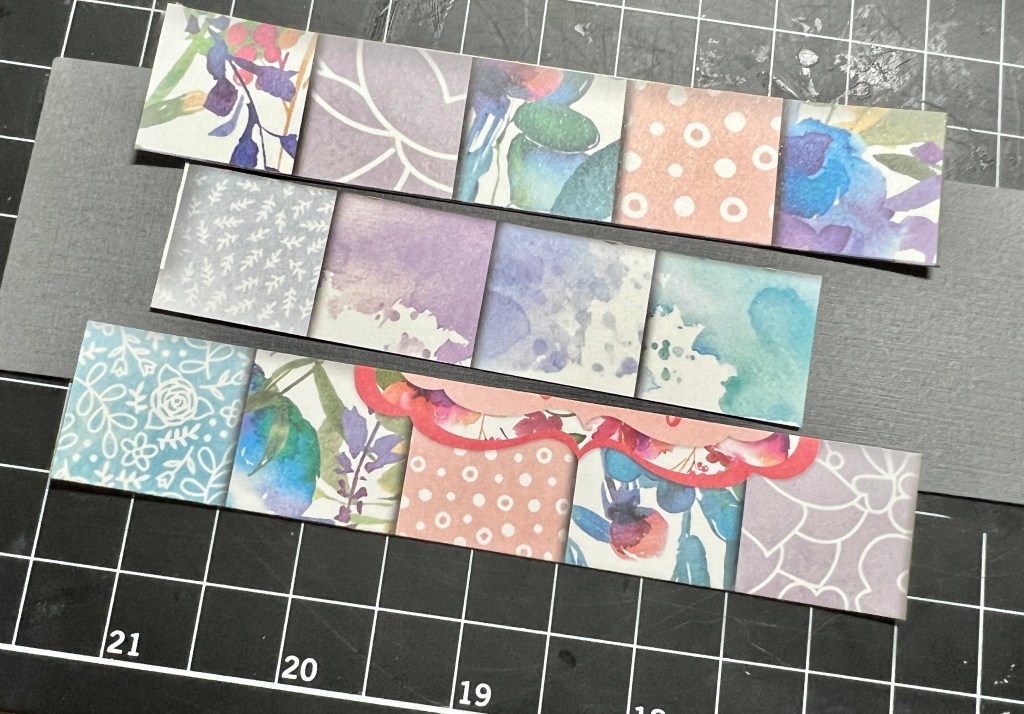
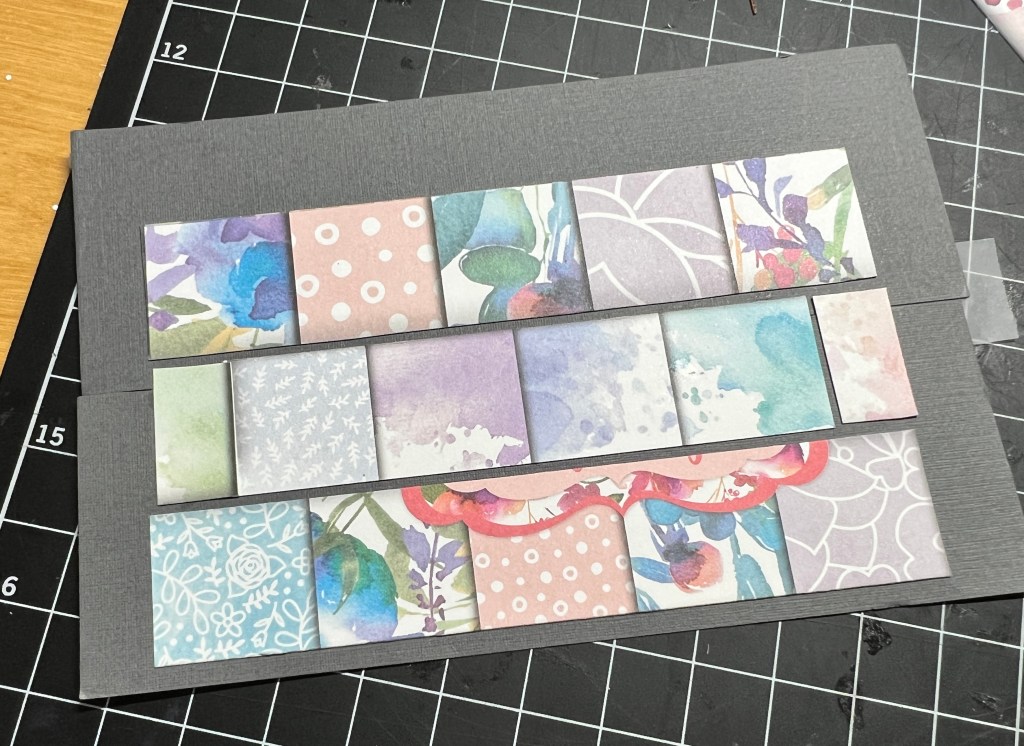
Aqua ink, square punch, and paper scraps

Fall-themed kit with ink, stamp, punch, and paper

Kits placed near the Little Free Library

Watercolor pens and paper flowers
Kate, I hope this still counts.
With children forced out of school for the rest of the year, several Little Free Libraries are offering crafting material to help keep children engaged.
Our library is still open, and at least one grateful teacher has stopped by twice for books. She said she had to leave her classroom and couldn’t bring any of her teaching materials home with her.
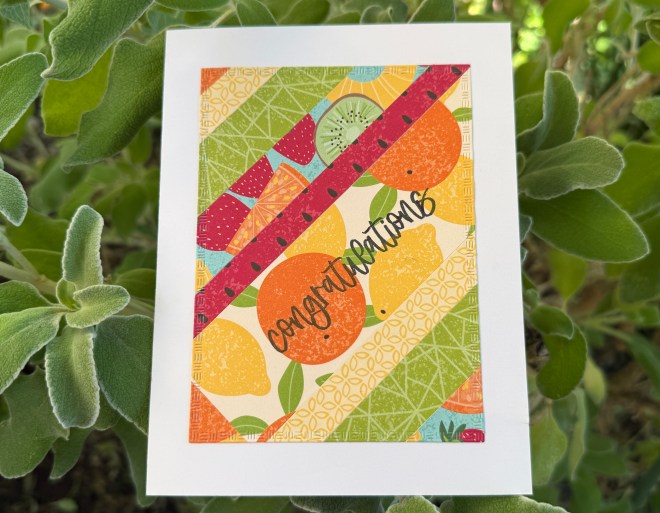
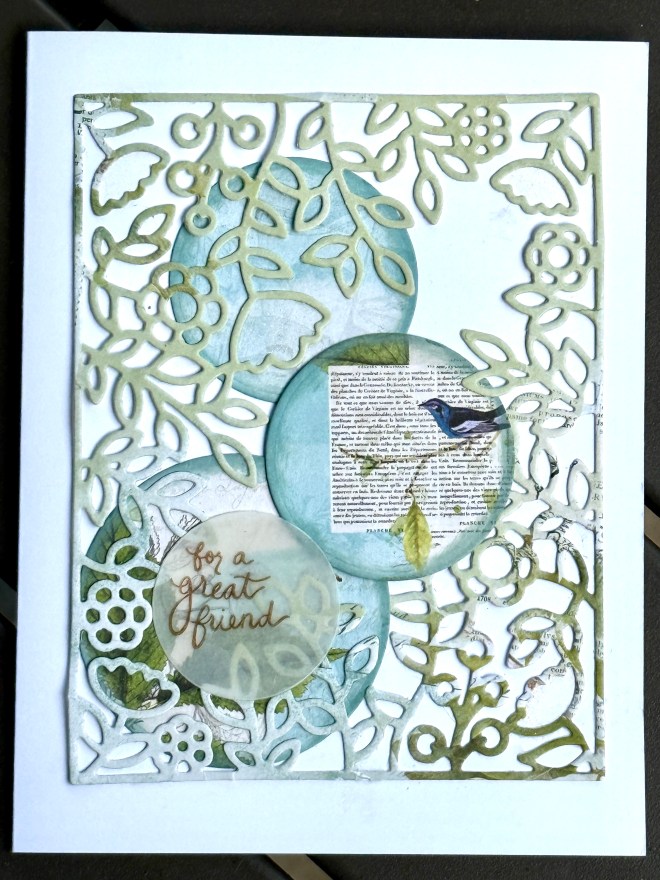
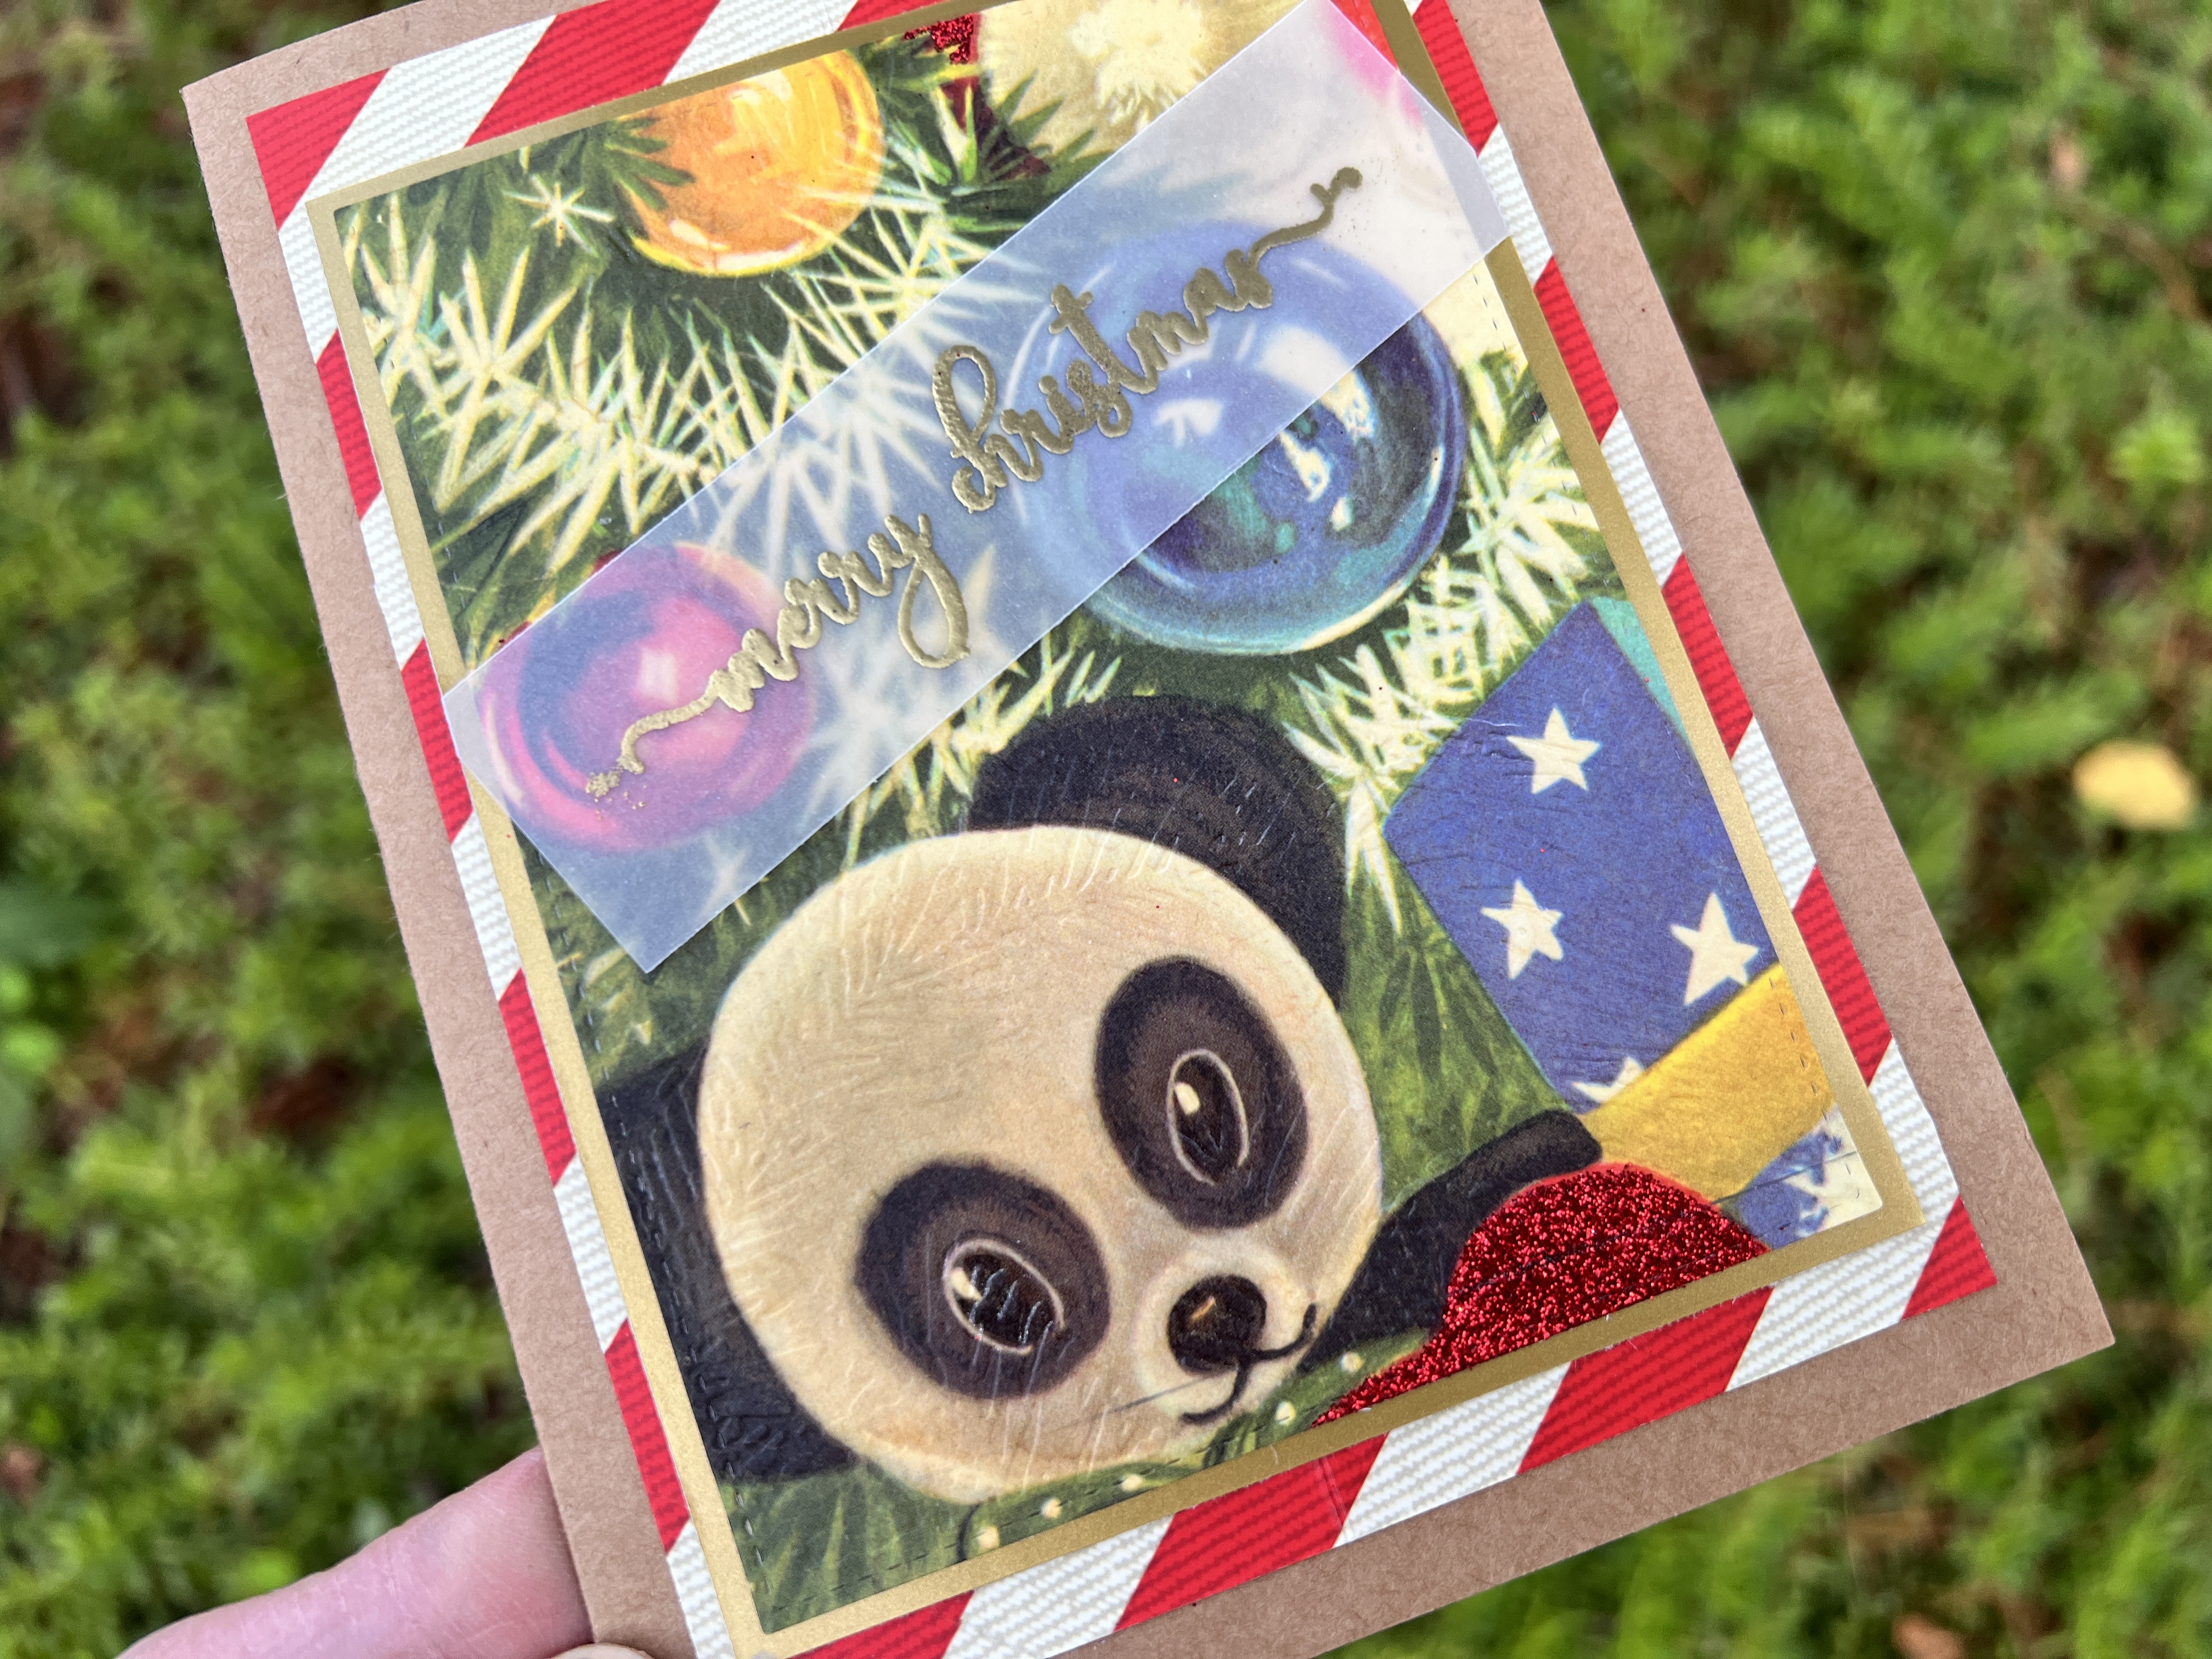
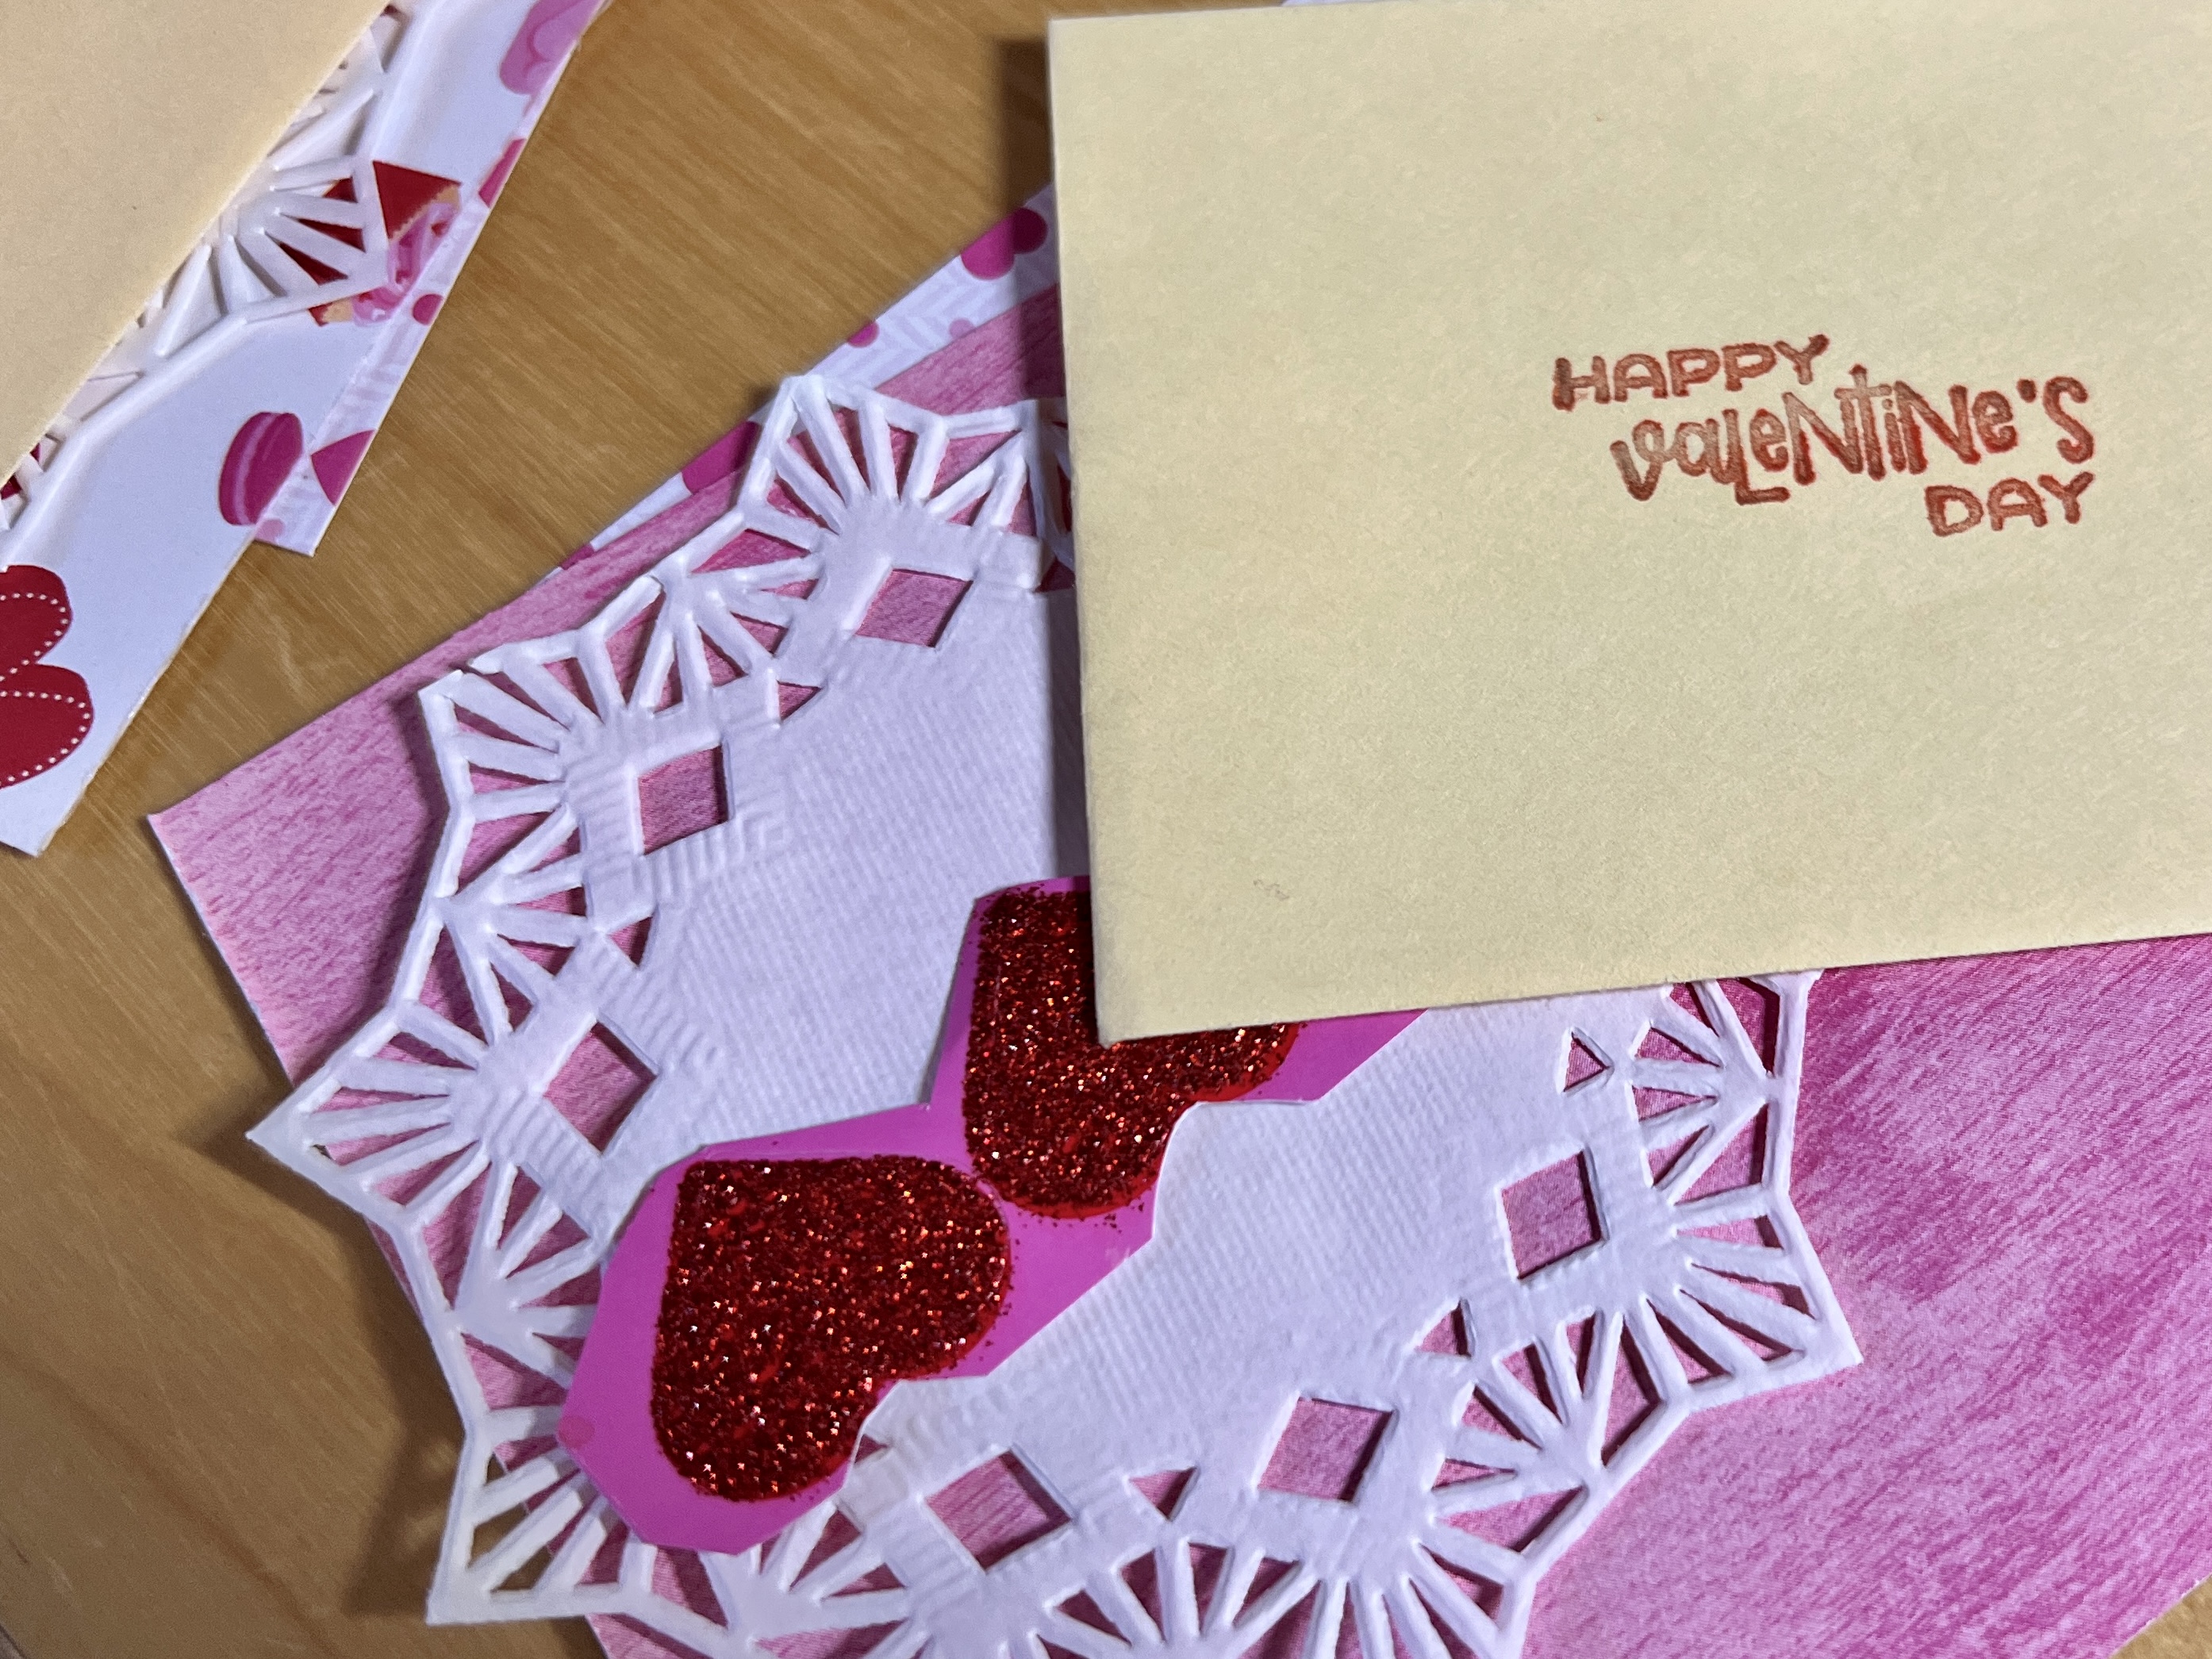
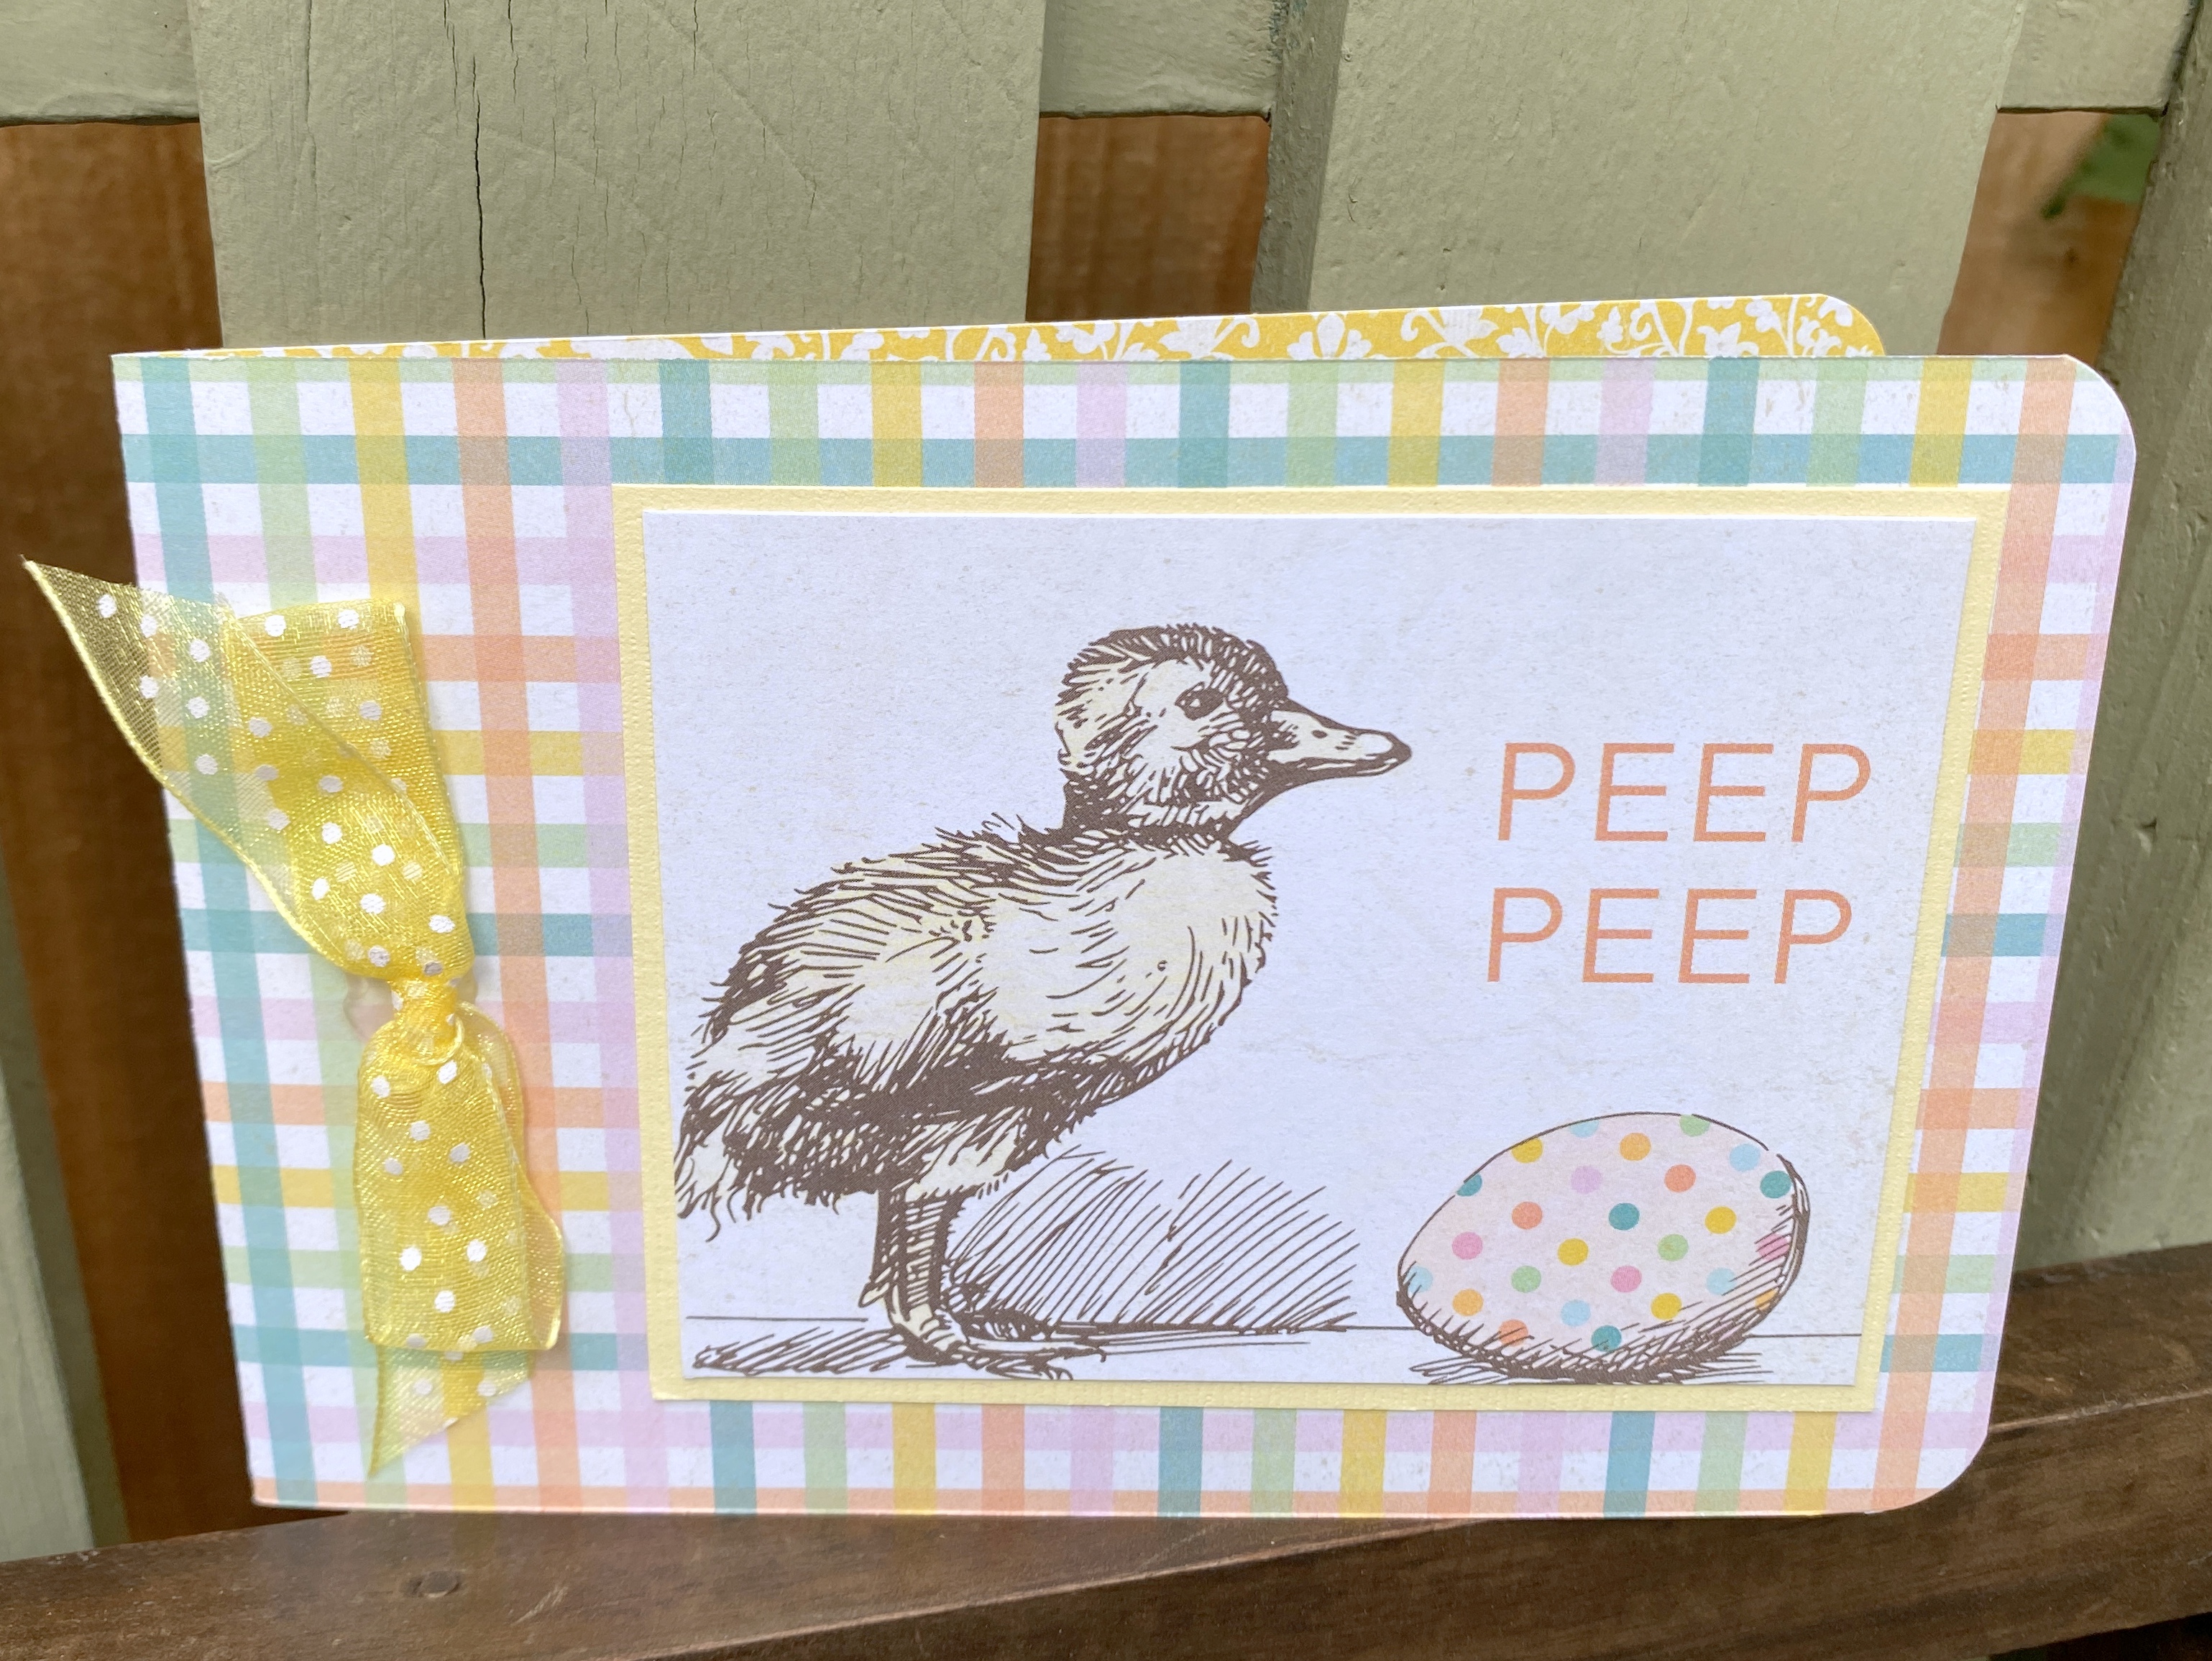
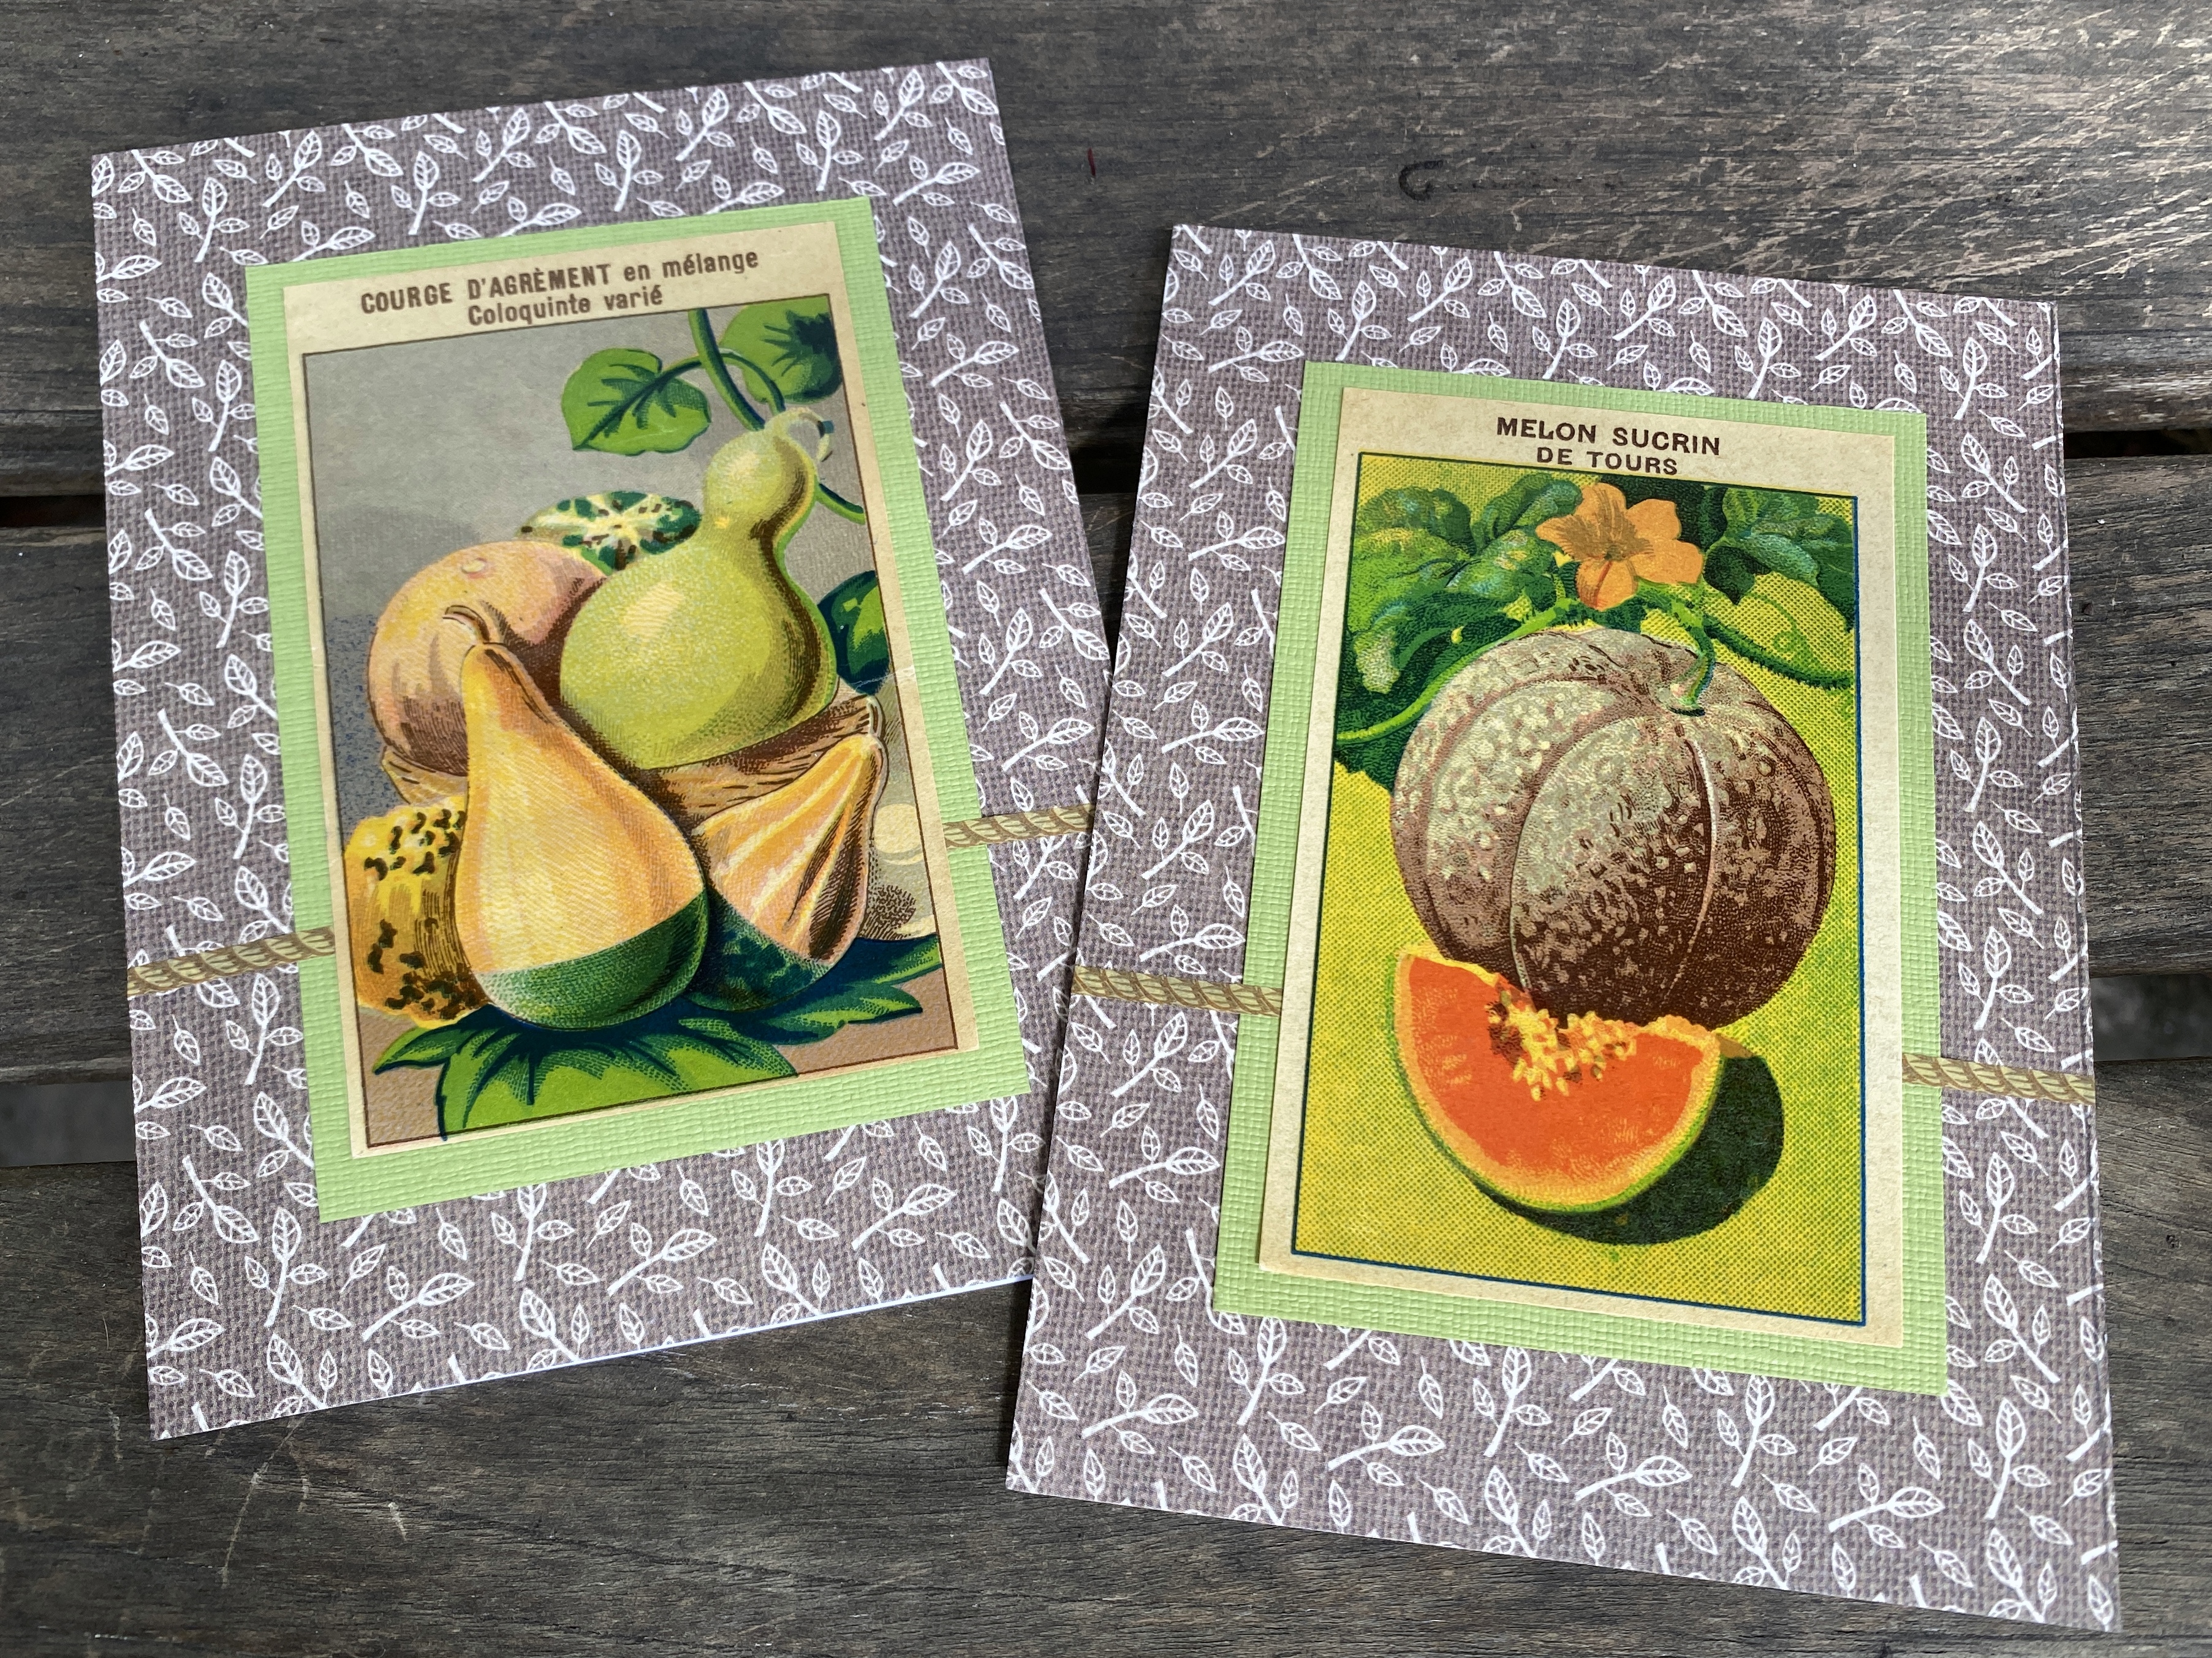
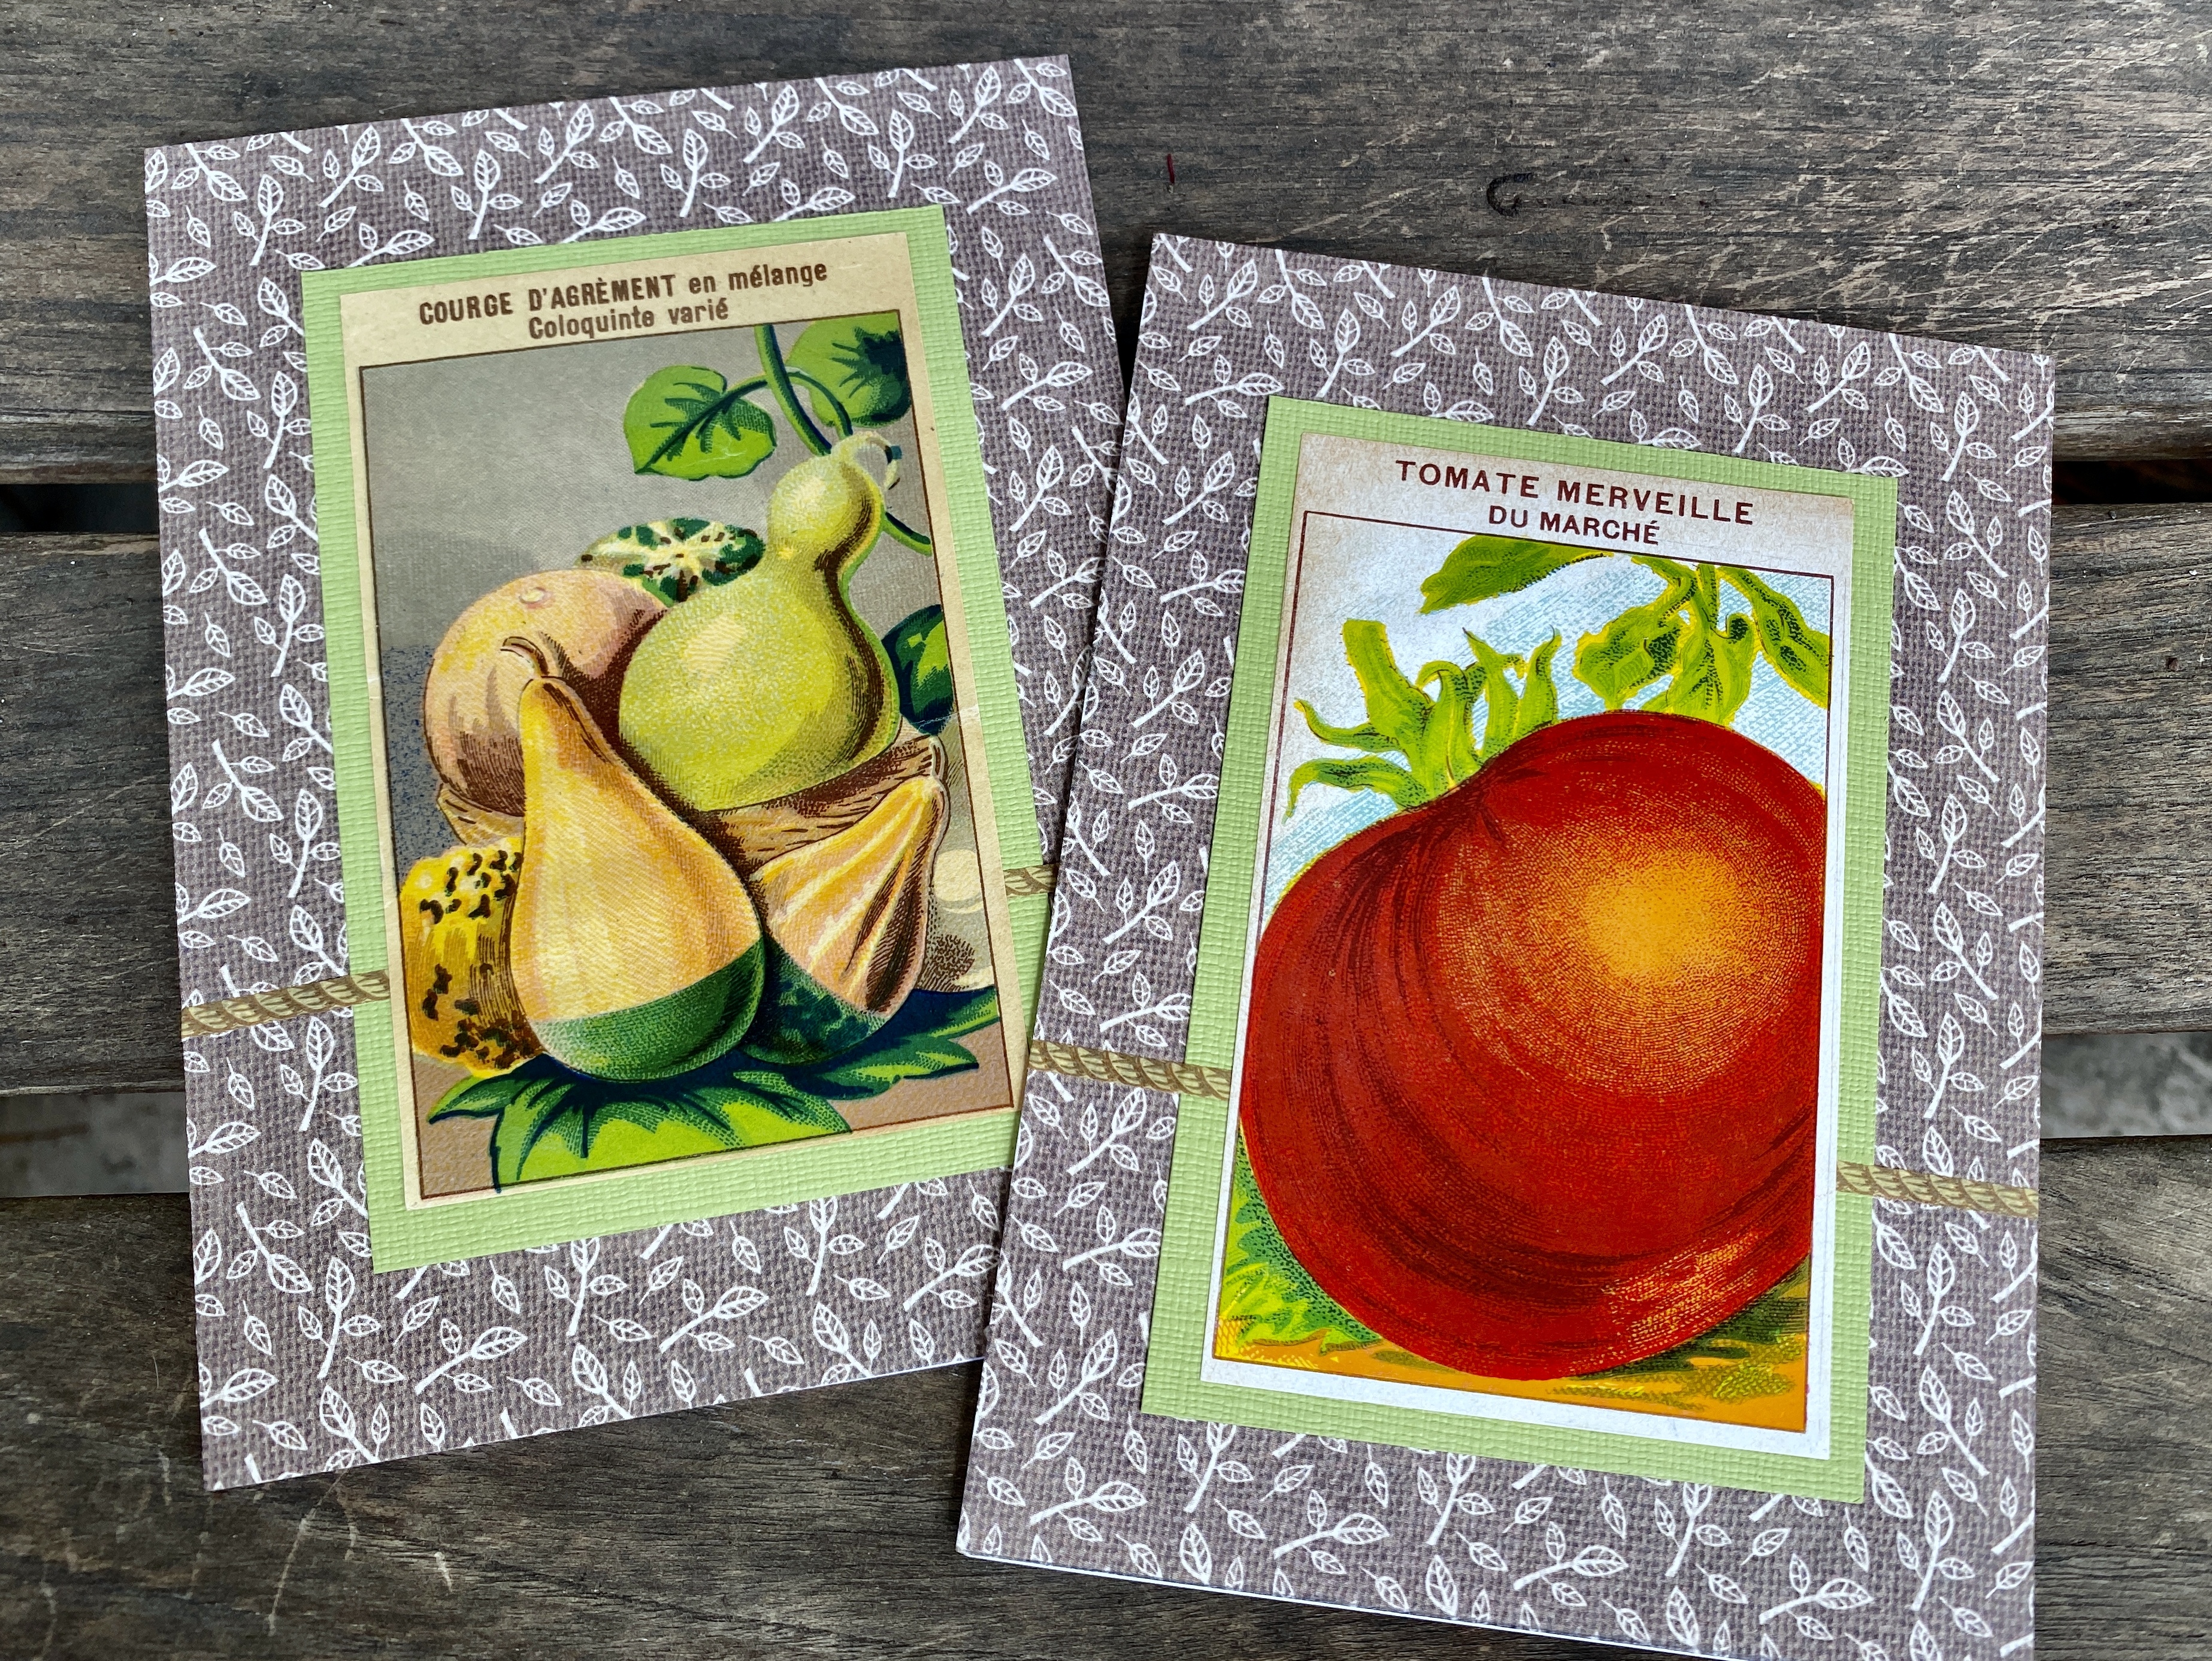
In other crafting news, I made a few Easter cards last week.

Would I normally make Easter cards?
No.
Did I buy a packet of adorable paper in 2016 thinking it would be fun to make Easter cards?
Yes.
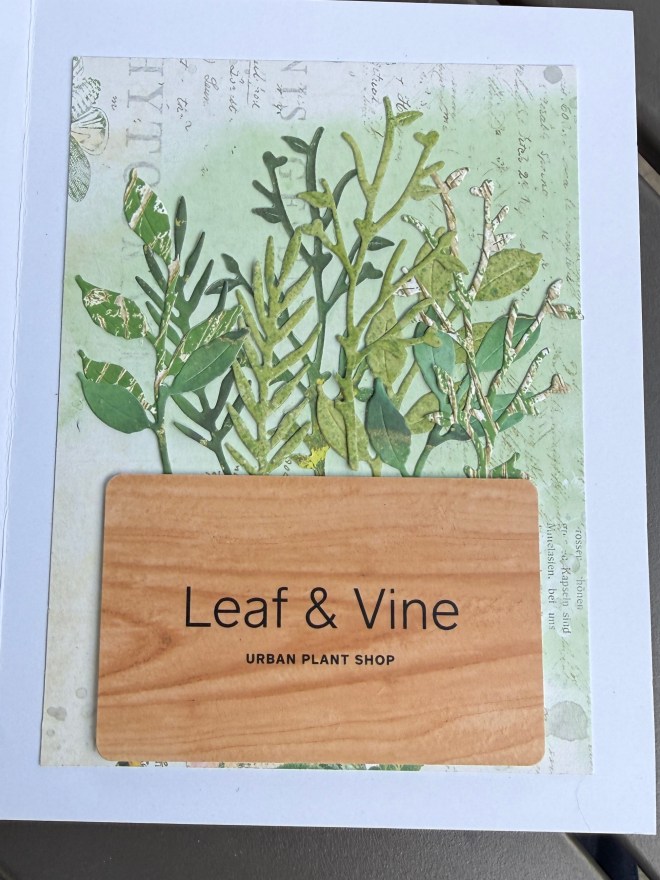
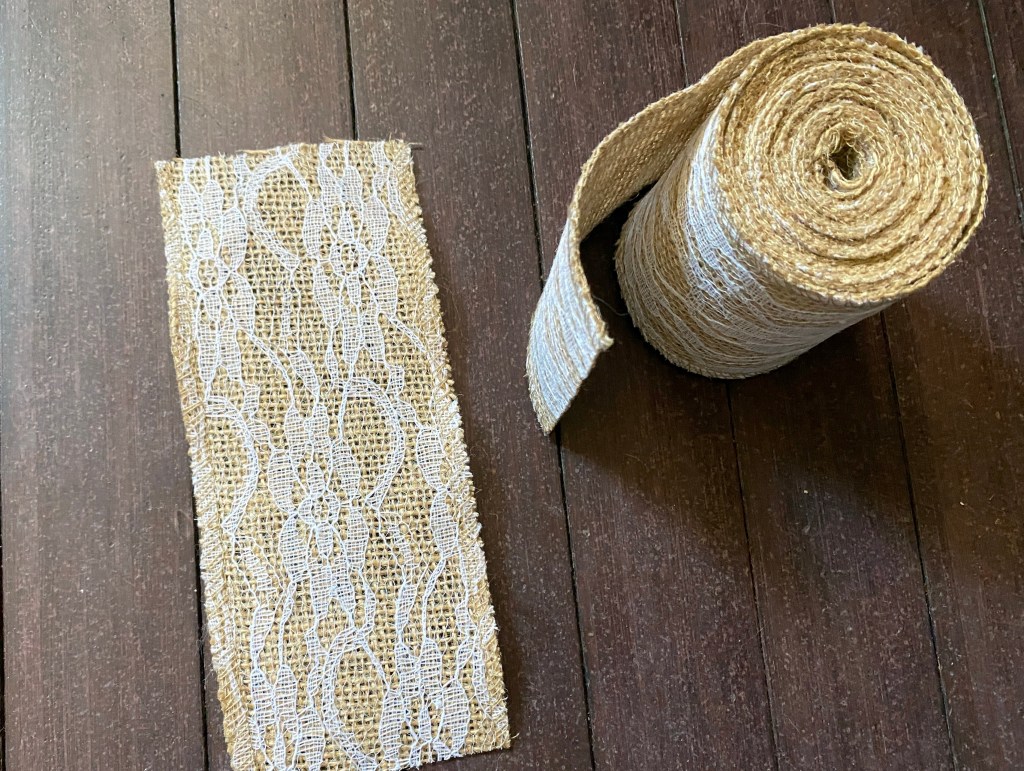
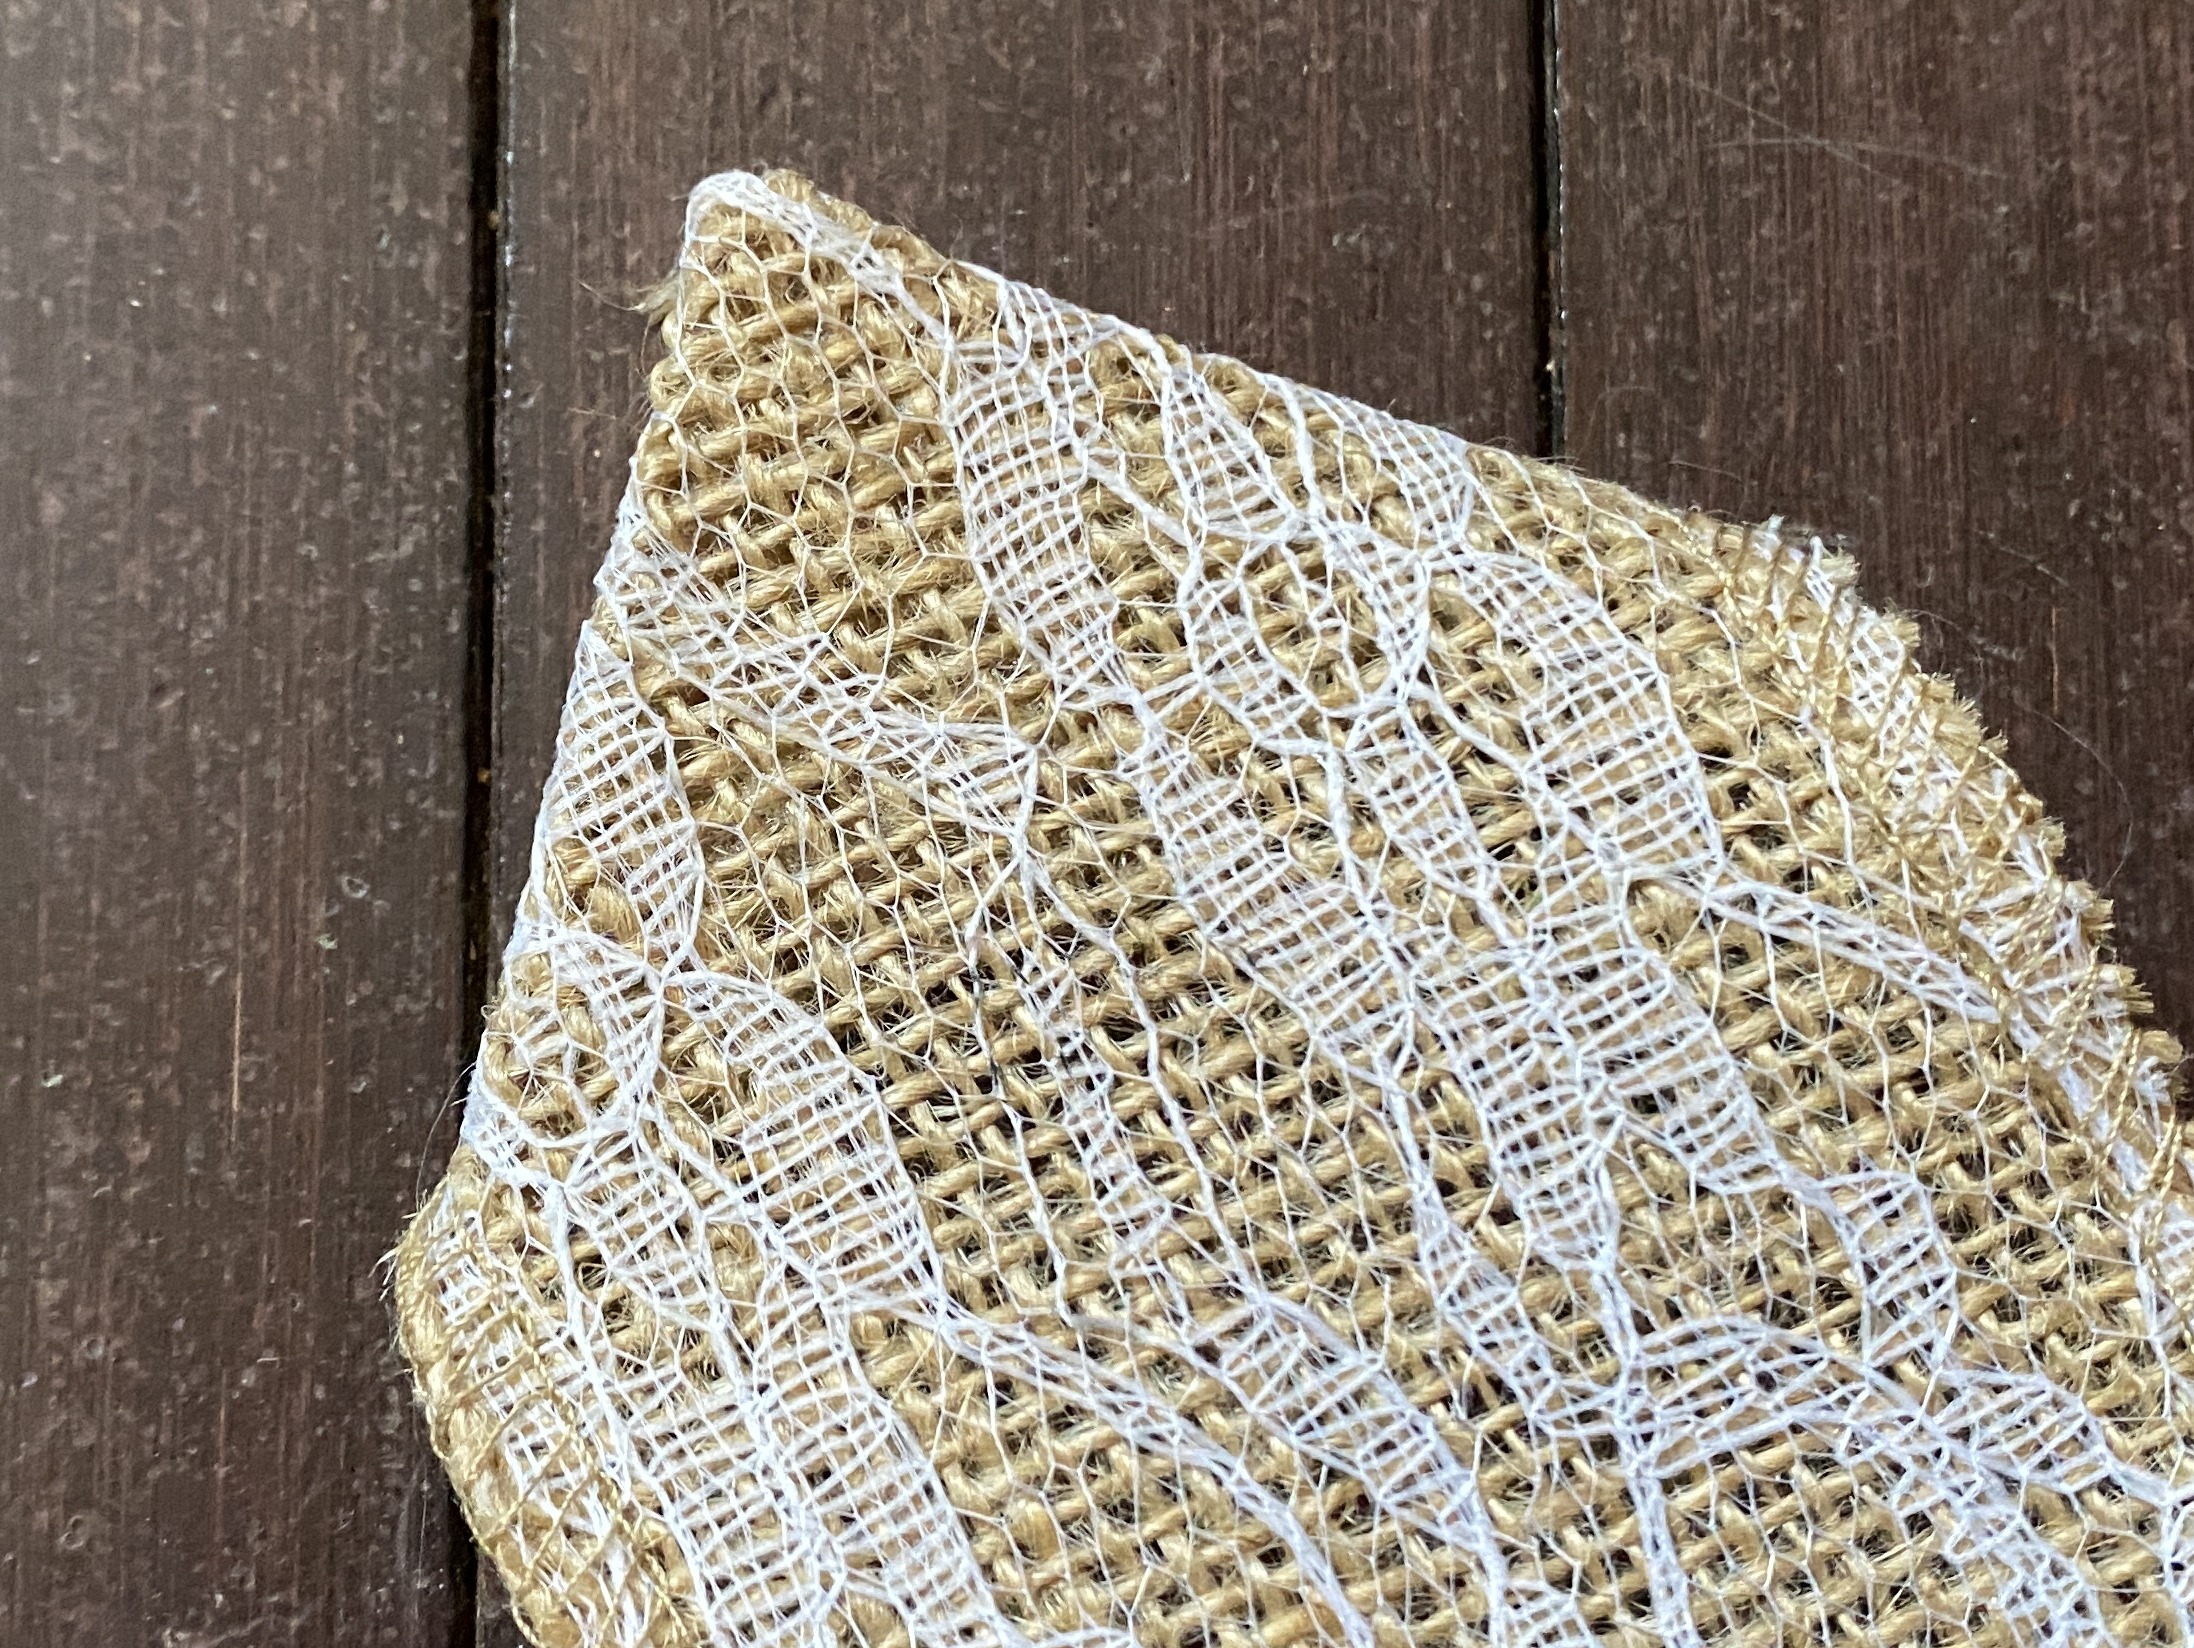
Card made from Authentique paper, vintage seam binding with inked edges
Now I have time on my hands.
The paper came in a kit, so not technically a scrap, however, all the solid paper, ribbons, and bows are legitimate scraps.

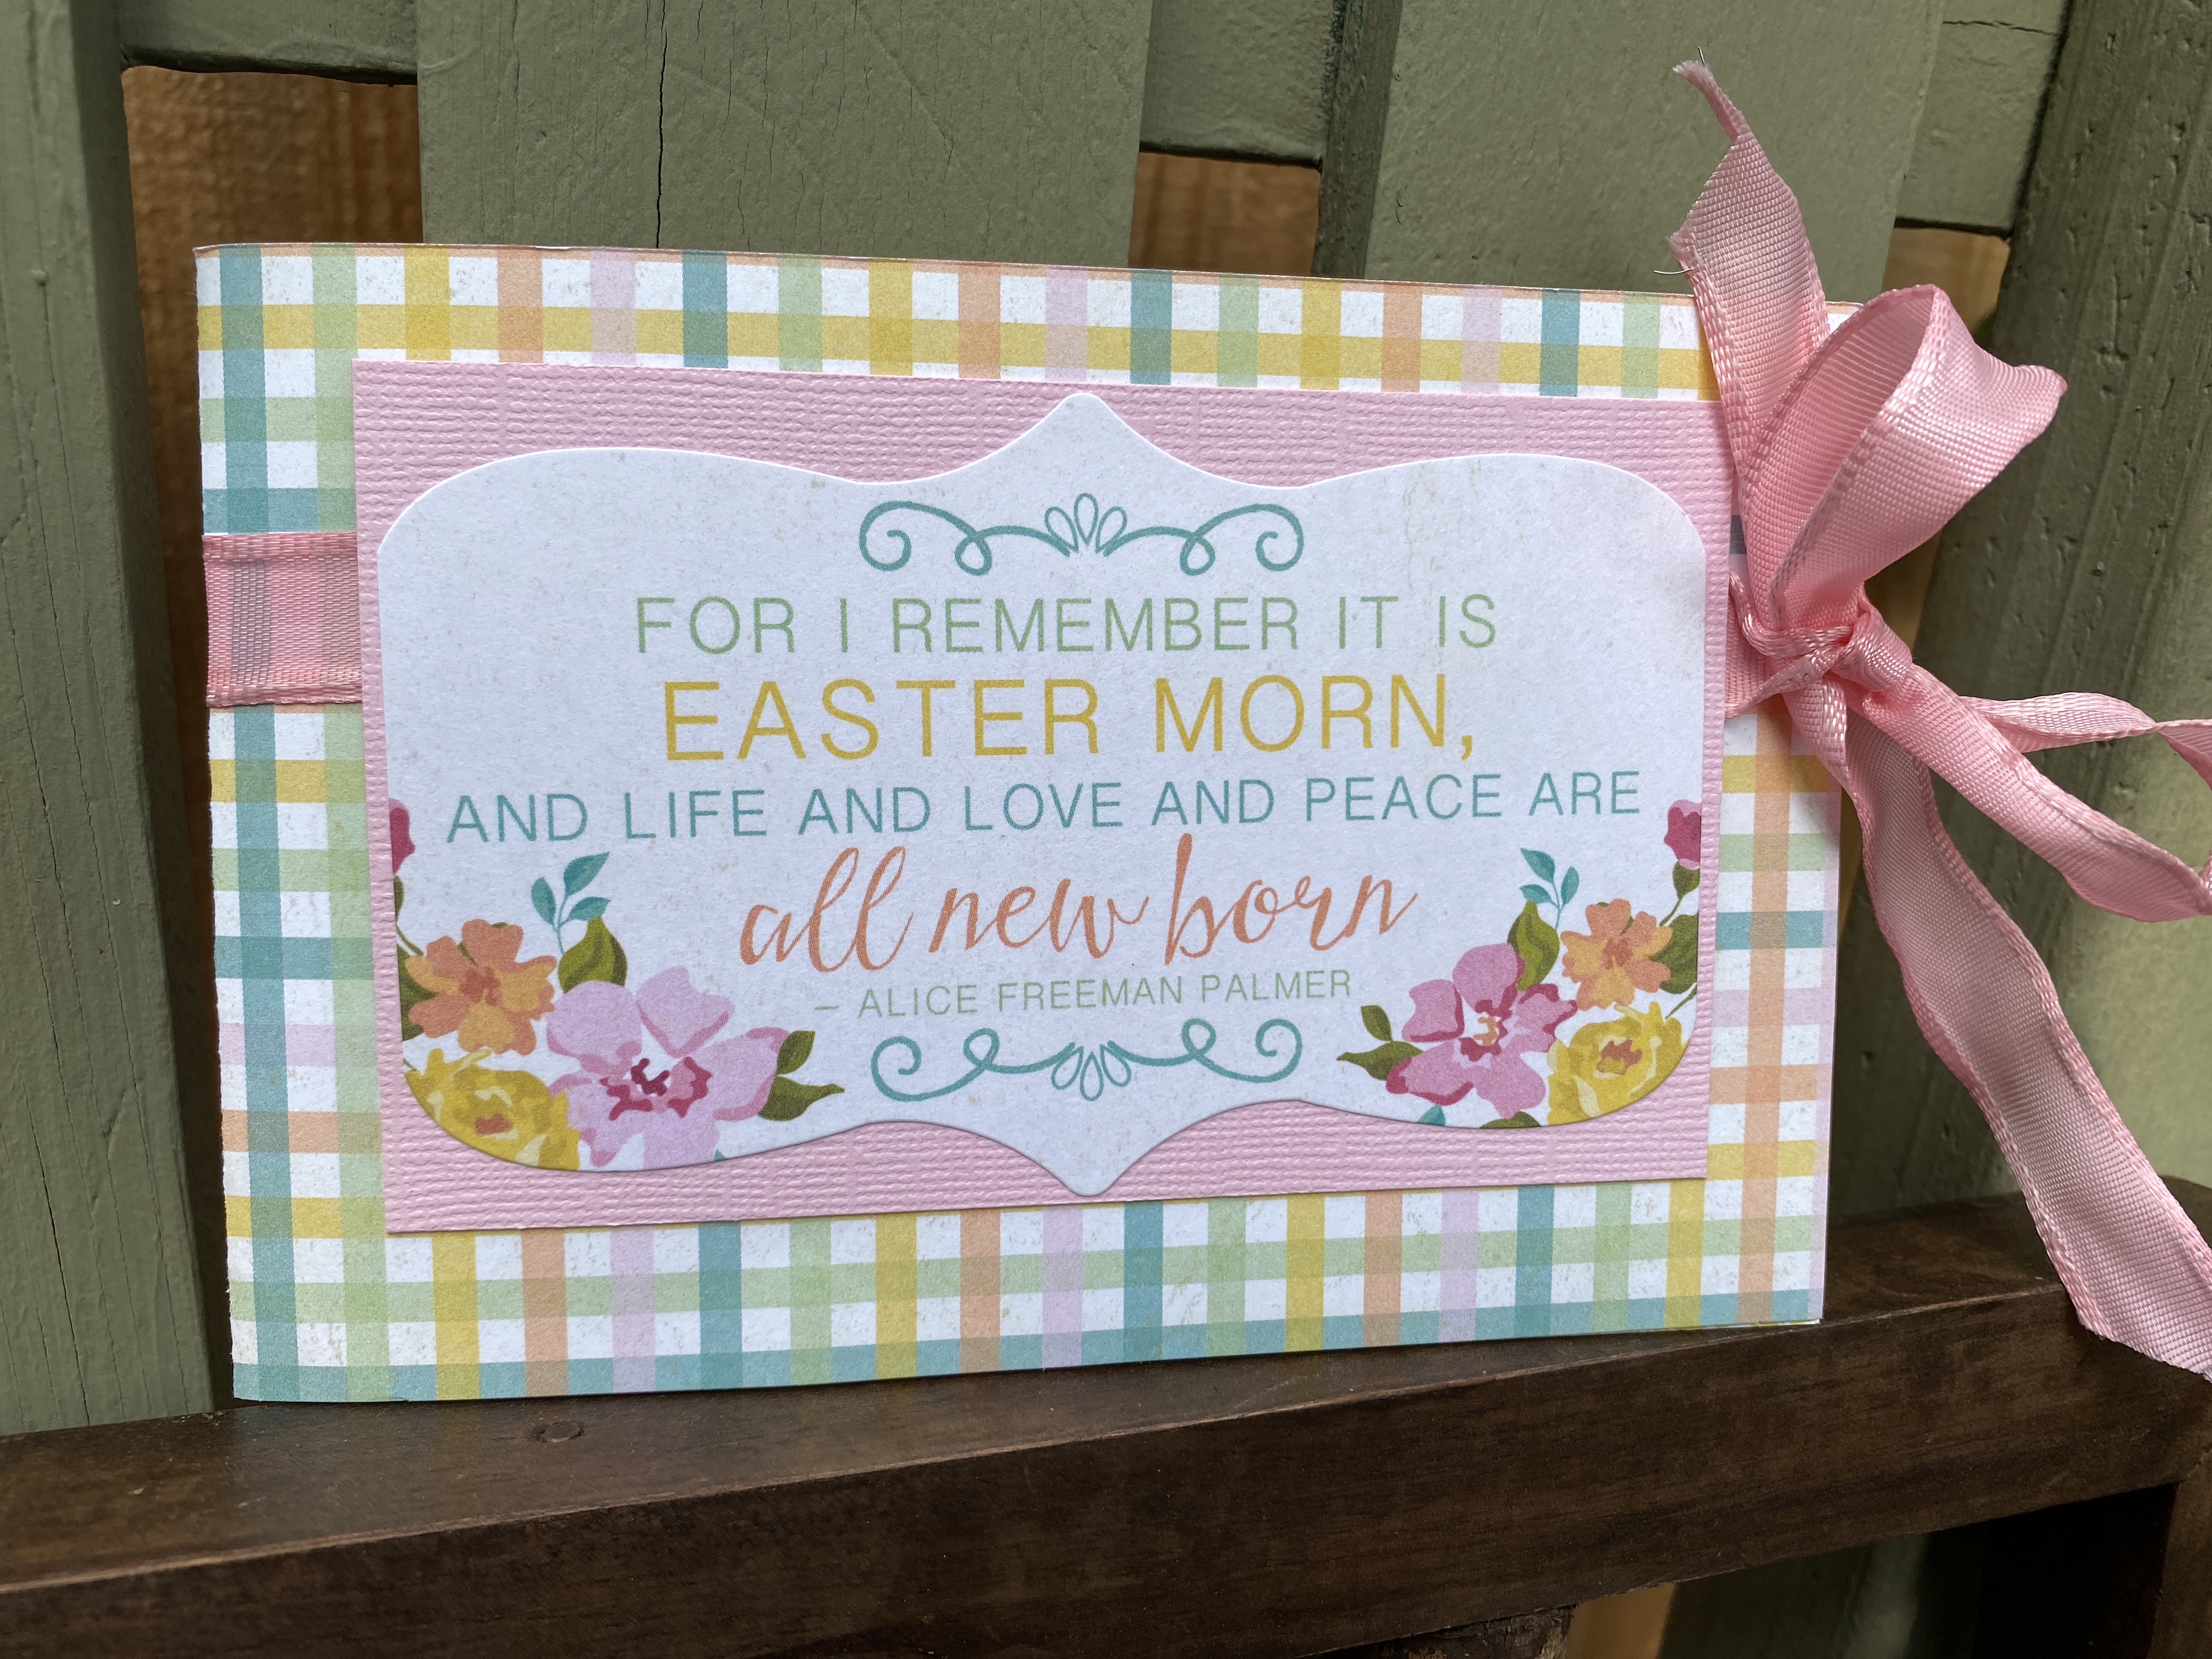
Easter Morn
I’m calling them ScrapHappy® cards in training.
Fingers crossed that I’m not drummed out of all this ScrapHappy® fun.
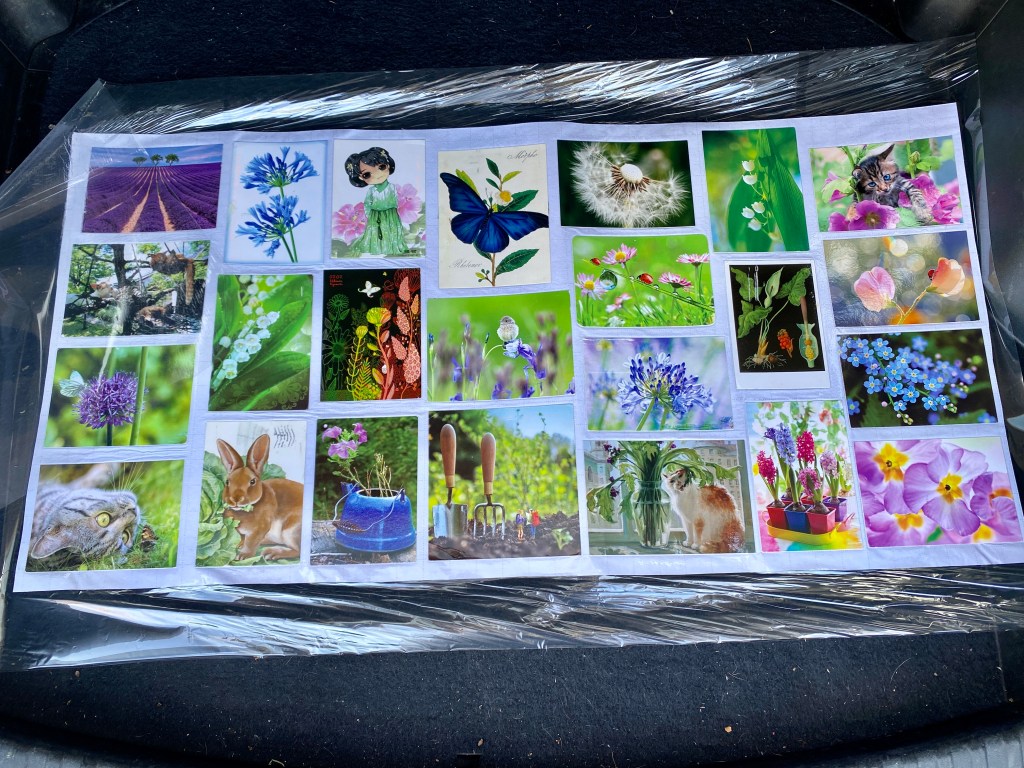
Here’s a gallery of the Easter cards using Authentique Collection’s Eastertime: (click on individual photos to enlarge)

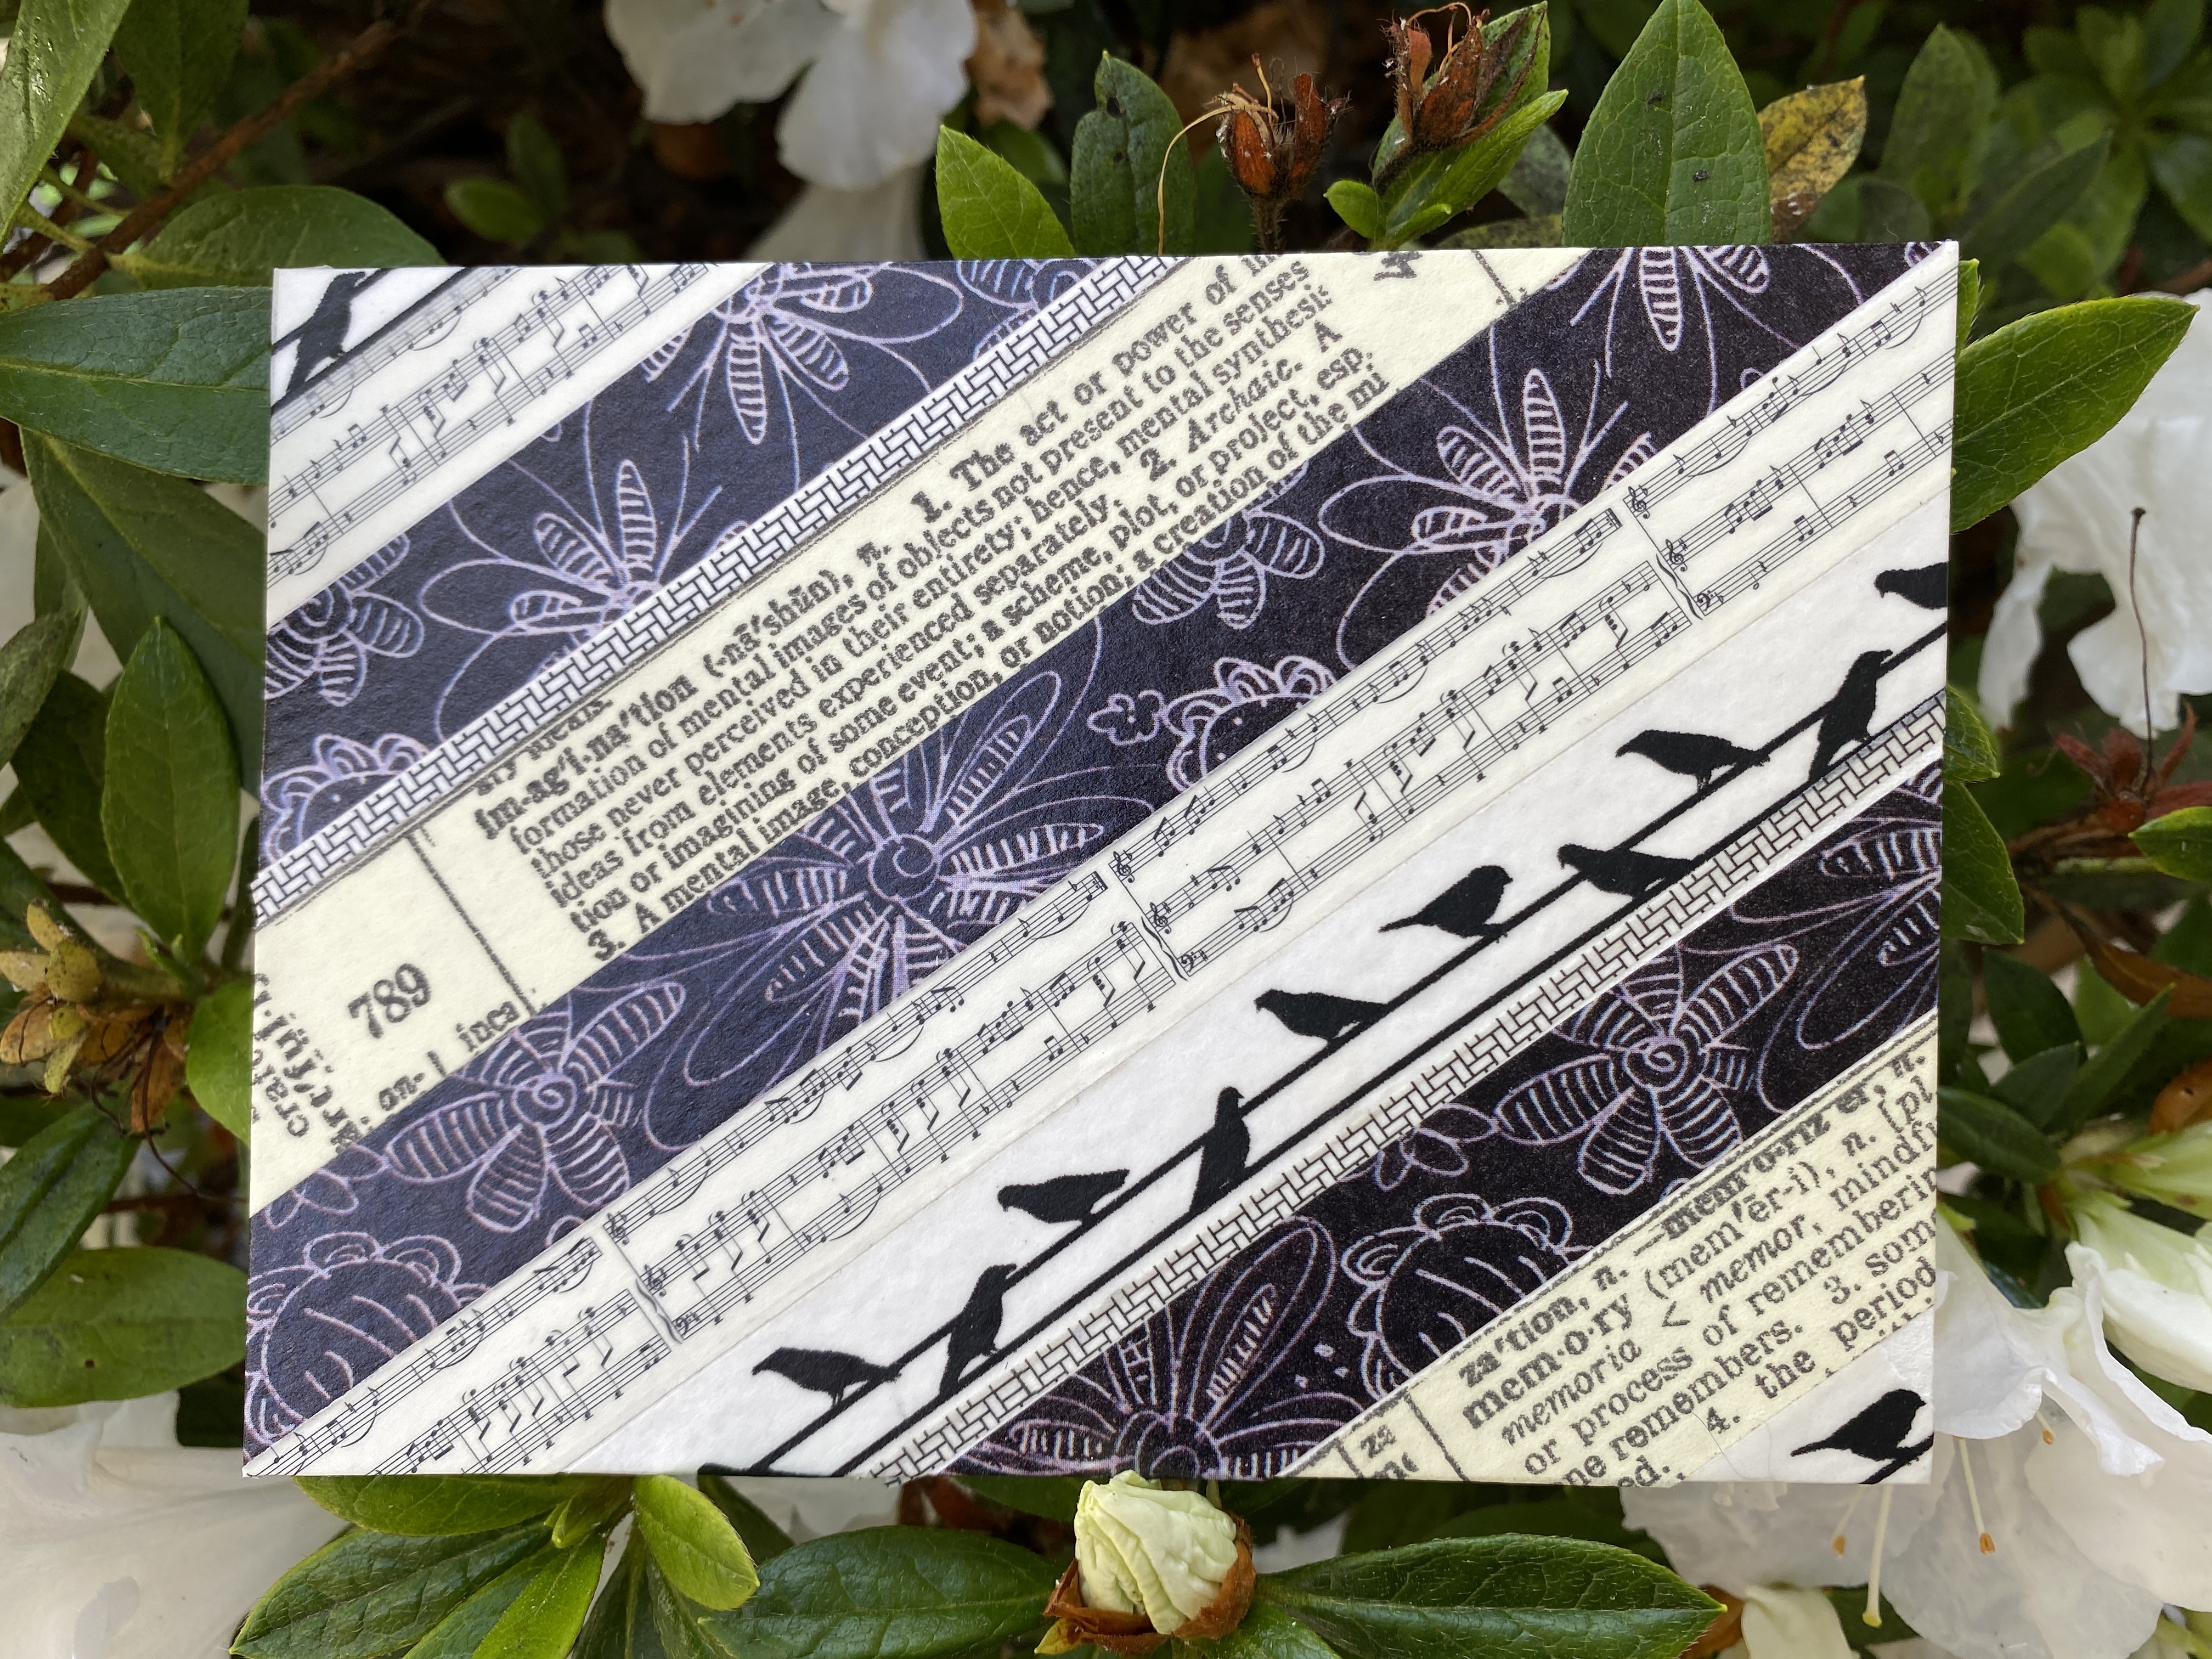
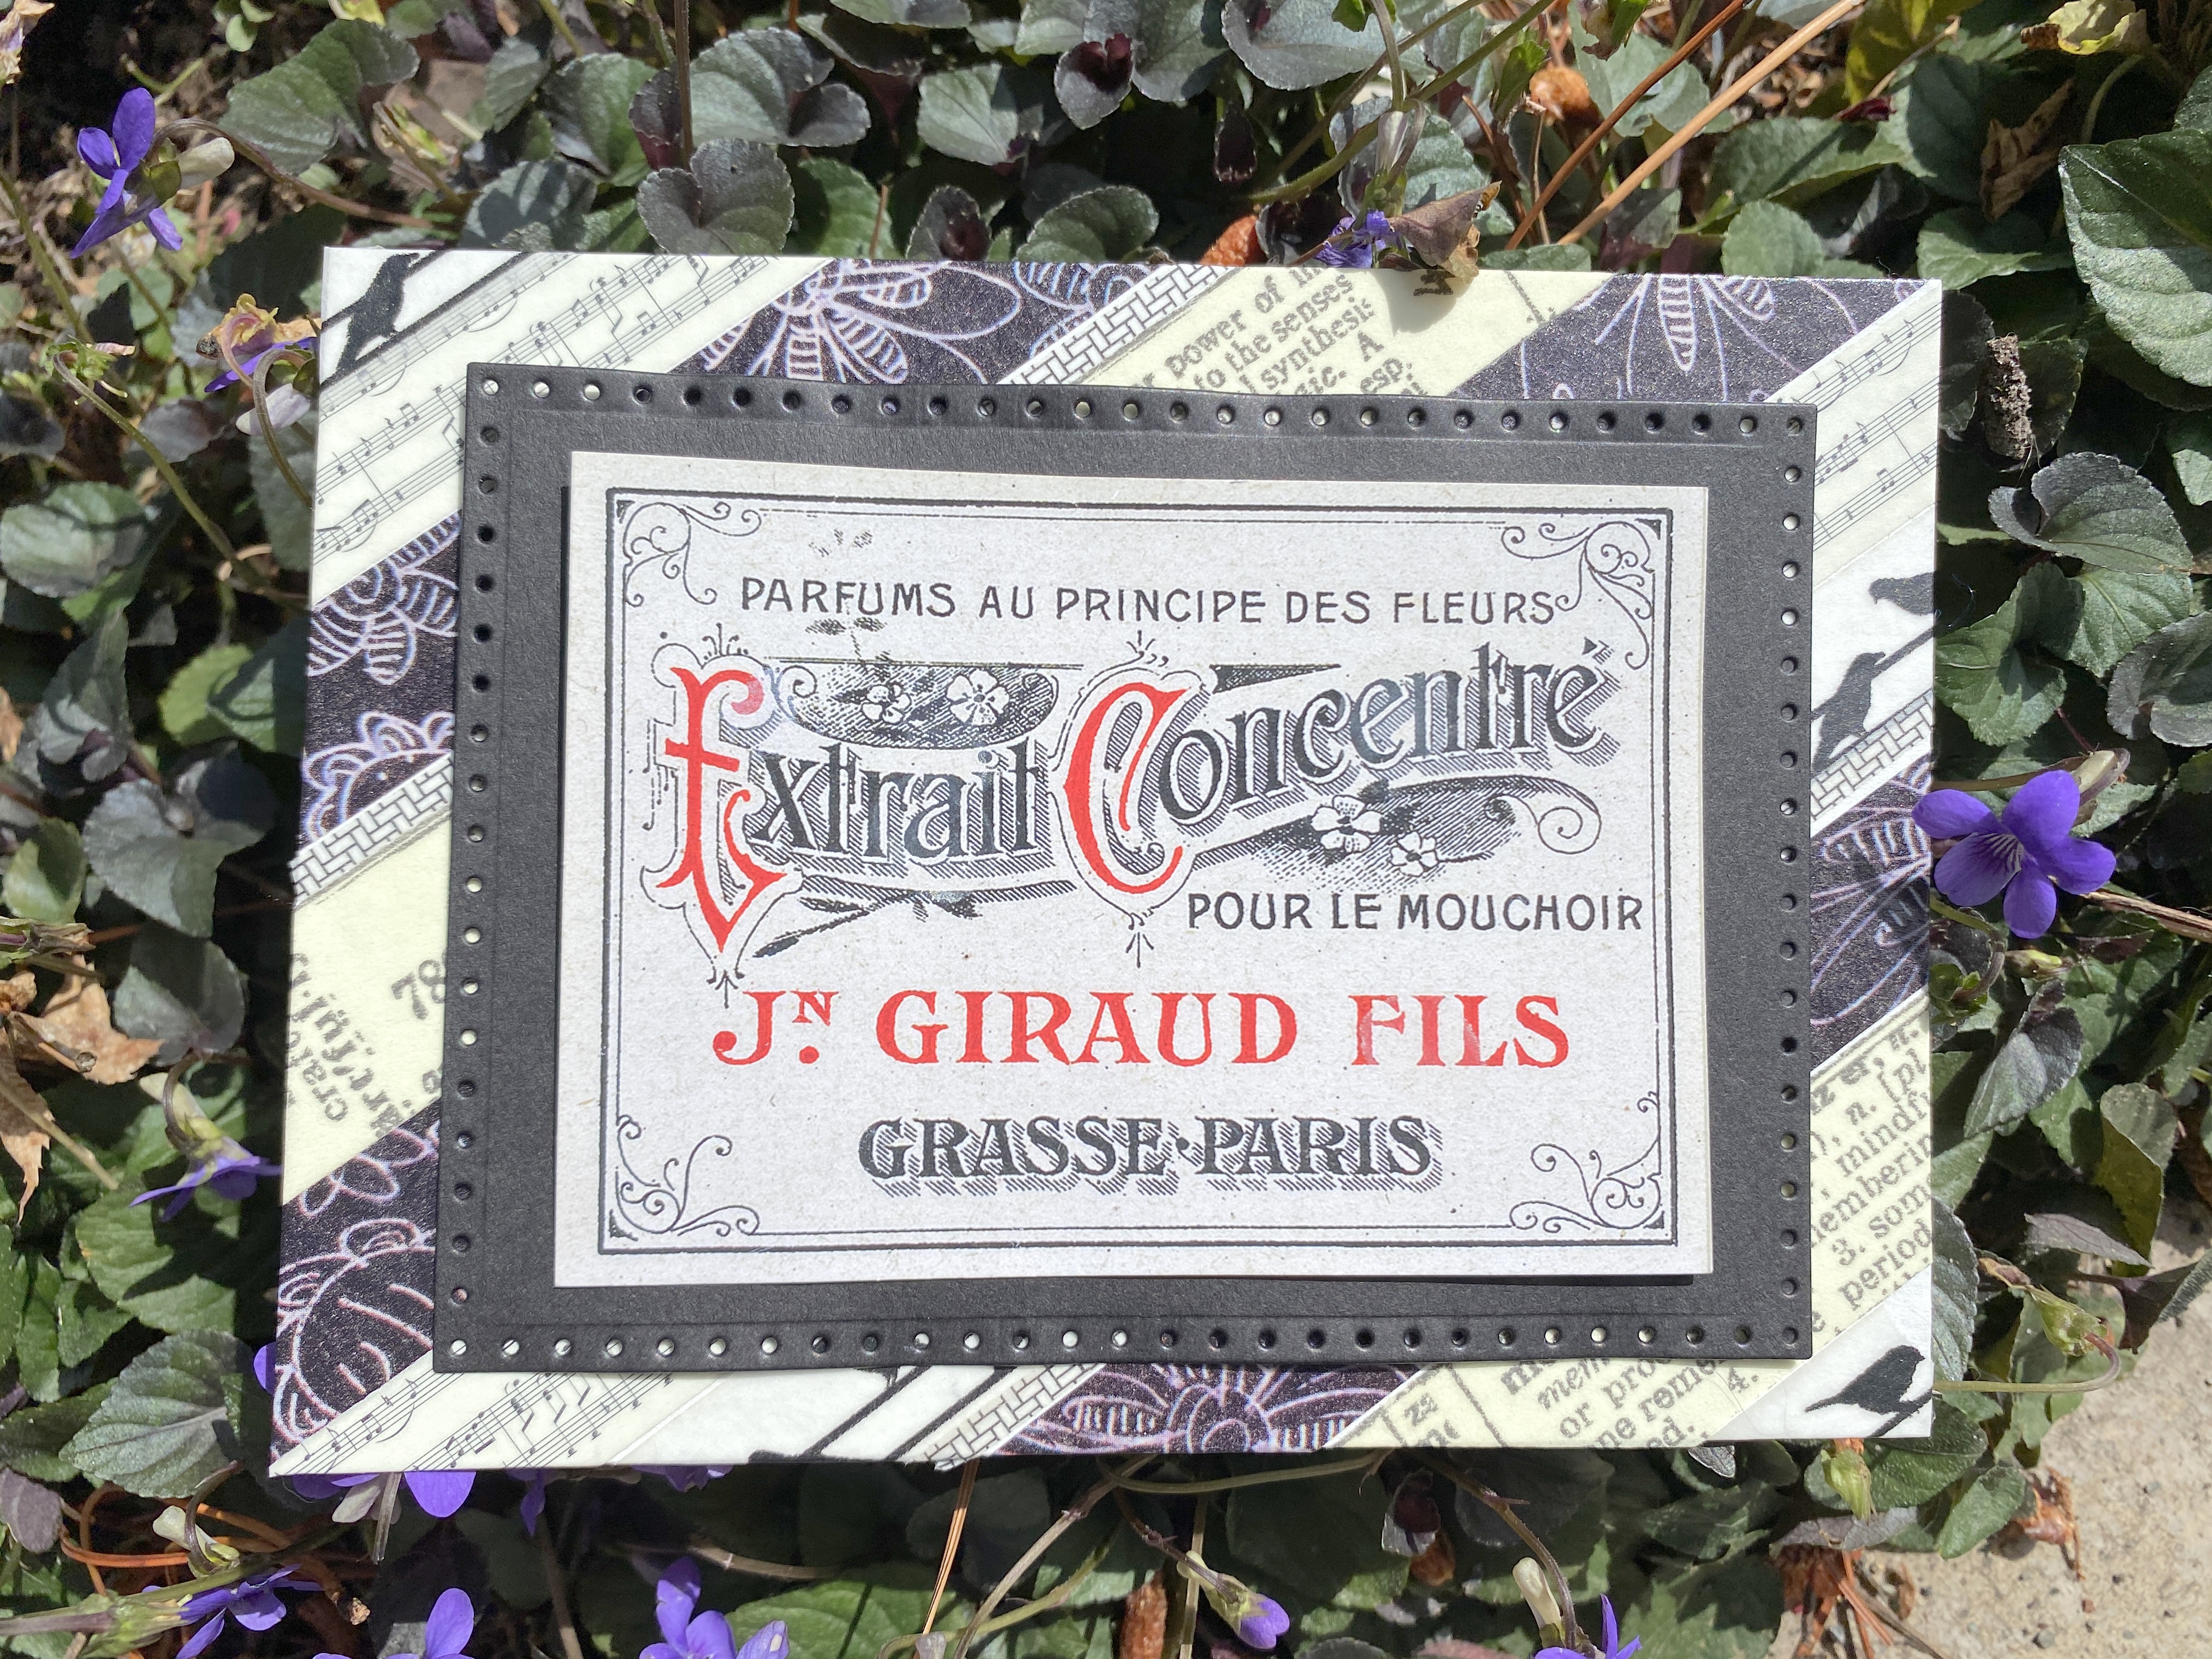
Purple card for Sharon

Purple card interior

Here coms Peter Cottontail

Here comes Peter Cottontail interior

Just for you

Just for you interior

Easter Morn

Easter Morn interior

Easter Traditions

Peep Peep

Easter Traditions interior

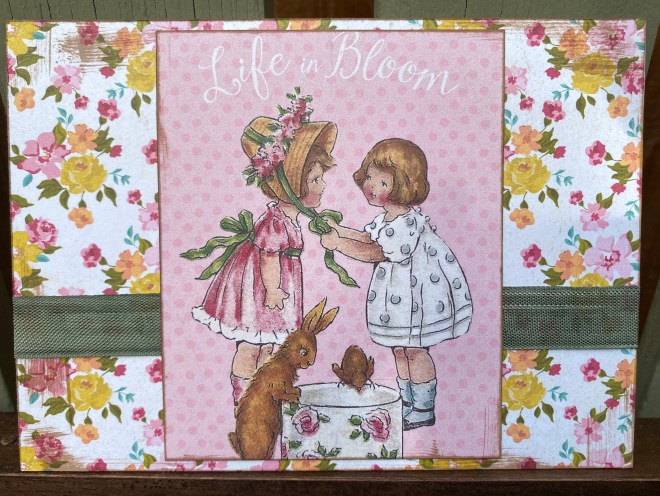
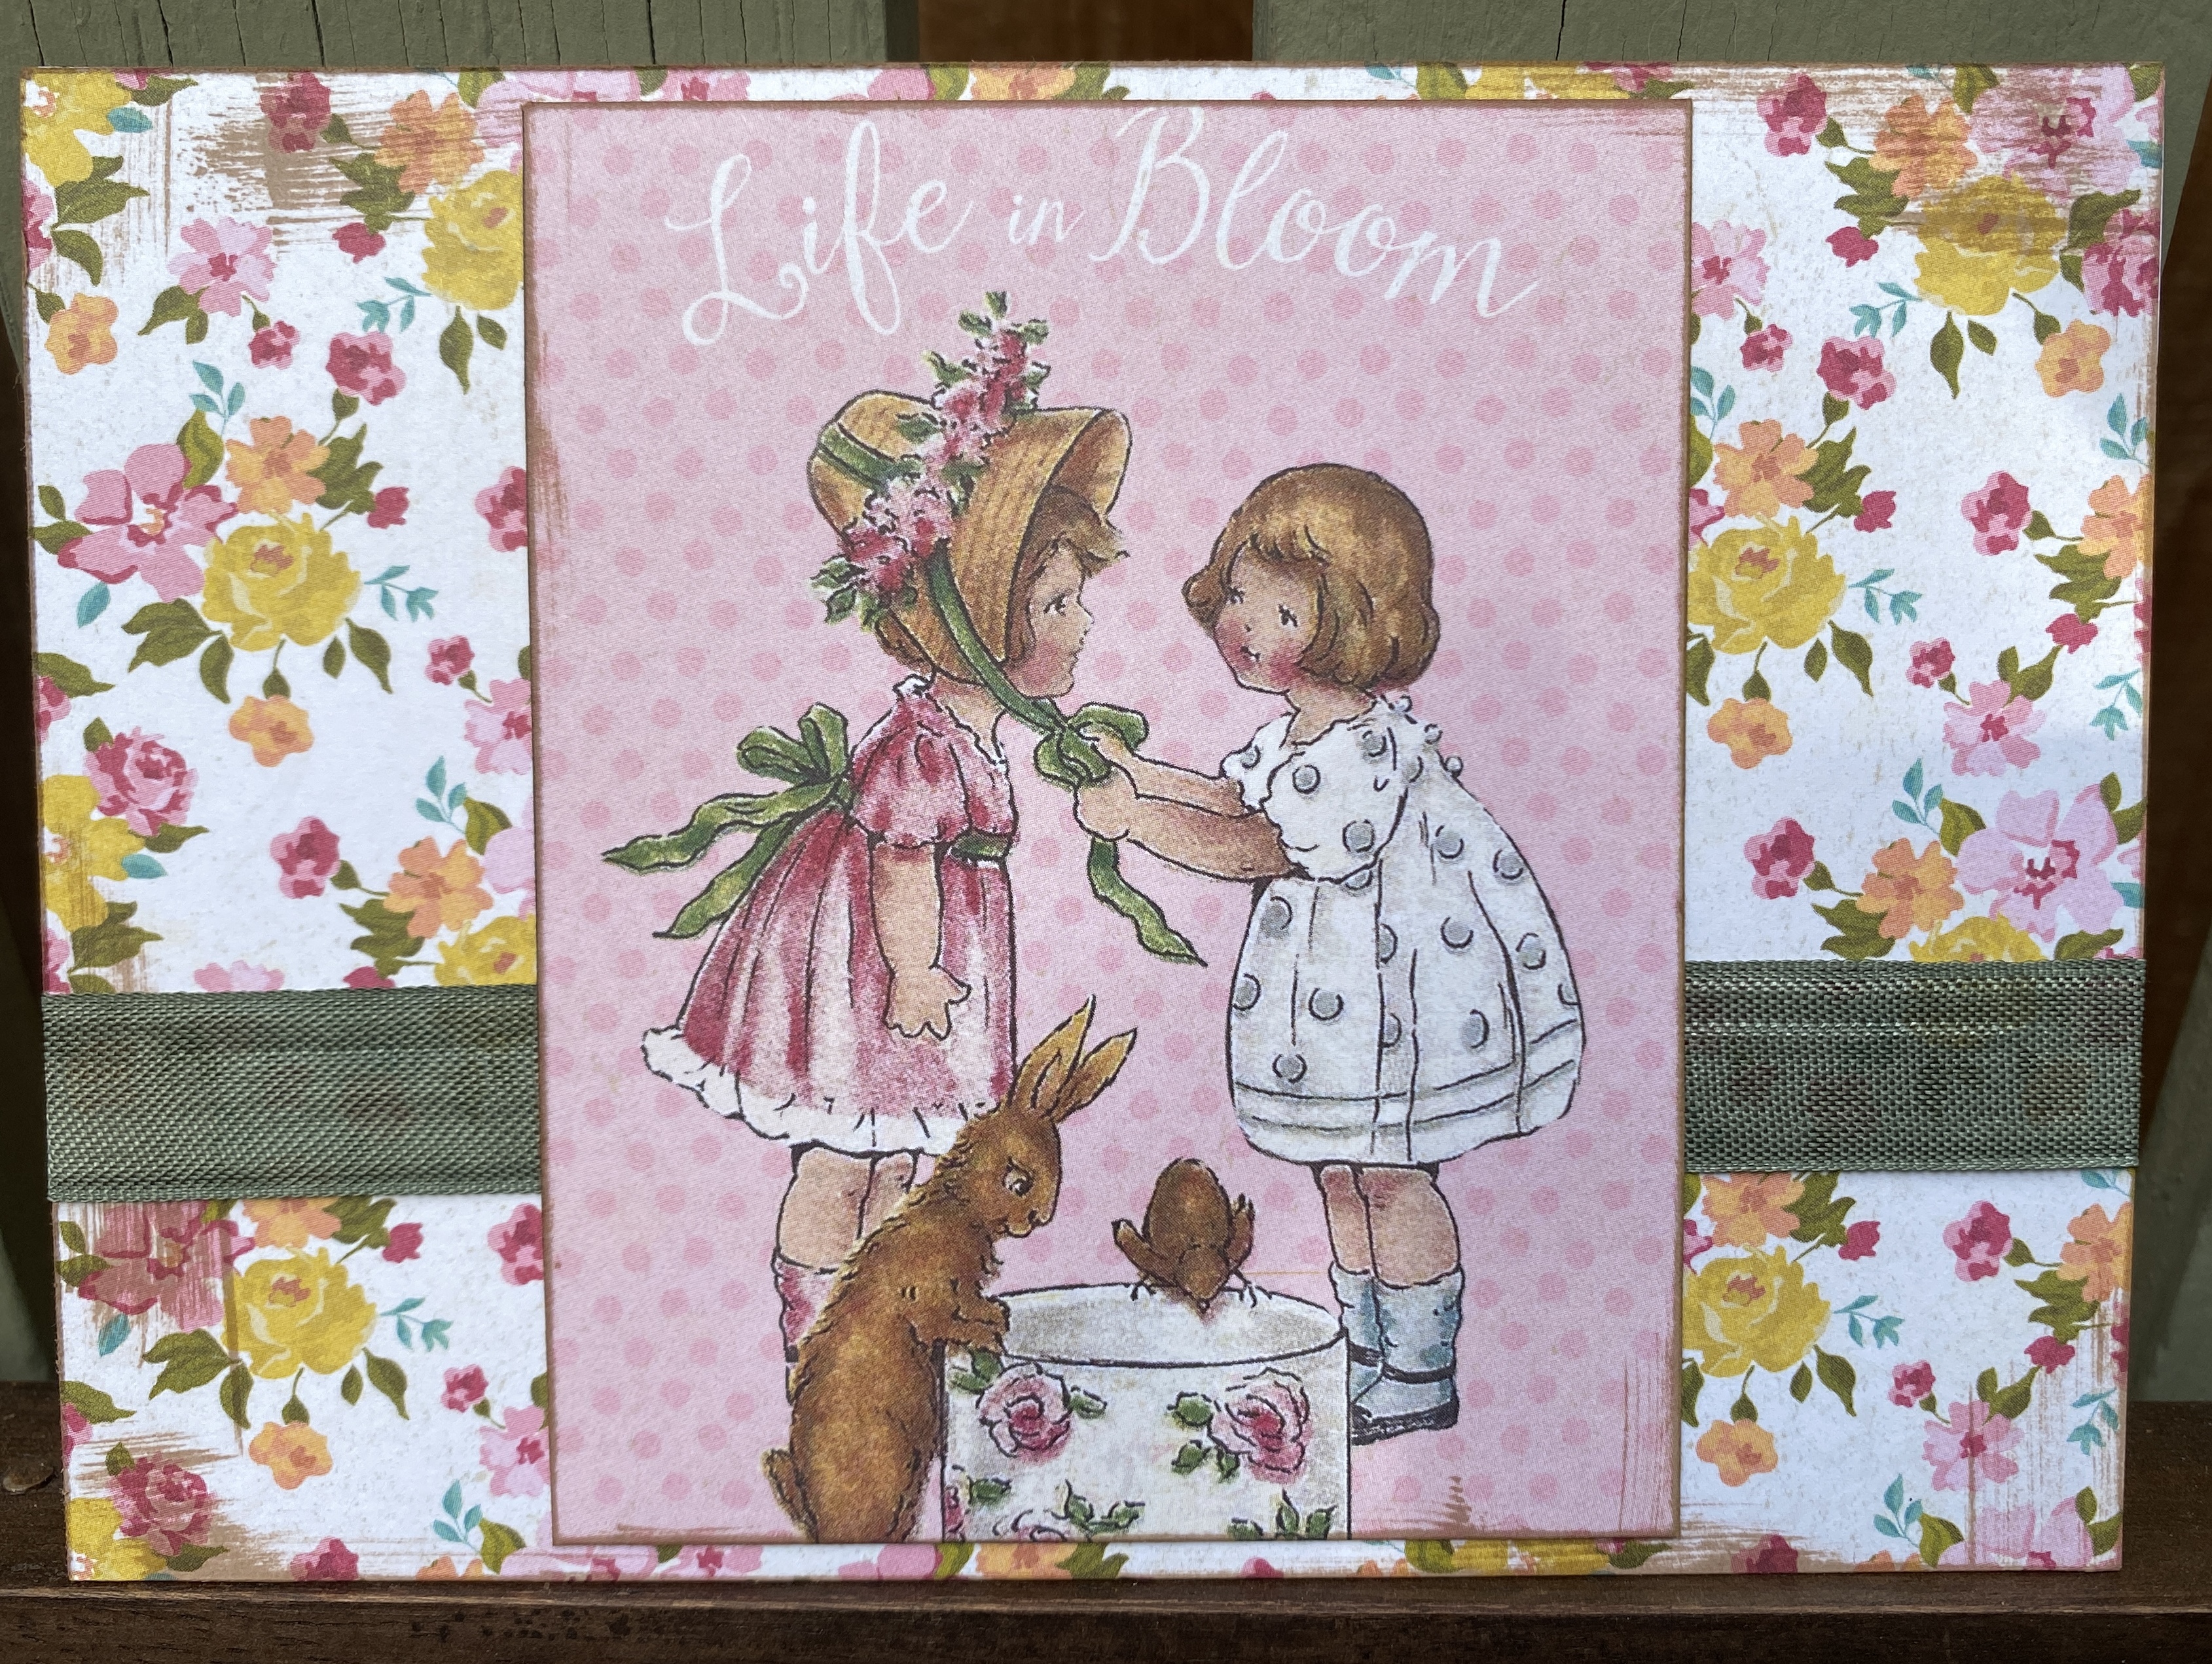
Life in Bloom

Happy Easter
Check out the links below on March 15, 2020, to see the other scrap-happy posts.
Kate, Gun, Titti, Heléne, Eva, Sue, Lynn, Lynda,
Birthe, Turid, Susan, Cathy, Tracy, Jill, Claire, Jan,
Moira, Sandra, Linda, Chris, Nancy, Alys, Kerry, Claire, Jean,
Joanne, Jon, Hayley, Dawn, Gwen, Connie, Bekki, Pauline,
Sue L, Sunny and Kjerstin


You must be logged in to post a comment.