I have several scrappy projects to share this month. I’ve been in the groove, so to speak. At the end of this post you’ll find links for other participants of Kate’s monthly ScrapHappy challenge.
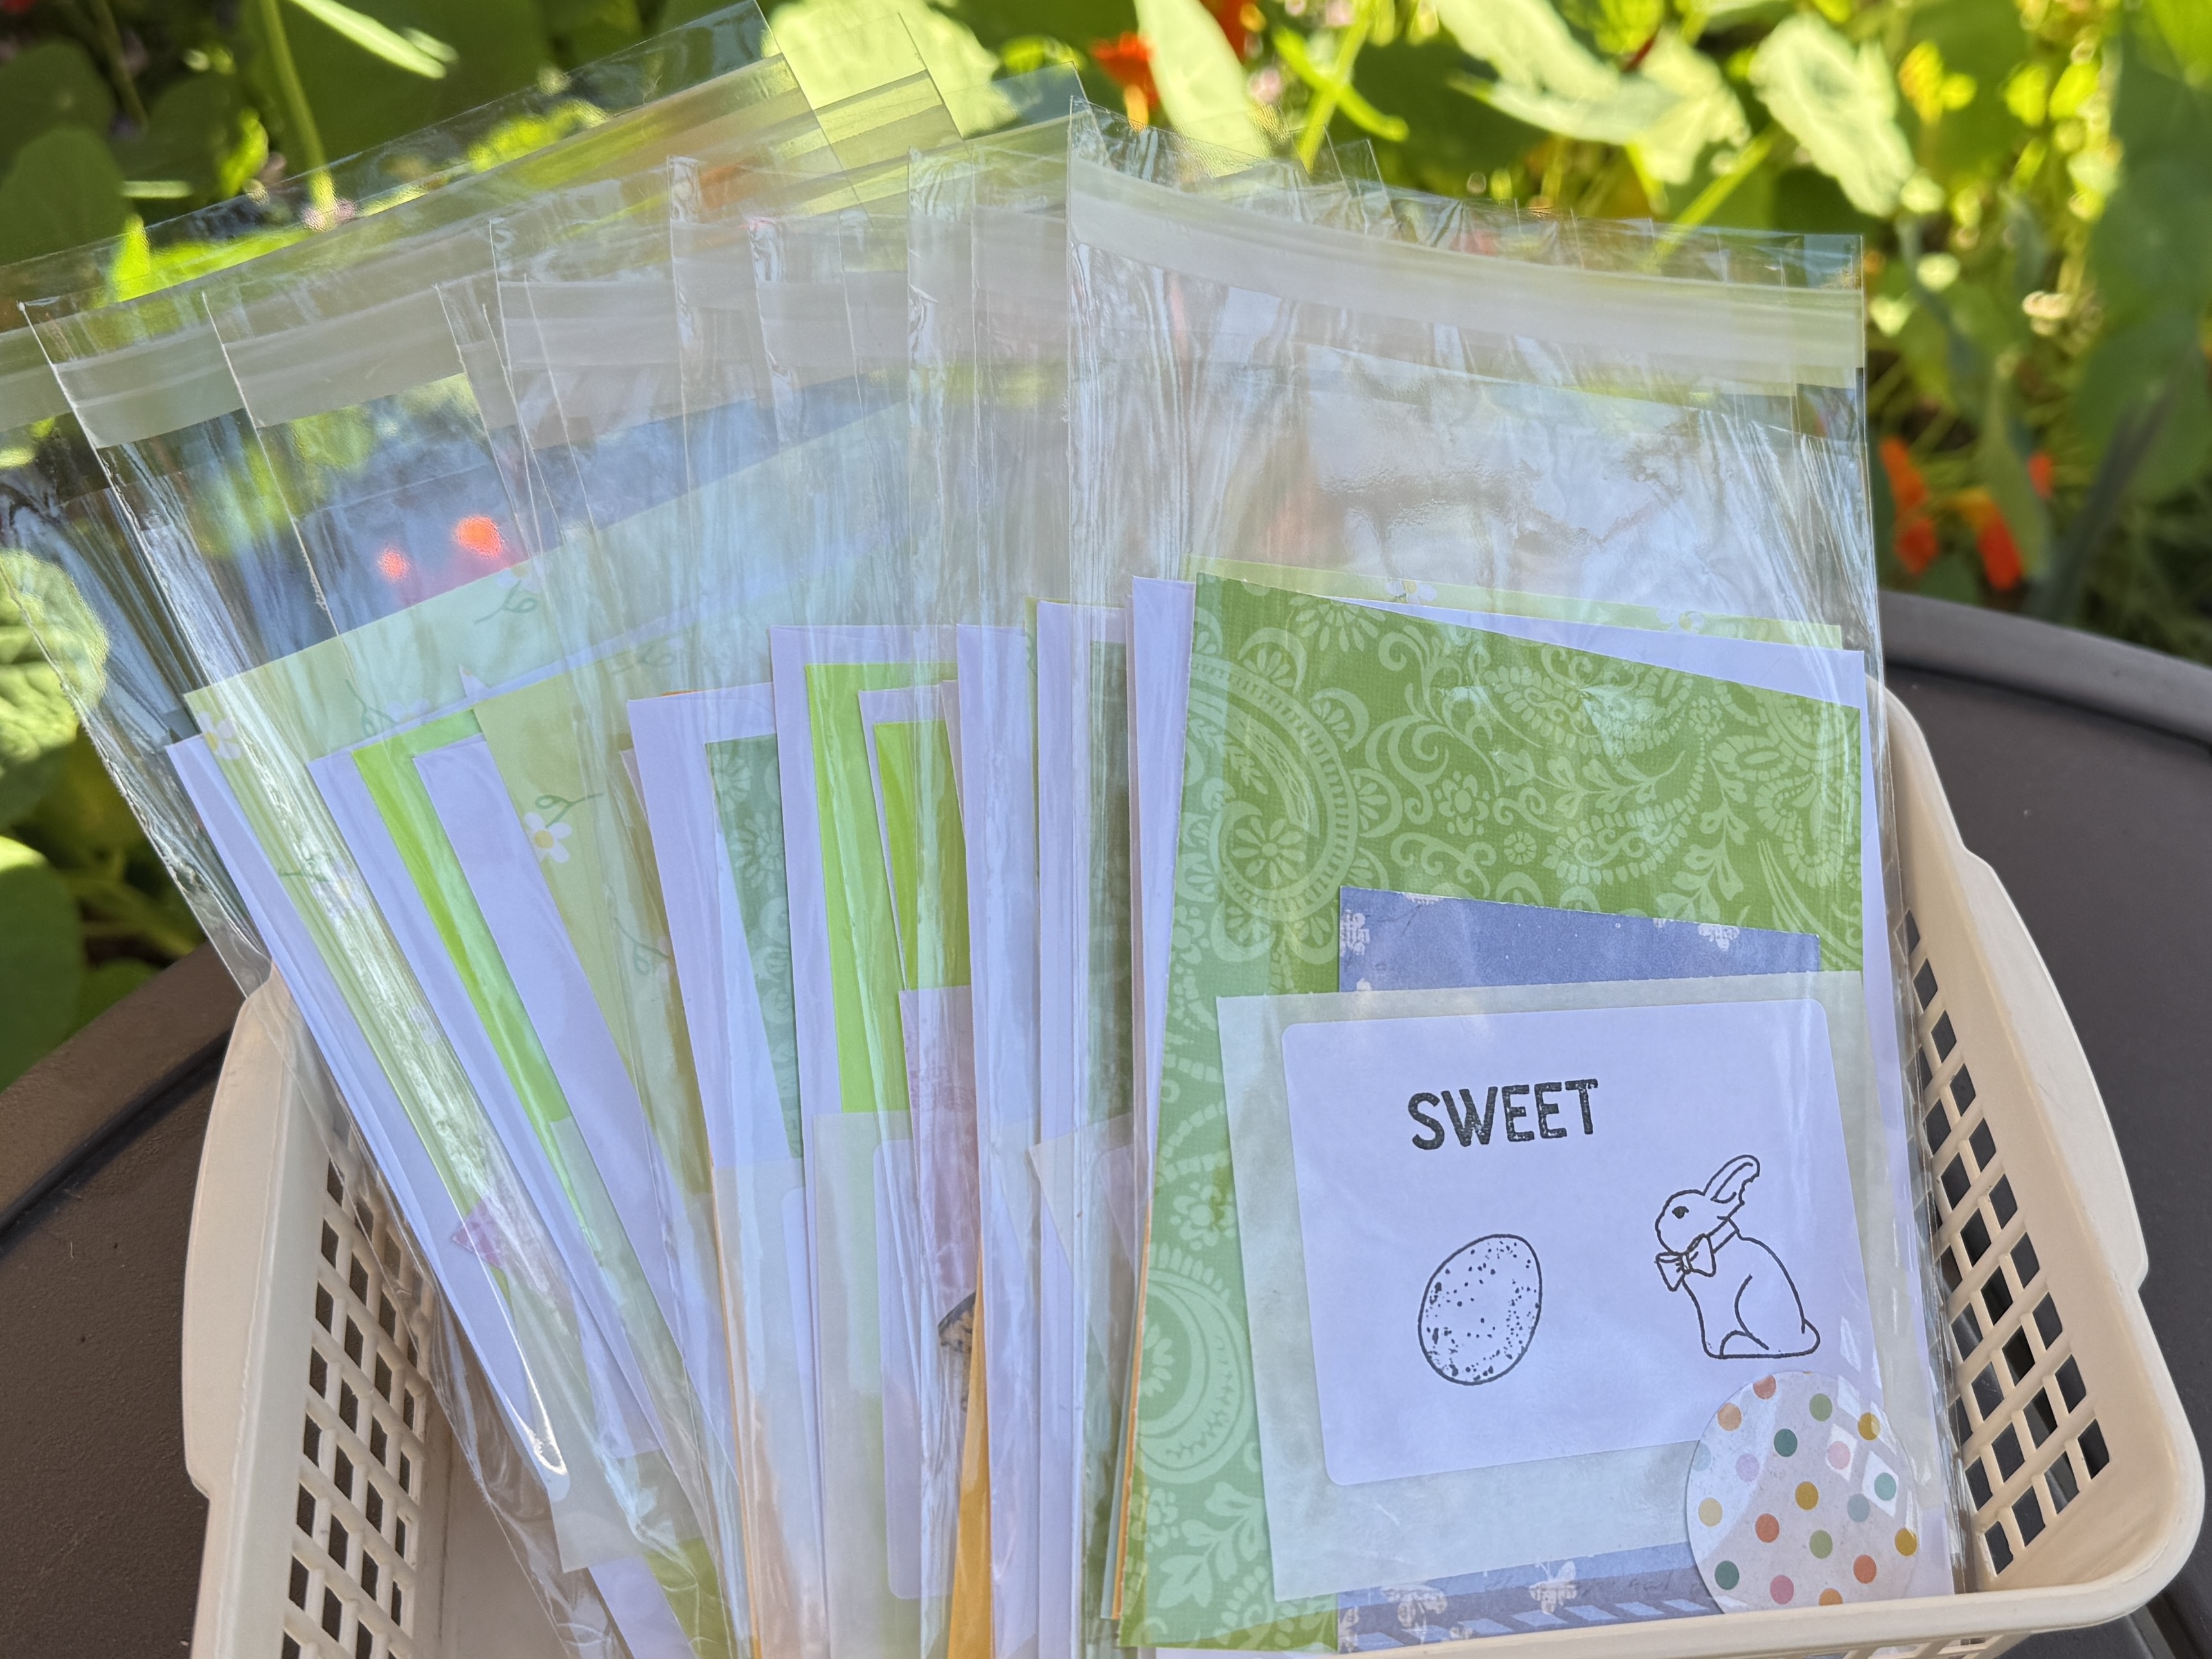
First up, crafting kits for our Little Free Library. These kits are part scraps and part up-cycling.
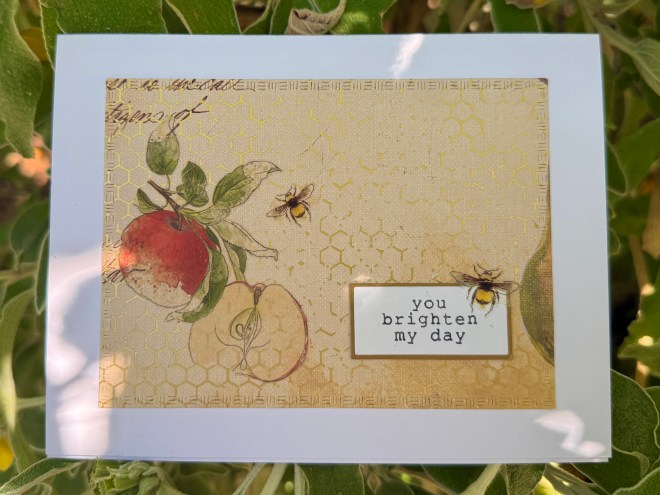
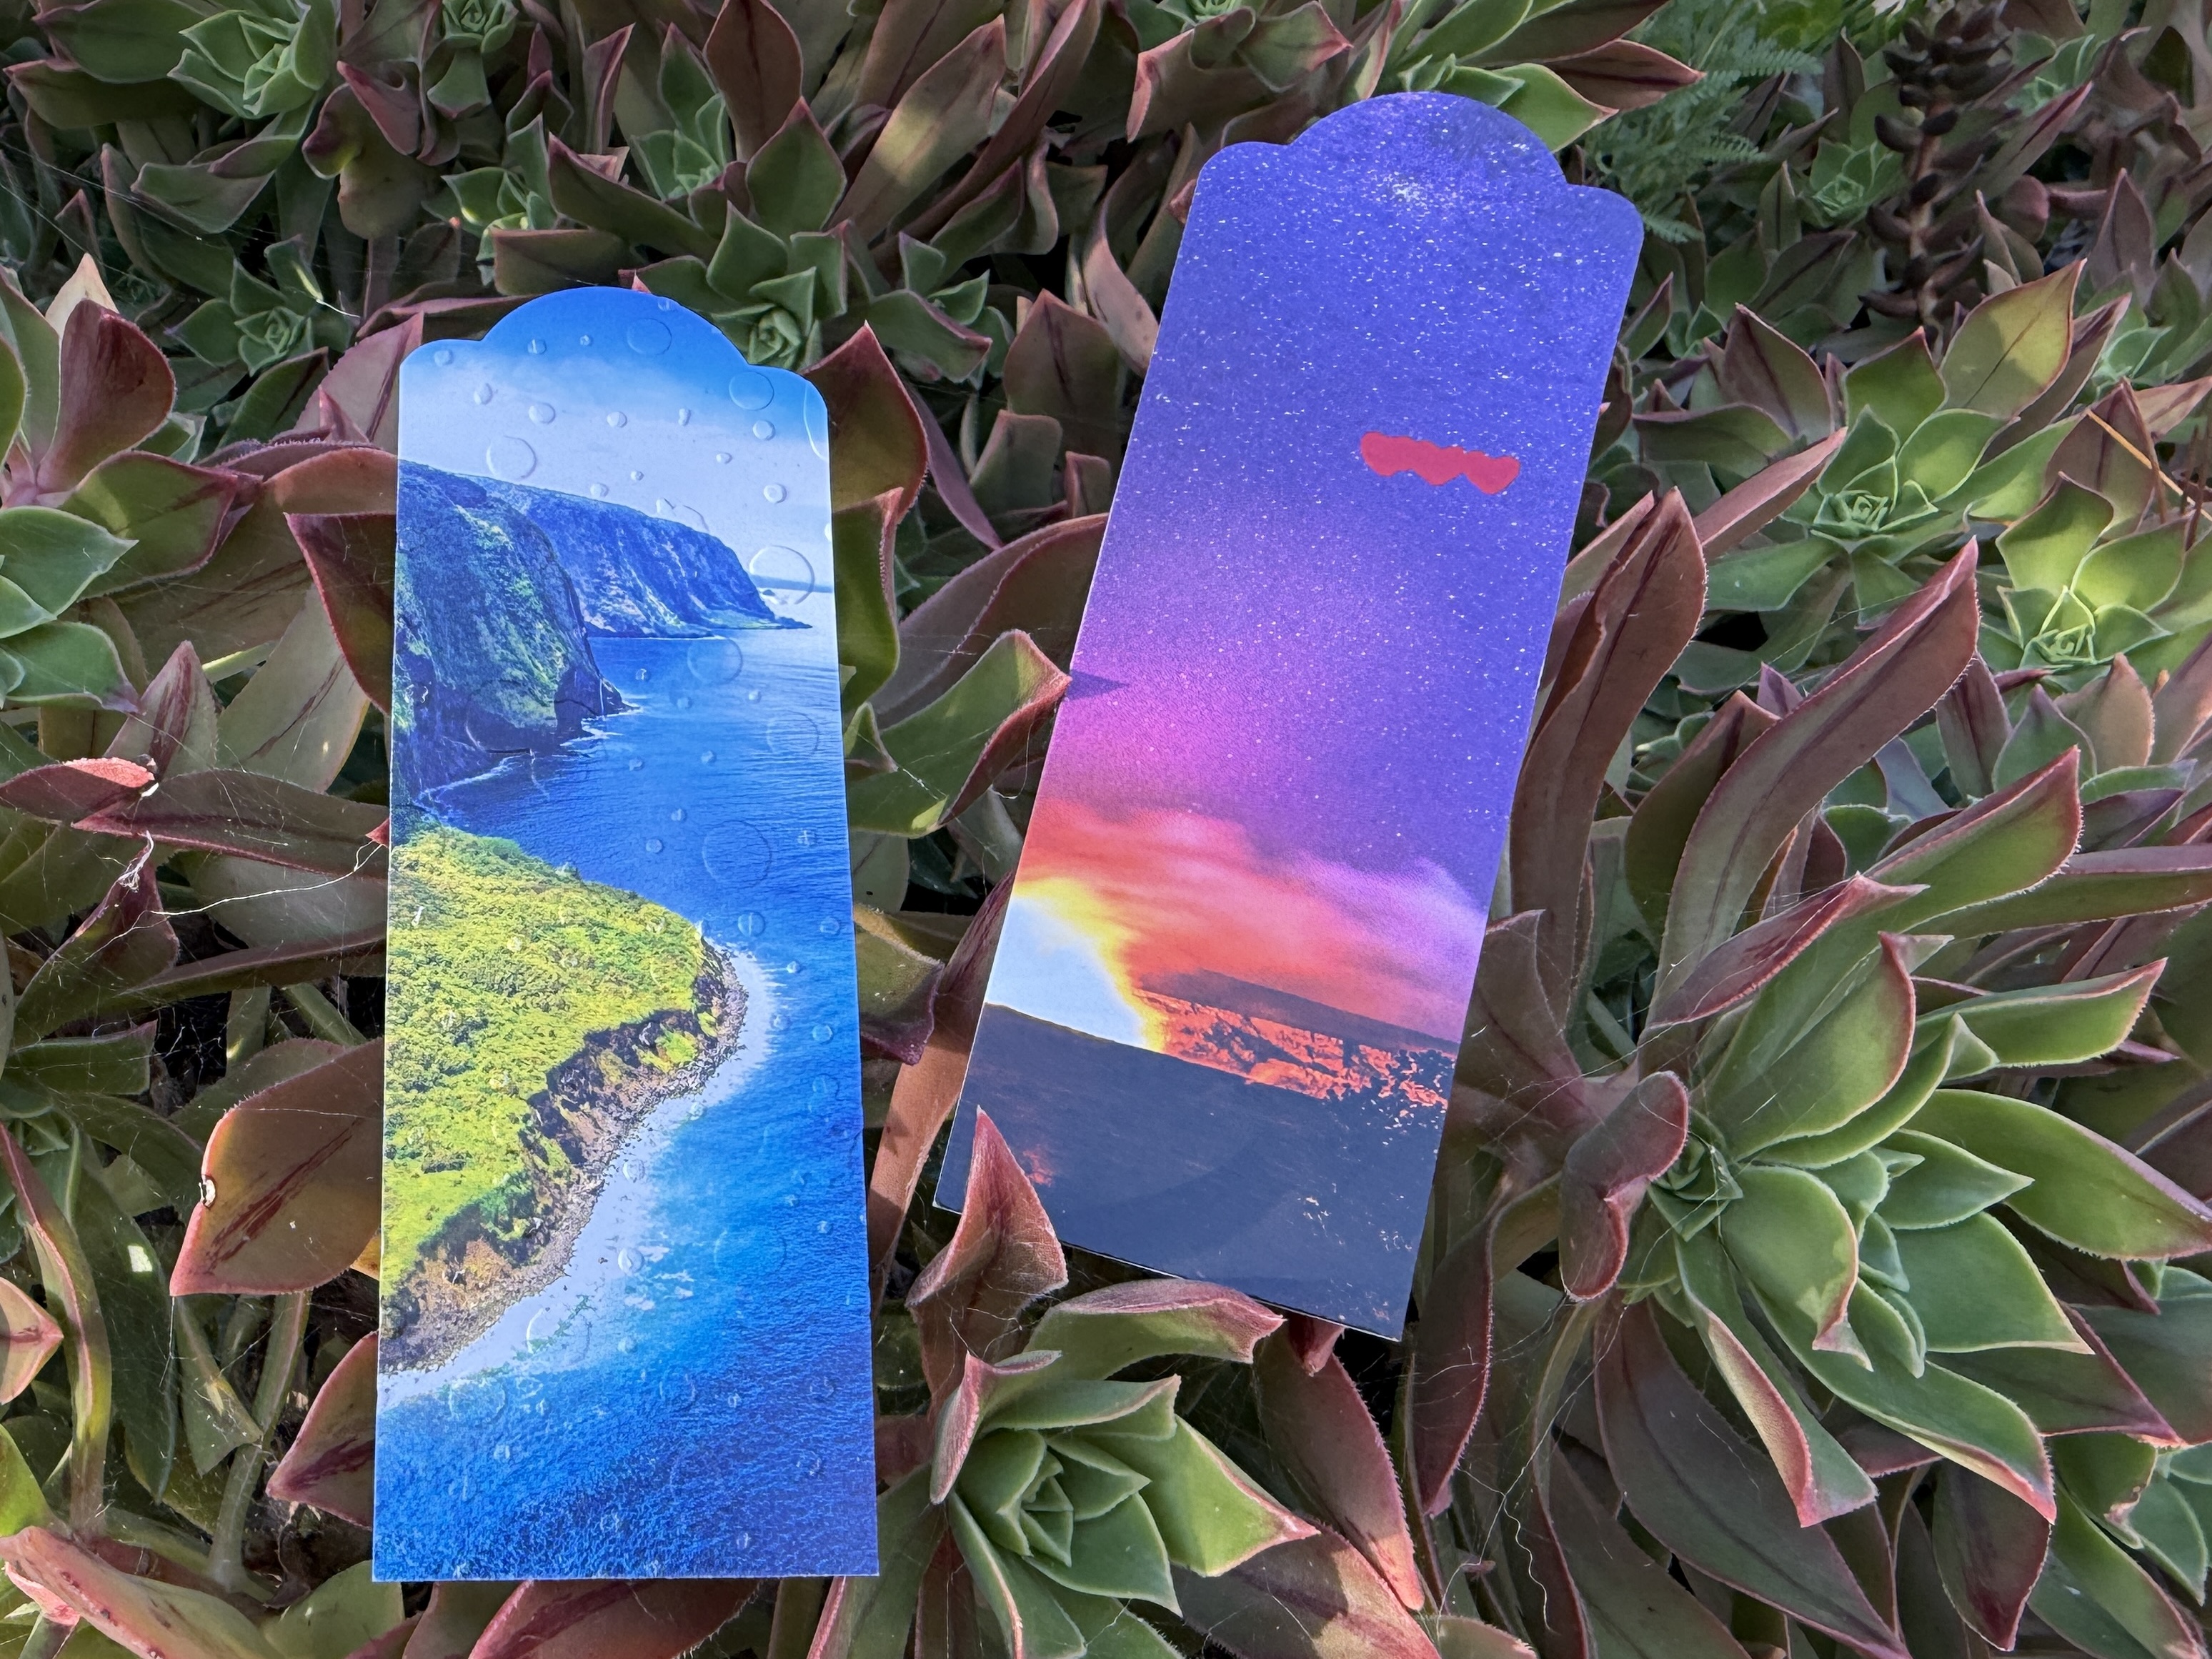
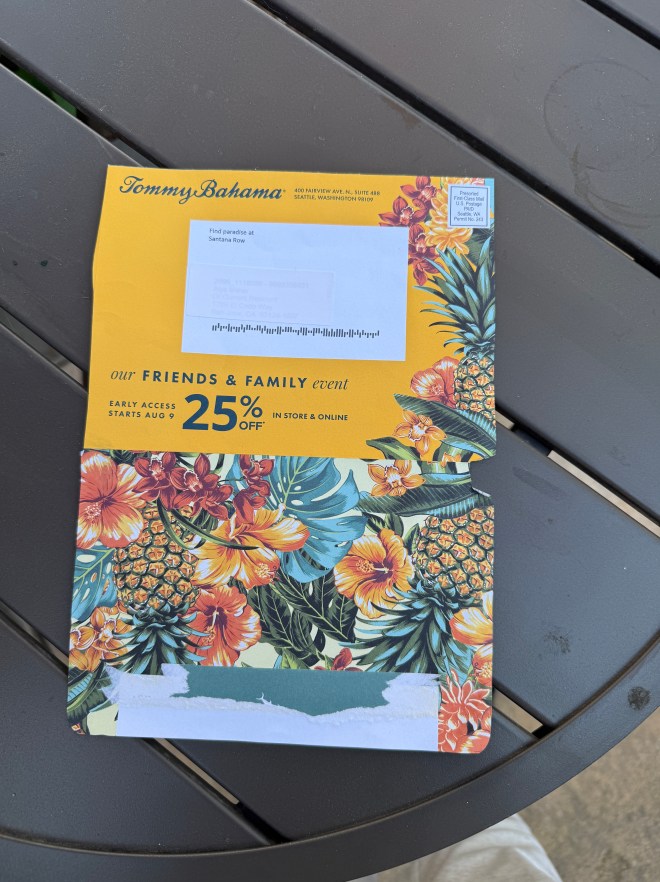
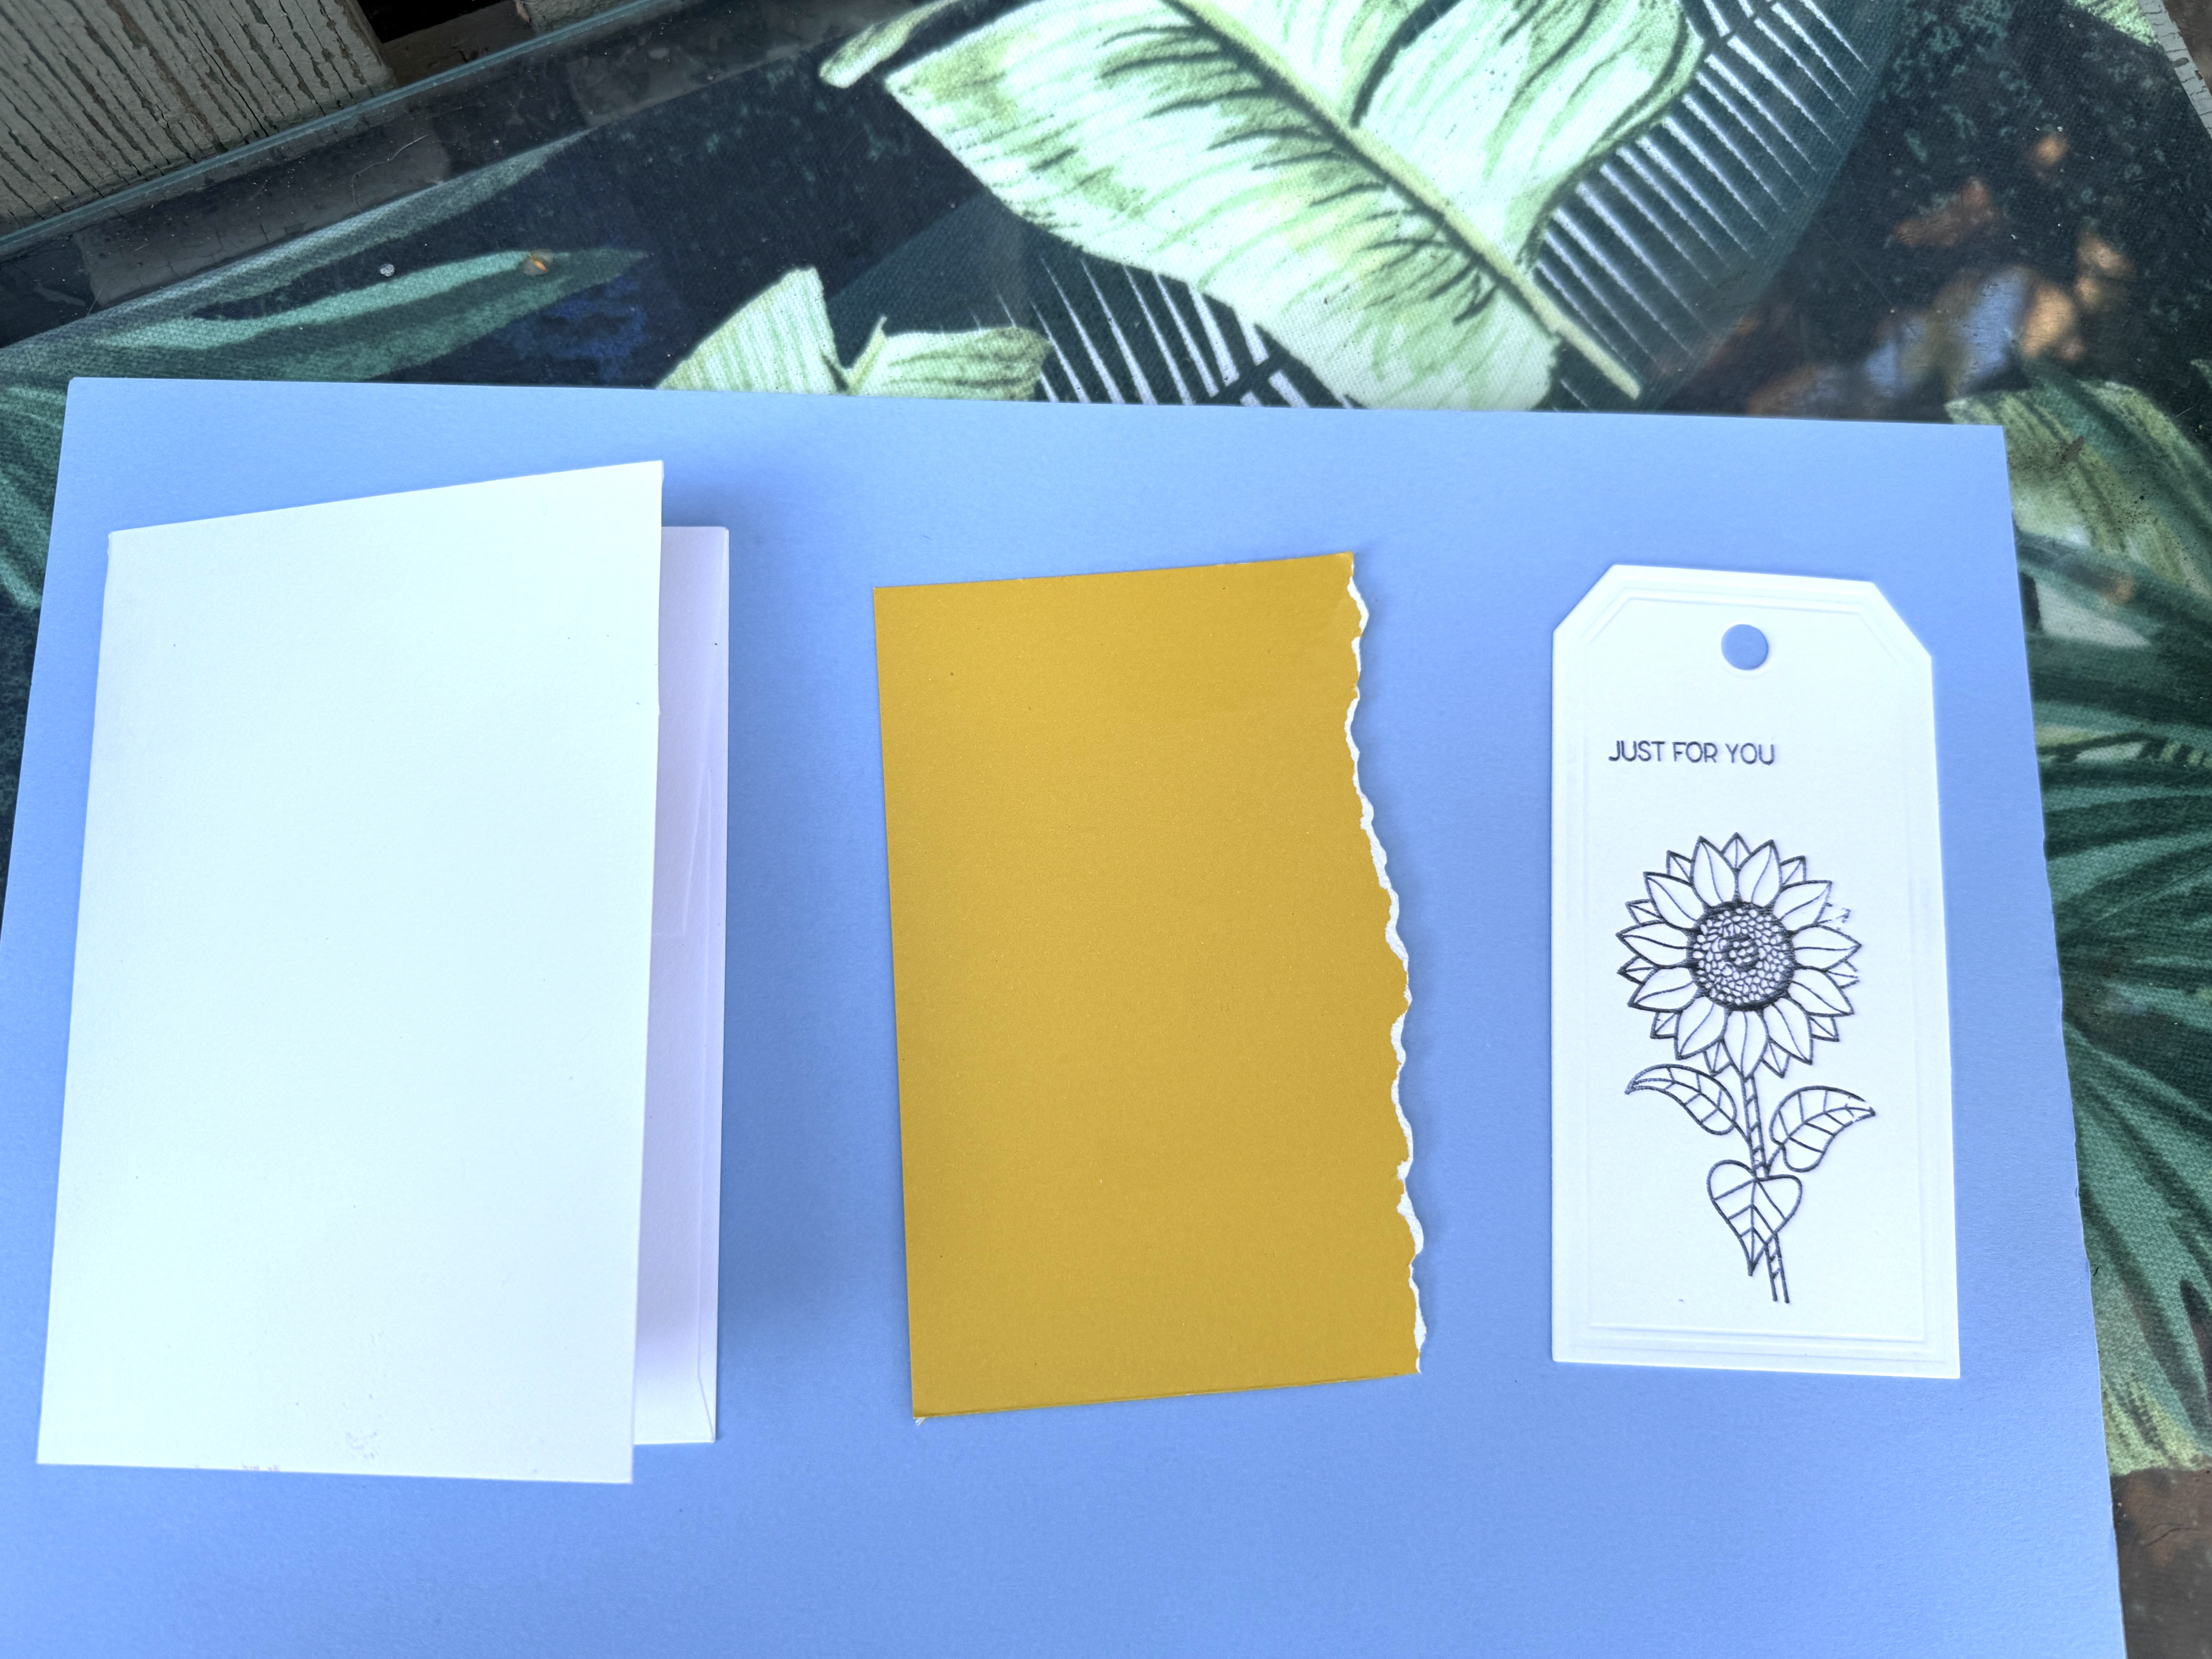
It’s summer holidays here, so children are looking for things to do. I started with a stack of envelopes that I’ve had for years. I had ordered Christmas cards with our return address printed on the envelope. Instead, they mailed plain envelopes. Without any prompting from me, the return-address ones arrived the following week. All these years later, I still have a stack of unused envelopes, which led to the creation of these crafty card kits.
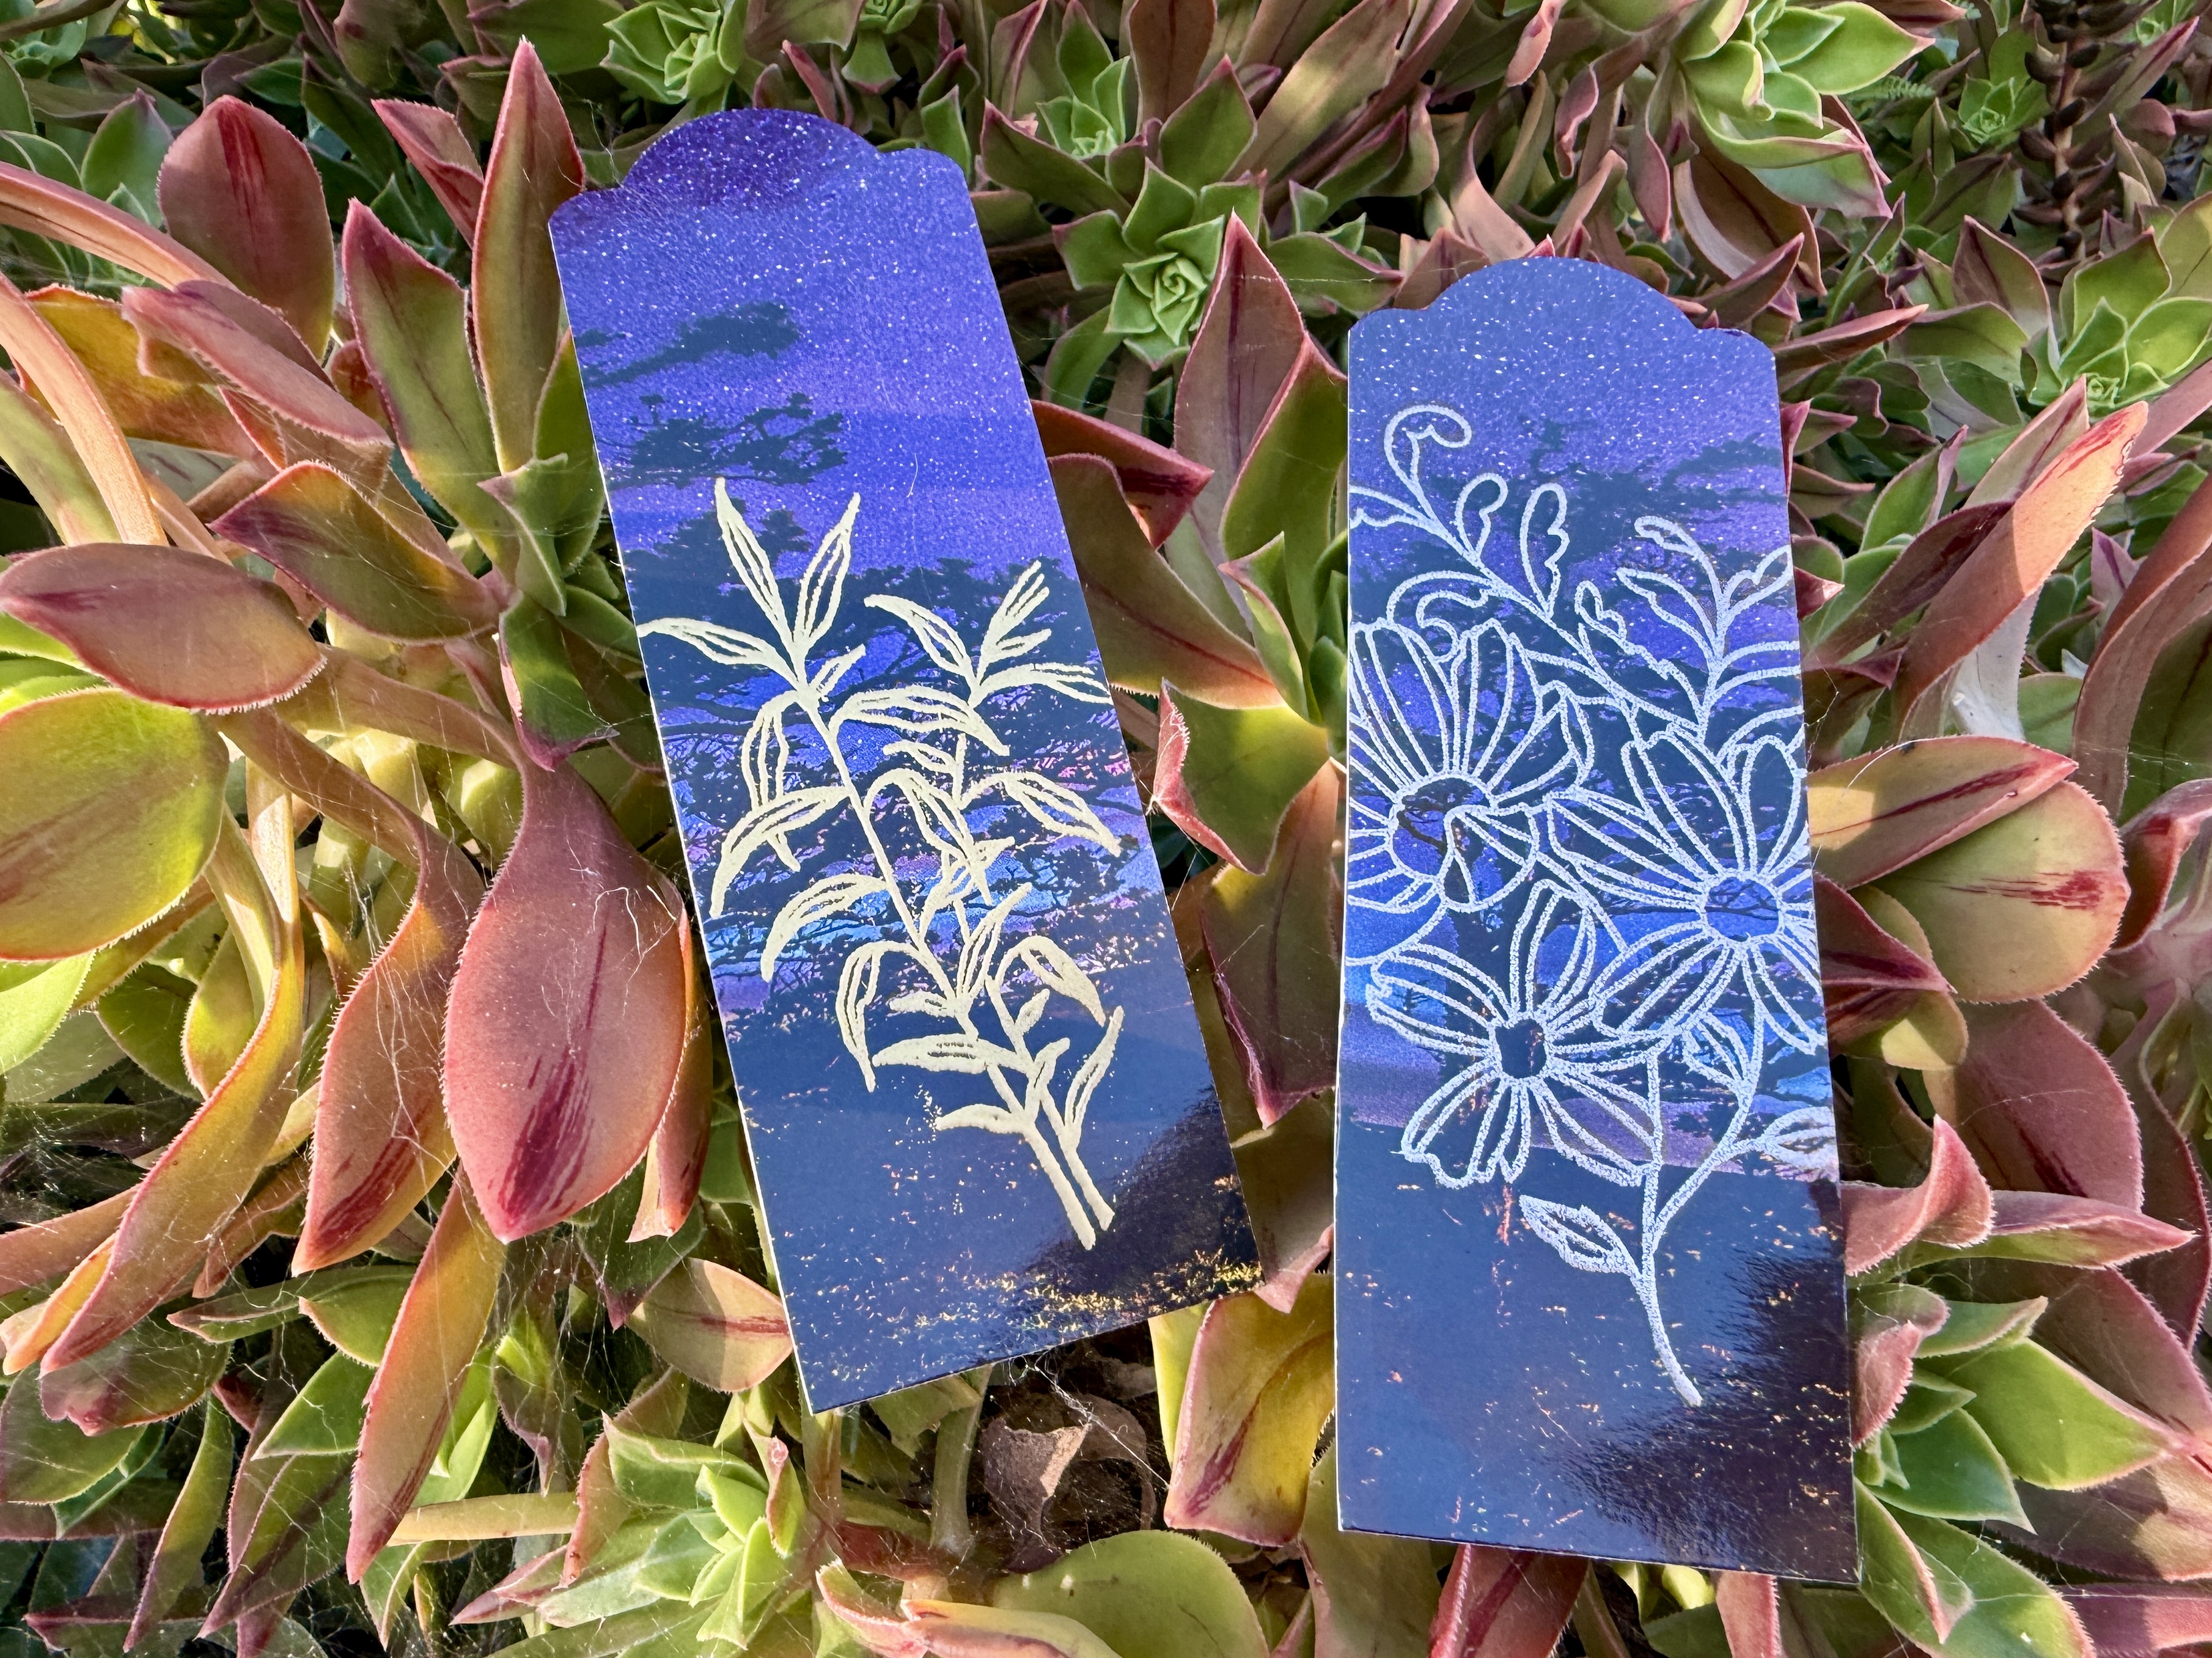
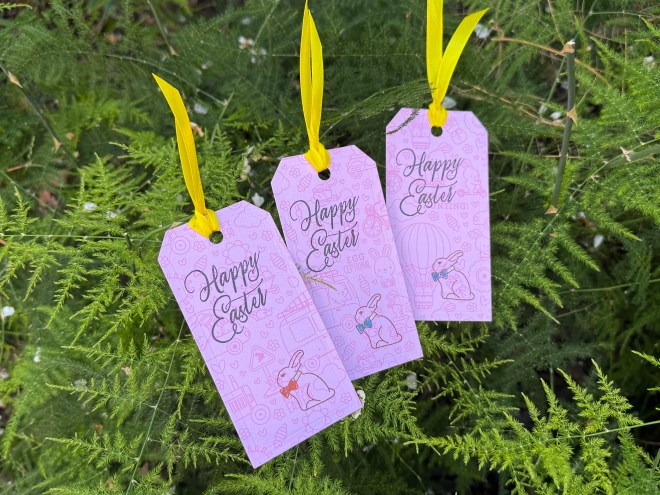
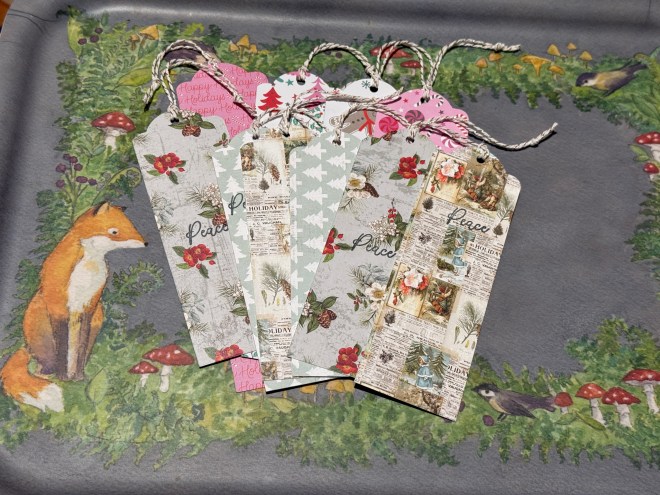
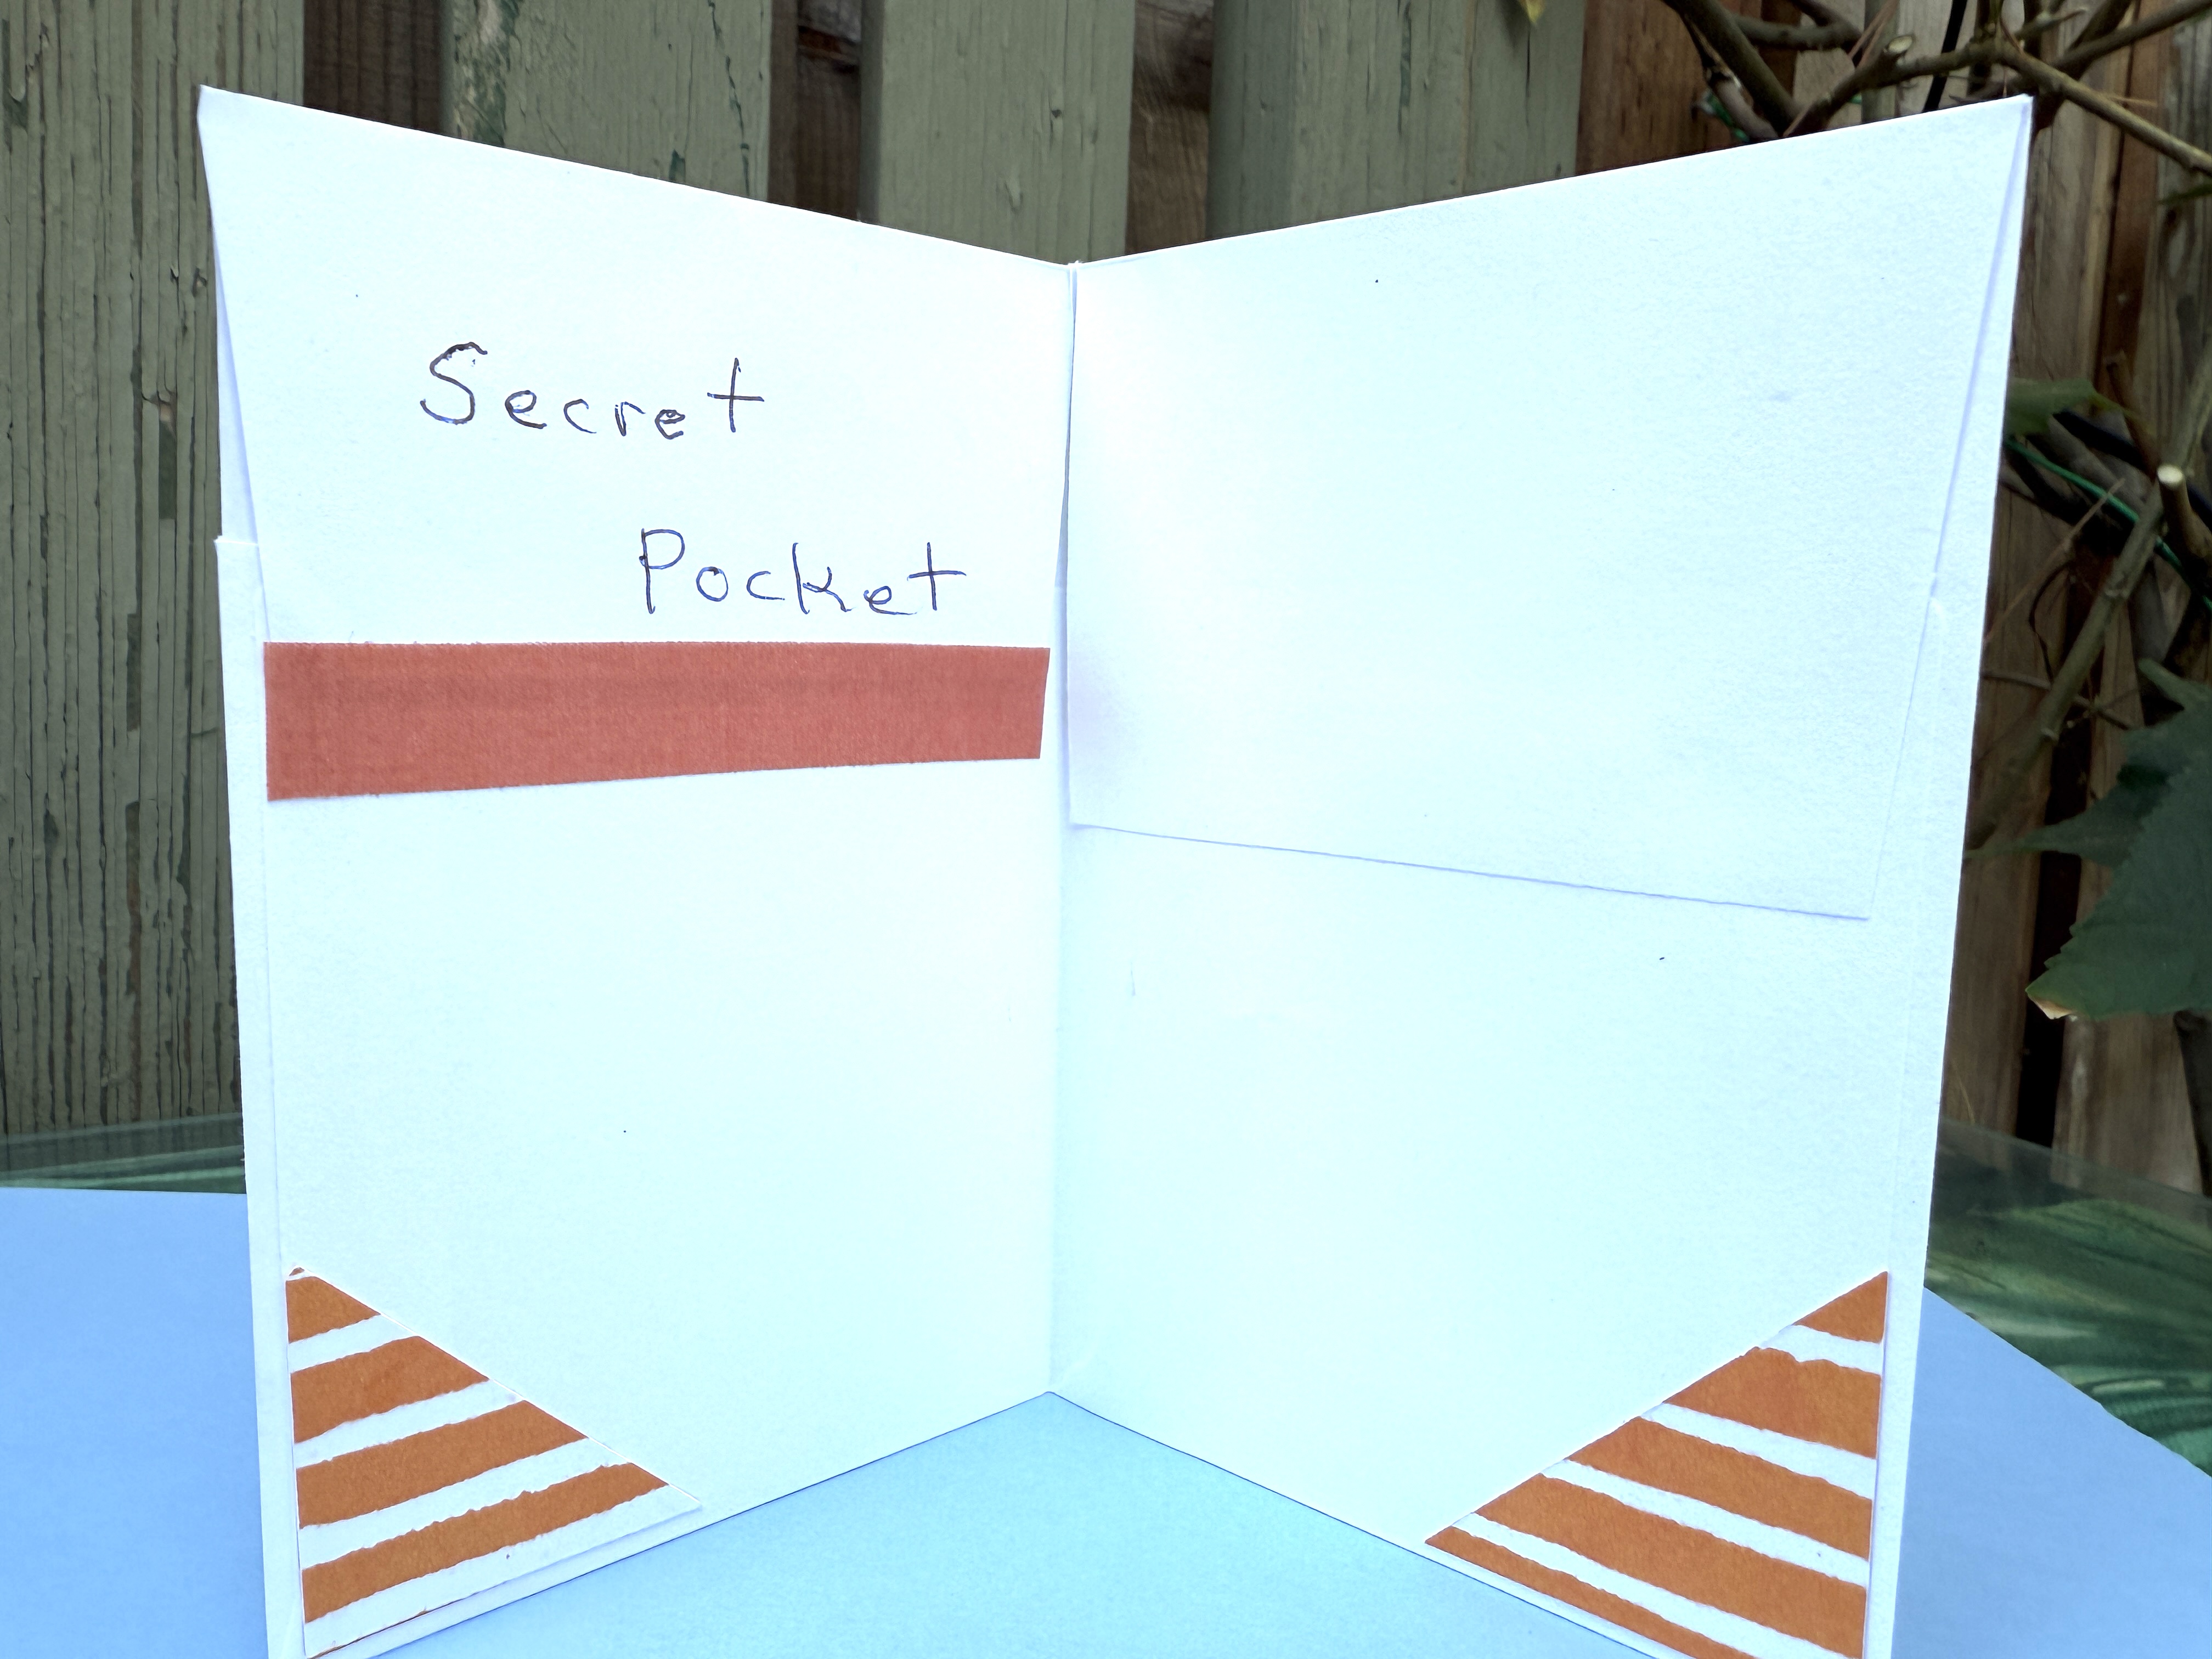
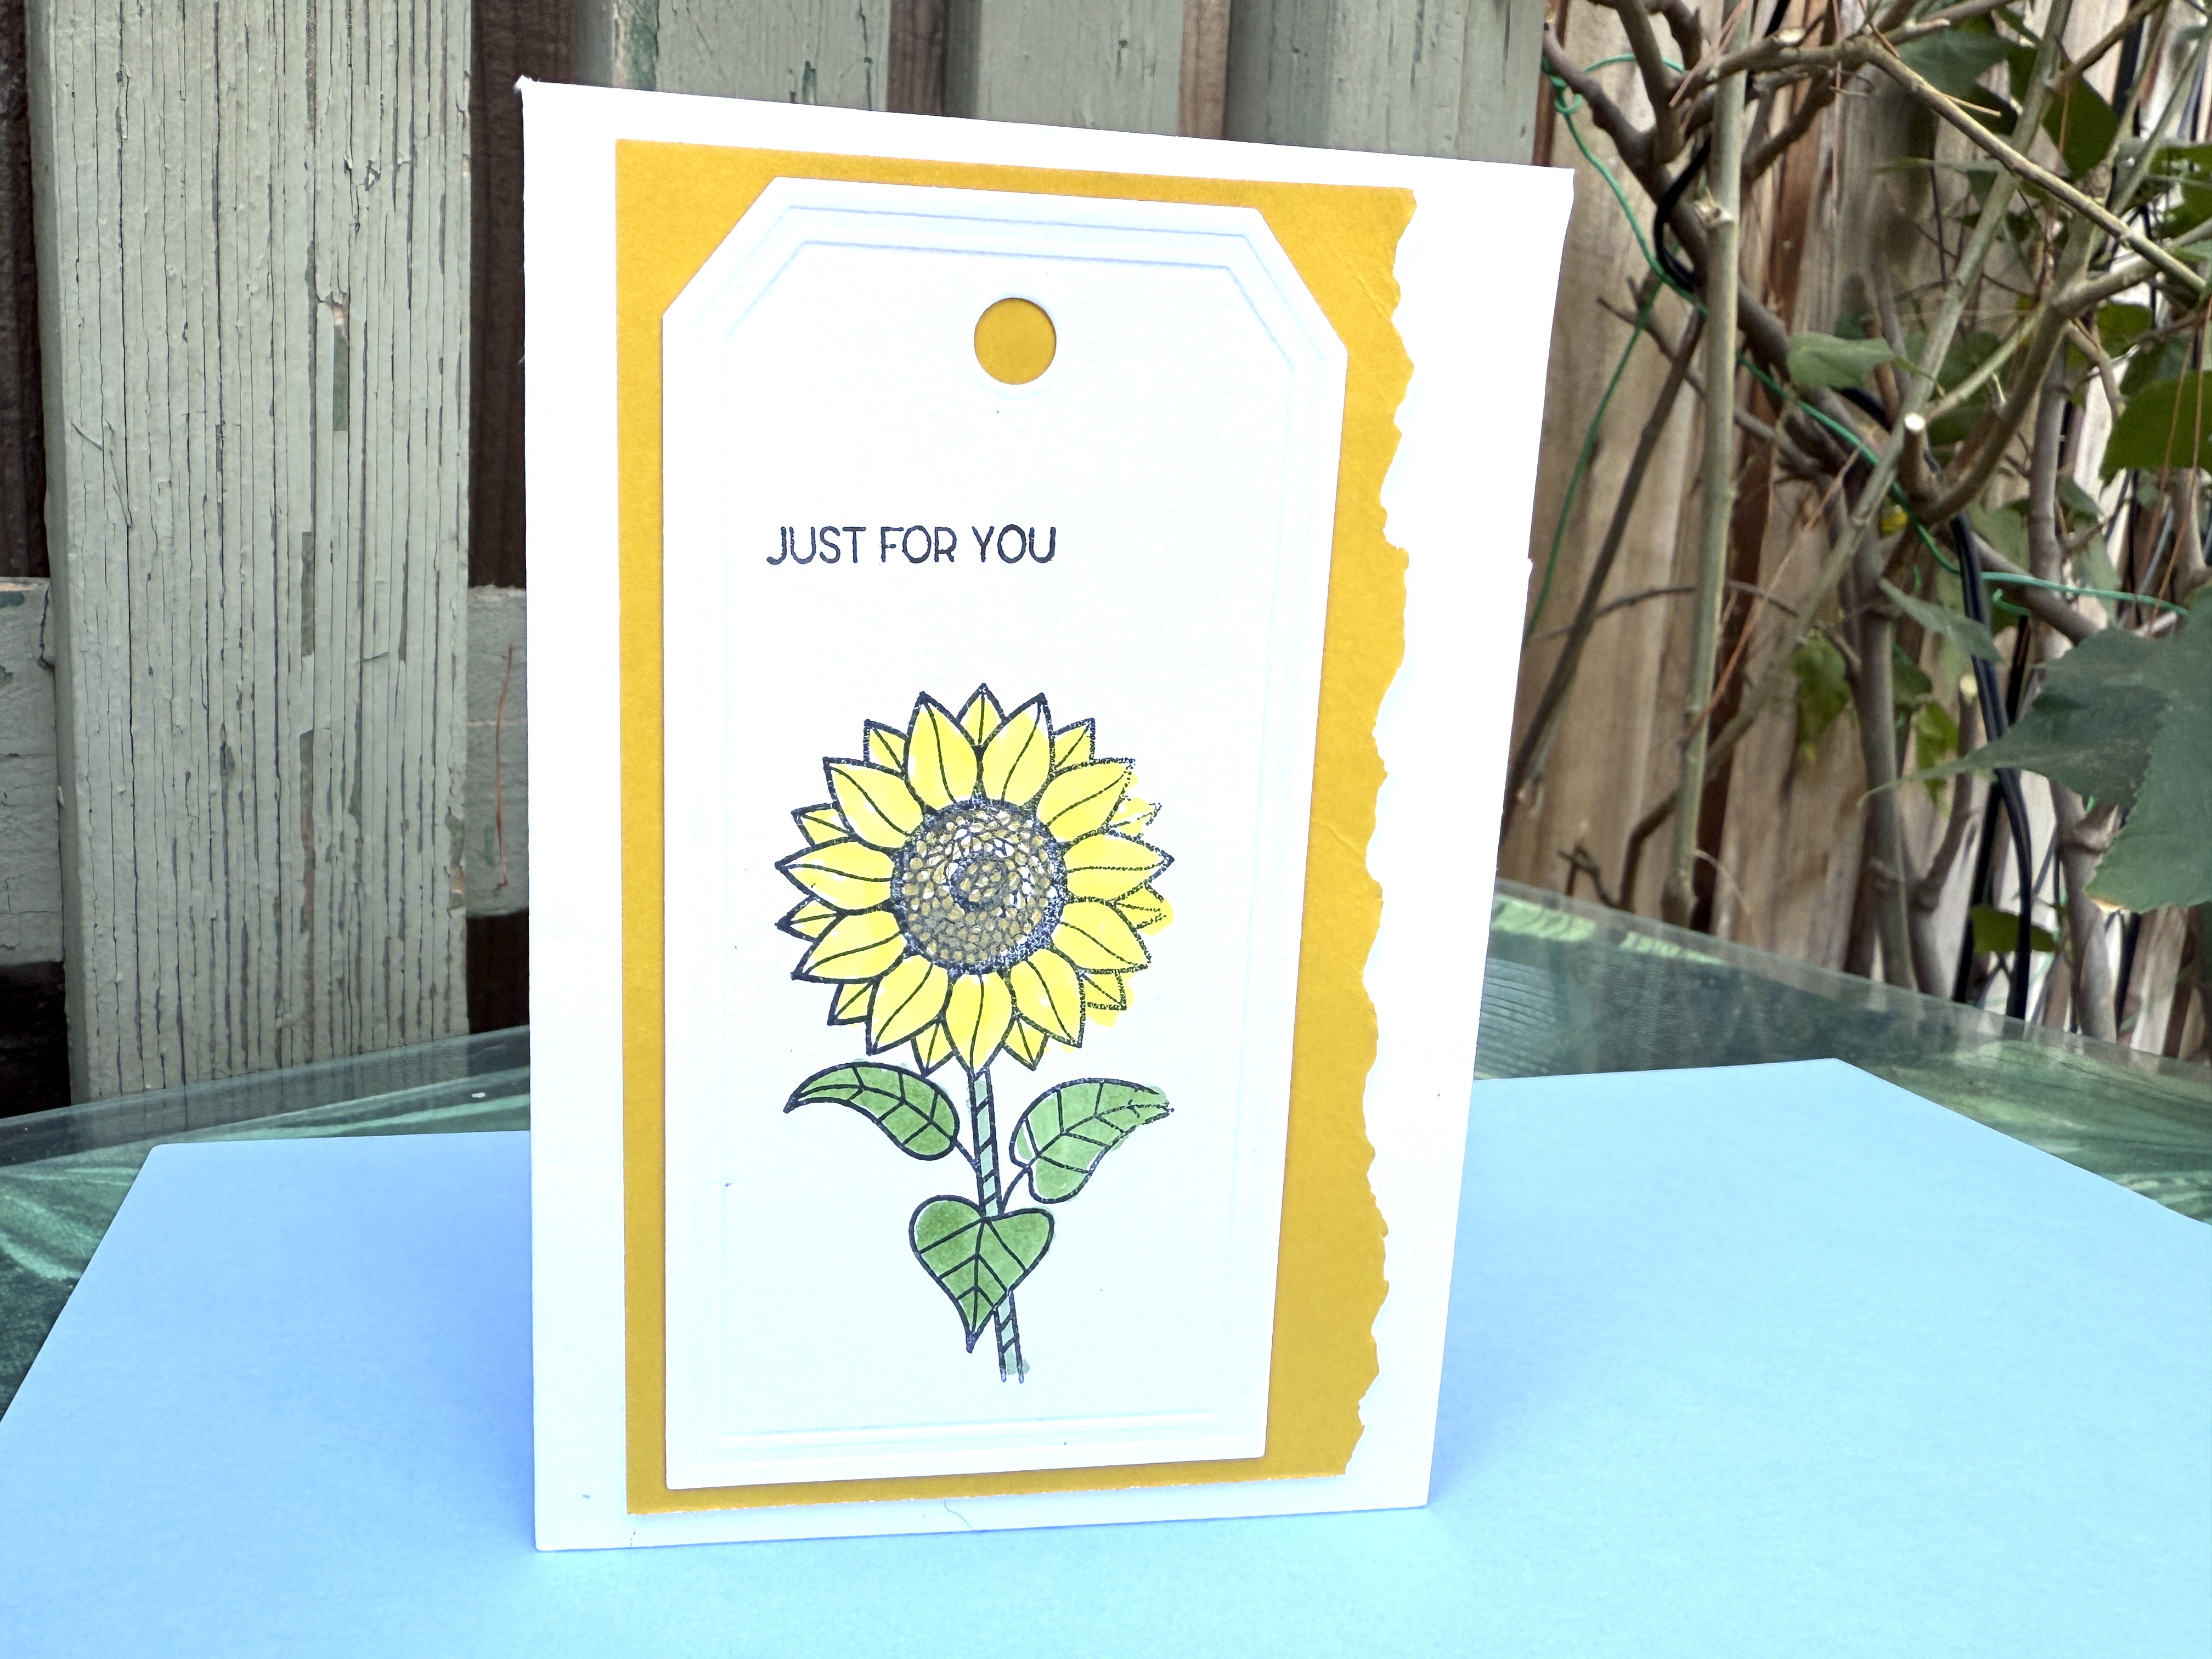
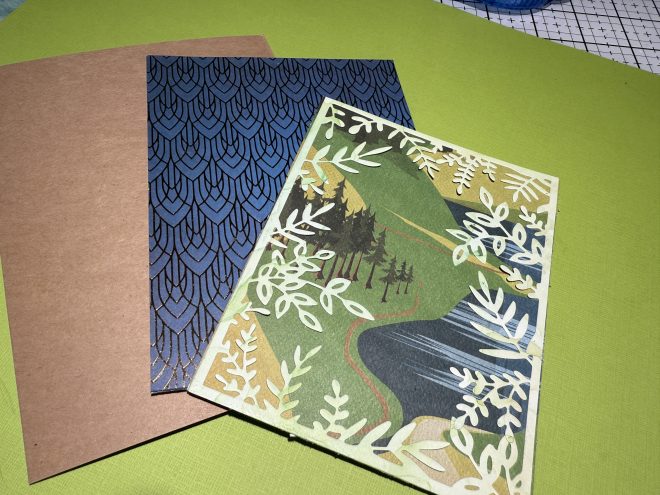
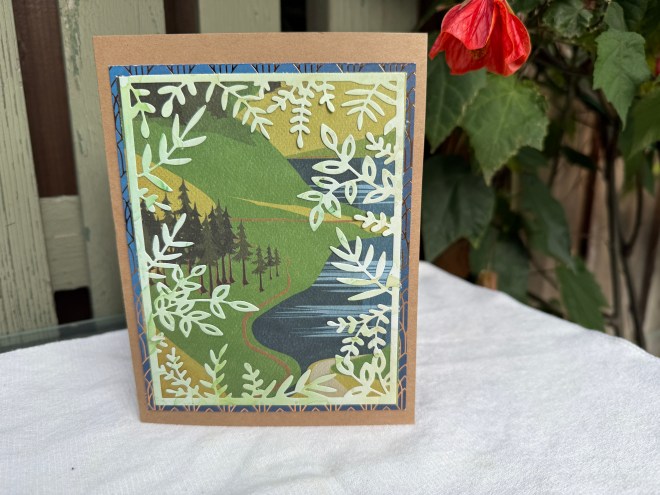
I cut half of the envelope flap and sealed it shut, then trimmed the other half and closed it with washi tape for a “secret compartment”. I folded the envelope in half, then cut scraps of yellow paper to use as the cover. I used one of my tag dies to cut the white paper, stamped it with black ink, and colored the image with markers as a sample, but left it for the crafter to color it themselves.
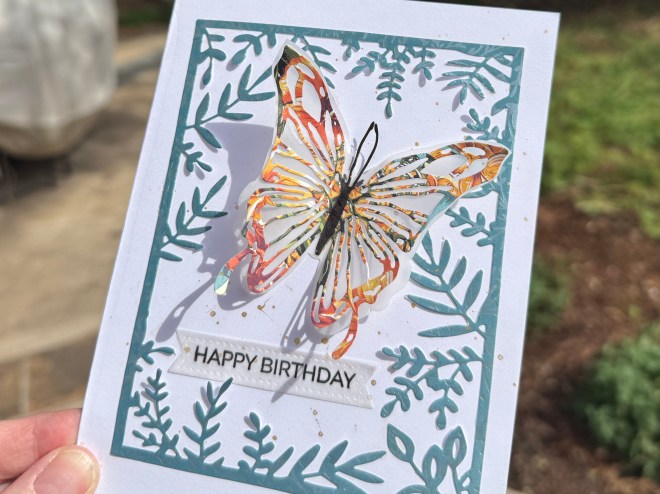
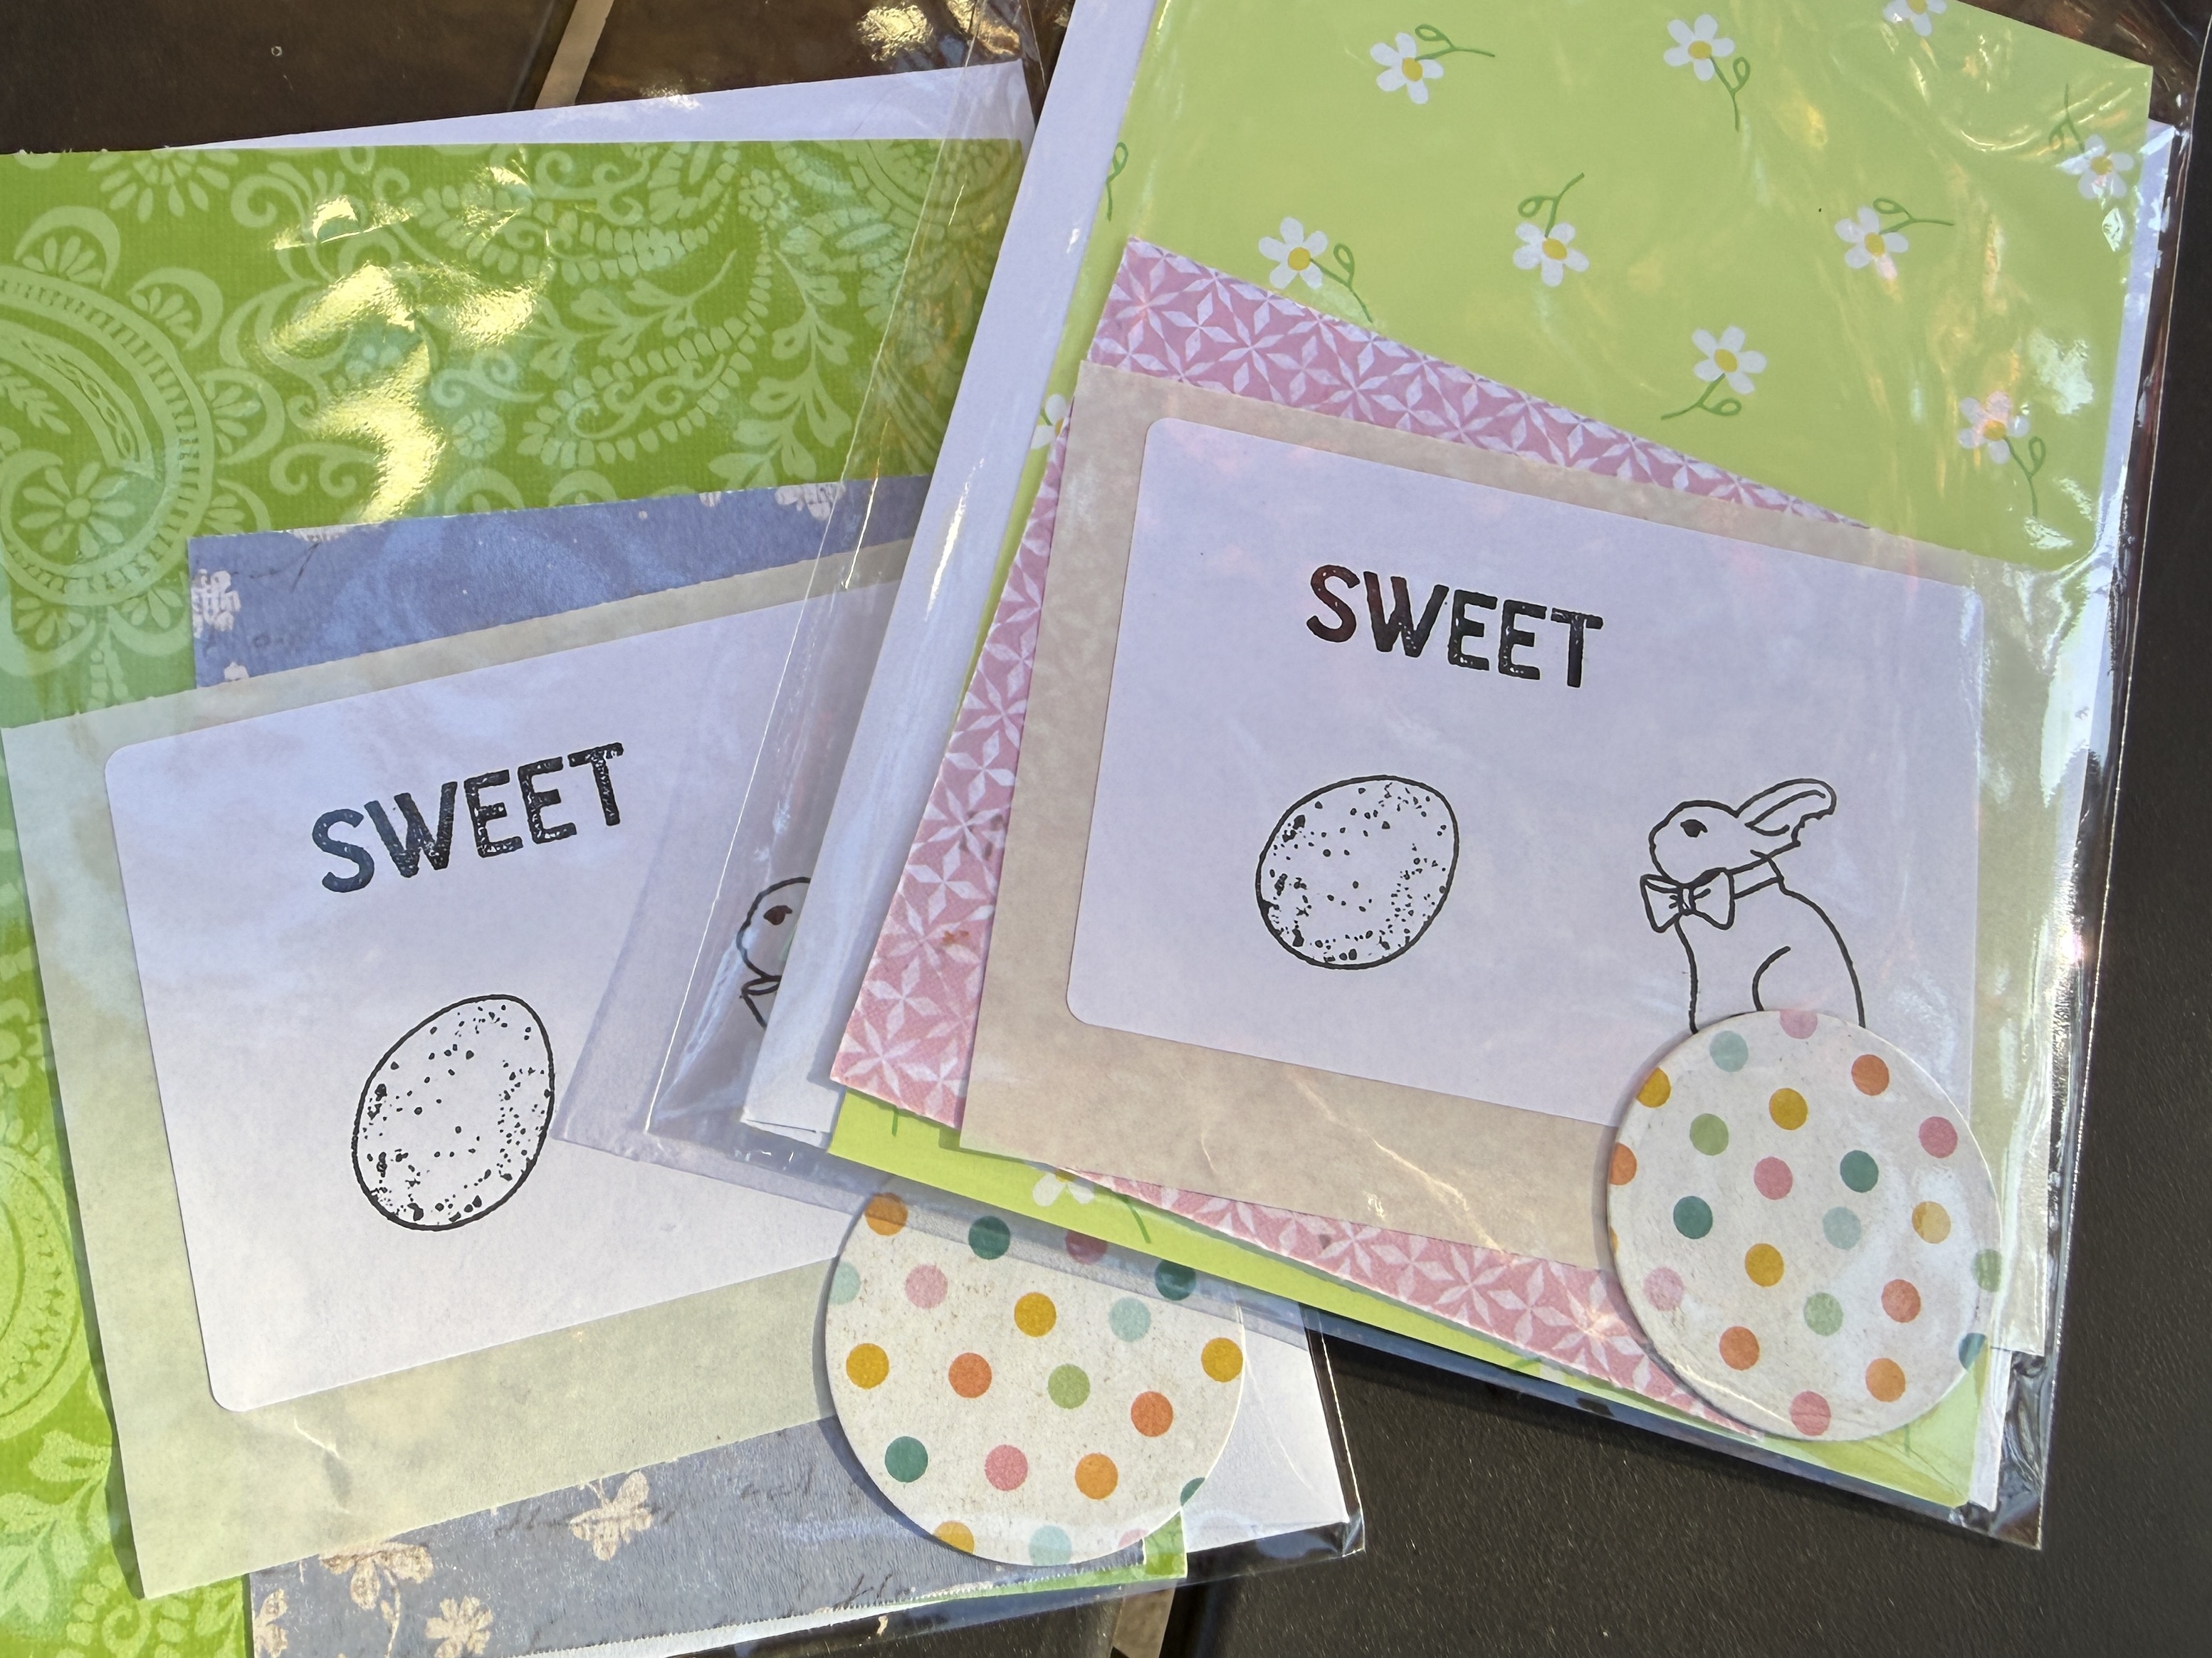
The second card uses the same envelope but with the flap at the bottom to make pockets. I cut three shapes for the cover and added an iridescent butterfly to the kit. I hope the children enjoy them.
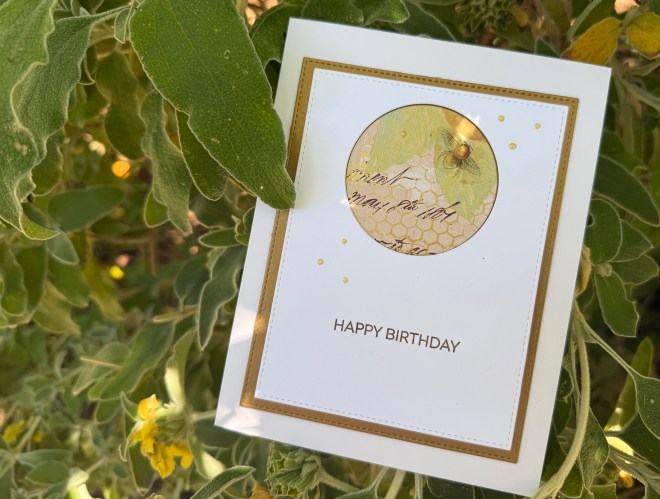
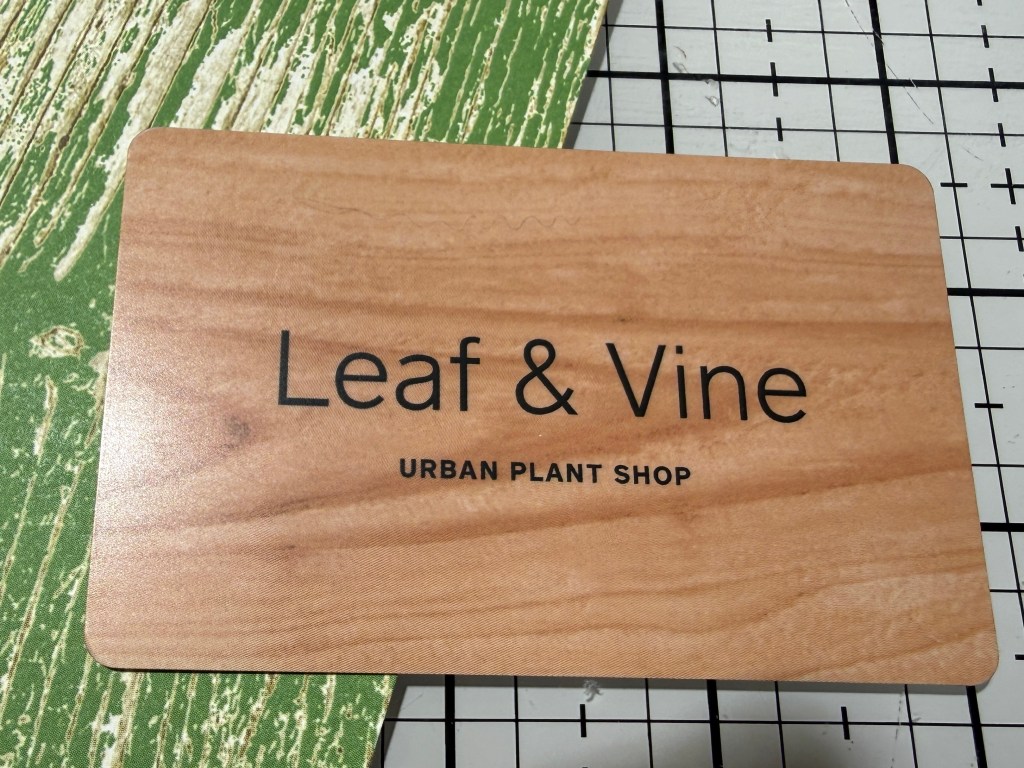
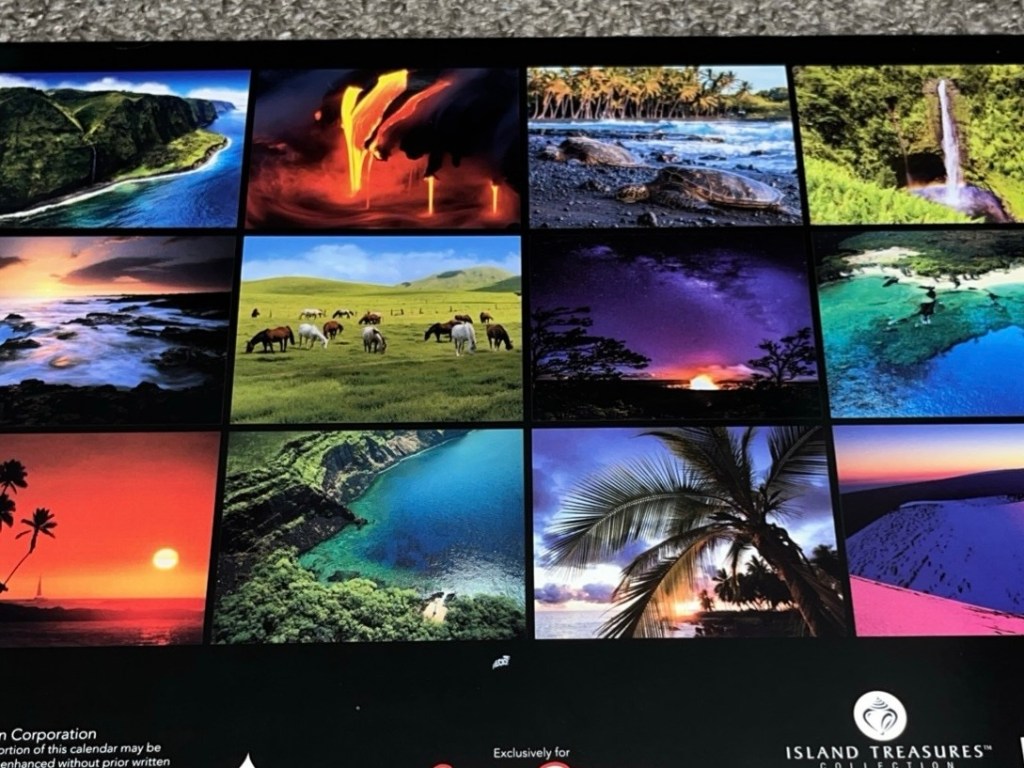
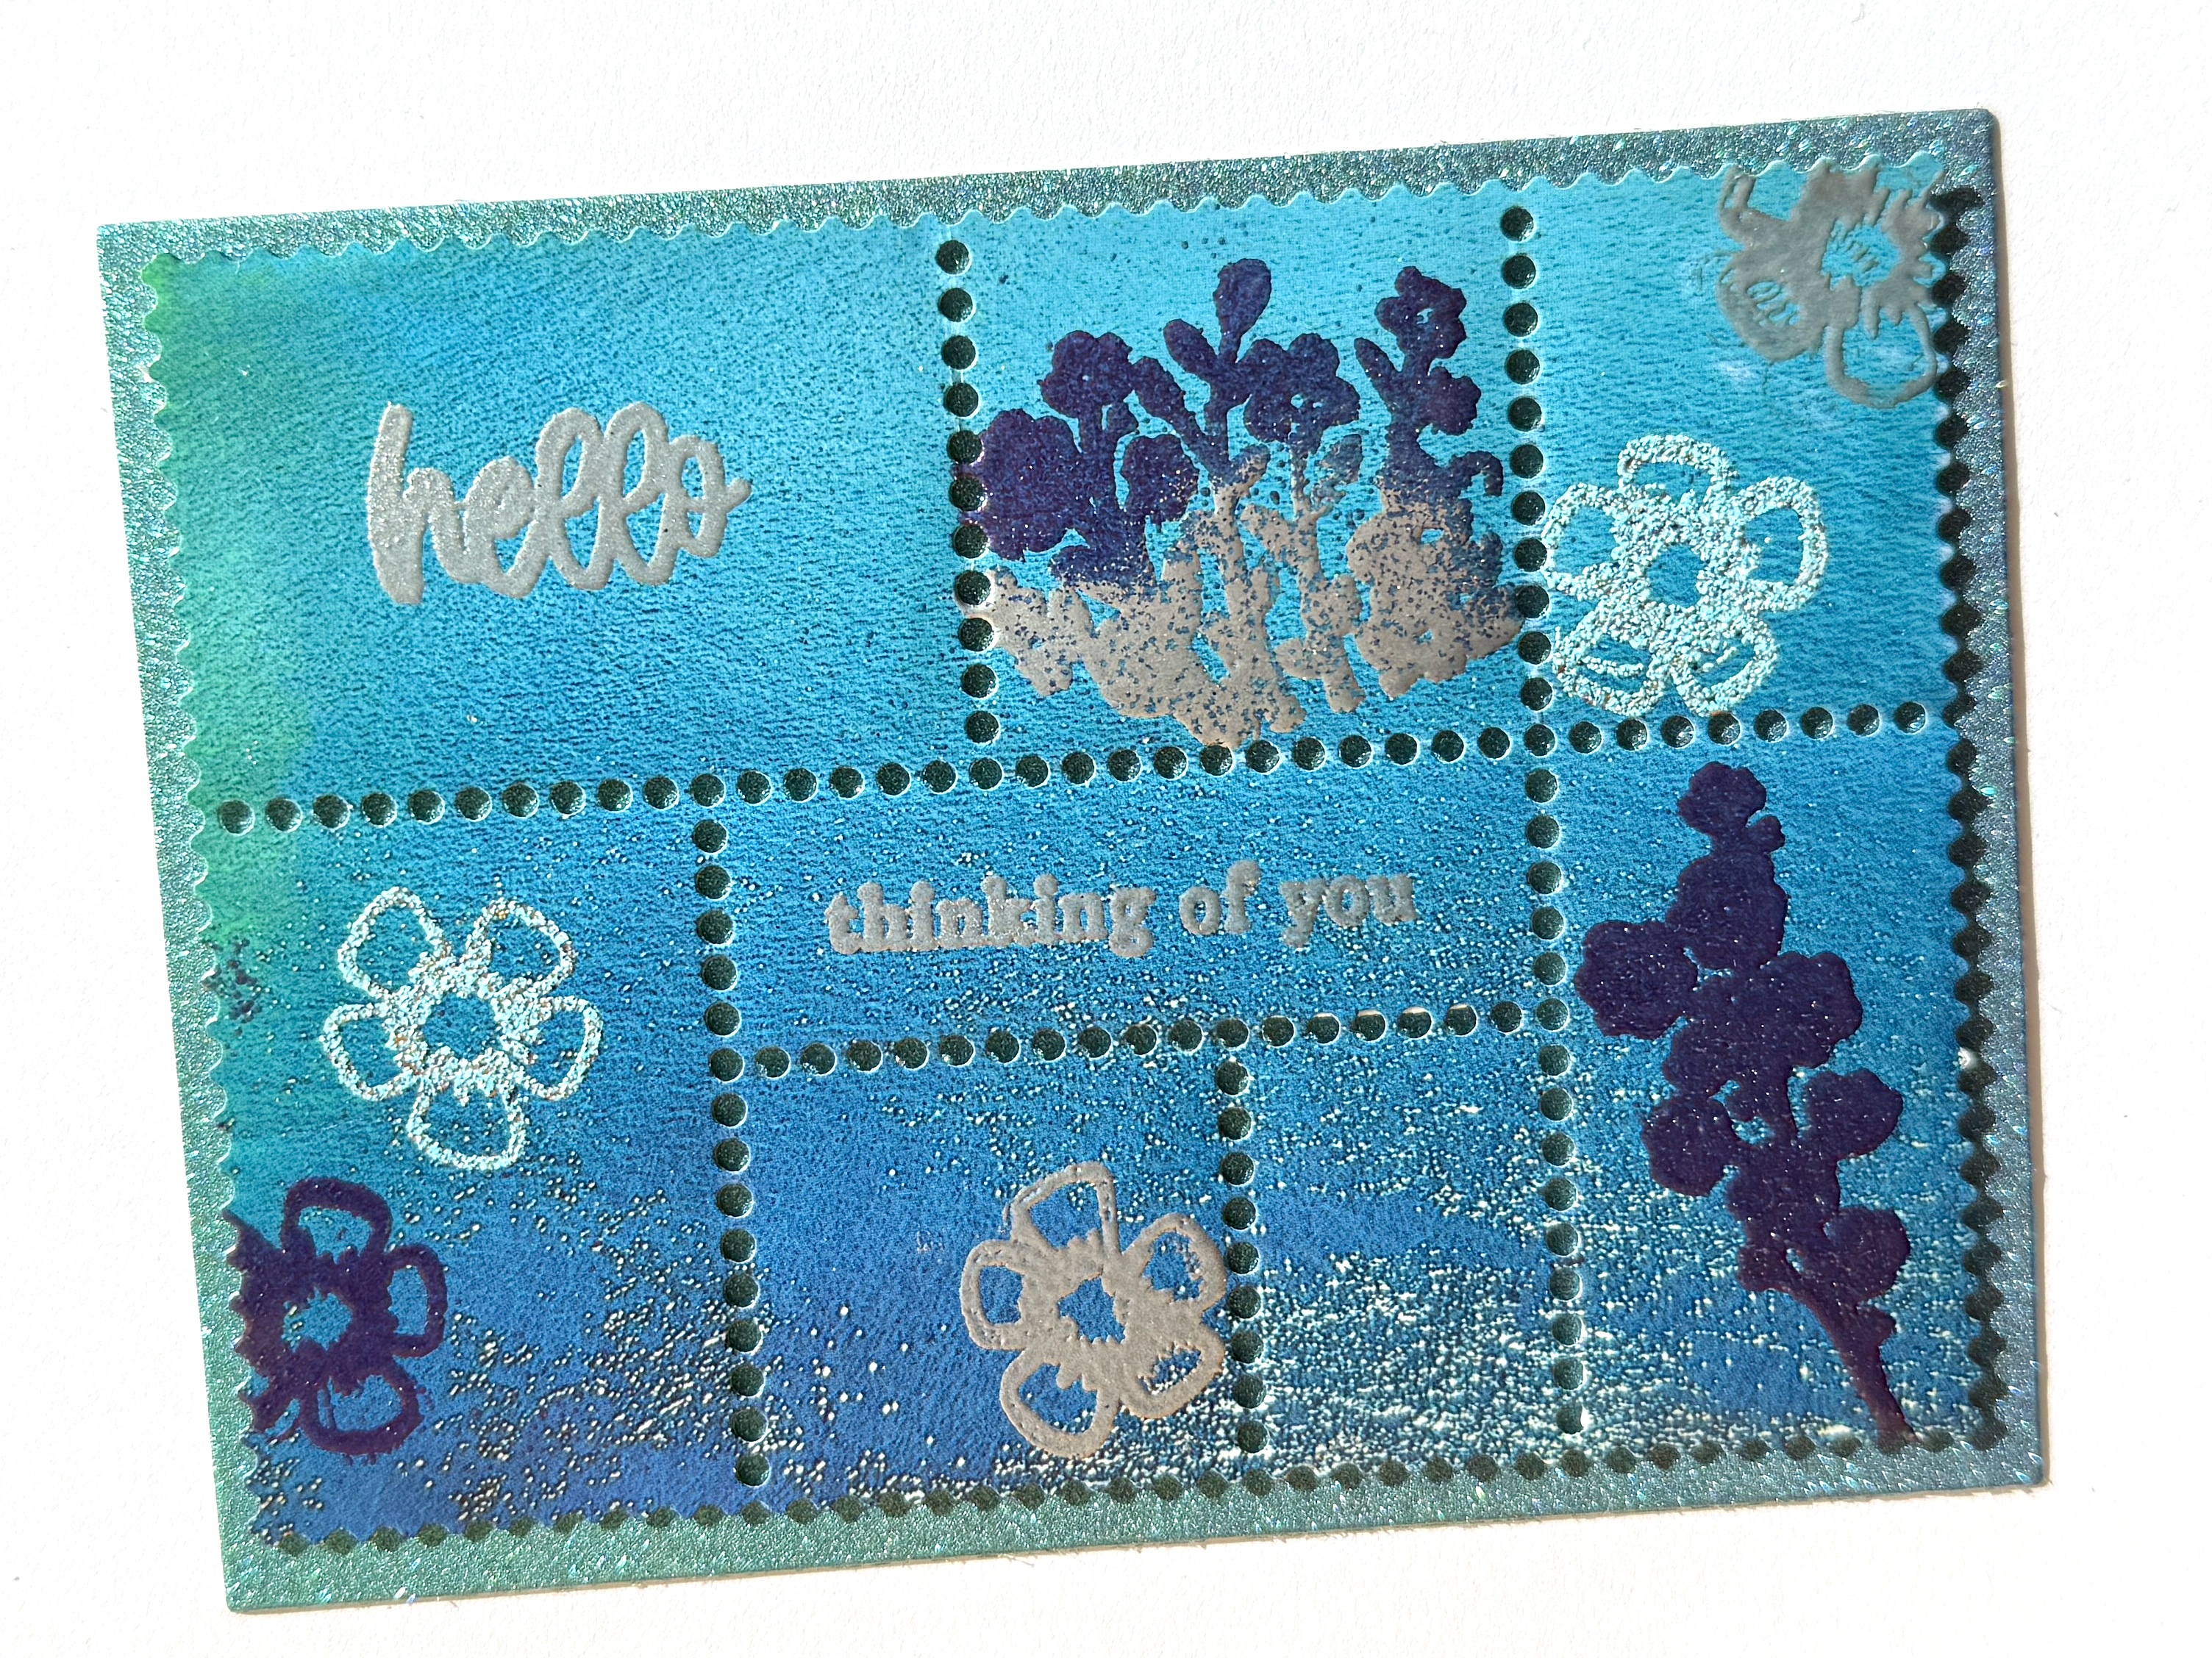
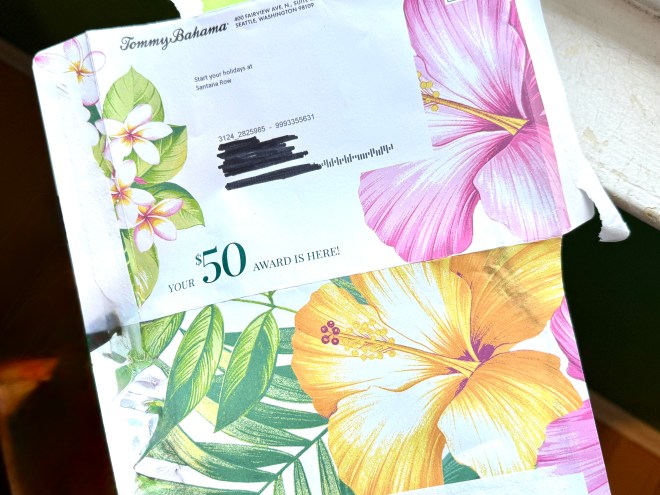
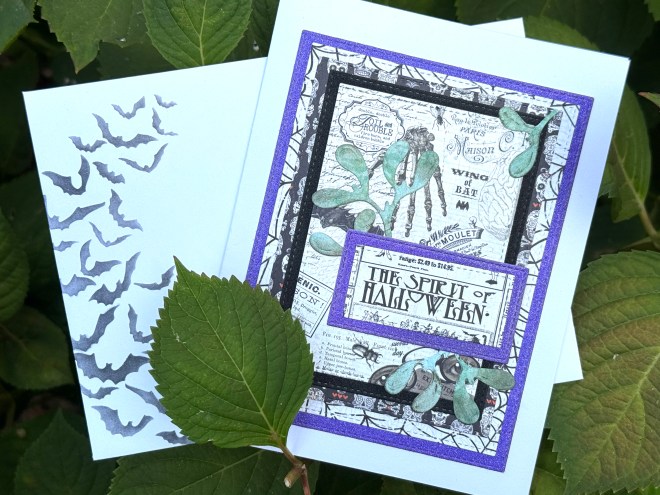
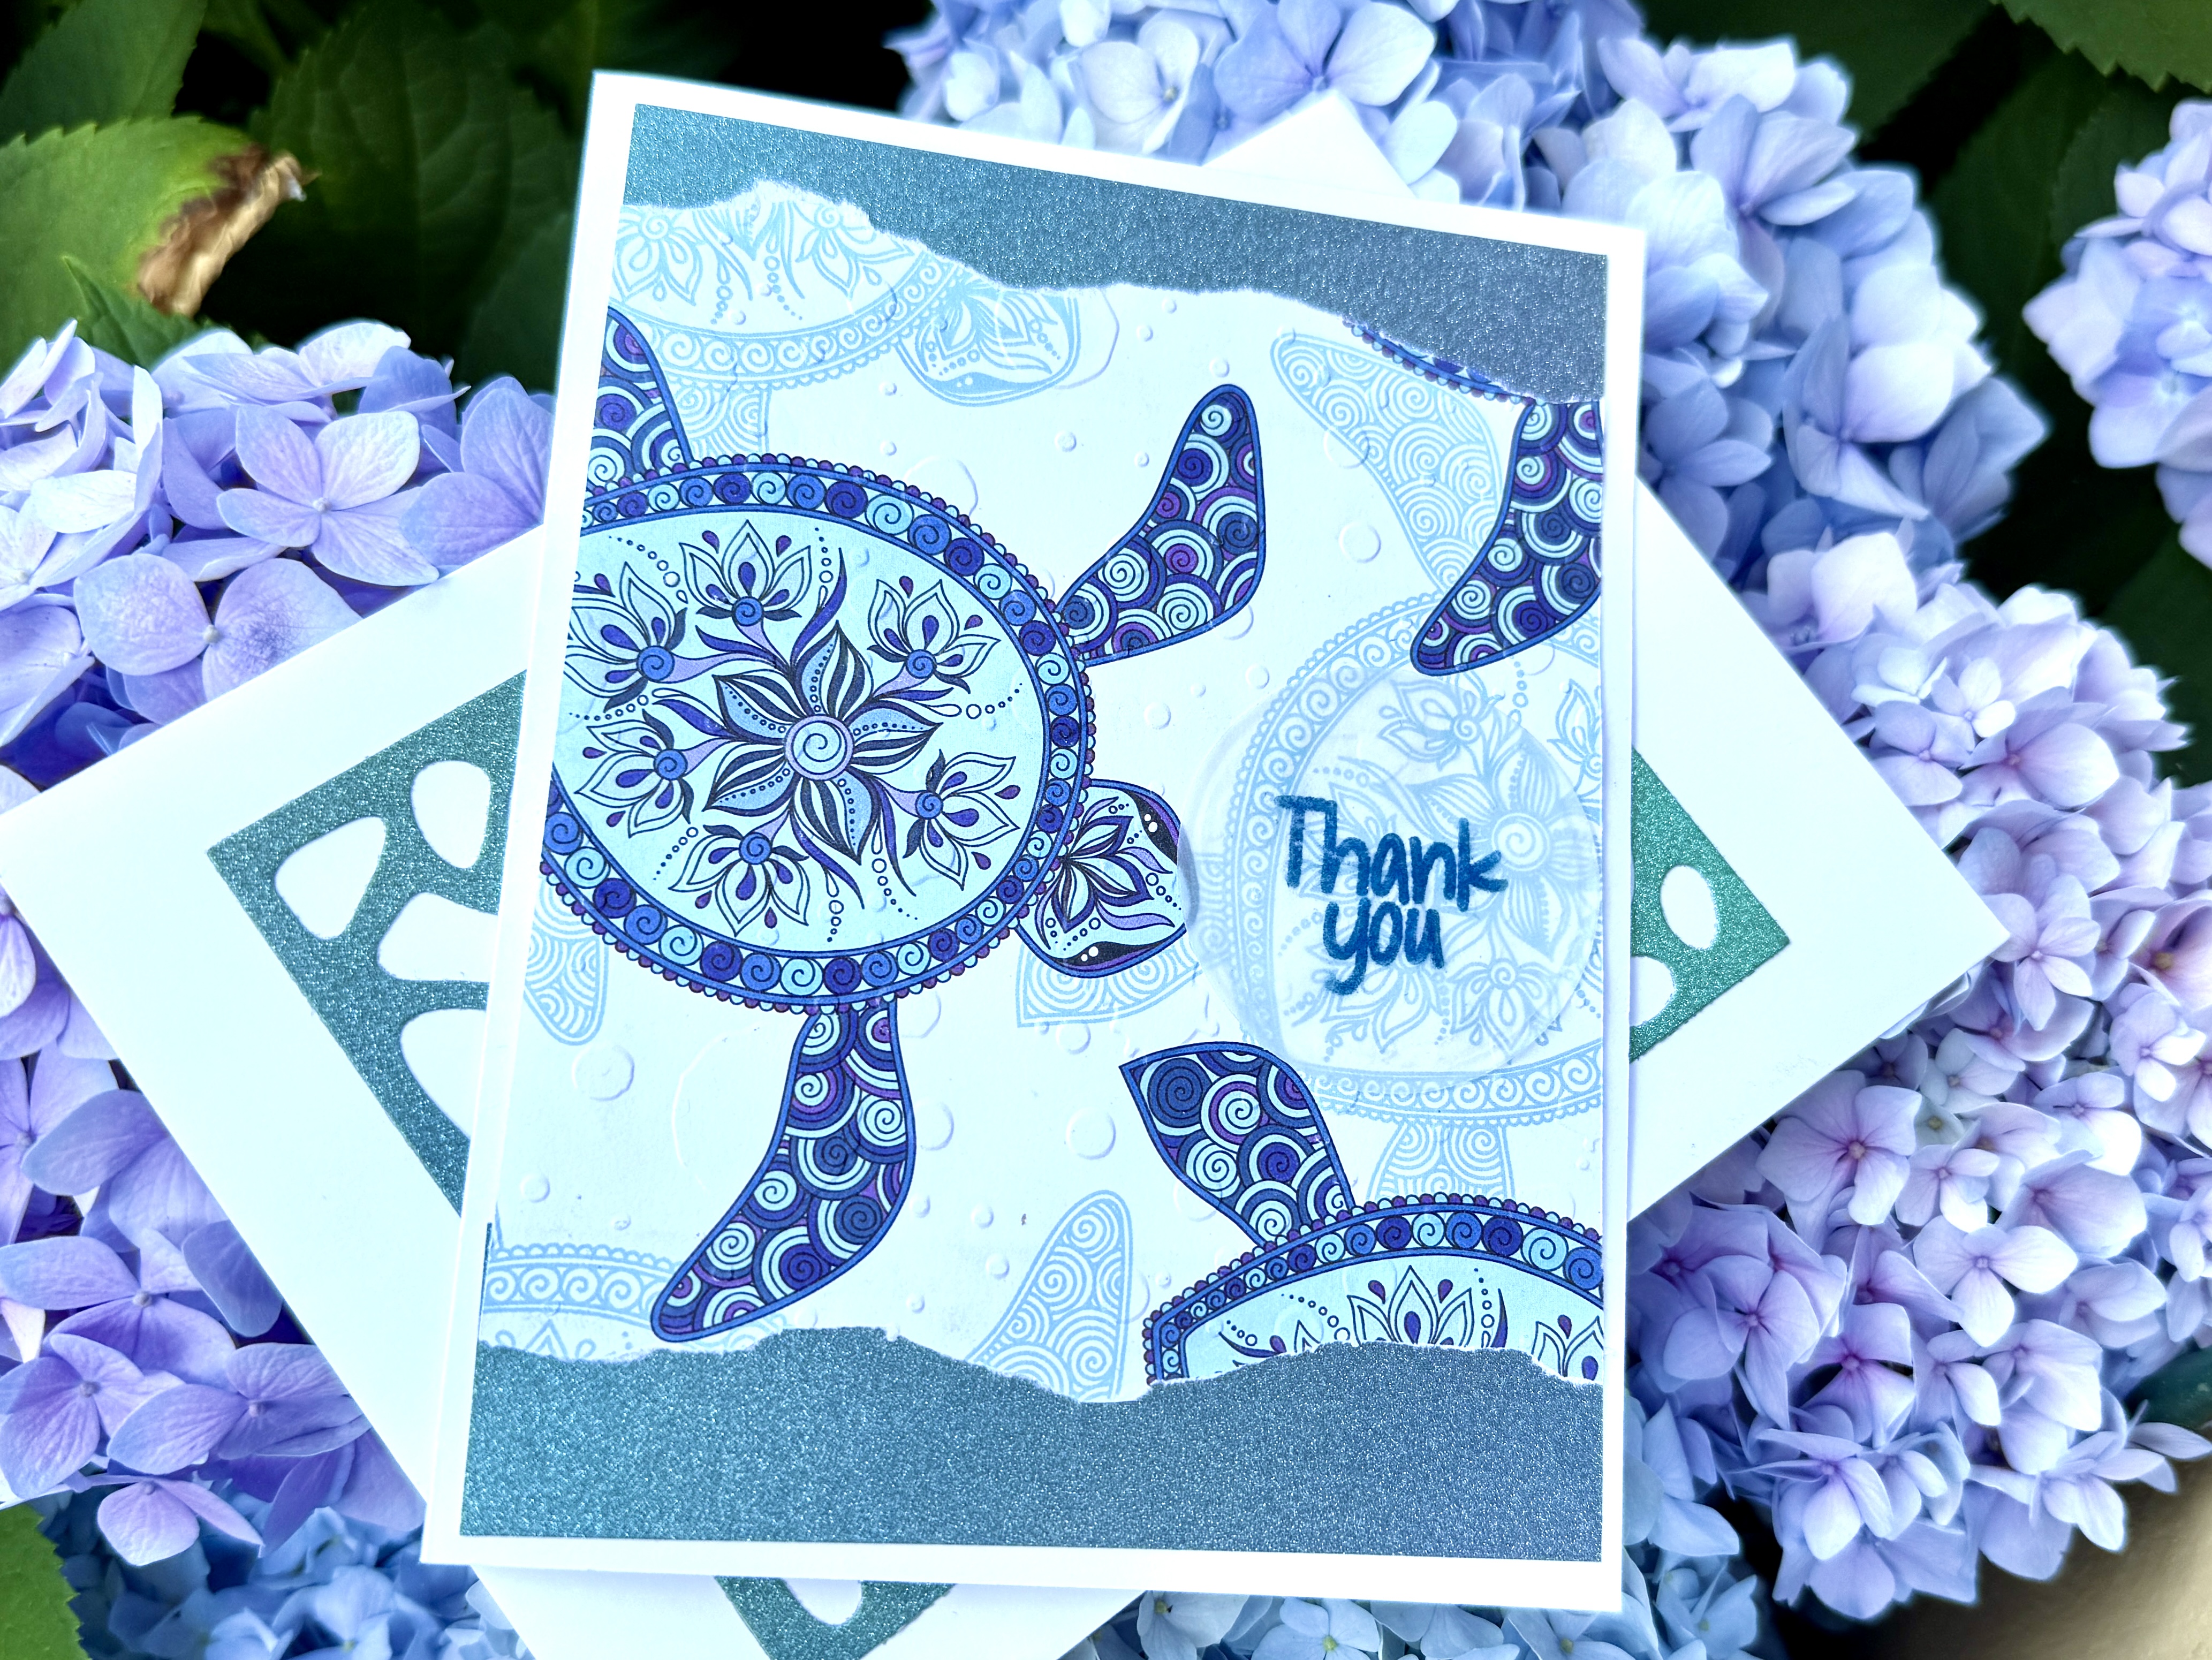
Next up, a thank you card for my friend and neighbor. Val brought me a box of chocolates from the Big Island of Hawaii. I made her card using leftover glitter paper and the front of an envelope I would have otherwise tossed, with an island-themed vibe.
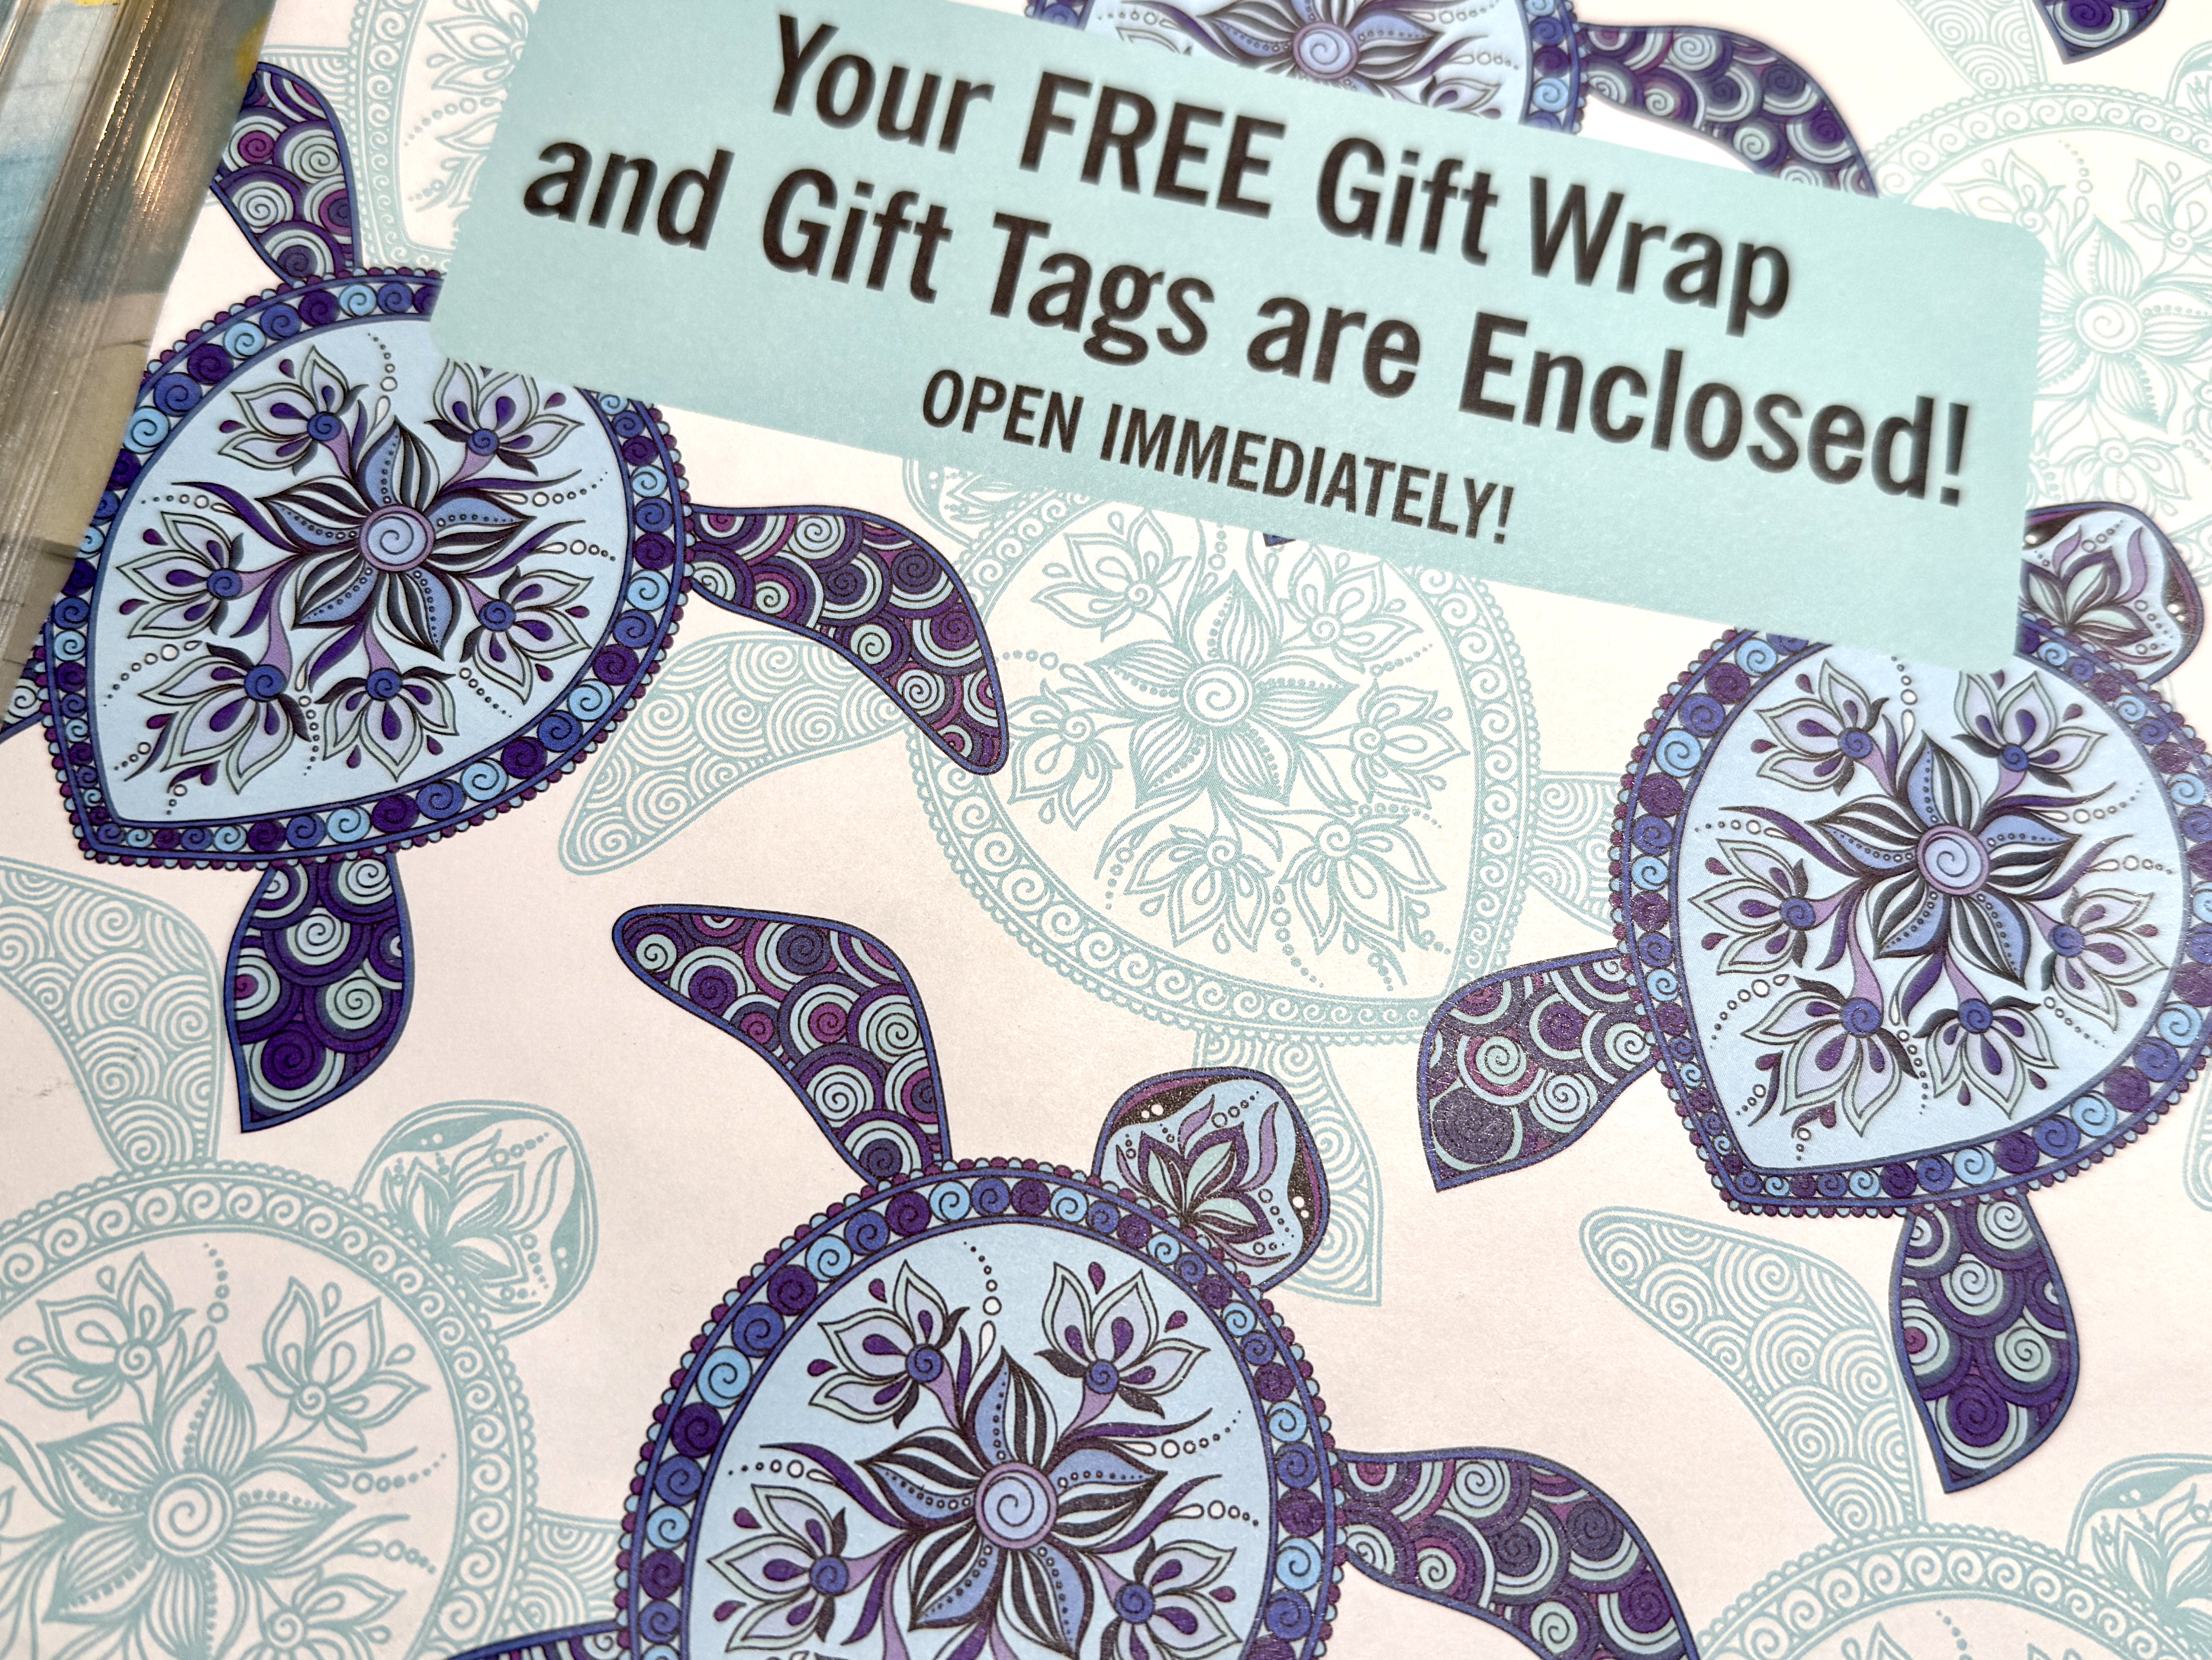
I embossed the paper to suggest water drops, with a special thank you to World Wildlife Fund for the complimentary gift wrap and a cool envelope for card-making.
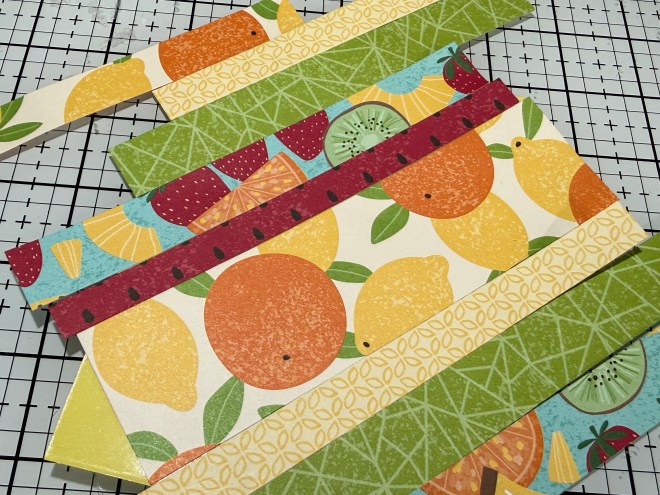
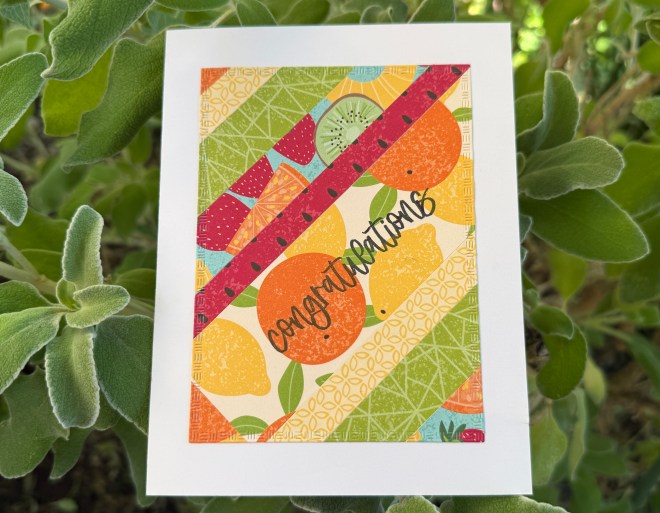
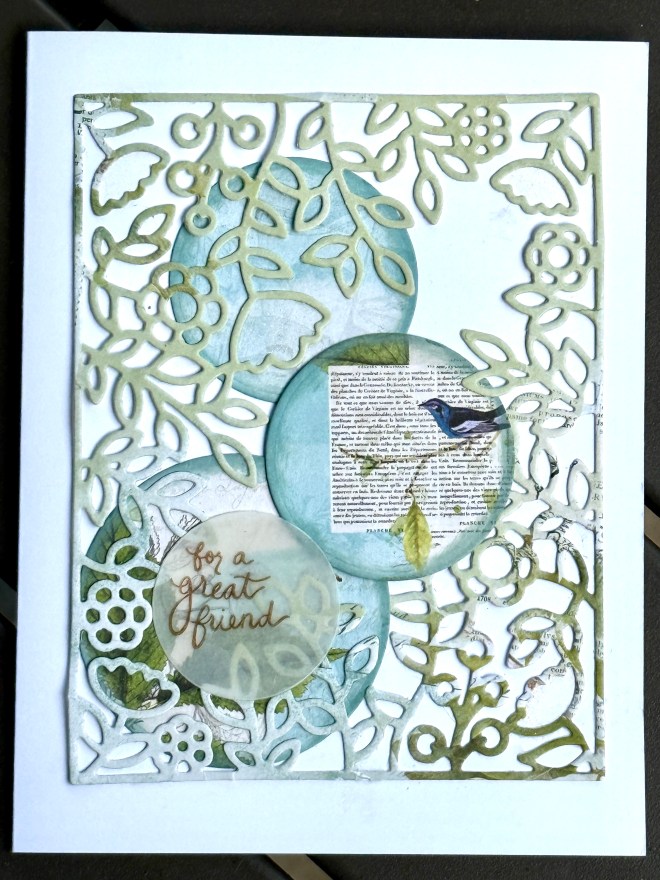
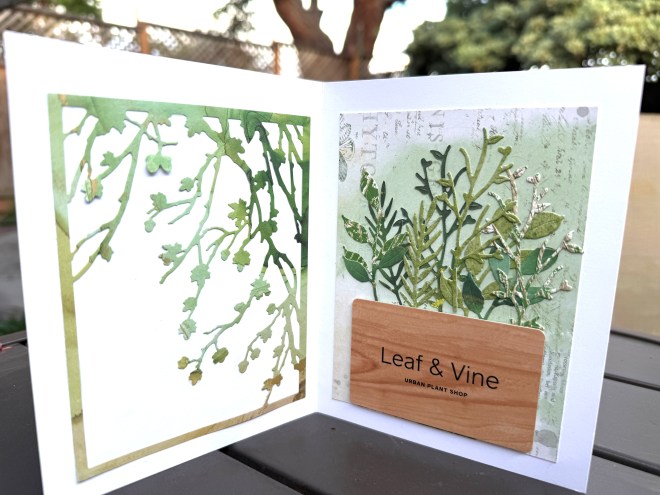
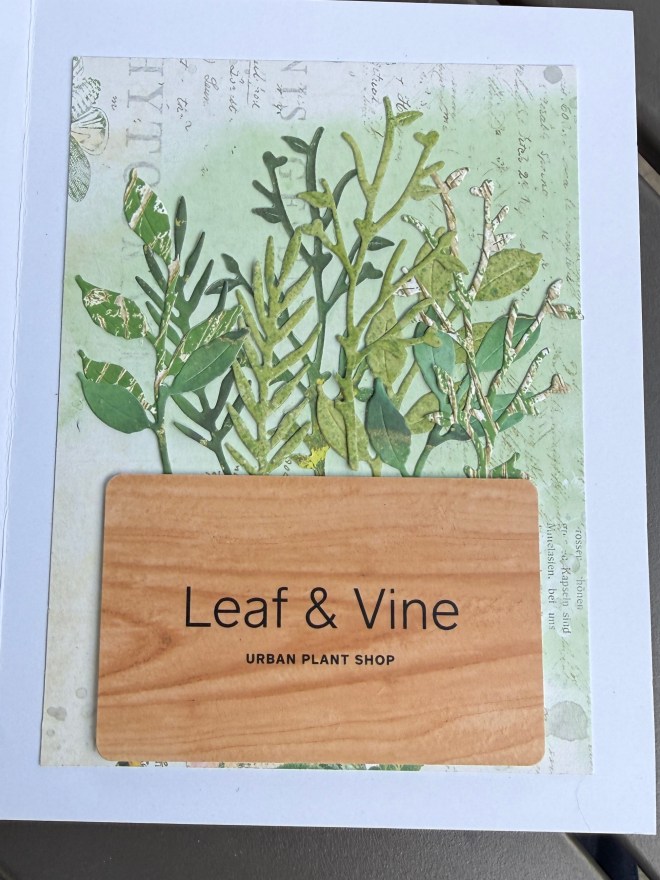
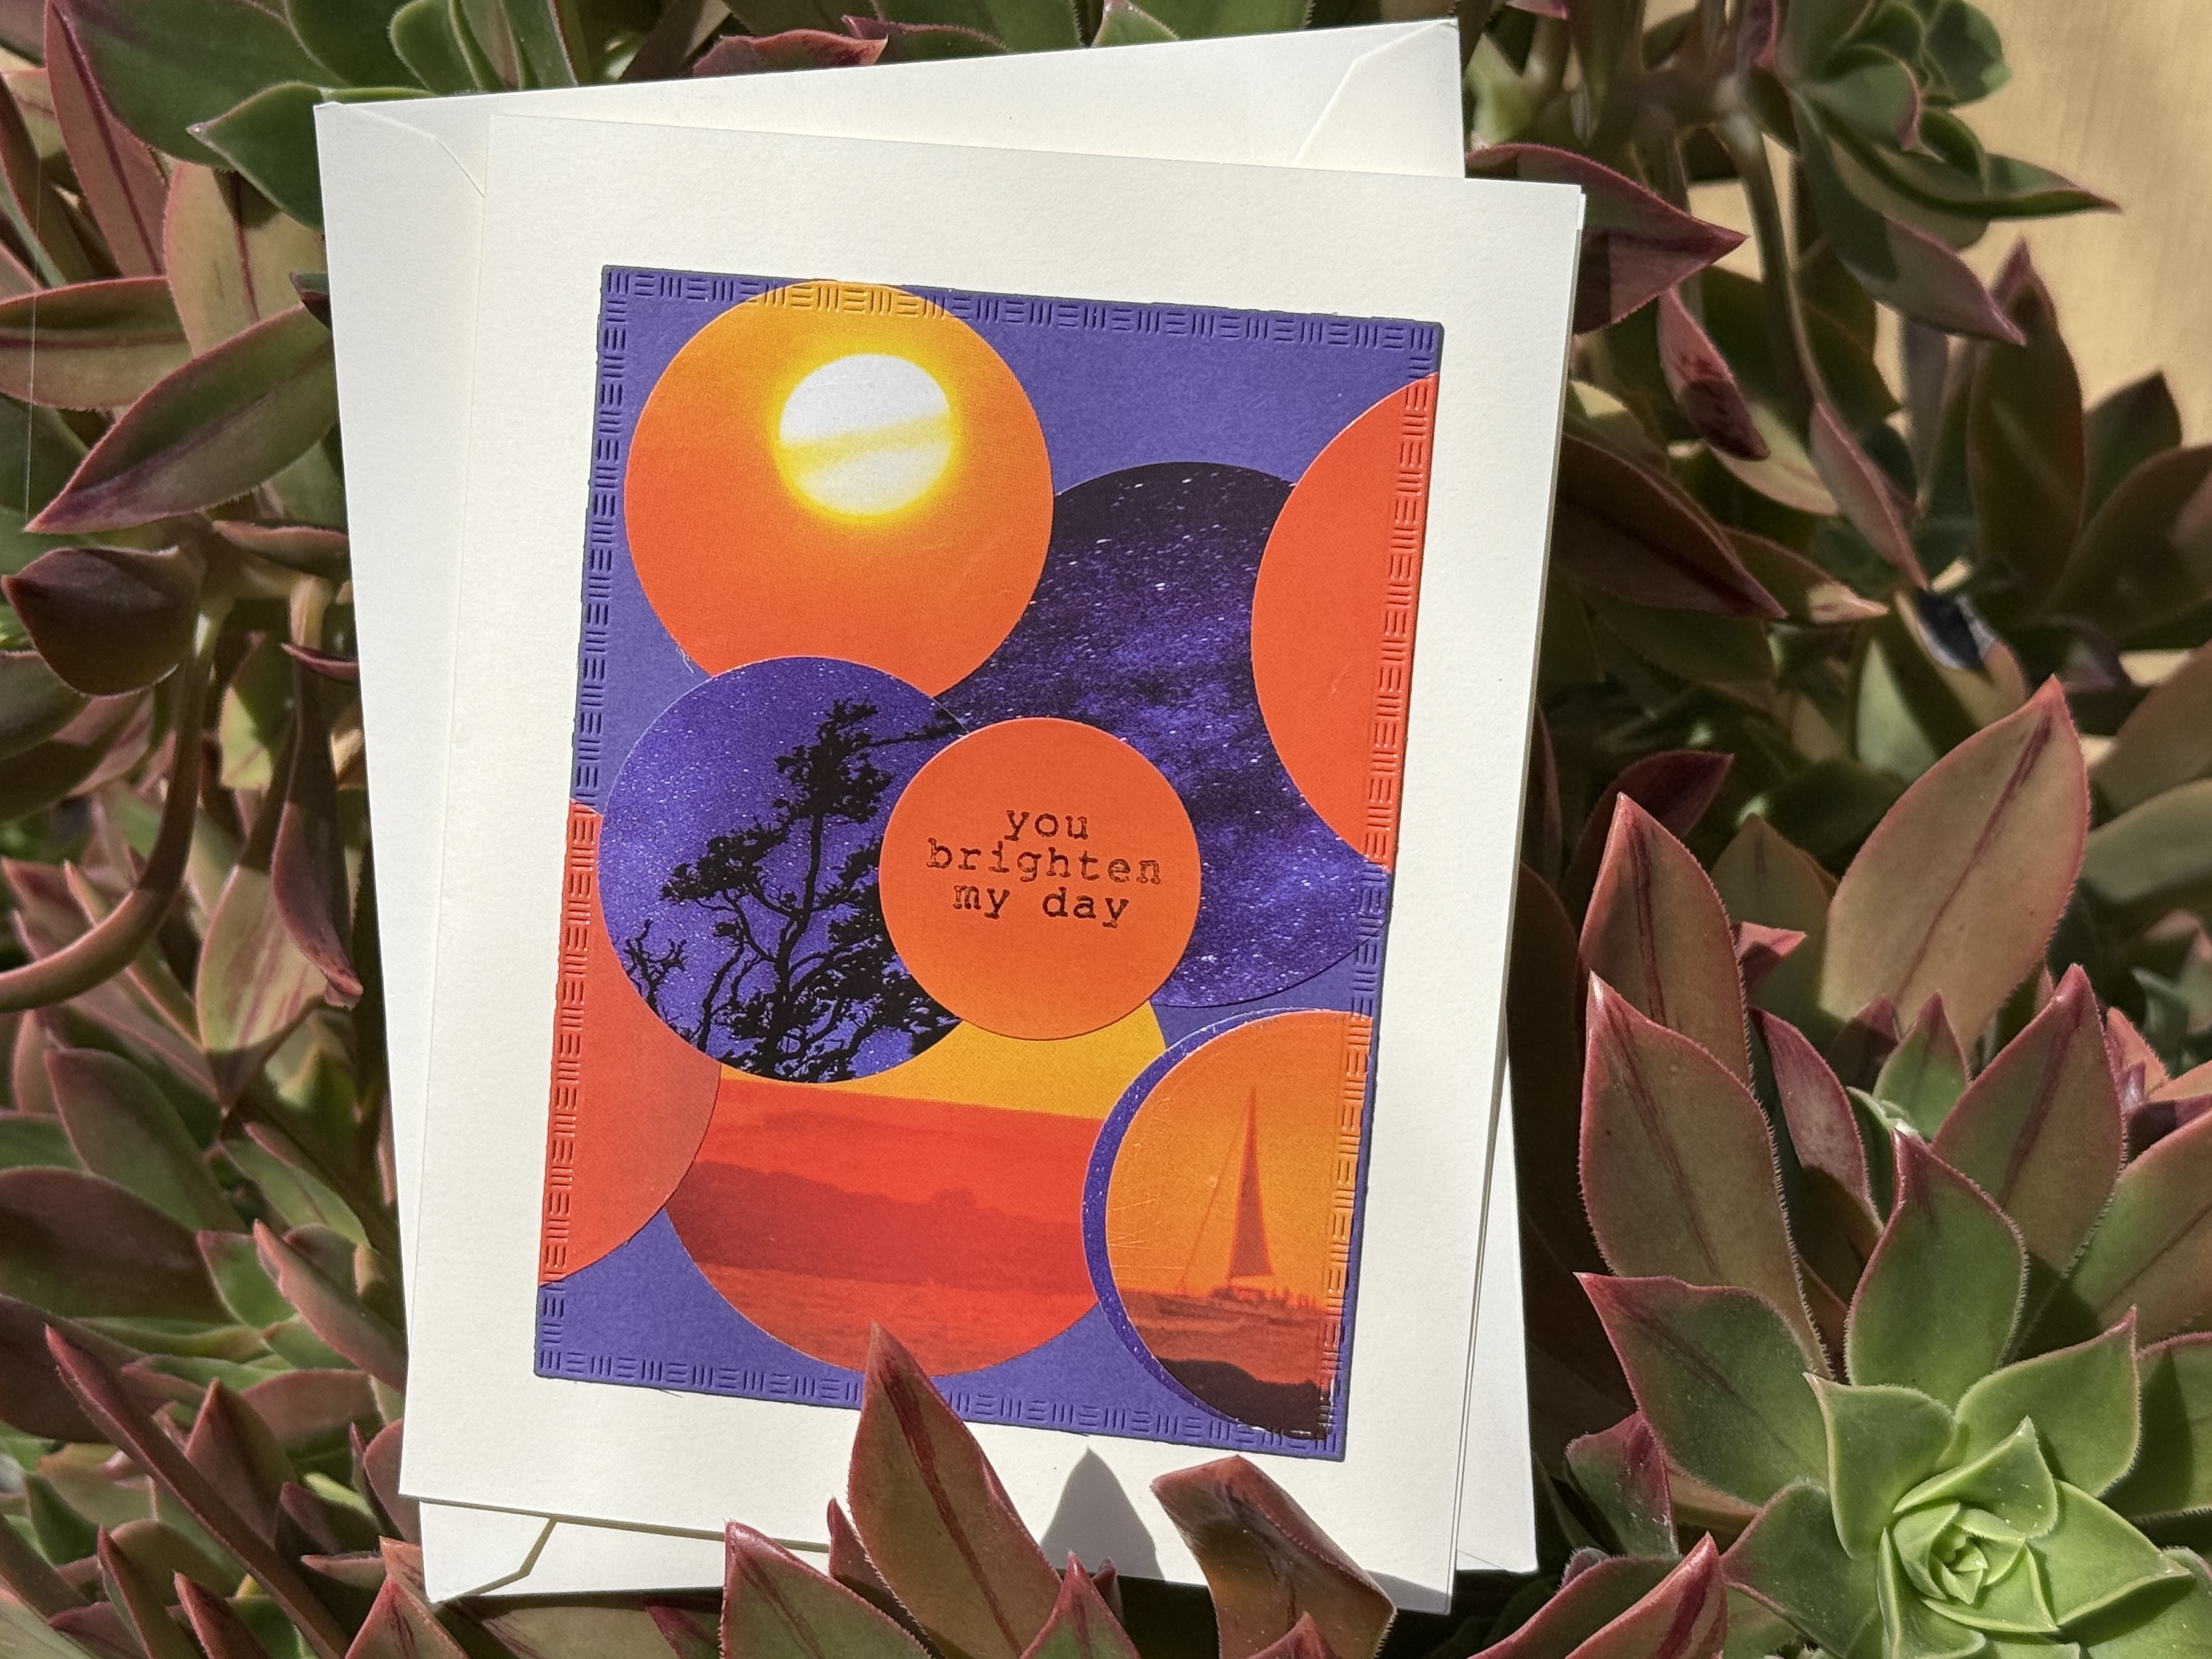
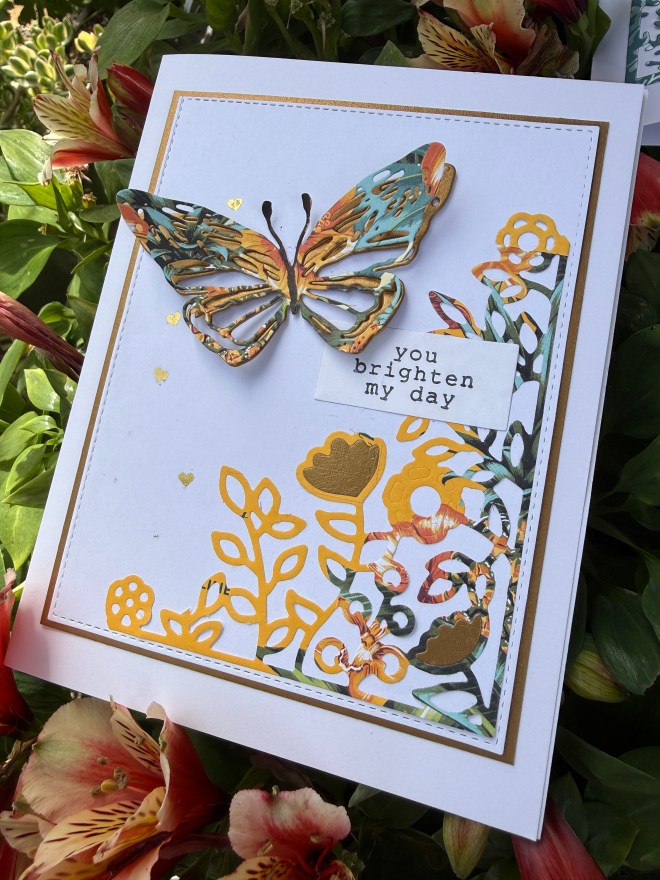
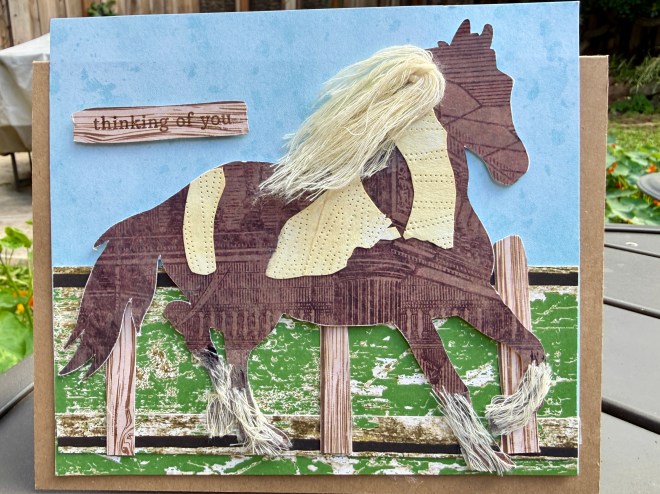
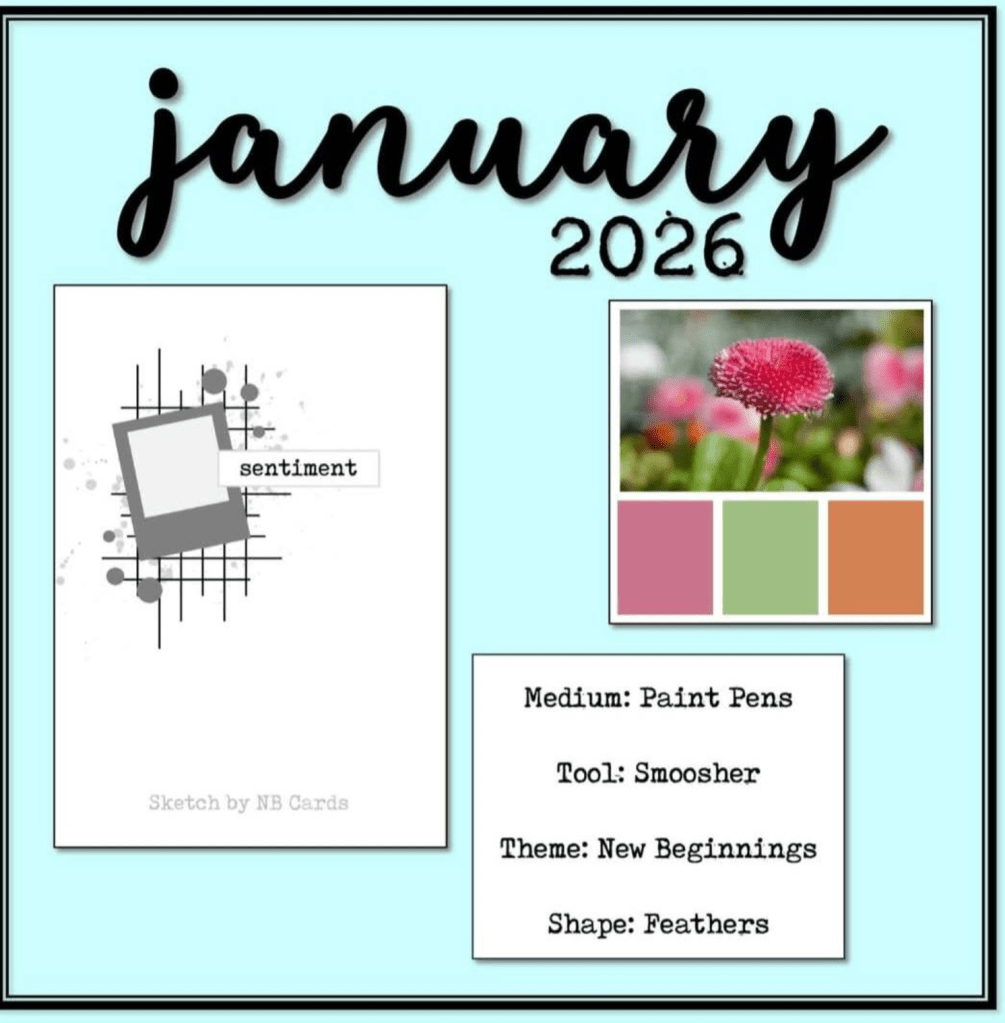
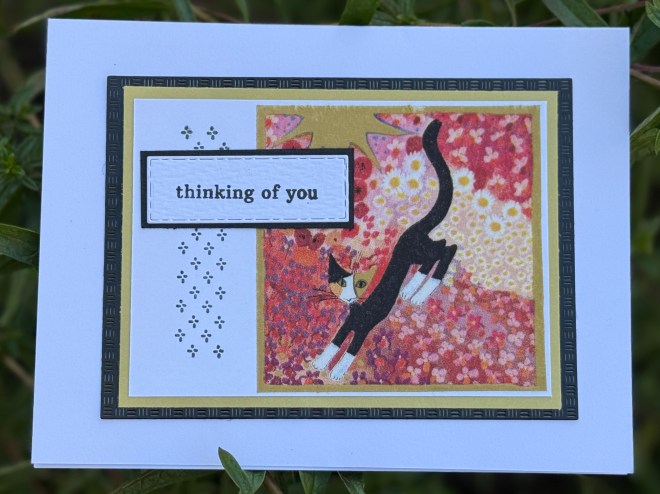
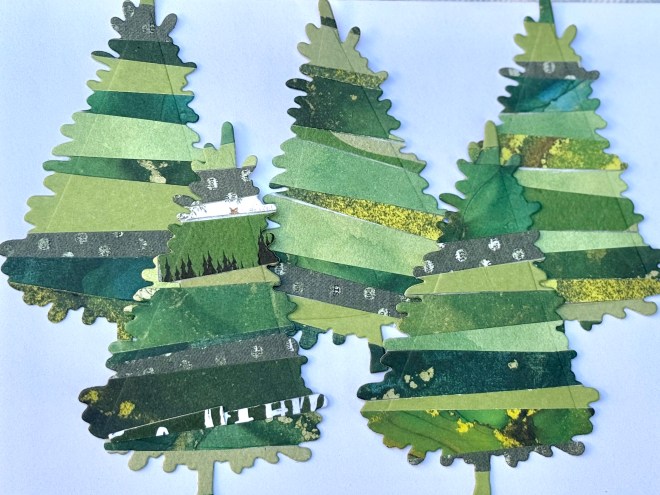
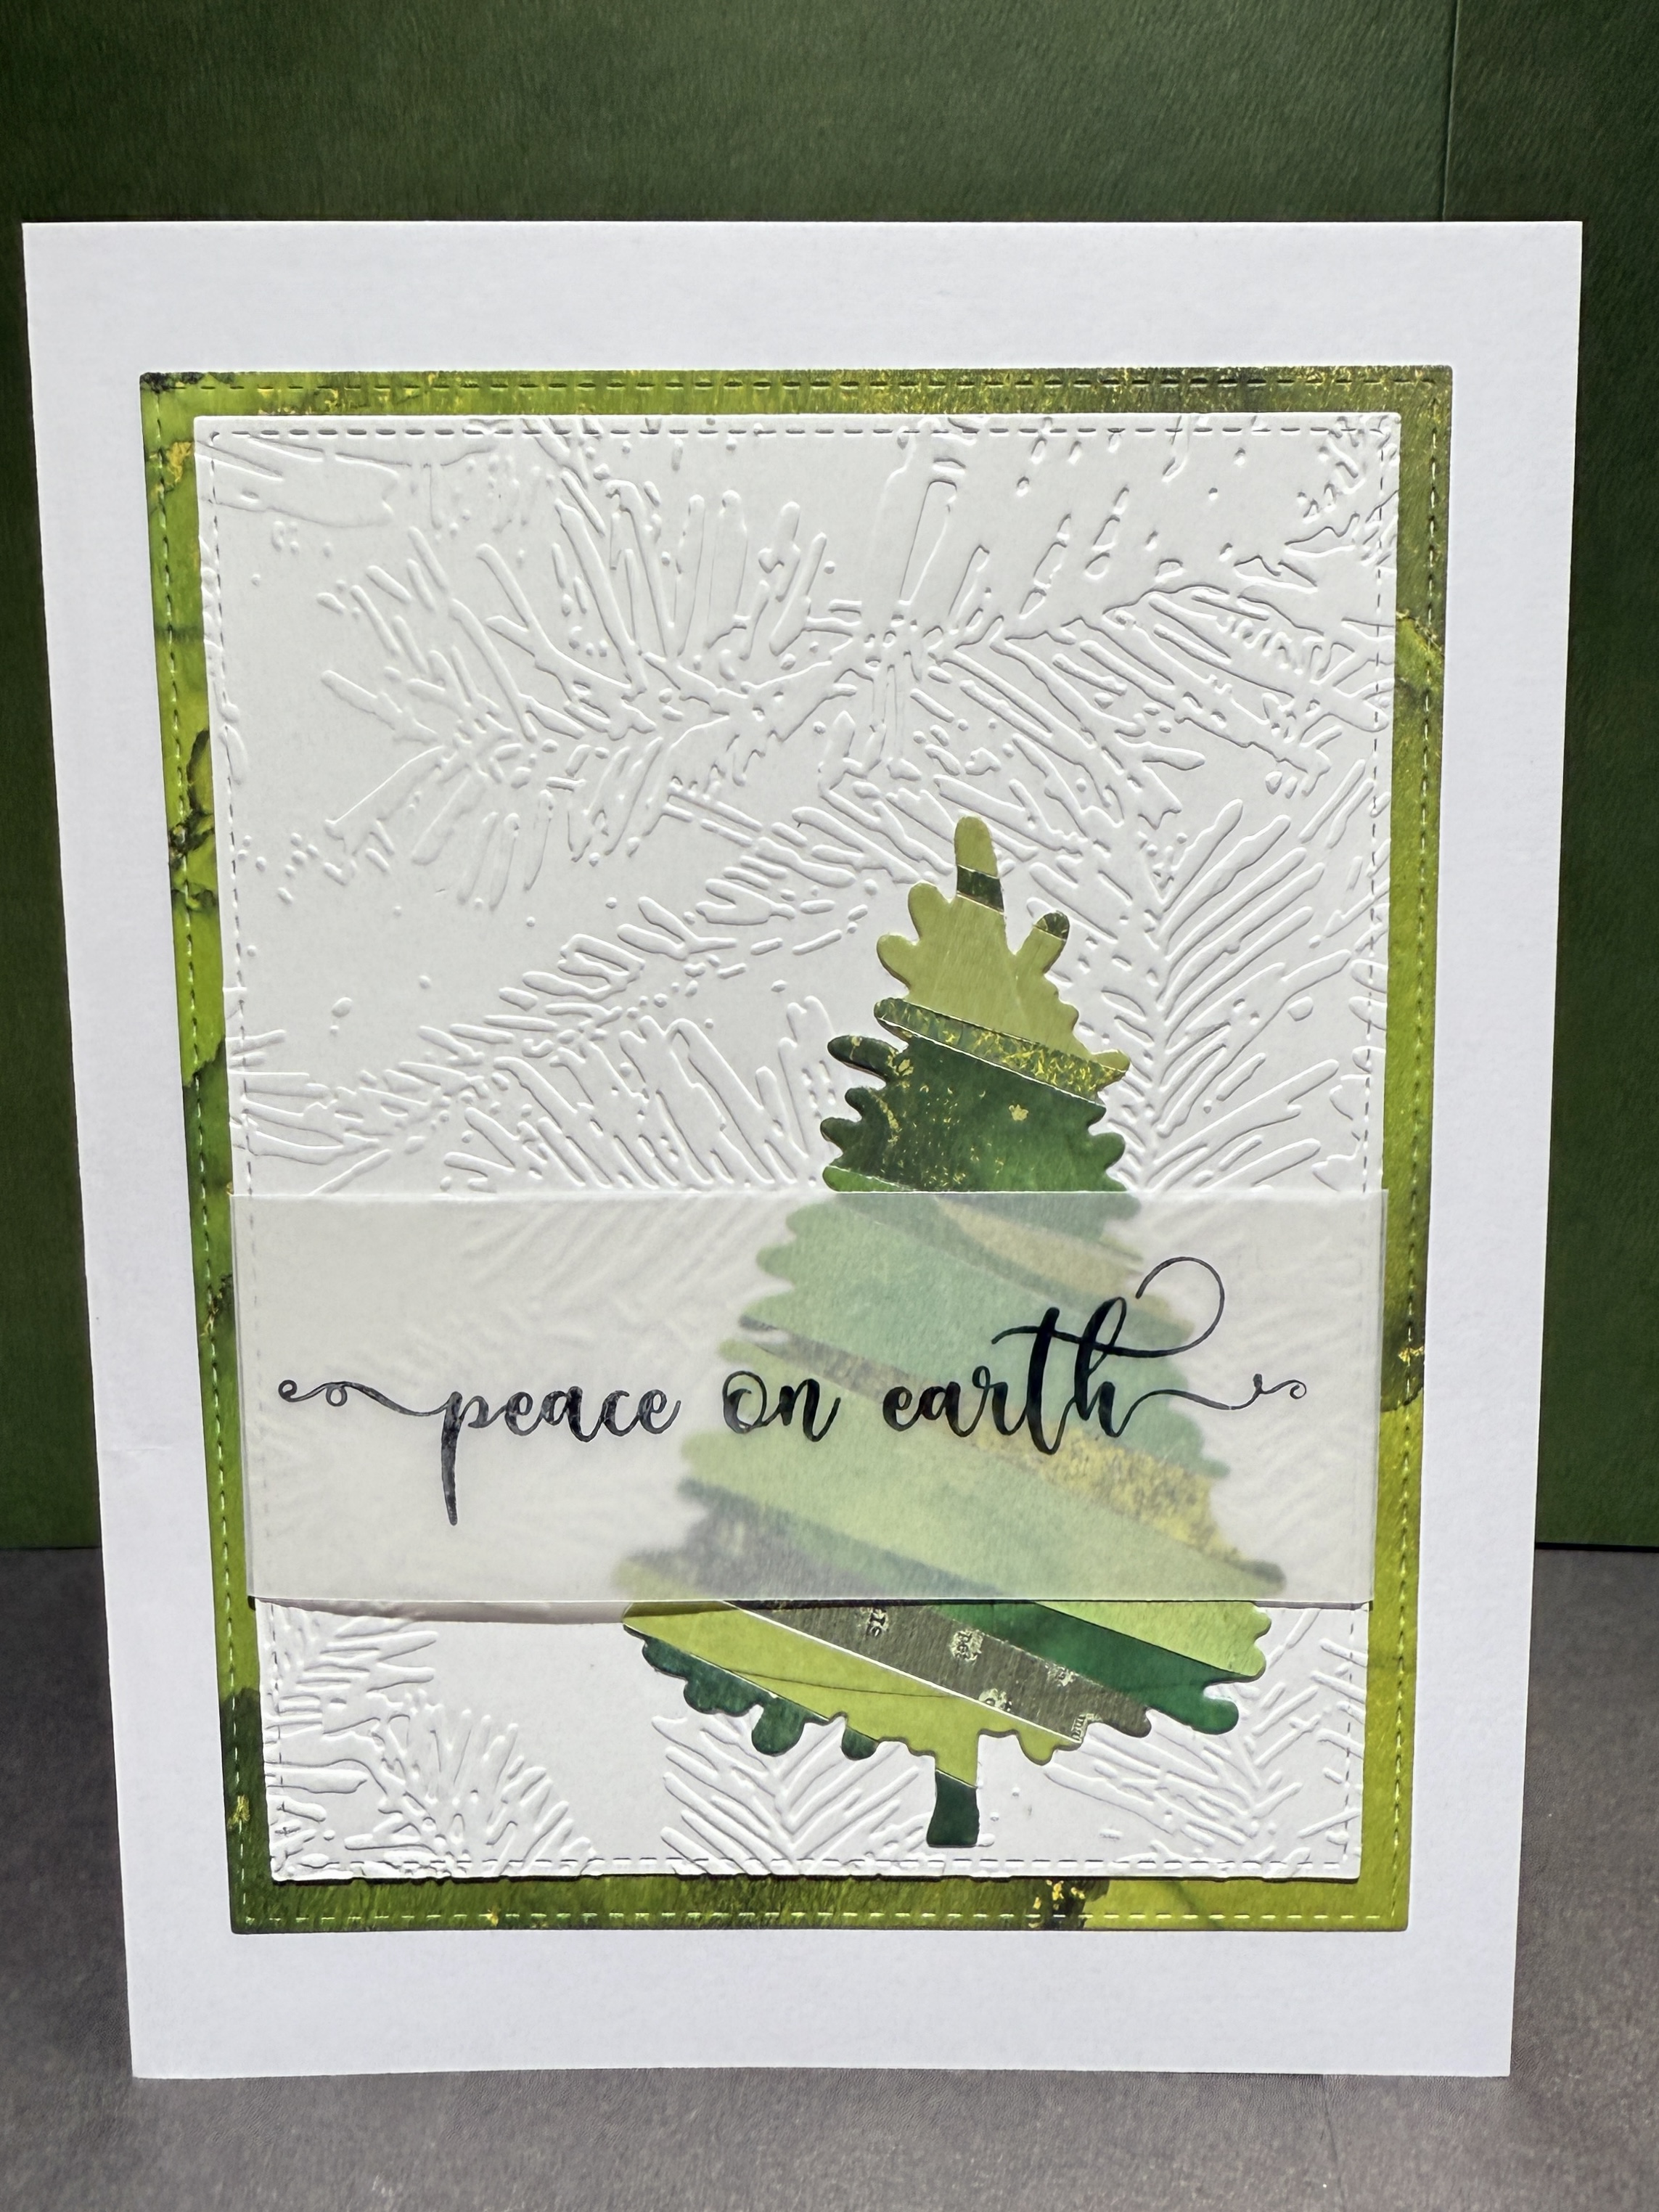
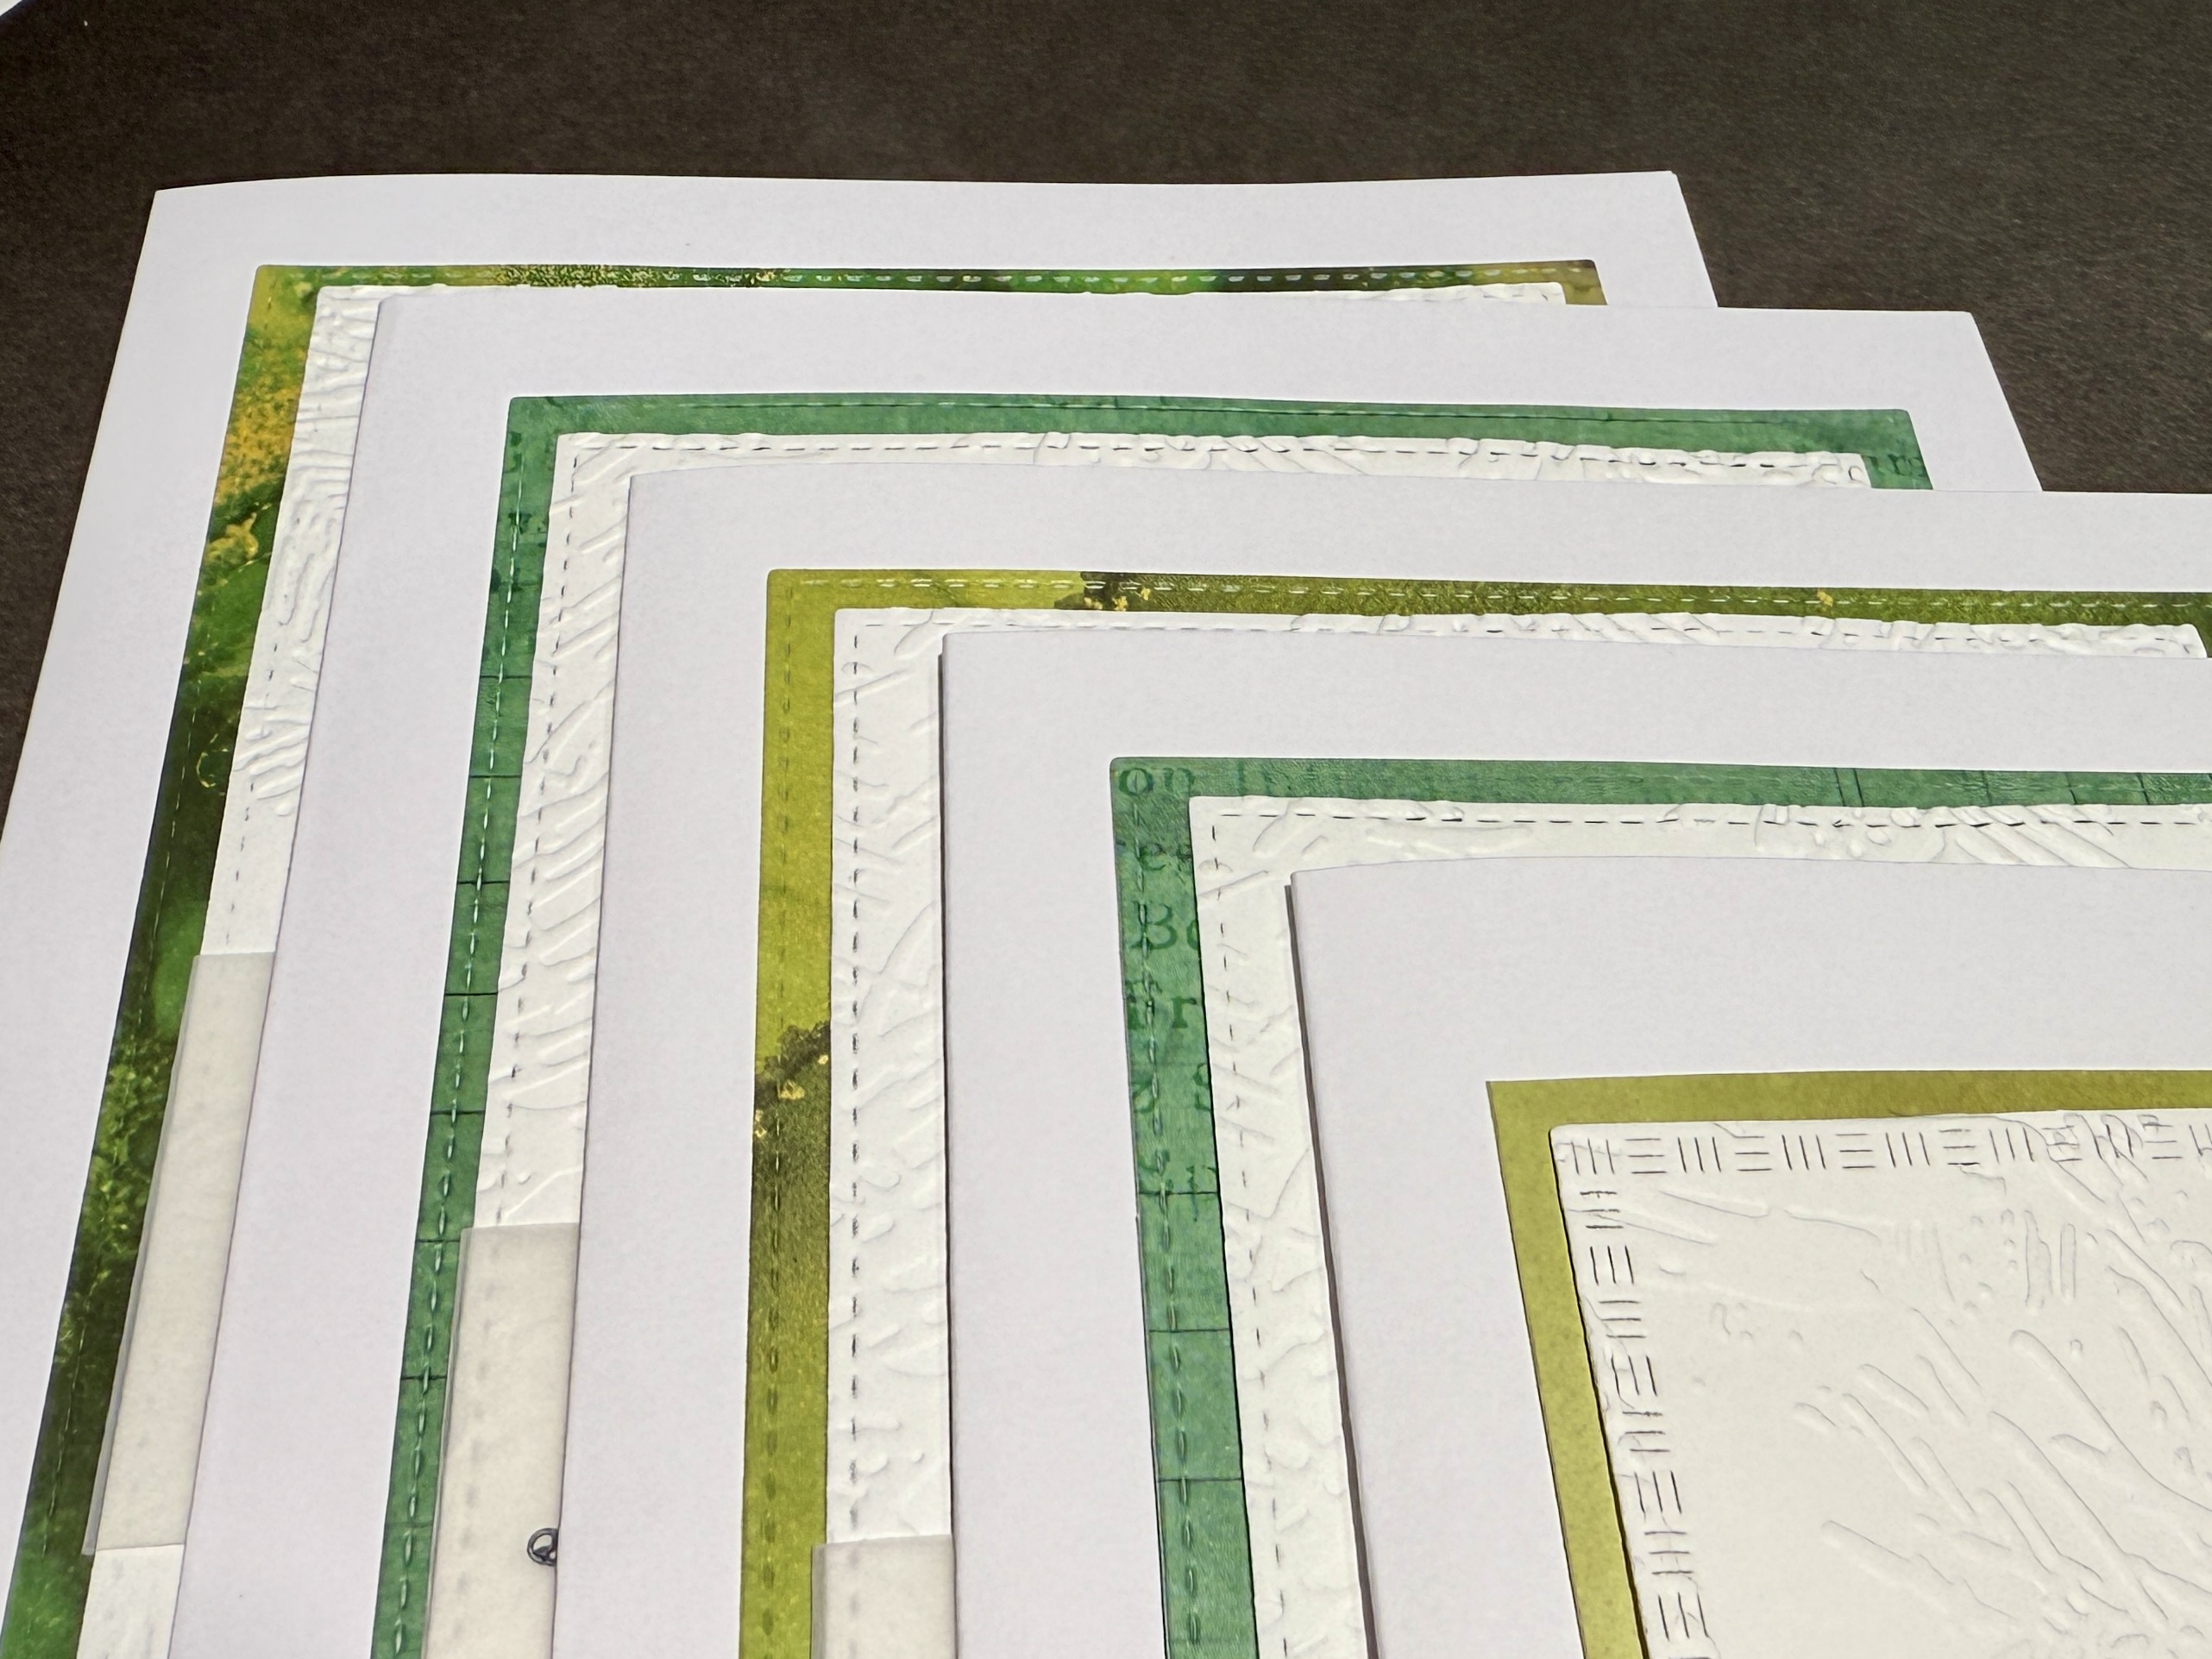
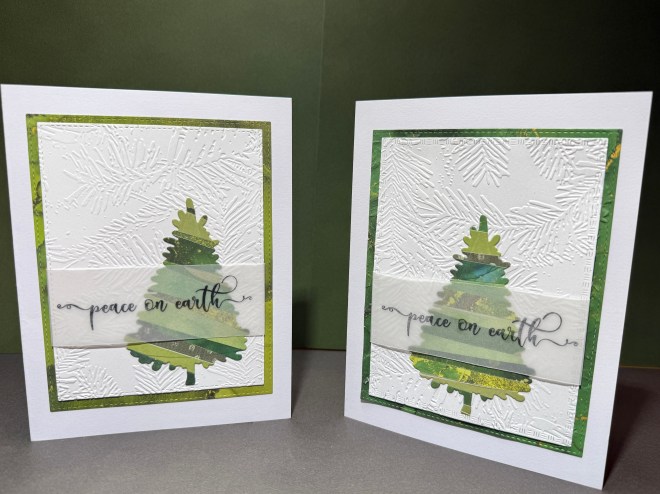
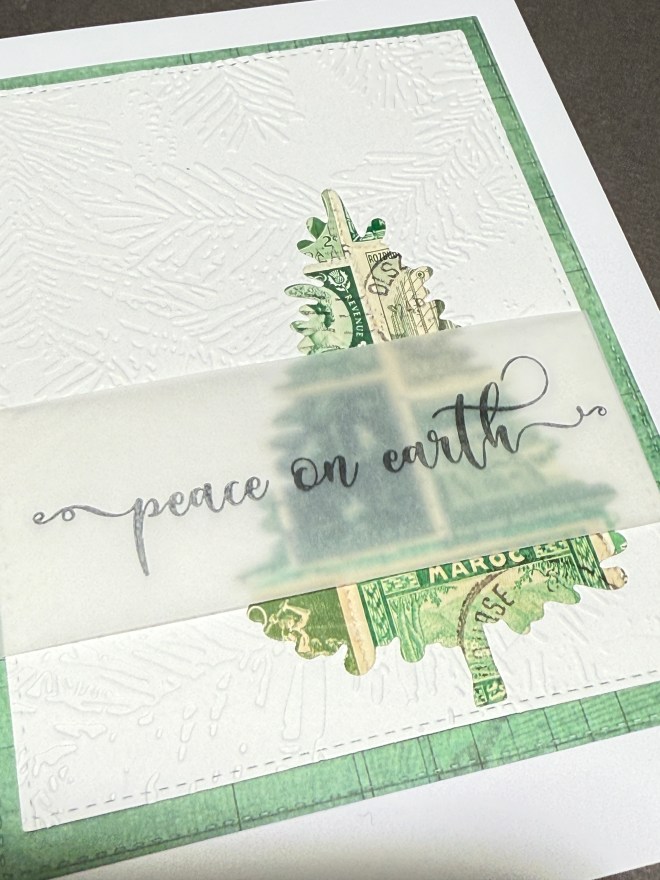
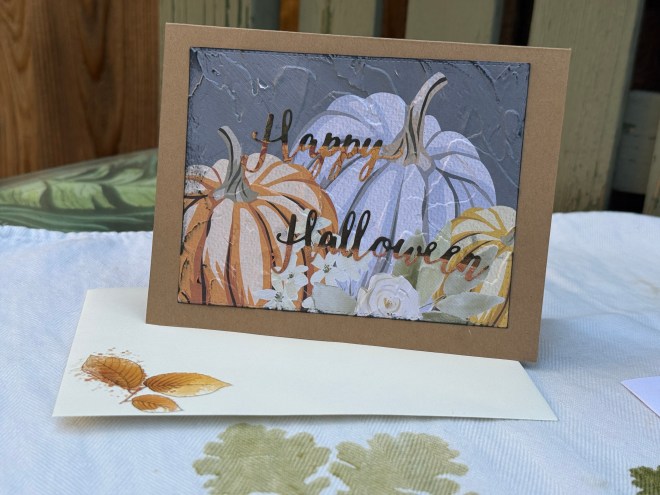
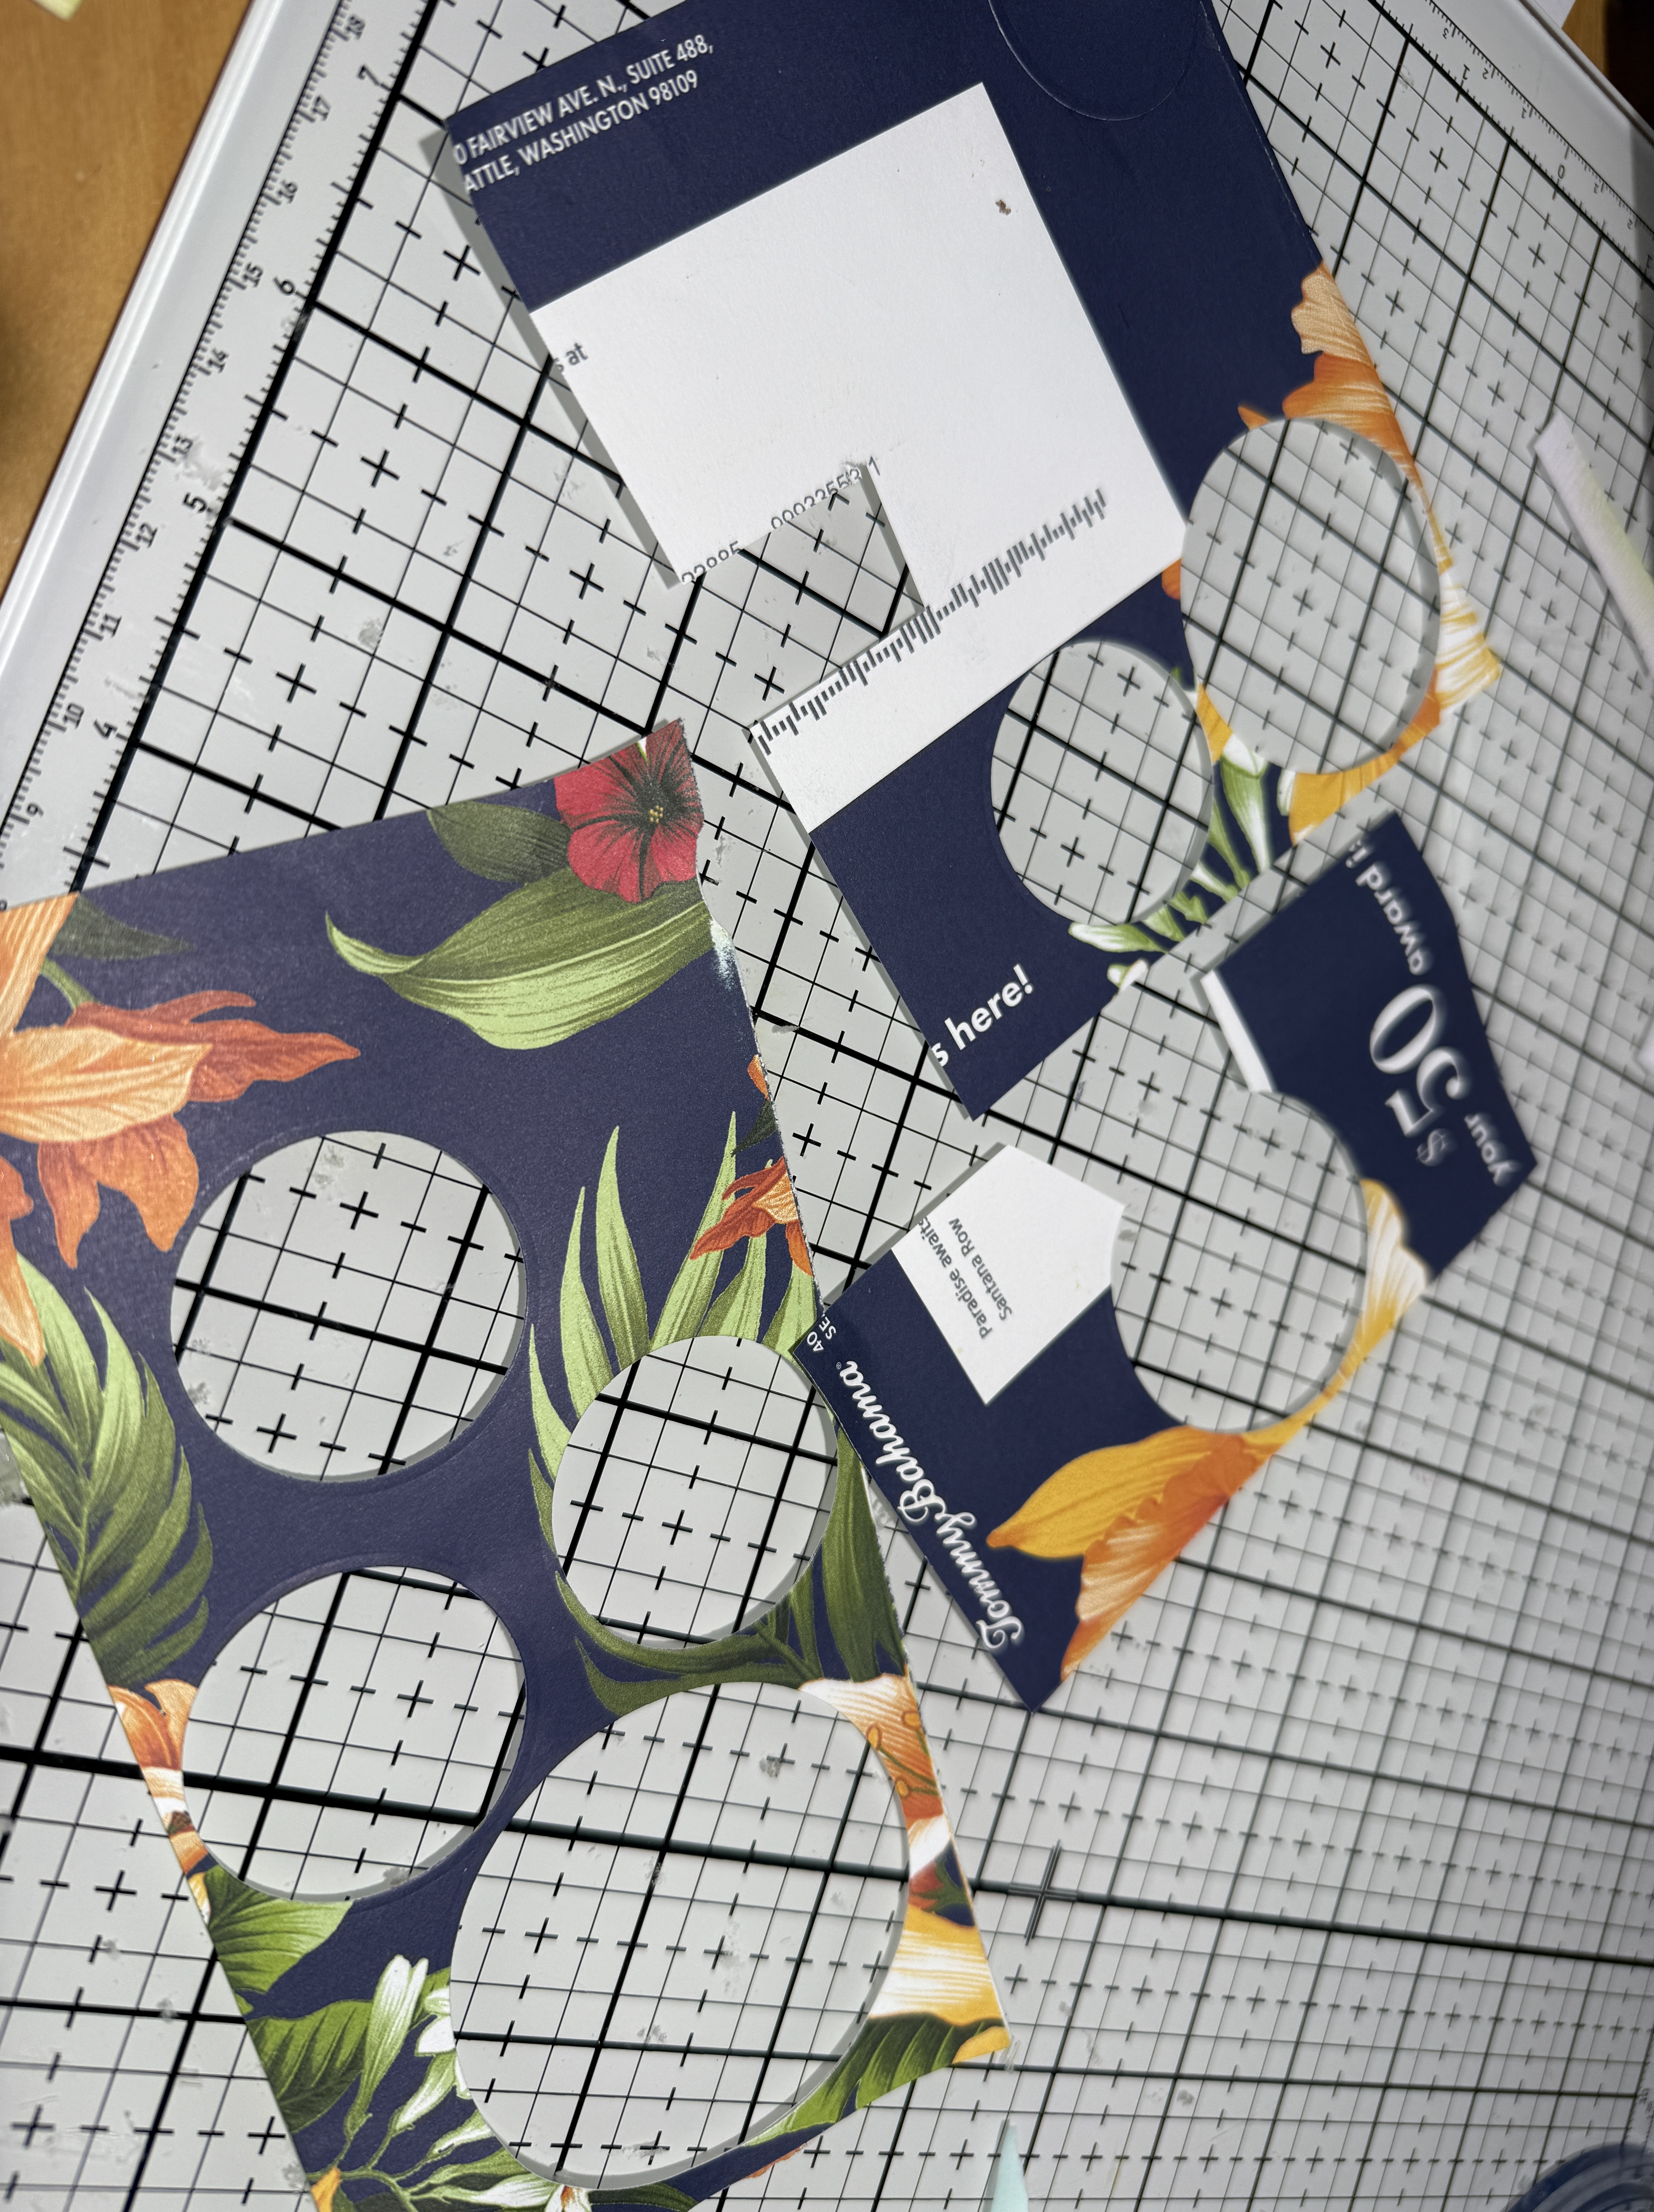
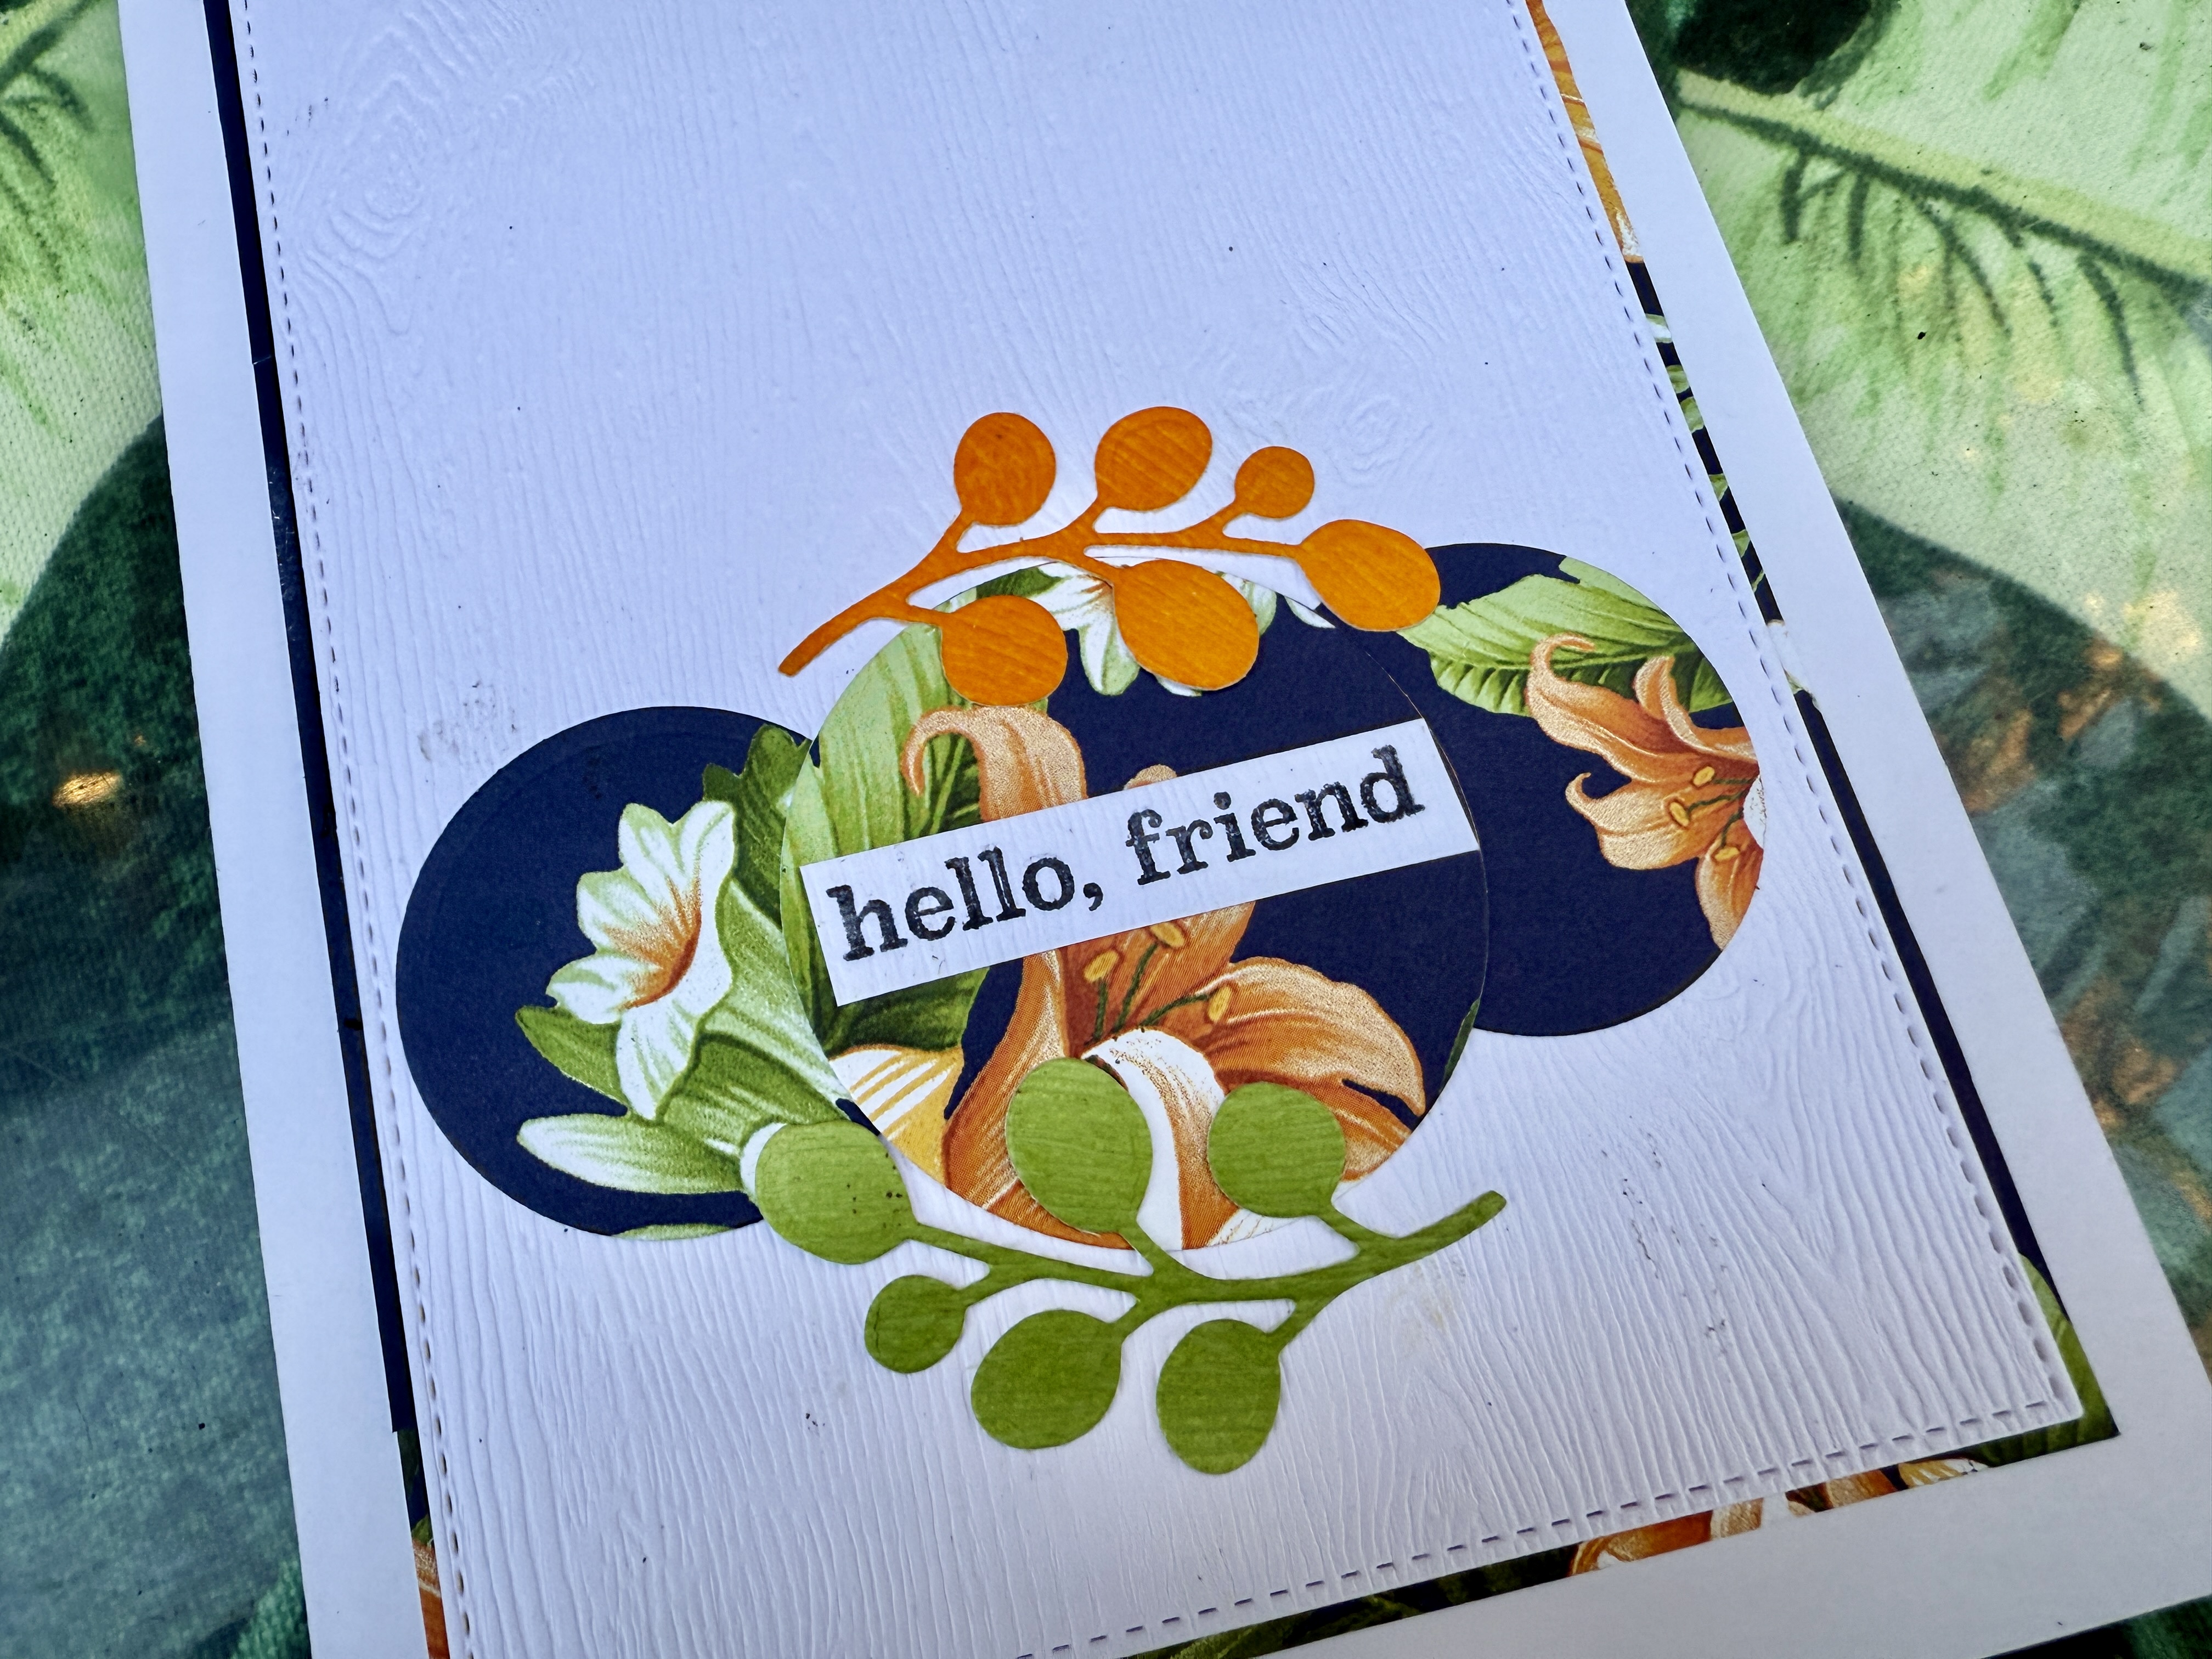
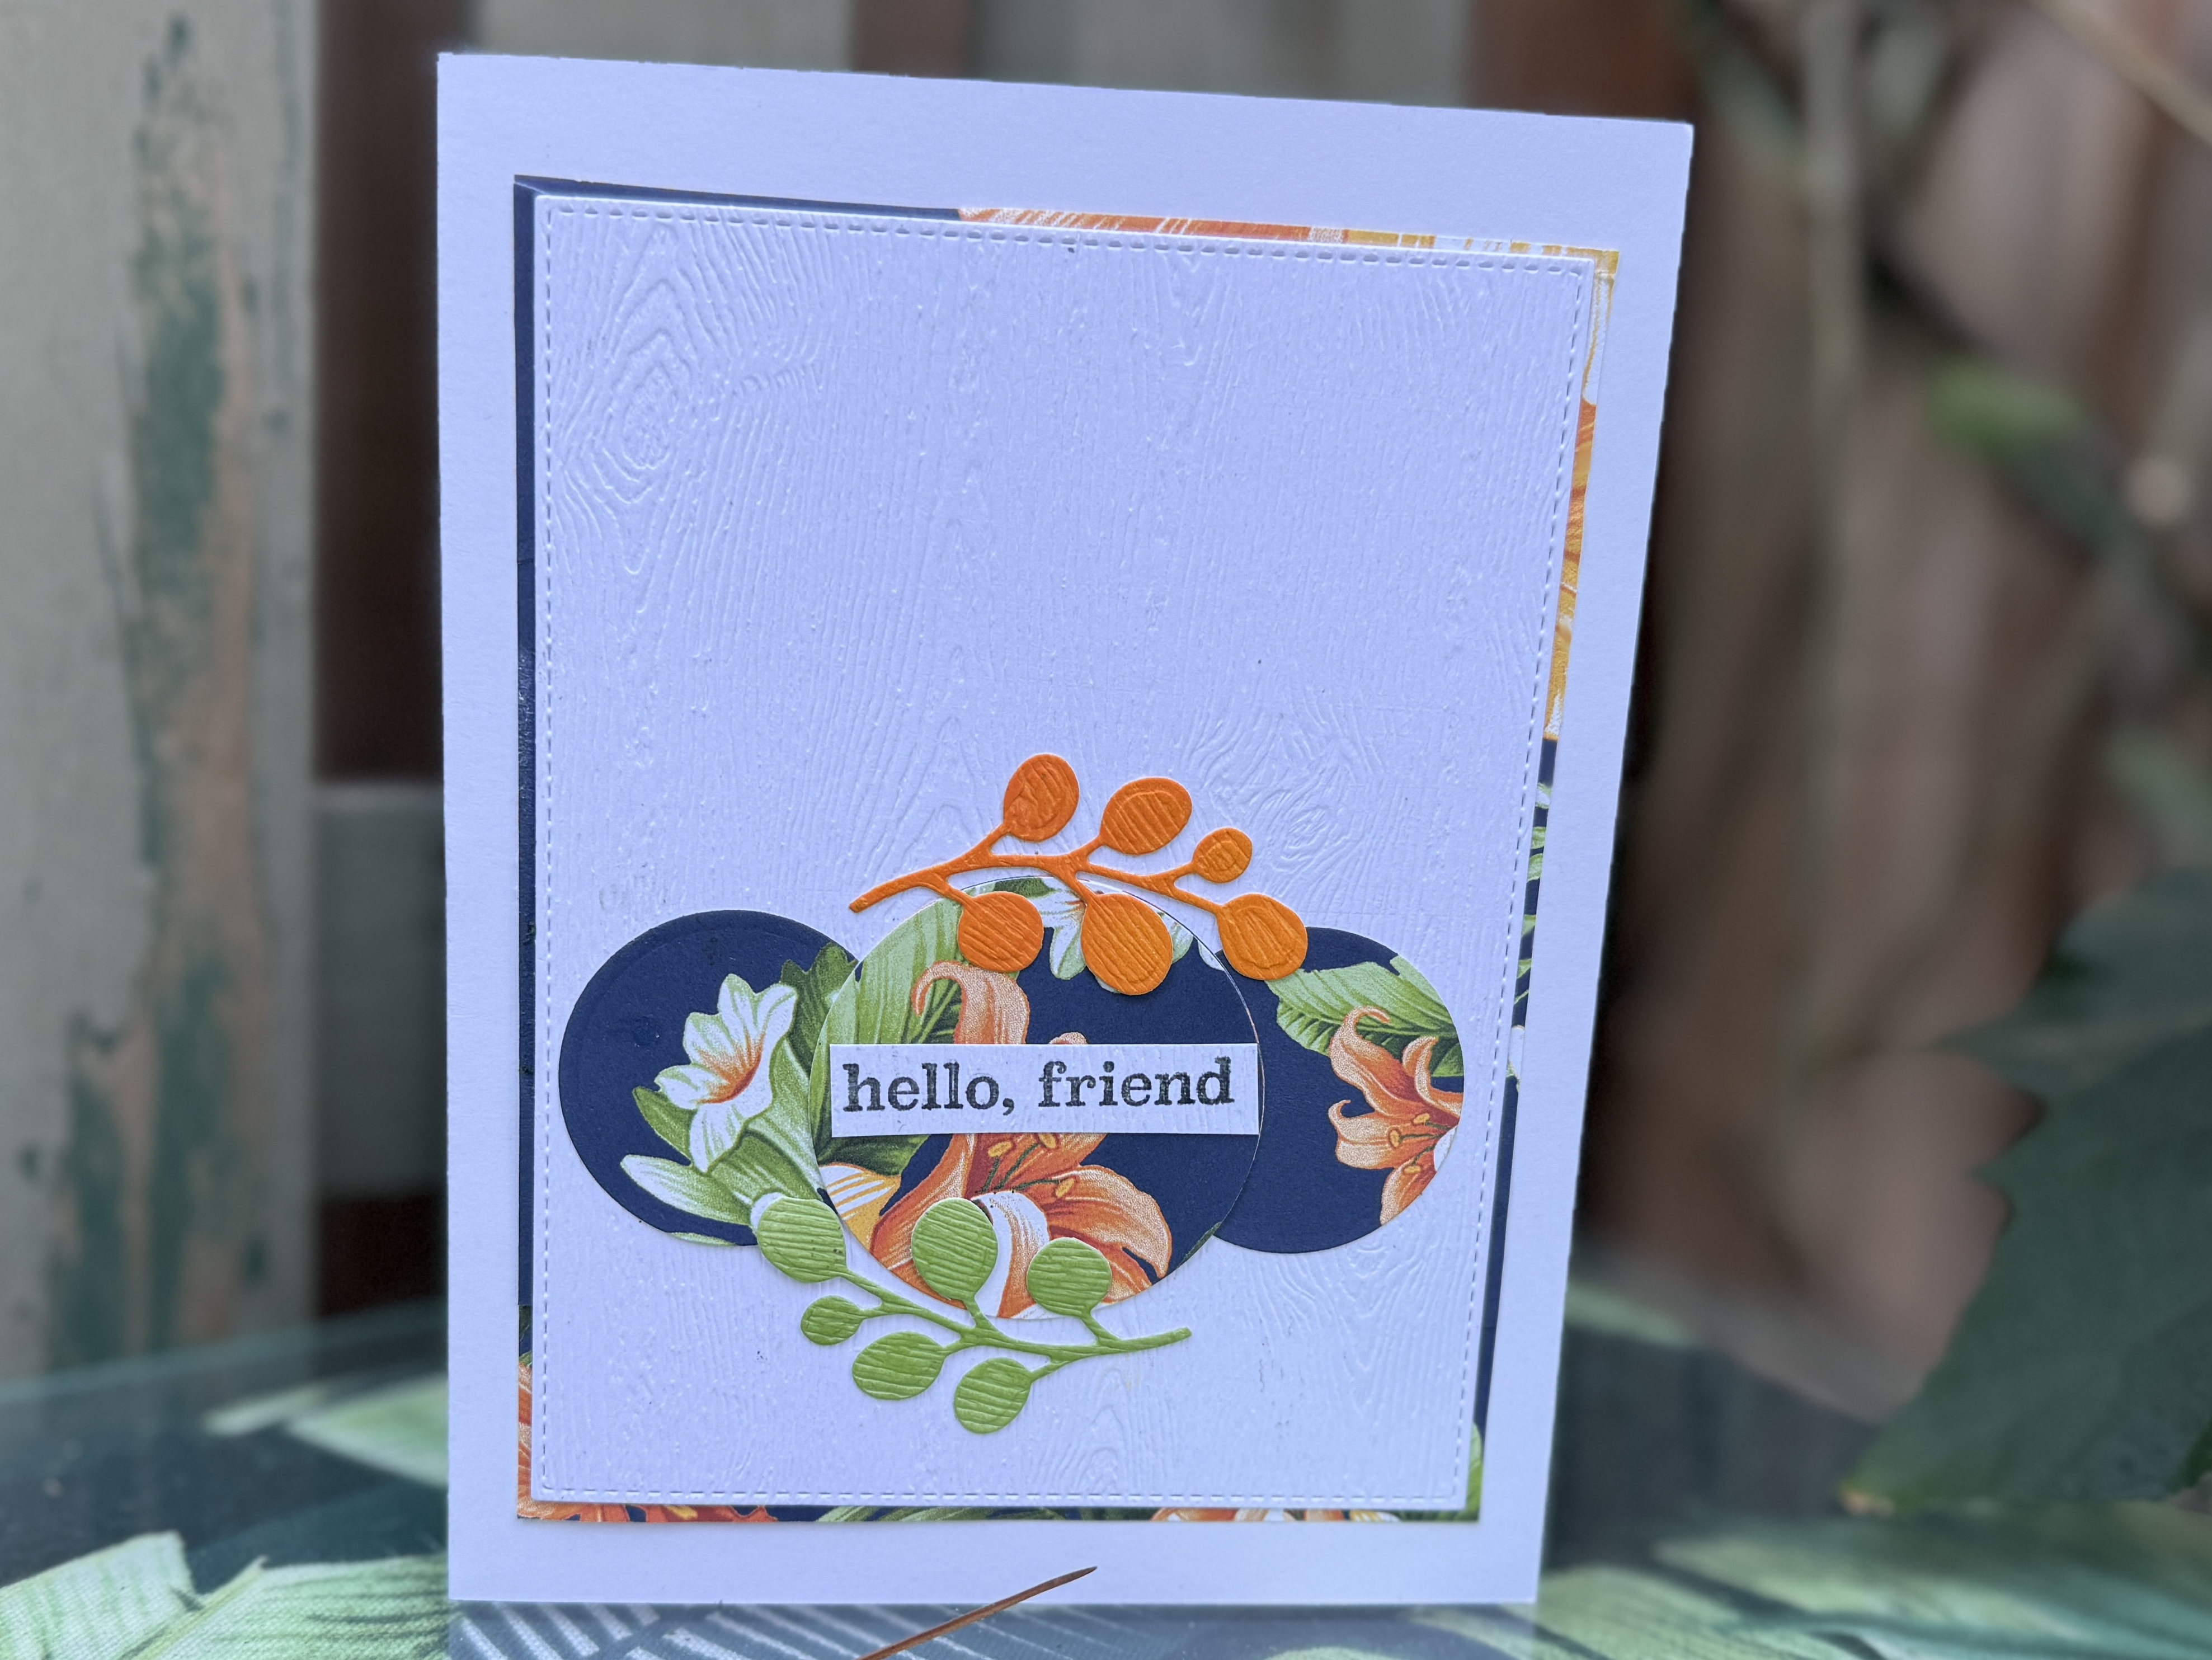
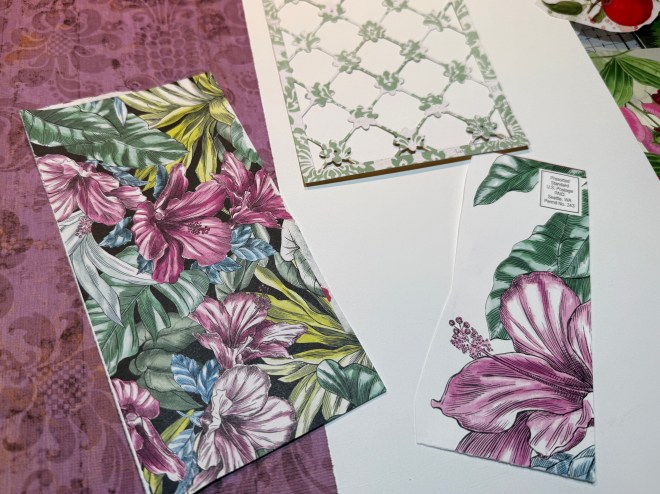
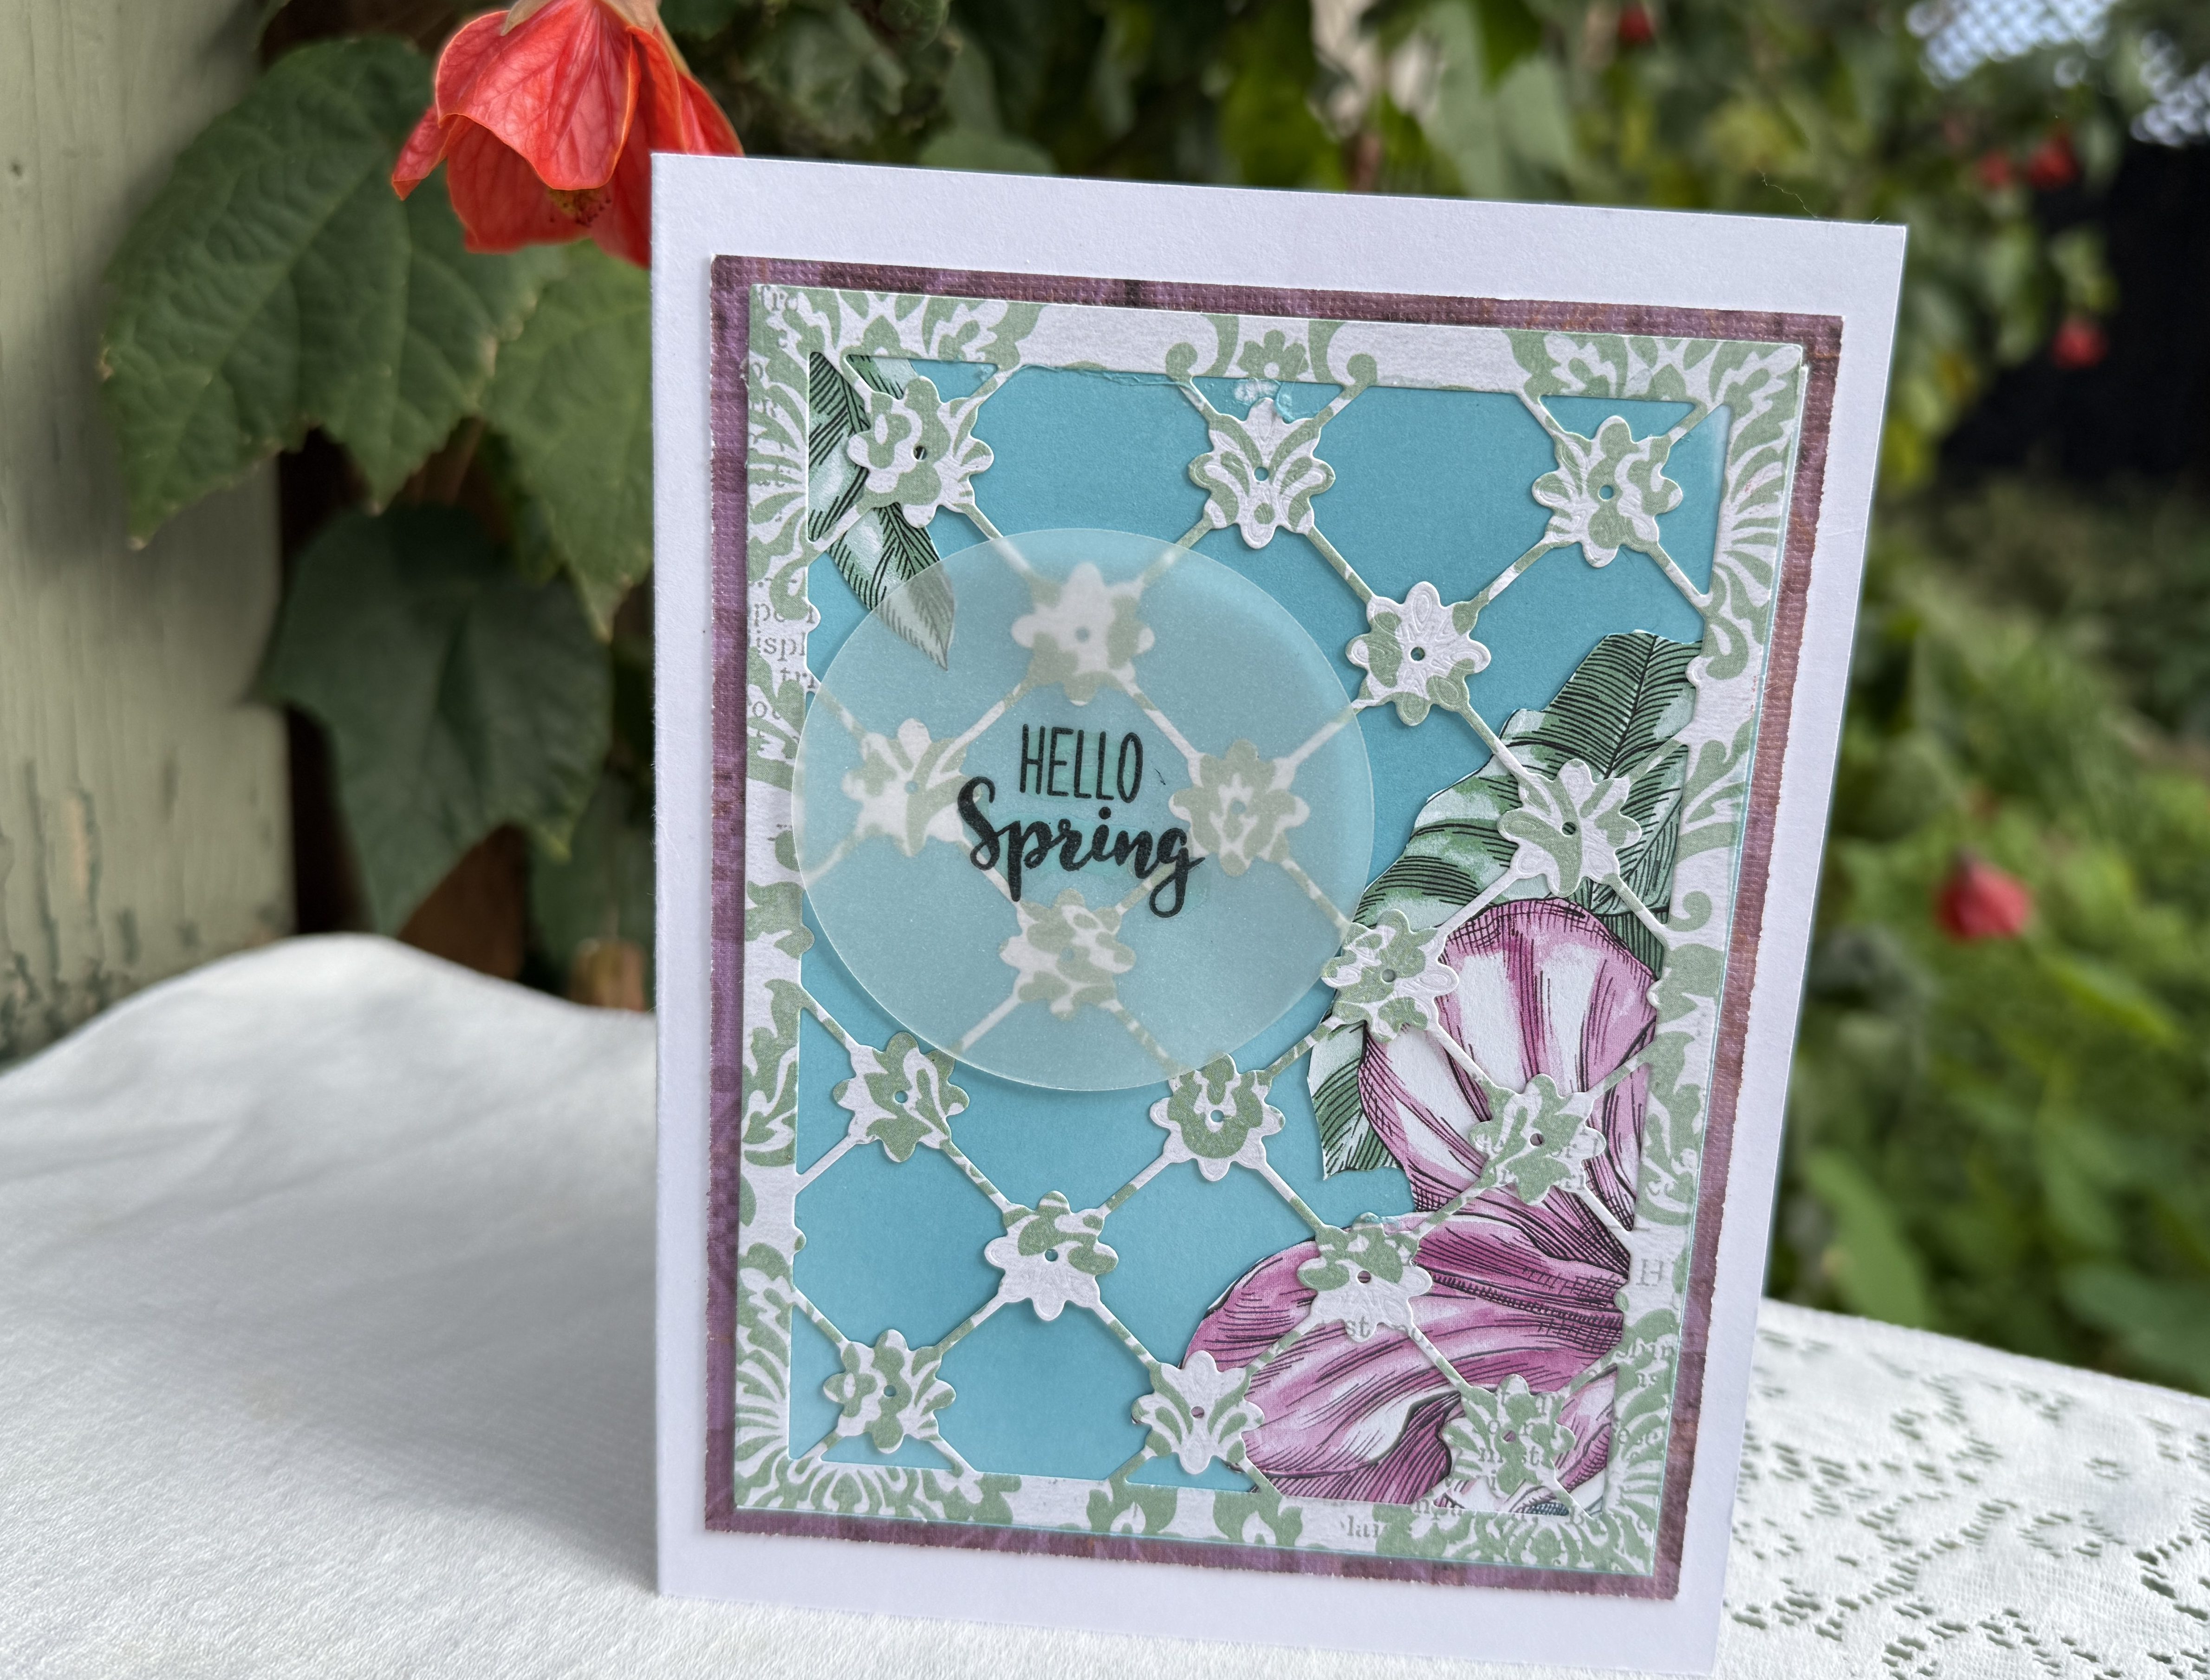
Over the weekend, I created the following card using a prompt from a Facebook card-making group. Natalie is all about clean and simple cards with a lot of white background. She presents sketches to the group as a starting point, and we build upon them from there.
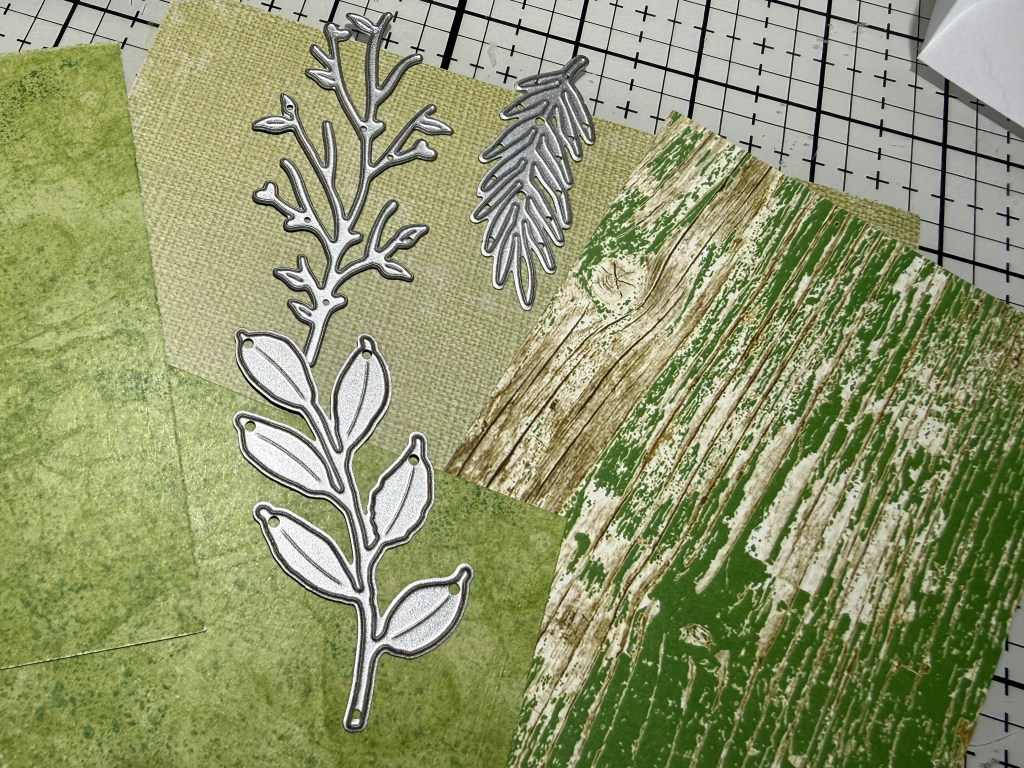
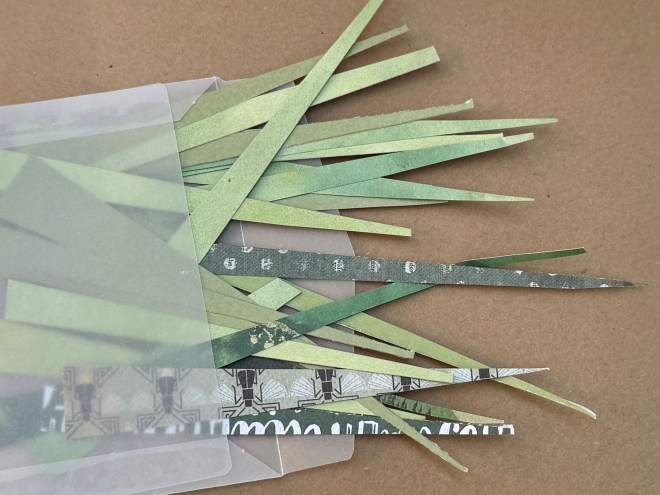
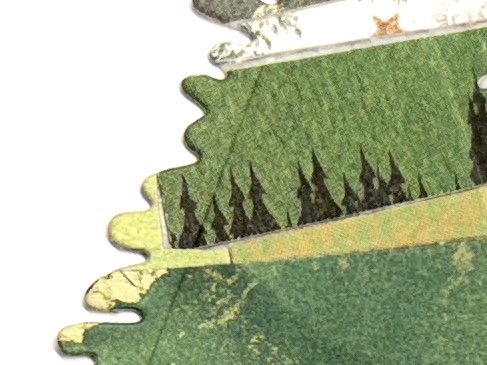
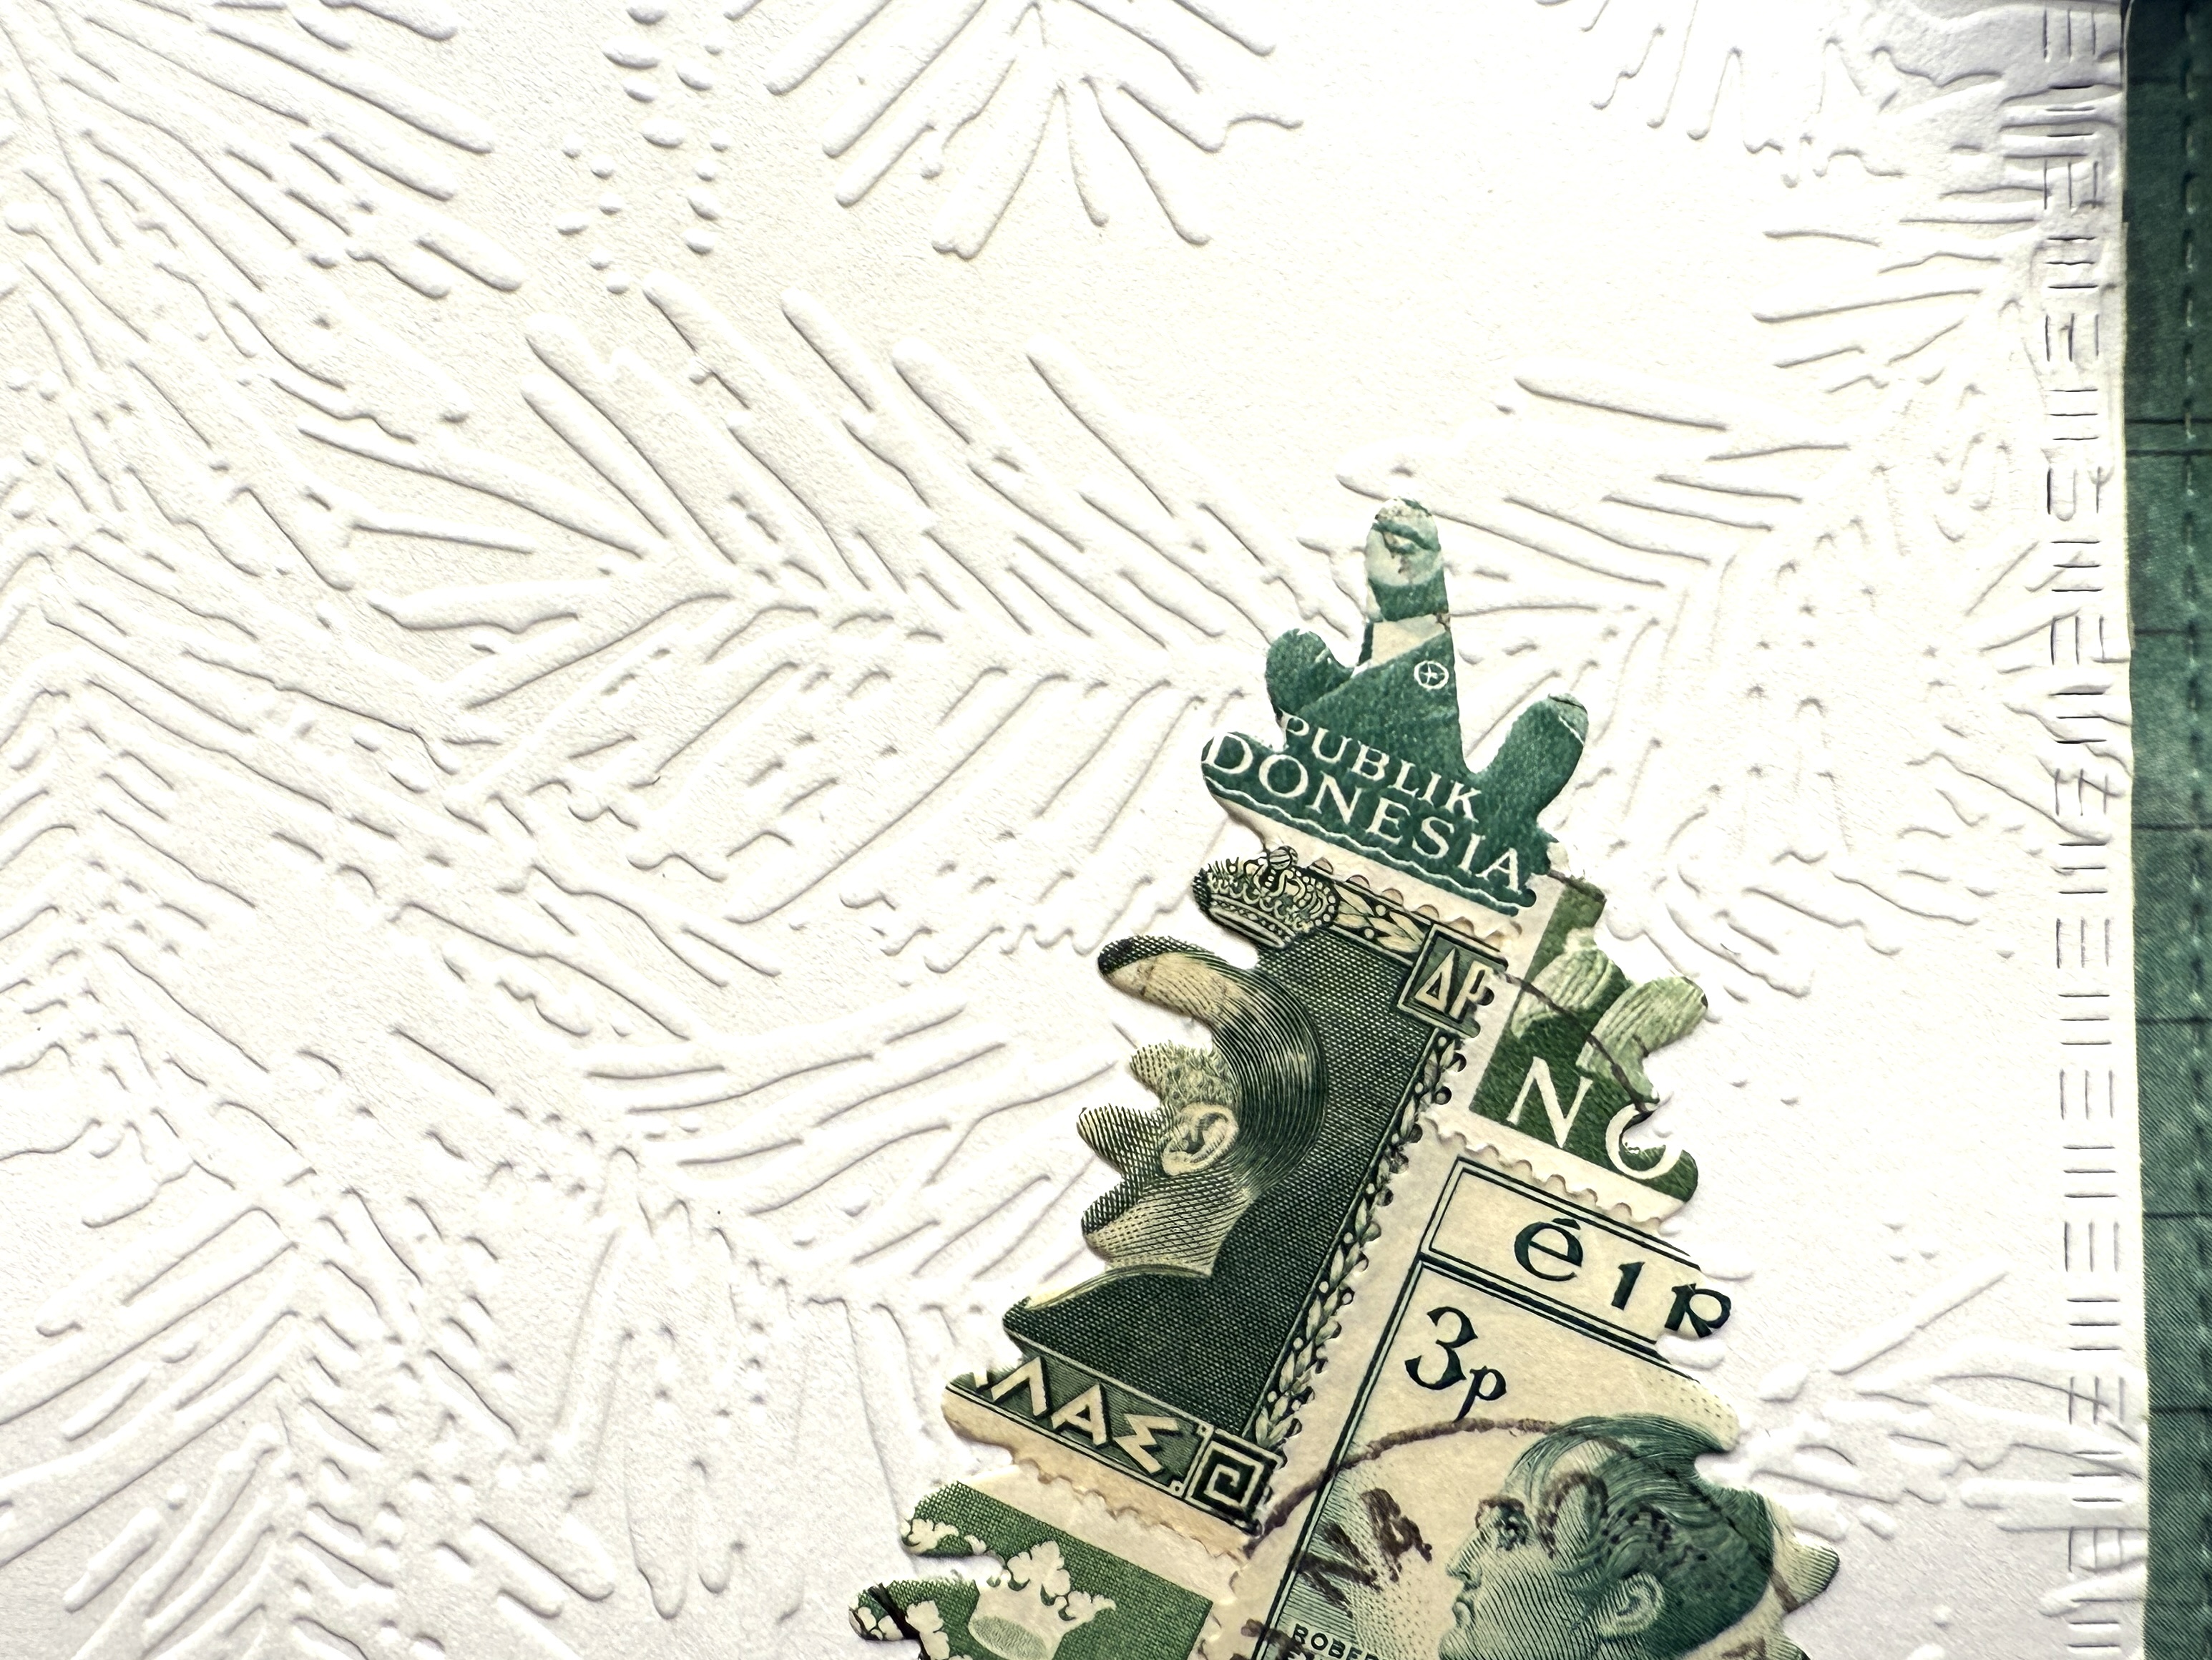
I used a textured white paper as a background, then cut circles from the patterned mailer. After applying green and orange oxide ink to a scrap of white paper, I cut the shapes with one of my dies. I had just enough of the remaining scrap to create a sliver-thin border.
Please join us with your scrappy, crafty creations by contacting Kate for more details.
Kate has provided these links for everyone who joins ScrapHappy from time to time (they may not post every time, but their blogs are still worth looking at).
Kate, Eva, Sue, Lynda,
Birthe, Turid, Tracy, Jan,
Moira, Sandra, Chris, Alys,
Claire, Jean, Dawn, Gwen,
Sunny, Kjerstin, Sue L, Vera,
Ann, Dawn 2, Carol, Preeti,
Viv, Karrin, Alissa,
Hannah and Maggie


You must be logged in to post a comment.