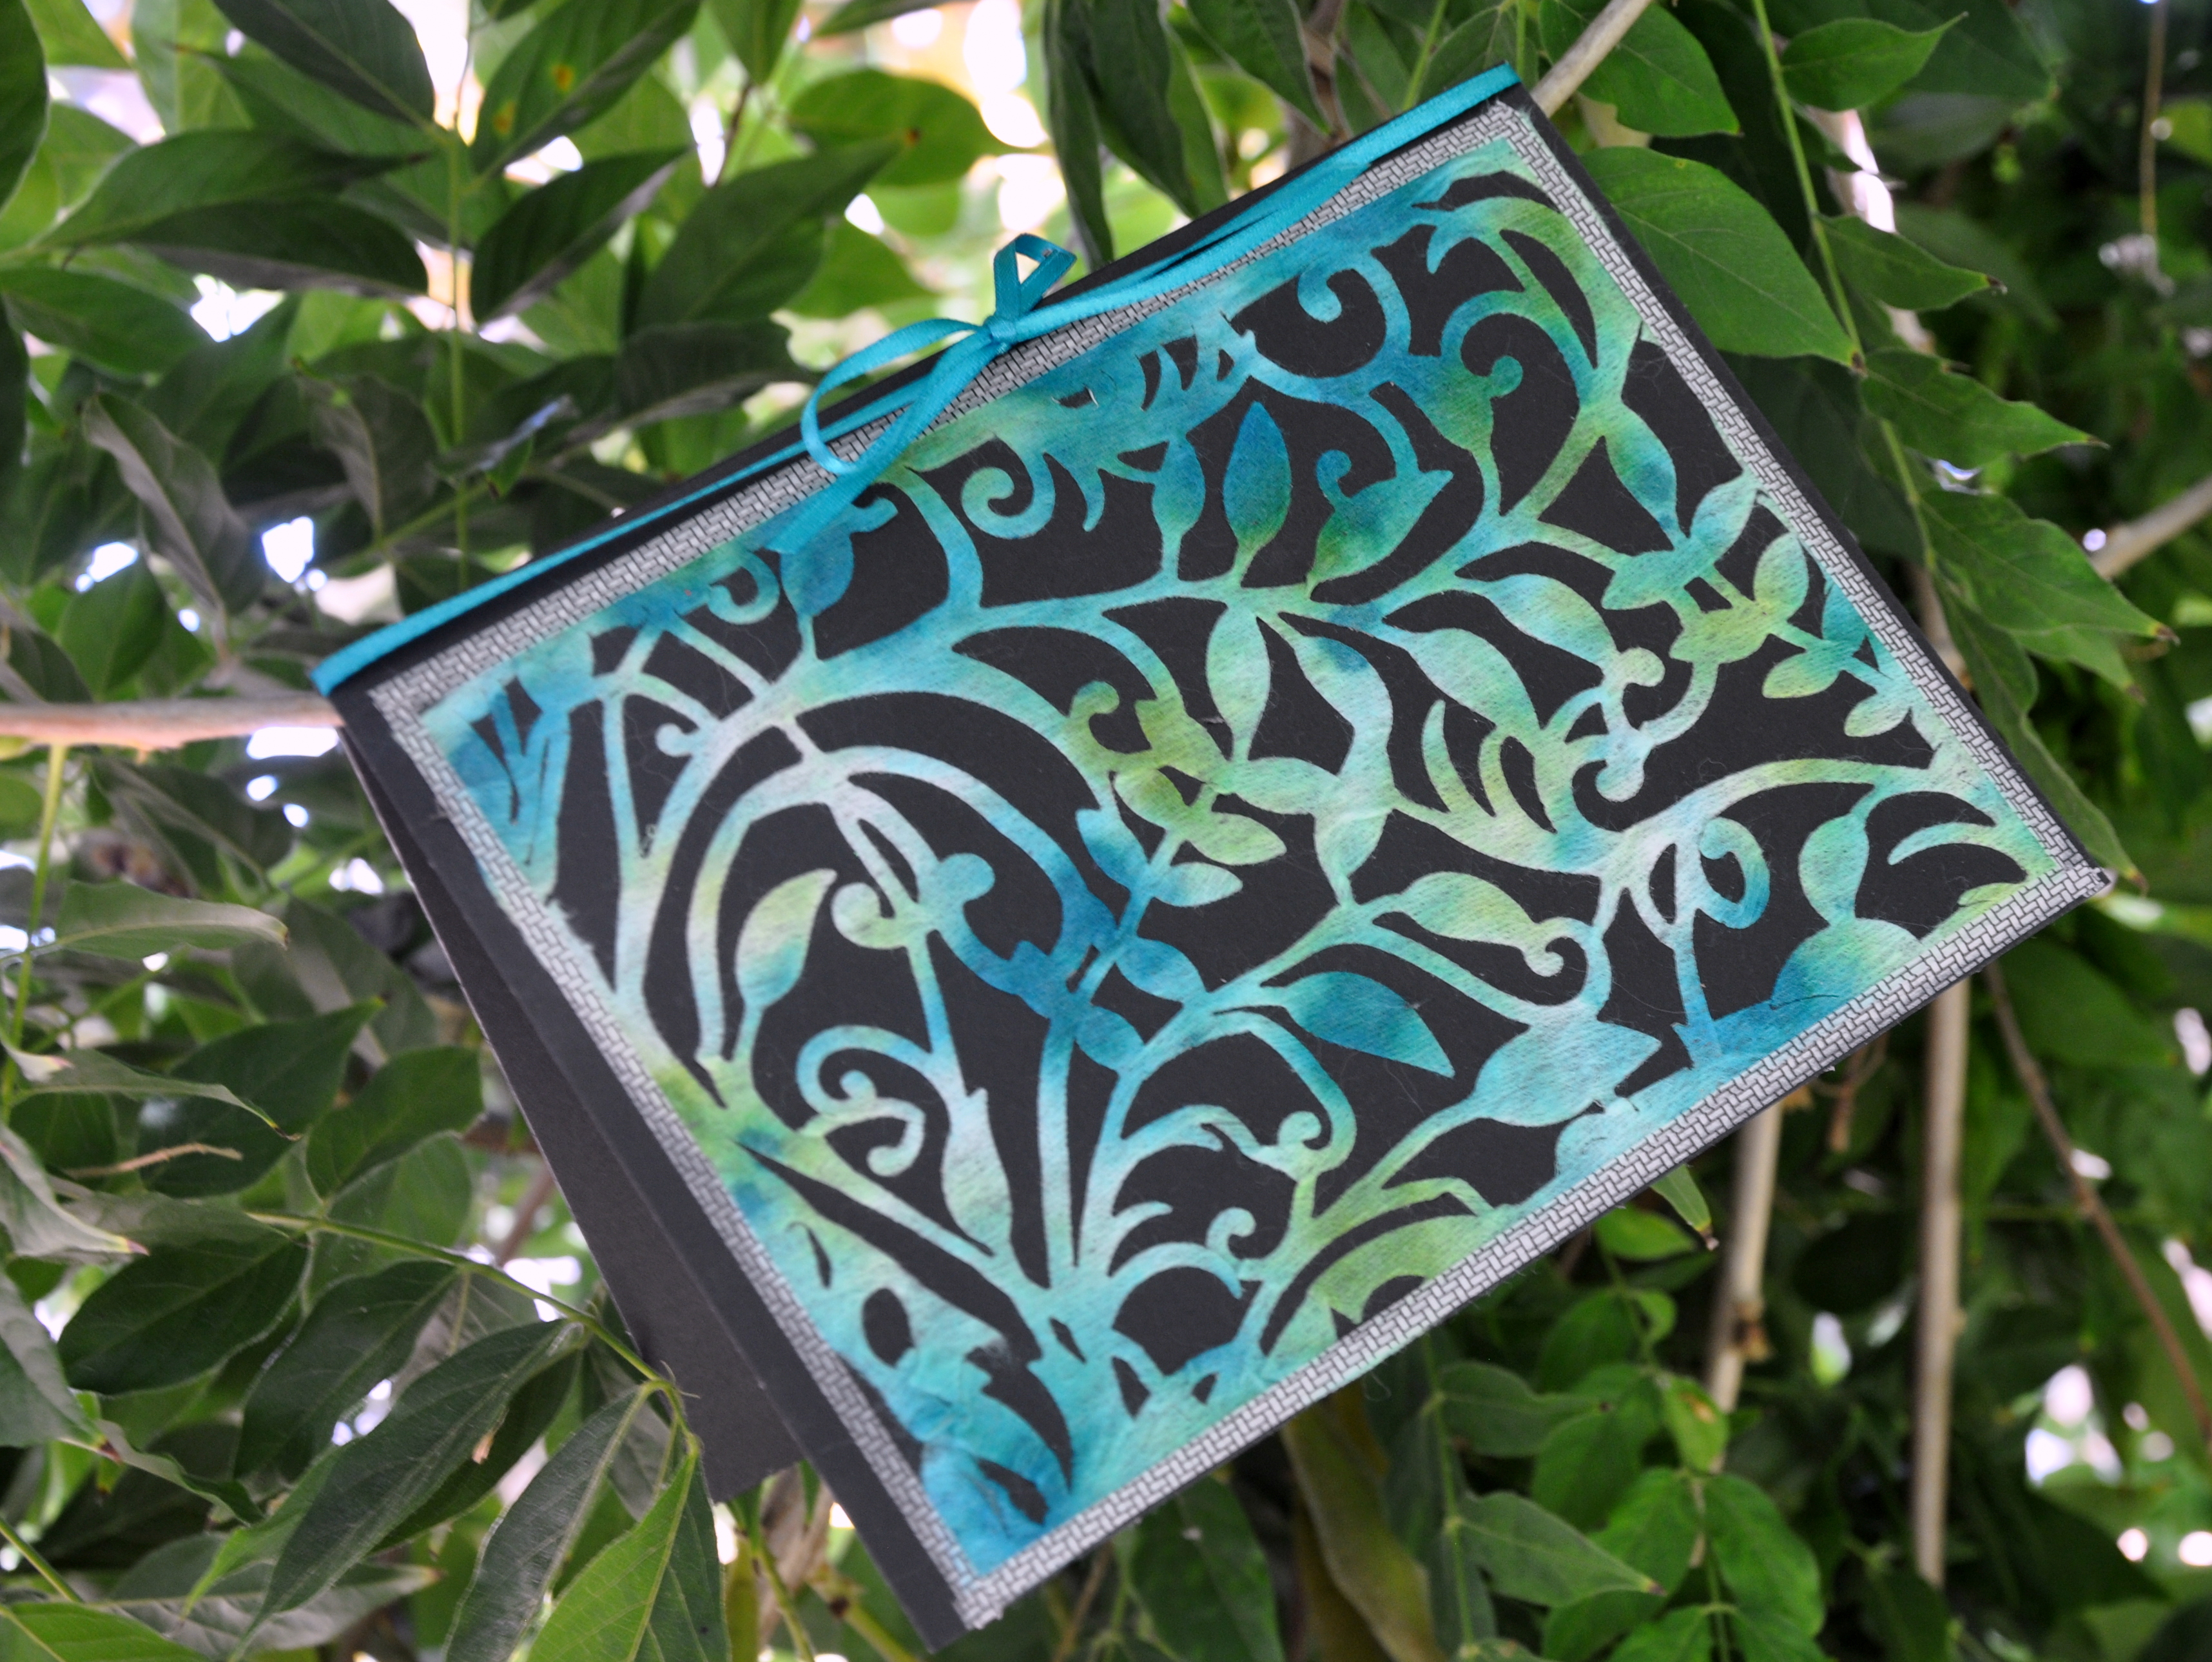
Flowers and Cats, Wild and Domestic: Creating Cards with Postage

Today I’m sharing three of the cards I created using my postage stamp stash. The cards run the gamut from pedestrian to quirky. You can read more about the start of this process here.

Along the way, I tried keeping track of the countries represented as I created the cards. I had so much fun.

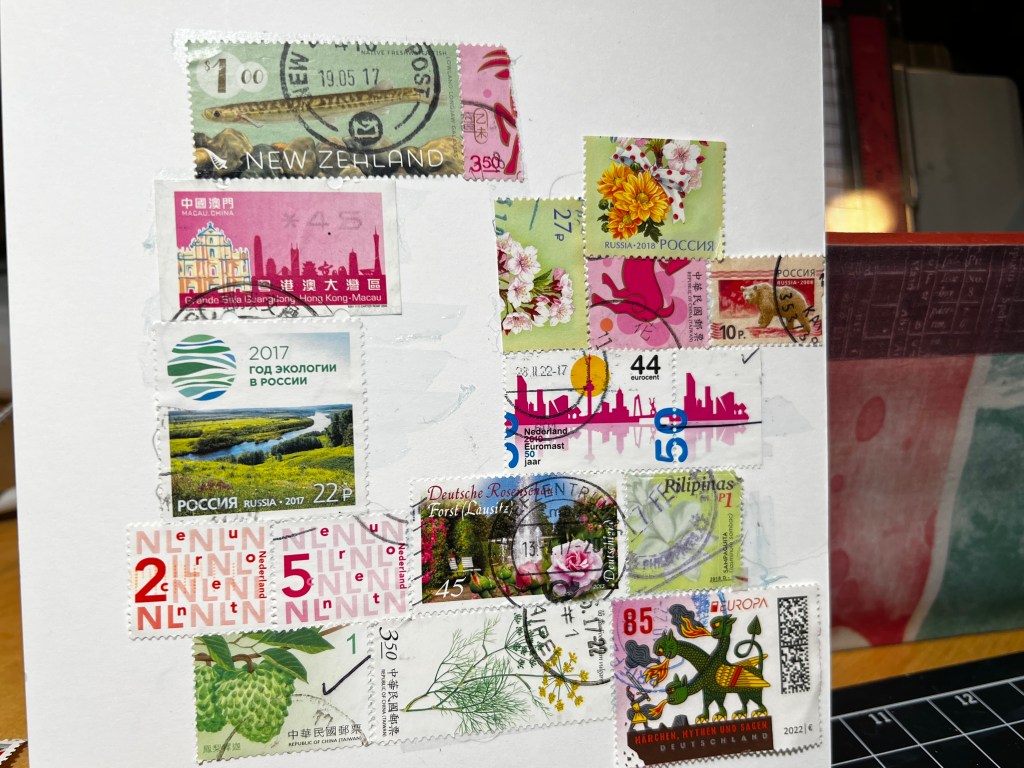
This first card took a bit of planning. I used a beautiful new floral die by Hero Arts and 15 stamps from nine countries. I had to cut two stamps to get the colors in the right place, but for the most part, I enjoyed the challenge of placing the whole stamp for maximum color effect.

Here’s how it looked just before running it through my die-cutting machine. Countries represented in this card include China, Germany, Hong Kong, The Netherlands, New Zealand, The Philipines, ROC-Taiwan, Russia, and the US.
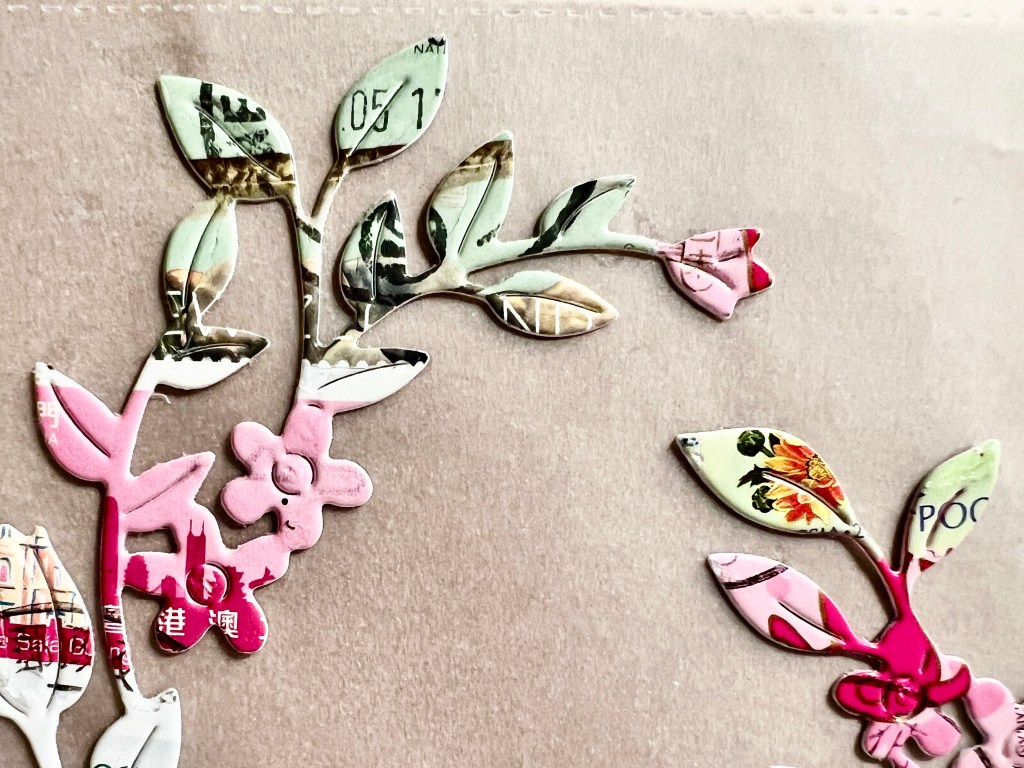
Here is the finished card. I placed the floral postage wreath on velum, then added a hand-stamped sentiment to a pink paper scrap.

The next card falls into the quirky category. When sorting my stamps, I set aside images of cats, hoping for inspiration.

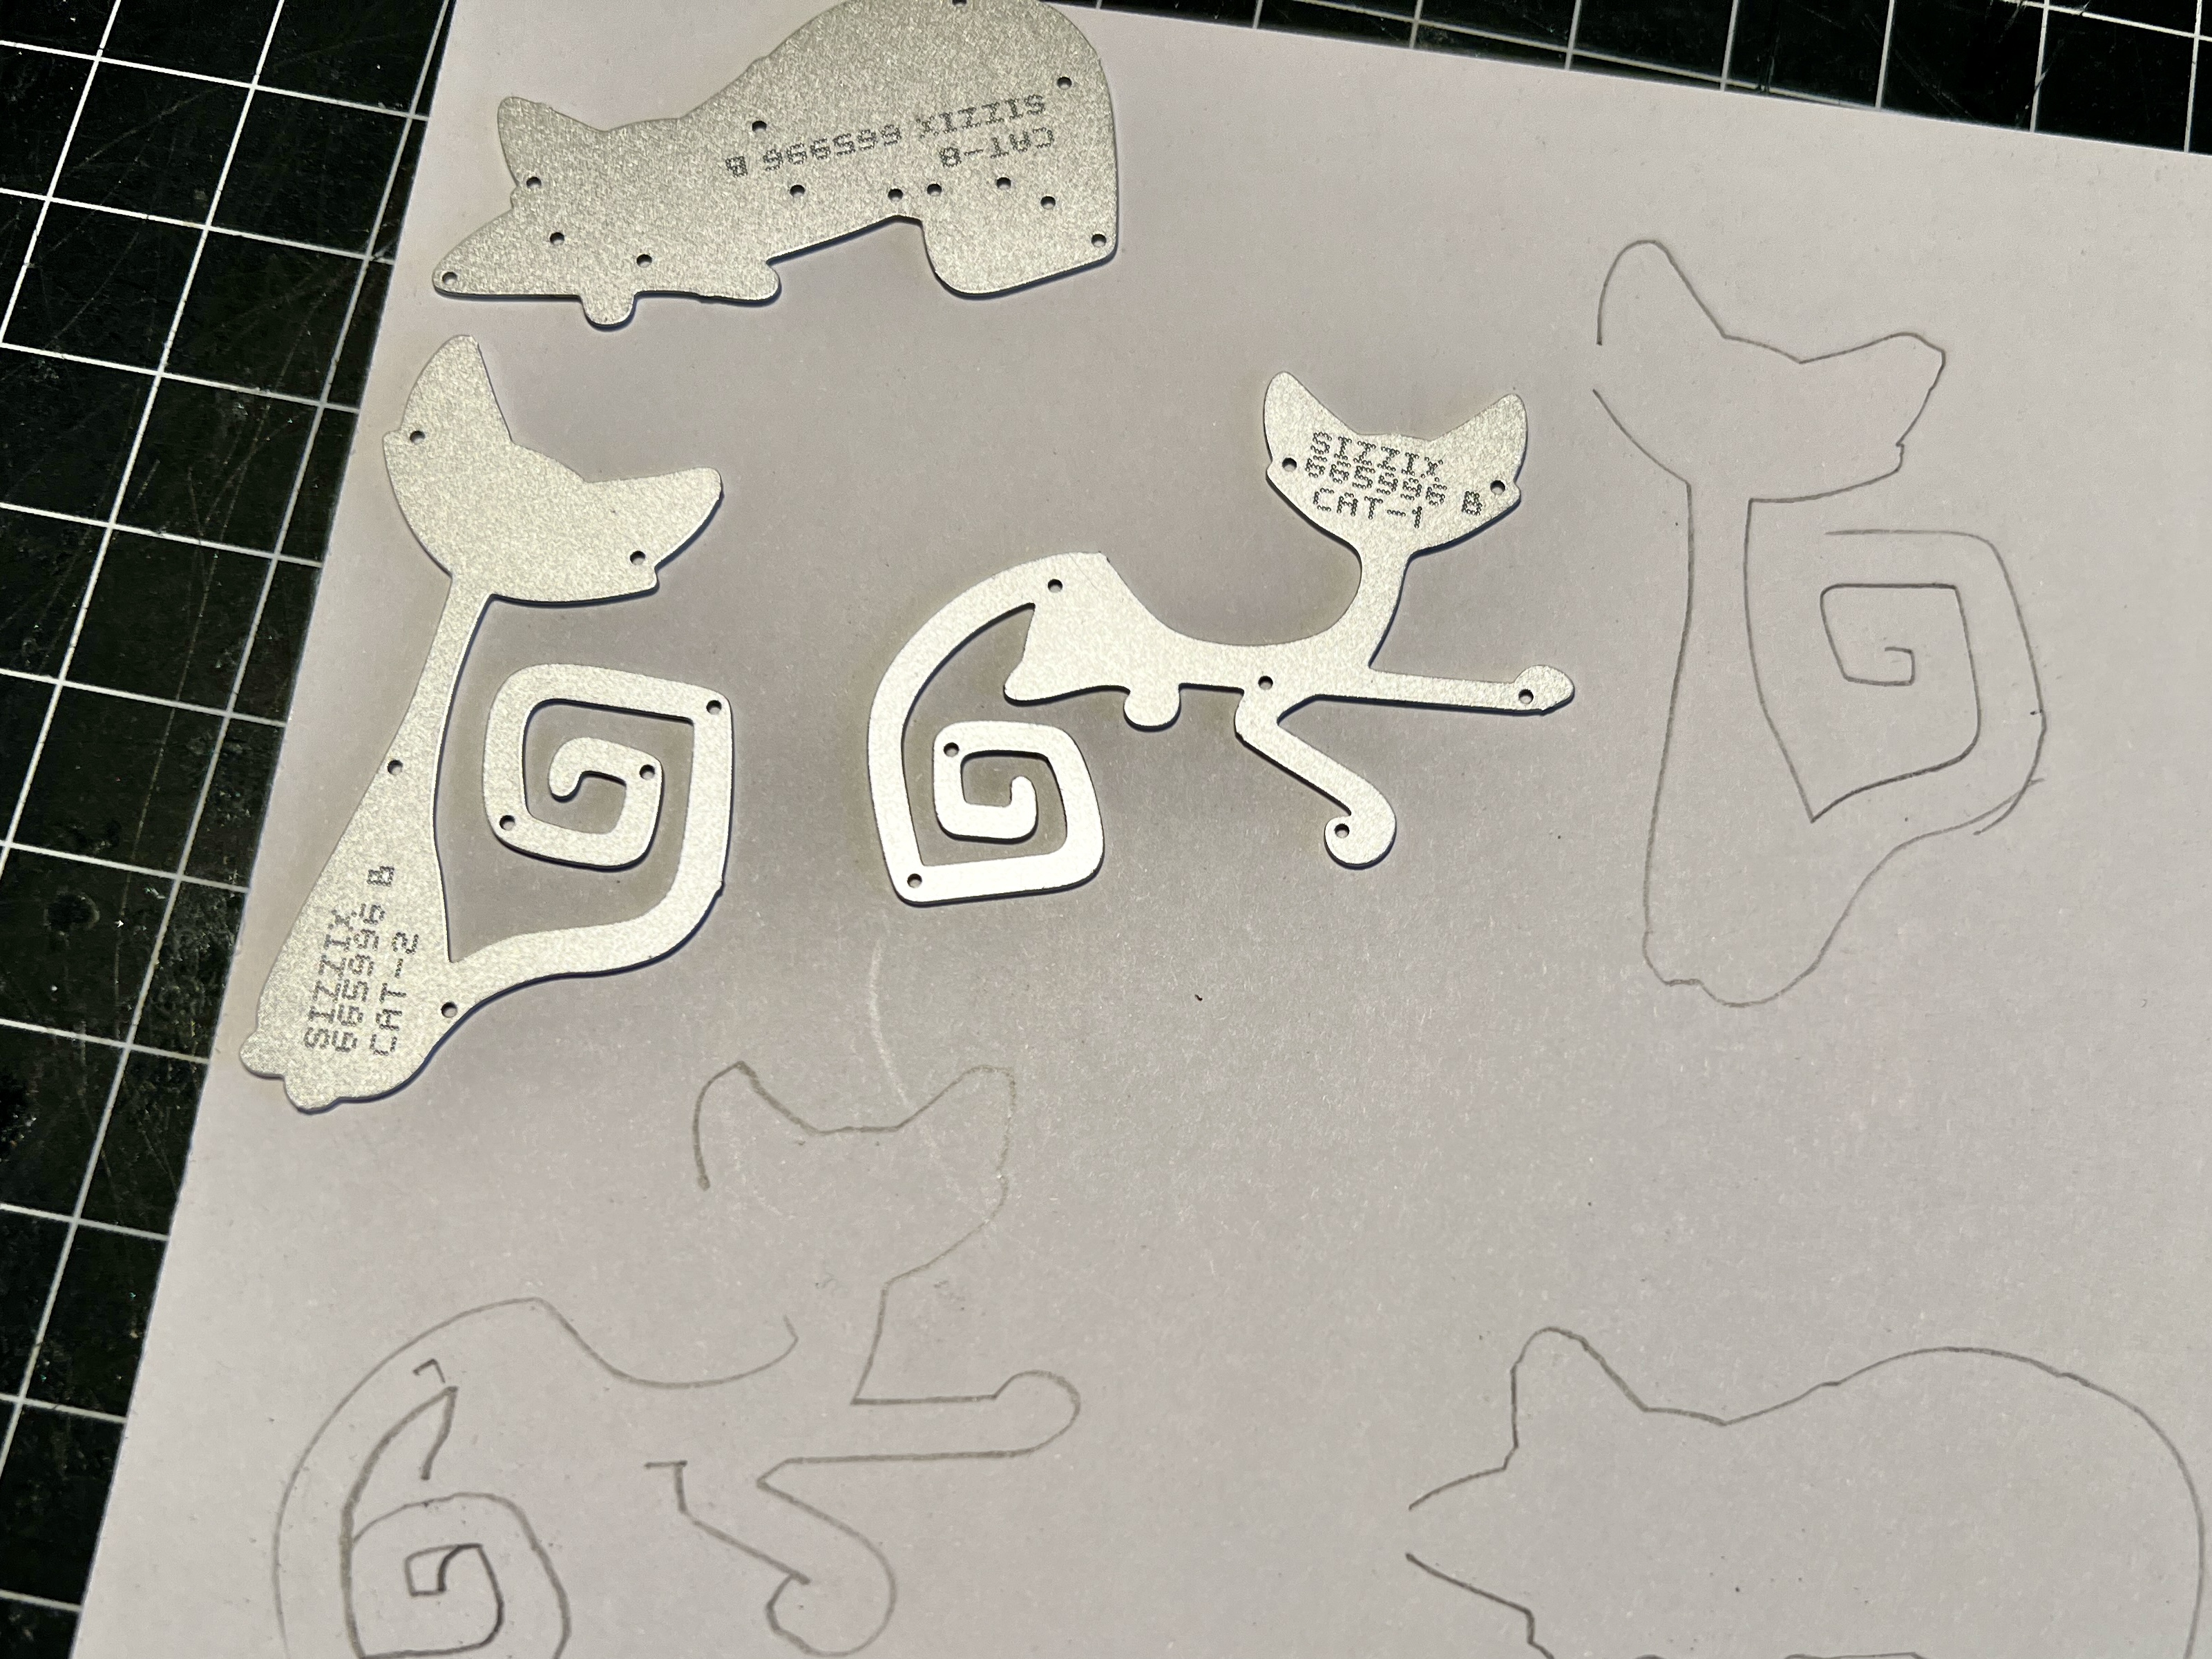
I have a set of Sizzix dies featuring cats, something I hoped to use at Halloween. It occurred to me that I could try using the cat dies with the images of the postage cats facing forward. It worked for two of the three cats. Before I knew it, I had “constructed” a cat condo using textured woodgrain paper, various inks, and a sanding block to emulate a well-loved cat tree.

I still needed a face for the middle cat, but the remaining cat postage didn’t work. After pawing through several more stamps and some trial and error, cat number three got a pair of cool glasses courtesy of this stamp from China.

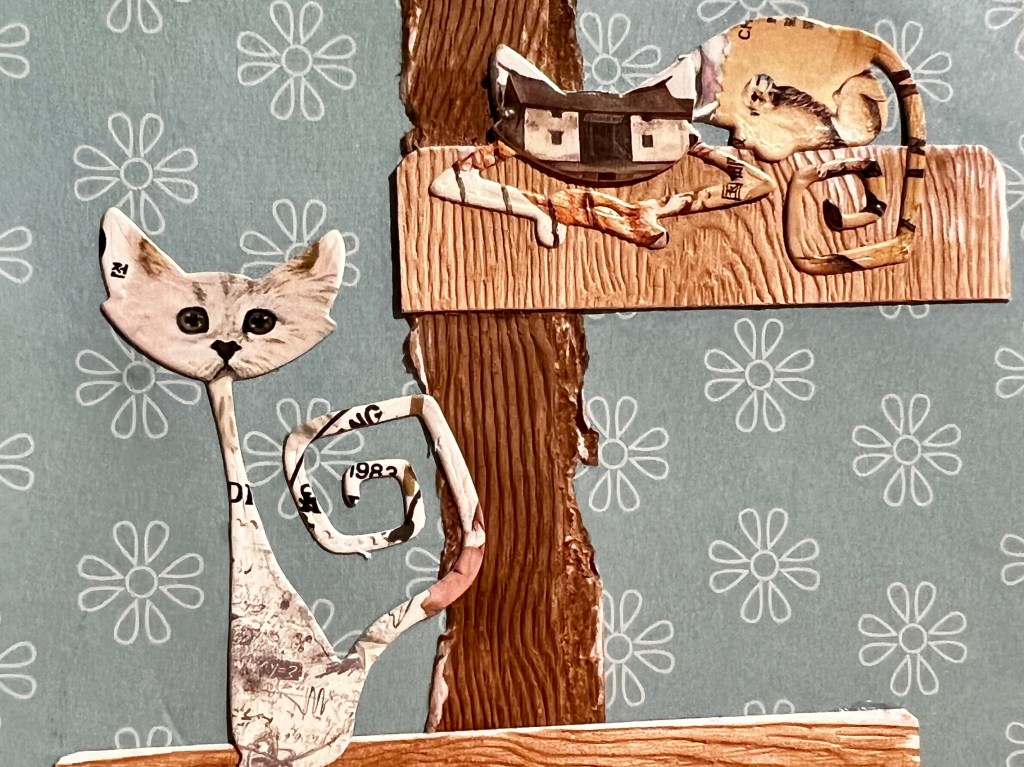
I used coordinating colors for the body of each cat. I finished the card by adding floral paper to the background, reminiscent of kitschy wallpaper. Now that’s quirky. Countries represented in this card include China, Korea, Lithuania or Lietuva, Malaysia, The Netherlands, and the US.

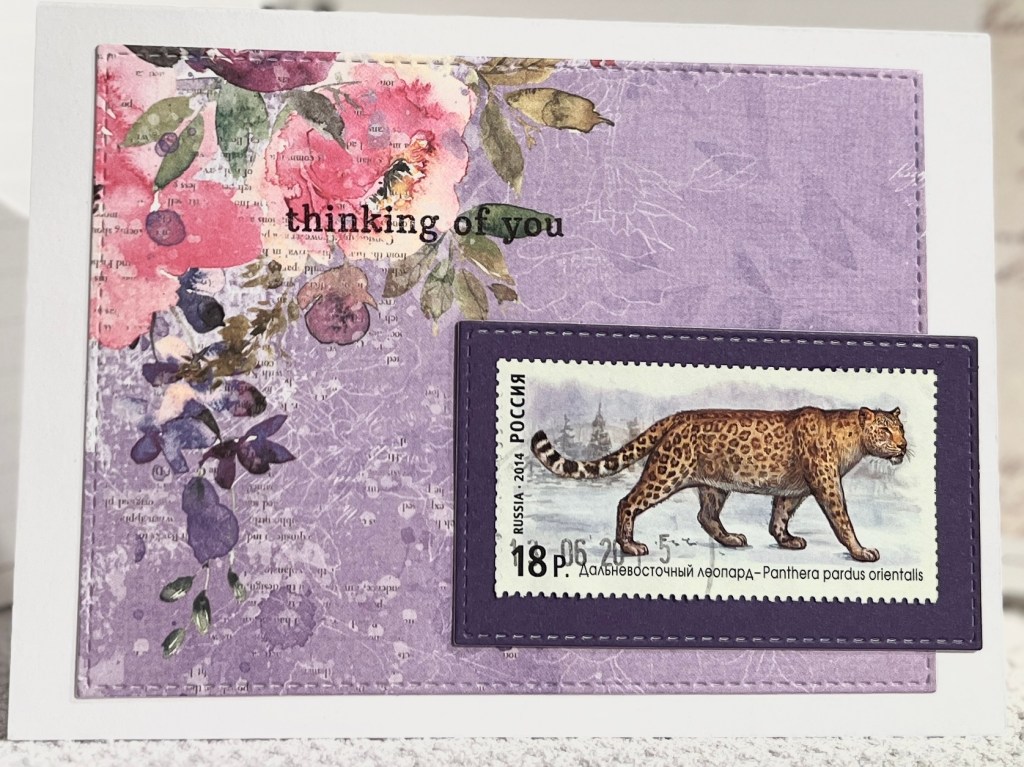
Today’s final card uses a single postage stamp from Russia. My sister loves wildcats, and her favorite color is purple. This over-sized stamp combines both. I used a stitching die to cut two rectangles, added the wild cat stamp to the smaller one, and stamped “thinking of you” in the upper corner. I know she’ll enjoy it.
I’ll be back tomorrow with more cards.

Here is a helpful link if you are new to card making. It’s called The Ultimate Card Making Techniques Glossary

Card-making With My Postcrossing Stash

One of my current stress-busters is creating cards from postage stamps. I’ve written about the fun of sending and receiving postcards worldwide via the Postcrossing project. I joined in 2016, and in those eight years, I’ve sent and received over 300 postcards. I have stamps from 41 countries.

What is Postcrossing?

  • The goal of this project is to allow anyone to send and receive postcards from all over the world!
  • The idea is simple: for each postcard you send, you will receive one back from a random postcrosser from somewhere in the world.

Over the years, I’ve thought about alternate ways to use my beautiful stash. With few exceptions, postage stamps are works of art.

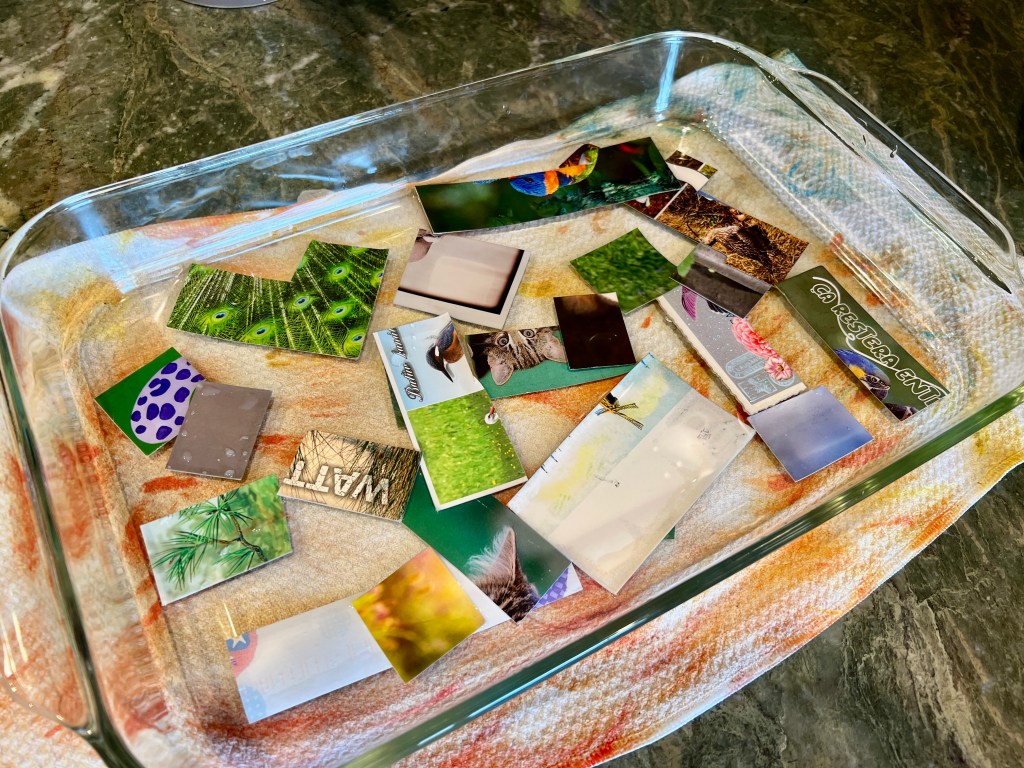
A few weeks ago, I took the plunge and removed the postage from my Postcrossing cards by soaking them in warm water. I watched my dad do the same in his basement den in the early sixties. I’m amazed that those memories are so vivid.

It took a few days to complete, and not all stamps were salvageable due to the newer adhesive; however, I ended up with over 600 postage stamps. What a haul!

Sorting is relaxing, too. I initially sorted by color and theme, depending on the volume. There were more blue stamps than any other color, with orange and purple being the most scarce. I had a handful of cartoon stamps, four or five cat stamps, and many flowers.

Once I started making cards, I ended up with stamps everywhere: stuck to my sweater, on the floor, under the cat, and so on. I ended each crafting session by gathering my stash back together for the next time.

It’s interesting that creative pull once you’ve come up with an idea. I looked forward to those hours of crafting time.

Here is a sneak peek of a few of the cards I made.

I’ll share more tomorrow.

ScrapHappy for Someone Else’s Scraps

My friend Mary Ann is a cardmaker, among other things. She sells her wares on Etsy and at several craft shows near the holidays. As such, people give her “stuff,” hoping she can use it.

Lucky me.

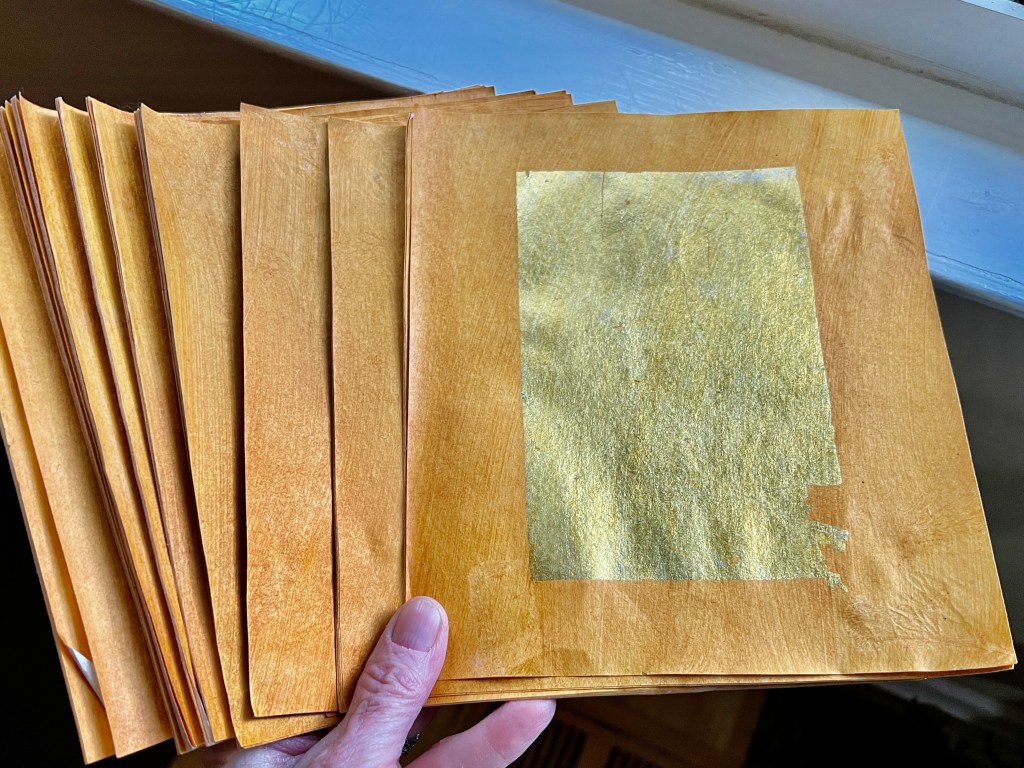
Someone gave her this stack of parchment-like paper with a rectangle of gold foil in the center. She, in turn, passed them on to me. There are over 70 lustrous sheets, and I could hardly wait to tuck into them! Today’s scraphappy post is brought to you by a friend’s, friend’s scraps.

I made three cards covering Halloween, Christmas, and Autumn.

I used one of the foiled sheets as a background, then used my die cutter to cut the leafy inset. The rest of the card is done with ink.

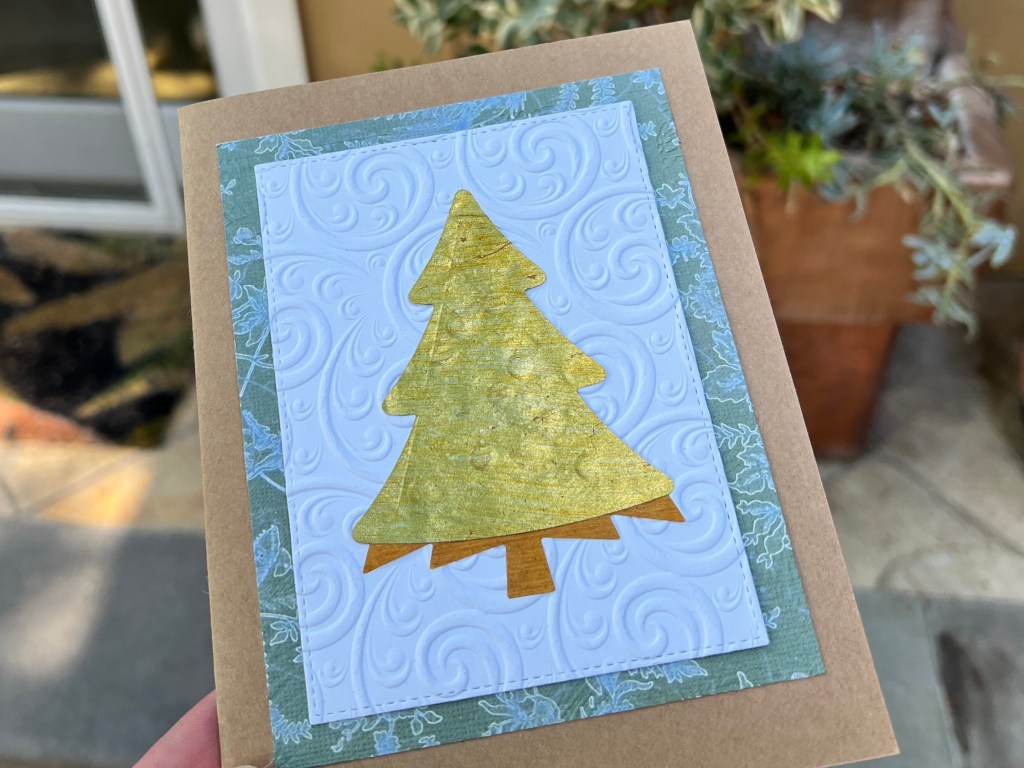
The Christmas tree incorporates the gold center and part of the parchment for the trunk. The green scrap below has been kicking around in my supply drawer for years. I’m glad the paper found its purpose.

The last card has a simple design and as such it’s my favorite. All of these cards were fun to create, though.

I also made a gift card holder using a small envelope template I’ve had for years.

Thank you, Mary Ann!

If you’re a scrappy maker (paper, fabric, metal, etc.), consider joining us for this enjoyable endeavor.

Thanks as always, Kate. Please follow the links below if you would like to see what the other makers are up to.
Kate
Gun, EvaSue, Lynda,

Birthe, Turid, Susan, Cathy, Tracy,

JanMoira,SandraChris,

ClaireJeanJon, DawnGwen,

Sunny, Kjerstin, Sue LVera, Edith

Ann, Dawn 2, Carol, Preeti,

DebbieroseNóilinVivKarrin,

Amo, Alis

Halloween Light

I’m enjoying a scaled-down version of Halloween this year. It’s been a positive transition away from the usual hustle and bustle. We’ve also had an extremely rare and powerful storm blow through, which makes it feel more like autumn instead of summer-light.

Further, nothing screams “autumn” like foraging squirrels. One of the California Grey’s sent my miniature tea-house akimbo outside our kitchen window, which I interpreted as an invitation to make seasonal changes.

The birdhouse gourd, aka teahouse, came indoors for a dust-off. Here is a picture of the teahouse in its former glory.

Summer Tea House

I’ll put the gourd into the fairy garden rotation for next summer. I reused the tray, the moss, and the miniature seashells, along with the tiny “tree stump” to bring a bit of autumn magic to the fairy garden.

Autumn vibe

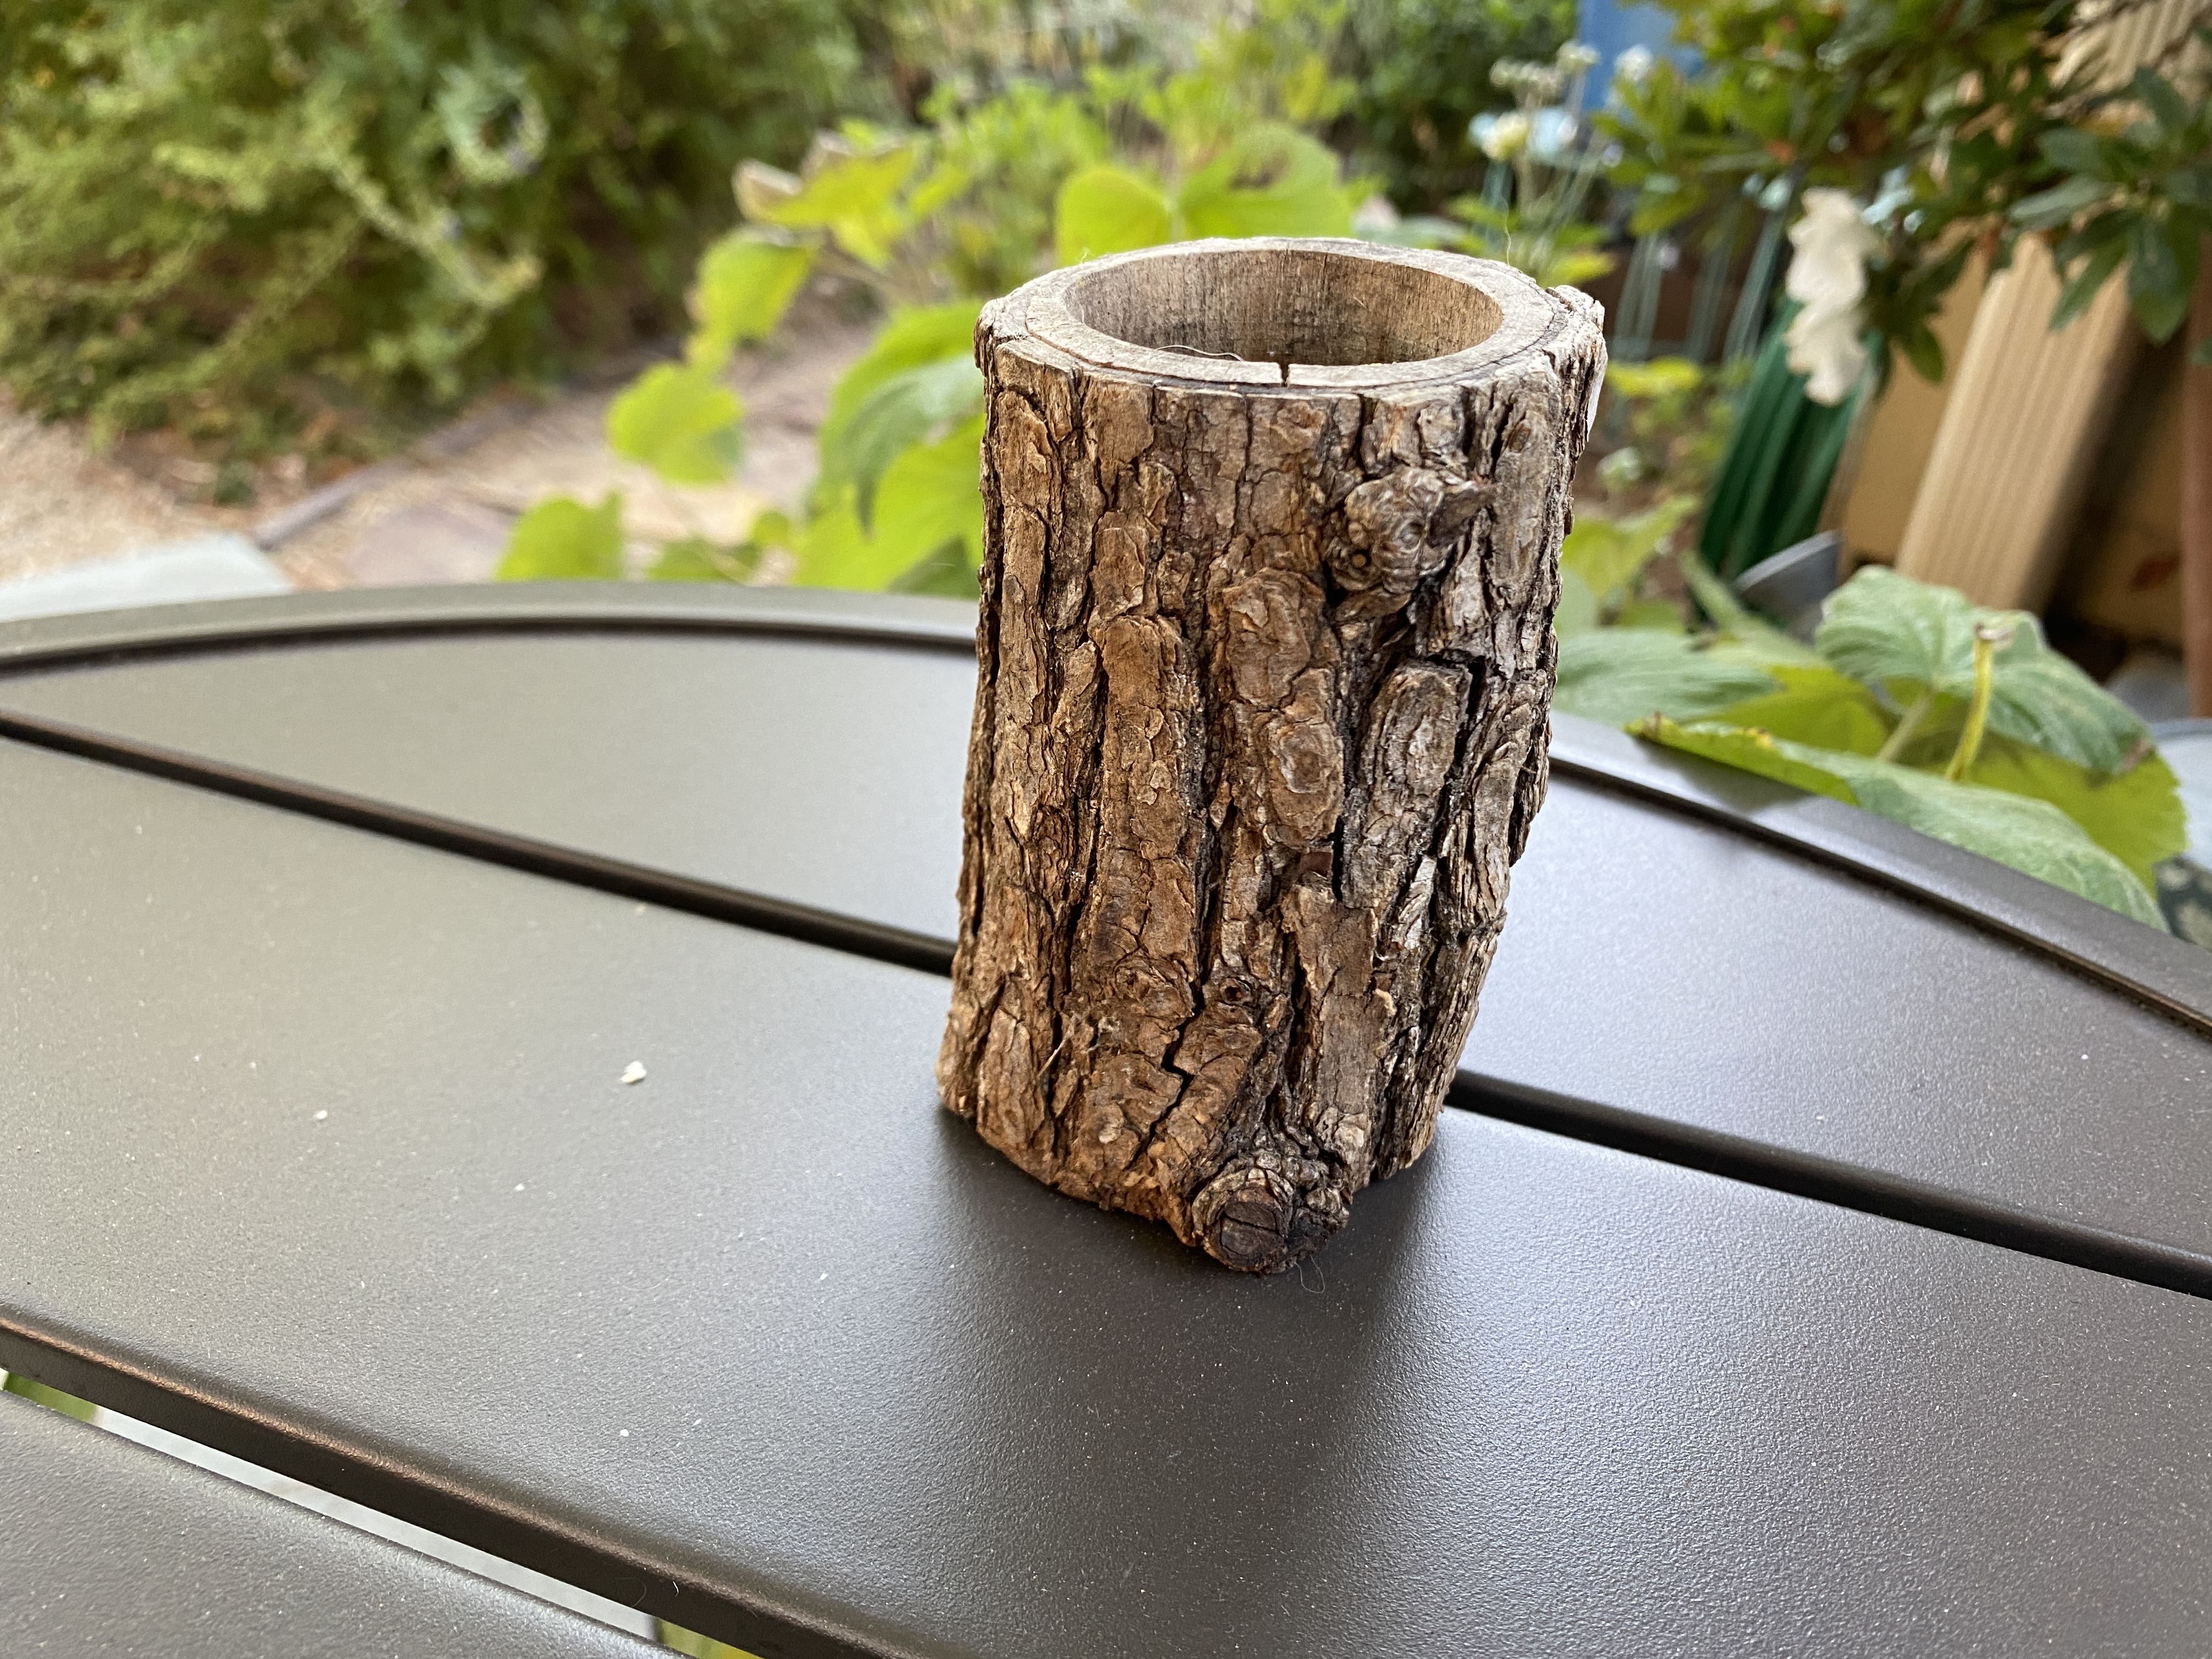
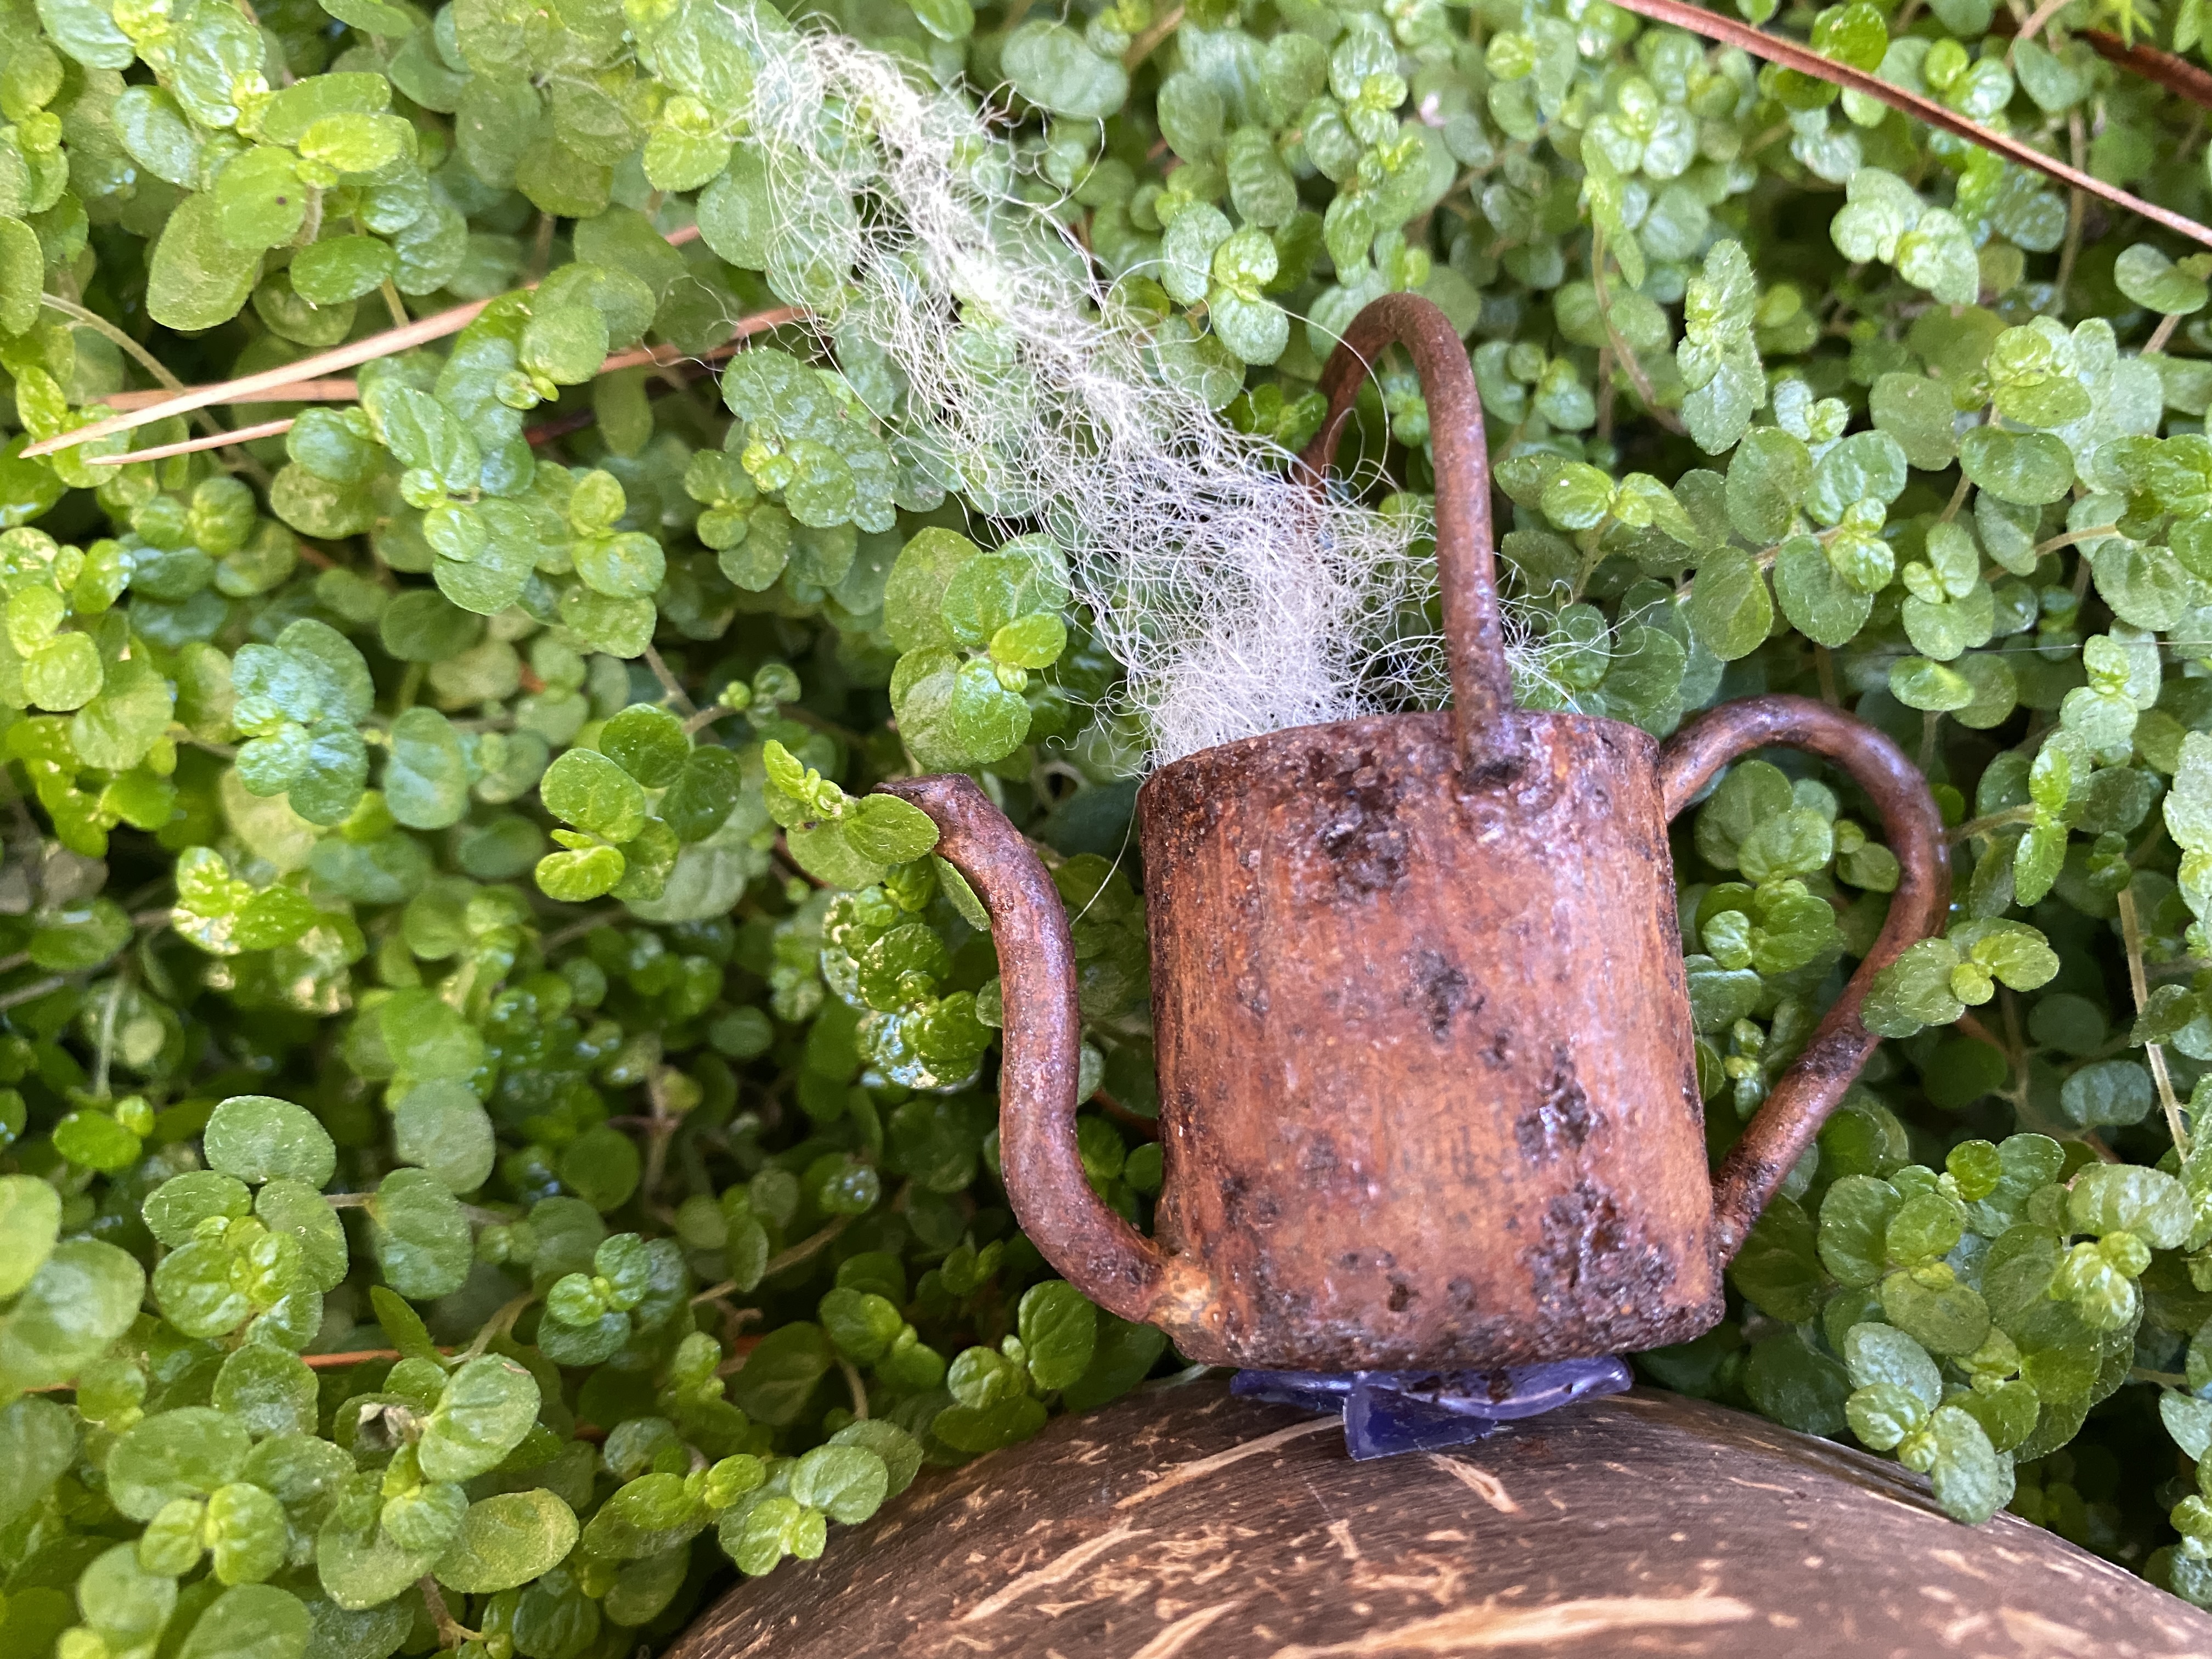
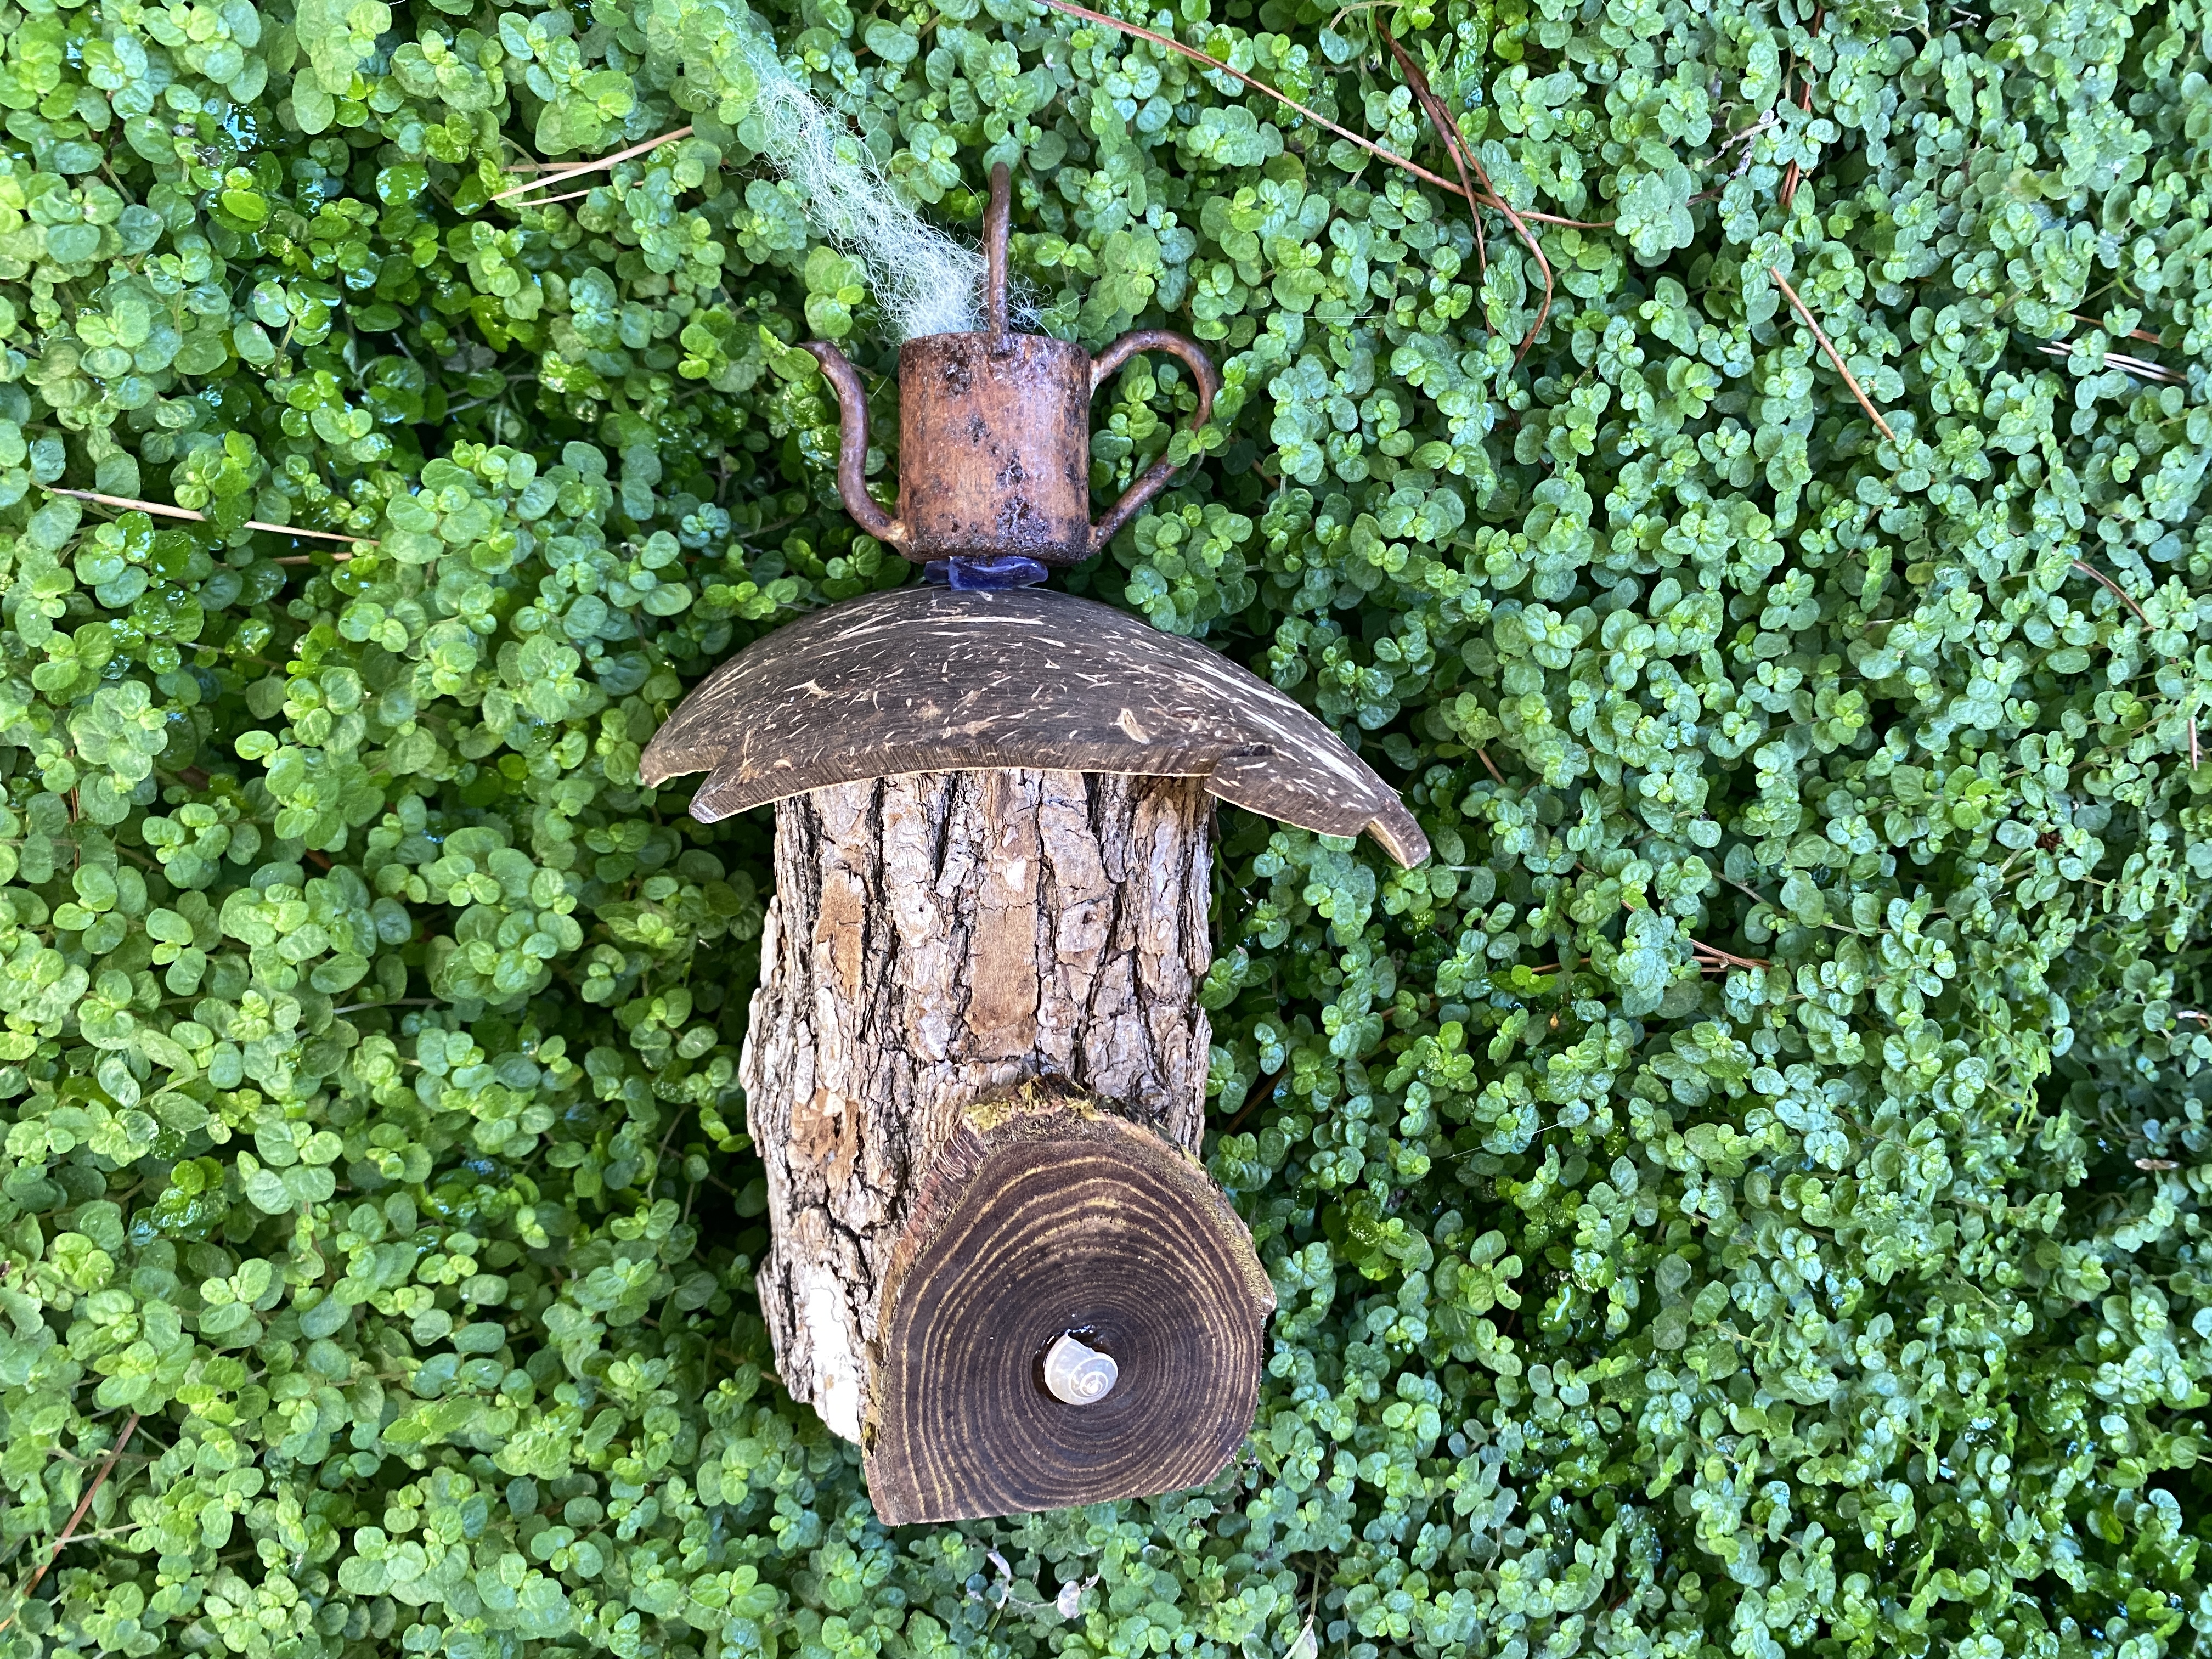
Building the fairy house was a breeze. I used a regifted candle holder for the base, then added an inverted coconut shell, once a floating candle holder, for the roof. The chimney is a tiny watering can with a bit of wool roving for the smoking chimney.

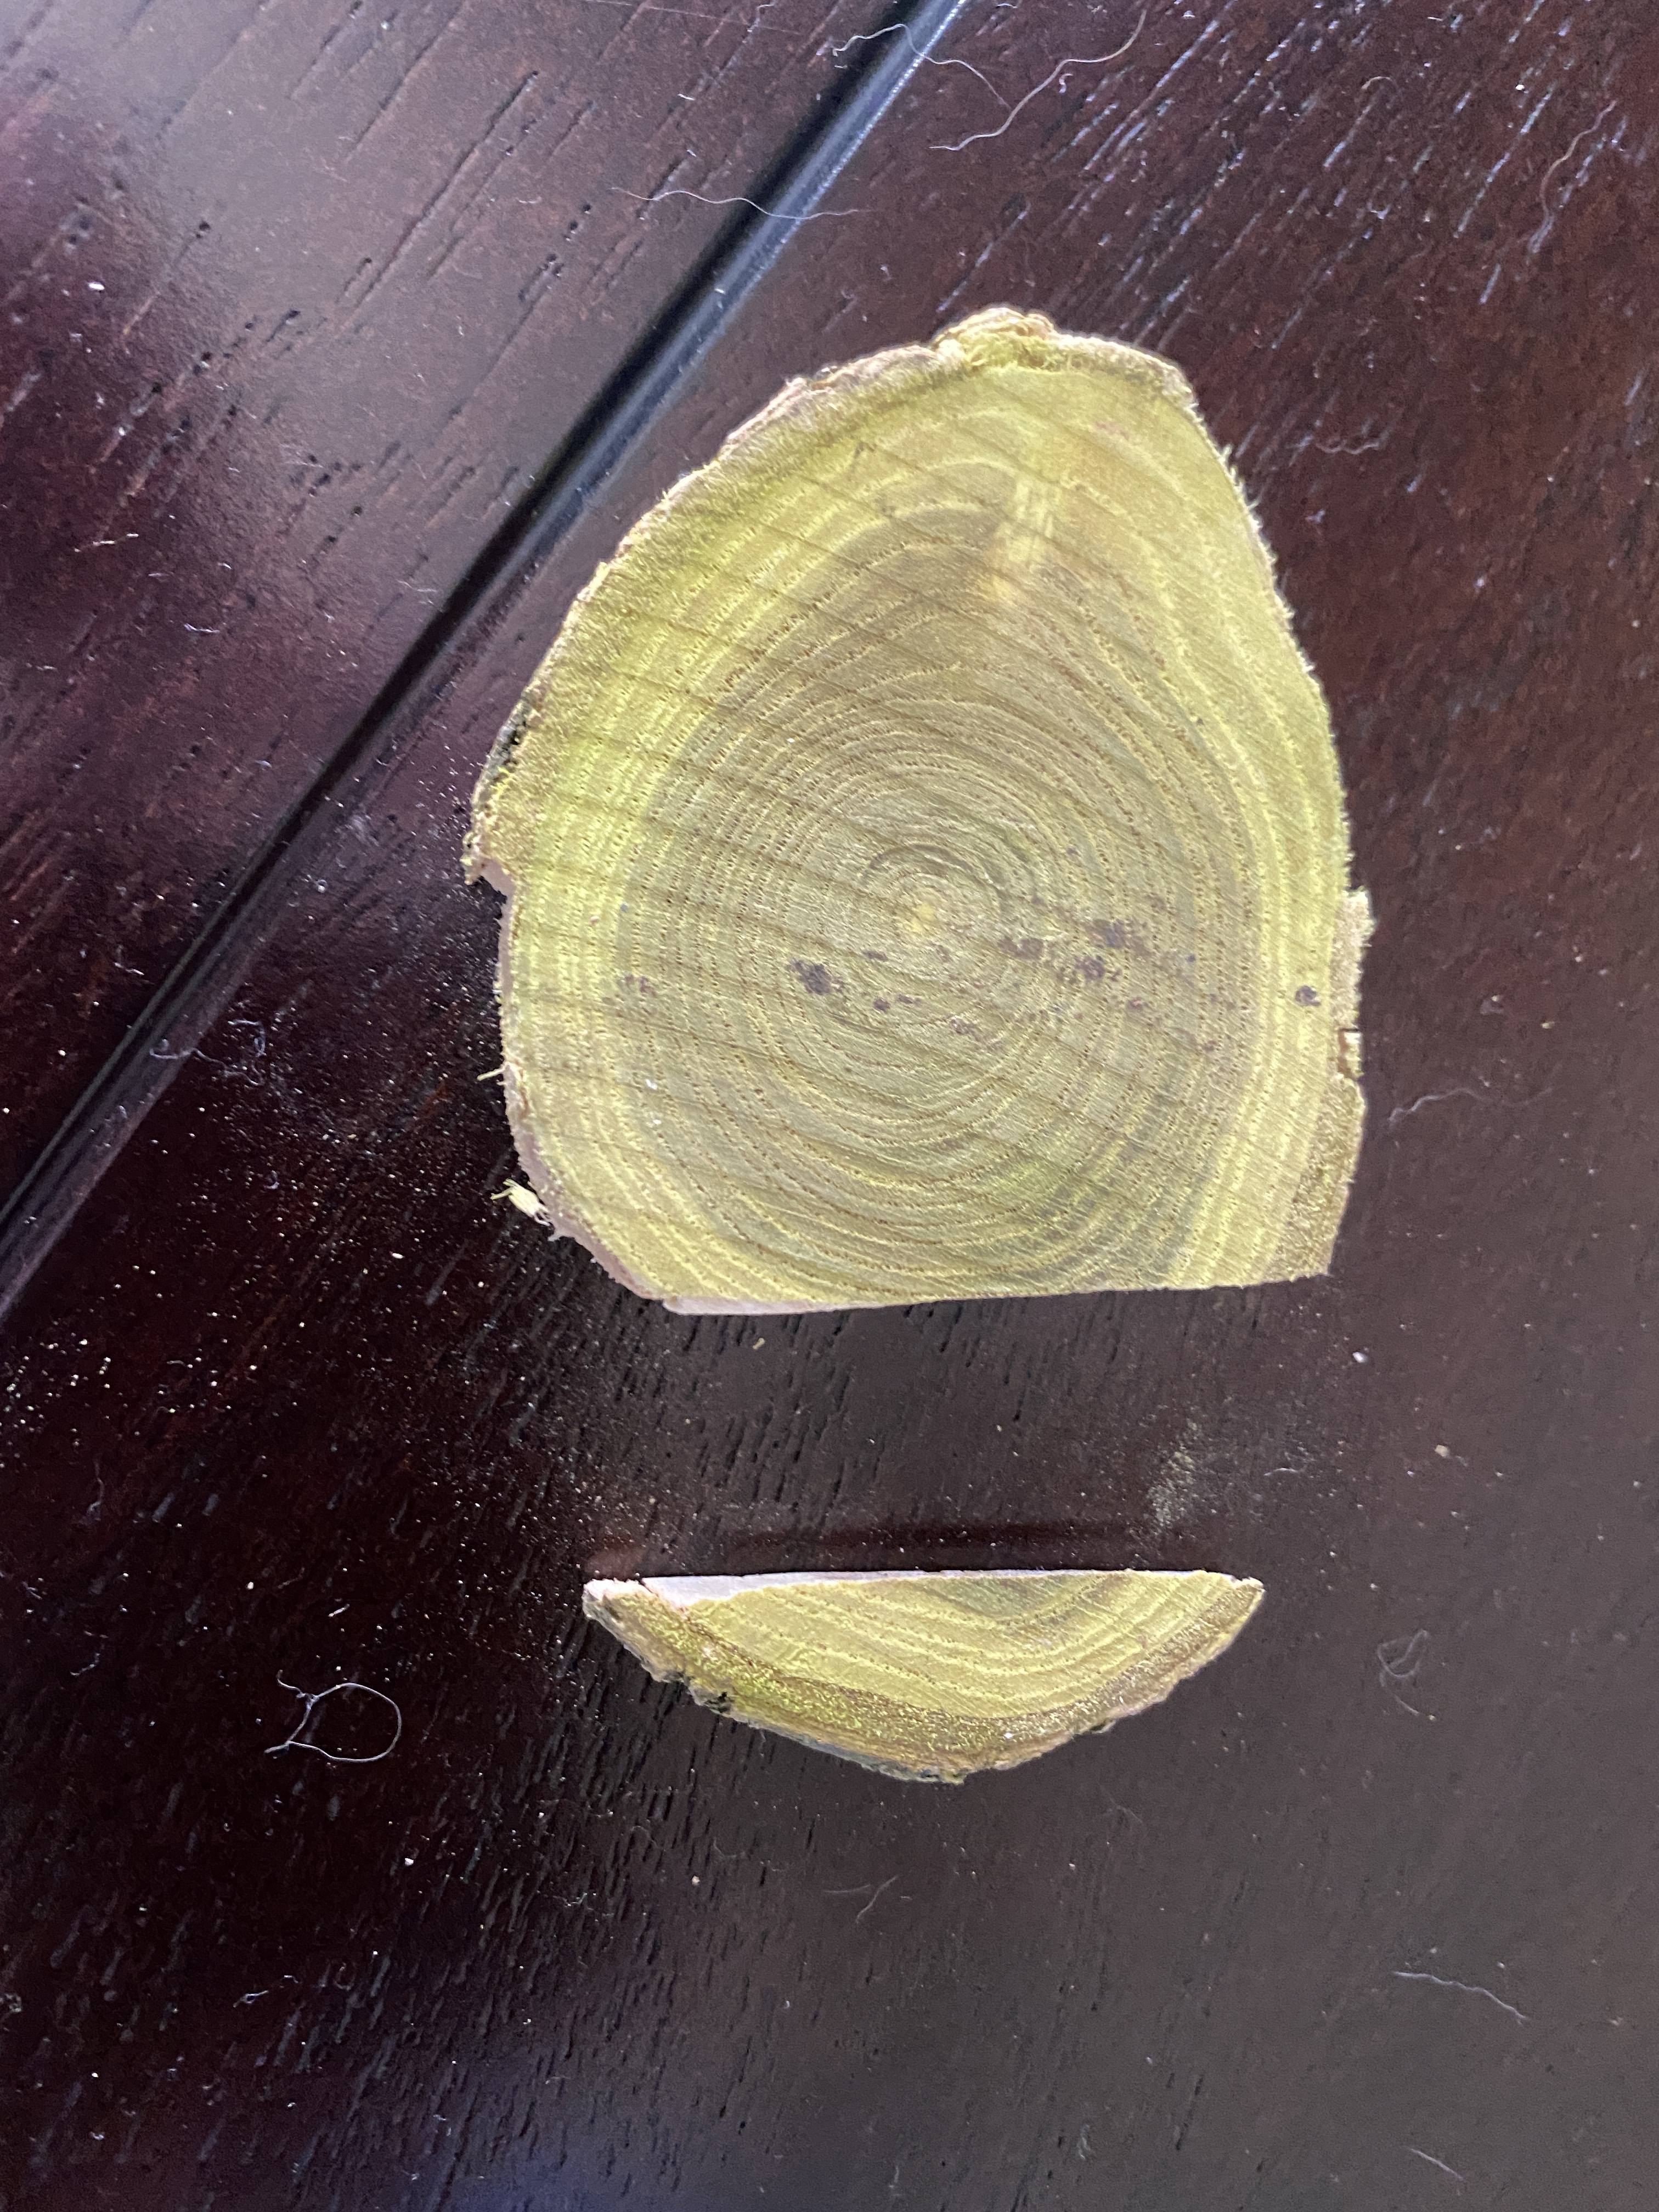
I used my crafting dye to spritz a bright green wood slab into a darker, earthier color. A seashell makes the perfect door nob. I used the same dye to darken a pair of take-out wooden chopsticks, then adhered seashells to create a fence.

Seashells from New Zealand
Autumn Scene

Rounding out the miniature setting, I used blue glass vase filler, white sand, and a pair of arched shells to create a tiny brook along the front of the garden.

Nestled Near the Little Free Library
Those clay pumpkins were also a gift several years ago (my friends know me well), with the tiniest pumpkin made from a bead and a twist of jute.

The autumn miniature spent most of the month next to the children’s Little Free Library where it stayed till a heavy storm arrived over the weekend. It’s now having a bit of a dry-out under the eaves.

Card-making also found its place in October.

Earlier this summer, I played around with my gel press and brayer, creating patterns and textures on white paper. I used several of those gel press images to make moons and pumpkins for Halloween cards.

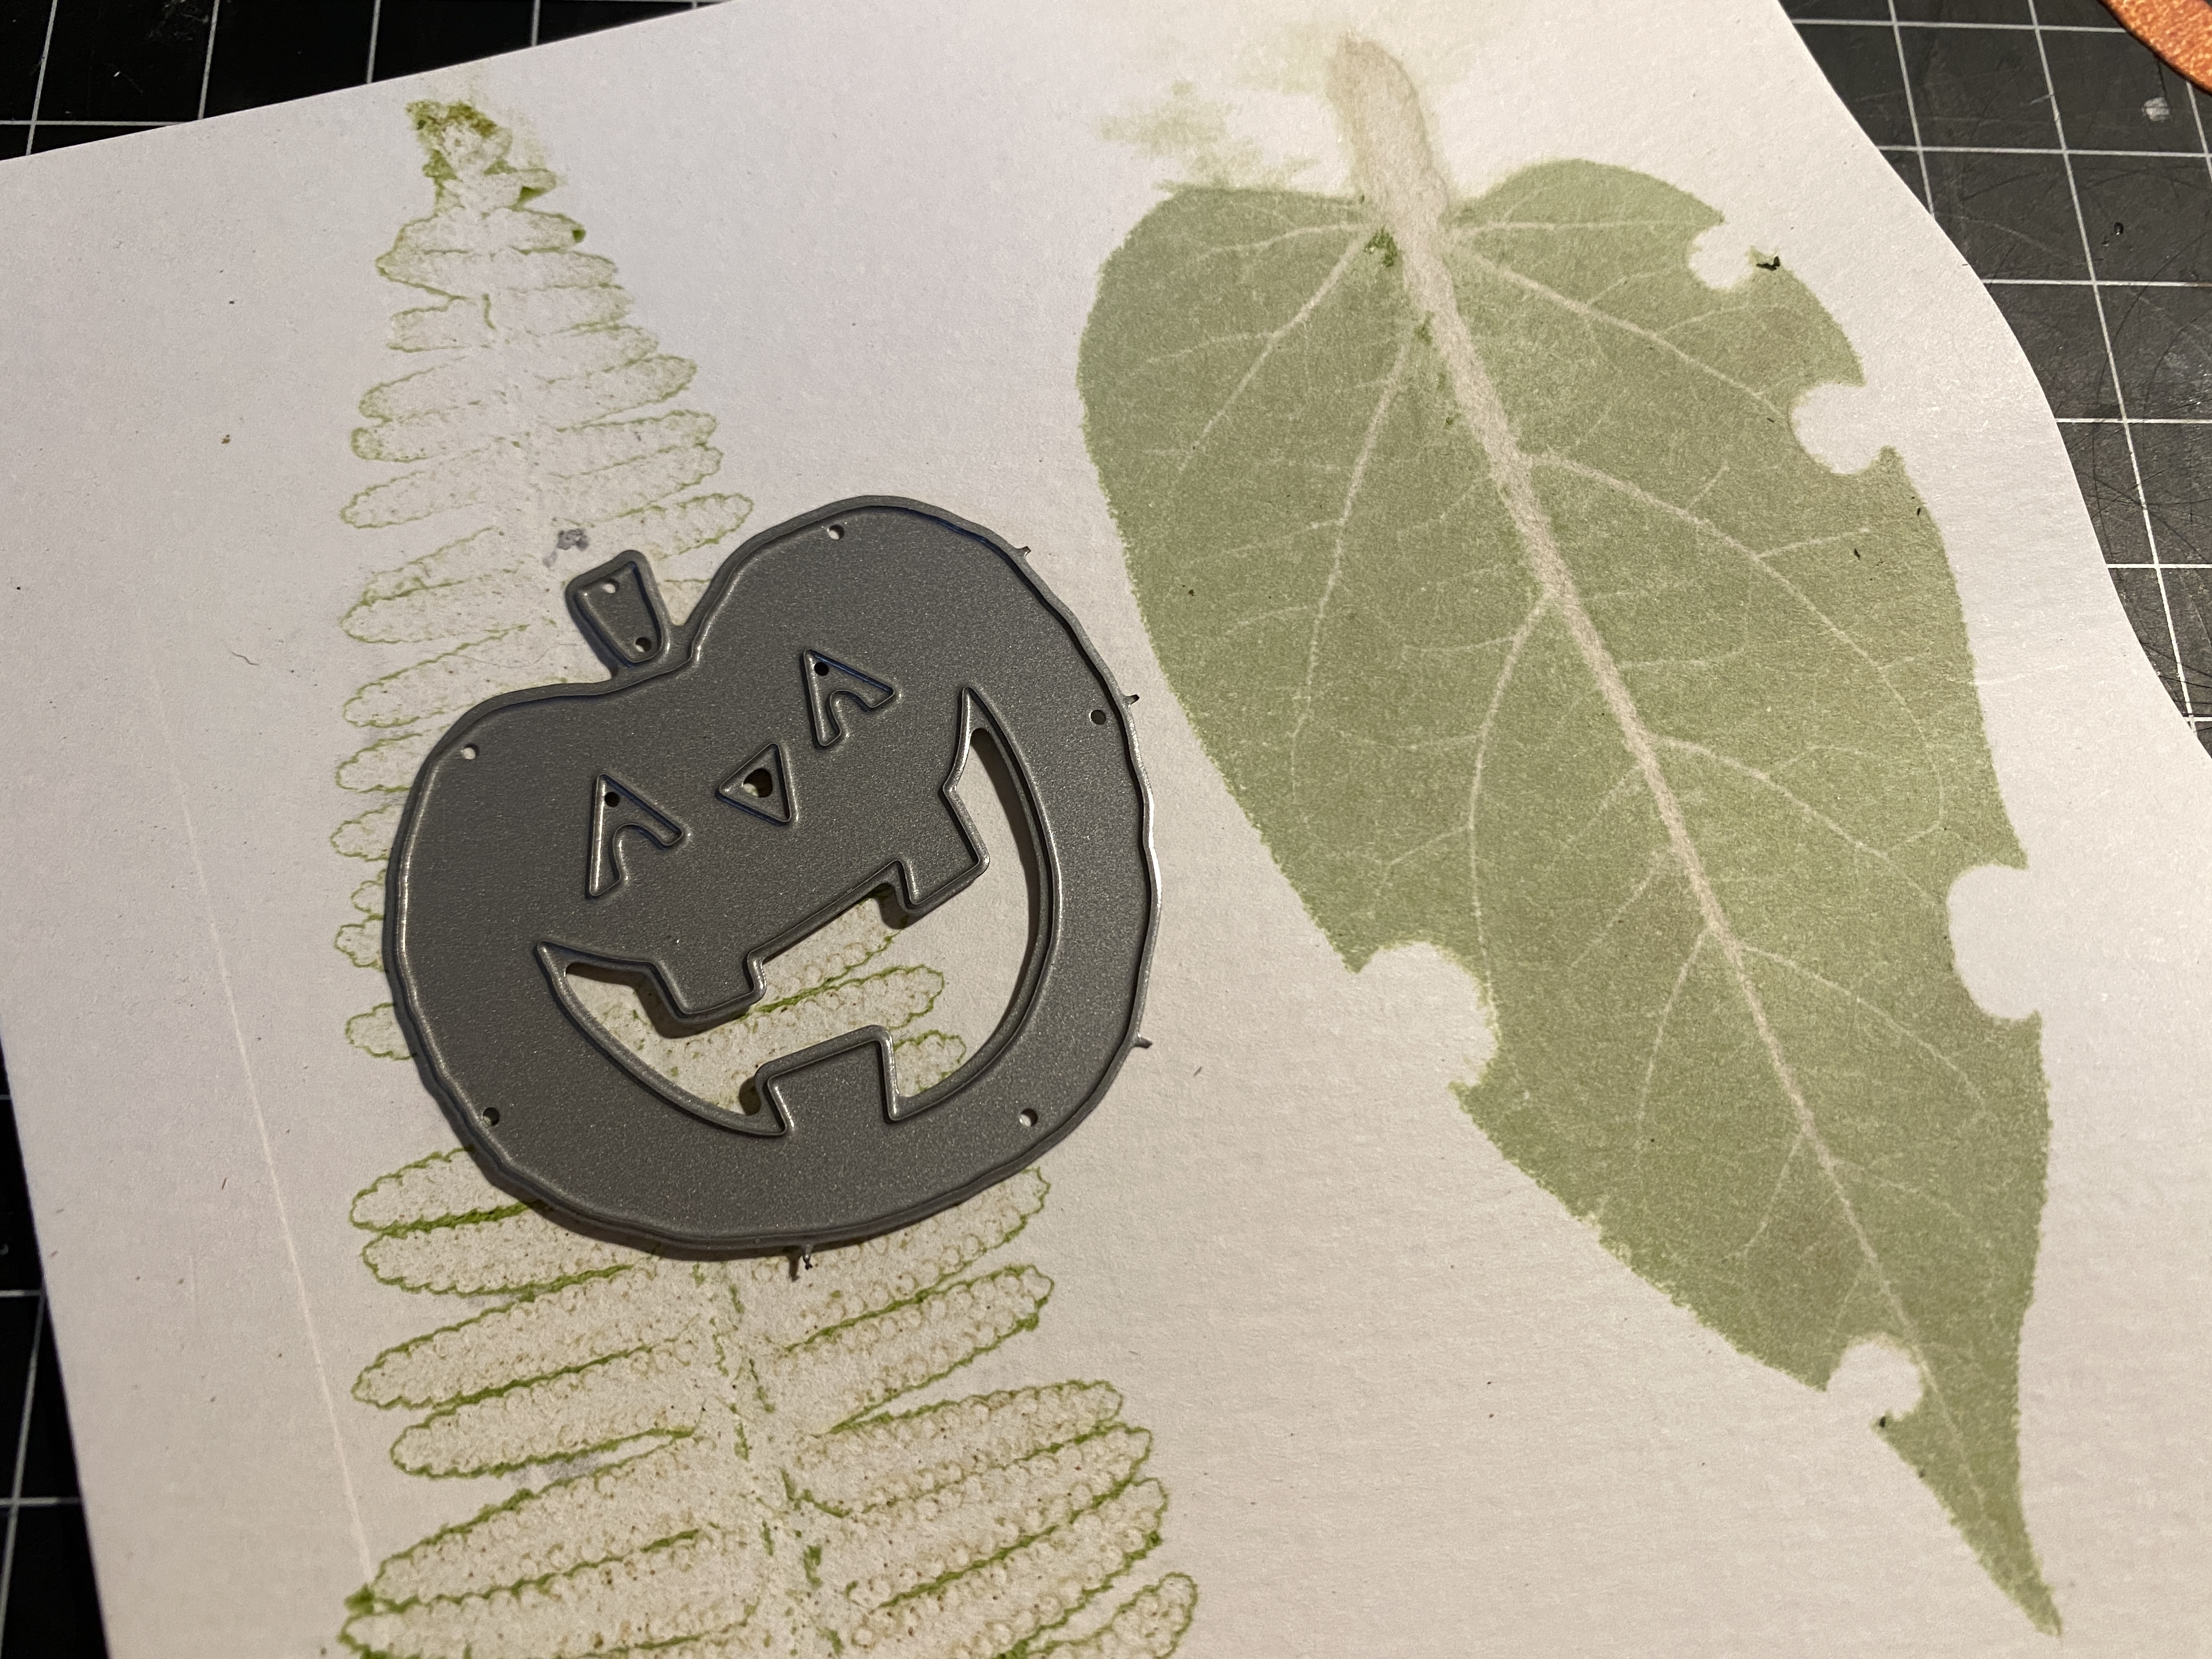
The pumpkins are die-cut from some of my brayer images, while the stems use leaf impressions made from garden greens.

A couple of months ago I treated myself to a new die. I used it for the majority of my cards. I like to invest in dies that I’ll get a lot of use from, and this one fits the bill. Here is a quick video of how the die-cutting gadget works.

Here are a few of my cards.

Black-embossed cat, gel press moon, and green patterned paper cut with my new die
Silver embossed cat, gel press moon, and green textured paper
Two for one: I used the off-cut of this blue background to make a bookmark.
Card series showing dies used in two different orientations. I like the first image the best.

The card in the lower-left corner is for my sister. I used her favorite color for the moon, cut the leaf pattern from sheet music paper, and made a shiny black cat, complete with notched ear like her sweet kitty, Queen B.

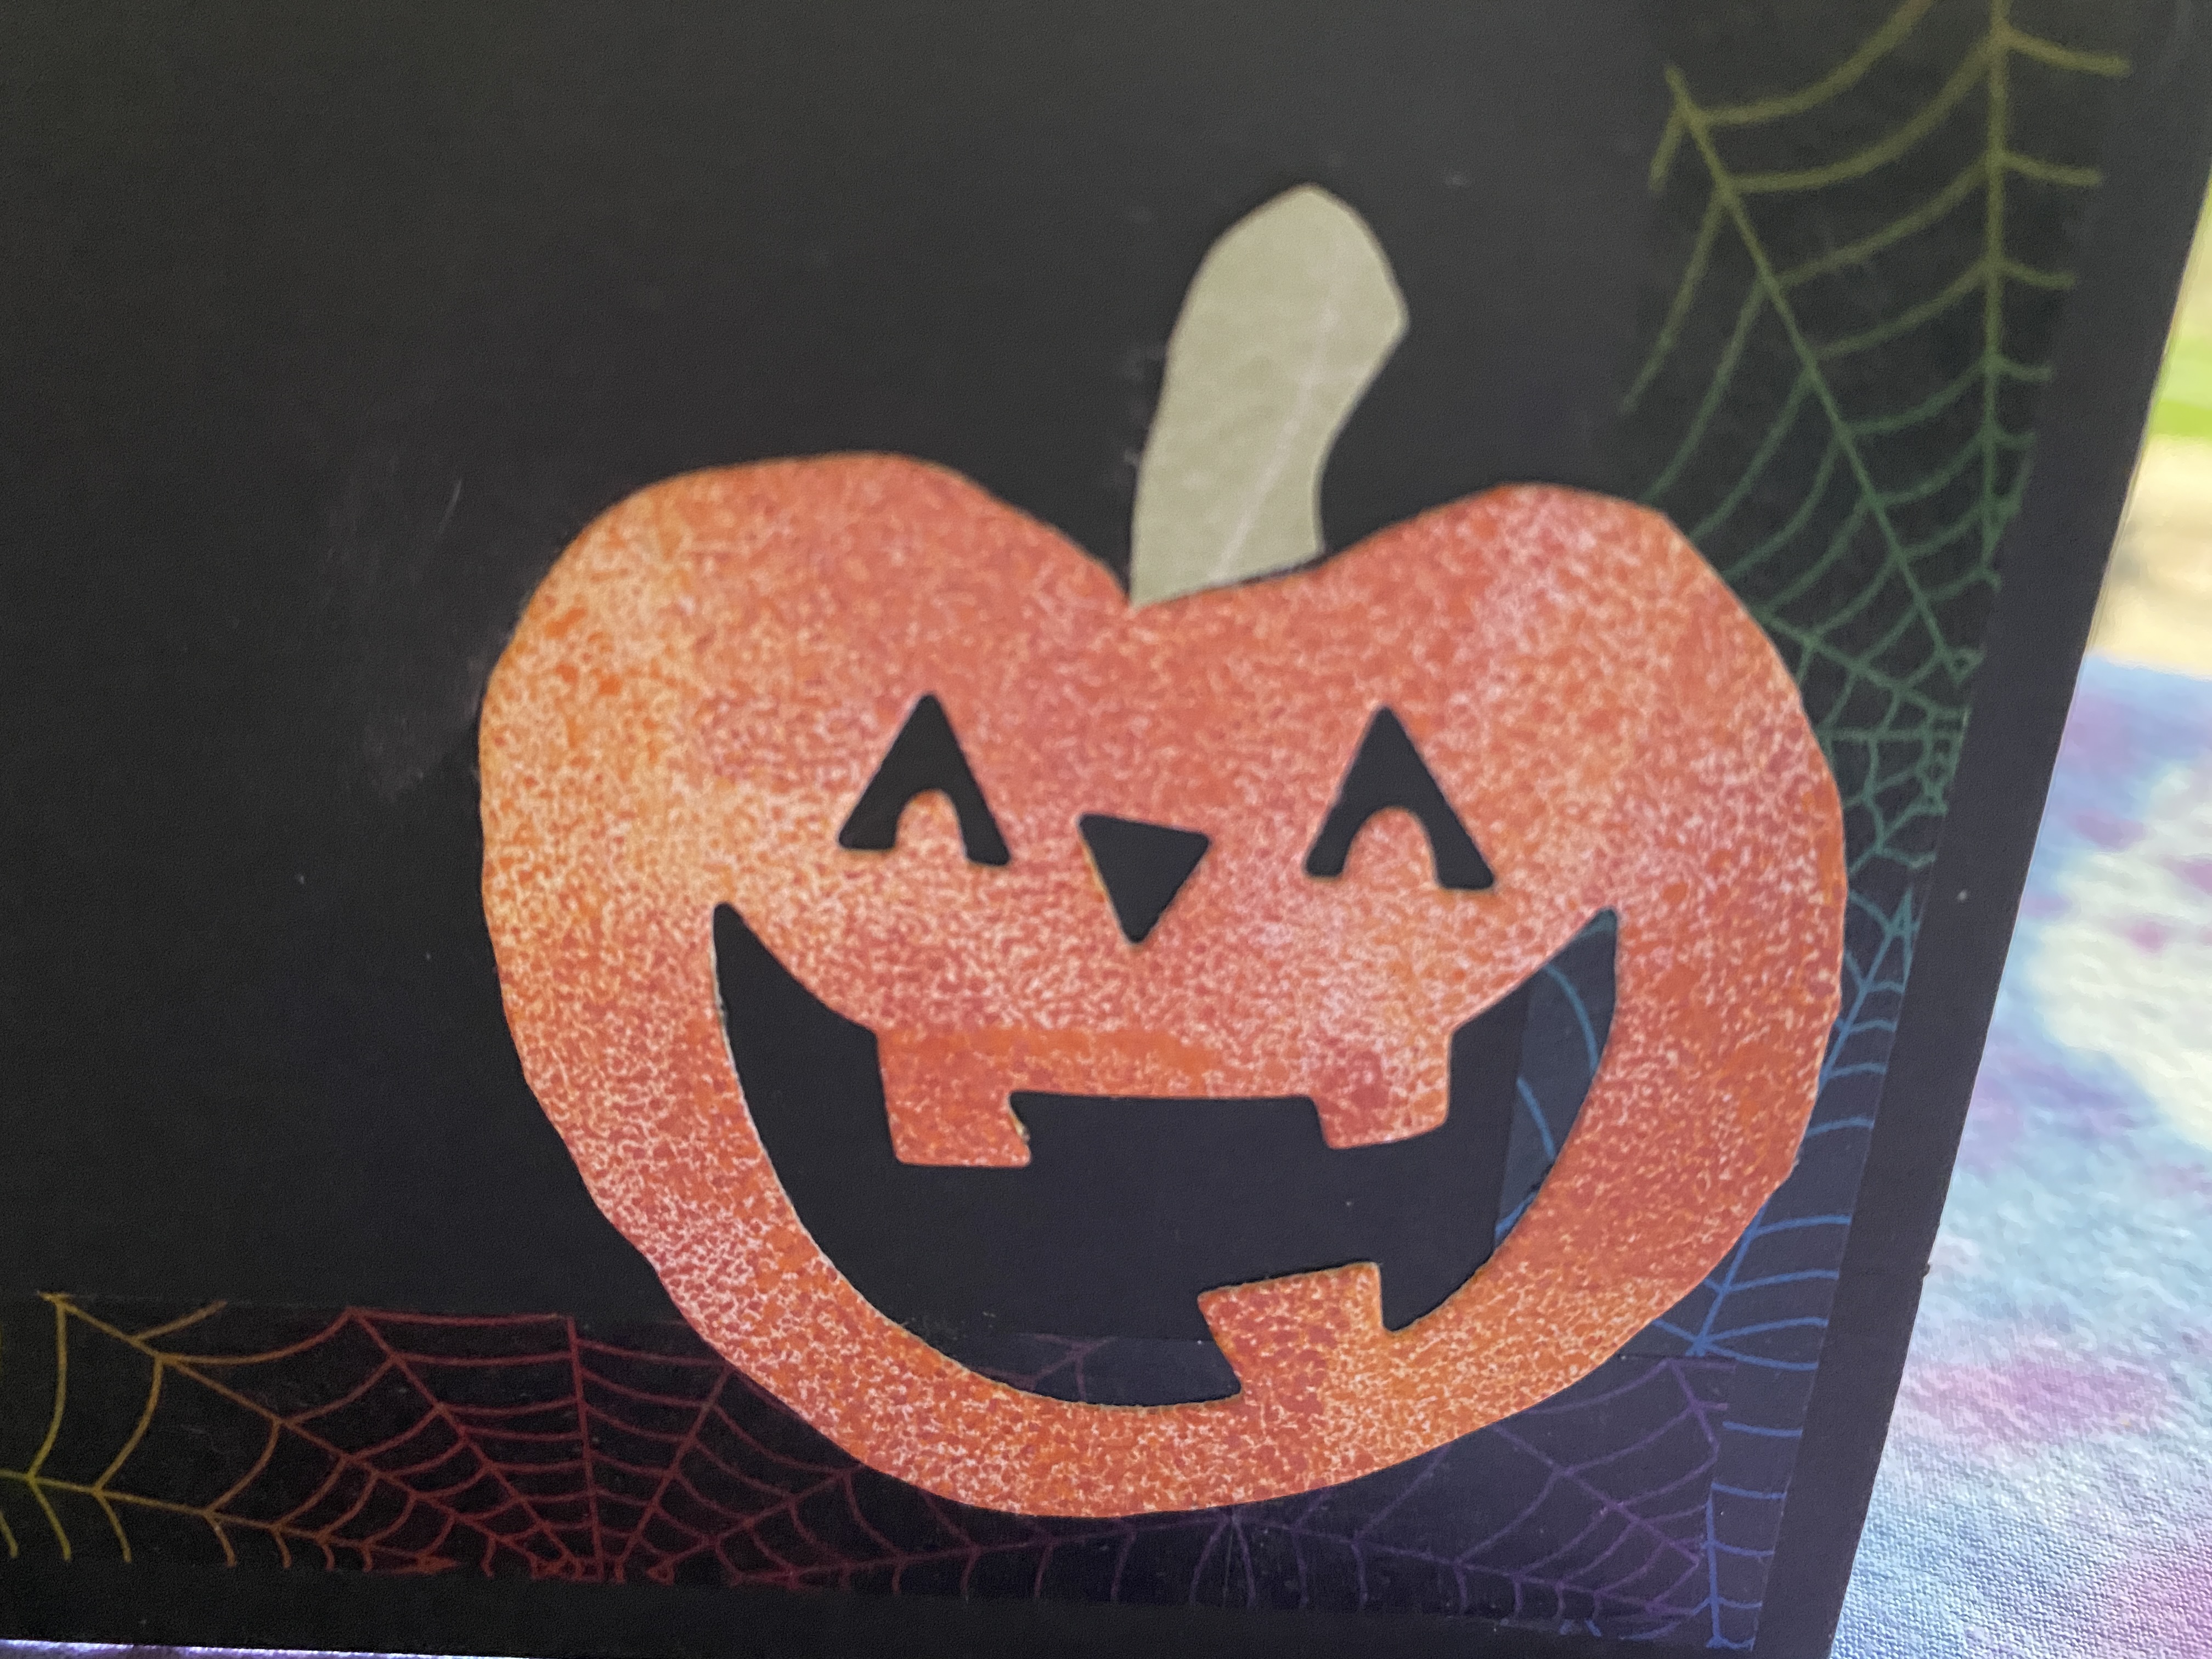
It wouldn’t be Halloween if I didn’t use a few pumpkins in my designs. My friend Jasmin gave me that bottle of gorgeous bath soak for my birthday earlier this month. It’s the perfect compliment to my cards. I used holographic paper for the border, then die-cut the pumpkin, lettering, and stem from various gel press images.

The second pumpkin card is framed on two sides by spiderwebbed Washi tape but it doesn’t show well in this photo.

This final card is made from a sheet of acrylic embossed with spider webs. It’s been part of my stash for years. I liked it when I bought it, but I could never quite figure out how to use it. I think I used it on a card many moons ago, but I couldn’t say for sure. I like the effect.

A few assorted bookmarks rounded out the month before I cleaned off my desk and put the Halloween leftovers away. It’s been a great stress-buster and a chance to connect with friends by mail.

Boo-k marks

The Elephant in the Room

I’ll start with a bit of levity from a Facebook post shared by a friend:

I’m either coming out of this quarantine 20 pounds lighter, chakras balanced and a house full of completed craft projects or 20 pounds heavier with a drinking problem.” – Spiritual Thug

I’m signing up for the former. I’ve lost six of the ten pounds I gained during my couch-bound, post-surgery recovery, simply by moving again. No doubt my metabolism slowed to a crawl. The first time I put my fitness watch back on, it celebrated 1,000 steps. It’s all relative.

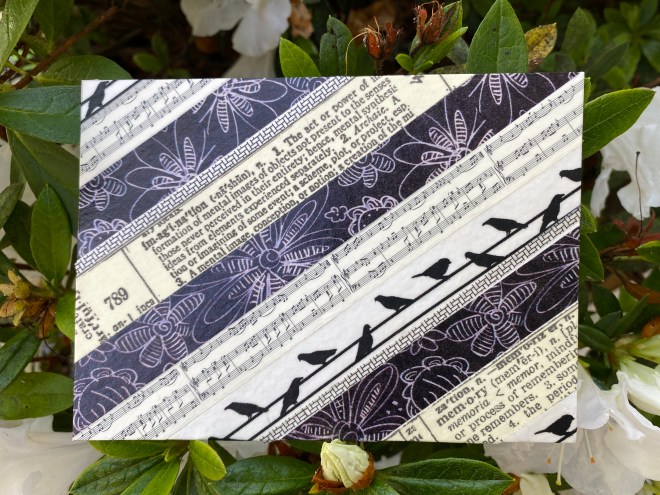
Now that I can sit with my feet on the floor, I’m also enjoying crafts. I’ve started by playing with some new watercolor markers, then on to a Washi tape card. I love playing with that tape. It’s oddly therapeutic.

Tail ends of Washi tape

Front of Washi tape card

Finished Washi tape card

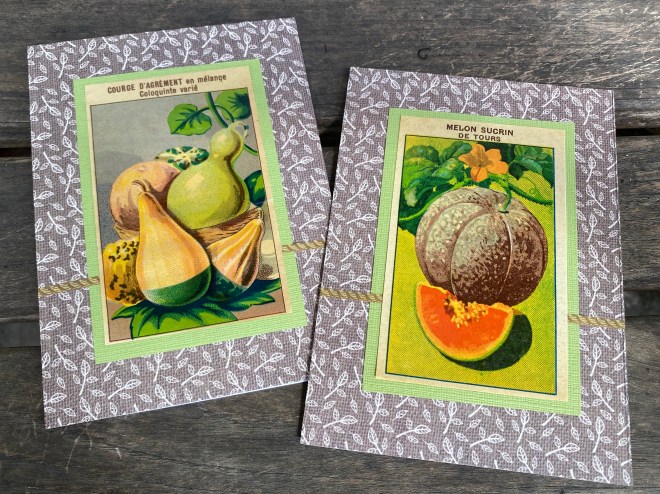
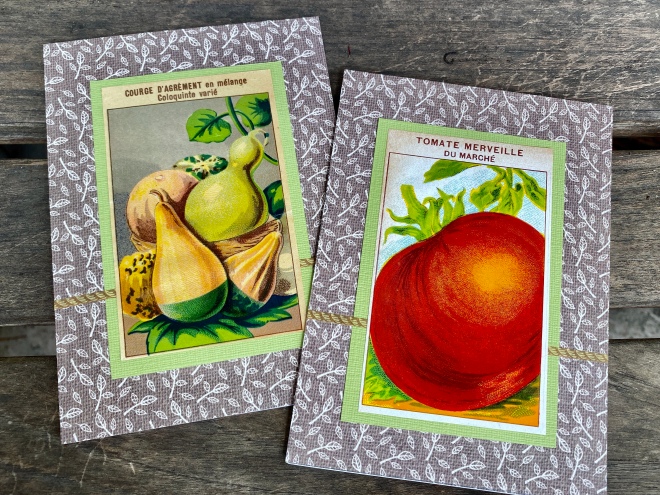
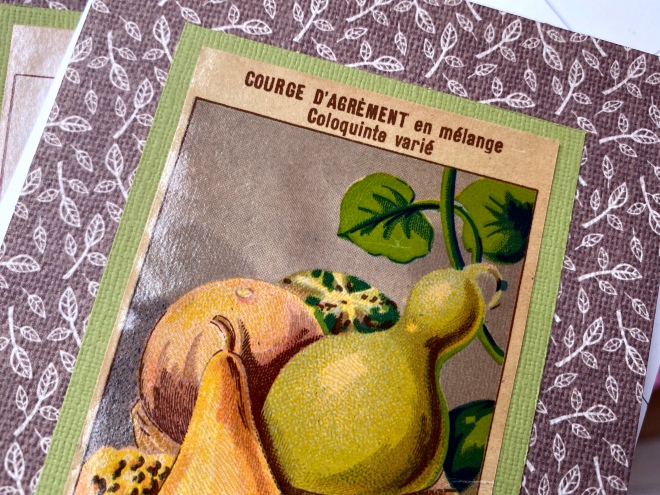
Sometime last year I found vintage French seed packet labels, intending to make them into cards for a friend. I came up with corny quotes to match and that was as far as I got. This week I followed through to completion, not only making the cards but getting them packaged and mailed.

Seed packet labels

Authentique paper

Even the paper scrap has a French name

Cards made with vintage French seed packet labels

Seed packet cards

Inside cards: Cover-inspired puns printed on tracing paper

A trio of seed packet cards

Close-up of vintage seed packet label

My friend’s trip to her beloved Paris is canceled, so this is a little pick-me-up and a surprise.

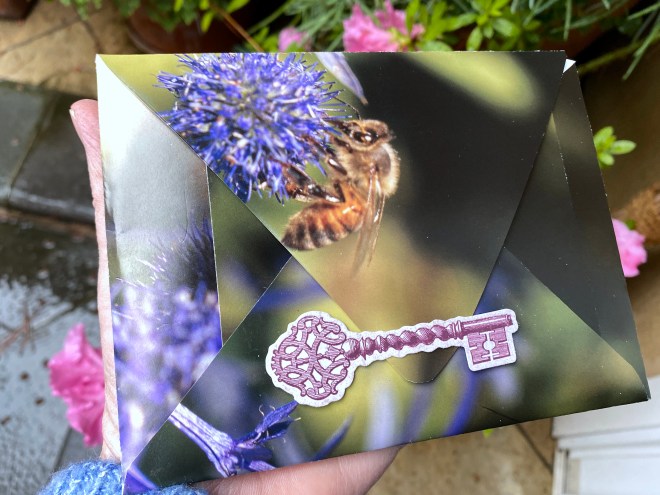
After finishing the cards, I repurposed a page from an old gardening calendar. I save and reuse wall calendars for crafts. I had to piece it in a few places to get the size I needed. It’s such a gorgeous photograph of a flower and bee. I wish I could give the photographer a proper credit.

Pieced edges of calendar used to complete envelope

Finished cards tucked into garden calendar page envelope

The exterior of the completed envelope

Sealed with a paper key

There’s nothing new I can share here about the ELEPHANT IN THE ROOM except to say that I’m working hard to tamp down my anxiety on a daily basis. I’m stretching in the morning before I even get out of bed. I’m touching my toes, just because I can. I’m also pulling weeds in the garden until my foot screams at me to stop.

That’s my signal to retreat to the couch with an ice pack and Mouse the Cat pressed to my hip.

Mouse loves his couch time

I’m a hugger by nature, so if I could, and only if appropriate, I would gather you in a warm embrace and say that it’s all going to be okay. For now, (((((you)))))

Be well.

A Heart of Teal

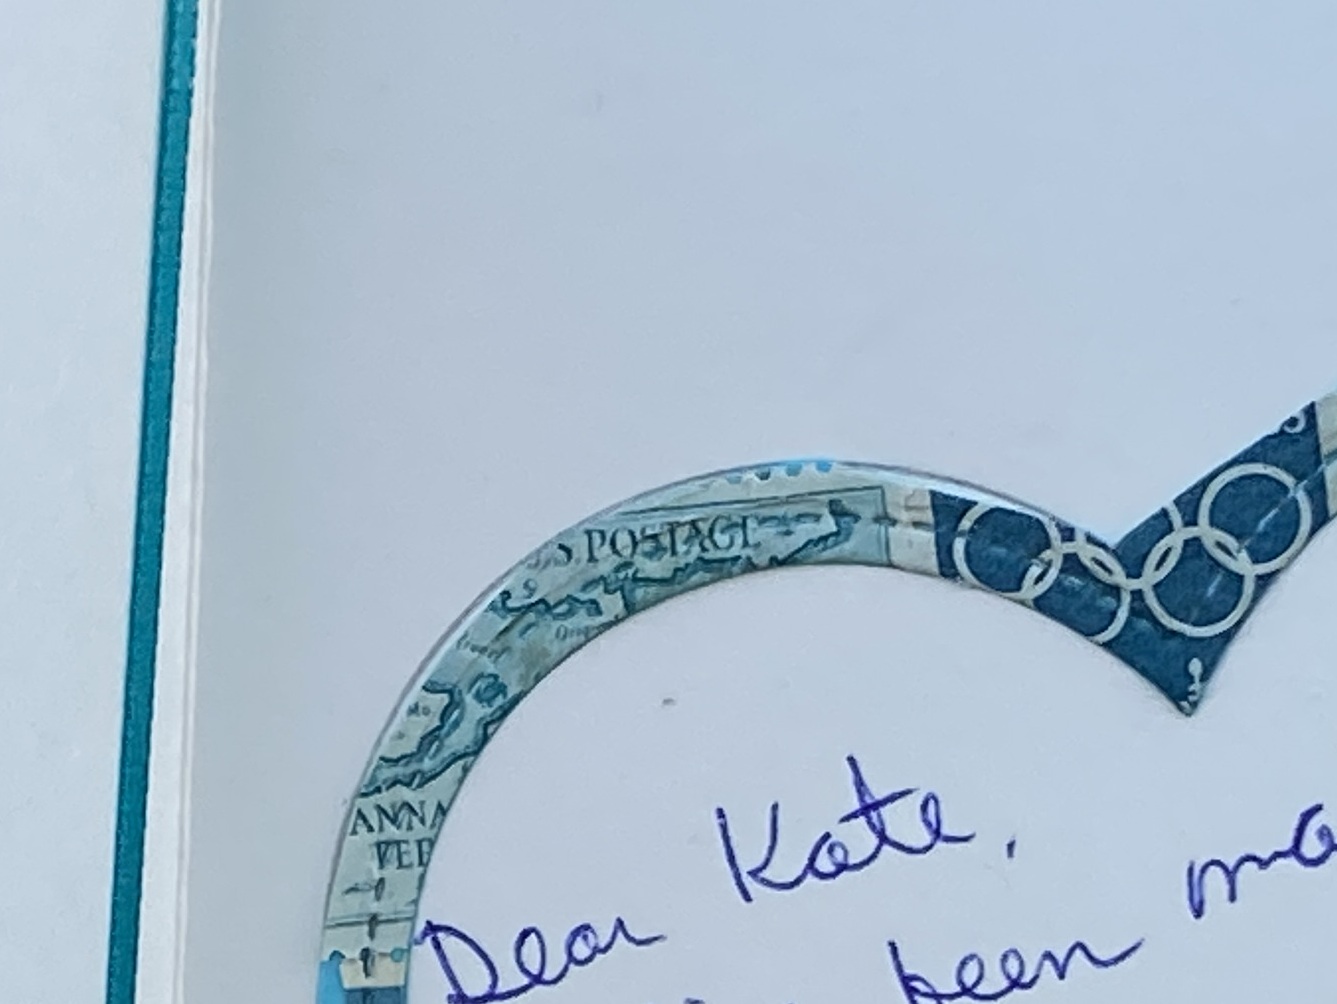
teal postage stamp card

Teal postage stamps die-cut into a heart

Kate, as you know has a heart of teal.

Through her blog, Tall Tales From Chiconia, Kate unites bloggers around the world. She is also a champion for Ovarian Cancer Australia.

Kate designs teal quilts with a clever, tongue-in-cheek theme. My current favorite is Signed, Tealed and Delivered, a quilt featuring postage stamps, envelopes, letters, and notes, all cleverly sewn into quilting squares by talented artisans and crafters around the world. Kate gathers, assembles and then quilts the final product. The quilts are auctioned, with the proceeds benefiting Ovarian Cancer Australia.

Kate also co-hosts monthly scrap-happy posts where bloggers share what they’ve created that month made entirely of scraps. I frequently take part and really enjoy seeing the creativity of others.

I’ve wanted to make a card of appreciation for Kate for some time, but it took surgery to slow me down and reset a few priorities. Kate’s away on a long holiday, so I won’t publish this post until she returns and receives her card in person. It’s a paper quilt of sorts, using teal postage stamps, die-cut into a heart and placed on an embossed background. Teal stamps are not easy to come by. I found the Vintage Postage Shop on Etsy and asked her to send a packet of teal or close to teal, stamps. I added one from my Dad’s collection, the 1946 Ceylon stamp at the bottom of the heart. The stamps represent travel, gardening, flowers and, stating the obvious, teal.

Postage stamp card interior

Narrow heart border inside the card

I’m a wannabe quilter. I know how to sew, but I lack the precision and the patience to make a quilt. I’m a huge admirer though, of all that goes into making one and I thoroughly enjoy watching the process unfold. I’m impressed by the generosity and the talent of all of the women involved.

Thank you, Kate.

Teal postage stamps heart shaped card

Floral-embossed teal background

T.E.A.L.® stands for both Tell Every Amazing Lady About Ovarian Cancer Louisa M. McGregor Ovarian Cancer Foundation and for Teal, the color that symbolizes ovarian cancer. Founded in 2009 by two sisters from Brooklyn, NY to draw attention to ovarian cancer, T.E.A.L.® has grown to become a national movement. Our goal is to decrease mortality rates by helping women identify signs and symptoms and urging them to seek medical help at the earliest possible stages. We believe that by equipping women with knowledge about the disease and its signs and encouraging them to listen to their bodies, we can save lives.

Note: Kate’s card had an interesting journey thanks to an outdated address (my bad) and the uncertainly in the time of Covid-19. She’s written a post about the card and about letter-writing in general and it’s resonation with a lot of her readers. You can read it in full here.: Neither Snow Nor Rain

ScrapHappy August: Tie-Dyed Wet Wipes

It’s true. This month’s scrap-happy card project uses tie-dyed wet wipes. Four year old, tie-dyed wet wipes, just to be sure that they are good and dry.  [Smirk]

I’m joining Kate, of Tall Tales from Chiconia, for her monthly scrap-happy blog post. The challenge is to create something made entirely of scraps.

A few year’s back I took a card-making class with my sister from Michael Strong.

Michael had us create cards using  baby wipes, normally reserved for changing nappies or diapers and a few drops of alcohol ink.

alchohol ink Tim Holtz baby wipes

Alcohol Inks by Tim Holtz

baby wipe tie dye

White backing paper and tie-dye affect using baby wipe and inks

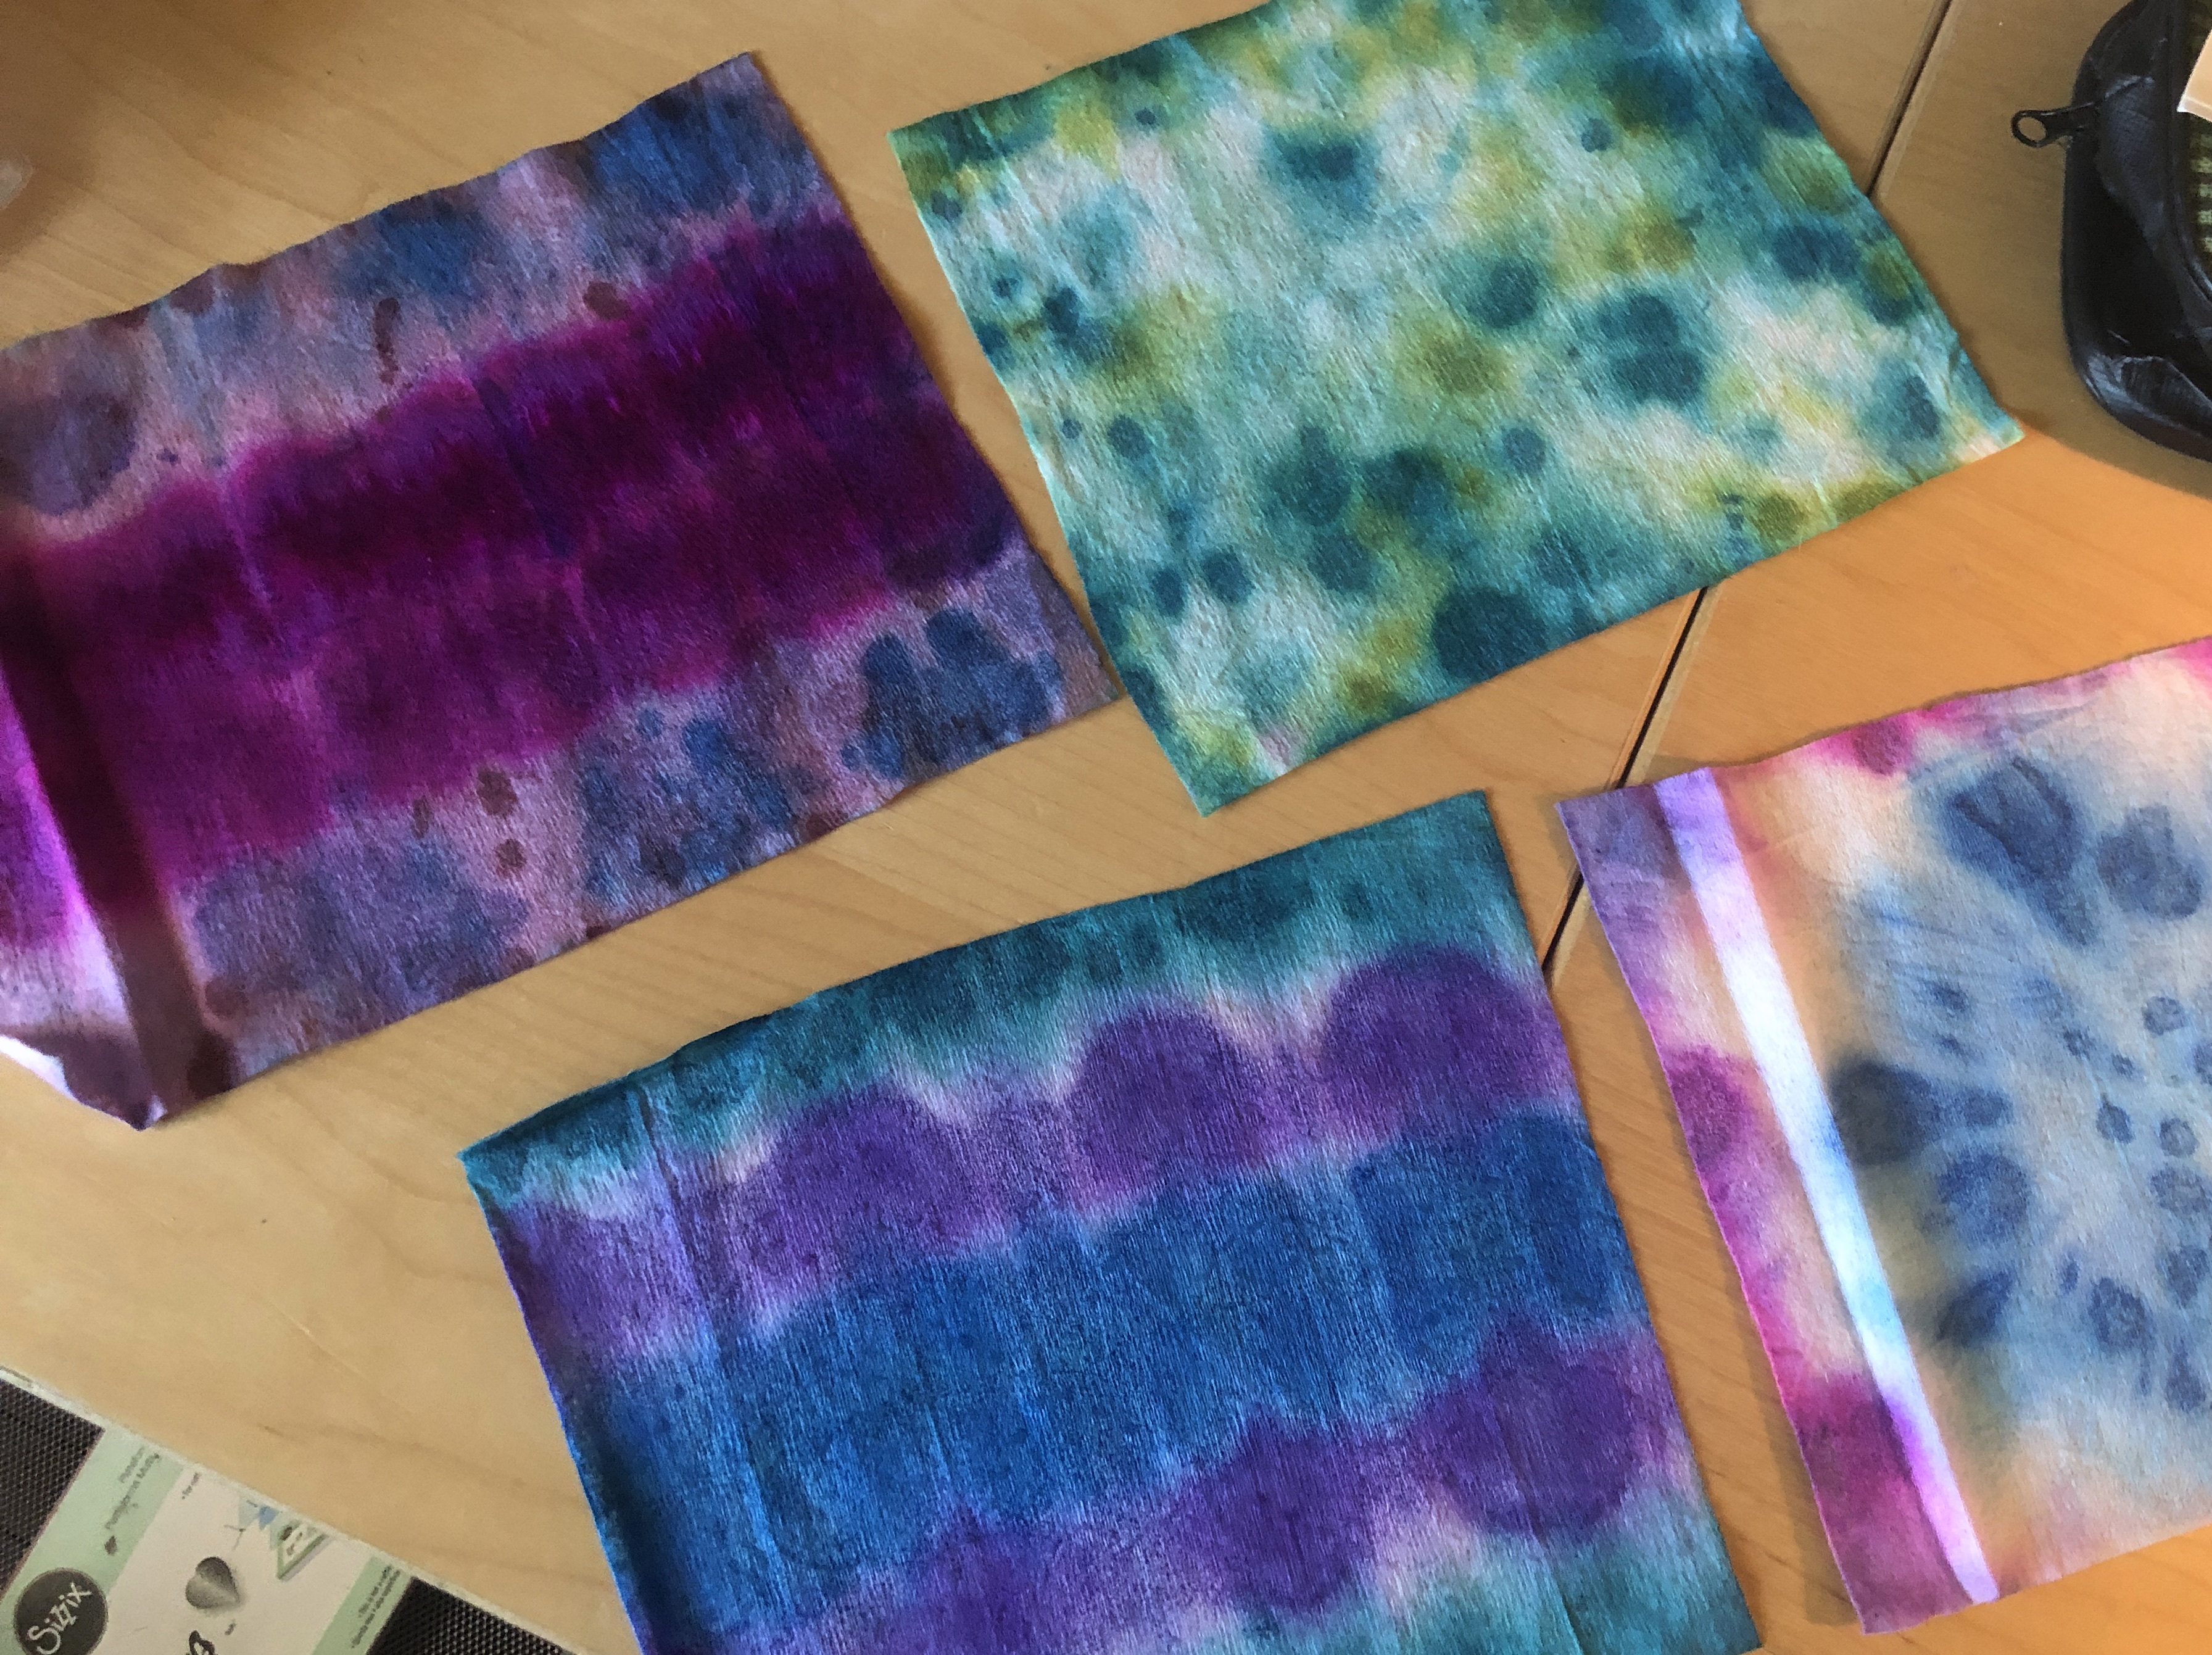
After the ink dries, you attach the wipe to a sticky backing for support. I came home with several finished cards, a pile of tie-dyed samples and lots of good intentions.

tie dyed wet wipes

Samples of ink-dyed wet wipes

These past four years flew by!

With ScrapHappy August looming, I pulled out my four-year-old stash of faux tie-dyed wipes looking for inspiration. One by one, I ran each sample through my Big Shot die-cutting machine, and I was off having fun.

In class we made simple backgrounds using the tie-dyed sheets. I took it a step further and cut the samples into interesting shapes.

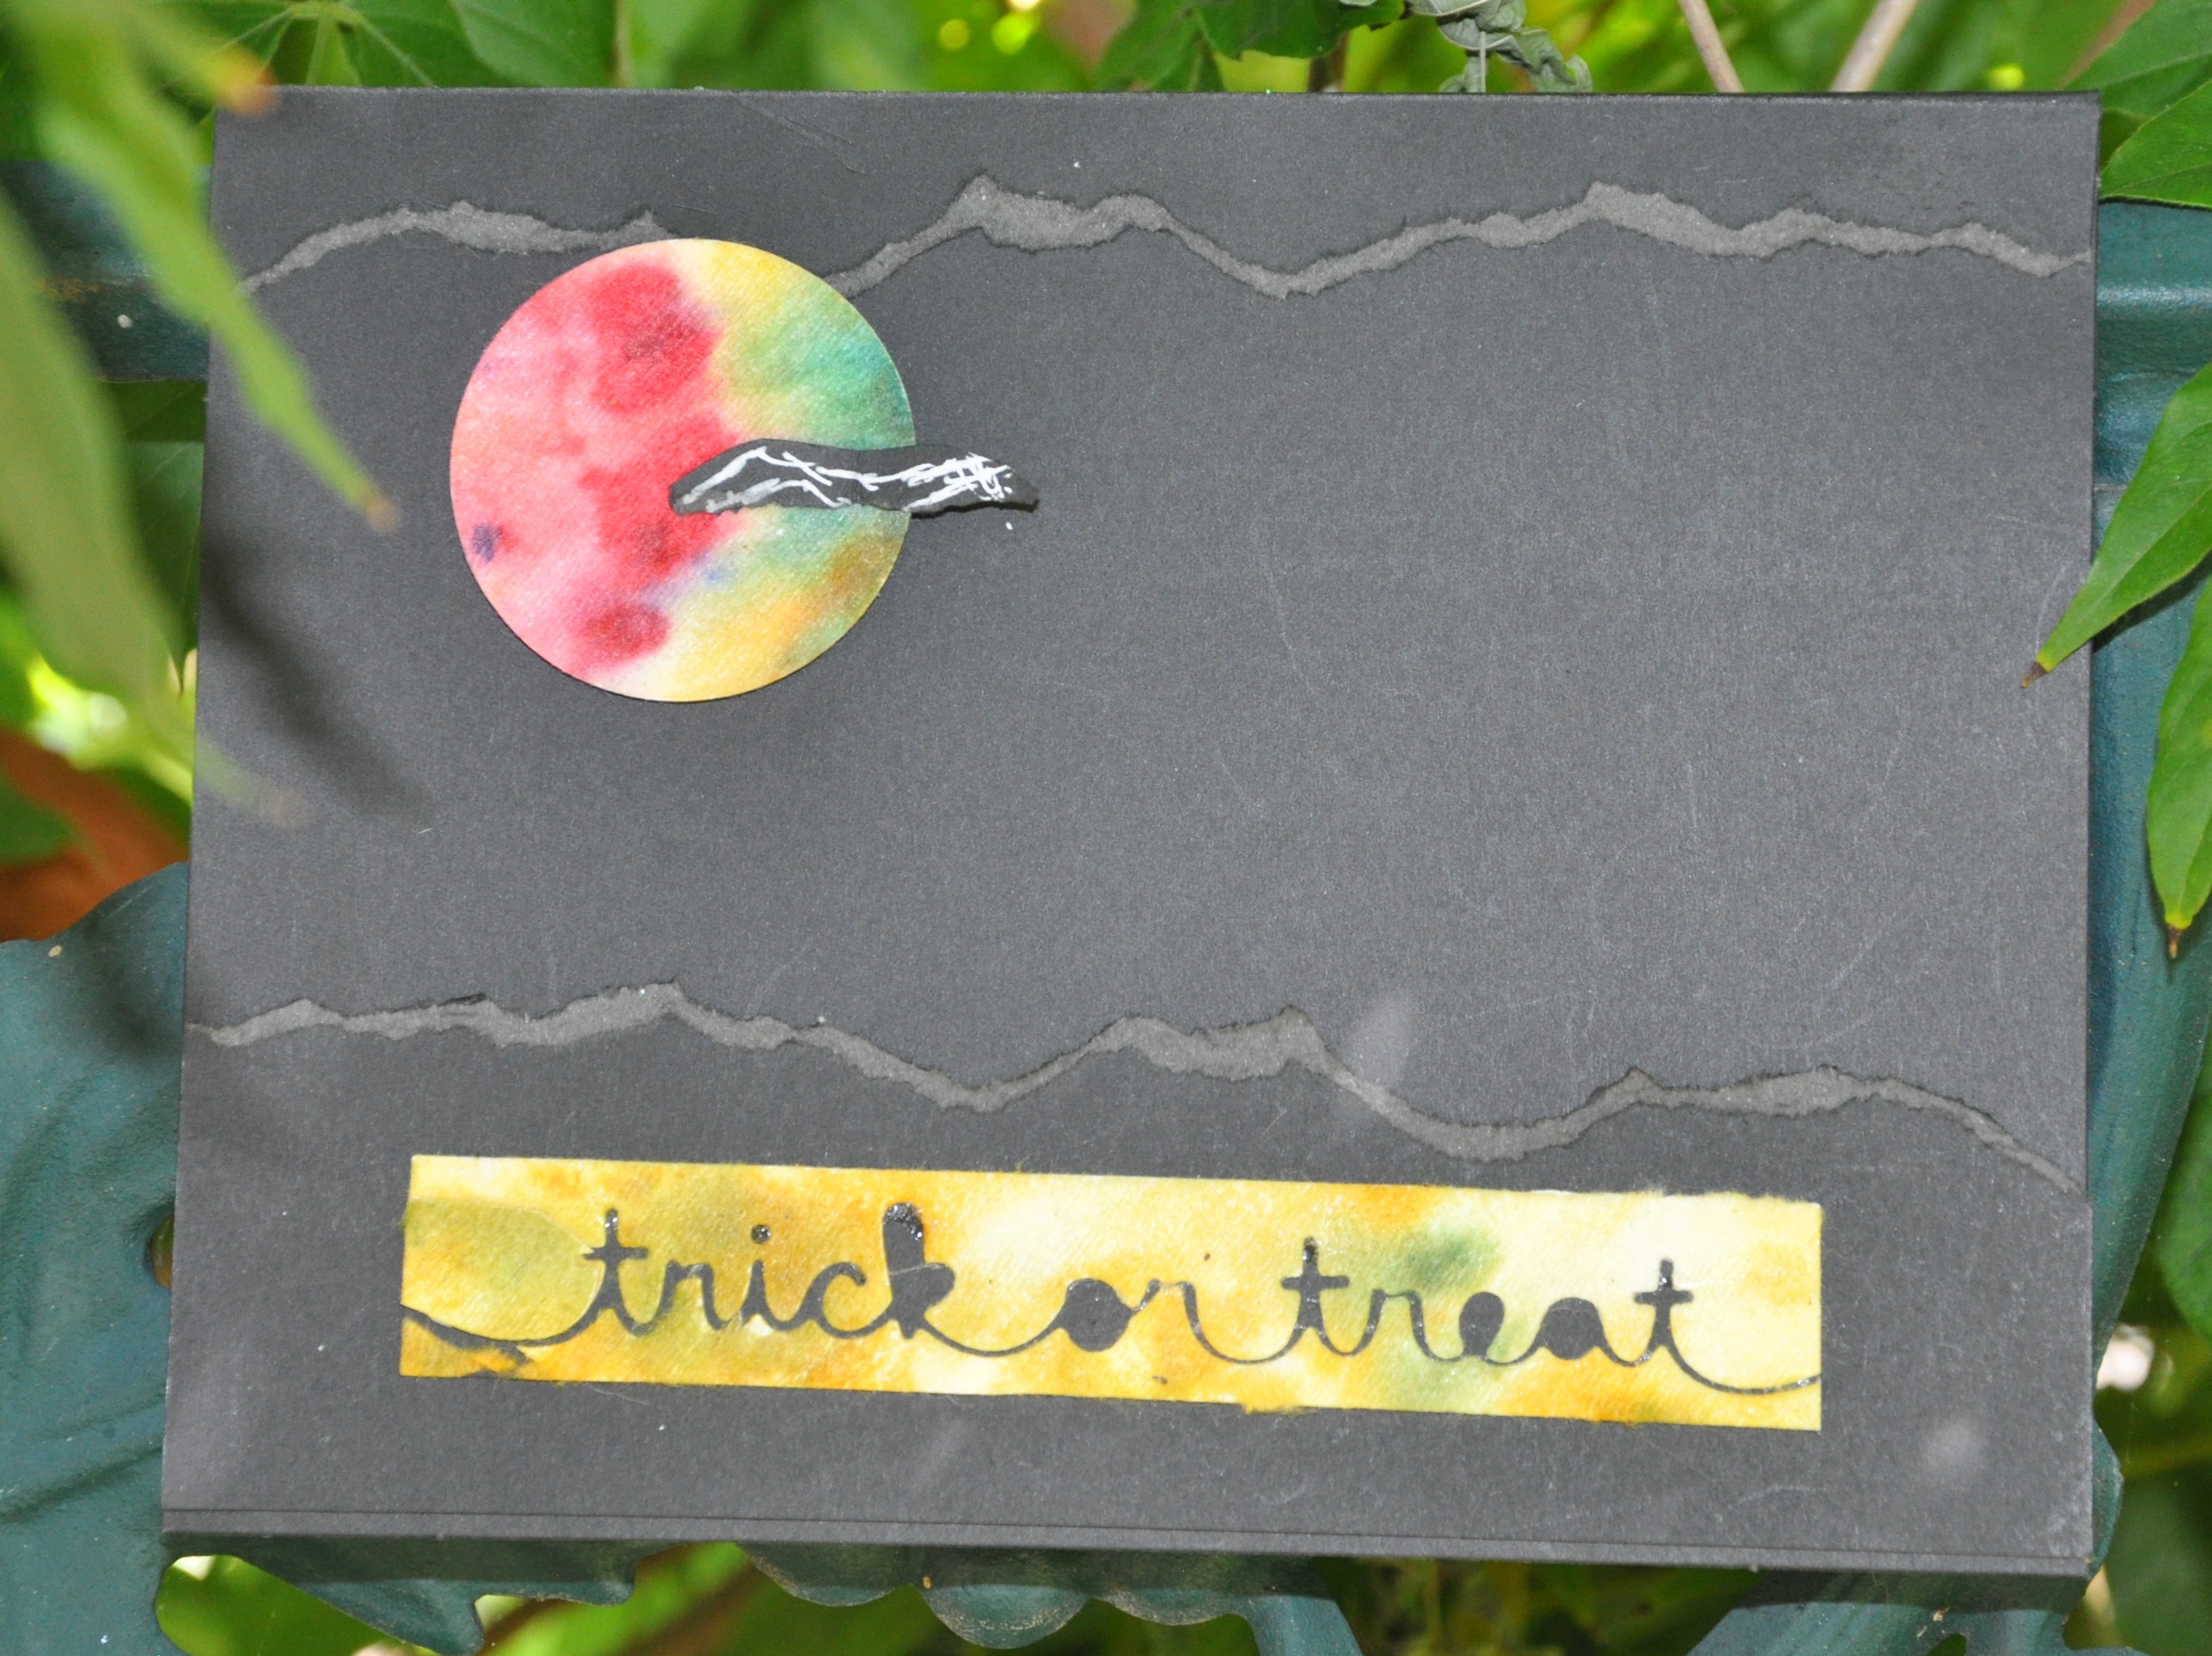
Here’s one for Halloween: I used the shadow cut of a “trick or treat” die and a circle to emulate the moon. I used an “oops” card to make the grey shadows, simply tearing the edges and adhering to the top and bottom of the card. That’s supposed to be a bat over the moon, but only if you’re hard of seeing. I’ll have to fix that.

Halloween tie dye card

Next up, a Christmas card using one of my sister’s snowflake dies and a blue and purple dyed wet wipe.

wet wipes merry christmas tie dye card

Ink-dyed wet wipe and snowflake die

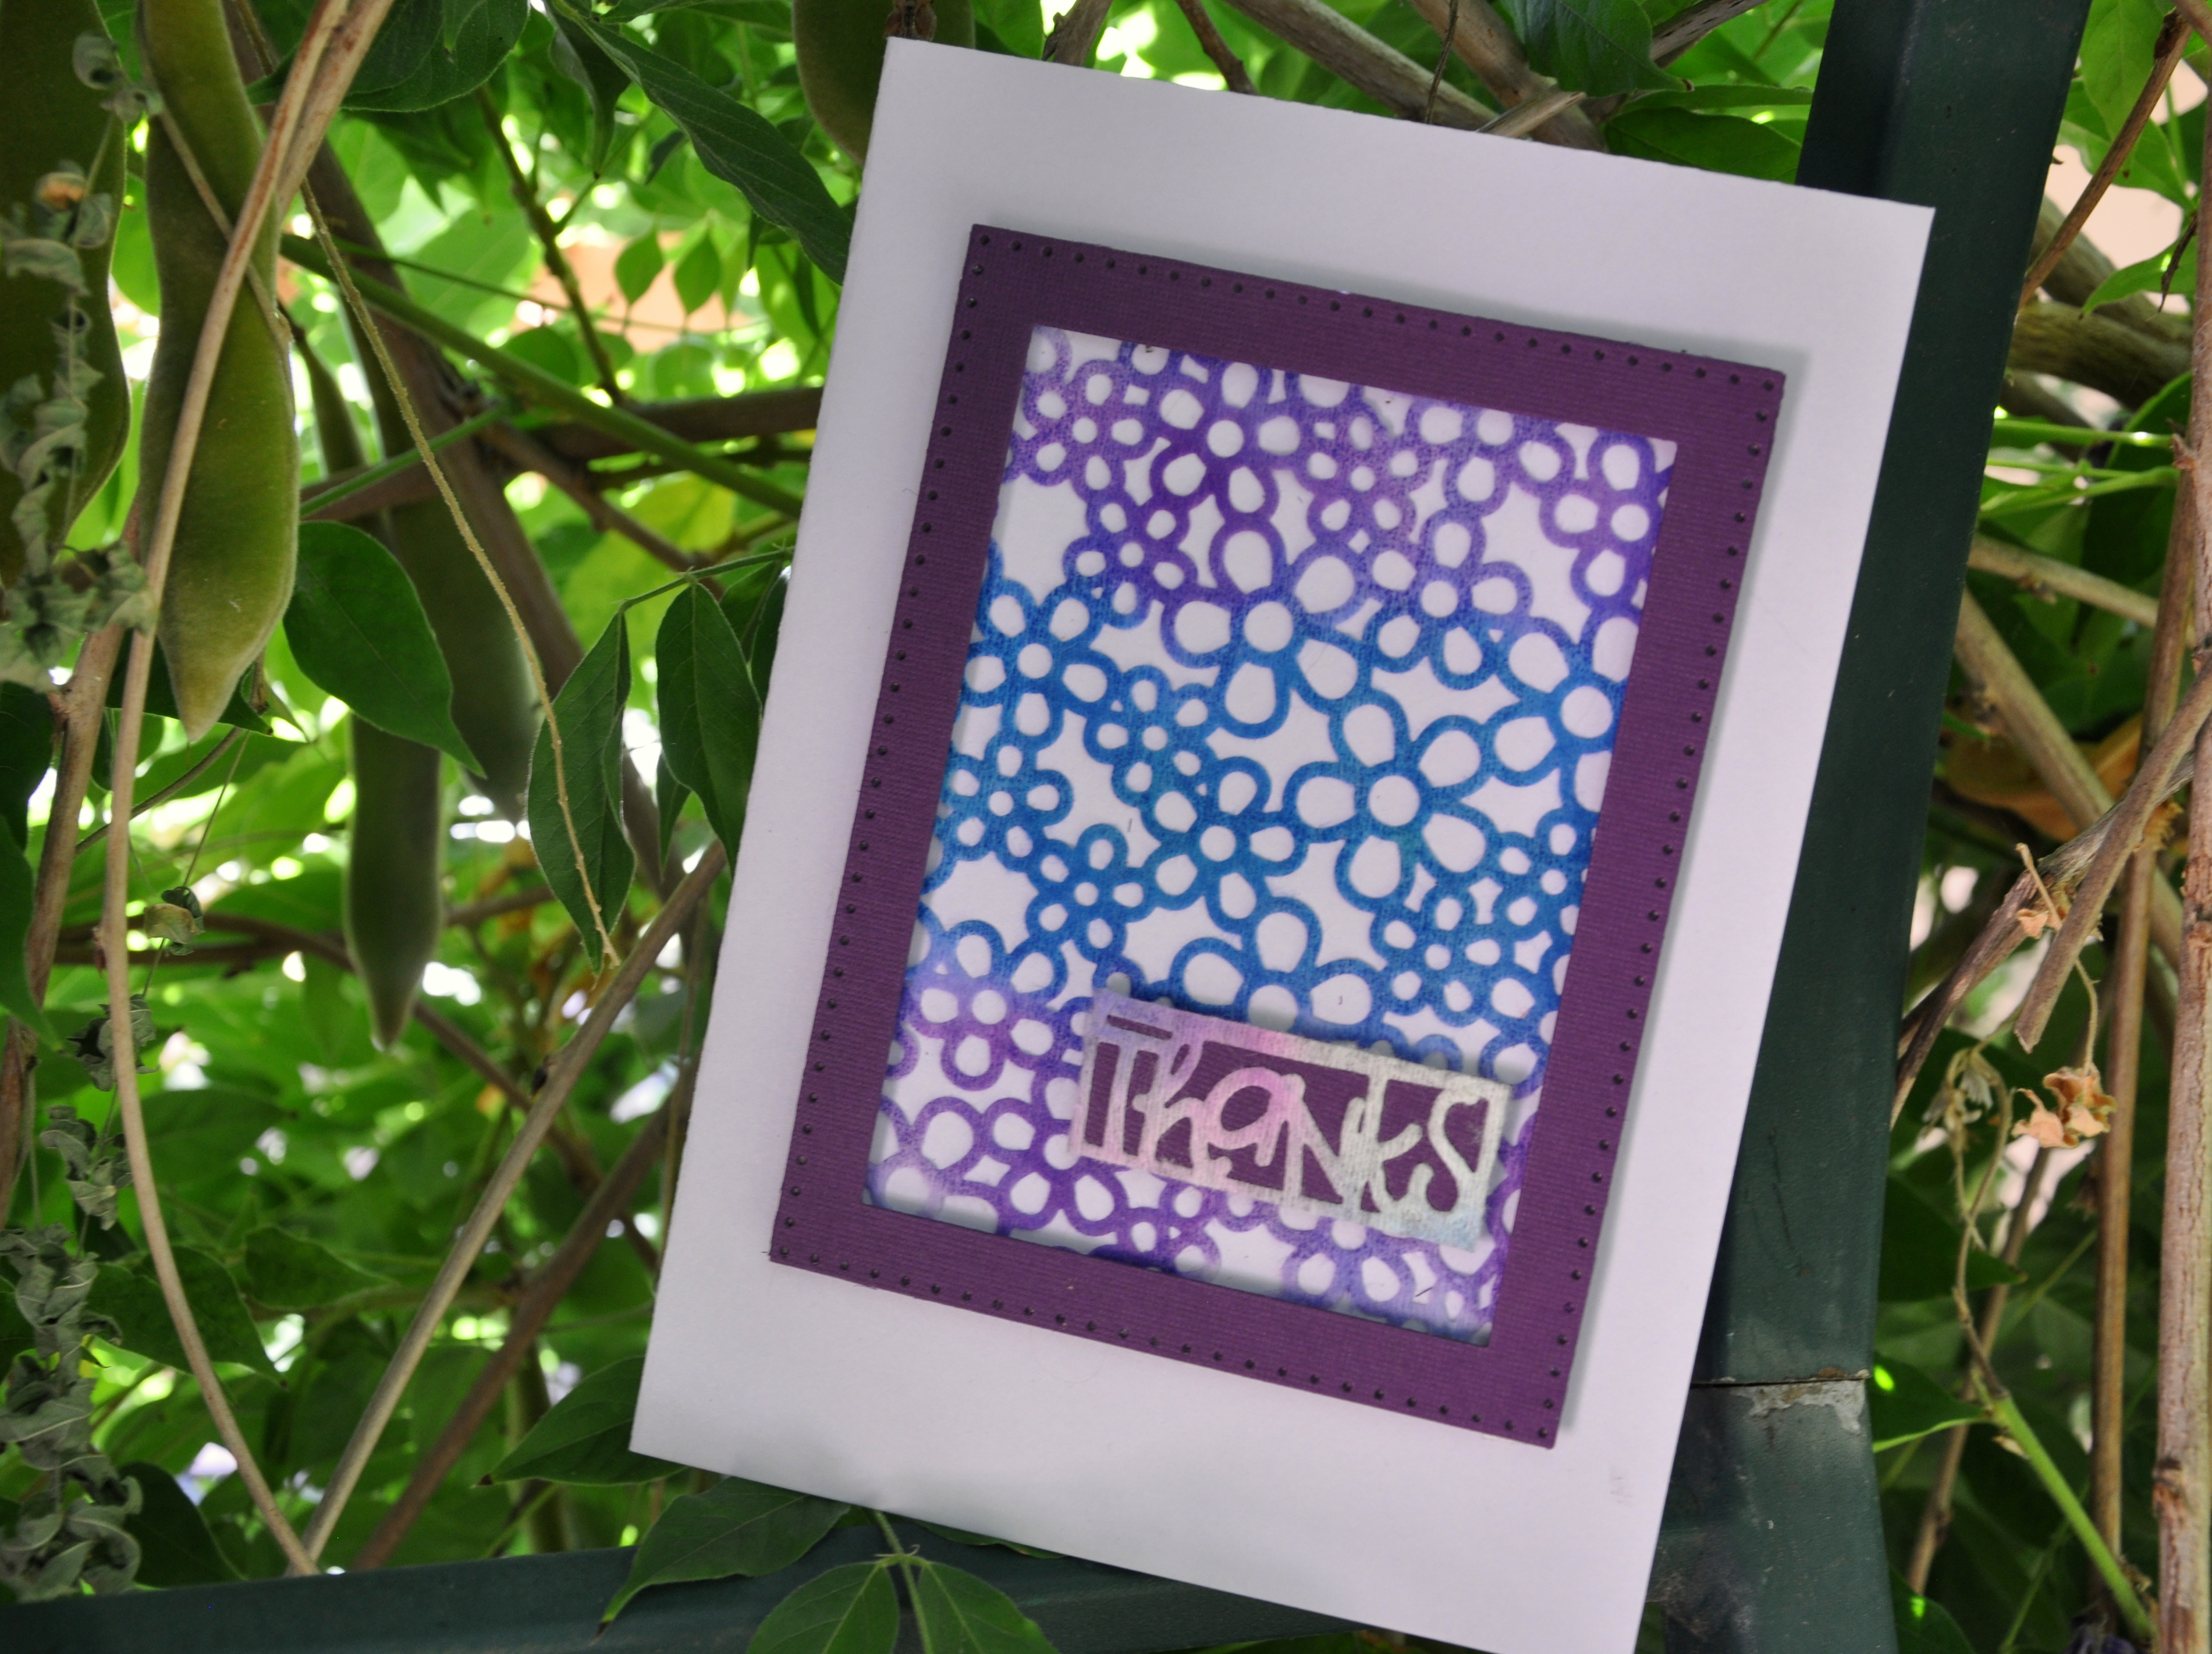
This thank you card is going to our Lifted Spirits summer intern. She’s been a wonderful addition to our team. We’re going to miss her.

I die cut the daisy background , then made a frame to hide the jagged edges. The sentiment  “Thanks” is also from a tie-dyed sample.

thank you tie dye card

Ink-dyed wet wipe and two die cuts, daisy background and thanks sentiment

This meandering plant die is one of my favorites. It’s a gift from my friend Pauline.  I love the mixture of blues and greens.

If I did this again, I would not remove the sticky backing. I had to arm wrestle all those tiny bits into position and the backing kept sticking to itself, even when peeling slowly.  The colors are gorgeous though, and it’s interesting how much texture you’ll find in these wipes.

wet wipes tie dye card trellis

Ink-dyed wet wipe and meandering plant die

I still have several shapes to work with in the future, and as always, it’s great working with what you have.

I’m off to see what the rest of you are up to this month. Here are some links to other August scrap-happy posts.

Kate , Gun, Titti, Heléne, Eva, Sue, Nanette, Lynn, Lynda,
Birthe, Turid, Susan, Cathy, Debbierose, Tracy, Jill, Claire, Jan,
Moira, Sandra, Linda, Chris, Nancy, Kerry, Claire, Jean,
Joanne, Jon, Hayley, Dawn, Gwen, Connie, Bekki, Pauline and Sue L.


ScrapHappy March

Today I’m joining Kate at Tall Tales from Chiconia for her monthly scrap-happy blog post. The idea is to make something pretty using leftover scraps. Several bloggers post once a month showcasing a project using scraps of material leftover from quilting or other projects. I’ve been welcomed to post using paper scraps.

I’ve wanted to create cards using scraps for a while now. I think it’s fun and challenging creating with items you have on hand.

This first card incorporates some of my smallest paper scraps from a line by Graphic 45. Each square is approximately one inch (three centimeters), laid out in a three by four grid. I allowed space between the squares so I could score even lines for a bit of texture. I might try using my sewing machine on future cards as well.

My next card combines a variety of scraps from two paper lines. The colors worked well together. I fashioned it after some of the strip quilting I’ve seen in a variety of blogs. Call me crazy, but assembling these strips had great appeal. I’ll definitely do this again.

You may have seen the following card in my Valentine’s Day card post. I’m including it here, since it also uses scraps.

I used the lining from an envelope I received last year. It was too pretty to throw away, so I kept it knowing I could put it to use.

I made this last card using a sheet of scrapbooking paper left over from a project a year or two ago. I used one of my new dies to punch the word “thanks” out of the blue portion of the paper, then used adhesive dots to make it three-dimensional.

Have you made something entirely out of scraps lately? Please share your link in the comments section, below.

From Kate’s blog:

“ScrapHappy is open to anyone using up scraps of anything – no new materials. It can be a quilt block, pincushion, bag or hat, socks or a sculpture. Anything made of scraps is eligible. If your scrap collection is out of control and you’d like to turn them into something beautiful instead of leaving them to collect dust in the cupboard, why not join us on the 15th of each month? You can email Kate at the address on her  Contact Me page. You can also contact Gun via her blog to join. We welcome new members. You don’t have to worry about making a long-term commitment or even join in every month, just let either of us know a day or so in advance if you’re new and you’ll have something to show, so we can add your link. Regular contributors will receive an email reminder three days before the event.”

Halloween Cards: Chlorophyll Prints From My Garden (Part 2)

This is part 2 of my recent post about crafting from my garden.

I’m crafting Halloween cards from my garden this year using chlorophyll prints. Before harvesting the last of the pumpkin vines,  I made chlorophyll prints from the pumpkin’s leaves.

Pumpkin leaves have a rich, green texture and that color and texture transferred beautifully on white card stock. I used my recently acquired Big Shot tool to make the impressions/prints. You can see the other card style in my post: Halloween Cards: Crafting from my Garden.  I blogged about my first attempts with chlorophyll prints in a post: Experimenting with Chlorophyll Prints.

I found inspiration on Dawn’s blog late last year. You can have a look at her beautiful card creations at Petals. Paper. Simple Thymes.

For this set of cards, I used the pumpkin leaf impression on the cover. I added a stamped pumpkin image and a few green leaves along with the stem.  Inside the card I used the chlorophyll print from the Nepeta once again, along with a pine-needle imprint for the small pumpkin.

I used craft envelopes for the smaller cards, adding a spider web detail to the flap. A few years ago, Tim Holtz came out with a stencil called Shatter. It makes the perfect spiderweb, don’t you think?

Blue ink worked well on the black envelopes, whereas silver ink showed better on the craft paper. Our post office is selling Disney Villain postage stamps this time of year. They’re the perfect finishing touch. Disneyland may call itself the “happiest place on earth”, but many of the movies I watched as a child scared me to my core.

But hey, it’s Halloween. Hopefully my cards don’t send a chill down anyone’s spine.

Note: I wrote this post a few weeks ago, but waited to share it in October. Since writing this light-hearted post, if feels like the wheels have come off the proverbial bus. I’m trying to regain some perspective. November is just around the corner. I hope it brings cooler weather and cleansing rains.

Northern California Fire Update:

Sonoma was the hardest hit county in this month’s wildfires with some 6,800 homes lost. Another 569 homes in Napa County were destroyed. The two wine country counties each lost at least 5 percent of their housing stock, according to estimates.

Santa Rosa, Sonoma County’s largest city, lost entire neighborhoods, including the suburb of Coffey Park and mobile home parks. The fires also left a path of destruction in Fountaingrove, a neighborhood known for its expensive homes.

Overall, the Northern California wildfires burned more than 245,000 acres, destroyed an estimated 8,700 structures and killed at least 42 people, according to Cal Fire. As of Wednesday, at least 16 people were still listed as missing in Santa Rosa. – Source CNBC

Save

Save

Save

Save

Save

Save

Experimenting with Chlorophyll Prints

Transferring the image of a leaf to paper has been around for years. It’s only recently though, that I learned of a technique using a Big Shot, one of those crafting tools I’ve put off buying for years.

Sizzix Big Shot

Sizzix Big Shot

Dawn, who blogs at Petals. Paper. Simple Thymes created these beautiful cards using the technique. Dawn’s post and her stunning cards were the impetus I needed. I bought a Big Shot so I could give the technique a try. I’m sharing the Big Shot tool with my sister, Sharon, who makes all of her own cards. We bought some fun dies for her to use for her holiday cards this year.

As Dawn says, this is a wonderful opportunity to combine two loves: gardening and paper crafts.

According to Wiki:

Chlorophyll (also chlorophyl) is any of several closely related green pigments found in cyanobacteria and the chloroplasts of algae and plants.[1] Its name is derived from the Greek words chloros (“green”) and  phyllon, (“leaf”).[2] Chlorophyll is essential in photosynthesis, allowing plants to absorb energy from light. – Wikipedia

The technique is simple. You sandwich a leaf or petal between a folded piece of paper, run it through the Big Shot, and the green pigment created by the chlorophyll transfers to the paper.  As Pauline King would say, I’m at the messy stage of this process. I’ve yet to make a single card, but not from lack of trying.

I gathered several scraps of paper from my stash to get started, including an old file folder, card stock, old-fashioned typewriter paper and vellum.

File folder leaf print

Paper: File Folder * Verdict: so-so

chlorophyll prints watercolor paper

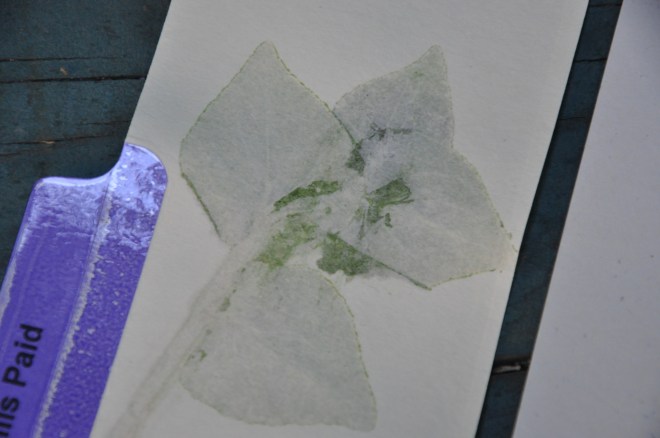
Paper: Watercolor * Verdict: Nice most of the time but not for all plant material

velum paper chorophyll print

Paper: Velum * Verdict: It looks like a Rorschach Test

I quickly learned that all paper is not created equal. In the end it was a scrap of watercolor paper that worked the best. It absorbed some of the natural moisture and showed off the texture of the plant material to good effect.

My collection of leaves were a mixed bag as well. Some were so wet and juicy, that they produced images that were half leaf imprint, half splat. My prints are definitely not ready for prime time, but I am having fun.

I’m still trying to get a good imprint from my coleus leaves. They’re a beautiful mix of red and green and sometimes purple. They’re also heart-shaped. If I can manage to get the impressions just right without the extra moisture they’ll look terrific on a card.

My favorite imprints so far are the fern and the Nepeta.

This imprint is from my lacy fern, a plant I’ve carted around with me for nearly thirty years. It went from a small, seventy-nine cent plant on my nightstand, to owning a corner of our garden. I love it.

Chlorophyll transfer fern and sweet pea

Chlorophyll transfer of fern and sweet pea petal to watercolor paper

The Nepeta or cat nip also transferred well, and comically, retained some of its potency. Mouse the Cat hopped up on the desk and enjoyed the scent.

Nepeta catmint transfer print

Mouse Approved

Nepeta (cat mint) transfer

Nepeta (cat mint) transfer

I’ll keep experimenting and hope to eventually have some bona fide cards to share. I tossed the small samples, but gathered the rest of them into a sample booklet, held together with baker’s twine and a few strips of Washi tape.

Chlorophyll Samples

Chlorophyll Sample Booklet

Have you been working away at a technique for a while with mixed results? Let us know in the comments below.

Save

Save