In a Vase on Monday: A Tiny Treasure from my Travels

This week, it’s all about the vase. I don’t generally buy travel souvenirs but how could I resist this charming little vessel?

Puerto Vallarta cat vase

This vase from Puerto Vallarta is pretty on all sides (That’s Tessa our cat walking away in the background)

I spotted the vase on our final day in Puerto Vallarta. It’s small, perhaps the size of a tall shot glass. Once wrapped in protective paper and I stashed it in my purse for the trip home.

Scale is everything with a vase this small. I scouted my limited winter choices and decided on three white camellia camellia japonica and a few sprigs of my beloved fern.

Camellia Japonica

Camellia Japonica

Camellia Japonica bud

Camellia Japonica bud

The petals were already dropping, so I don’t think the arrangement will last the week, unless this pretty bud opens up. I love that faded pink on the tips.

Vase on window sill

Kitty vase on my home office window sill

cat vase with camellia and fern

An outdoor shot where the light is always best

cat with cat vase

Tessa the curious

As it turns out, several bloggers join the In a Vase on Monday featureIt was nice connecting some of you last week.

Thank you Cathy at Words and Herbs and Cathy at Rambling in the Garden for your ongoing inspiration.

Experimenting with Chlorophyll Prints

Transferring the image of a leaf to paper has been around for years. It’s only recently though, that I learned of a technique using a Big Shot, one of those crafting tools I’ve put off buying for years.

Sizzix Big Shot

Sizzix Big Shot

Dawn, who blogs at Petals. Paper. Simple Thymes created these beautiful cards using the technique. Dawn’s post and her stunning cards were the impetus I needed. I bought a Big Shot so I could give the technique a try. I’m sharing the Big Shot tool with my sister, Sharon, who makes all of her own cards. We bought some fun dies for her to use for her holiday cards this year.

As Dawn says, this is a wonderful opportunity to combine two loves: gardening and paper crafts.

According to Wiki:

Chlorophyll (also chlorophyl) is any of several closely related green pigments found in cyanobacteria and the chloroplasts of algae and plants.[1] Its name is derived from the Greek words chloros (“green”) and  phyllon, (“leaf”).[2] Chlorophyll is essential in photosynthesis, allowing plants to absorb energy from light. – Wikipedia

The technique is simple. You sandwich a leaf or petal between a folded piece of paper, run it through the Big Shot, and the green pigment created by the chlorophyll transfers to the paper.  As Pauline King would say, I’m at the messy stage of this process. I’ve yet to make a single card, but not from lack of trying.

I gathered several scraps of paper from my stash to get started, including an old file folder, card stock, old-fashioned typewriter paper and vellum.

File folder leaf print

Paper: File Folder * Verdict: so-so

chlorophyll prints watercolor paper

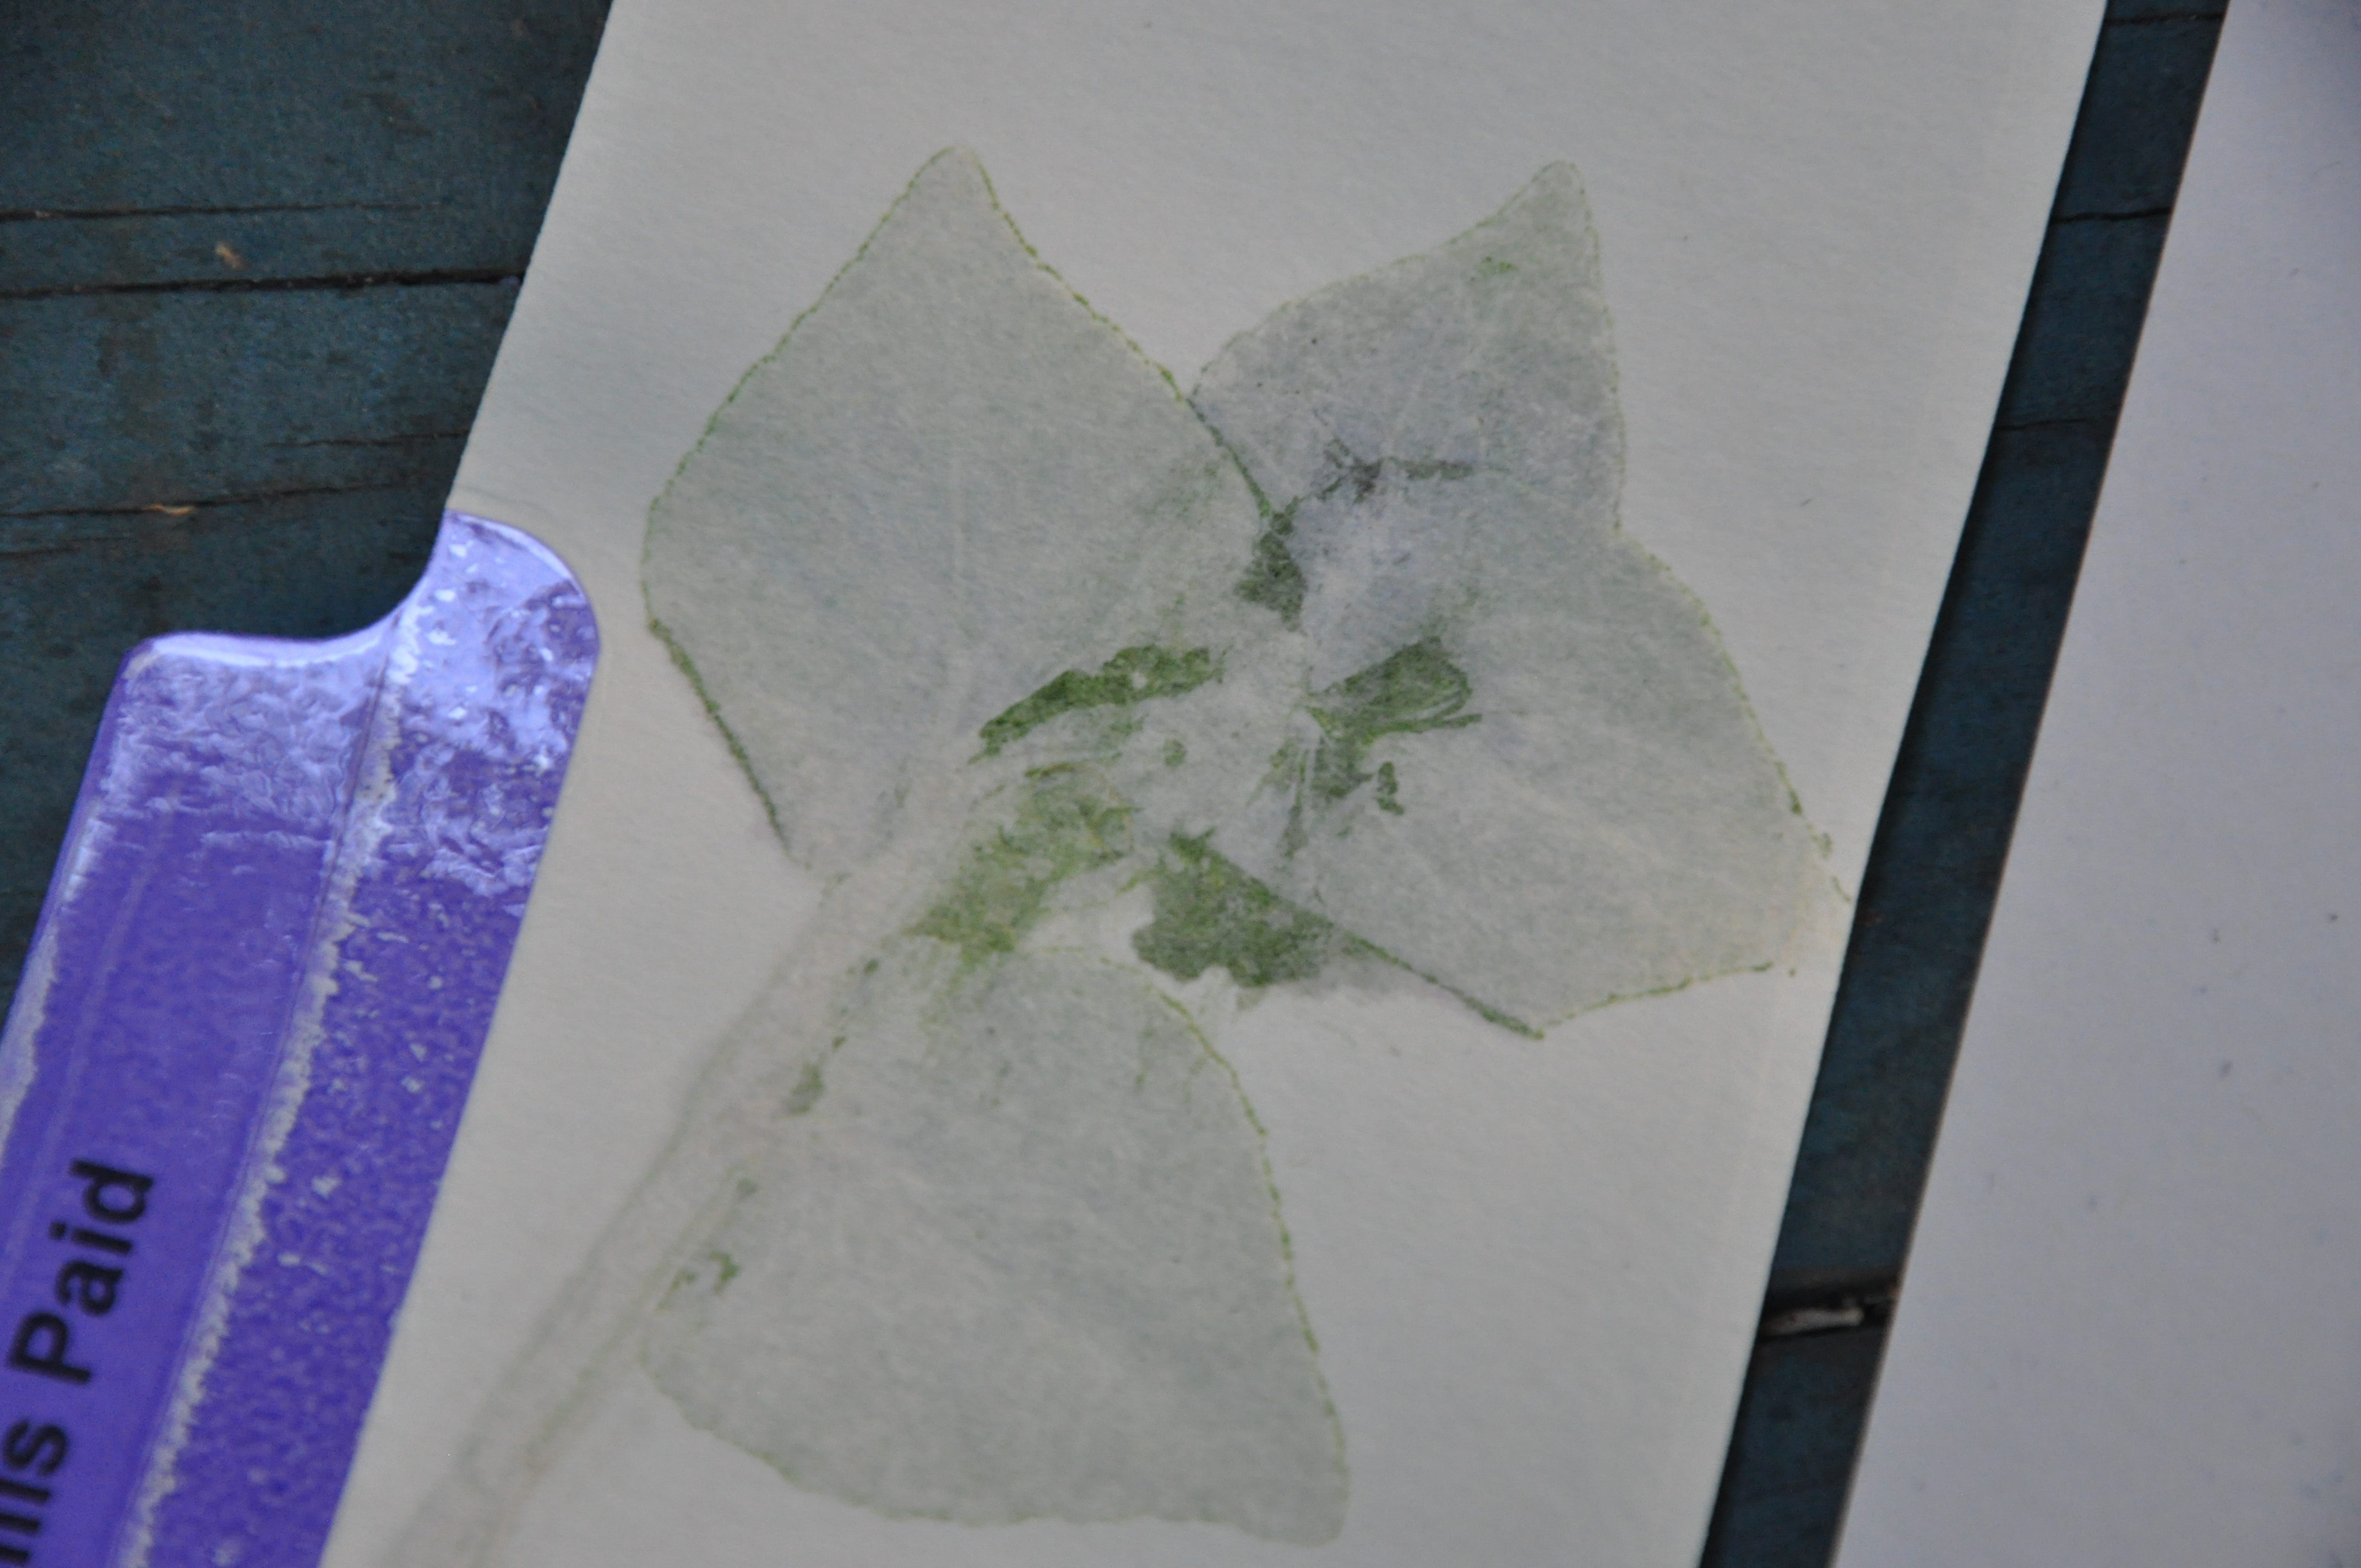
Paper: Watercolor * Verdict: Nice most of the time but not for all plant material

velum paper chorophyll print

Paper: Velum * Verdict: It looks like a Rorschach Test

I quickly learned that all paper is not created equal. In the end it was a scrap of watercolor paper that worked the best. It absorbed some of the natural moisture and showed off the texture of the plant material to good effect.

My collection of leaves were a mixed bag as well. Some were so wet and juicy, that they produced images that were half leaf imprint, half splat. My prints are definitely not ready for prime time, but I am having fun.

I’m still trying to get a good imprint from my coleus leaves. They’re a beautiful mix of red and green and sometimes purple. They’re also heart-shaped. If I can manage to get the impressions just right without the extra moisture they’ll look terrific on a card.

My favorite imprints so far are the fern and the Nepeta.

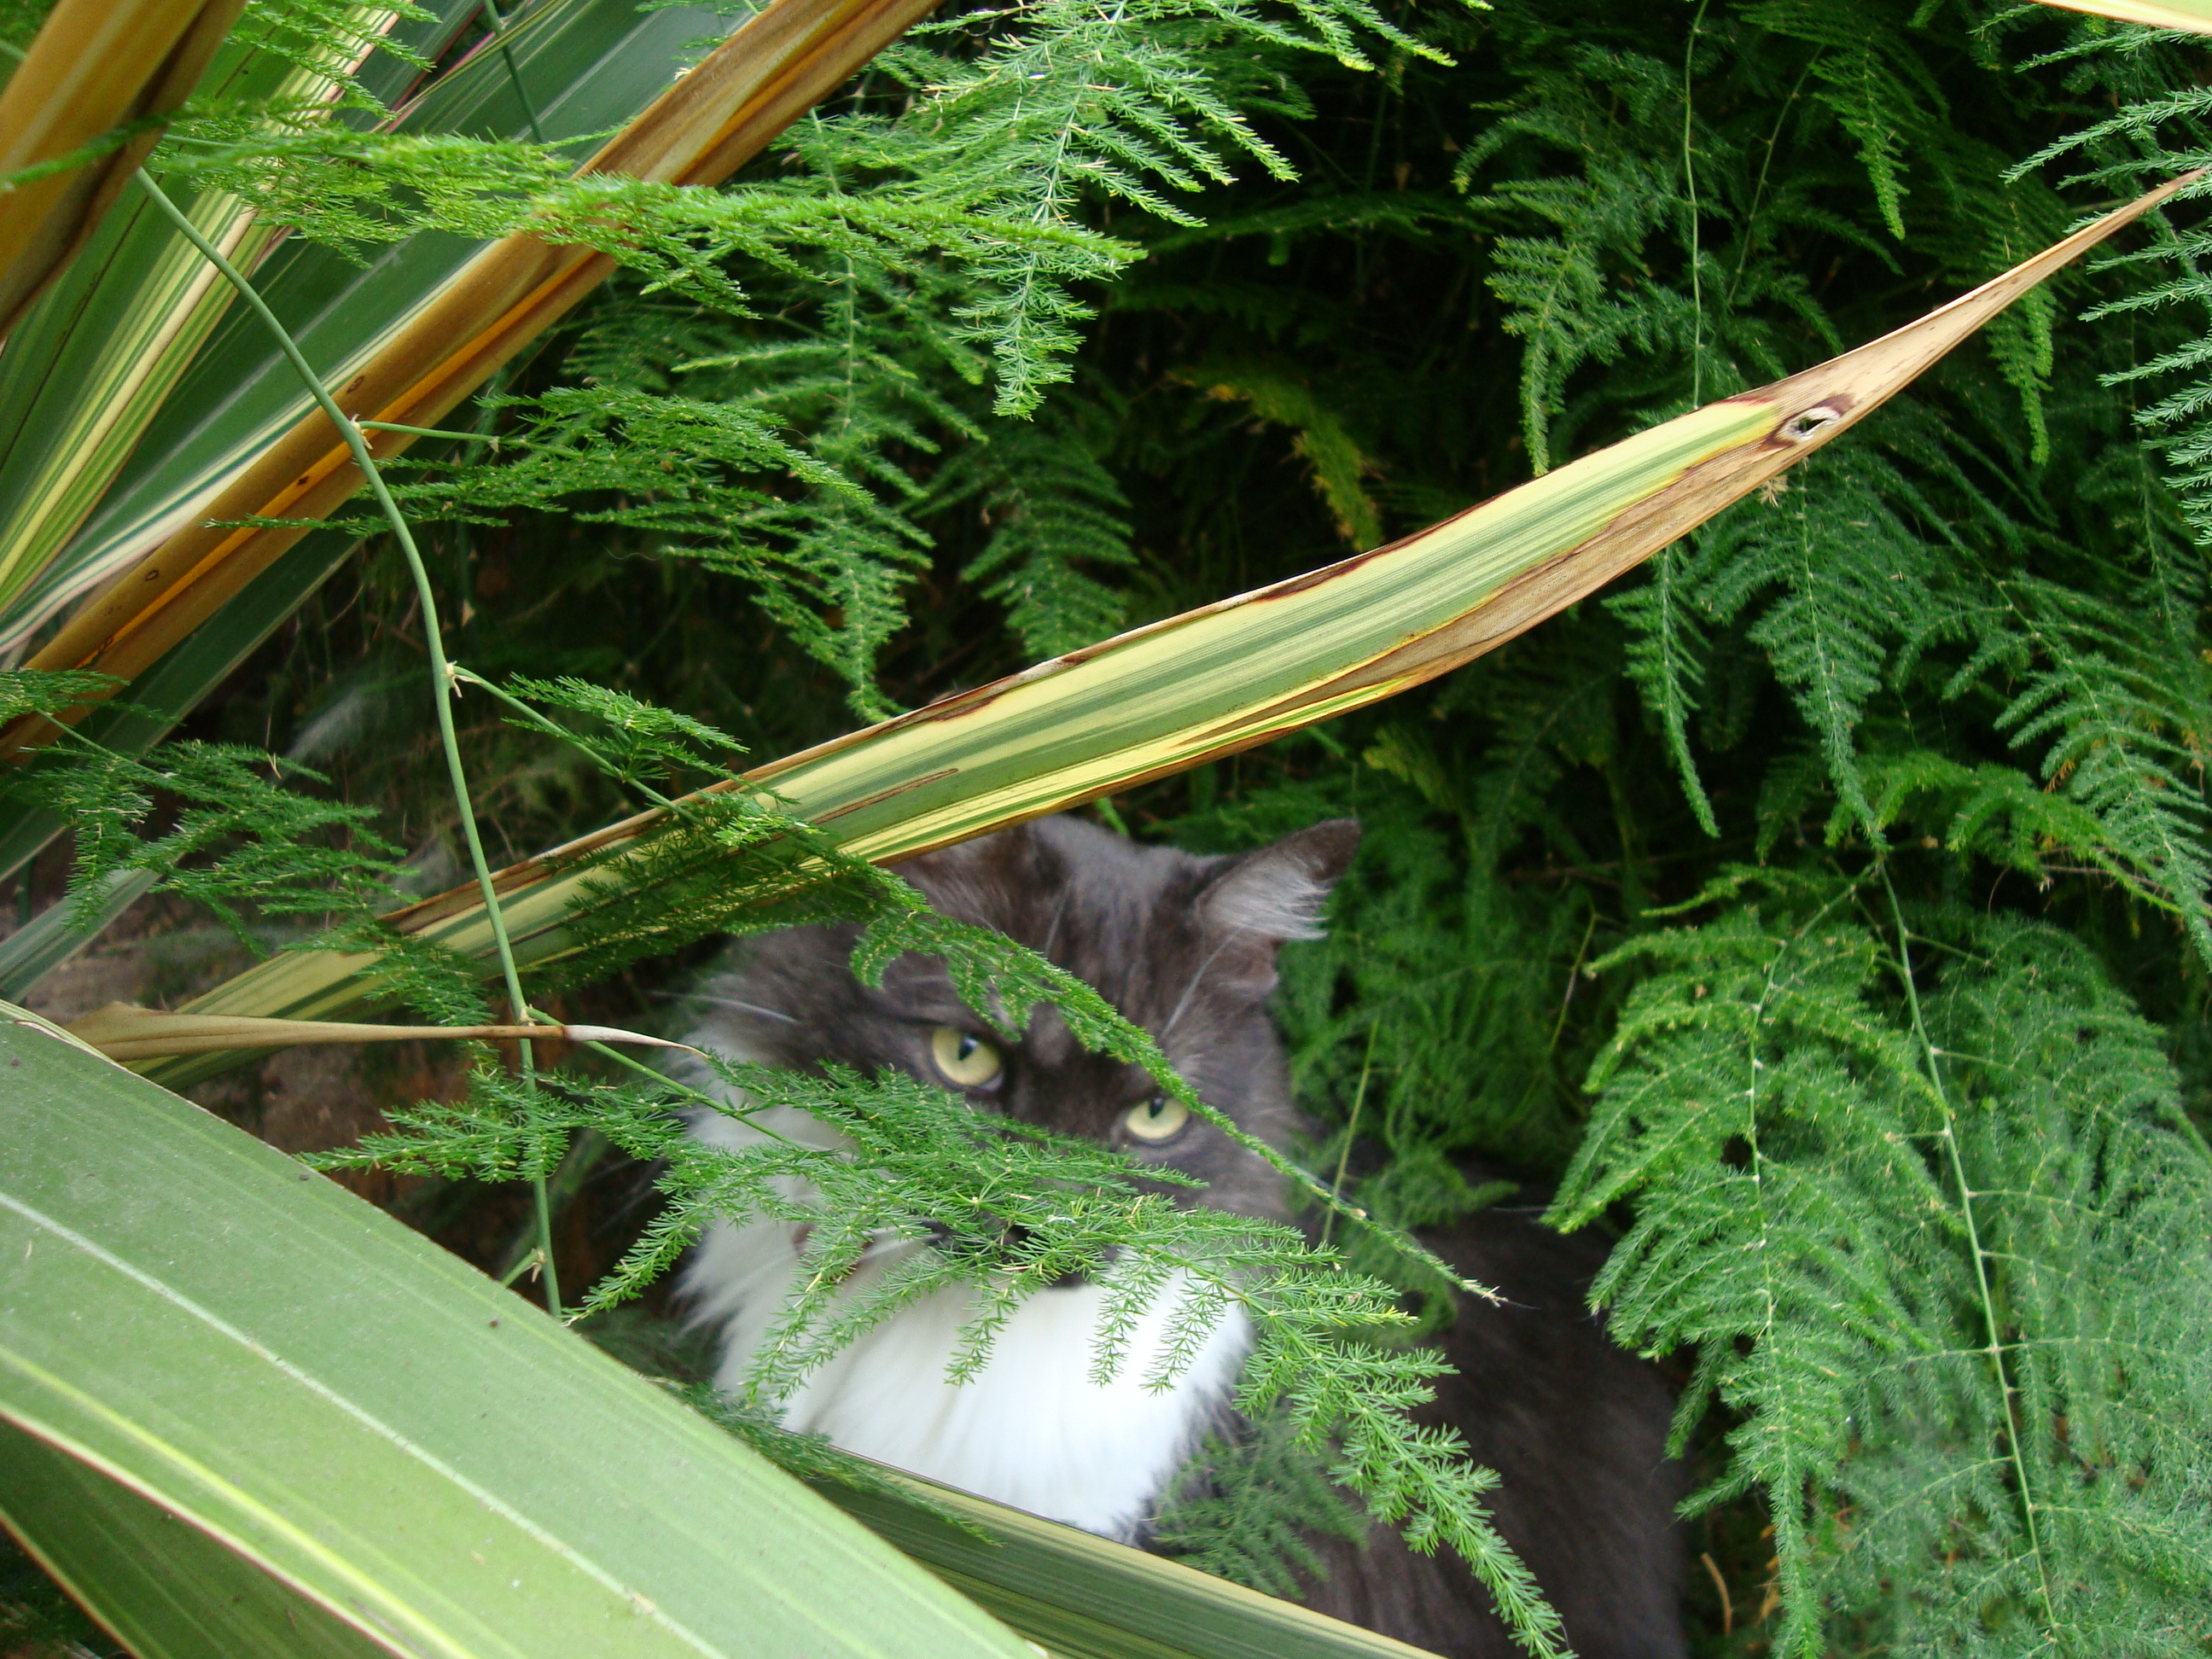
This imprint is from my lacy fern, a plant I’ve carted around with me for nearly thirty years. It went from a small, seventy-nine cent plant on my nightstand, to owning a corner of our garden. I love it.

Chlorophyll transfer fern and sweet pea

Chlorophyll transfer of fern and sweet pea petal to watercolor paper

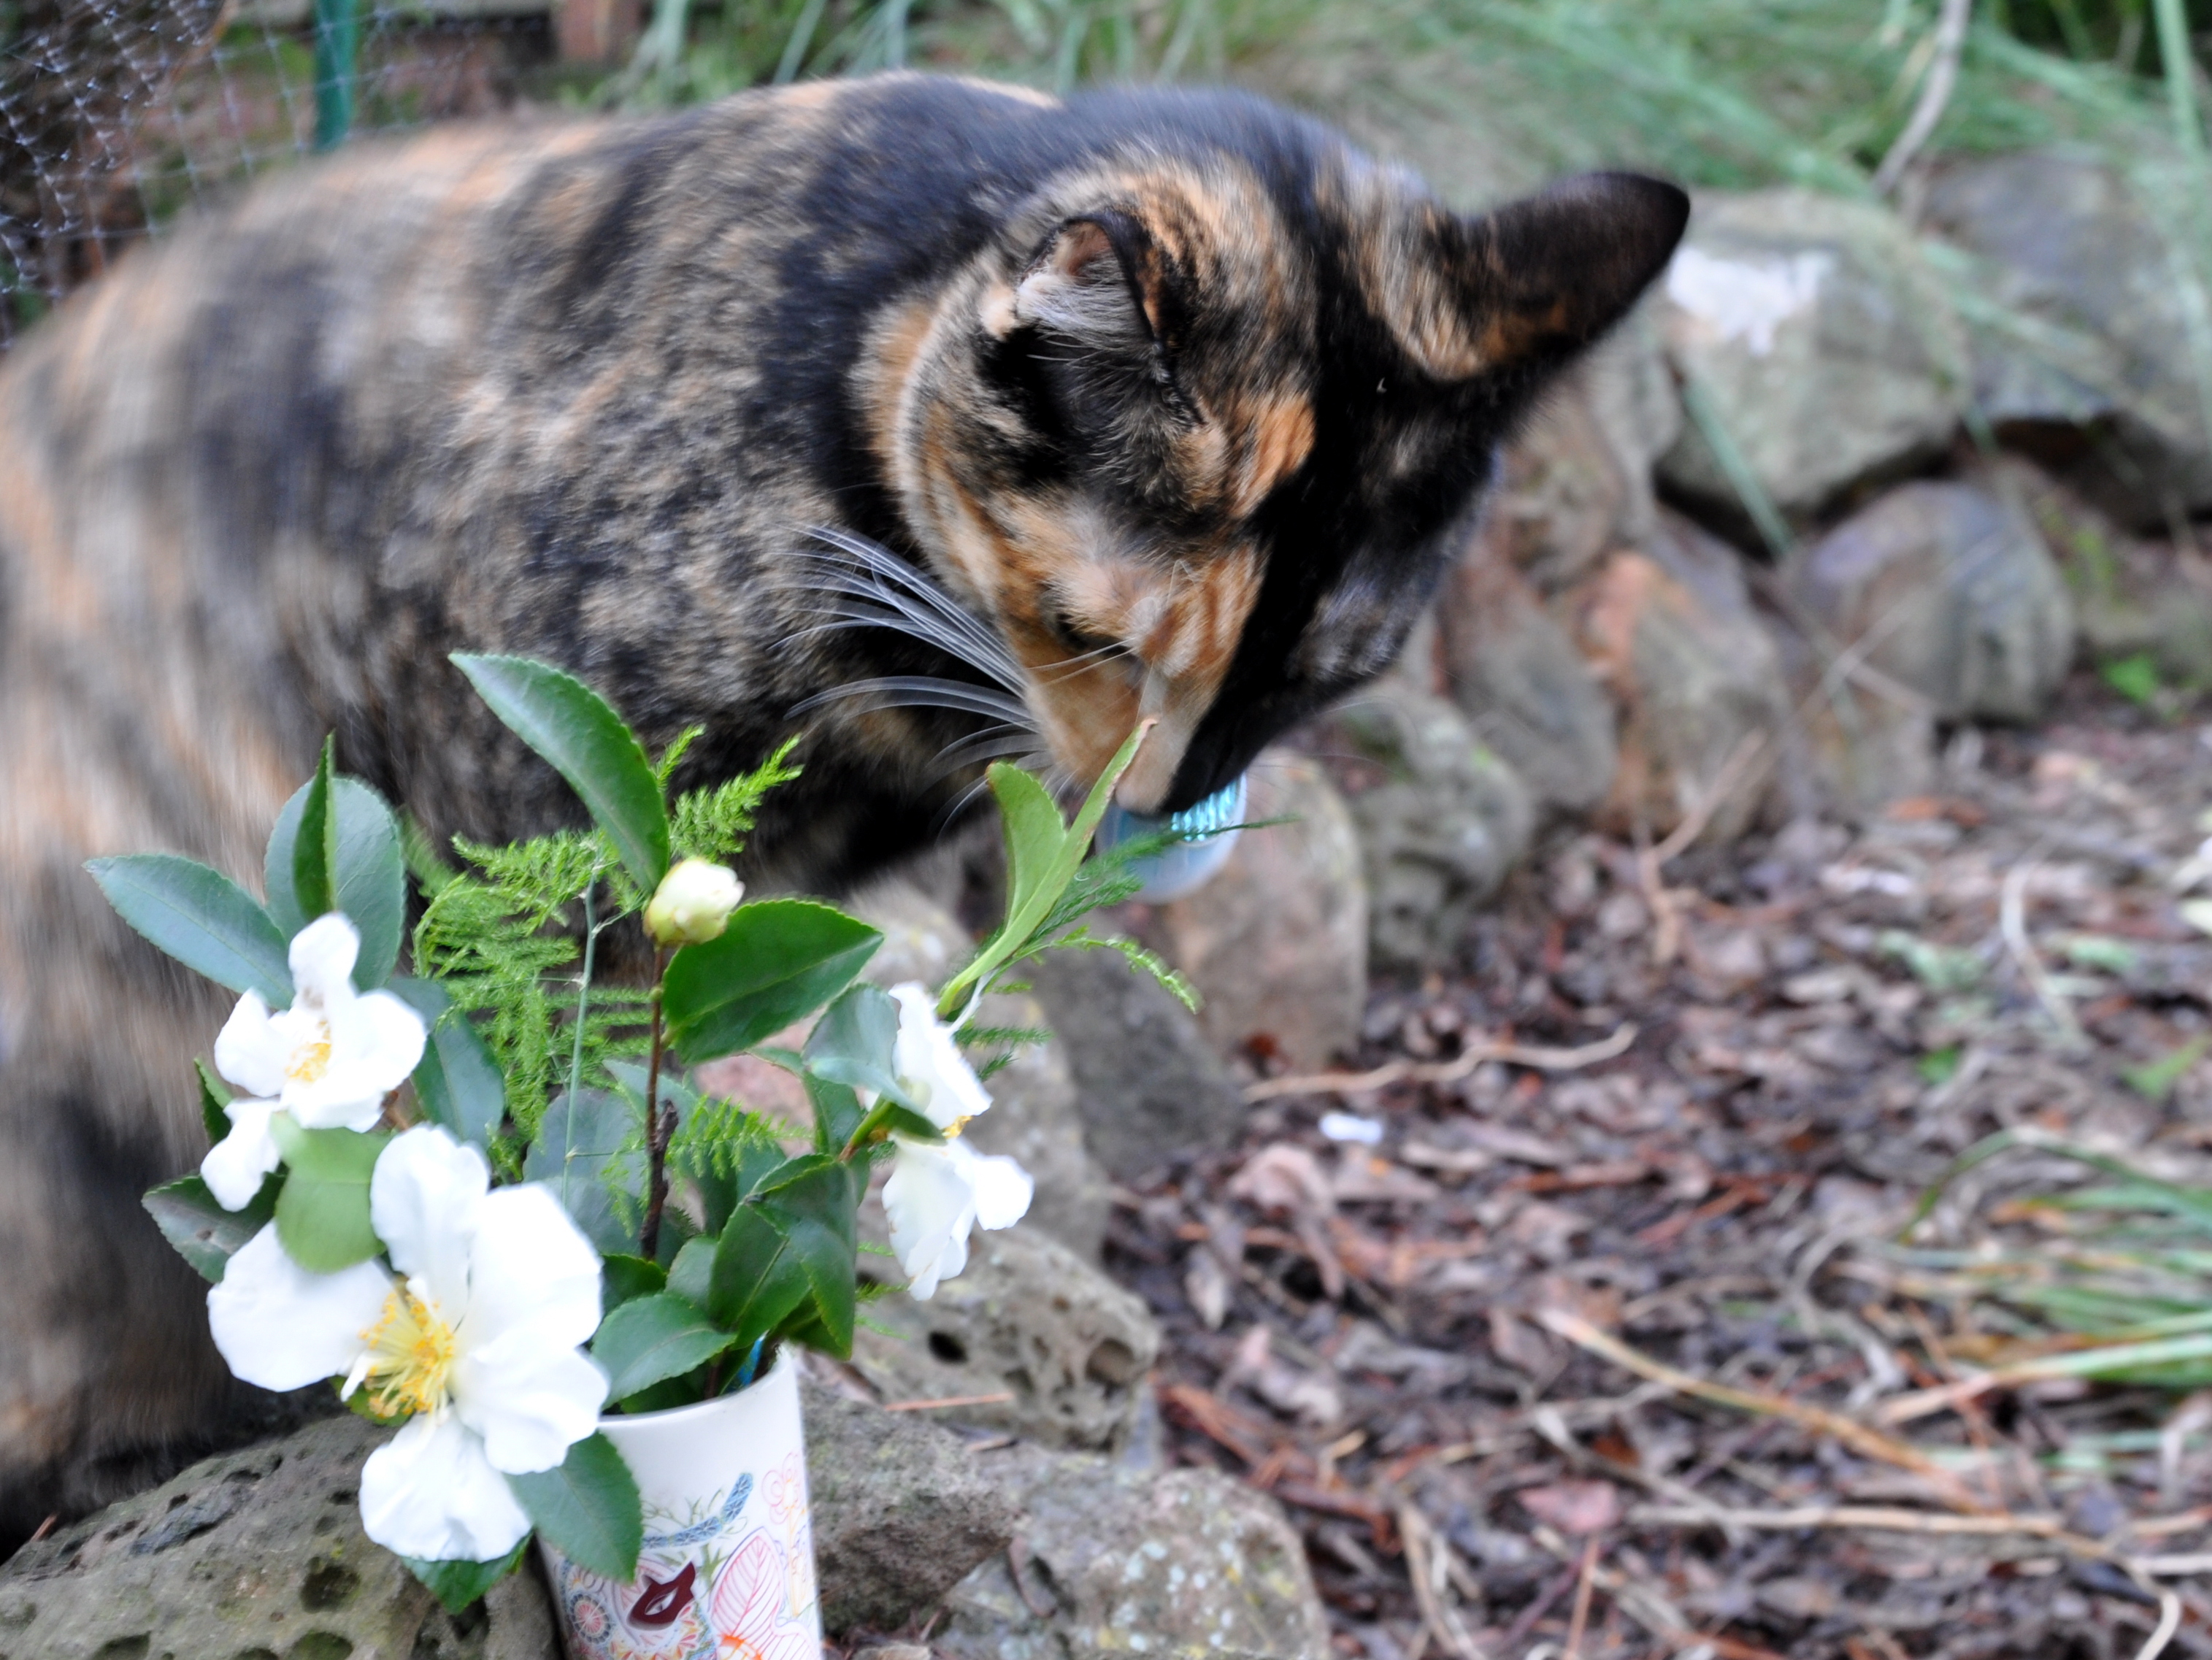
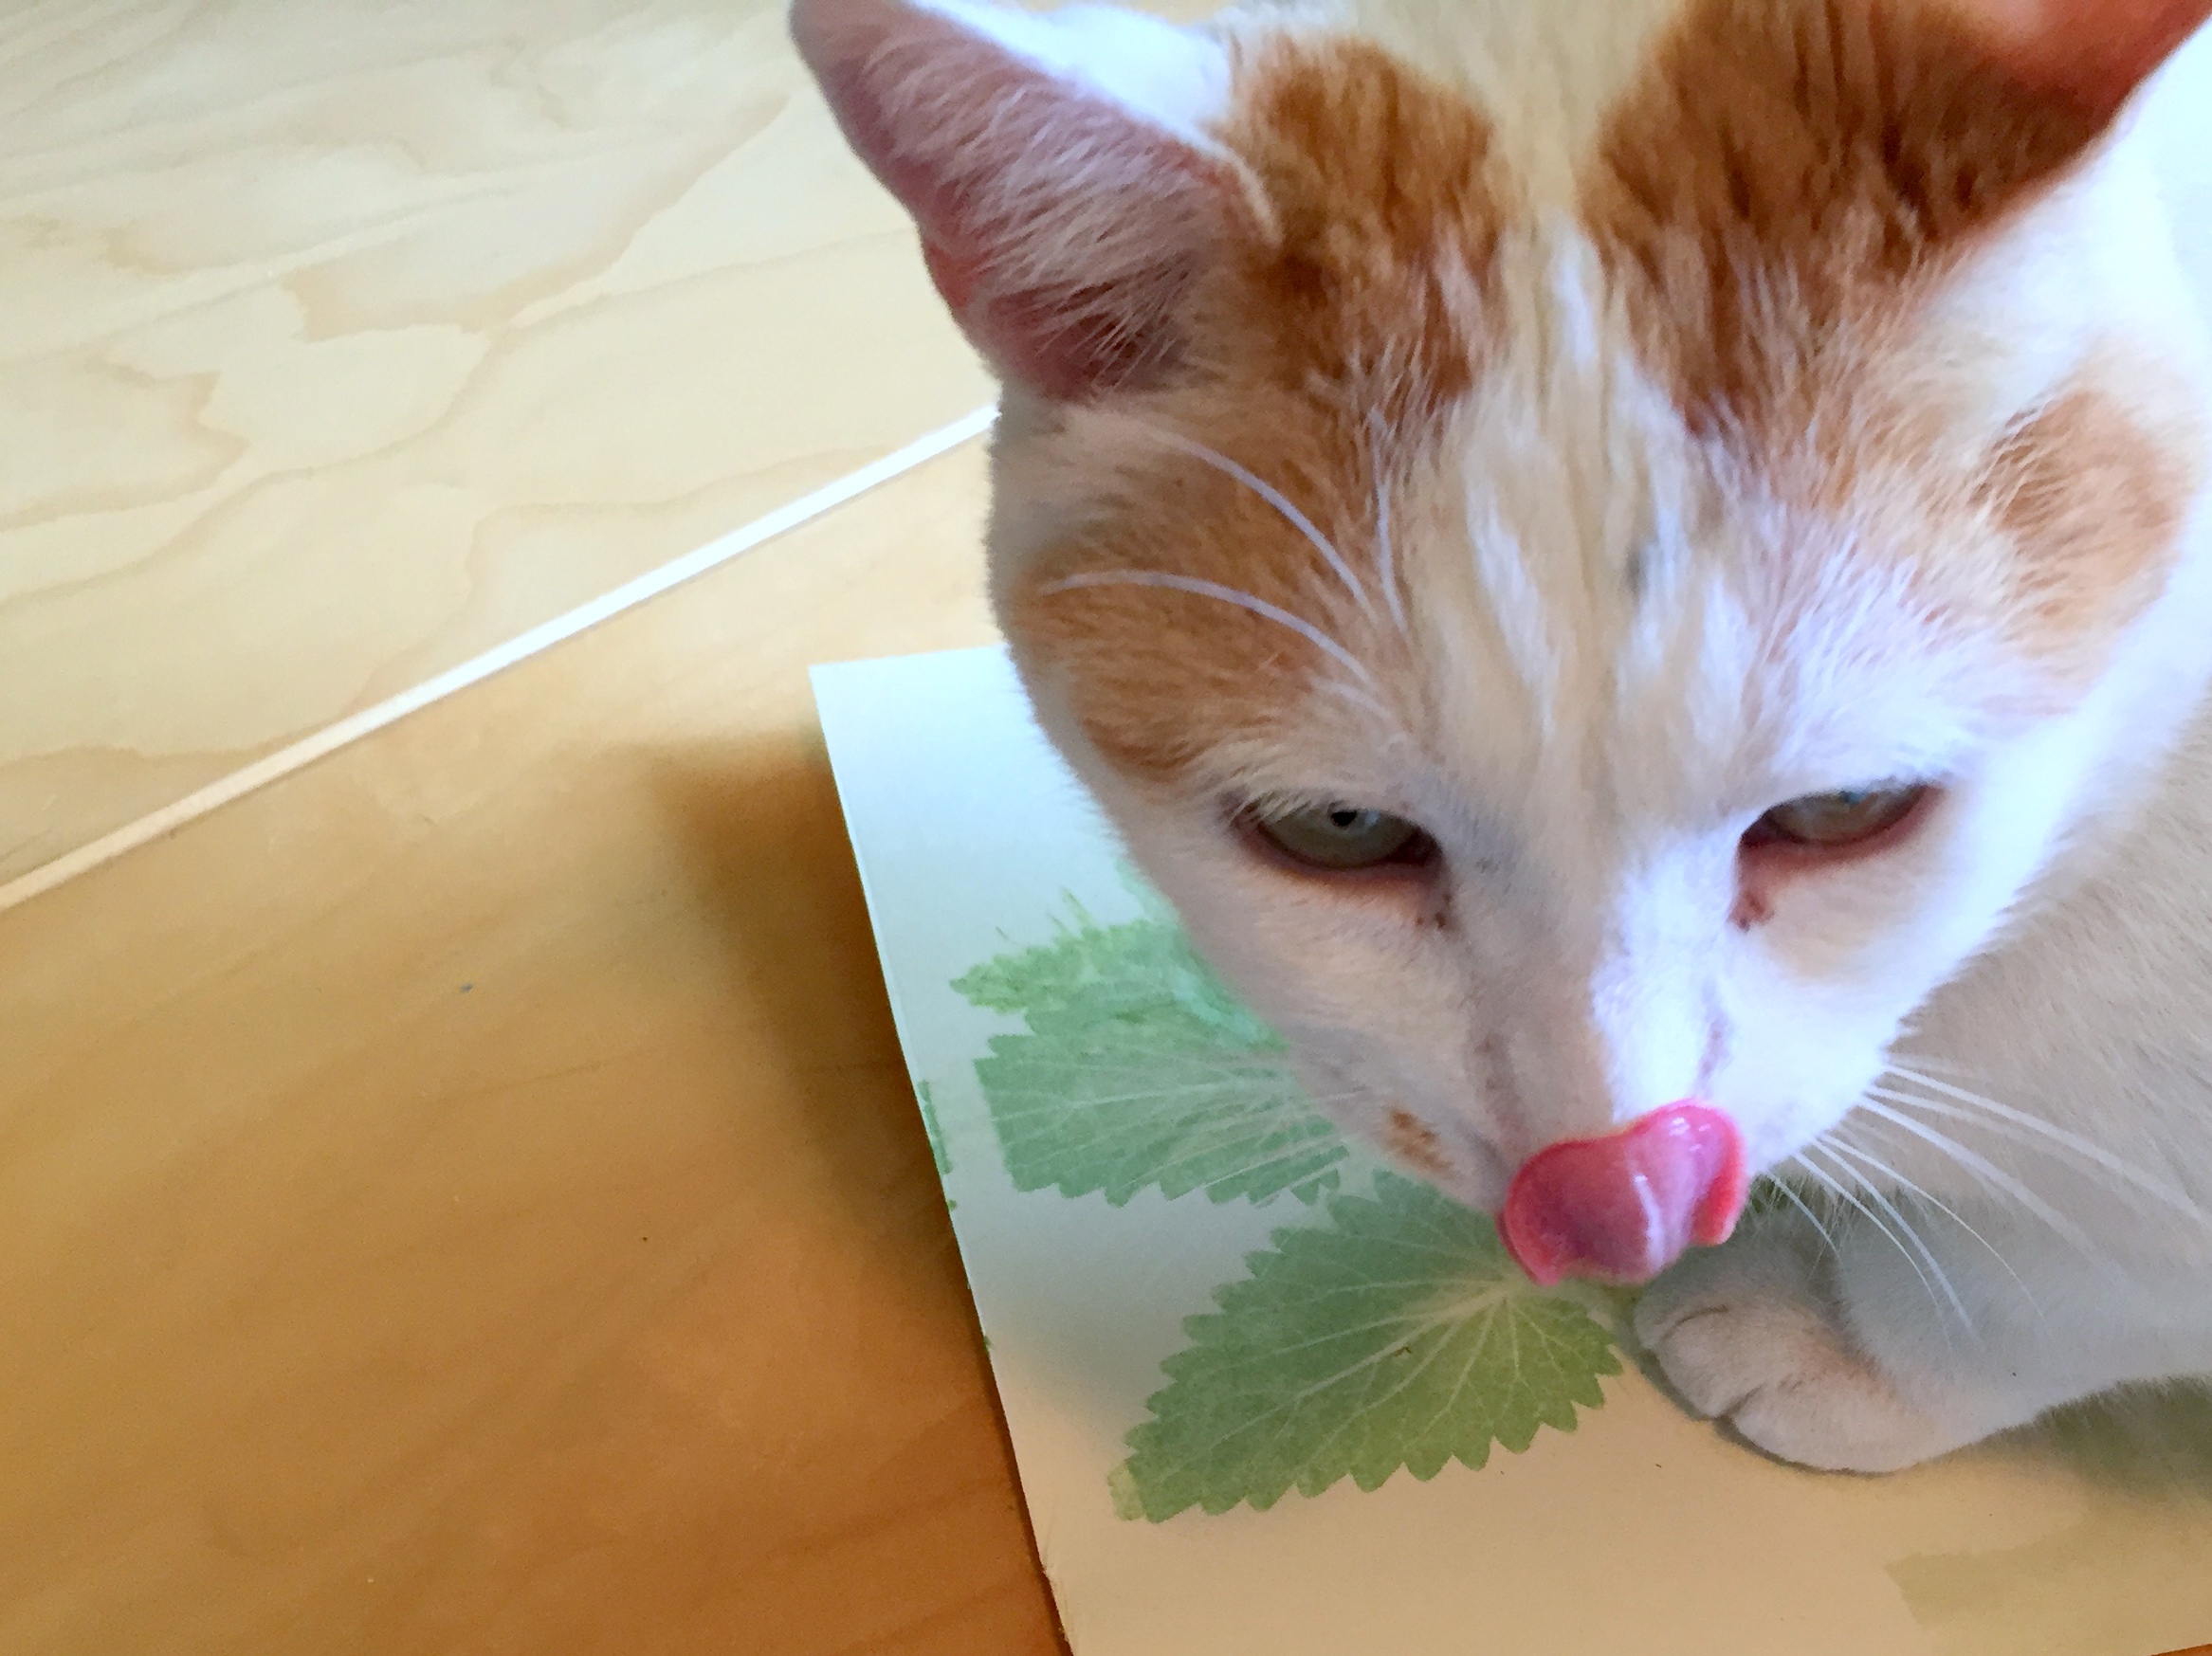
The Nepeta or cat nip also transferred well, and comically, retained some of its potency. Mouse the Cat hopped up on the desk and enjoyed the scent.

Nepeta catmint transfer print

Mouse Approved

Nepeta (cat mint) transfer

Nepeta (cat mint) transfer

I’ll keep experimenting and hope to eventually have some bona fide cards to share. I tossed the small samples, but gathered the rest of them into a sample booklet, held together with baker’s twine and a few strips of Washi tape.

Chlorophyll Samples

Chlorophyll Sample Booklet

Have you been working away at a technique for a while with mixed results? Let us know in the comments below.

Save

Save

Asparagus Fern: Keeping it Green Since 1988

plumosa asparagus fern and hydrangea

Hydrangea with a side of plumosa

Earlier this week I filled a vase with flowers in lovely shades of pink. I added sprigs of Asparagus Fern ‘plumosa’ for a light, feathery touch

In my apartment-dwelling days, I did most of my decorating with live plants, including these ferns. My Asparagus Plumosa started out as two, seventy-nine cent house plants. They lived on a lace-covered trunk next to my bed in Campbell, until they started to outgrow their pots. The plants came with me from Campbell to San Jose and eventually Fremont, then back to San Jose.

When we bought this house in 1996 my tiny ferns were in a pot too big to lift alone. By then the thorns were mighty fierce. It would be a challenge to transplant. I let it be for a few more years, but the sides of the large, plastic pot started to crack. Worried that the plant would die with so little leg room, Mike maneuvered the pot, split the sides and planted the fern where in now resides. The roots were happy to be free from that pot, and the fern lives on.

History of Ferns

History of Ferns

I wish I had pictures of my traveling fern in those early days. Do you ever wonder how we managed life before digital? Back when film was at a premium, and you had to pay to develop photographs, you chose your subject wisely. Digital photography is liberating.

plumosa asparagus fern

Plumosa growing strong since 1988

plumosa asparagus fern closeup

Lovely new growth

plumosa asparagus fern and lindy

Lindy-Lu under the fern.

Thank you, Boomdee for your July 15th comment. It inspired this post.

Ferny You Should Ask…

Flowers and fruits are the focus of many a blog, but in the cool, quiet corners of the garden, ferns flourish.  Fronds unfurl curling upward as they unwrap from their coil.  Sword ferns, native to North America, favor shade as they fearlessly stand guard beneath the orange tree.  Asparagus ferns are fond of climbing and twining, sending out long straight shoots.  Within a fortnight, feathery emerald leaves should follow.

Southern Sword Fern ‘Nephrolepis Cordifola’

Gian Chain Fern ‘Woodwardia fimbriata’

Asparagus Fern reaching for the fruit tree

Fern about to unfurl

Other Worldly

Fairy Garden Improvements

According to the ancient art of Feng Shui, a home’s entryway is critical to our well-being. Kathleen McCandless, author of Feng Shui That Makes Sense says:

 “The entry is not only the first impression of your living space, it is also a key component in whether or not you will experience comfort, safety and happiness while you live there. The most important consideration in Feng Shui is whether or not a space allows us to feel ”safe”.  If we do not feel 100% safe in our environment, we will not relax…”

To ensure the well-being of the garden fairies,  I created what I hope will be an inviting entryway.  I braided three soft branches from the overhead pine, then wrapped them in tender shoots of Asparagus fern creating a gentle arch.  A pair of pine cones flank the arch for stability.  The airiness of the ferns should appeal to the light-hearted nature of garden fairies, so that crossing the threshold is a delight.

Braided Archway

While my fingers remained nibble, I braided a lavender bed. Lavender contributes to a calm sleep, also essential to general well-being. I lashed the corners with tall grass using simple knots to keep the corners united. The bed is tucked into a sleeping loft in the crook of one of the rocks .

Knotted Corners

Lavender For a Restful Sleep

I found a beautiful mound of moss under the garden swing. If I’m successful transplanting it, the cool moss will make a lovely addition to the fairy home interior. More news tomorrow.

Spider Plant Sprawl

Spider Plant Sprawl

One by one, the root-bound spider plants relocated to the fence line.  We jokingly refer to that area of the garden as the back-forty.  It’s also where big, hairy spiders go, so they can do their garden business without scaring me on my daily rounds.

The back-forty is a transitional home for plants who’ve outgrown their pots but don’t currently have a good place to go.  One of the potted spider plants sheltered a nest of mourning doves one year.  Eventually the pot was too crowded for a nest or a plant. Time to visit the back-forty.  Sometimes I empty a bit of soil left in a pot, and a forgotten bulb rolls out.  I give it a toss into the mix  and carry on with my gardening chores.  It’s every plant for herself back there: find a place to put down your roots, or move over for the next plant.  Since nothing that we’ve purposefully planted under the pine tree lives for very long, I’m hoping my stealth plan takes root.

Two spider plants and an asparagus fern have been up to the challenge so far.  The acidic soil and shade agrees with them and they seem impervious to a steady shower of pine-needles.  At the rate they are multiplying, the back-forty relocation plan is looking like a success. Gardeners know that hope springs eternal or perhaps it’s spring that brings eternal hope.

Asparagus Fern Spider Plant Tango

Mourning Doves