
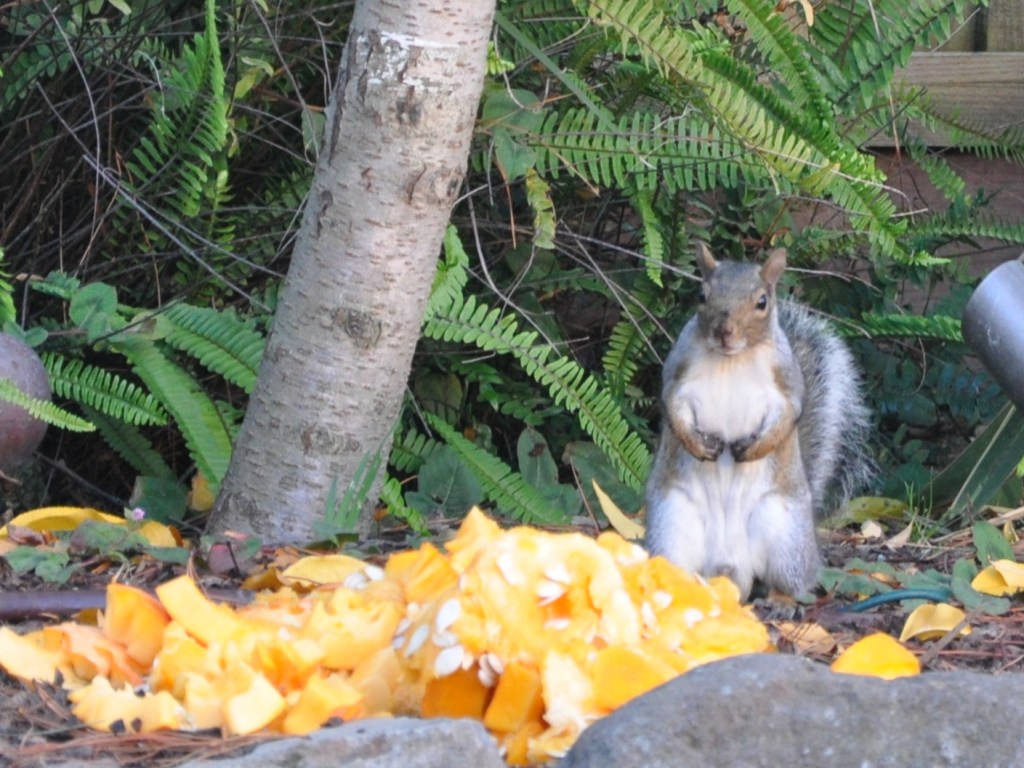
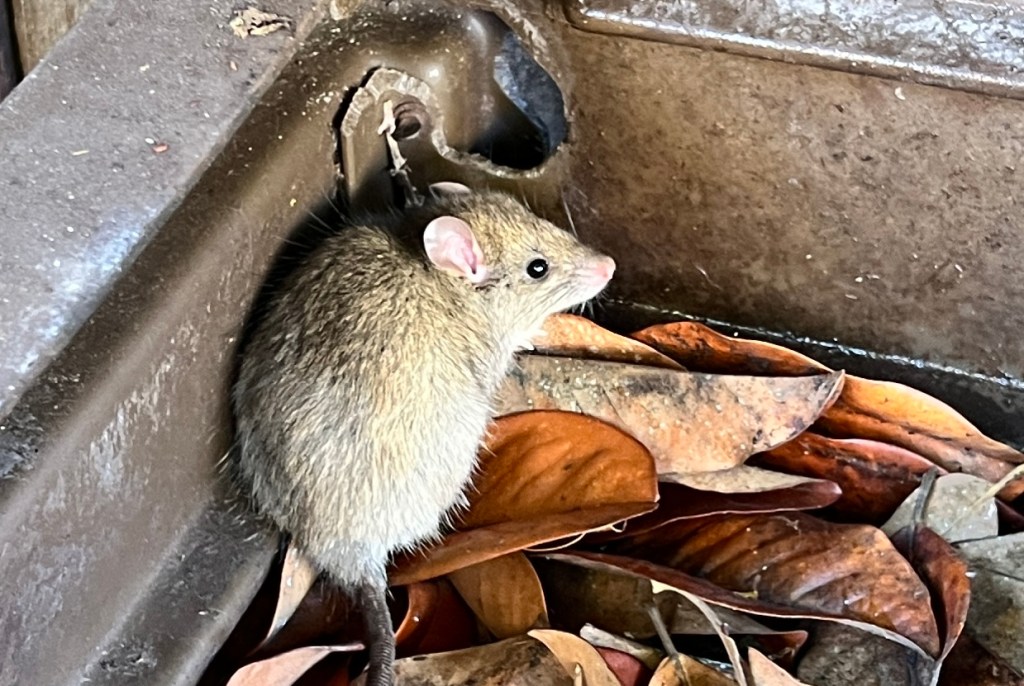
It’s Halloween. One of my favorite times of the year. Our neighborhood draws a crowd (500 children at our door last year), a slow-and-steady parade of little ones starting around 5:30. This little guy gets a different kind of treat.
Mike spent the day carving three magnificent pumpkins. It takes him hours, but he enjoys the creative process.
We attended a Halloween party on Saturday, renting costumes from Natasha’s Attic. I didn’t have the time or energy to create one this year, and that’s ok.


The Las Vegas party theme lends itself to many things. We dressed as 1920s mobsters, light on the mob part.
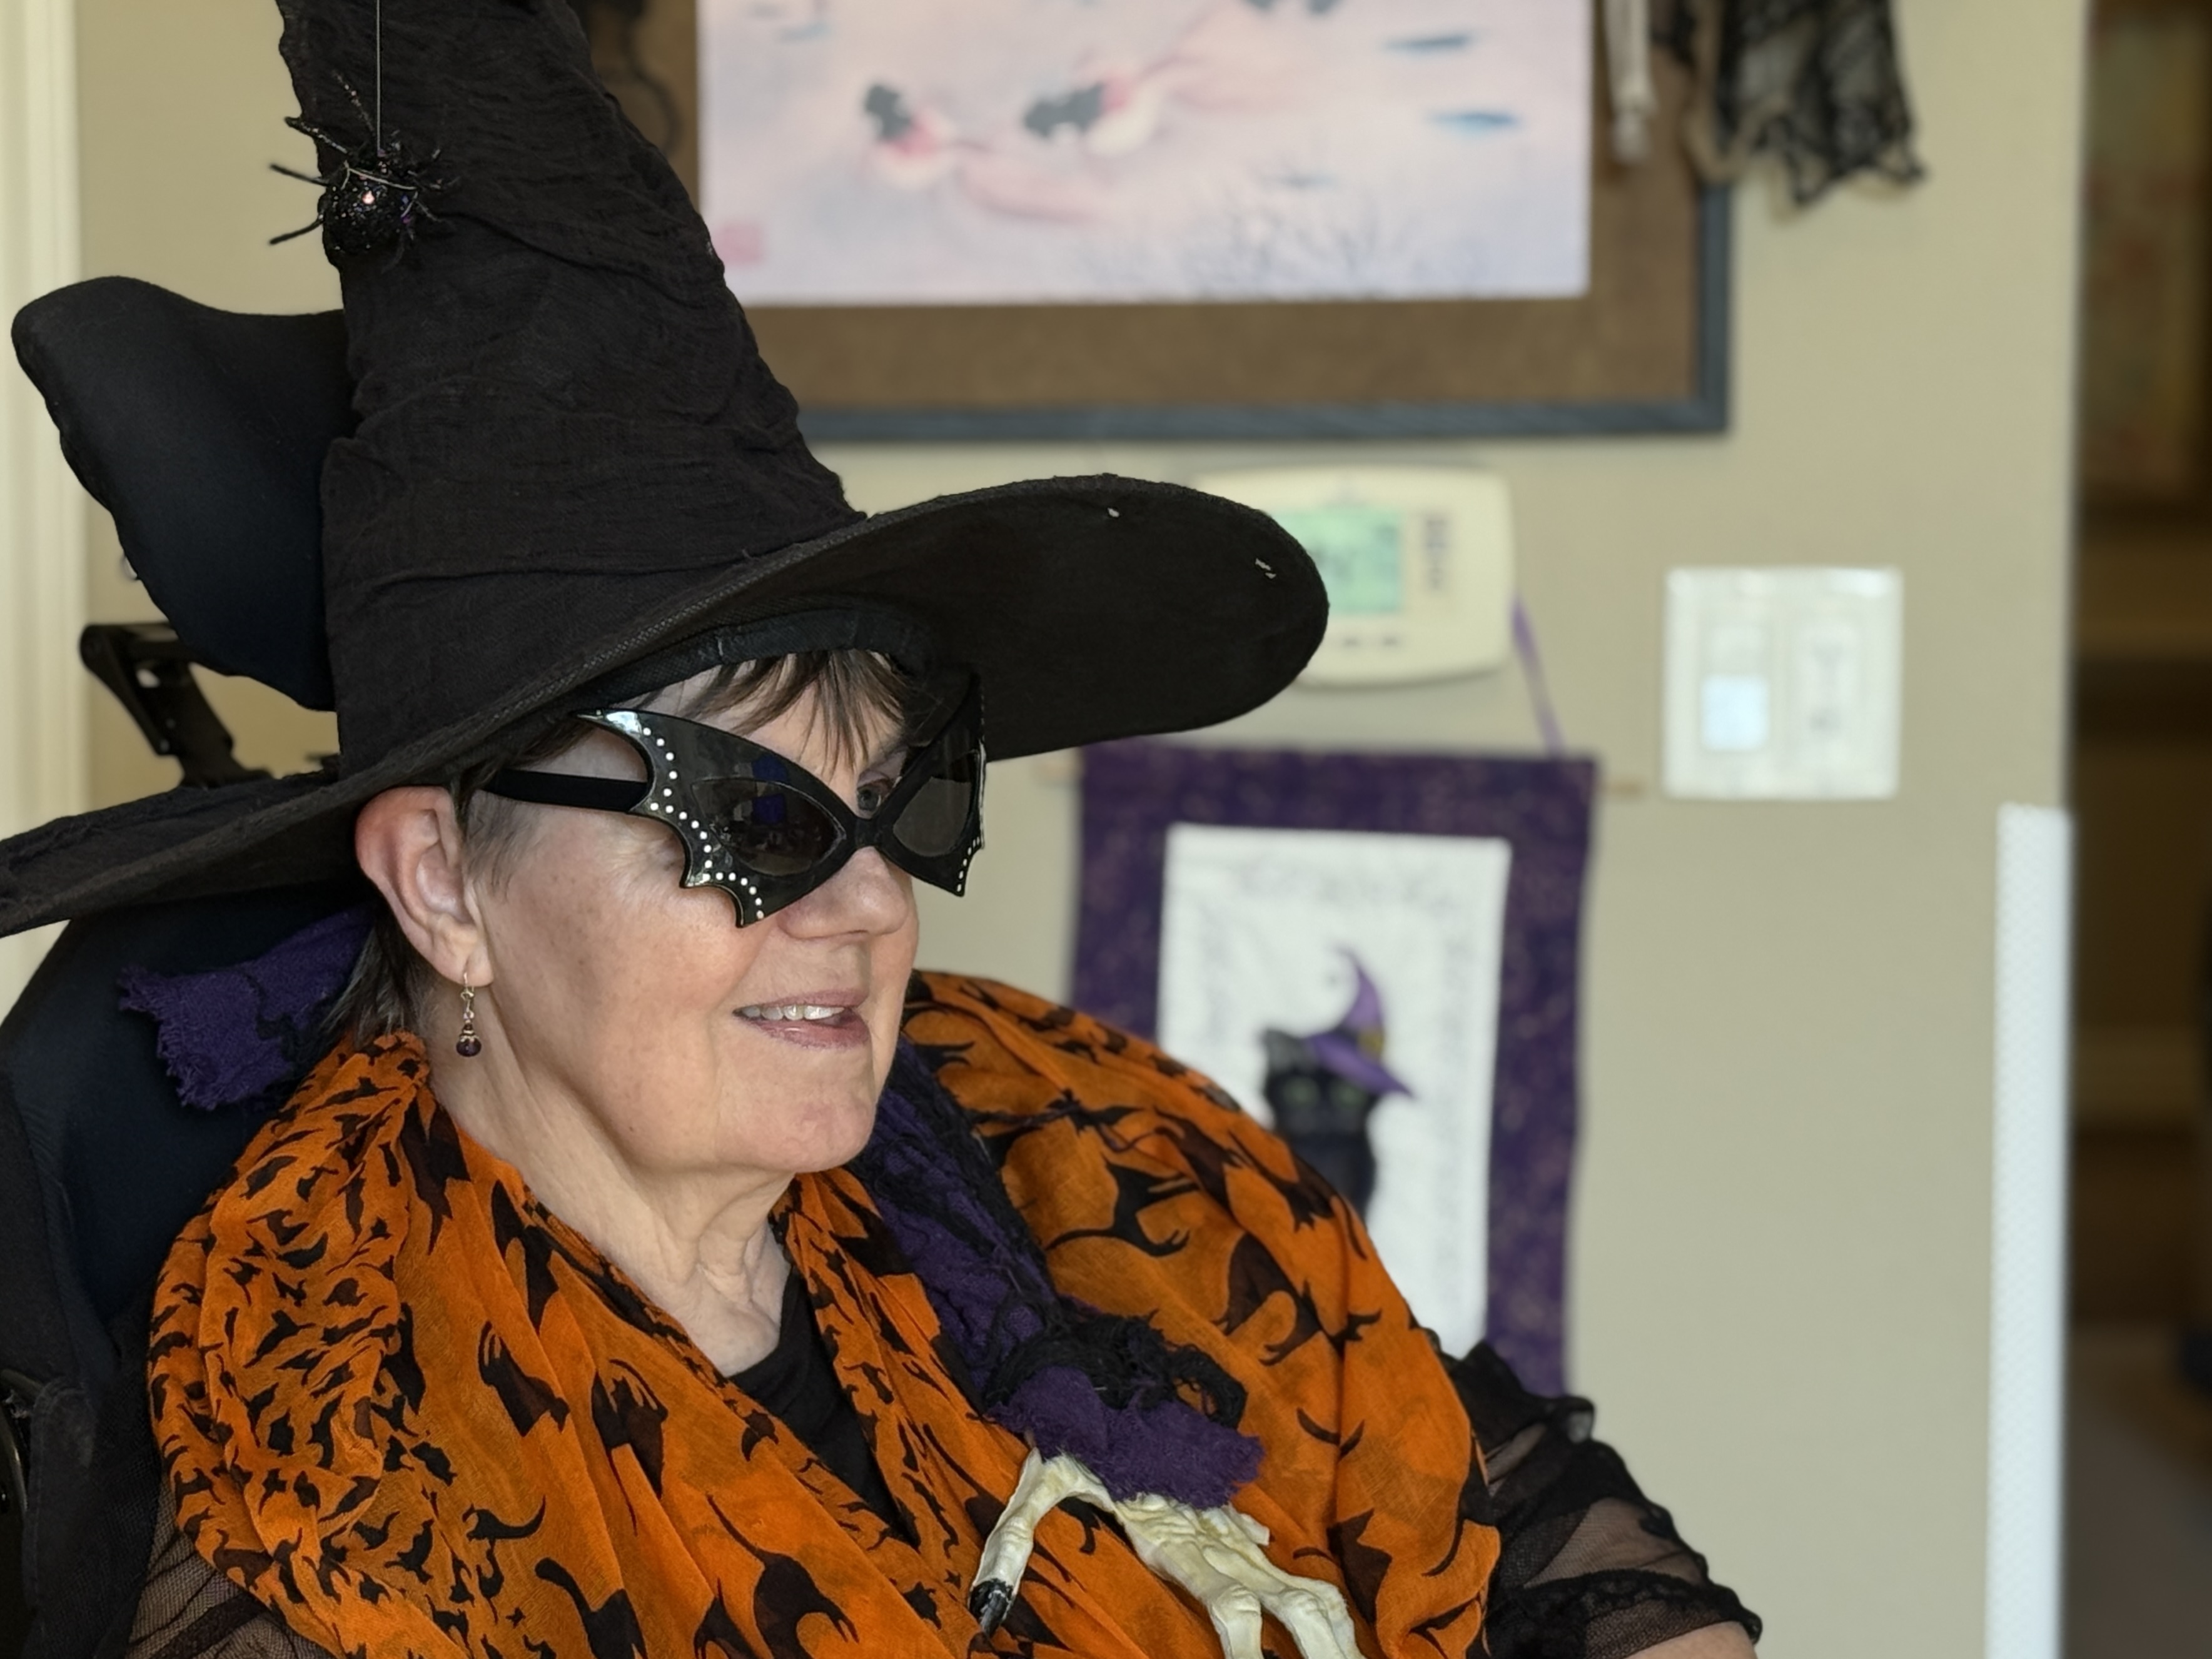
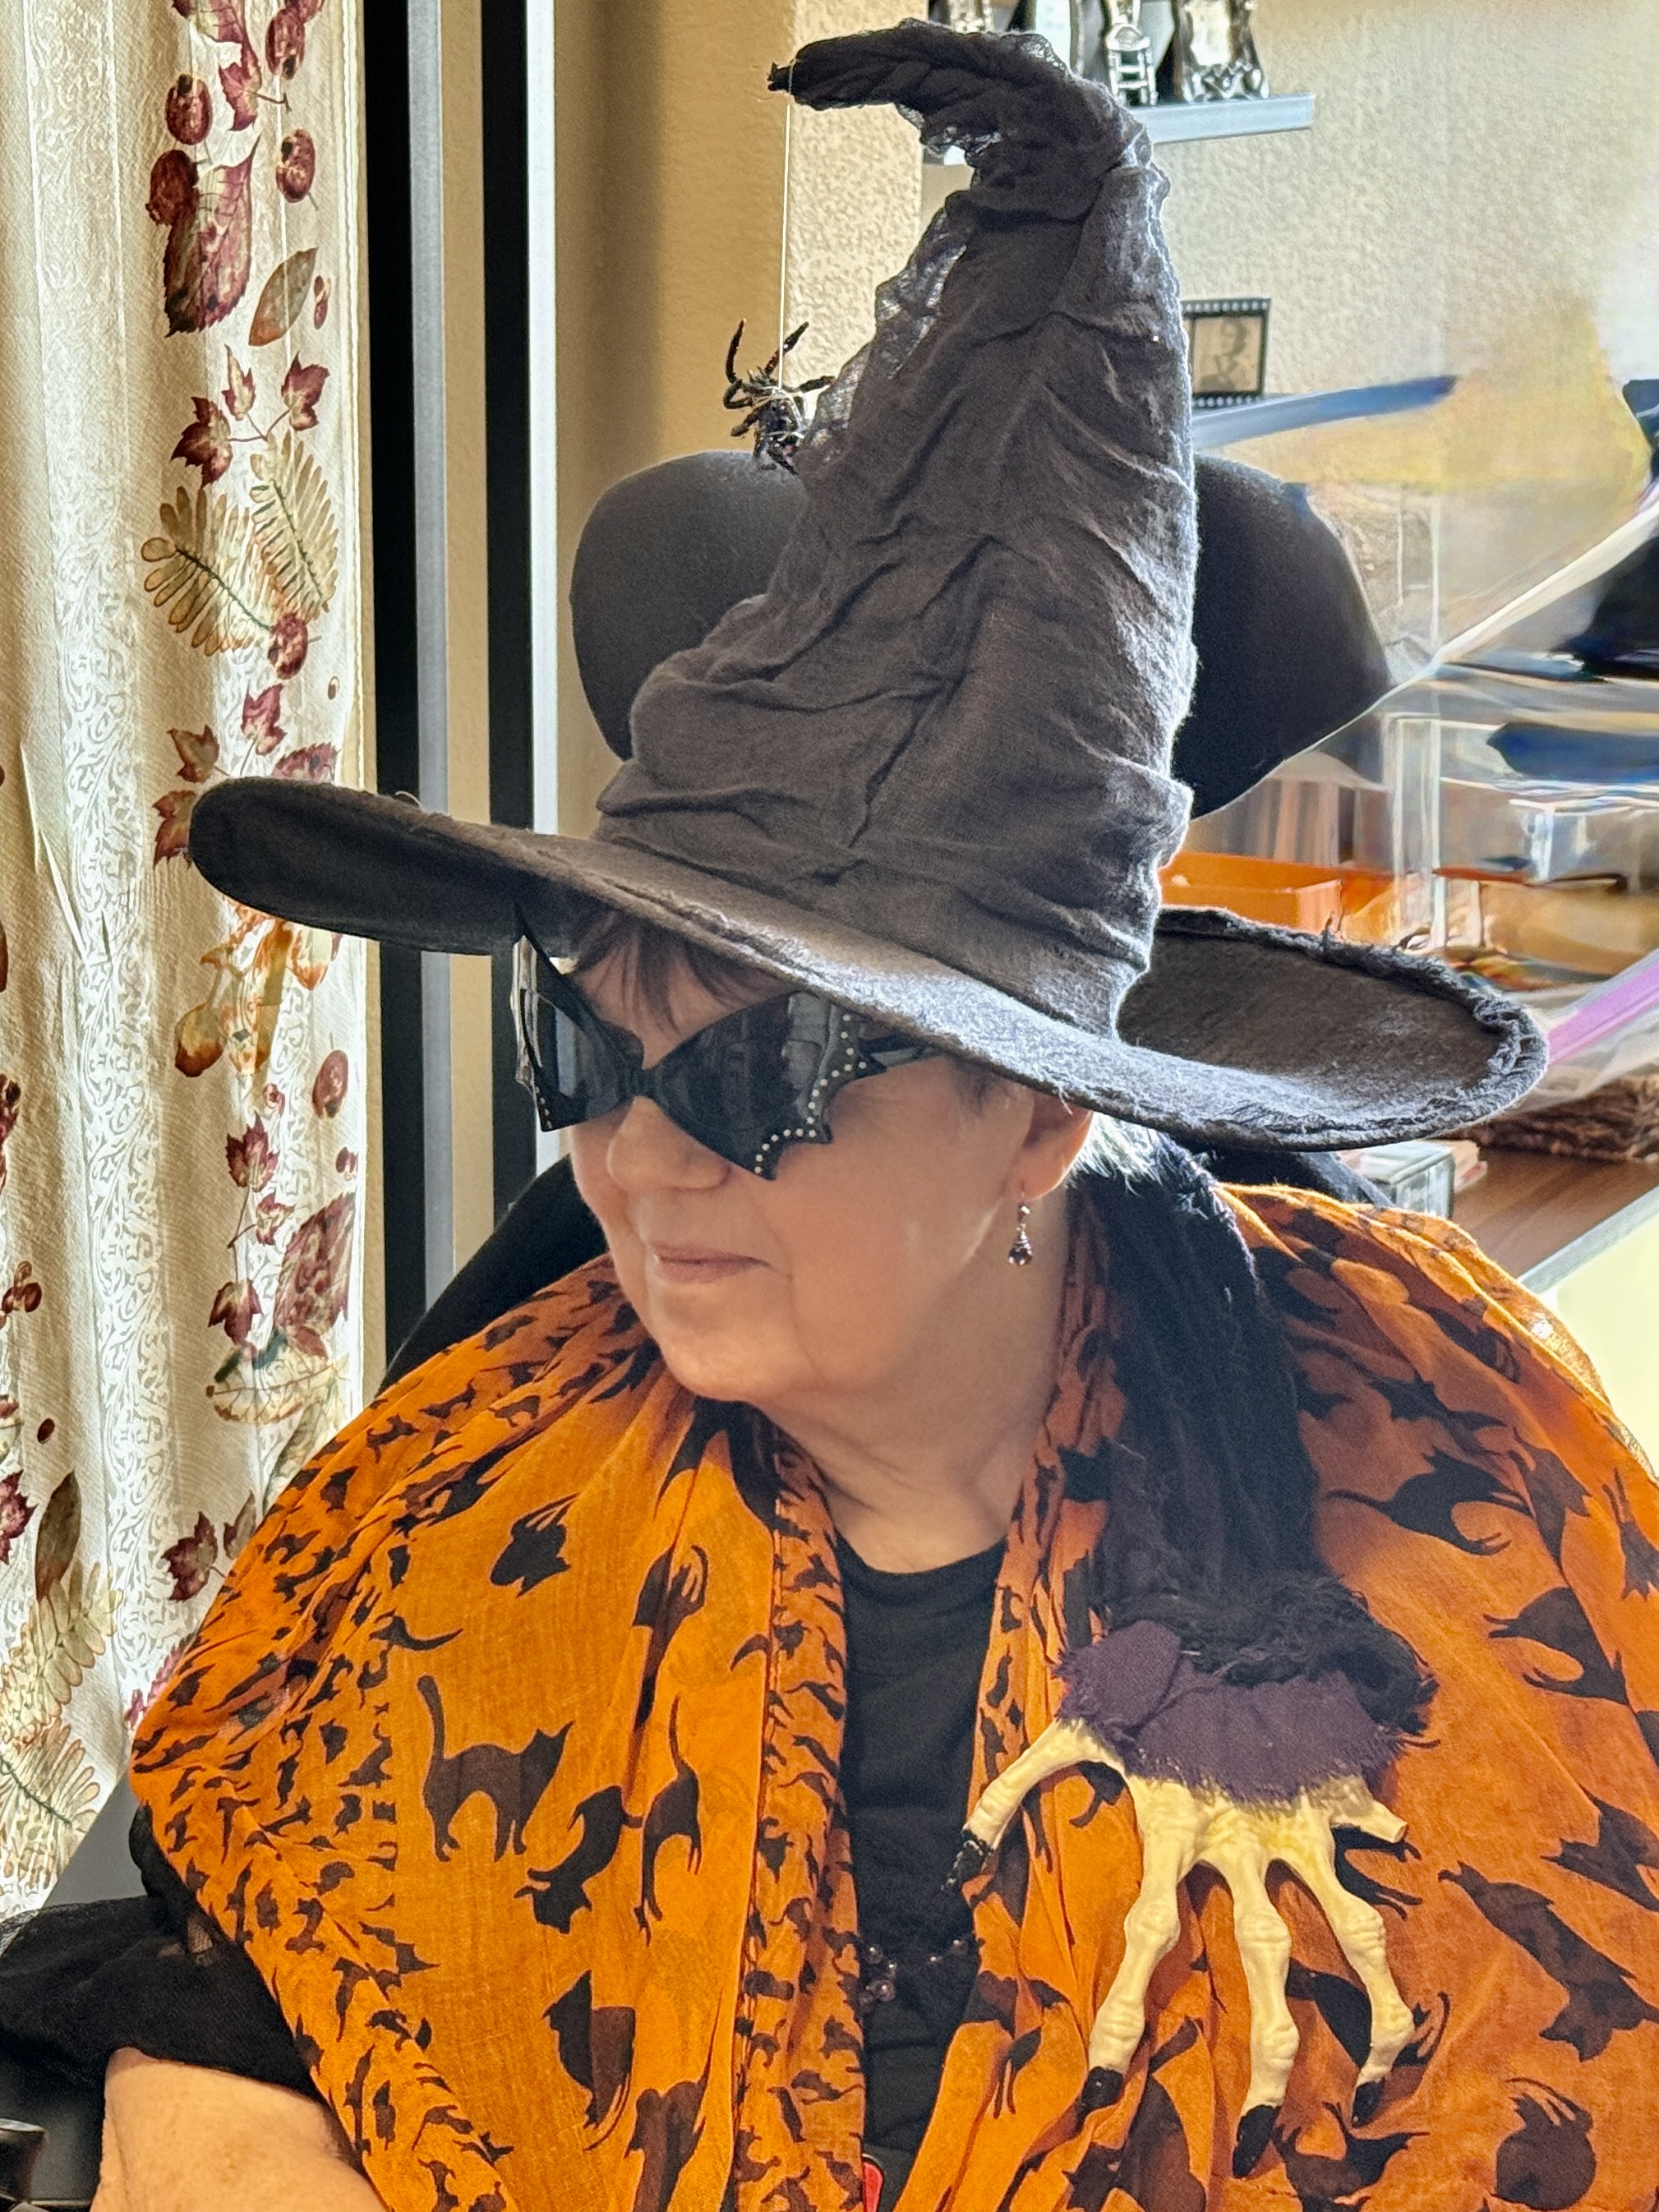
I stopped by my sister’s today and took pics of her wearing a witch’s hat, a gifted orange scarf, and a hand prop on her shoulder. We’re peas in a pod.
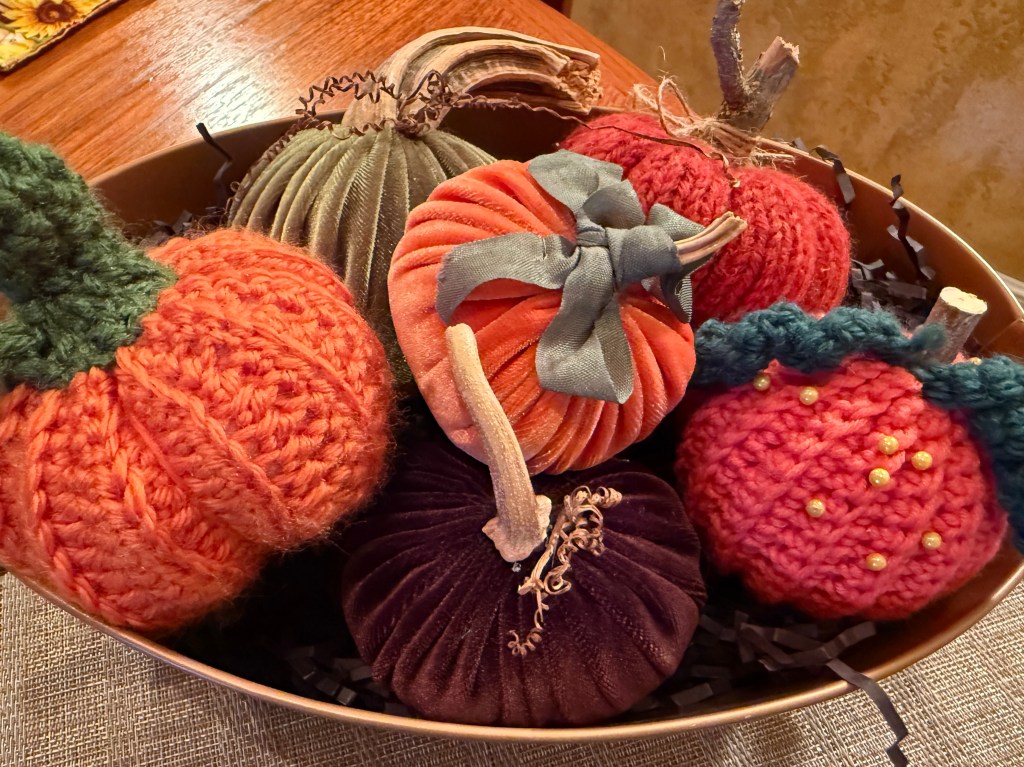
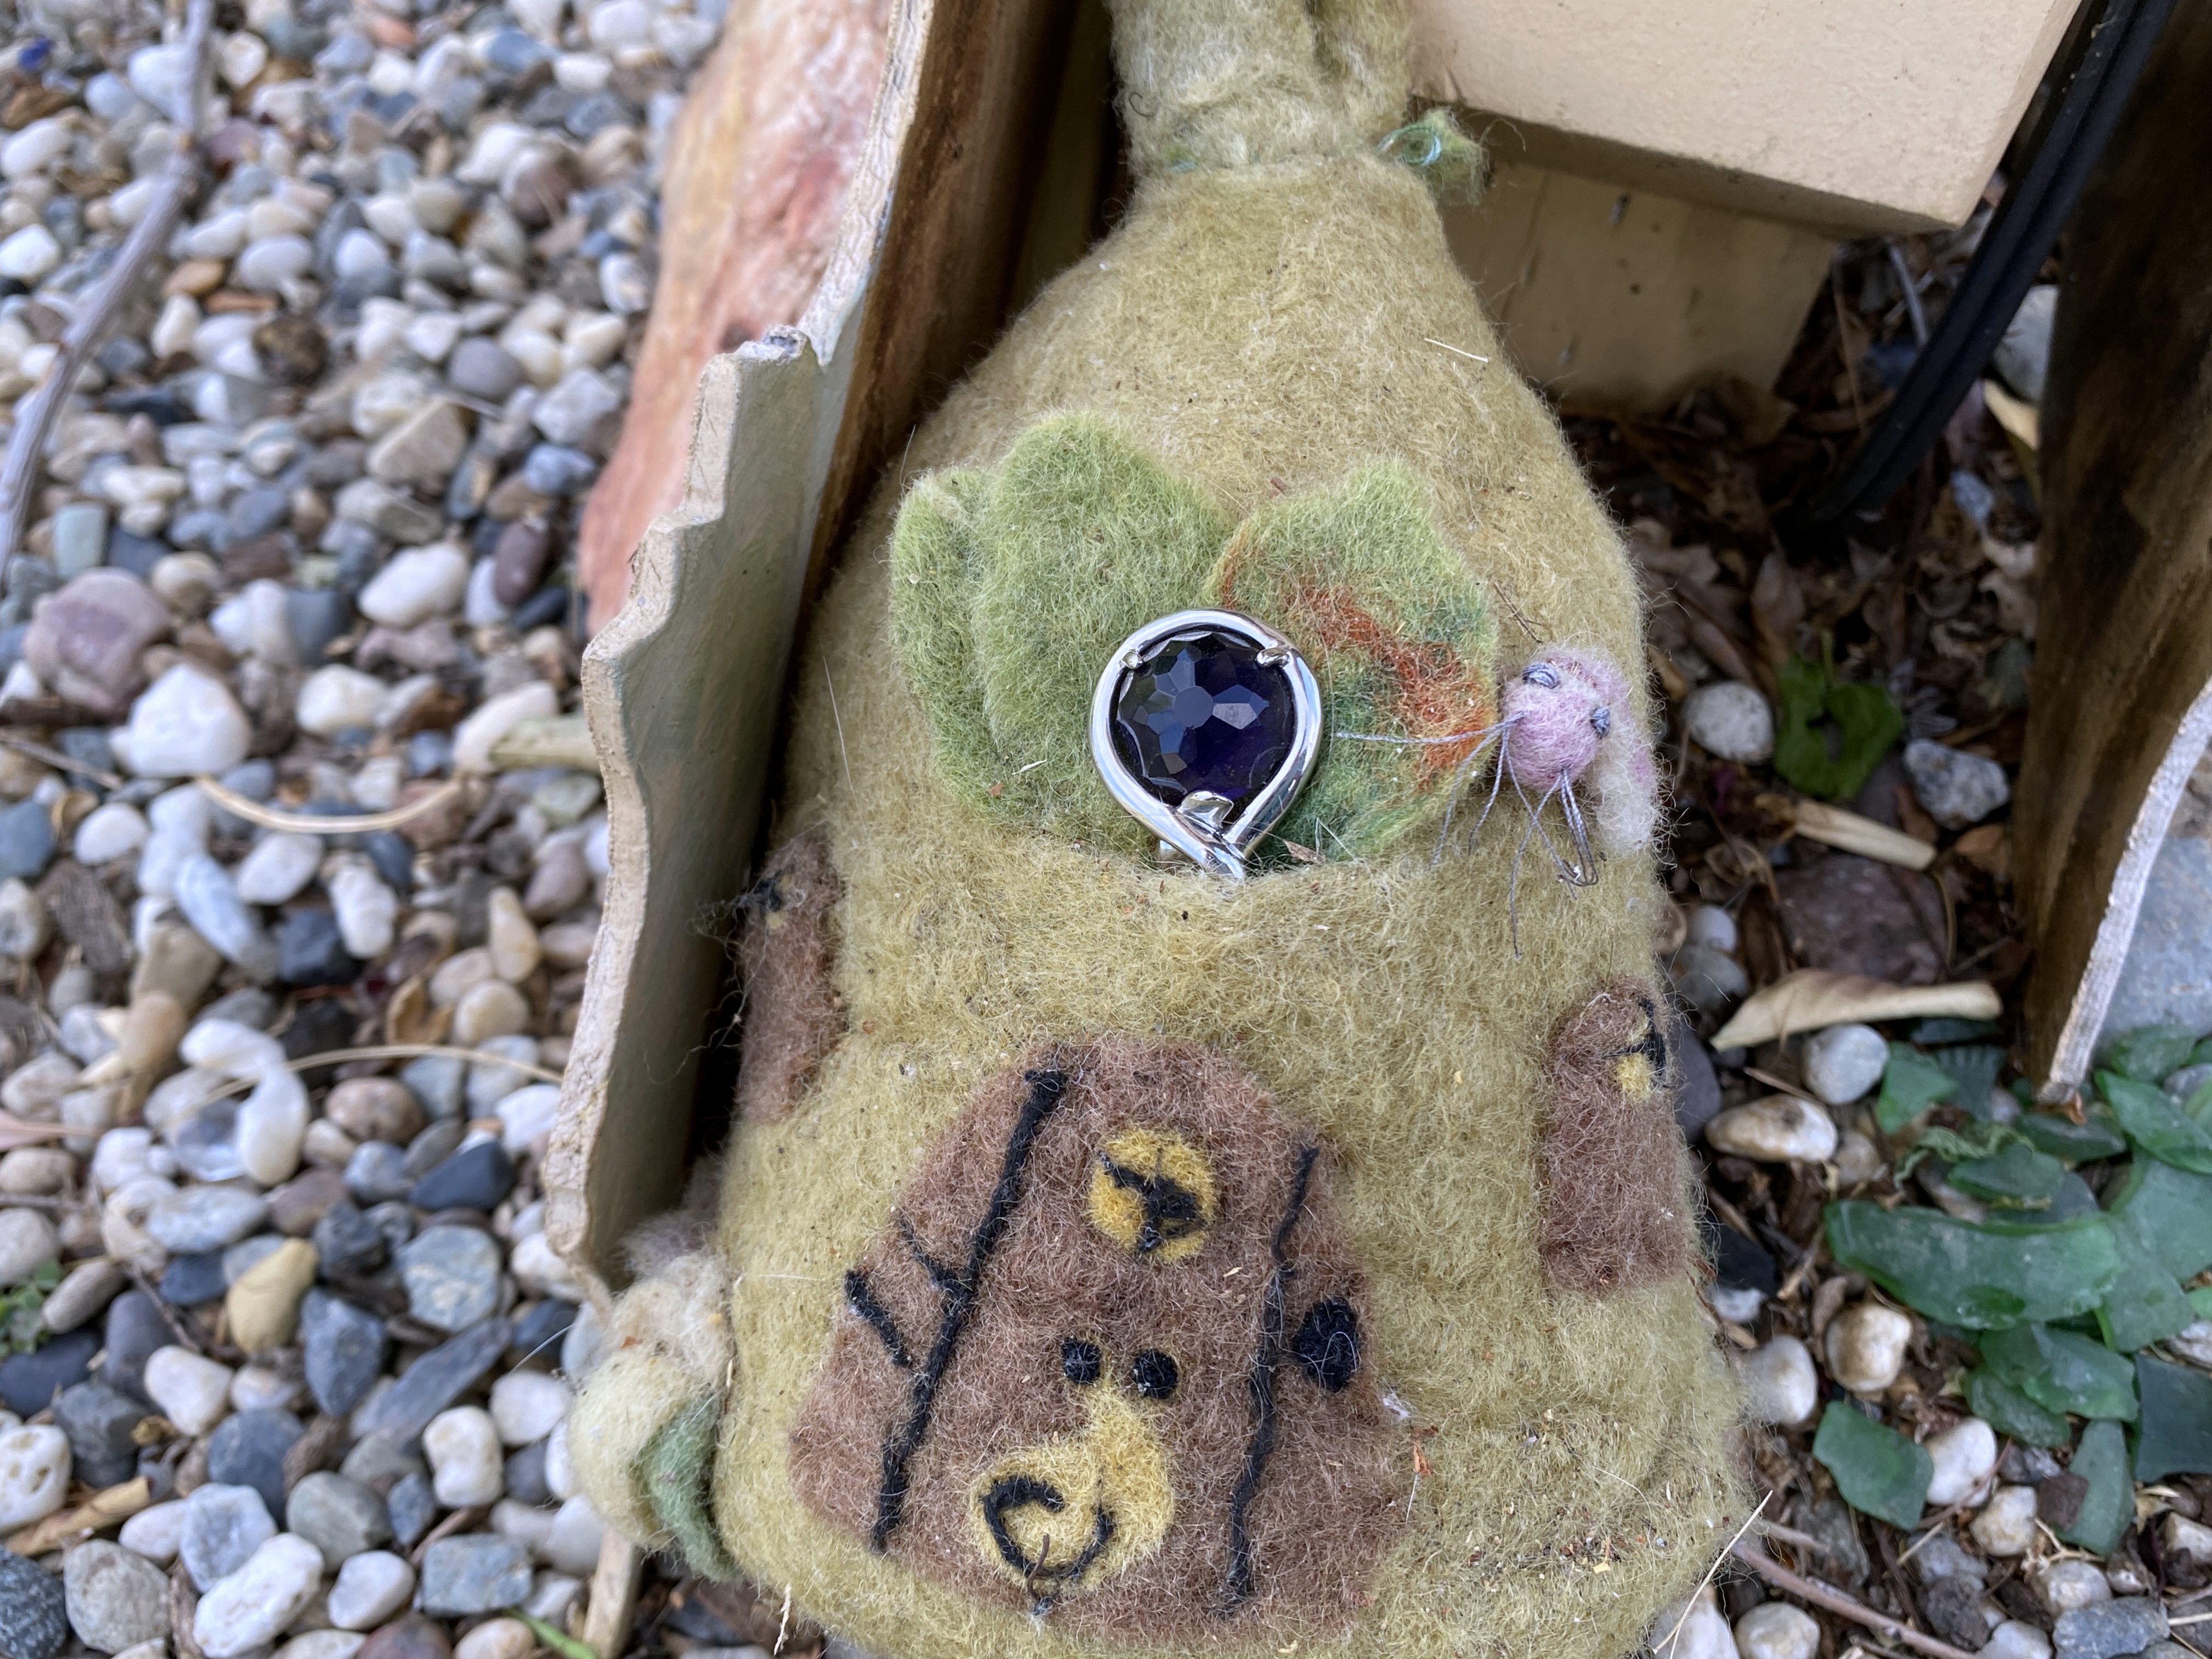
I bring out my collection of hand-crafted pumpkins each year. They have an international flavor, one sent as a gift from Cathy in Germany, another made by Randi, who hails from Norway, and the third, a gift from my friend Stephanie. I bought the velvet ones at a craft fair many years ago.
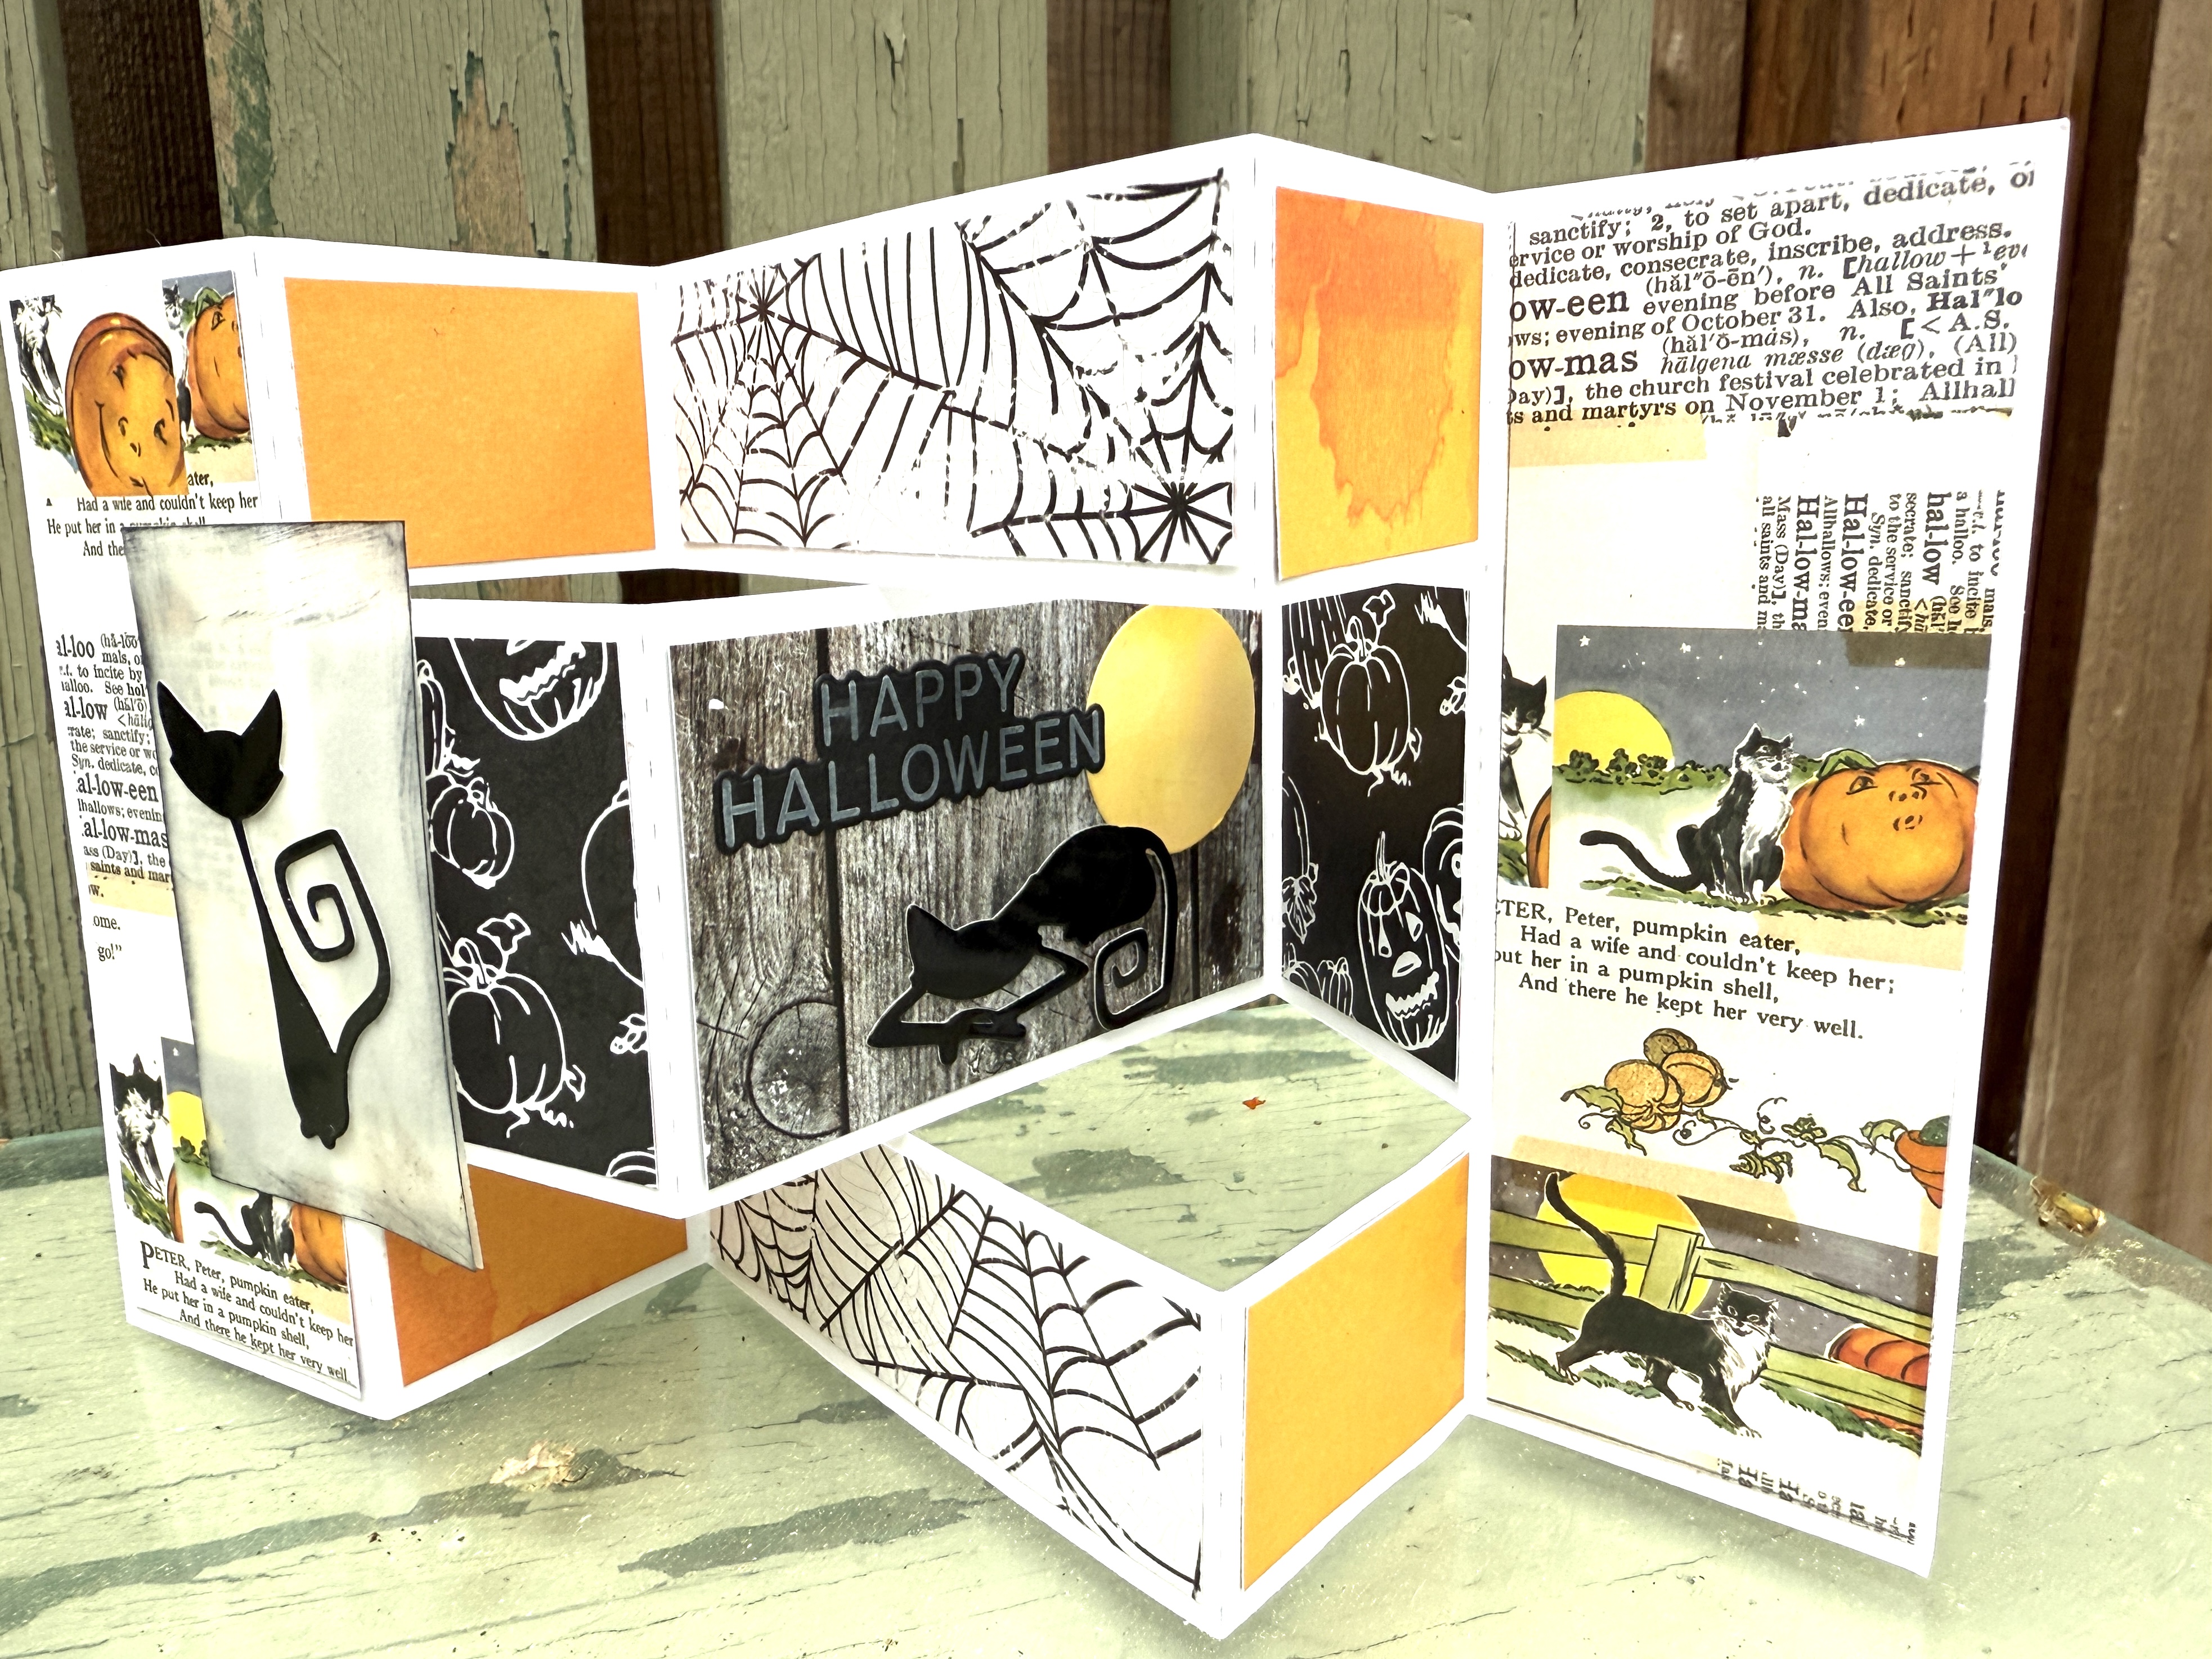
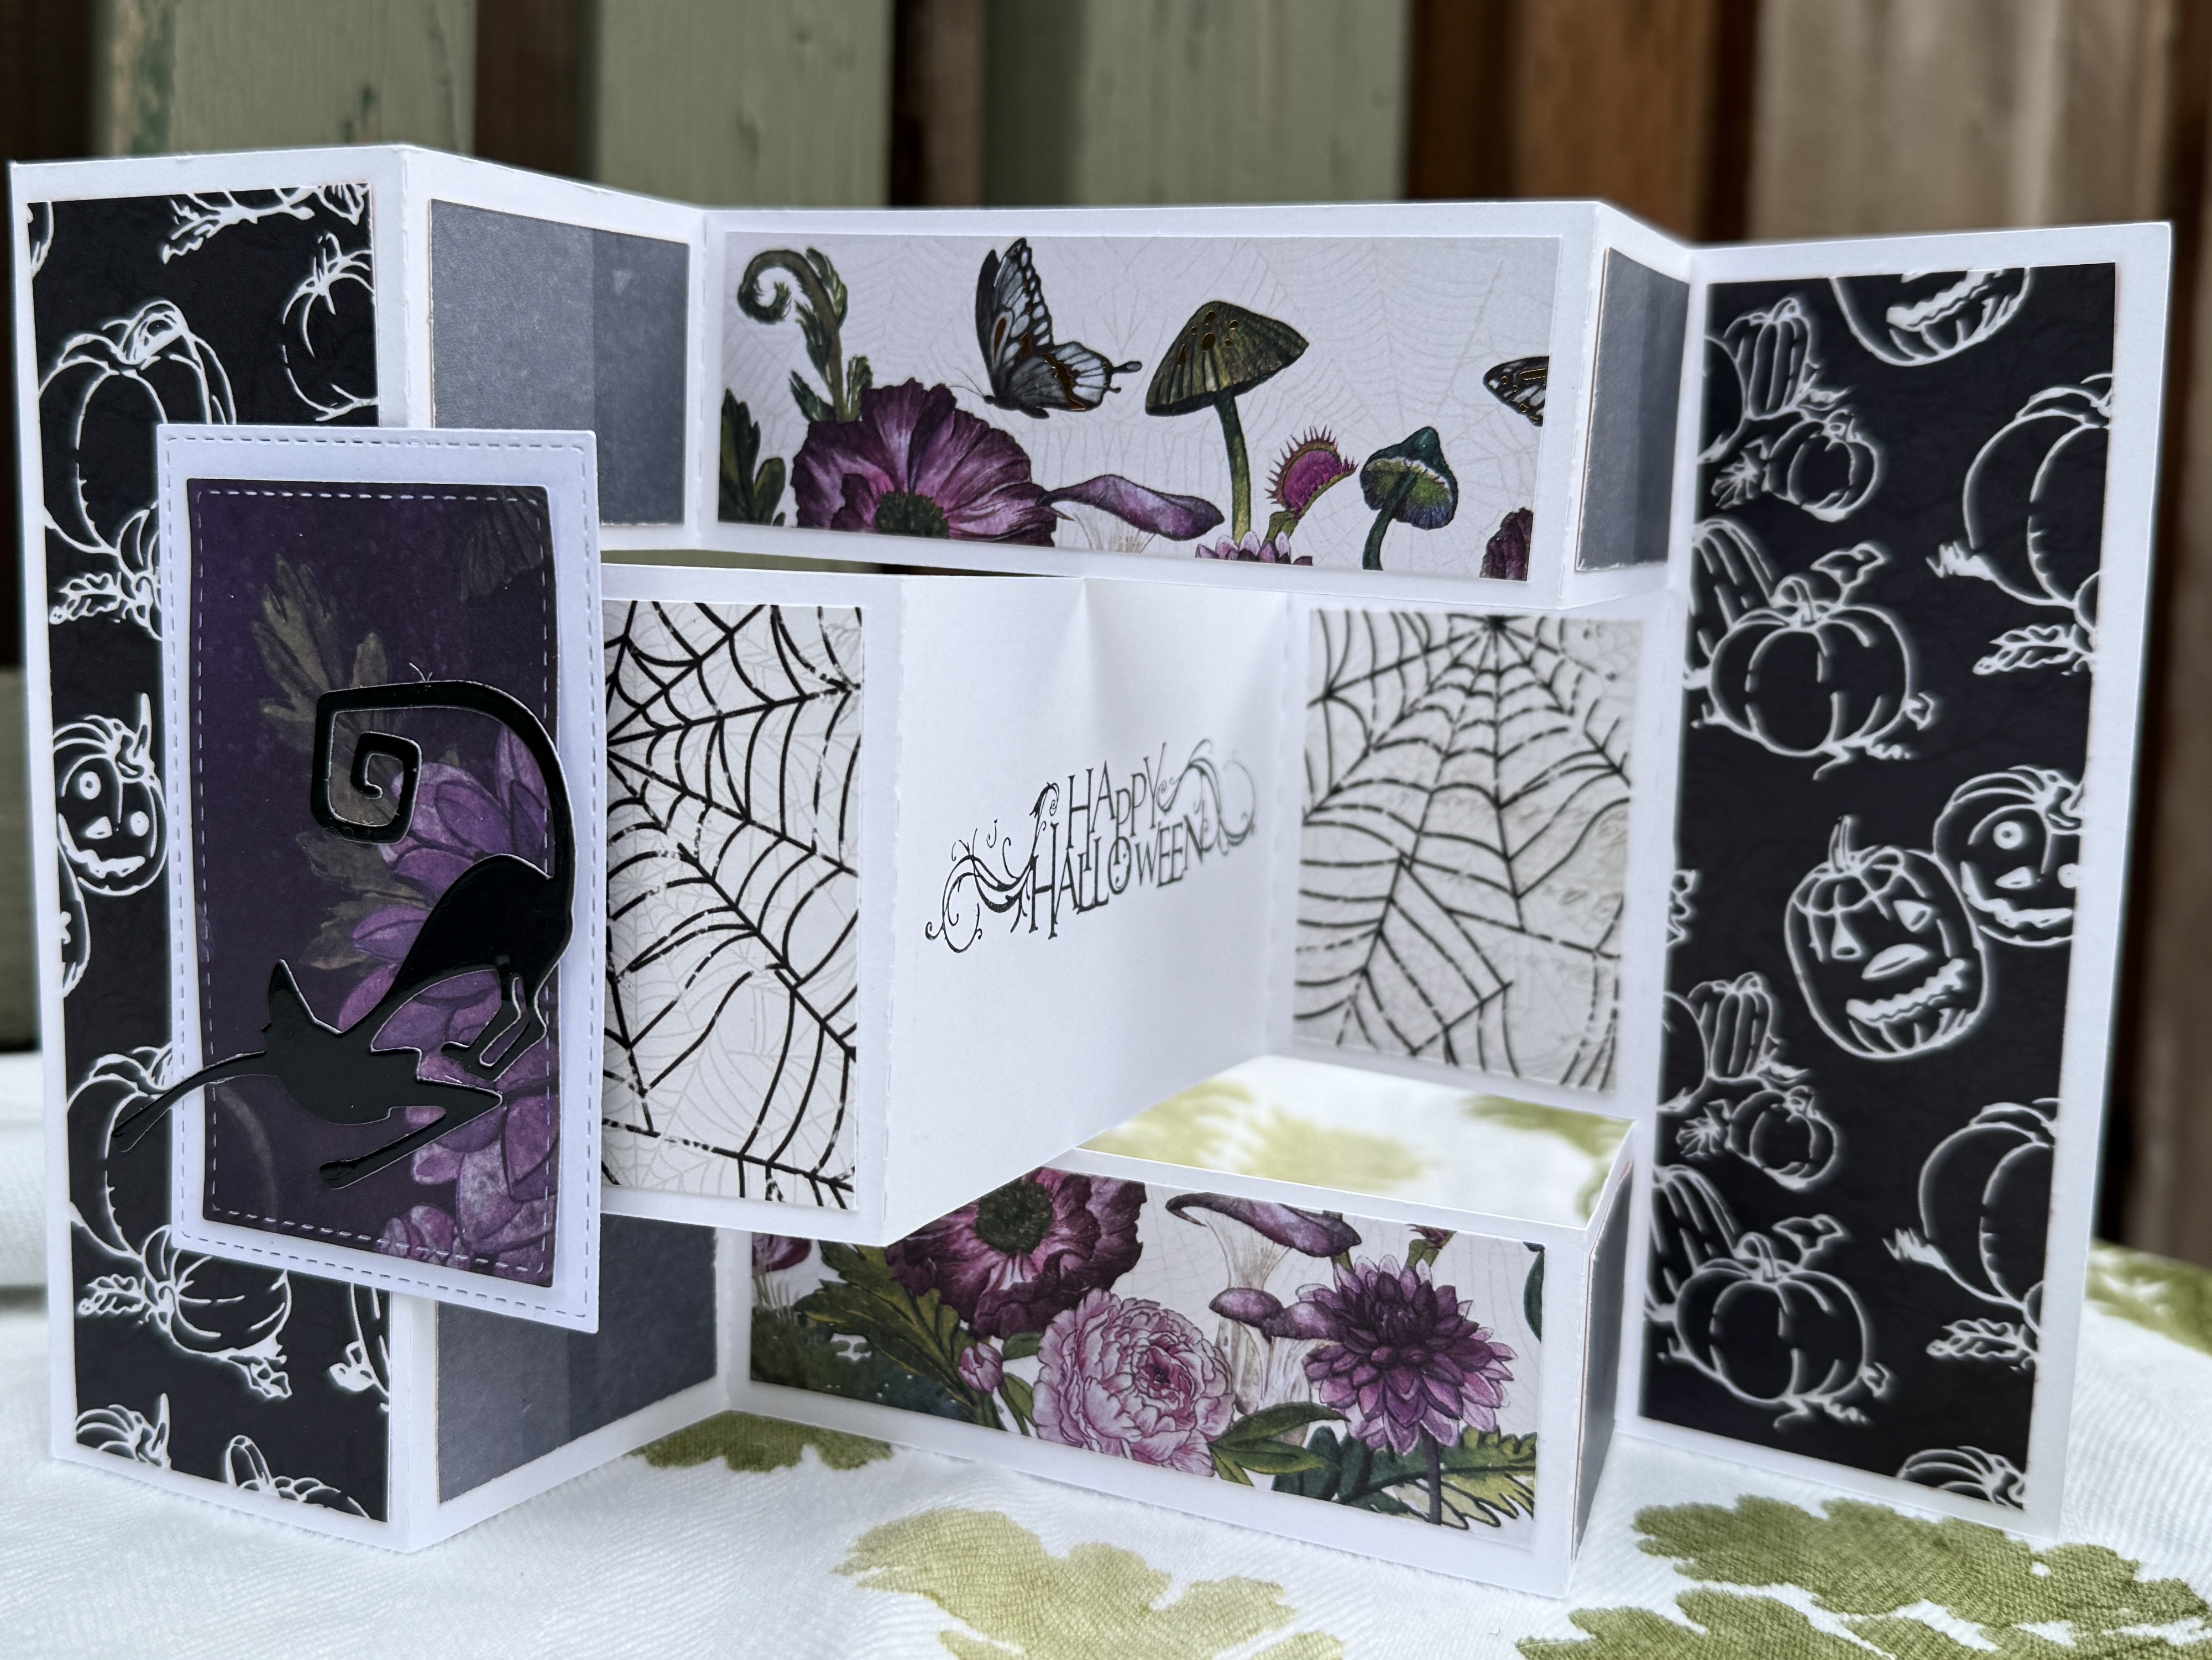
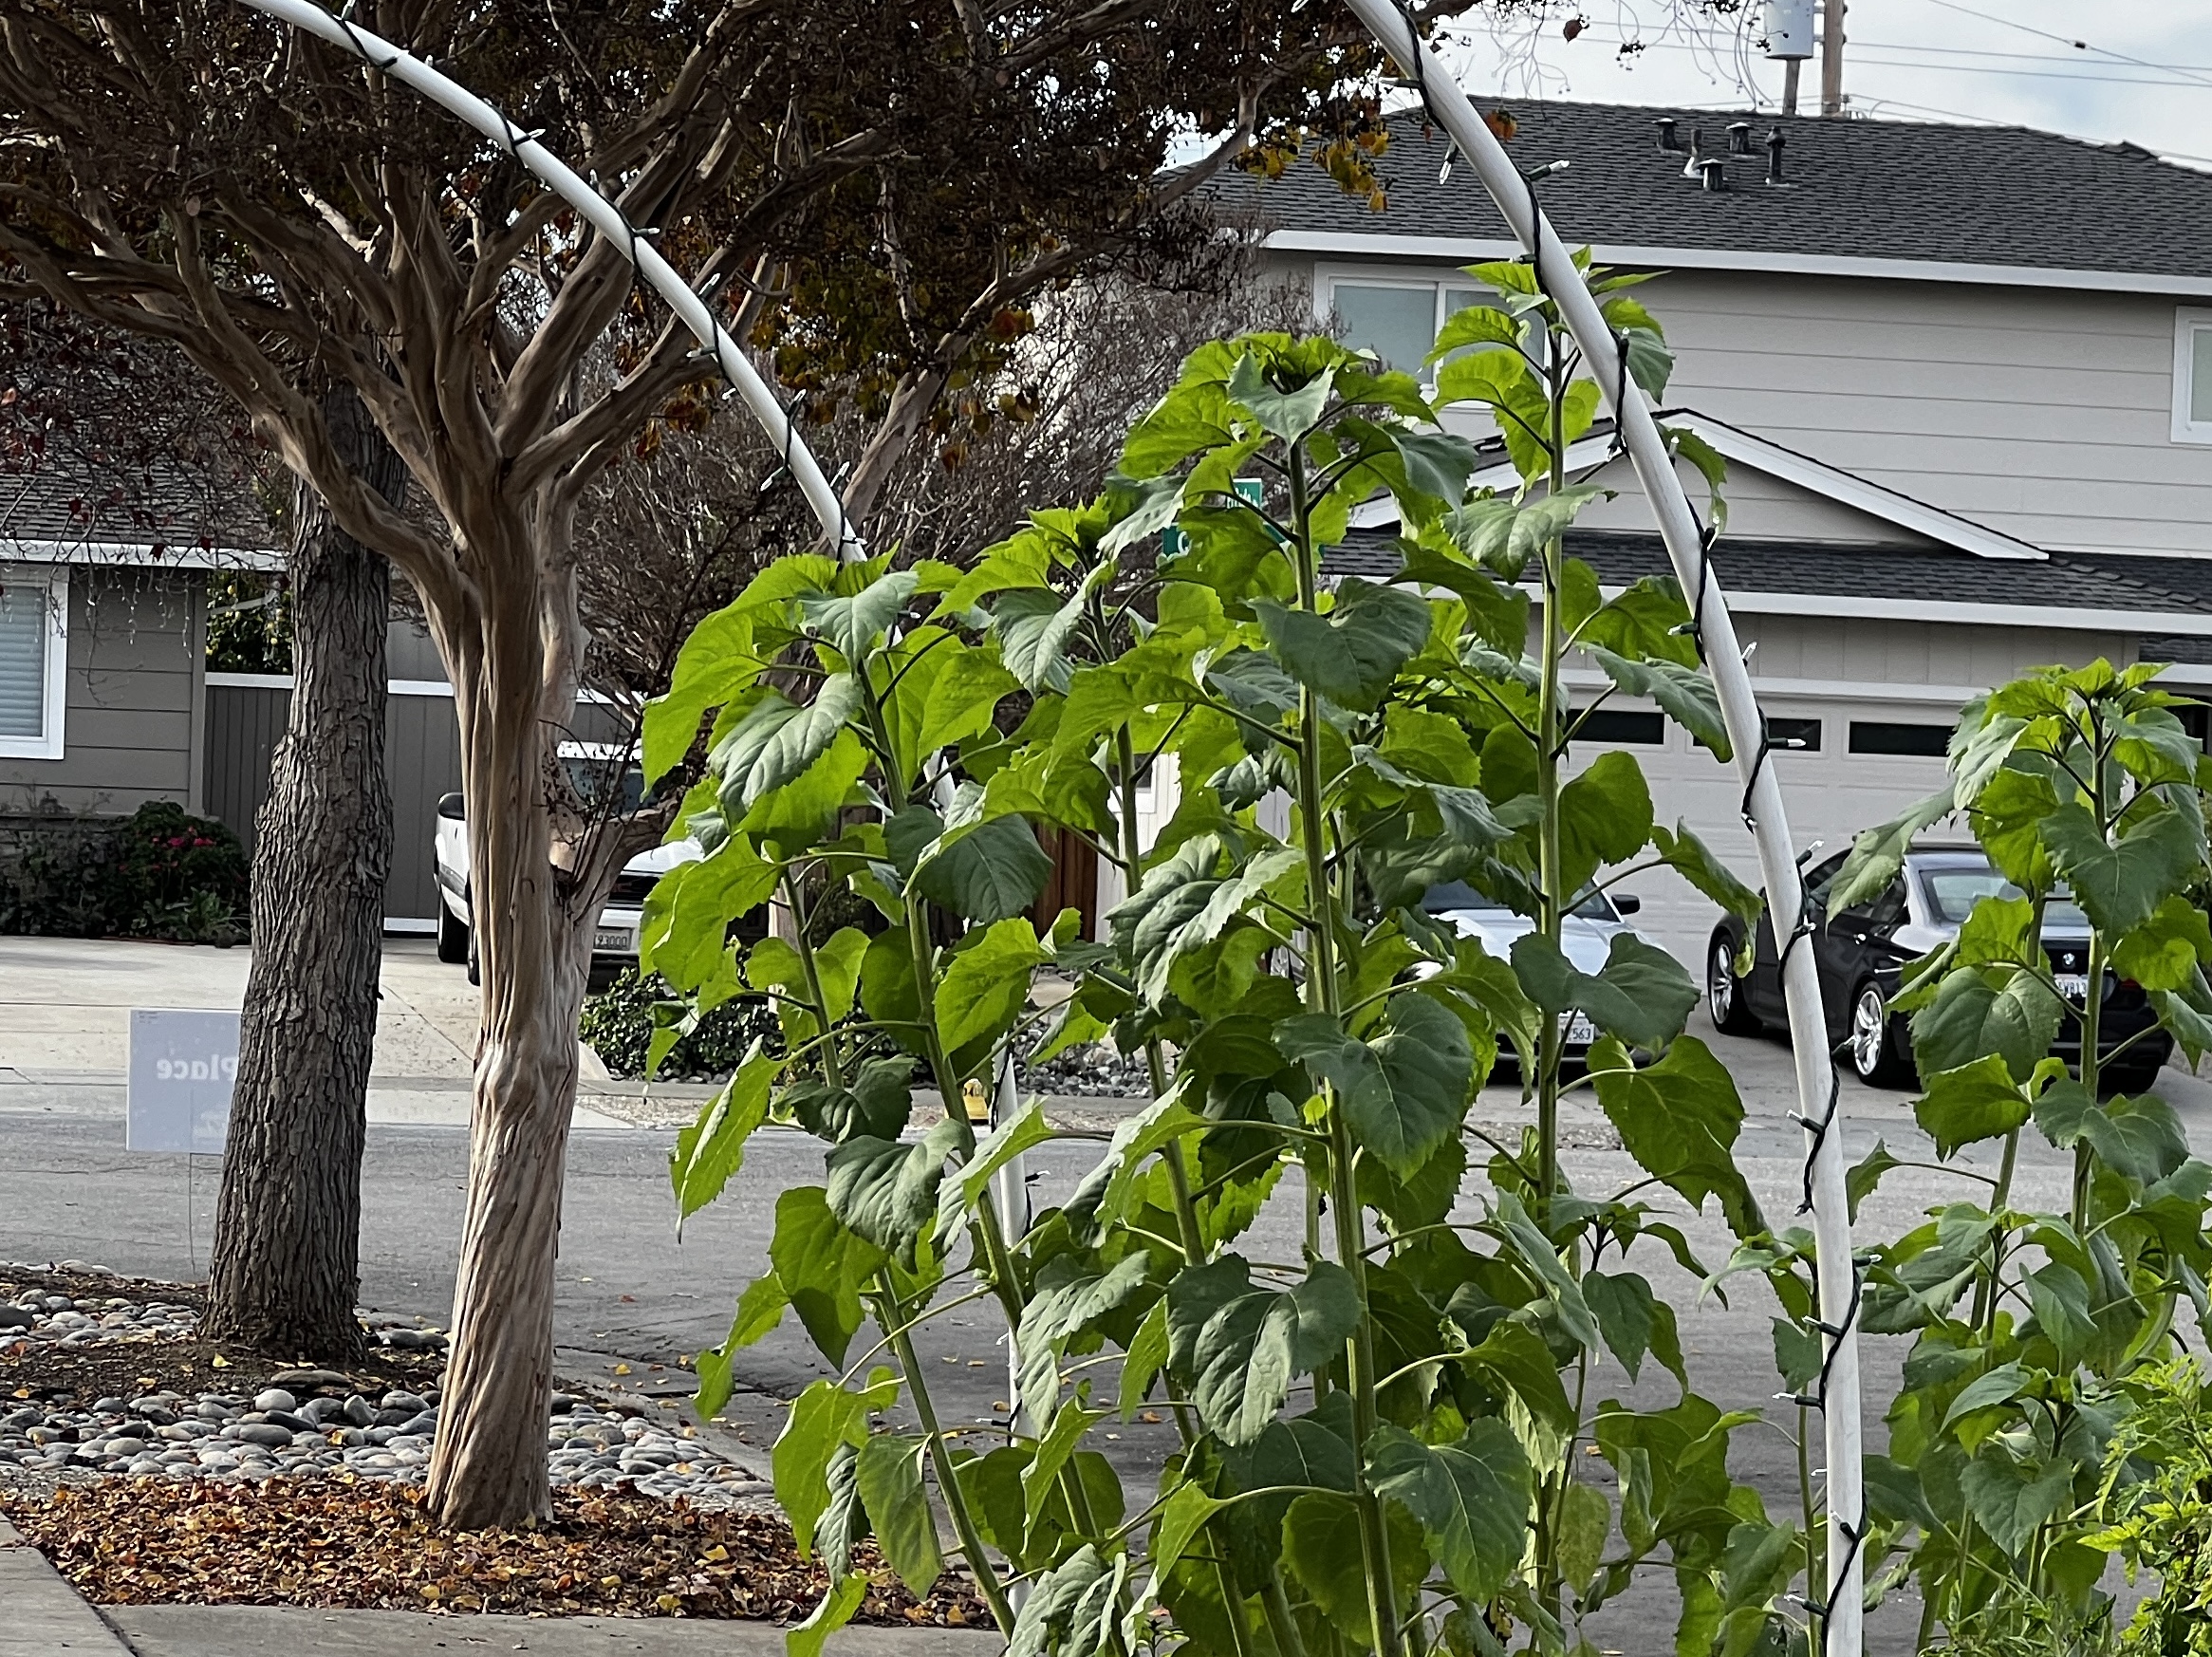
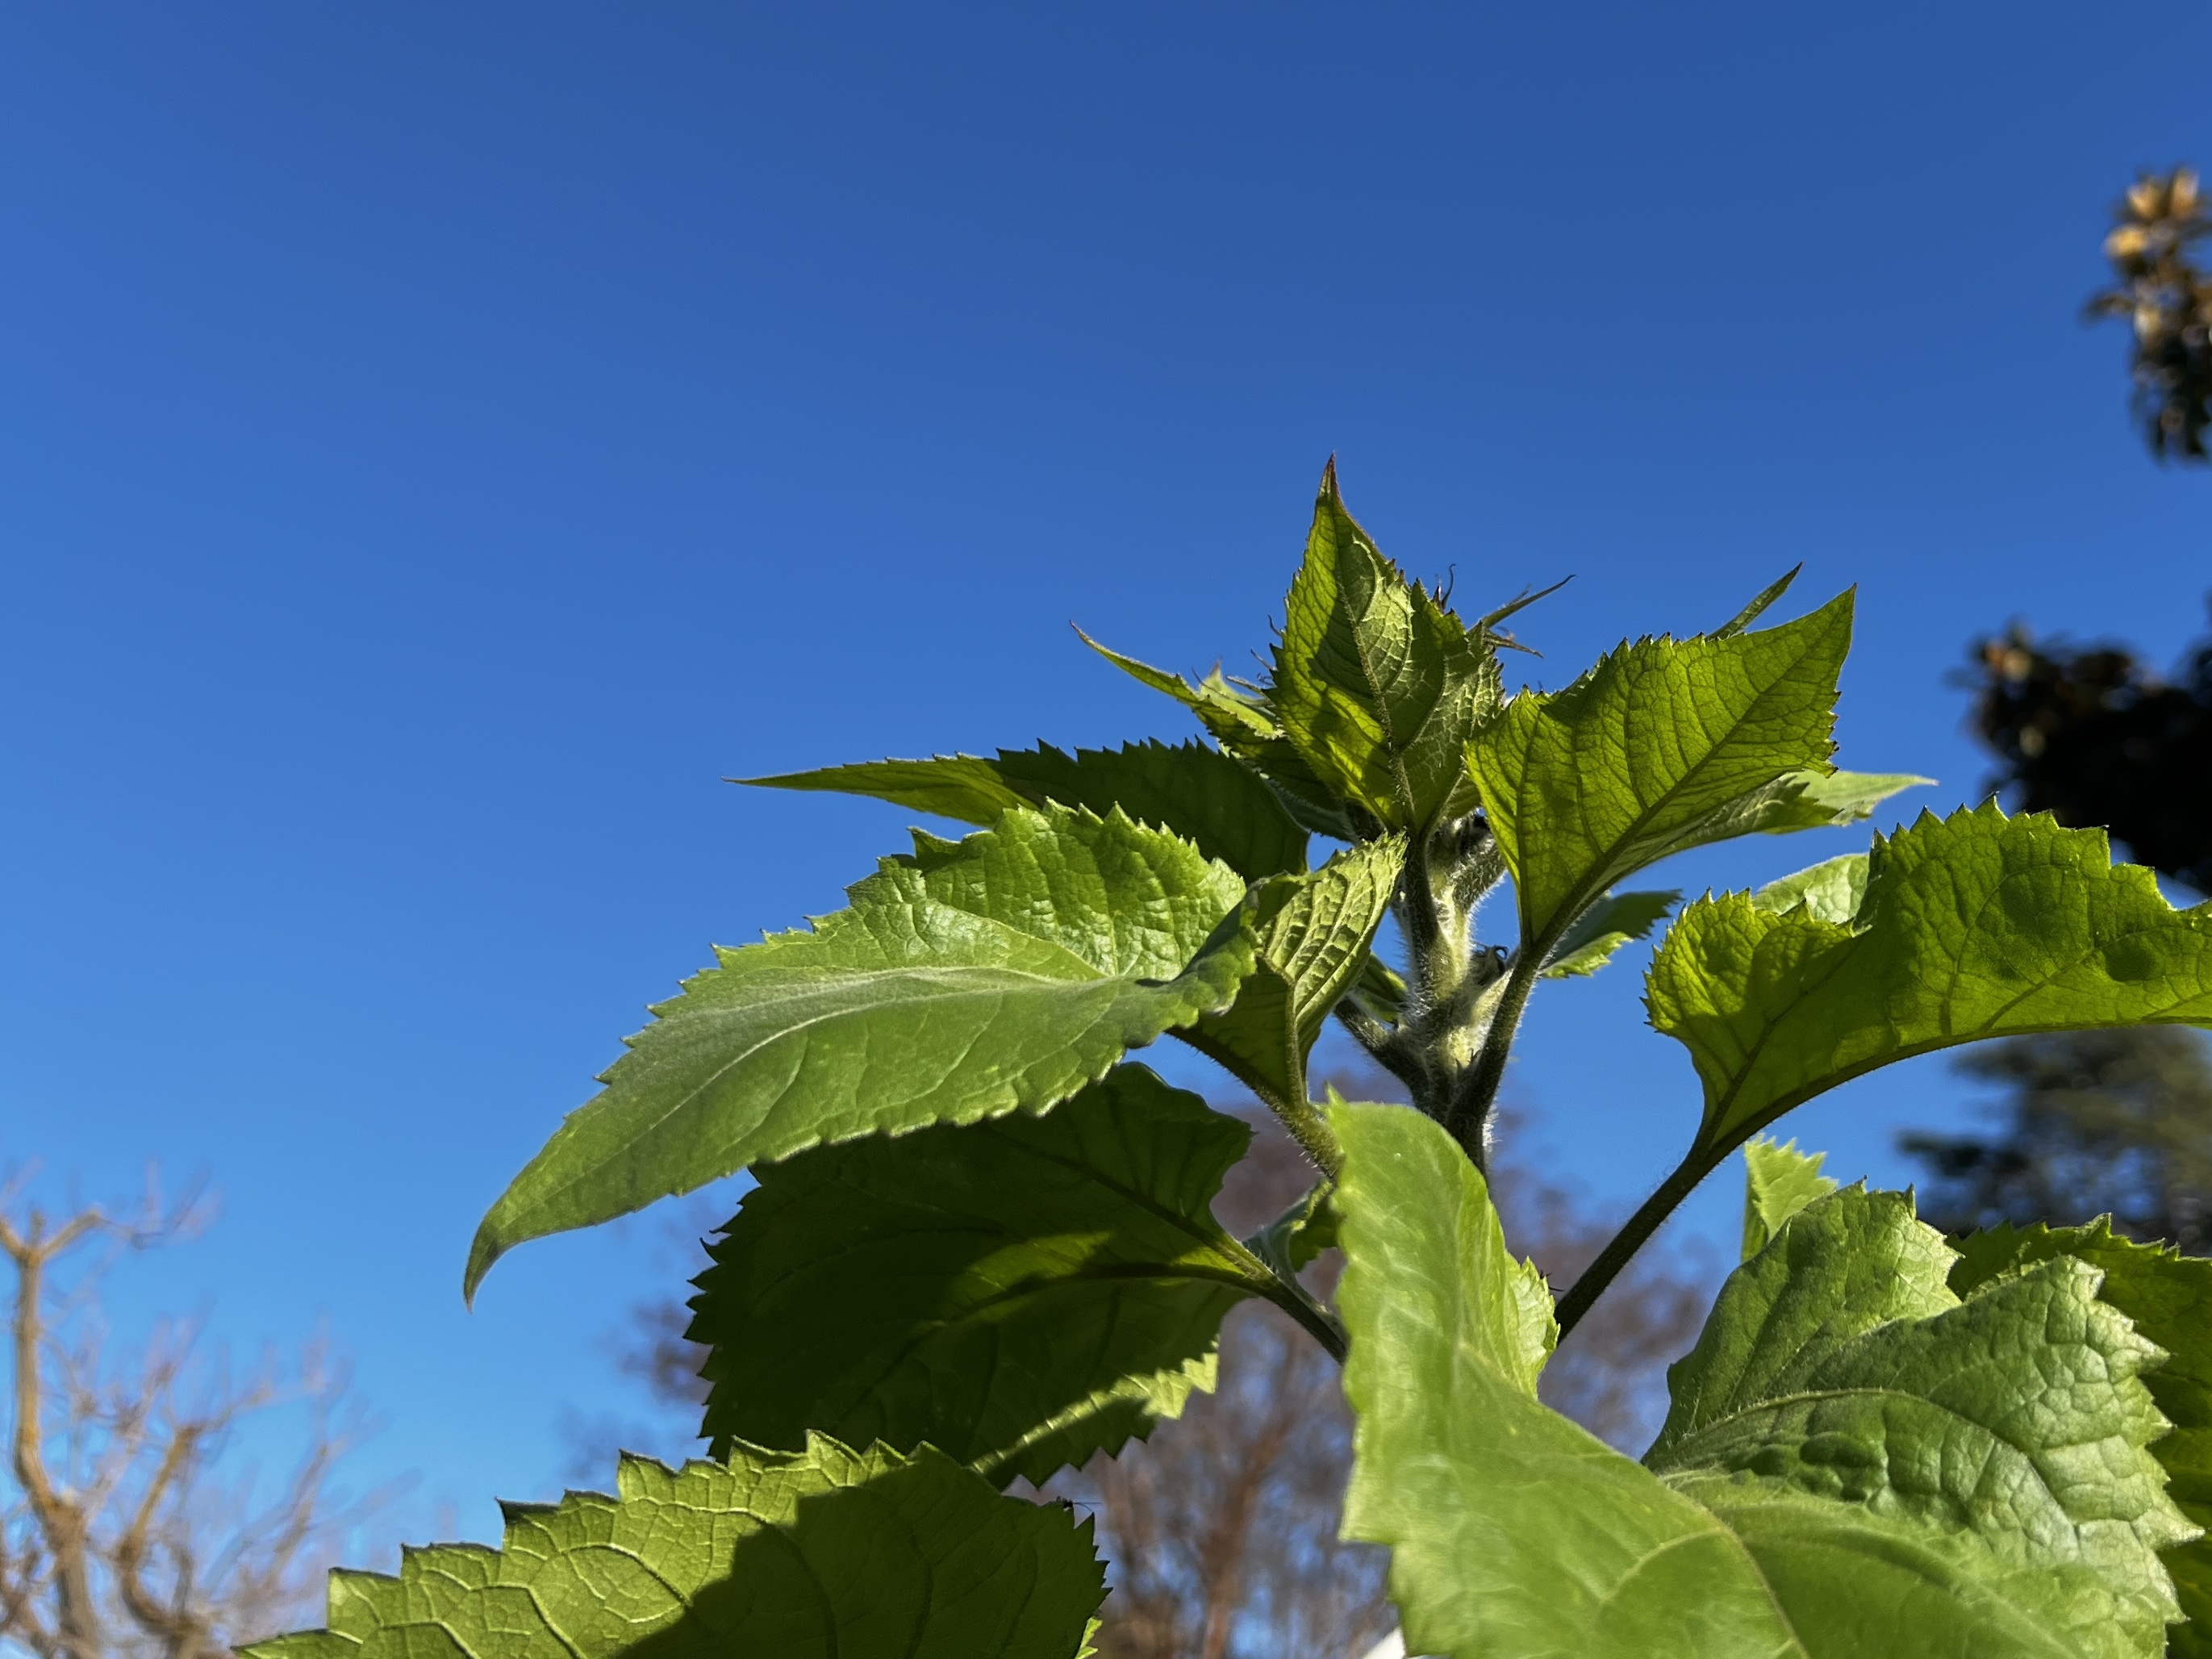
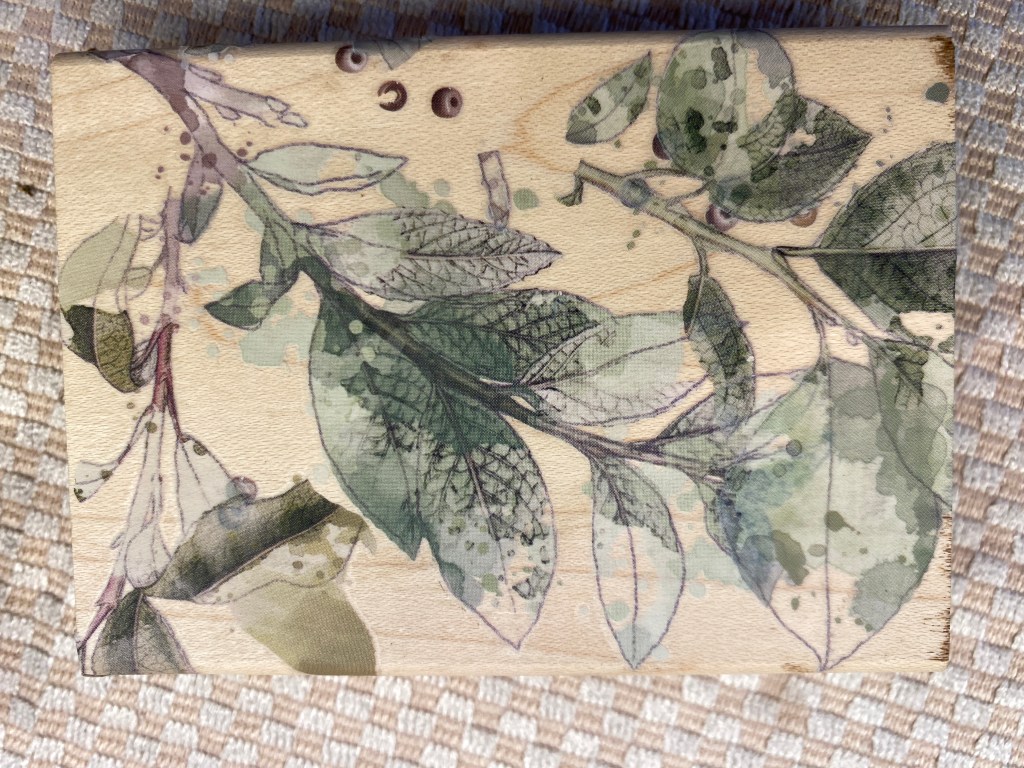
It’s the creative fun of Halloween that I like the best. Making costumes over the years has always been a joy. It’s fun decorating, too. Making cards for Halloween is a more recent endeavor, and we once grew pumpkins till a nasty infestation of squash bugs put an end to that after two or three years.


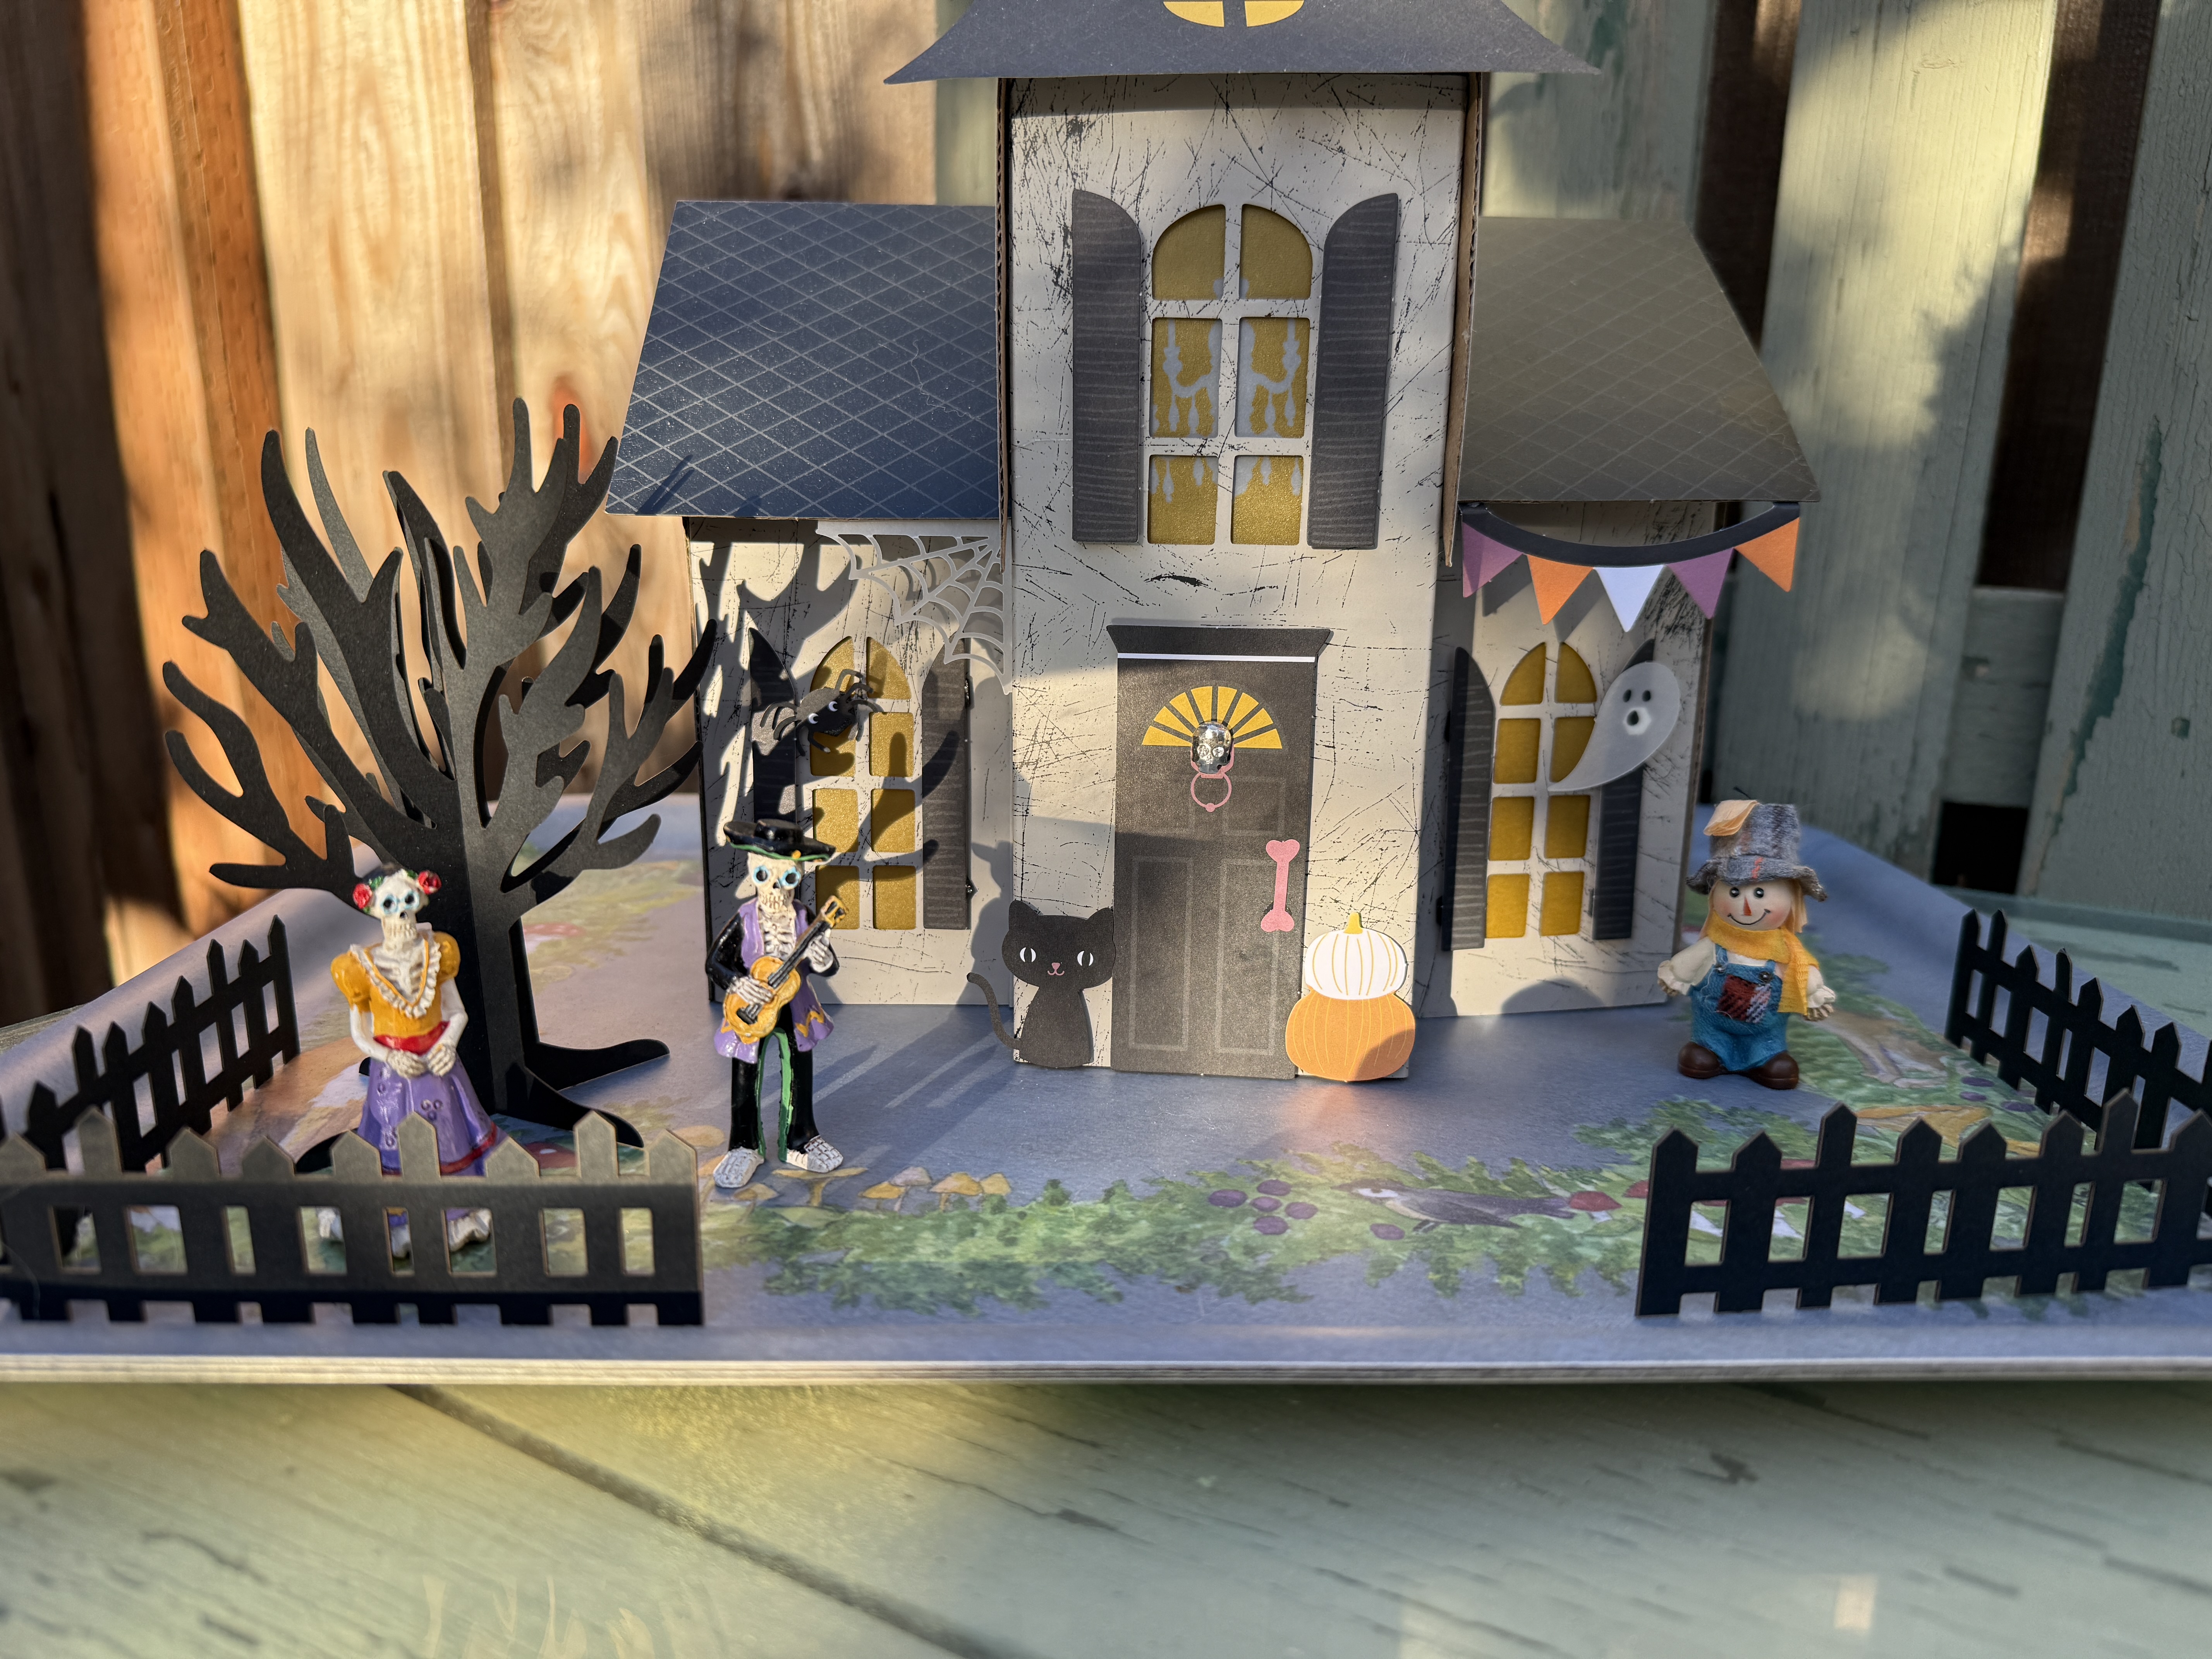
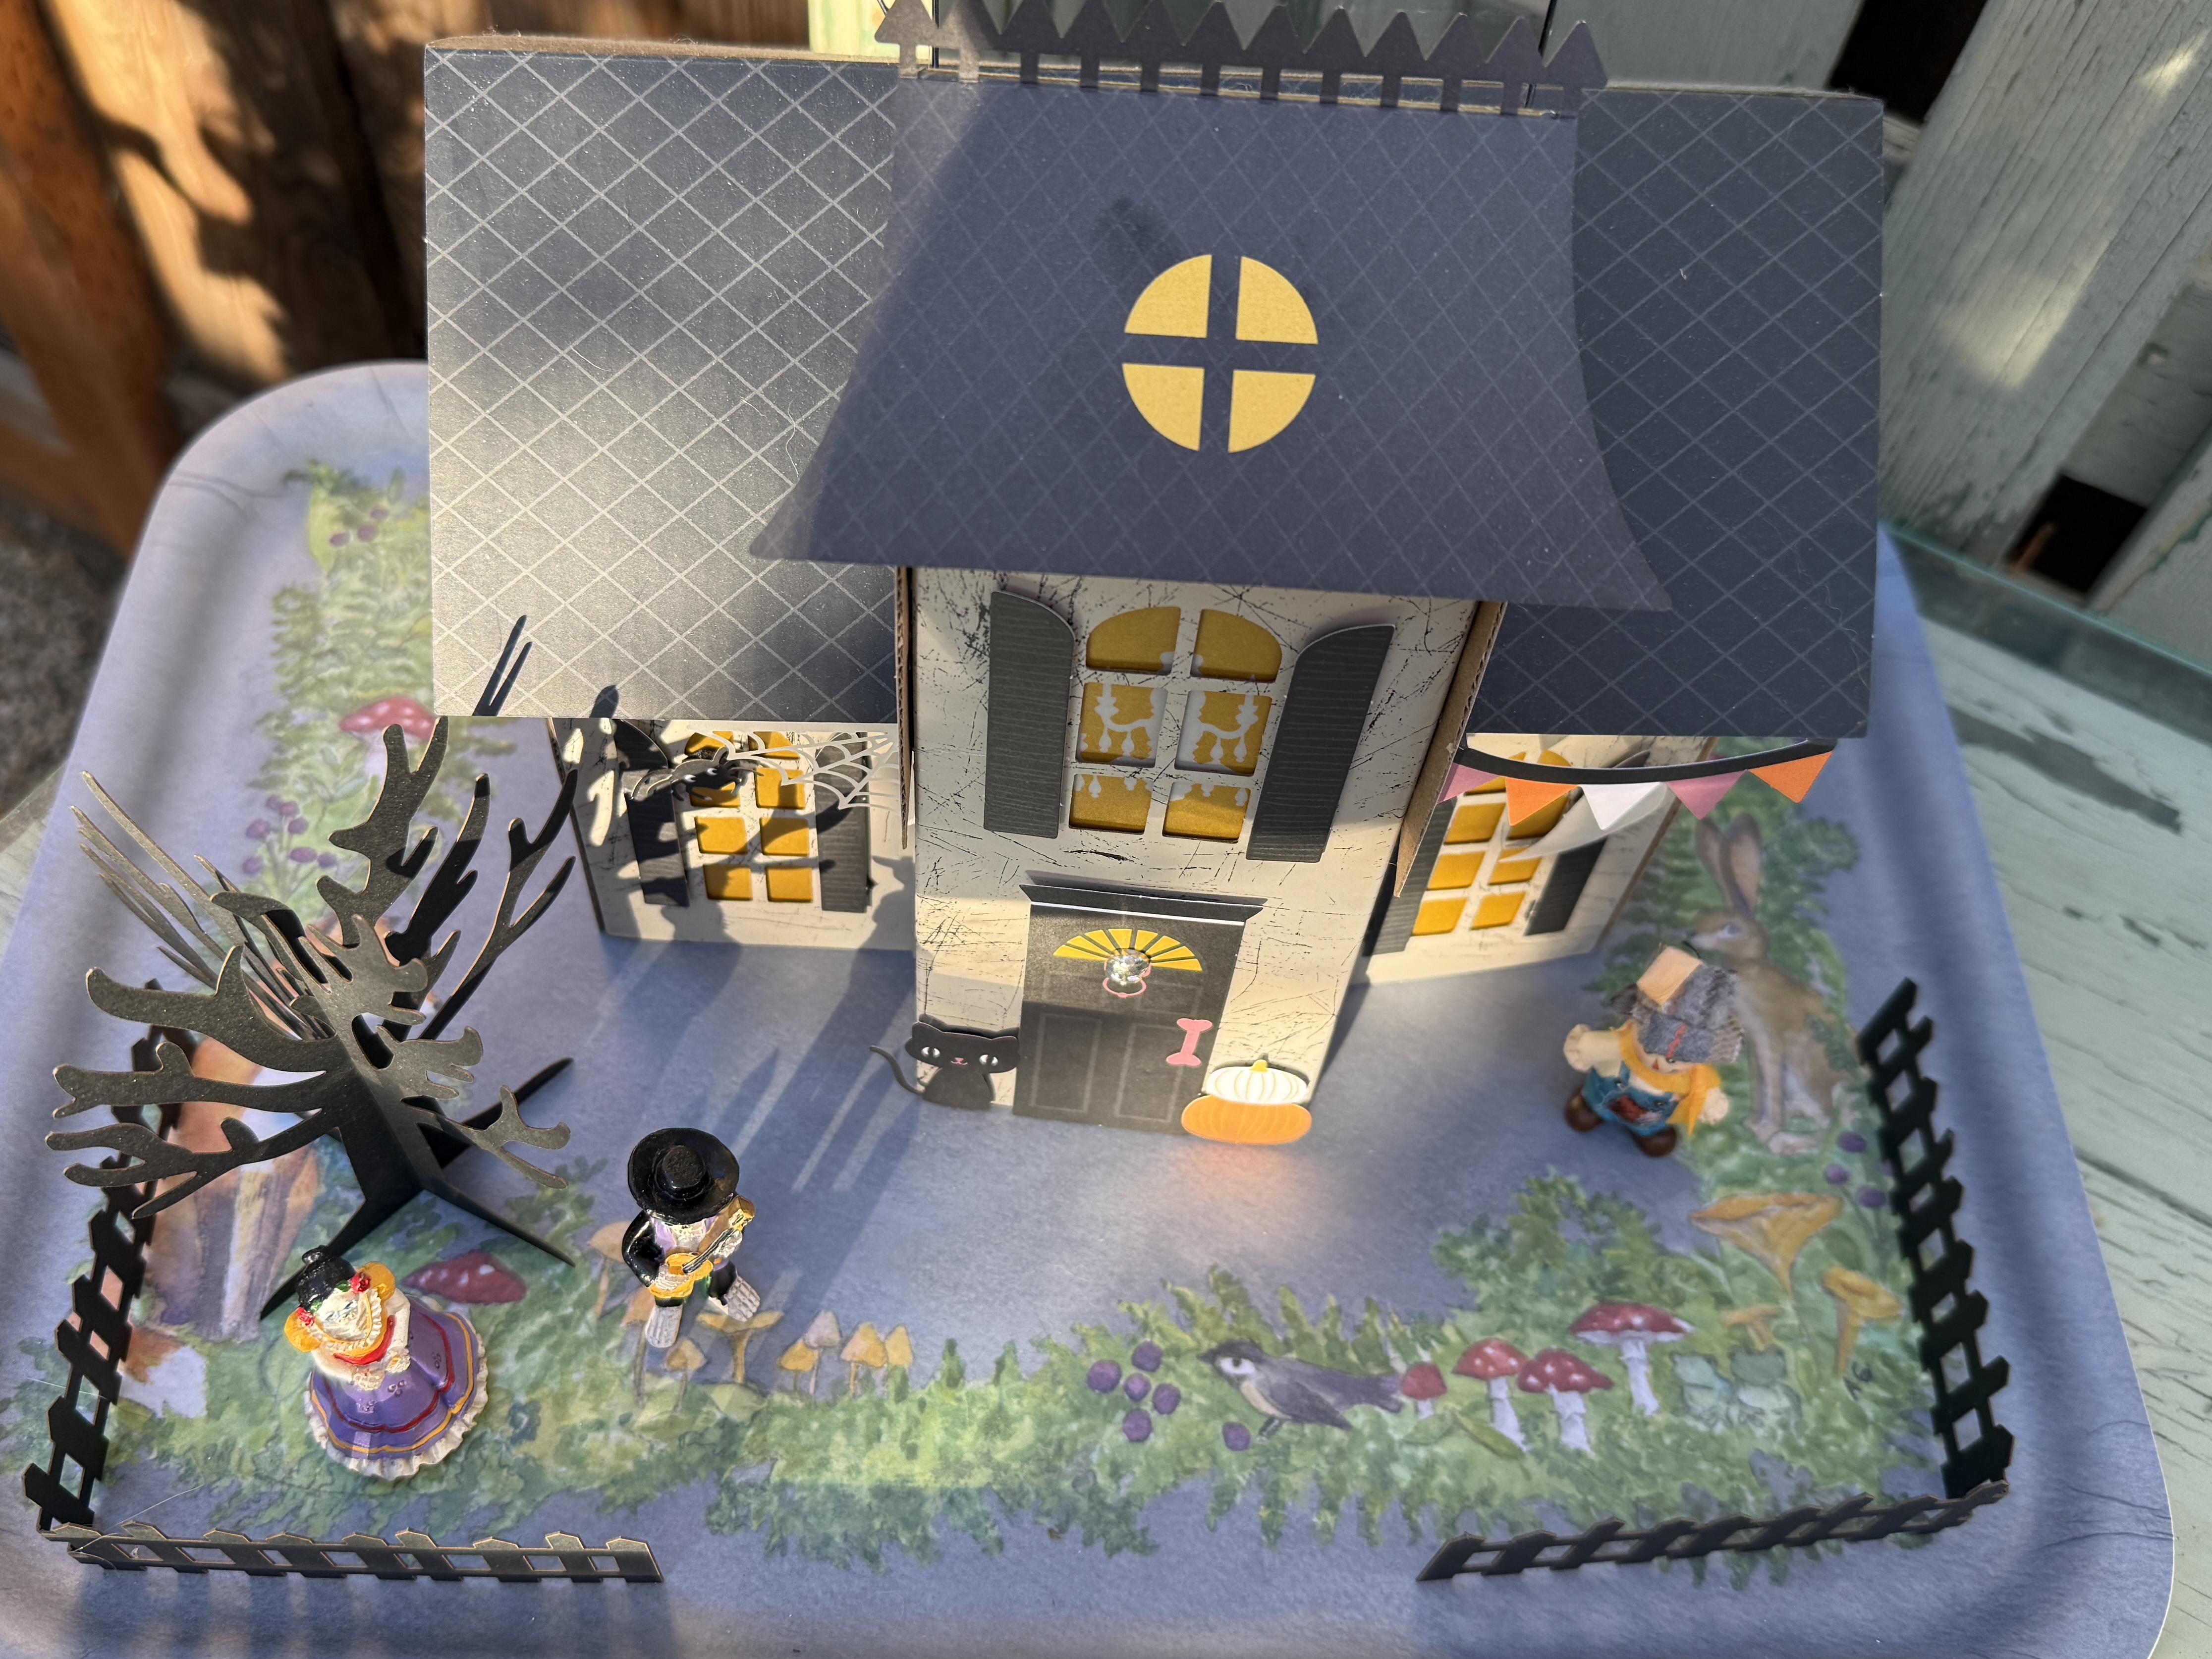
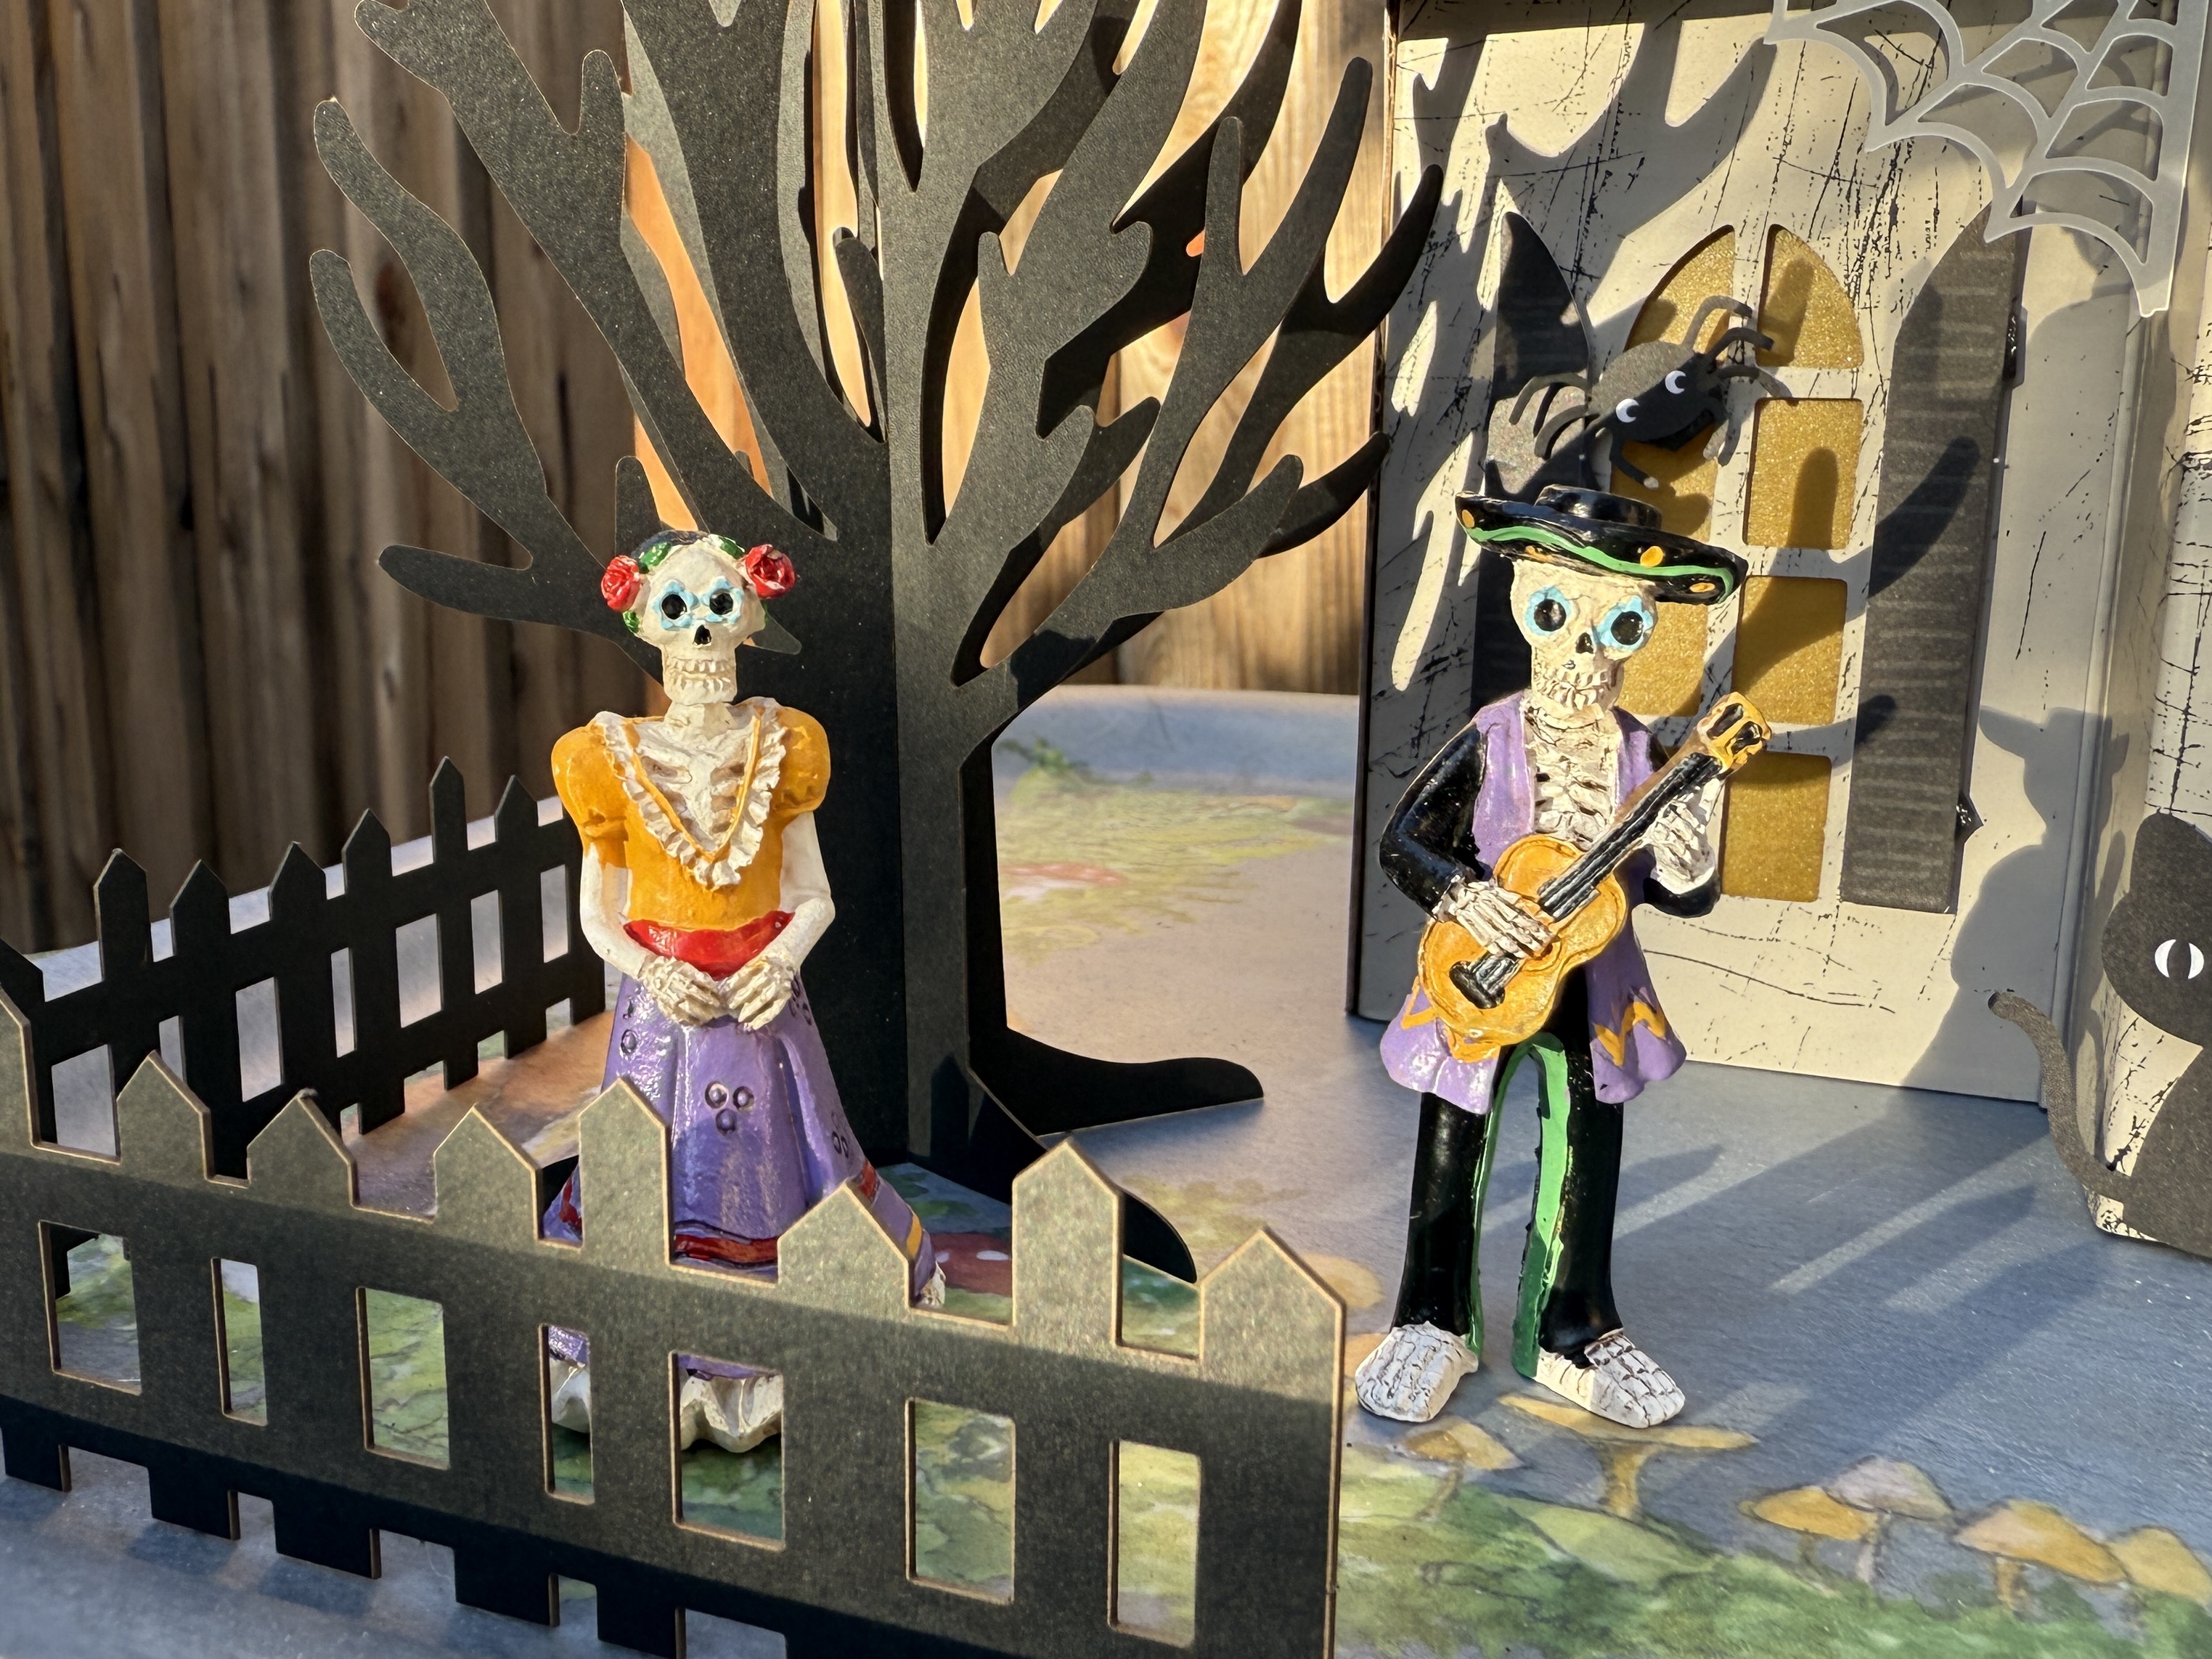
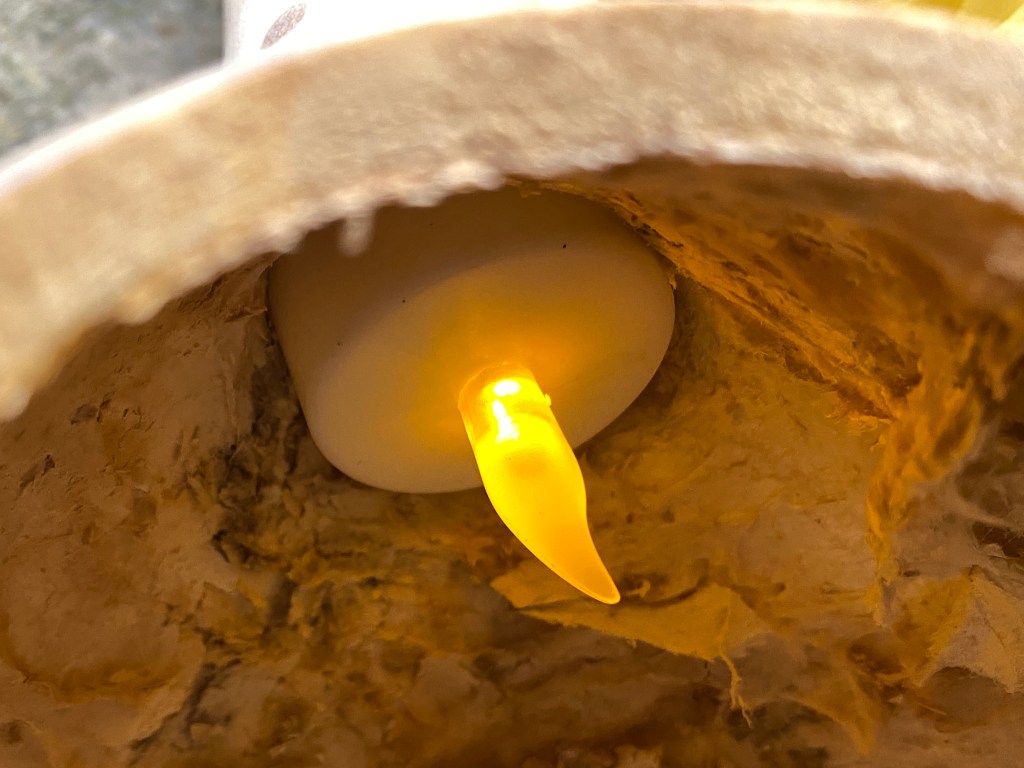
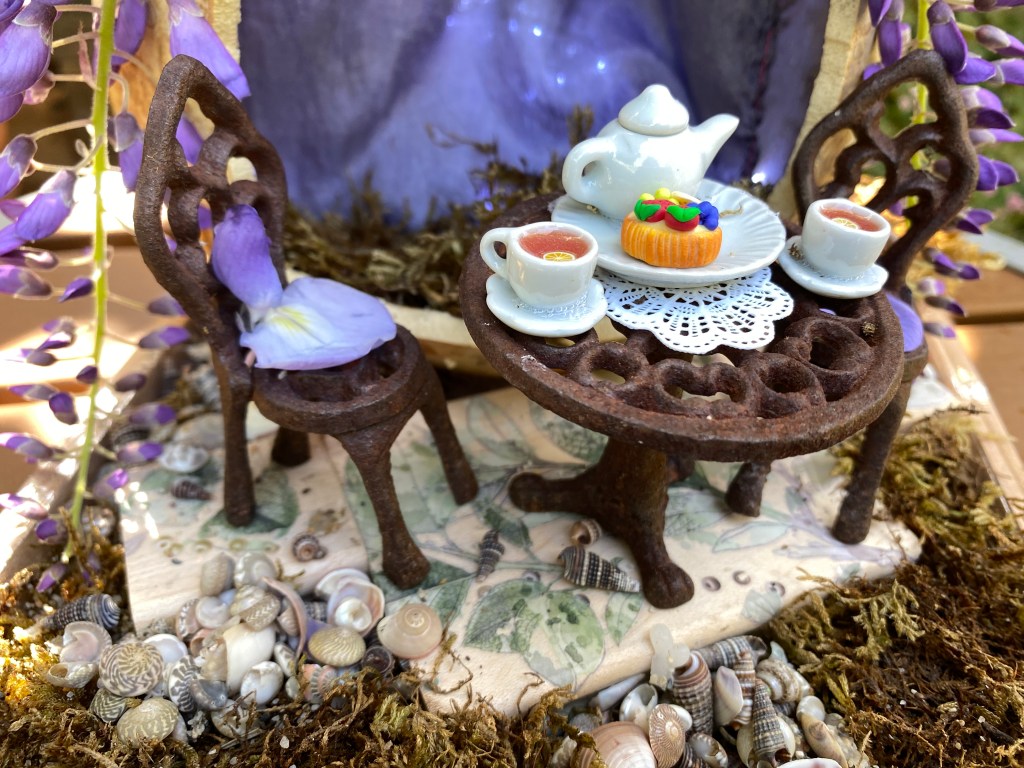
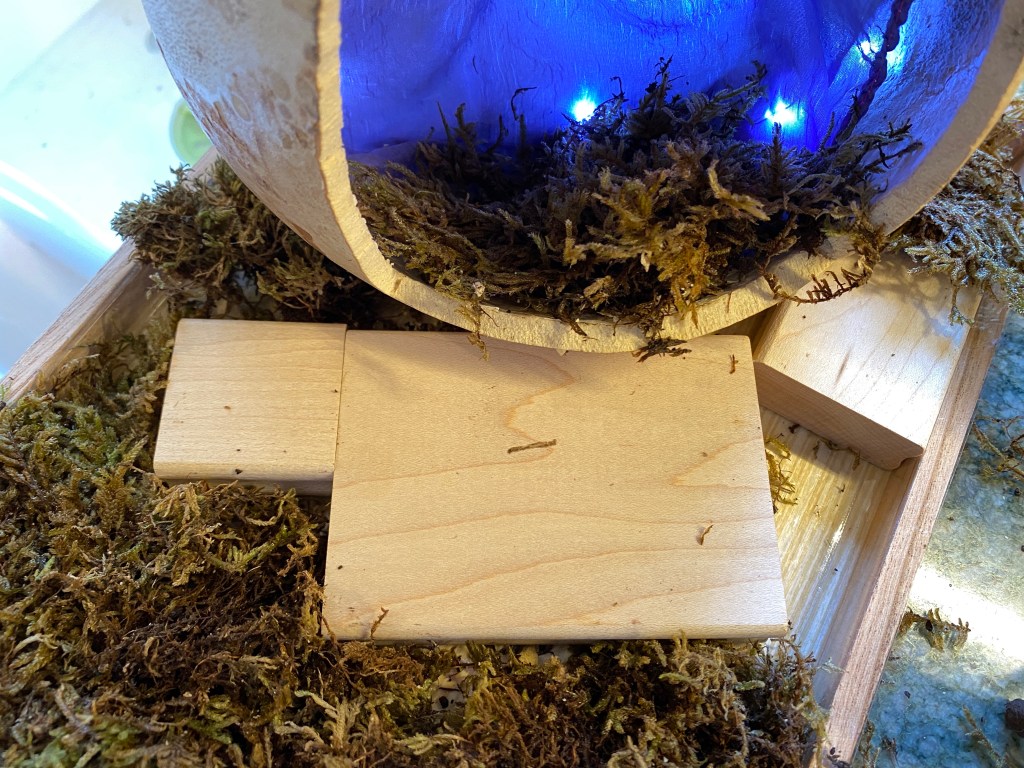
A friend sold these cardboard haunted house kits earlier this year. It was a lot of fun putting it together, and a bit of kismet when I realized I had the perfect tray for it. The three figurines were a birthday gift this year. Can you believe how well they fit in?

I turned 66 earlier this month. On Monday, I’m having my left hip replaced, nine months after replacing the right one. I’m feeling my age. That said, my love of Halloween keeps me young at heart. If you celebrate, I hope that’s true for you, too.


You must be logged in to post a comment.