
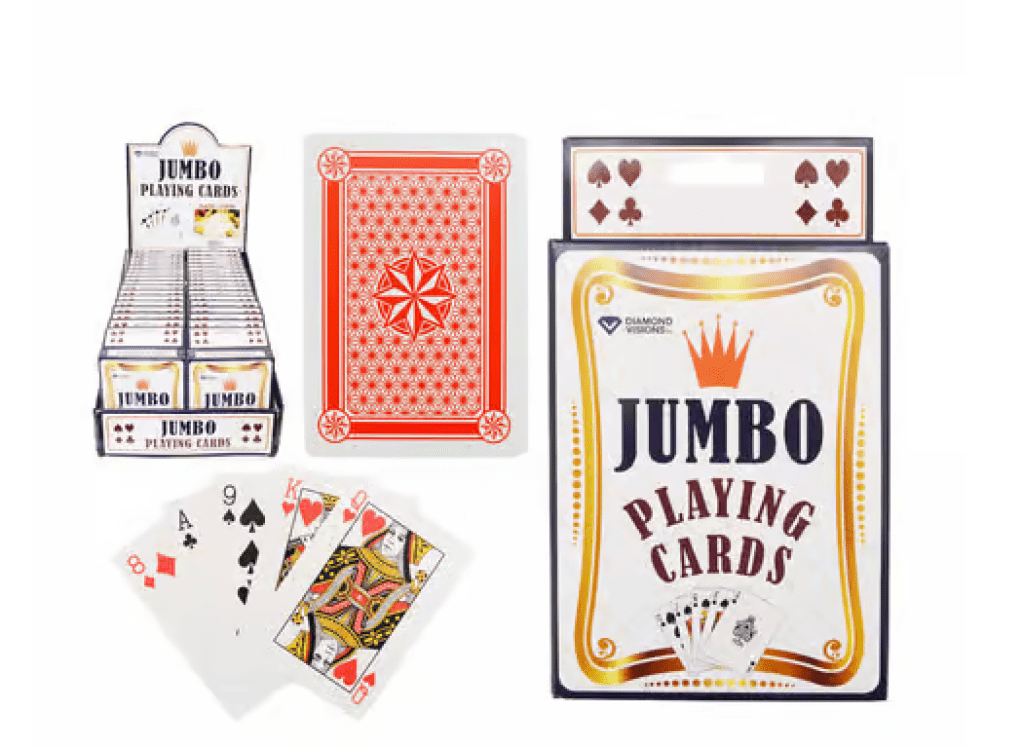
I’ve been playing around with different card ideas, inspired, in part, by an oversized deck of playing cards purchased at a hardware store. I don’t know why you would want to play cards with a deck this size; however, making cards from cards is fun.
I asked Sharon if she had a favorite number (three), and I knew she loved purple. It’s been her favorite for as long as I can remember. I had fun making her a card.

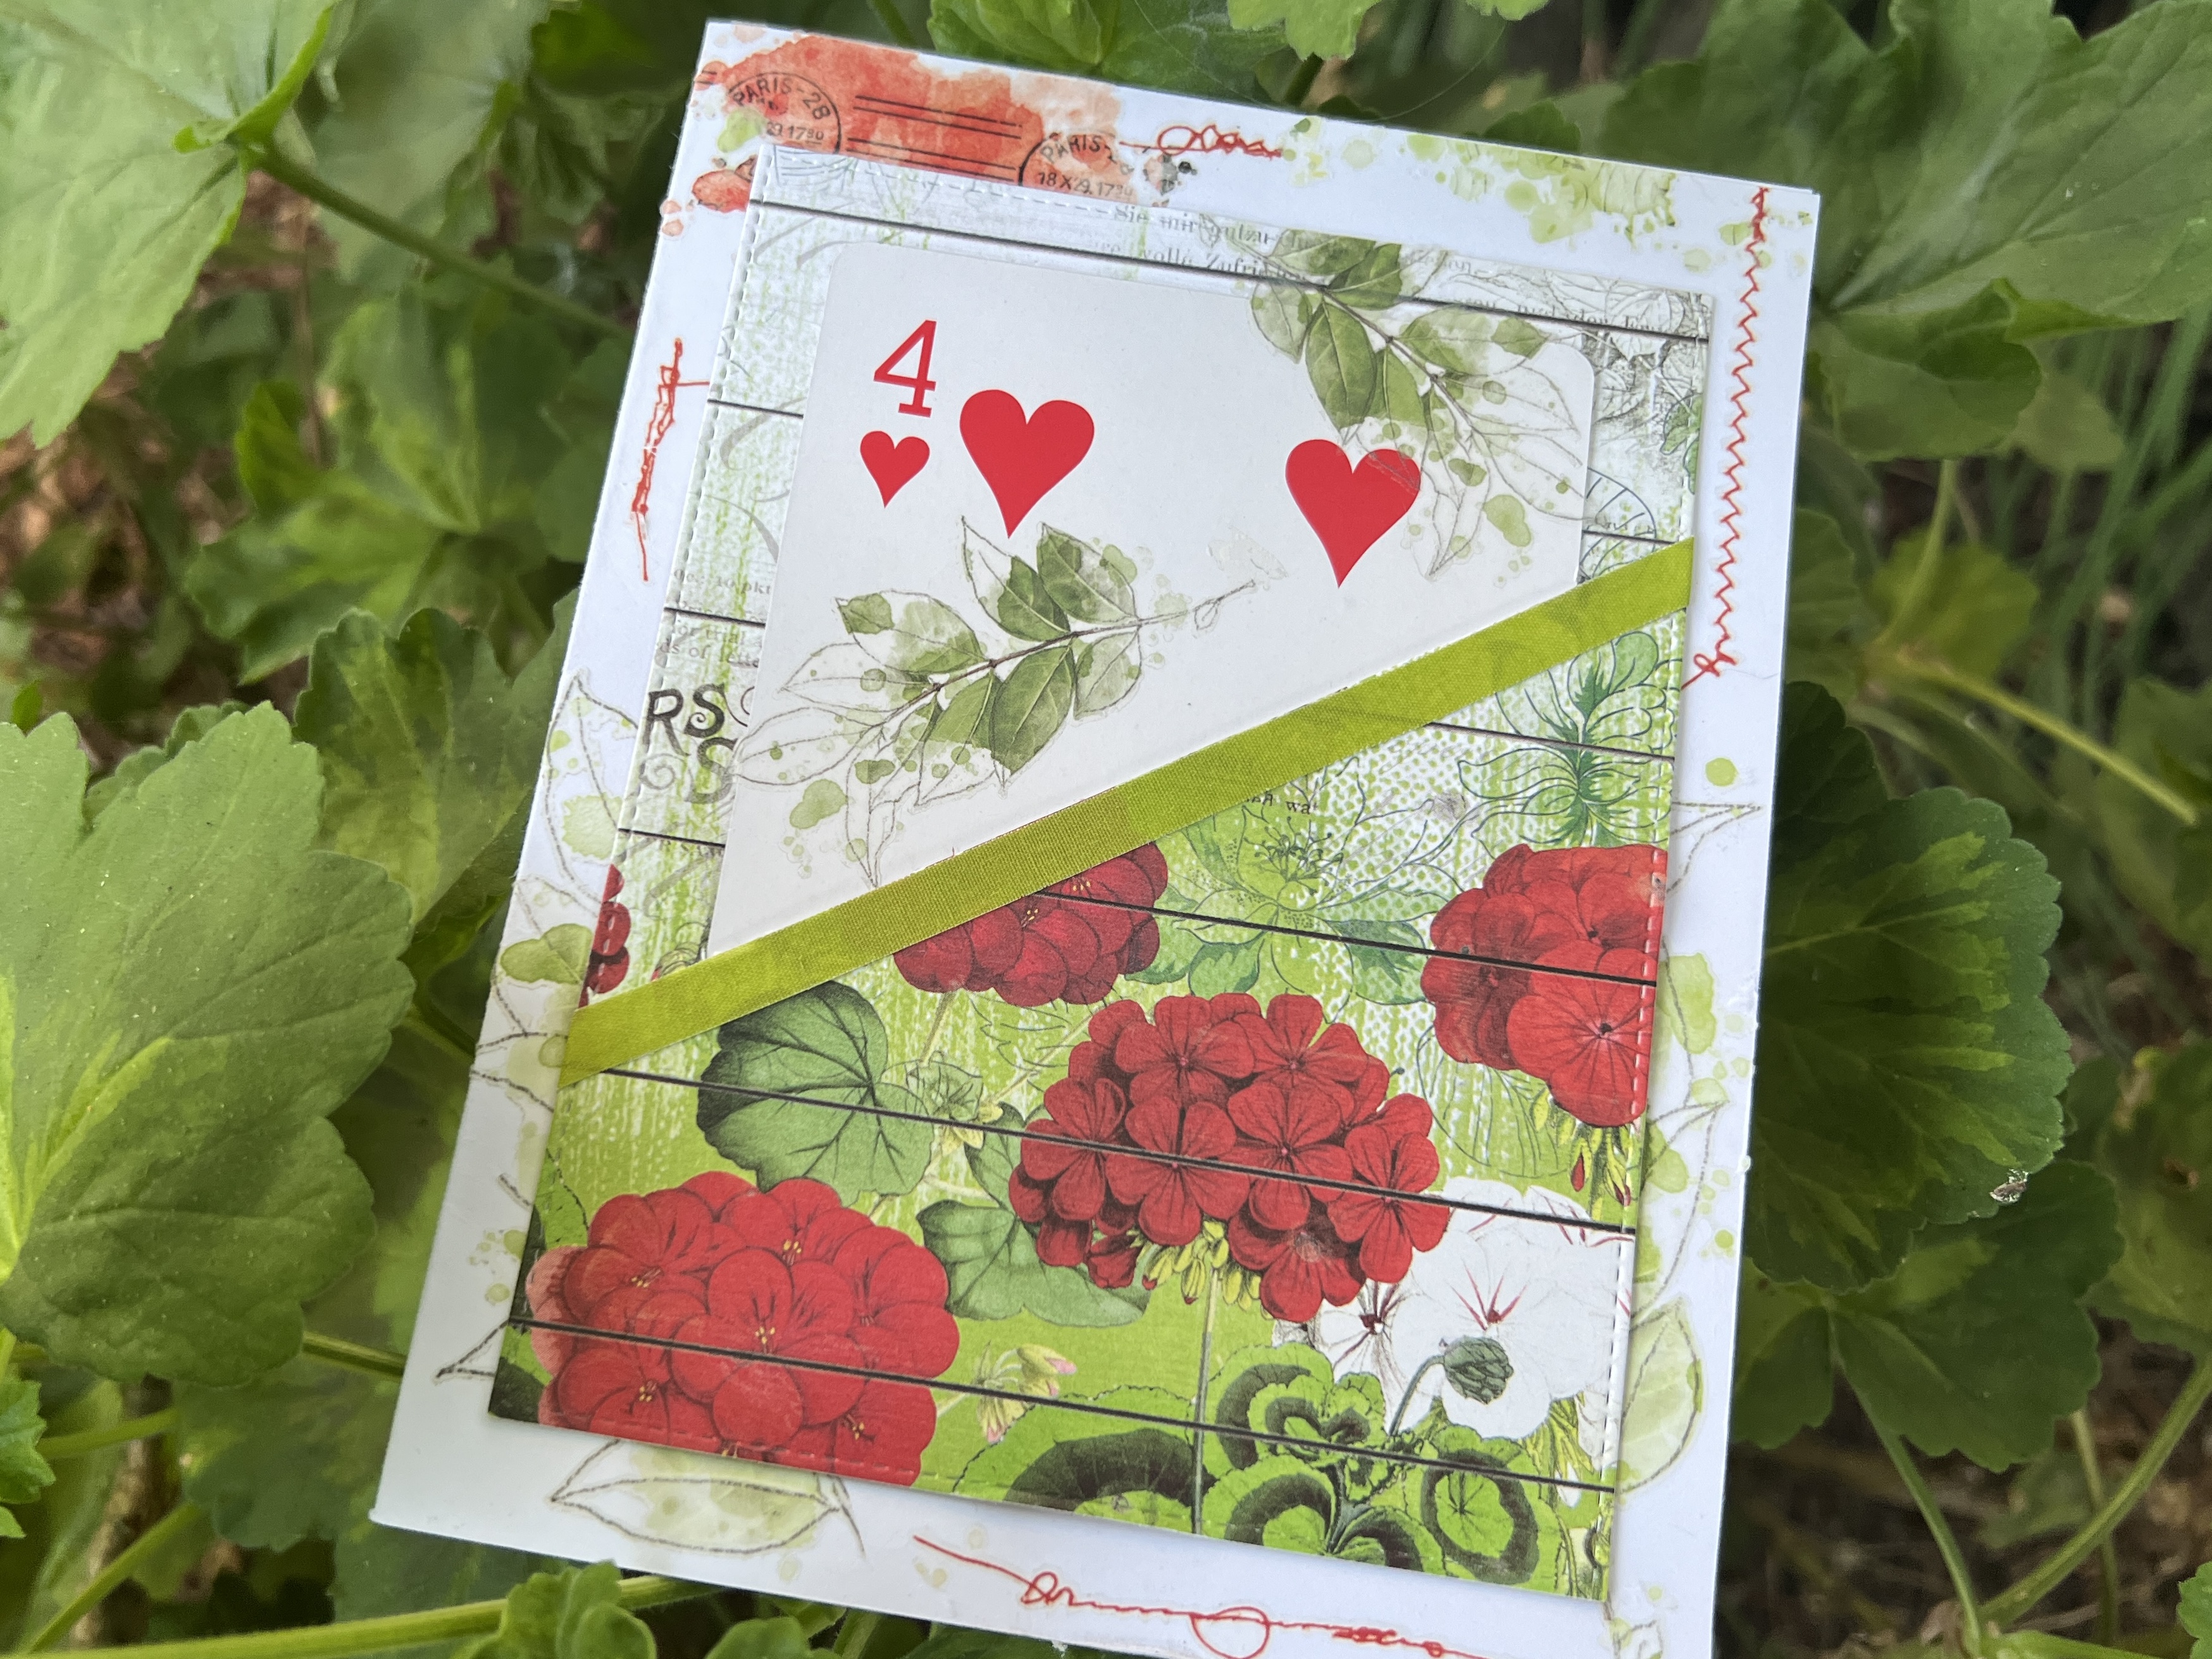
My friend Kristi’s birthday lands on August 4, and the color red floats her boat. This card was another fun challenge.

Finally, my friend and Pilates instructor loves pink and the number seven. I made a pocket for the card using velum, attached washi tape as a tab along the card’s top, and embellished it with various stickers and rub-on decals. I learn something new with each card.

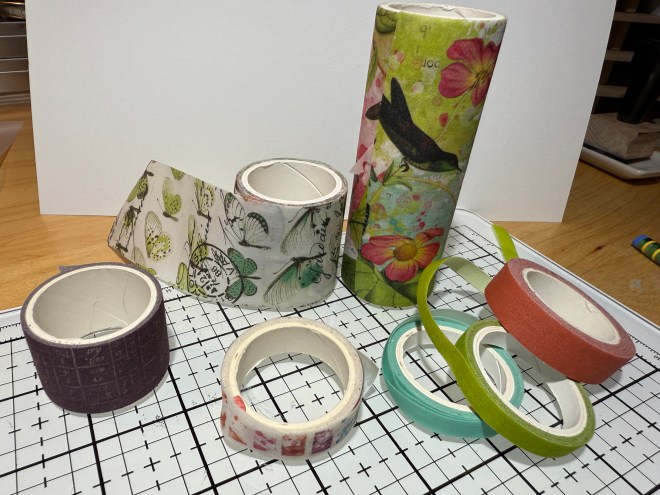
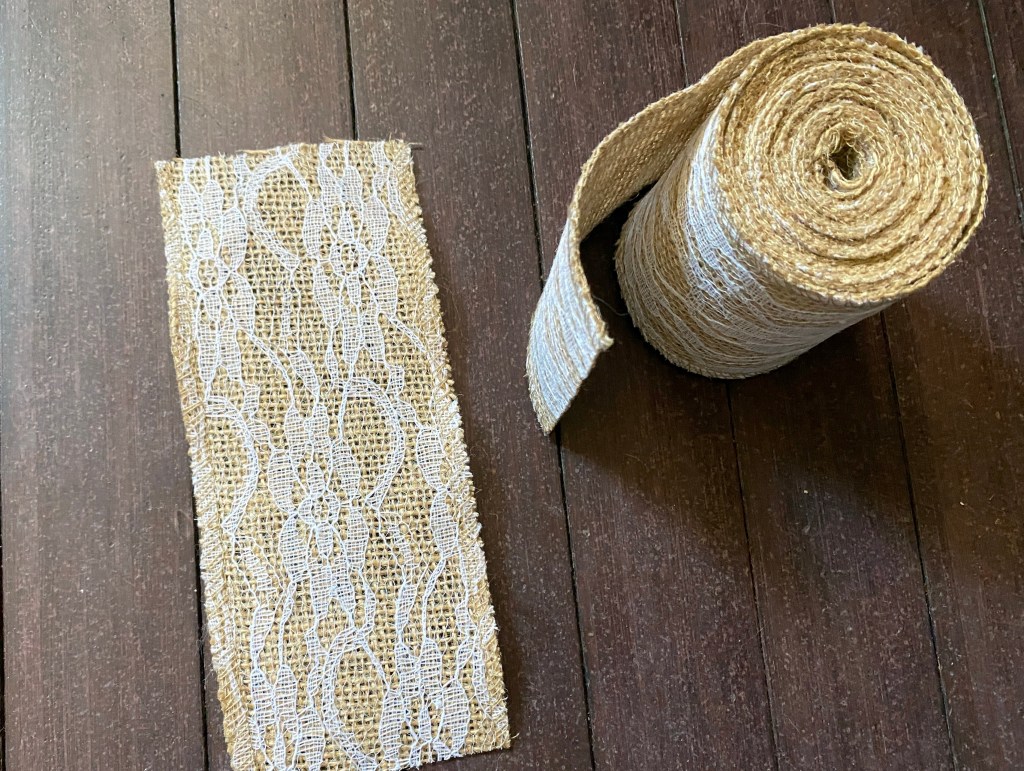
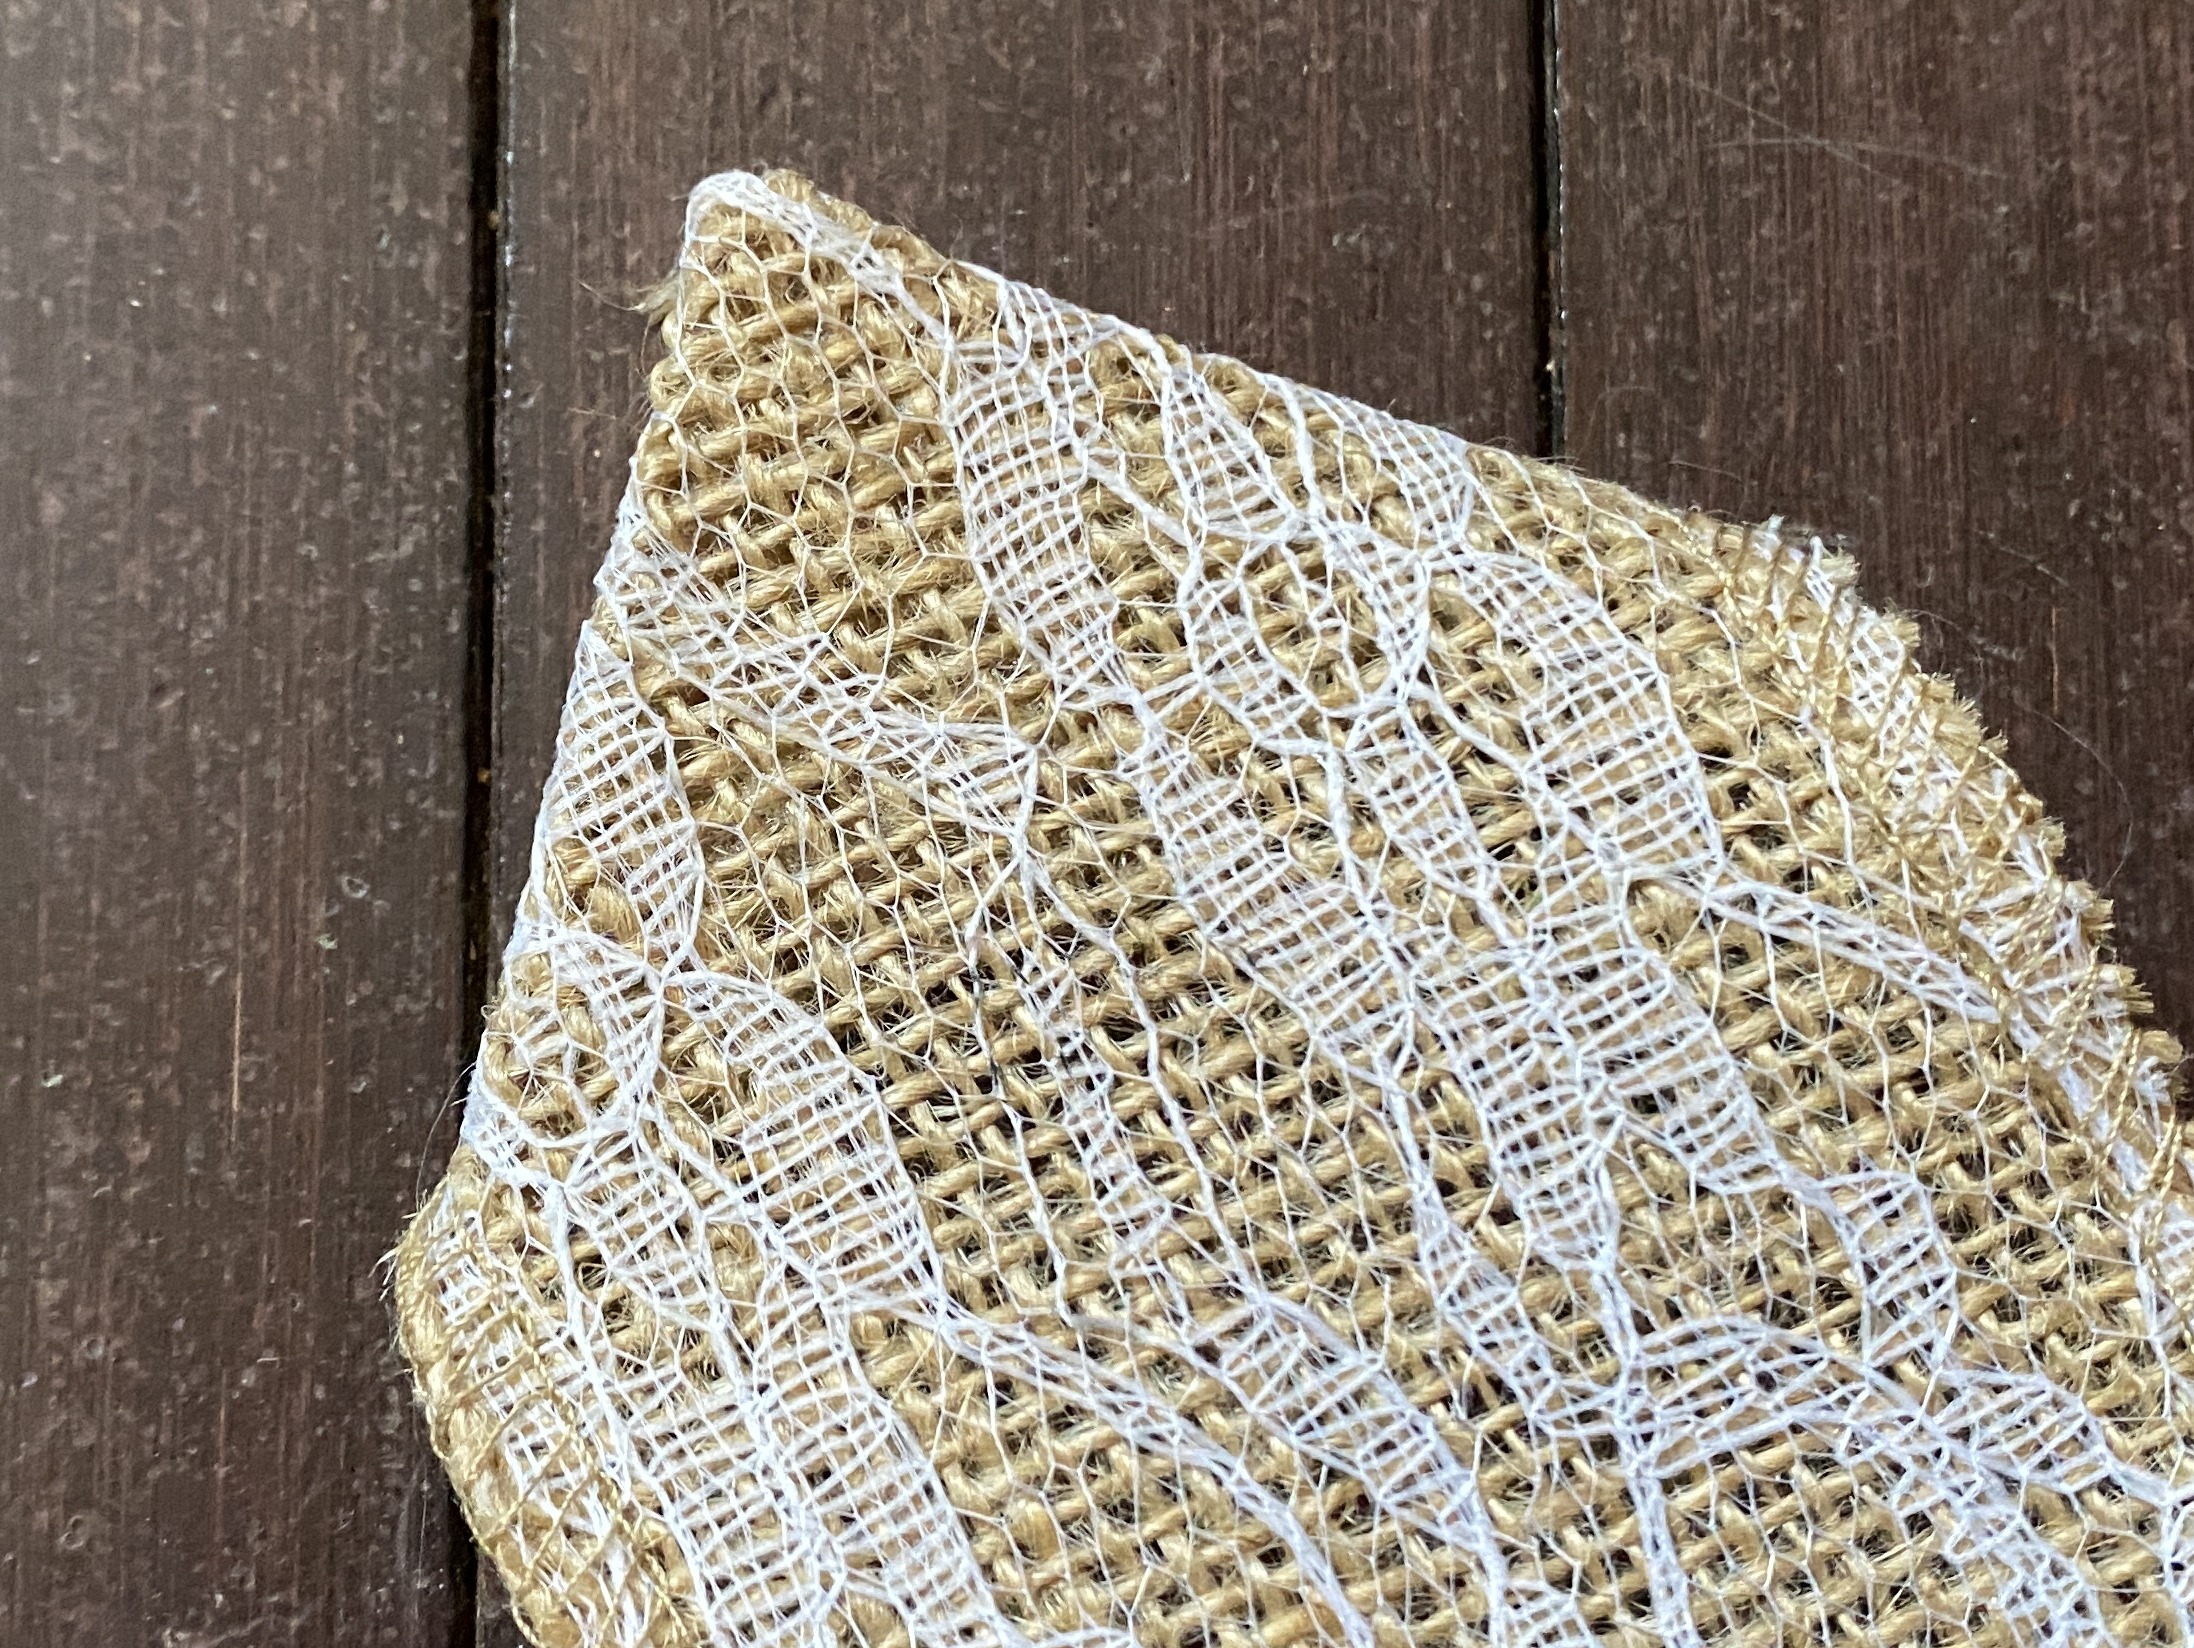
Moving on from the playing cards, I’ve been challenging myself to use up these fabric-textured rolls of Washi tape. I bought two boxes with four different-sized rolls per box several years ago, but each roll has far more than you typically use. It lingered in a small bin for a while. I pulled it out of the drawer a few months ago and started crafting cards with the Washi tape as a focal point.

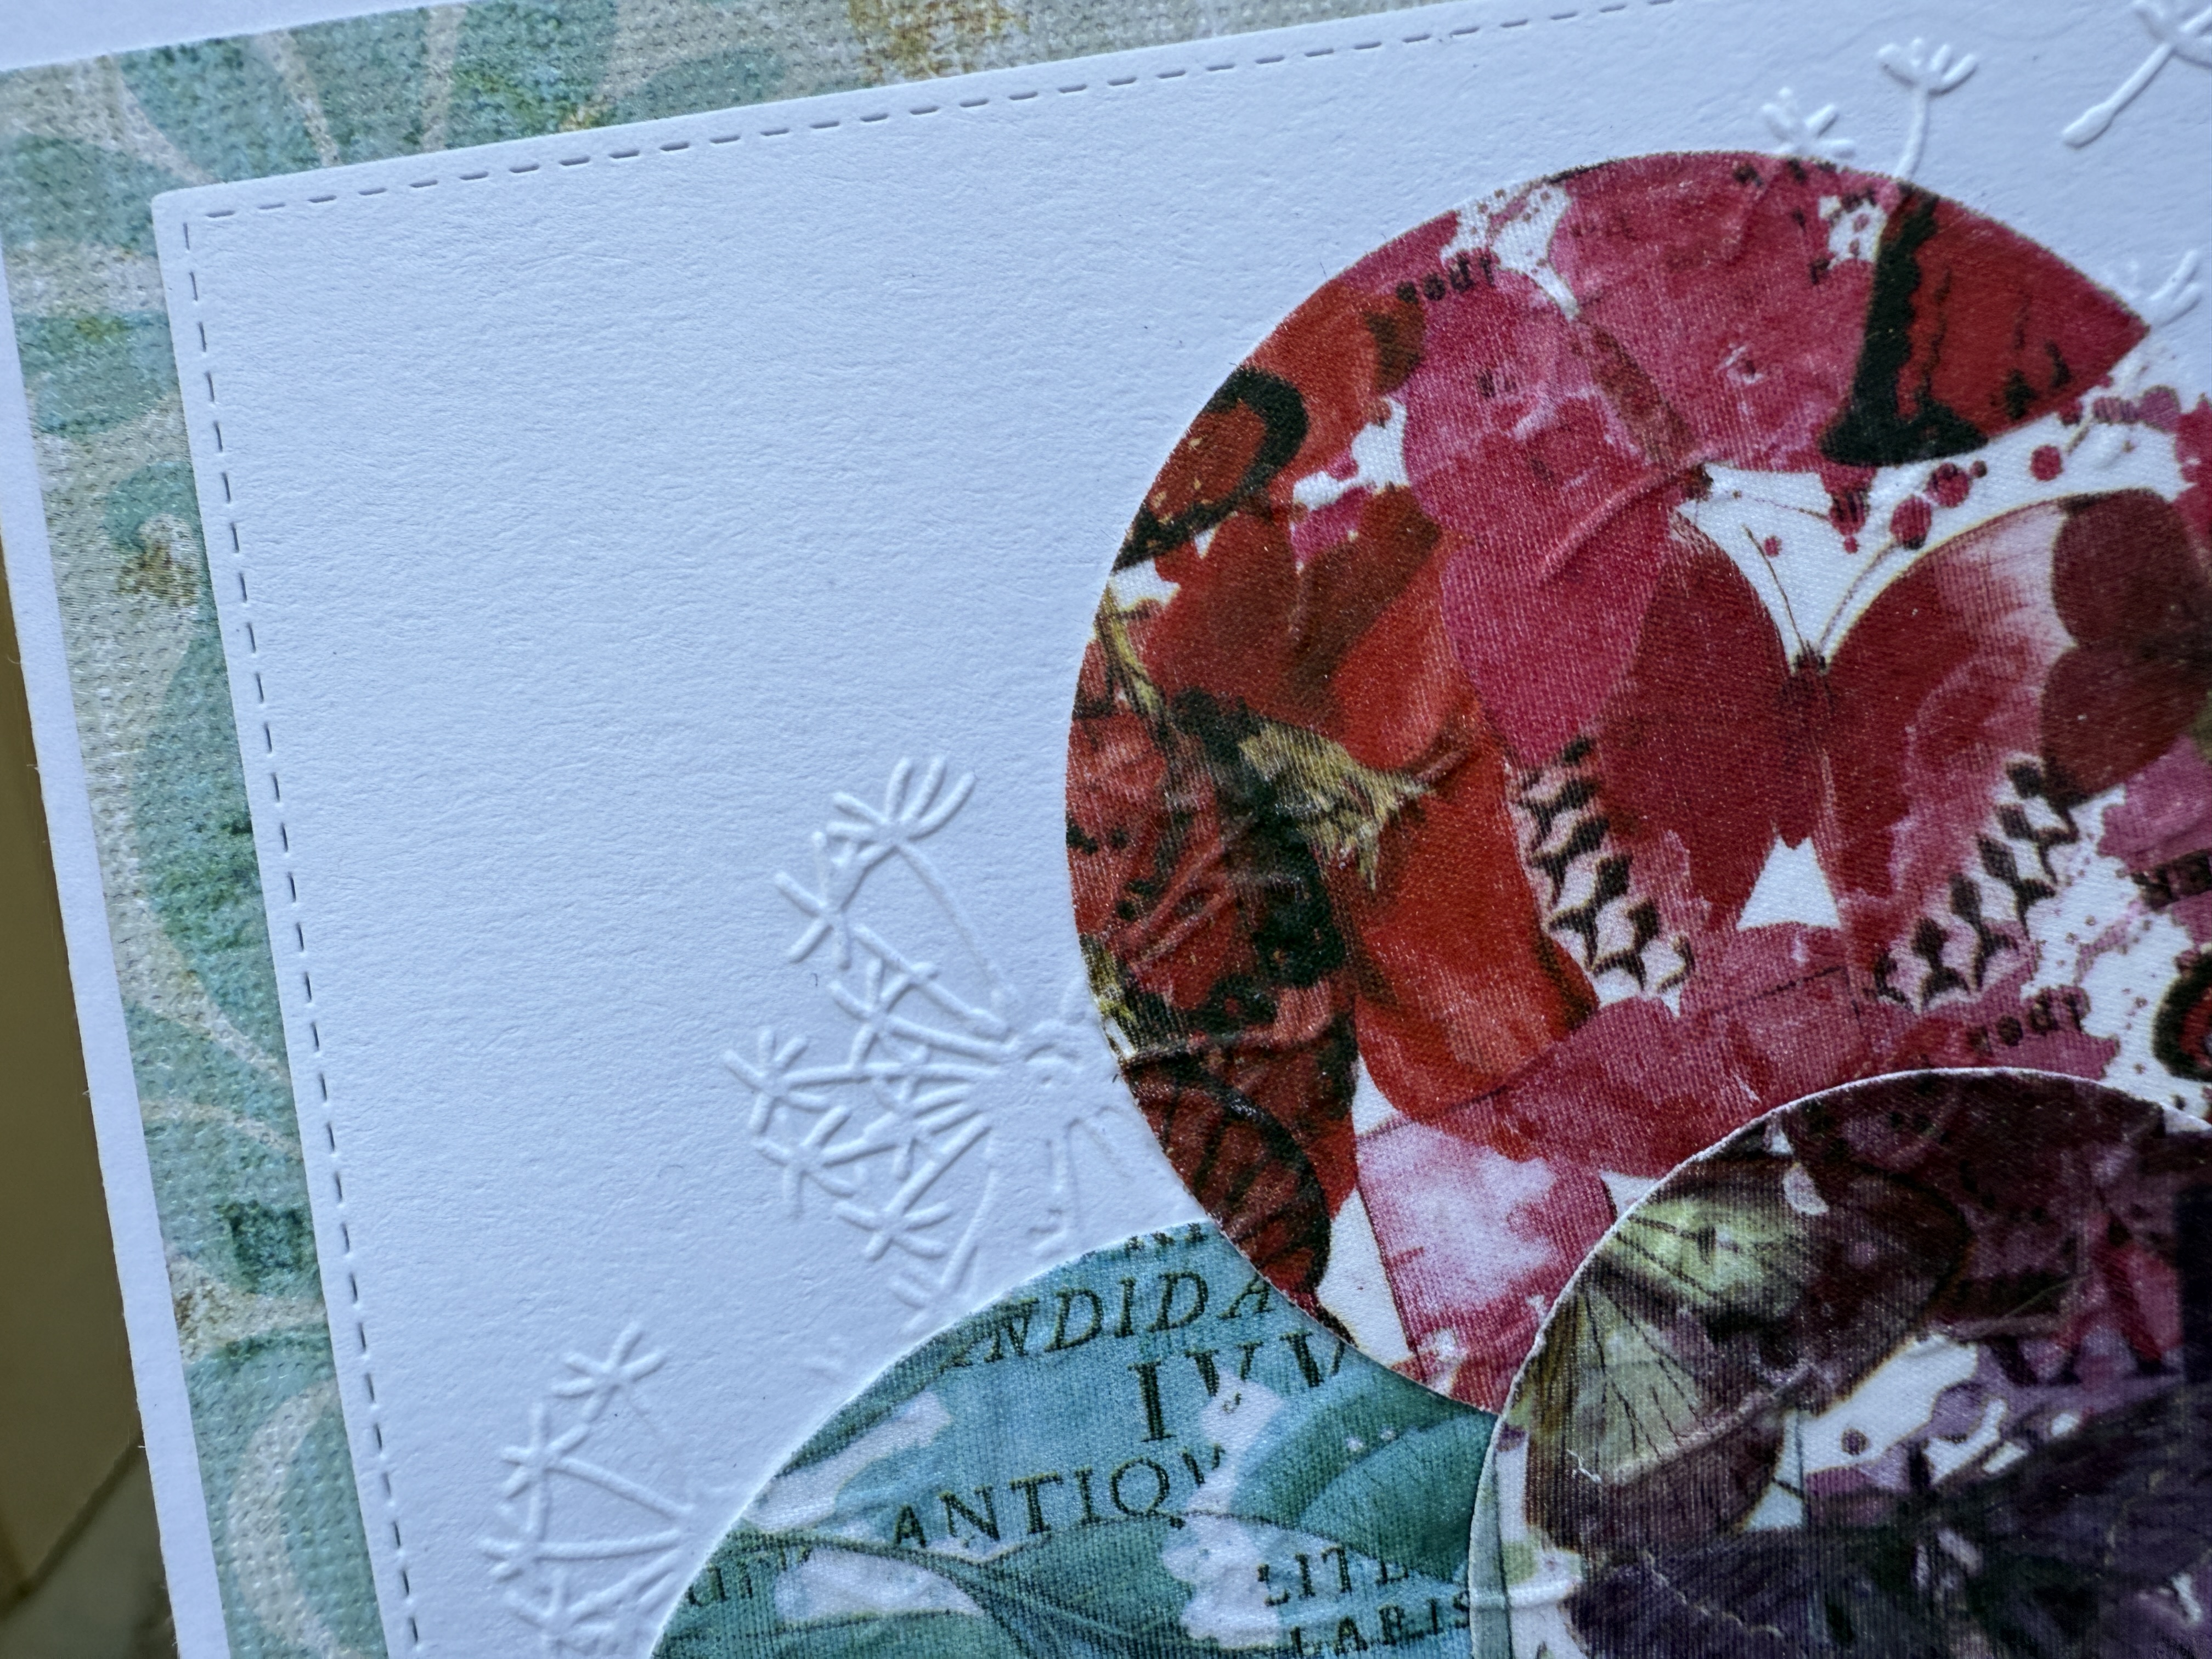
I backed the washi tape with paper, die cut three circles, then placed them on white card stock before embossing them with a subtle dandelion image.

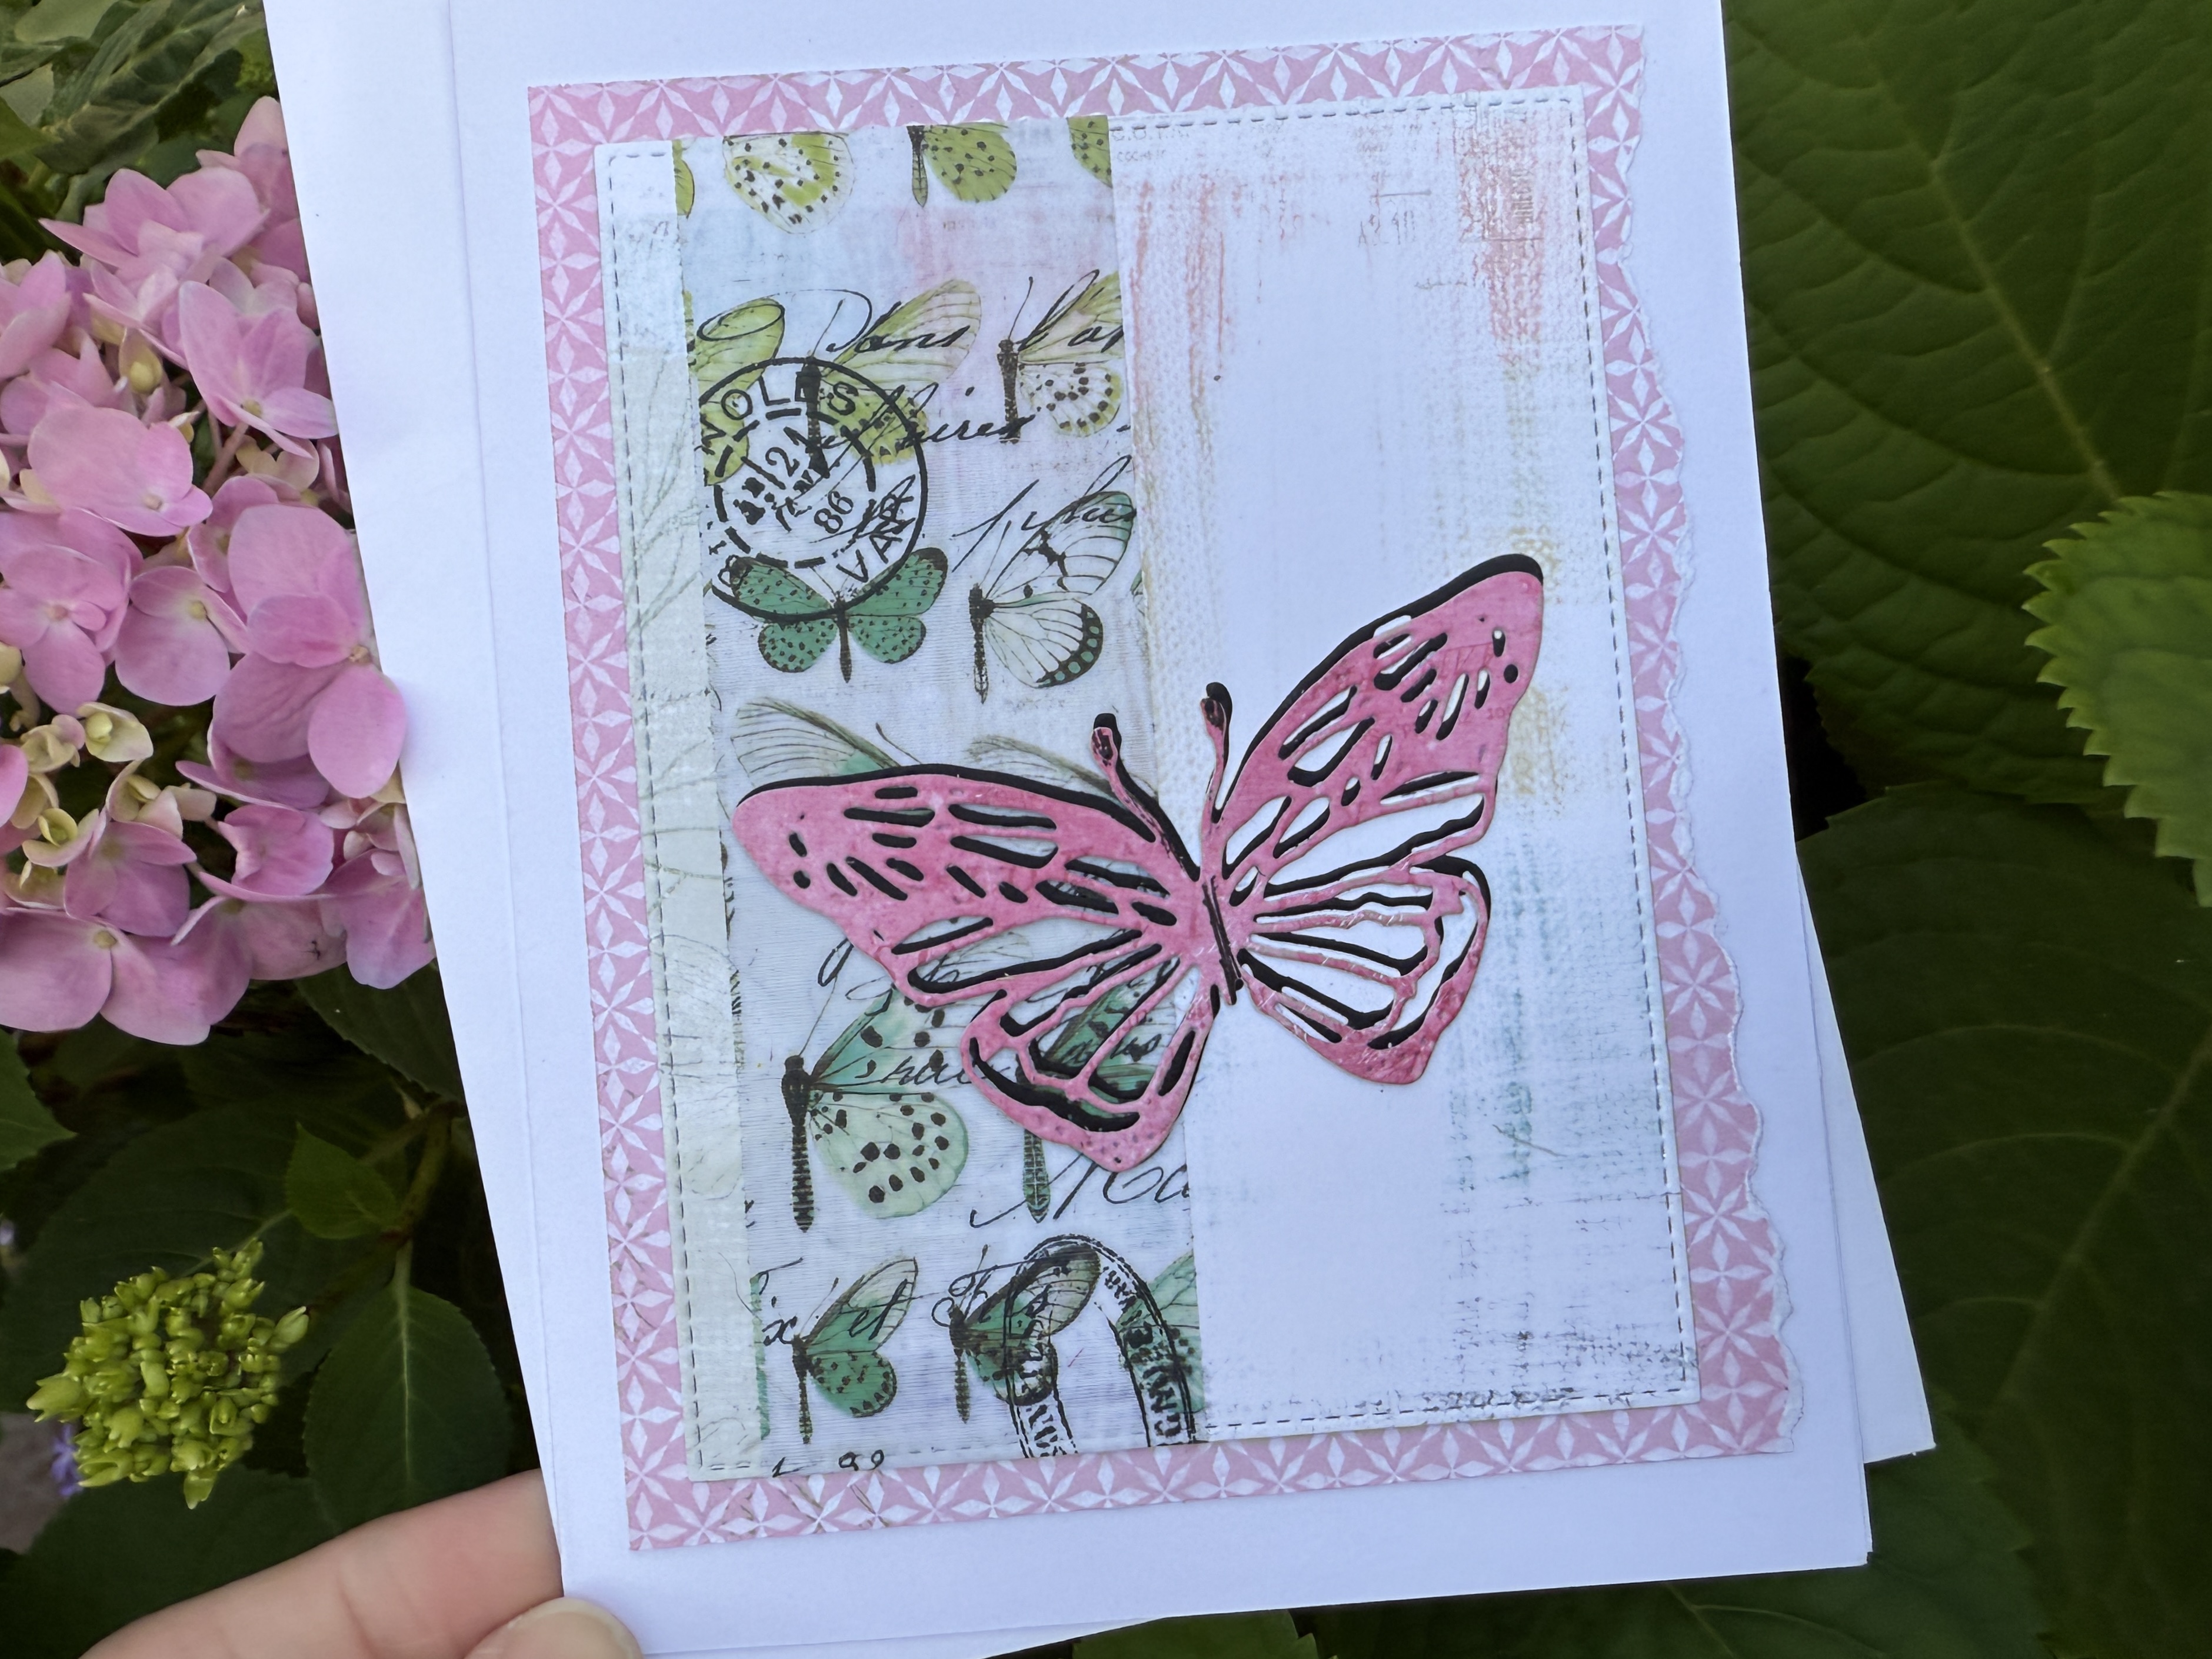
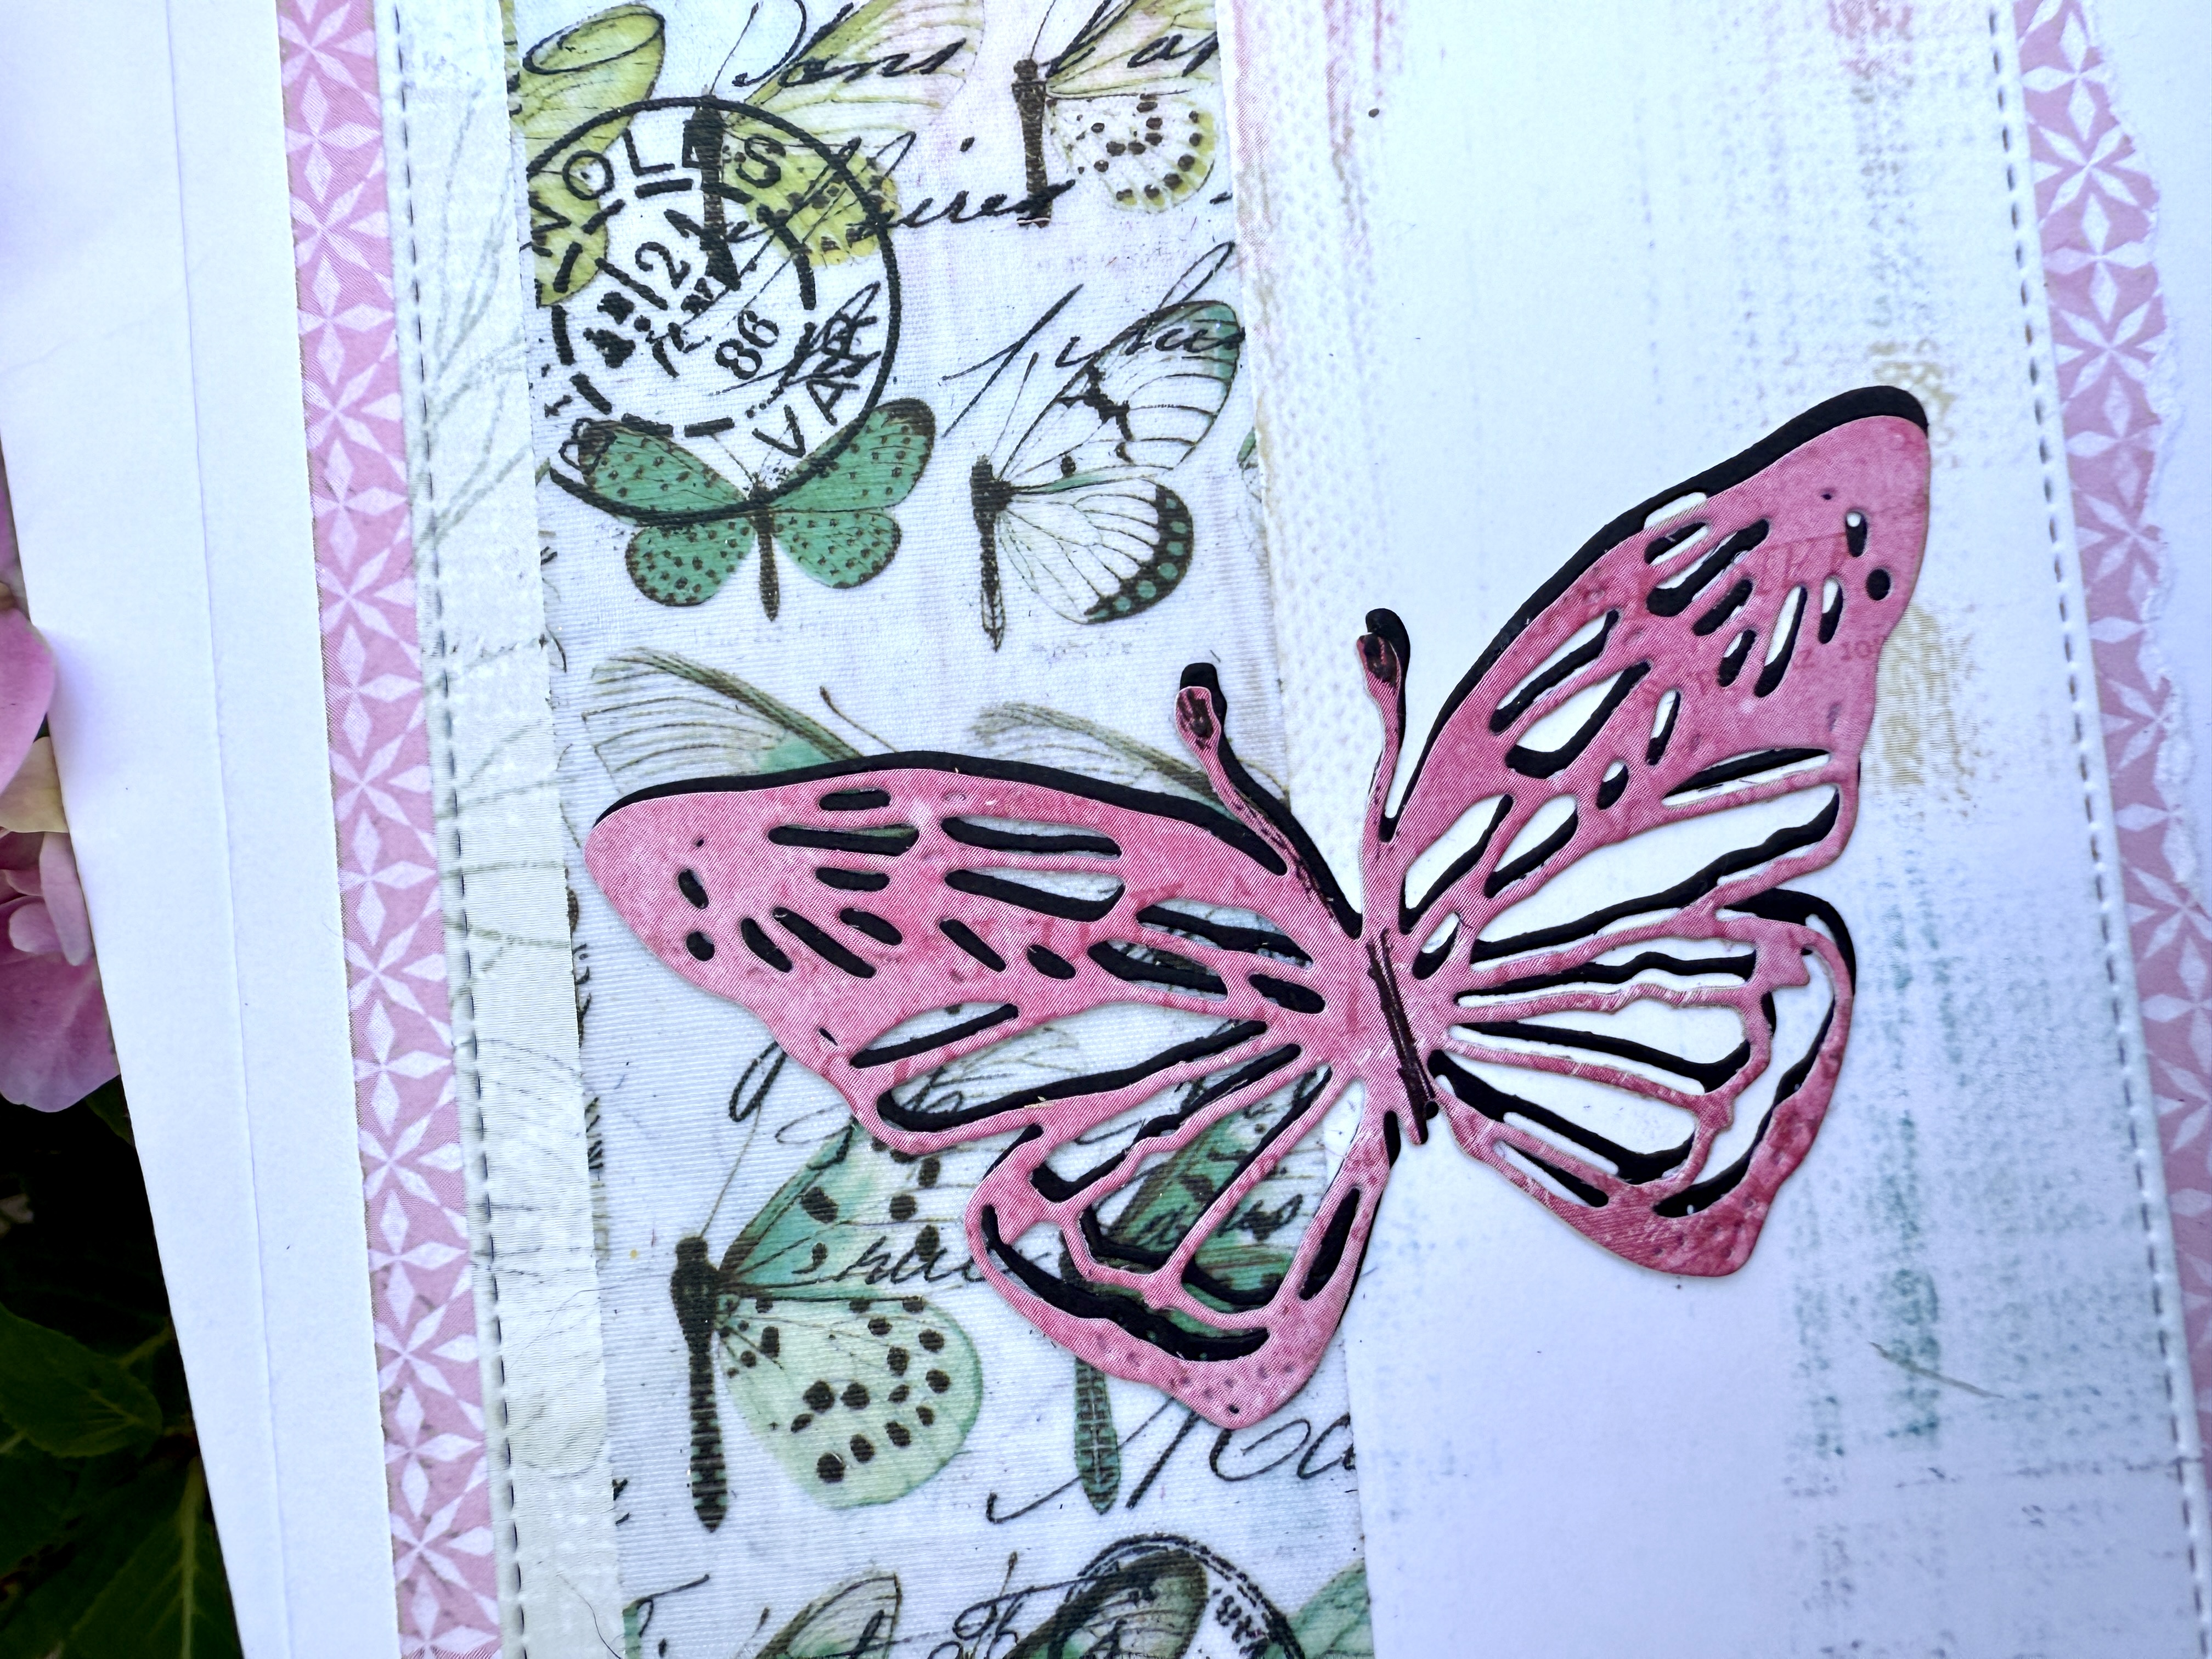
A vertical stripe of butterfly Washi tape runs the length of the card. I cut a pink butterfly with a black silhouette and placed it on a subtle background.
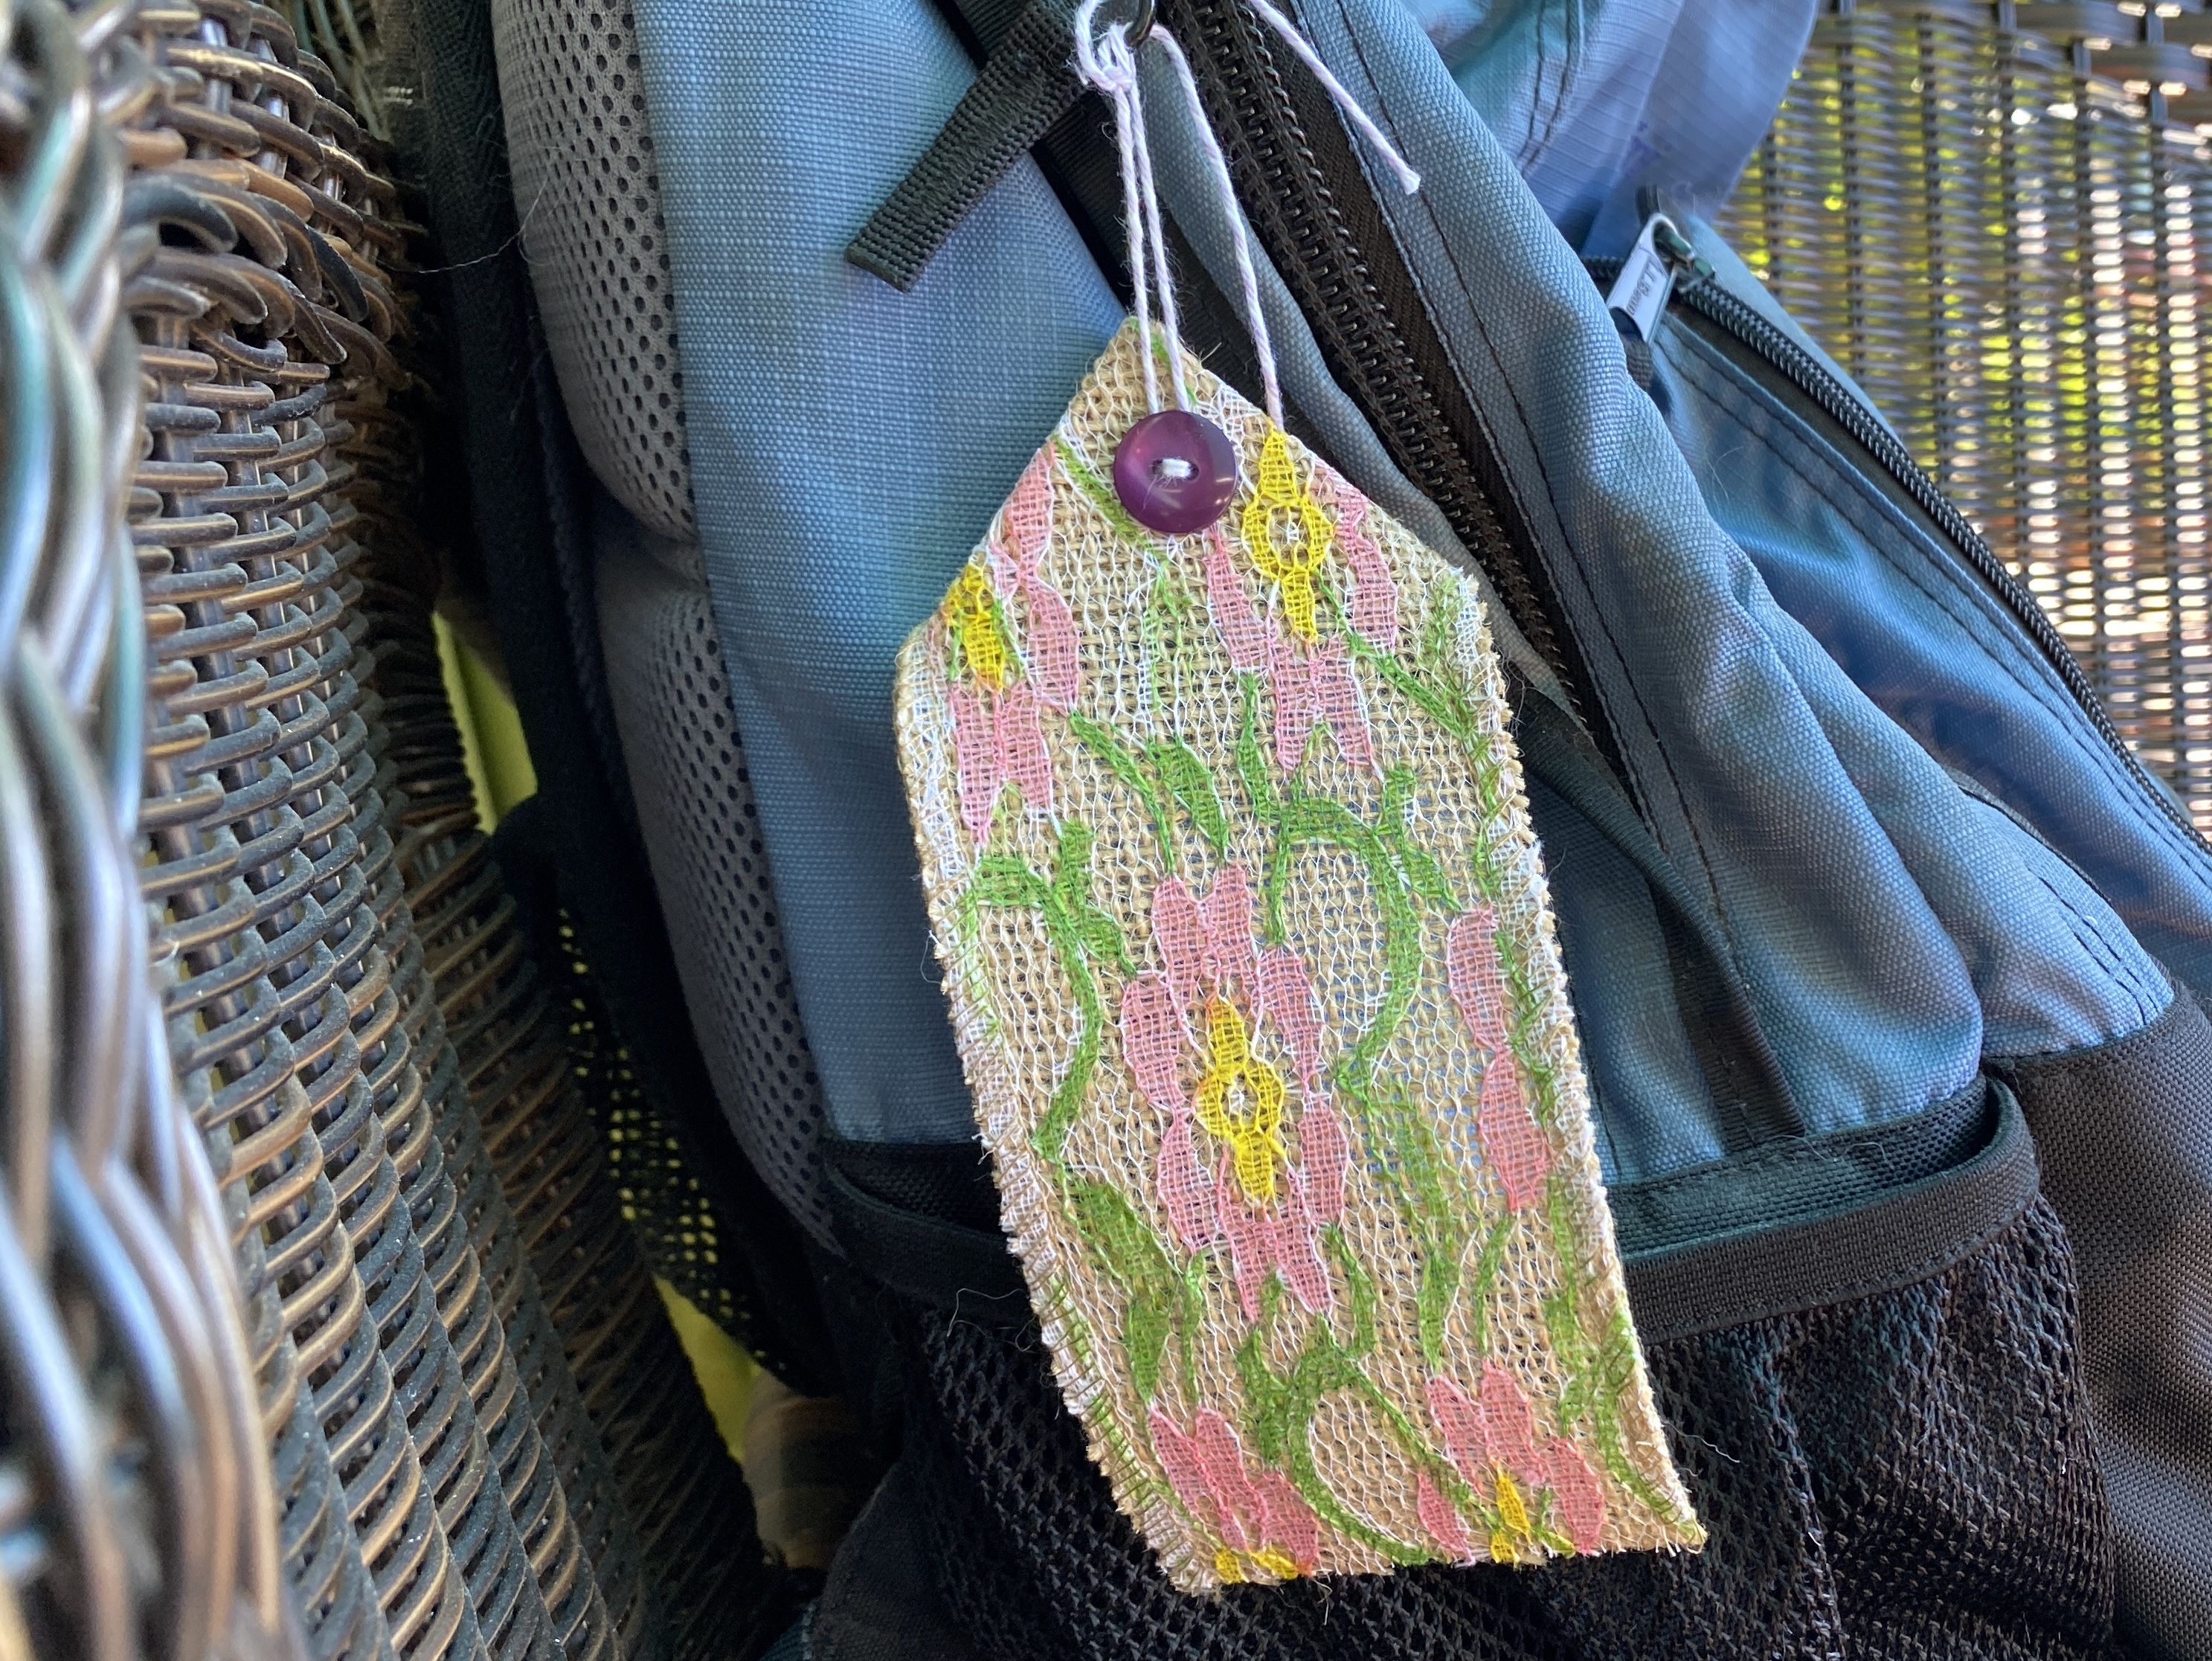
This card went to a bird lover. I used an intricate die to cut the floral Washi tape, then placed it on a light blue background. The bird is a transfer from 49 & Market.


Two more cards using Washi tape.


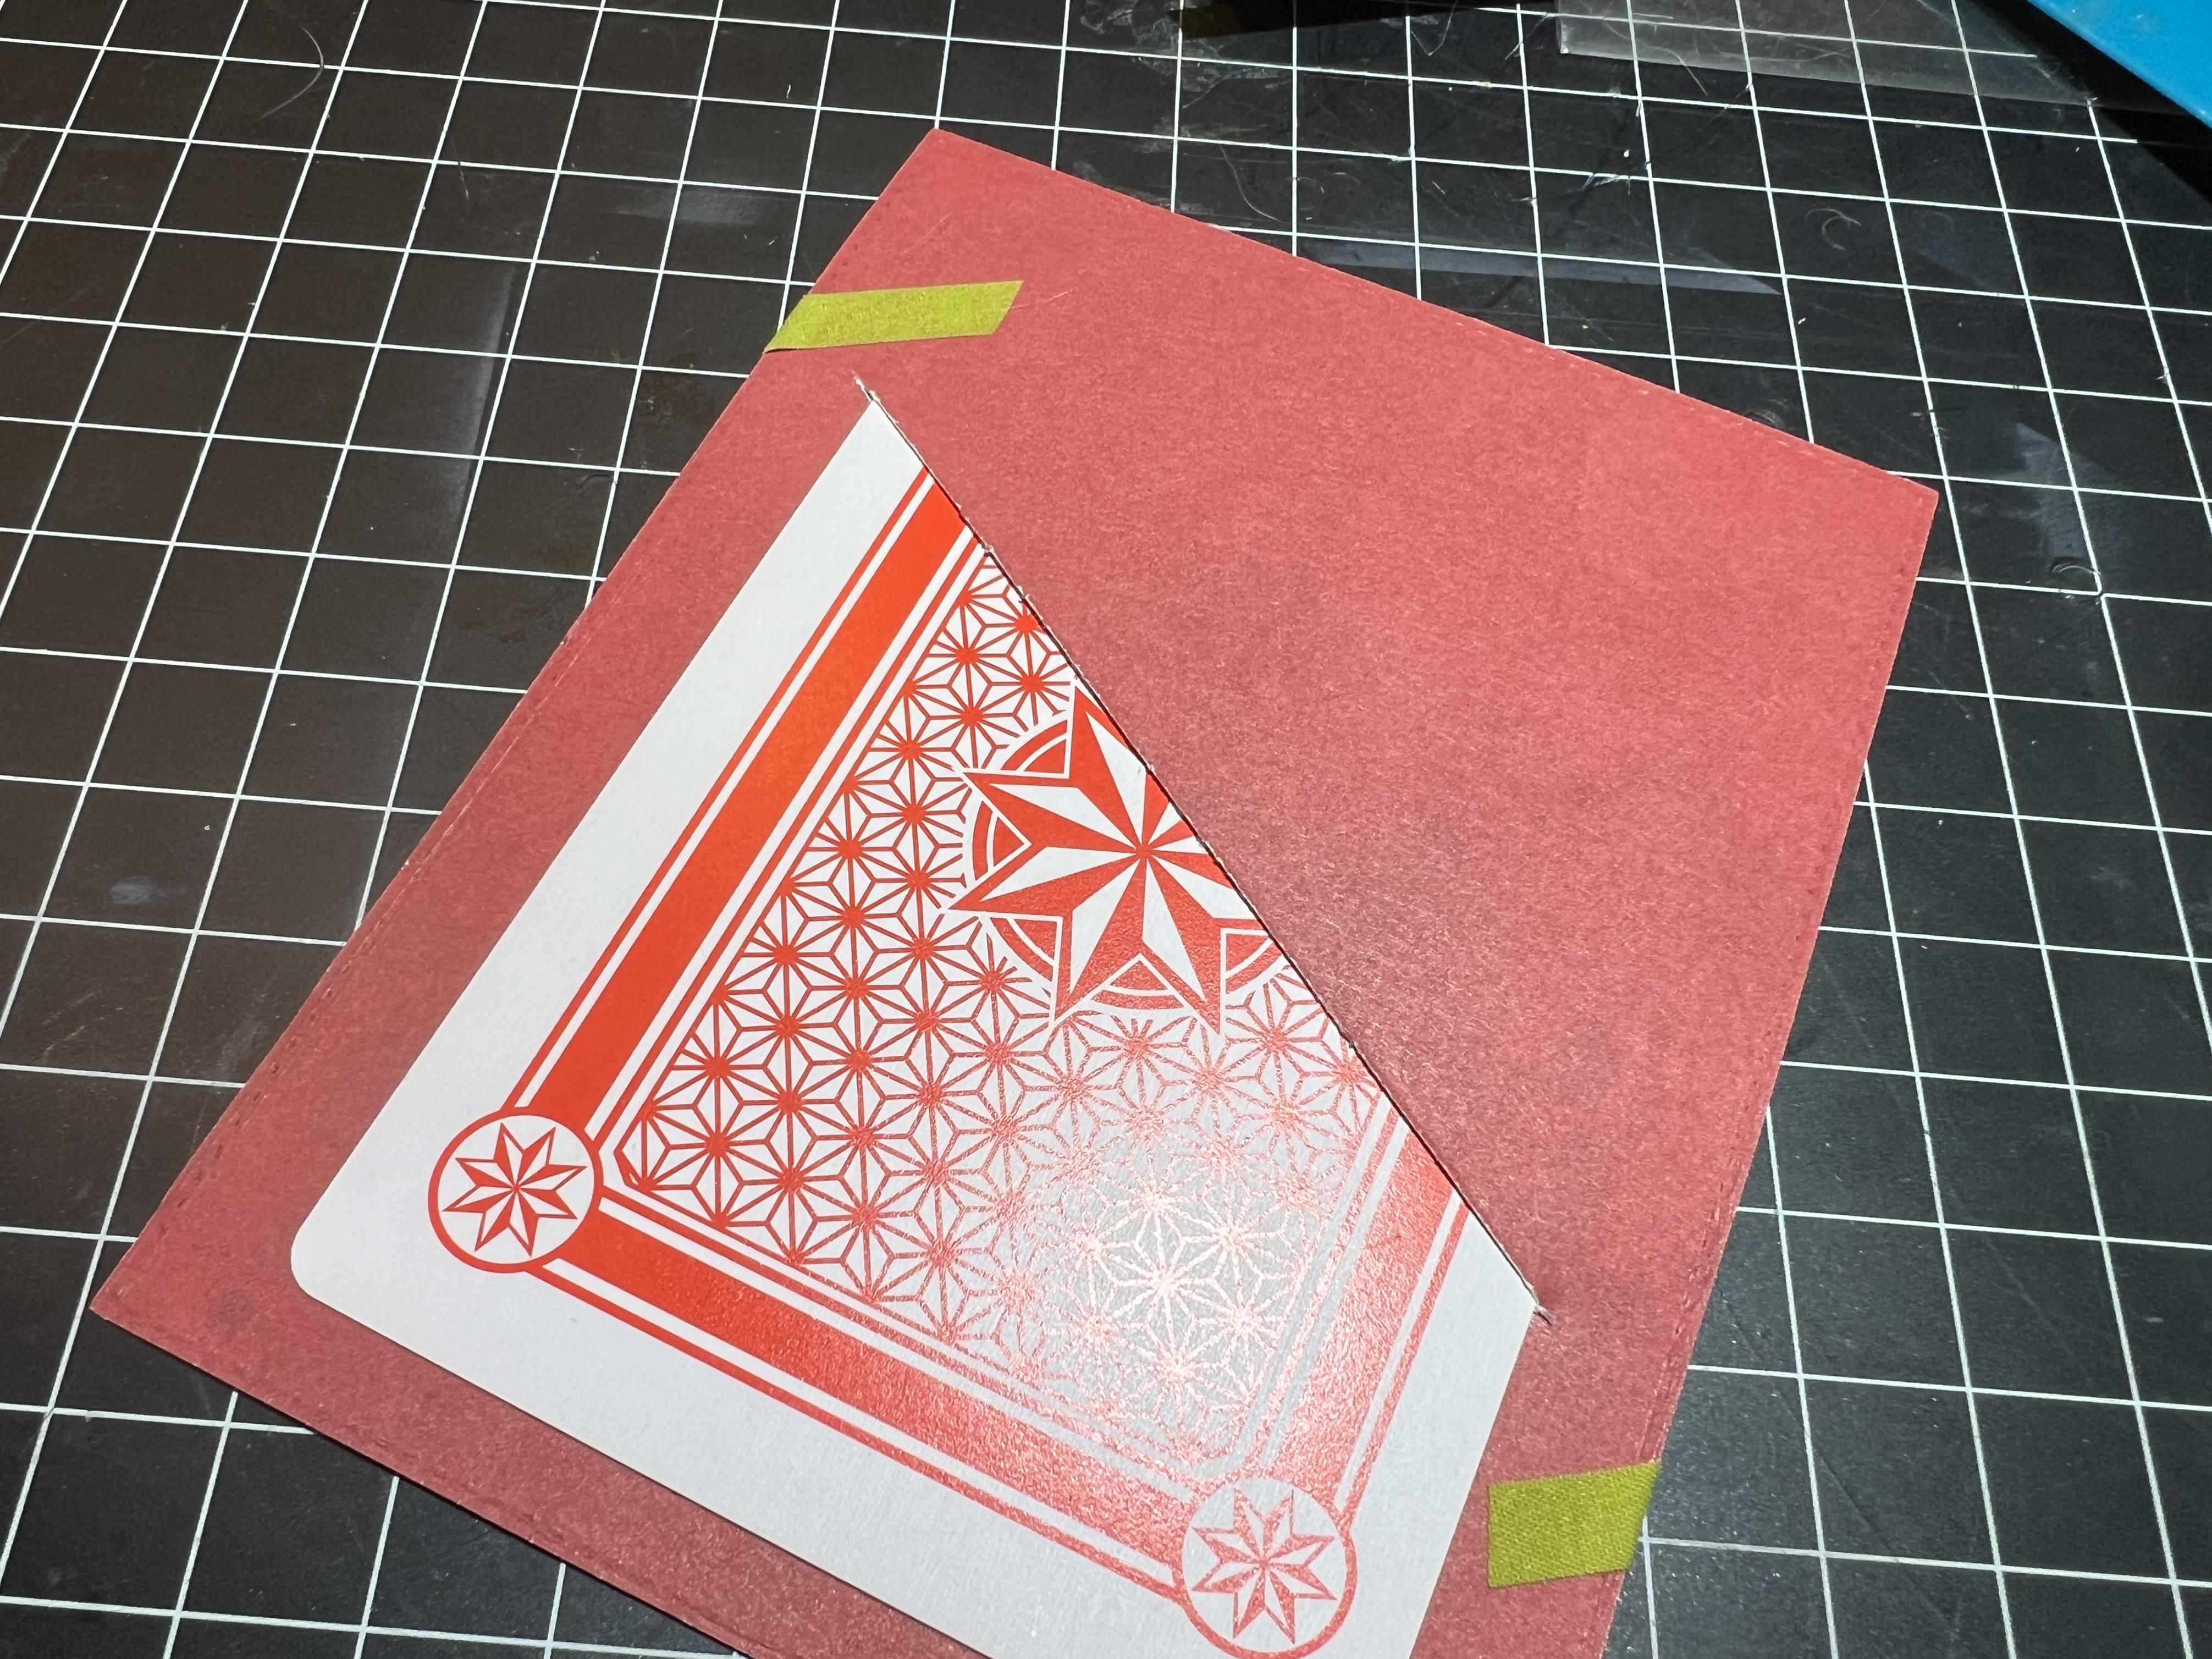
Back to playing cards, my latest card is for a friend I’ve known since high school. Bonnie collects vintage Coca-Cola memorabilia. My artist friend Marcia gave me a vintage Coca-Cola playing card a few months ago, commenting that she knew I would find something to do with it. Indeed, I did.


I used a sheet of paper given to me a few years ago with a sewing pattern theme for the base of the tri-fold card, then used the playing card as a focal point. Scraps of red Swiss dot paper reminded me of sewing clothes in the day, and the yellow paper looks like linen if you squint your eyes. Score one for paper scraps. My paper supply has significantly dwindled, so I’m pleased when the right color and texture turn up.


 My kindred spirit Boomdee is flying home to Canada today. Mr. B and the kitties can’t wait to see her. I tried to convince her to stay through the end of October, but she didn’t want to miss the first snow of the season. ;-) I reluctantly took her to the airport this afternoon after seven, extraordinary days.

You must be logged in to post a comment.