Wonderful things happen when you write a blog. Here are my top three:
Community, community and community.
Last week I posted photos of my attempt at a garden wreath. The wreath had a lot going for it, but it lacked volume and charm.
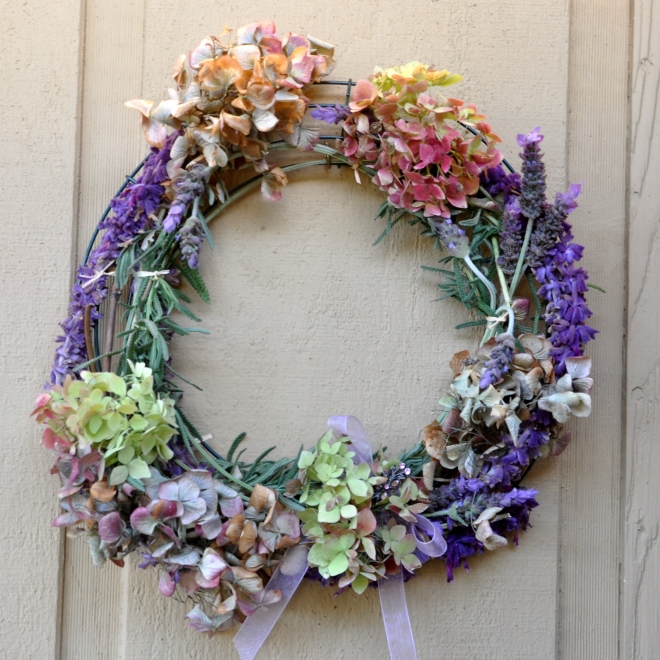
Garden Wreath Version 1.0
I asked for suggestions and received a tremendous outpouring of support.
The Contented Crafter had this to say: Just this very morning I was discussing my art work with a friend and related how something Jane Davenport once said made a big impression on me and changed the way I viewed my creations.
Jane said [and I paraphrase] ‘Every creation goes through an ugly stage. Do not be put off, do not throw it out, do not walk away. Keep working at it until it becomes beautiful again’.
Not that I’m calling your wreath ugly – it isn’t. It is actually really pretty, and while still in development, shows enormous potential – it just needs more.
Which brings me to my second great life lesson – if a little is good, a lot is better 🙂 Bling it up Alys, bling it up!
In summary, don’t be discouraged. Add some bling. Borrow seeds from the squirrels.
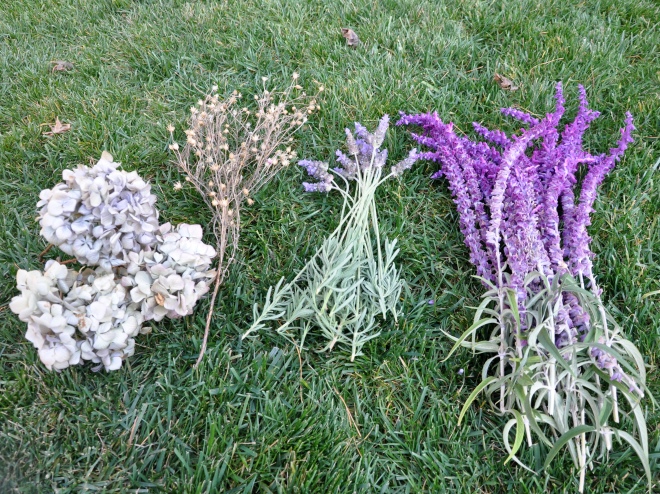
Flowers and seeds
Boomdeeadda added:
I would say you’ve got a lot of beautiful dried flowers but need a sturdier base to build upon. I especially love the hair pin, it’s a pretty detail and unexpected 😀 I also like that you used a loose triangle in your design. The rule of three always works best for arranging flowers. It’s going to be so awesome and I bet it smells really wonderful too.
- Do you have any thin gauge wire? Here’s what a florist might do.
- Take everything off and sort.
- Spray Hydrangea with a bit of hair spray to lessen shedding.
- make three mixed posies with your remaining dried flowers by wrapping stems with a bit of wire. Vary the sizes (S, M, L). Leave a length of wire to make a small loop.
- Now, stuff the entire wreath with green sheet moss. Available from gardening stores. Winding thin wire around the wreath as you go. You hardly see it with the moss.
After reading Boomdee’s professional advice, it was tempting to box it up and send it to her with a thank you note. Instead I behaved myself and took notes.
I took apart the wreath, salvaging the lavender, the ribbon and the hair pin. The hydrangeas were toast so I tossed what remained in the compost bin.
I dragged myself to a craft store (hee!) and picked up a bag of Spanish moss, floral wire and a roll of dusty silver tulle. I bought purple ribbon as well, but didn’t use it.
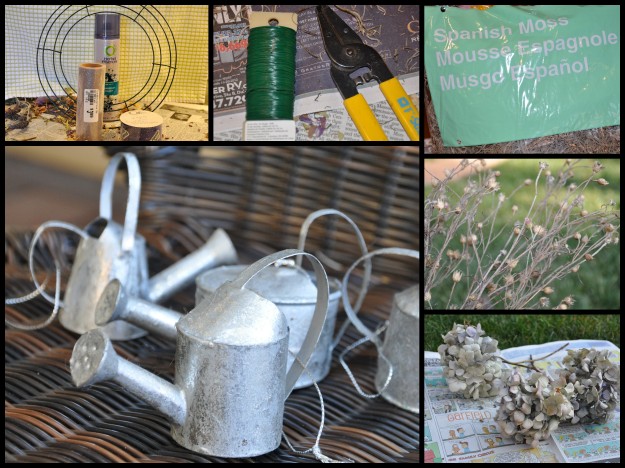
Starting from scratch
Cindy Knoke cheered me on as did Tami and Marlene, of In Search of it All. Marlene and LB both agreed that moss would give it some oomph. Where the Journey Takes Me suggested the great and powerful Google for dried wreath inspiration. Additional thanks to Sheryl at Flowery Prose.
Anne Lawson said: bling it up! When I paint there is often a point where I despair and think “it’s not working!” That’s the time to keep going, as many times it does come together.
I gathered lavender and sage in twice the quantities to allow for natural shrinkage when dried. The hydrangeas were un-salvageable. I used three of the flowers from a vase in my room. I sprayed them first with hairspray to prevent shedding. I added dried seeds from the Bachelor Buttons, and then stuffed all the gaps with moss. The wire helped keep everything in place.
I dug out my Christmas ornaments early, remembering this cute set of watering cans, a gift from my sister-in-law many years ago. The size and color worked well. I added tulle to the original ribbon for a larger bow, placed dried lavender in the watering can and added the hair clip.
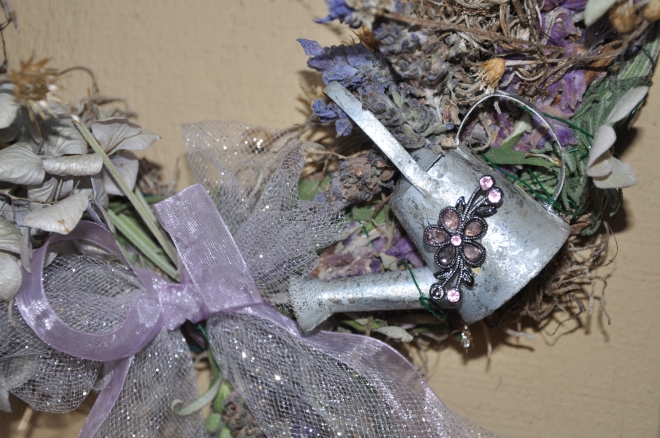
Garden Wreath Details
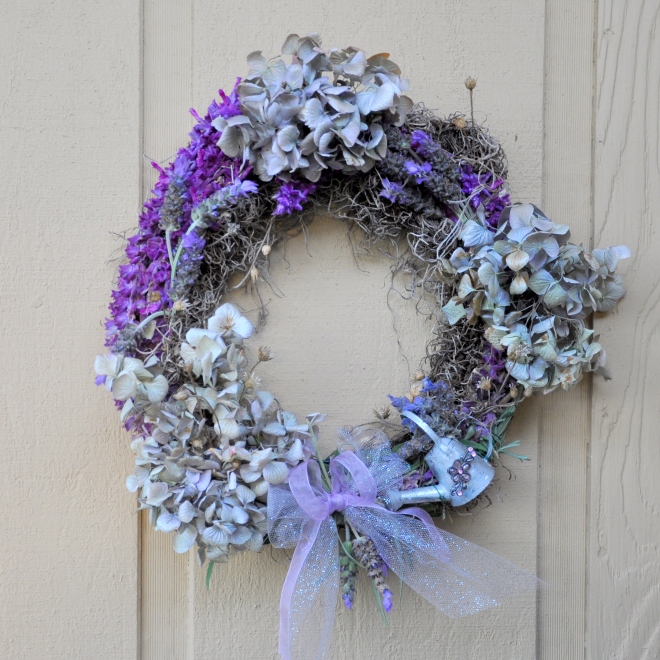
Wreath Version 2.0
It’s still a bit lopsided, but overall I like it so much better. I’ve dubbed it the Village Wreath, as I couldn’t have done it without all of you.
XOX


