
My sister’s progressing MS has created a need for adaptive clothing, however, the adaptive clothing available online, while functional, lacks style. Choices are limited, and most features skew toward a caregiver dressing the individual.

My sister wants to dress herself to the best of her ability. Maintaining independence when you’ve lost so much is critical to one’s mental health. Further, her care home wants to charge an additional $500 monthly for dressing assistance. We’re both appalled.
Due to leg spasticity, muscle contractions, and impaired trunk (torso) strength, Sharon can no longer wear pants or tights. Instead, I’ve modified off-the-rack dresses and tops, making them functional and stylish.
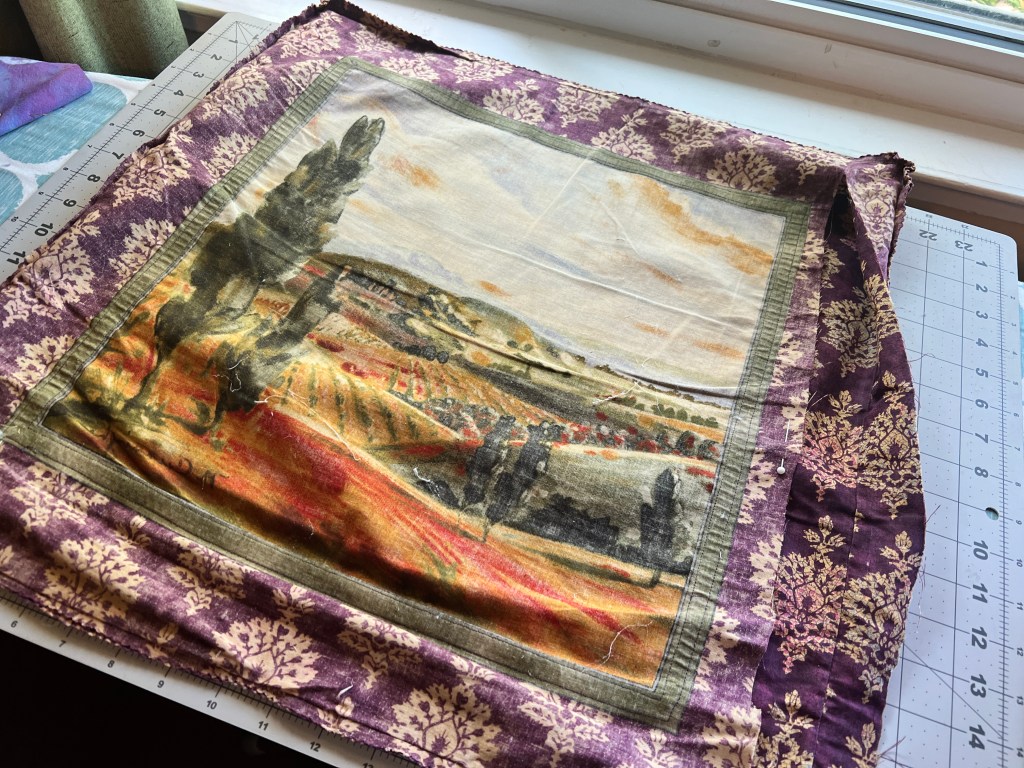
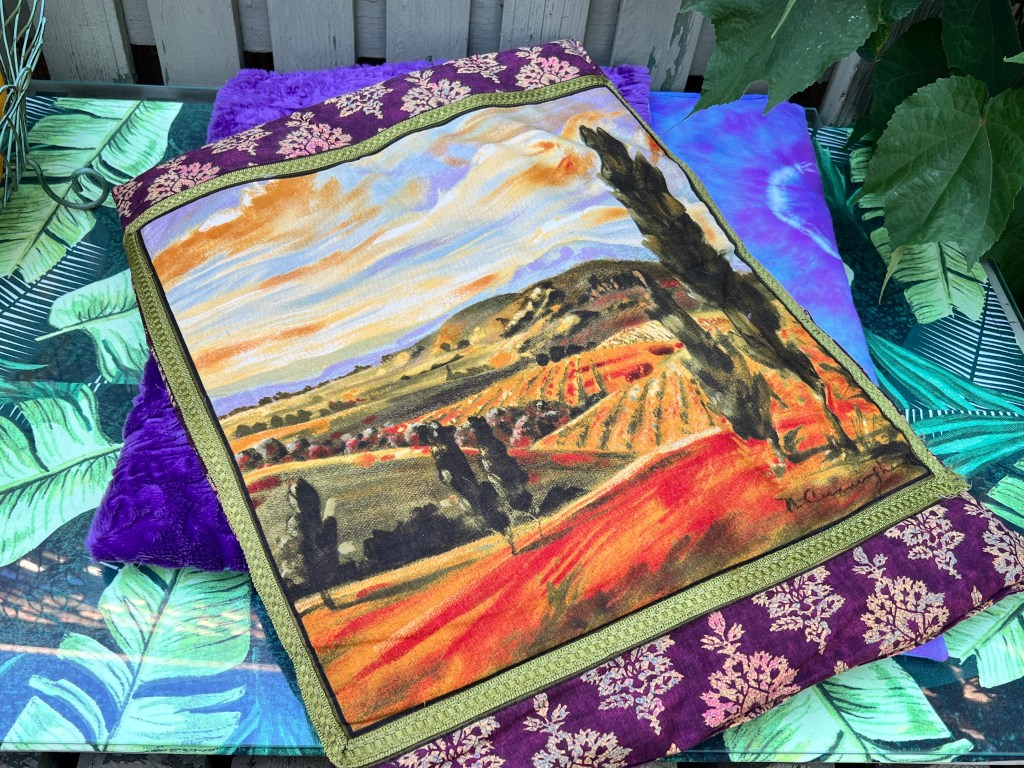
Finding a dress with a long full skirt in a soft knit material took me a while, but I eventually found two I could alter. I found a halter-style dress on another shopping trip, so Sharon has three dresses in rotation. In the end, the halter dress was the winner in terms of ease of dress, so I’ll look for more at some point. The dresses I bought were on the clearance rack at the end of the season.
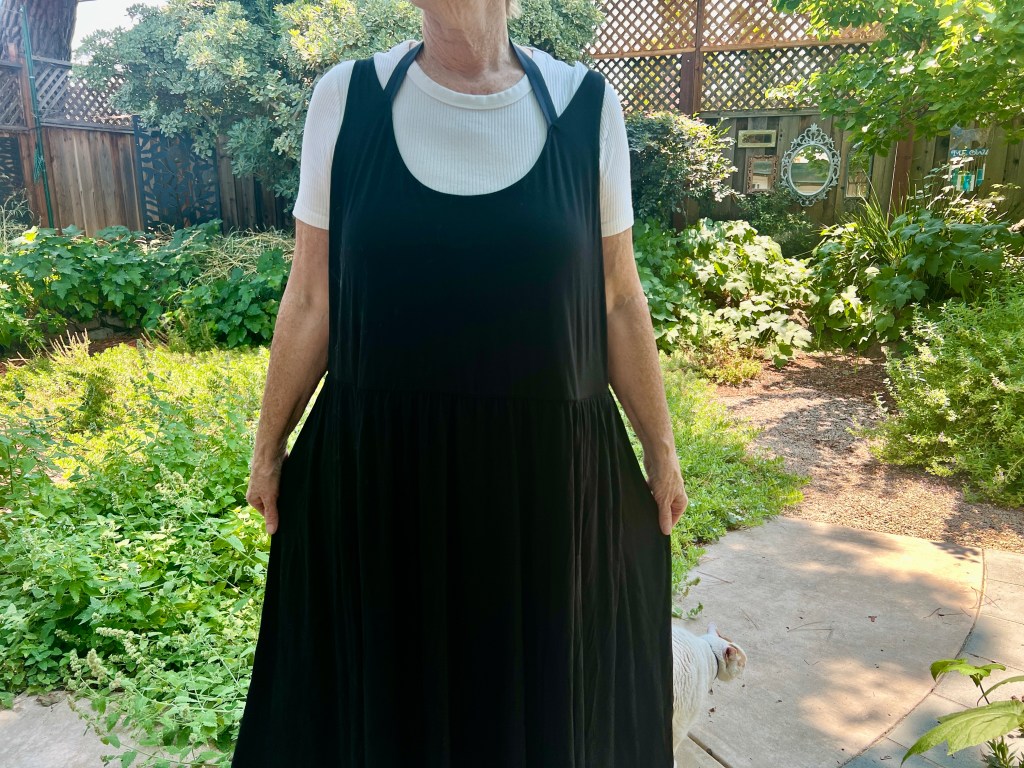
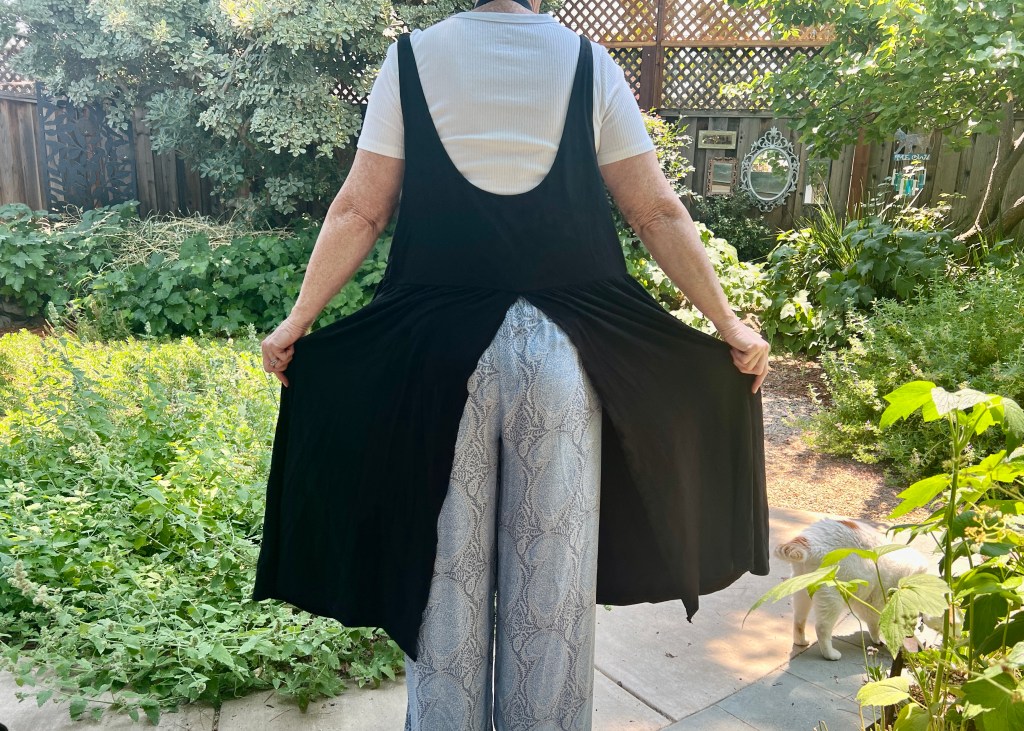
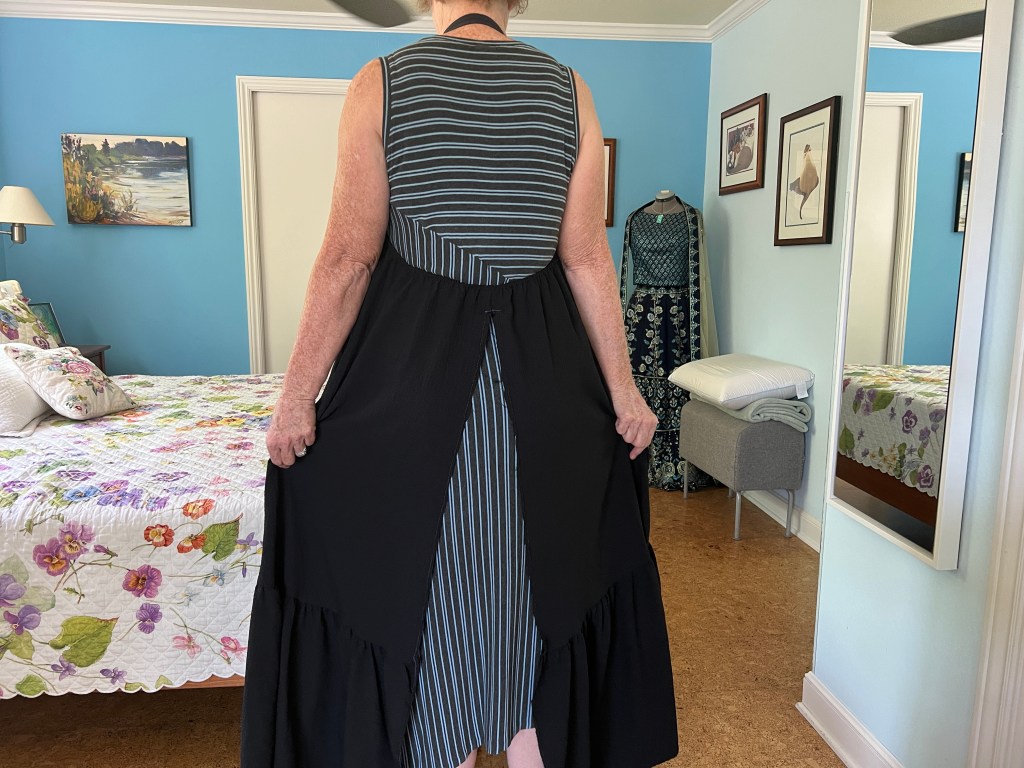
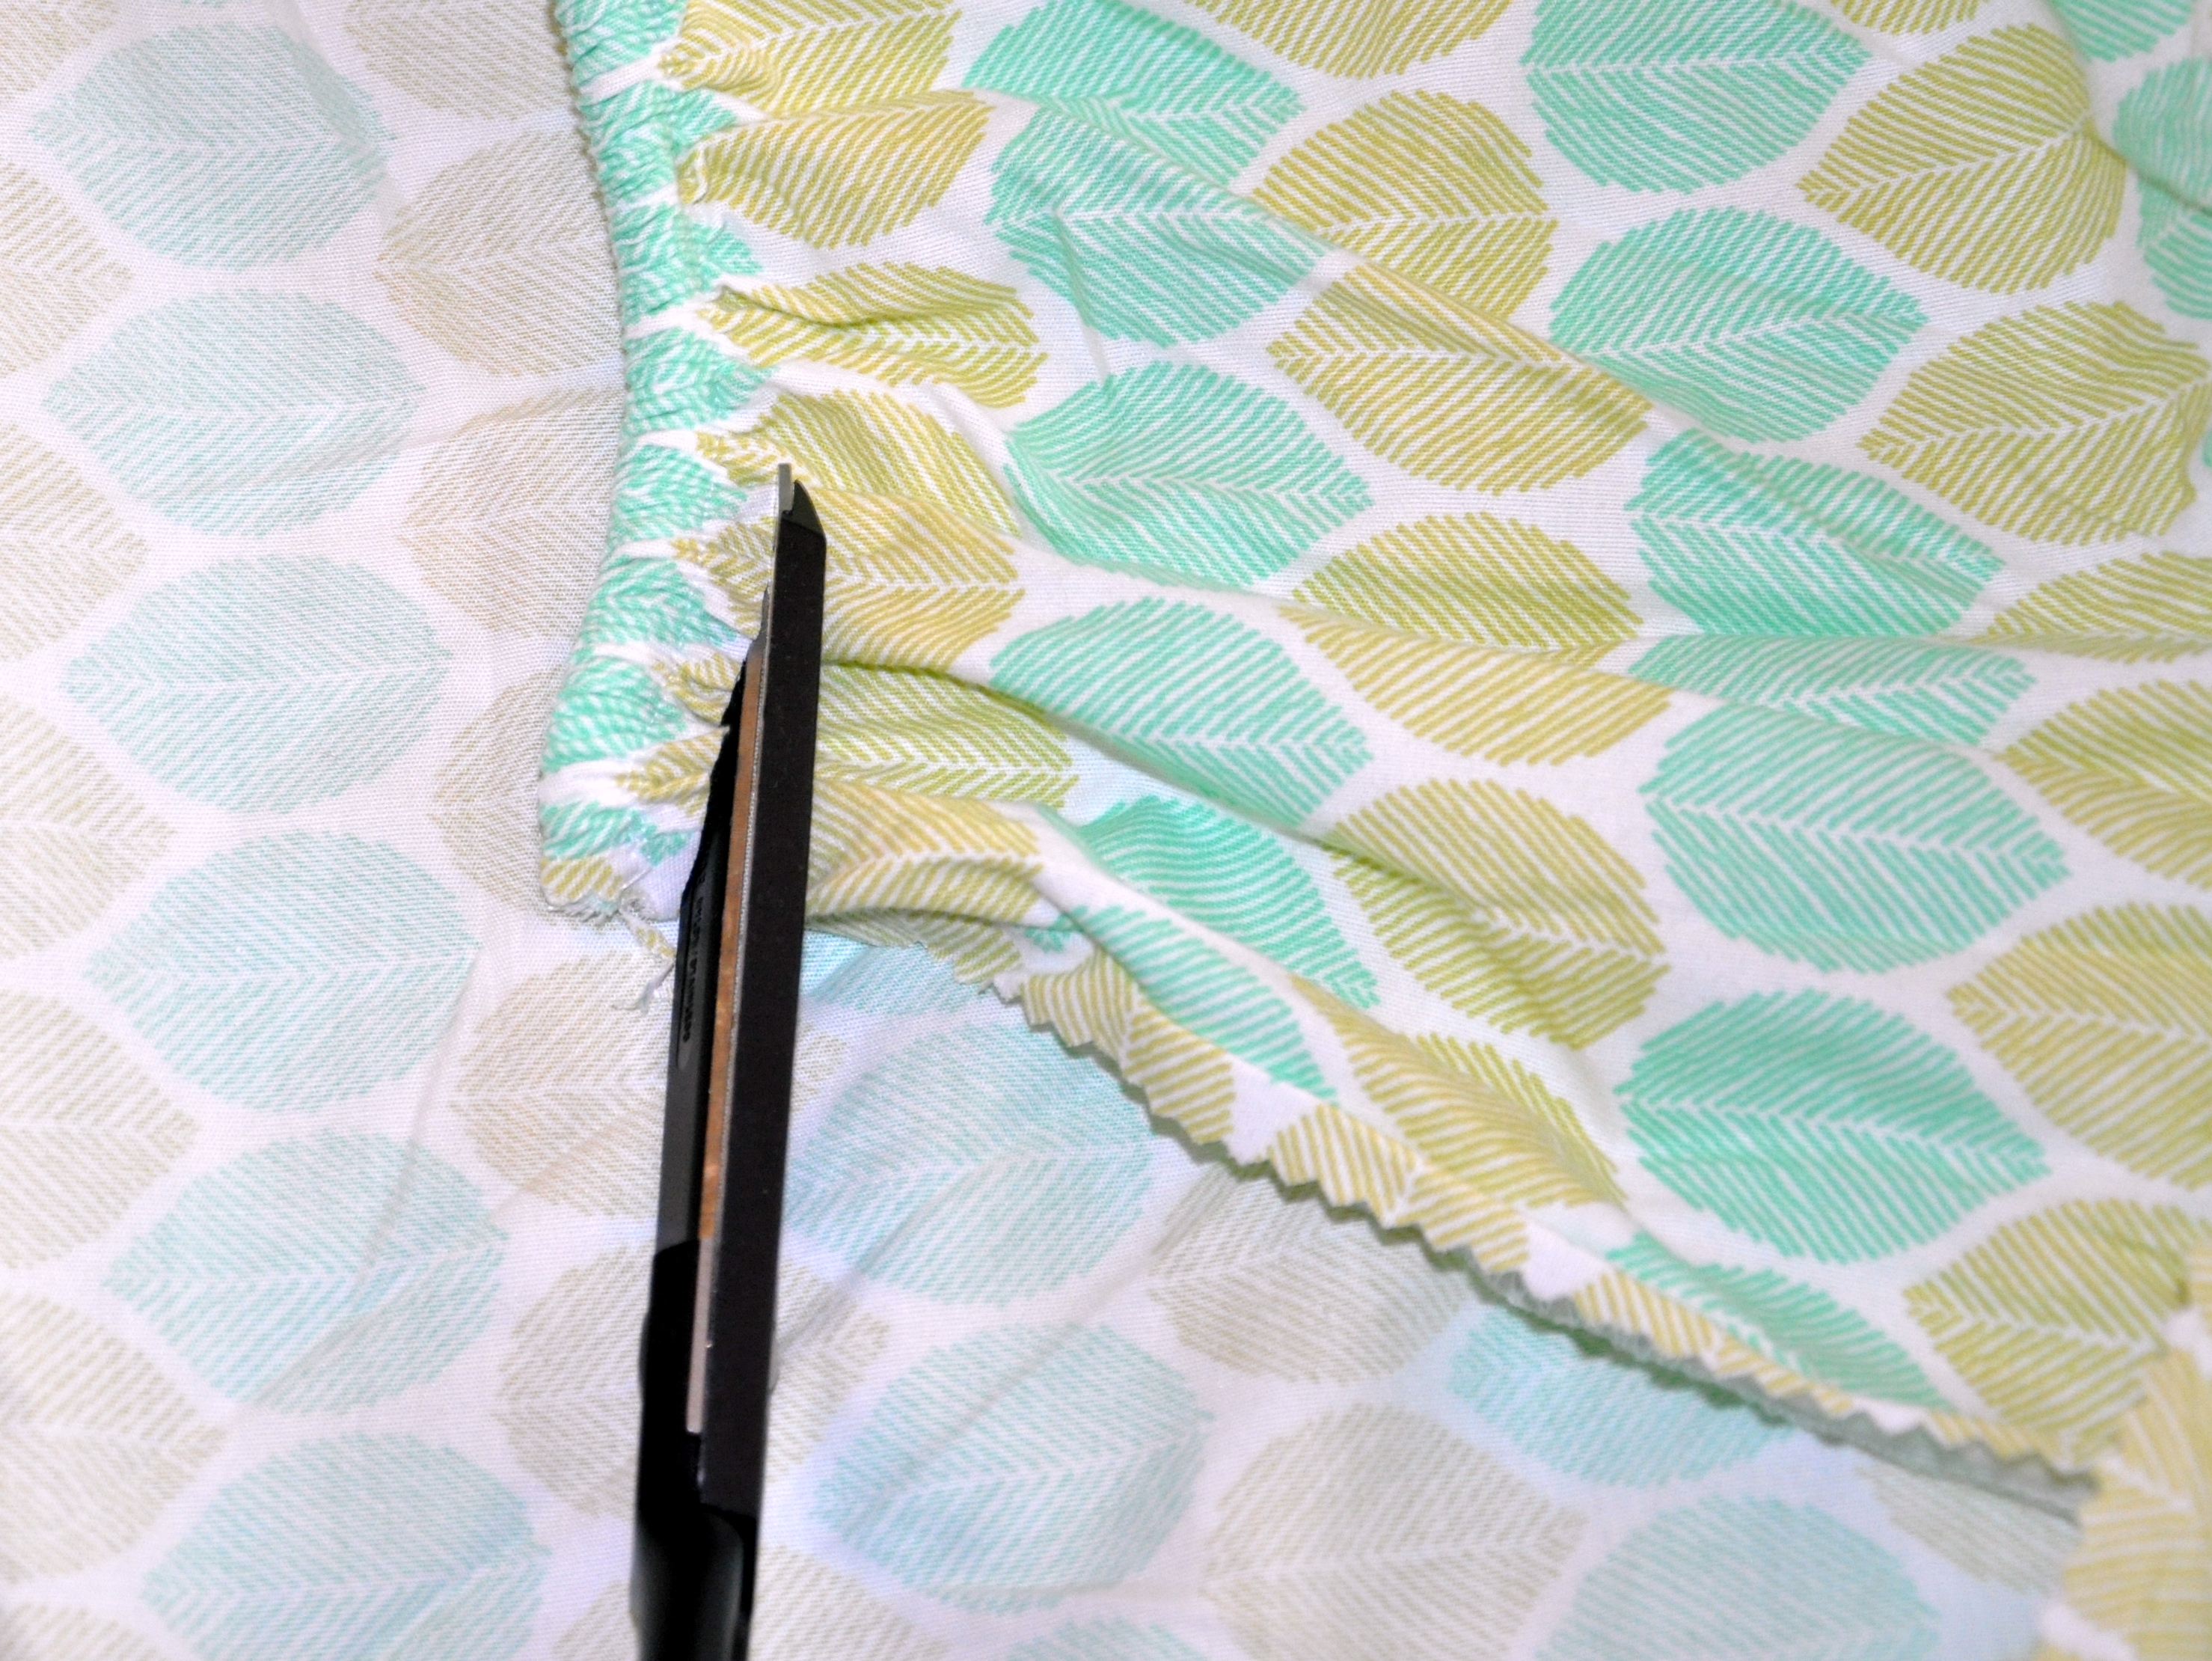
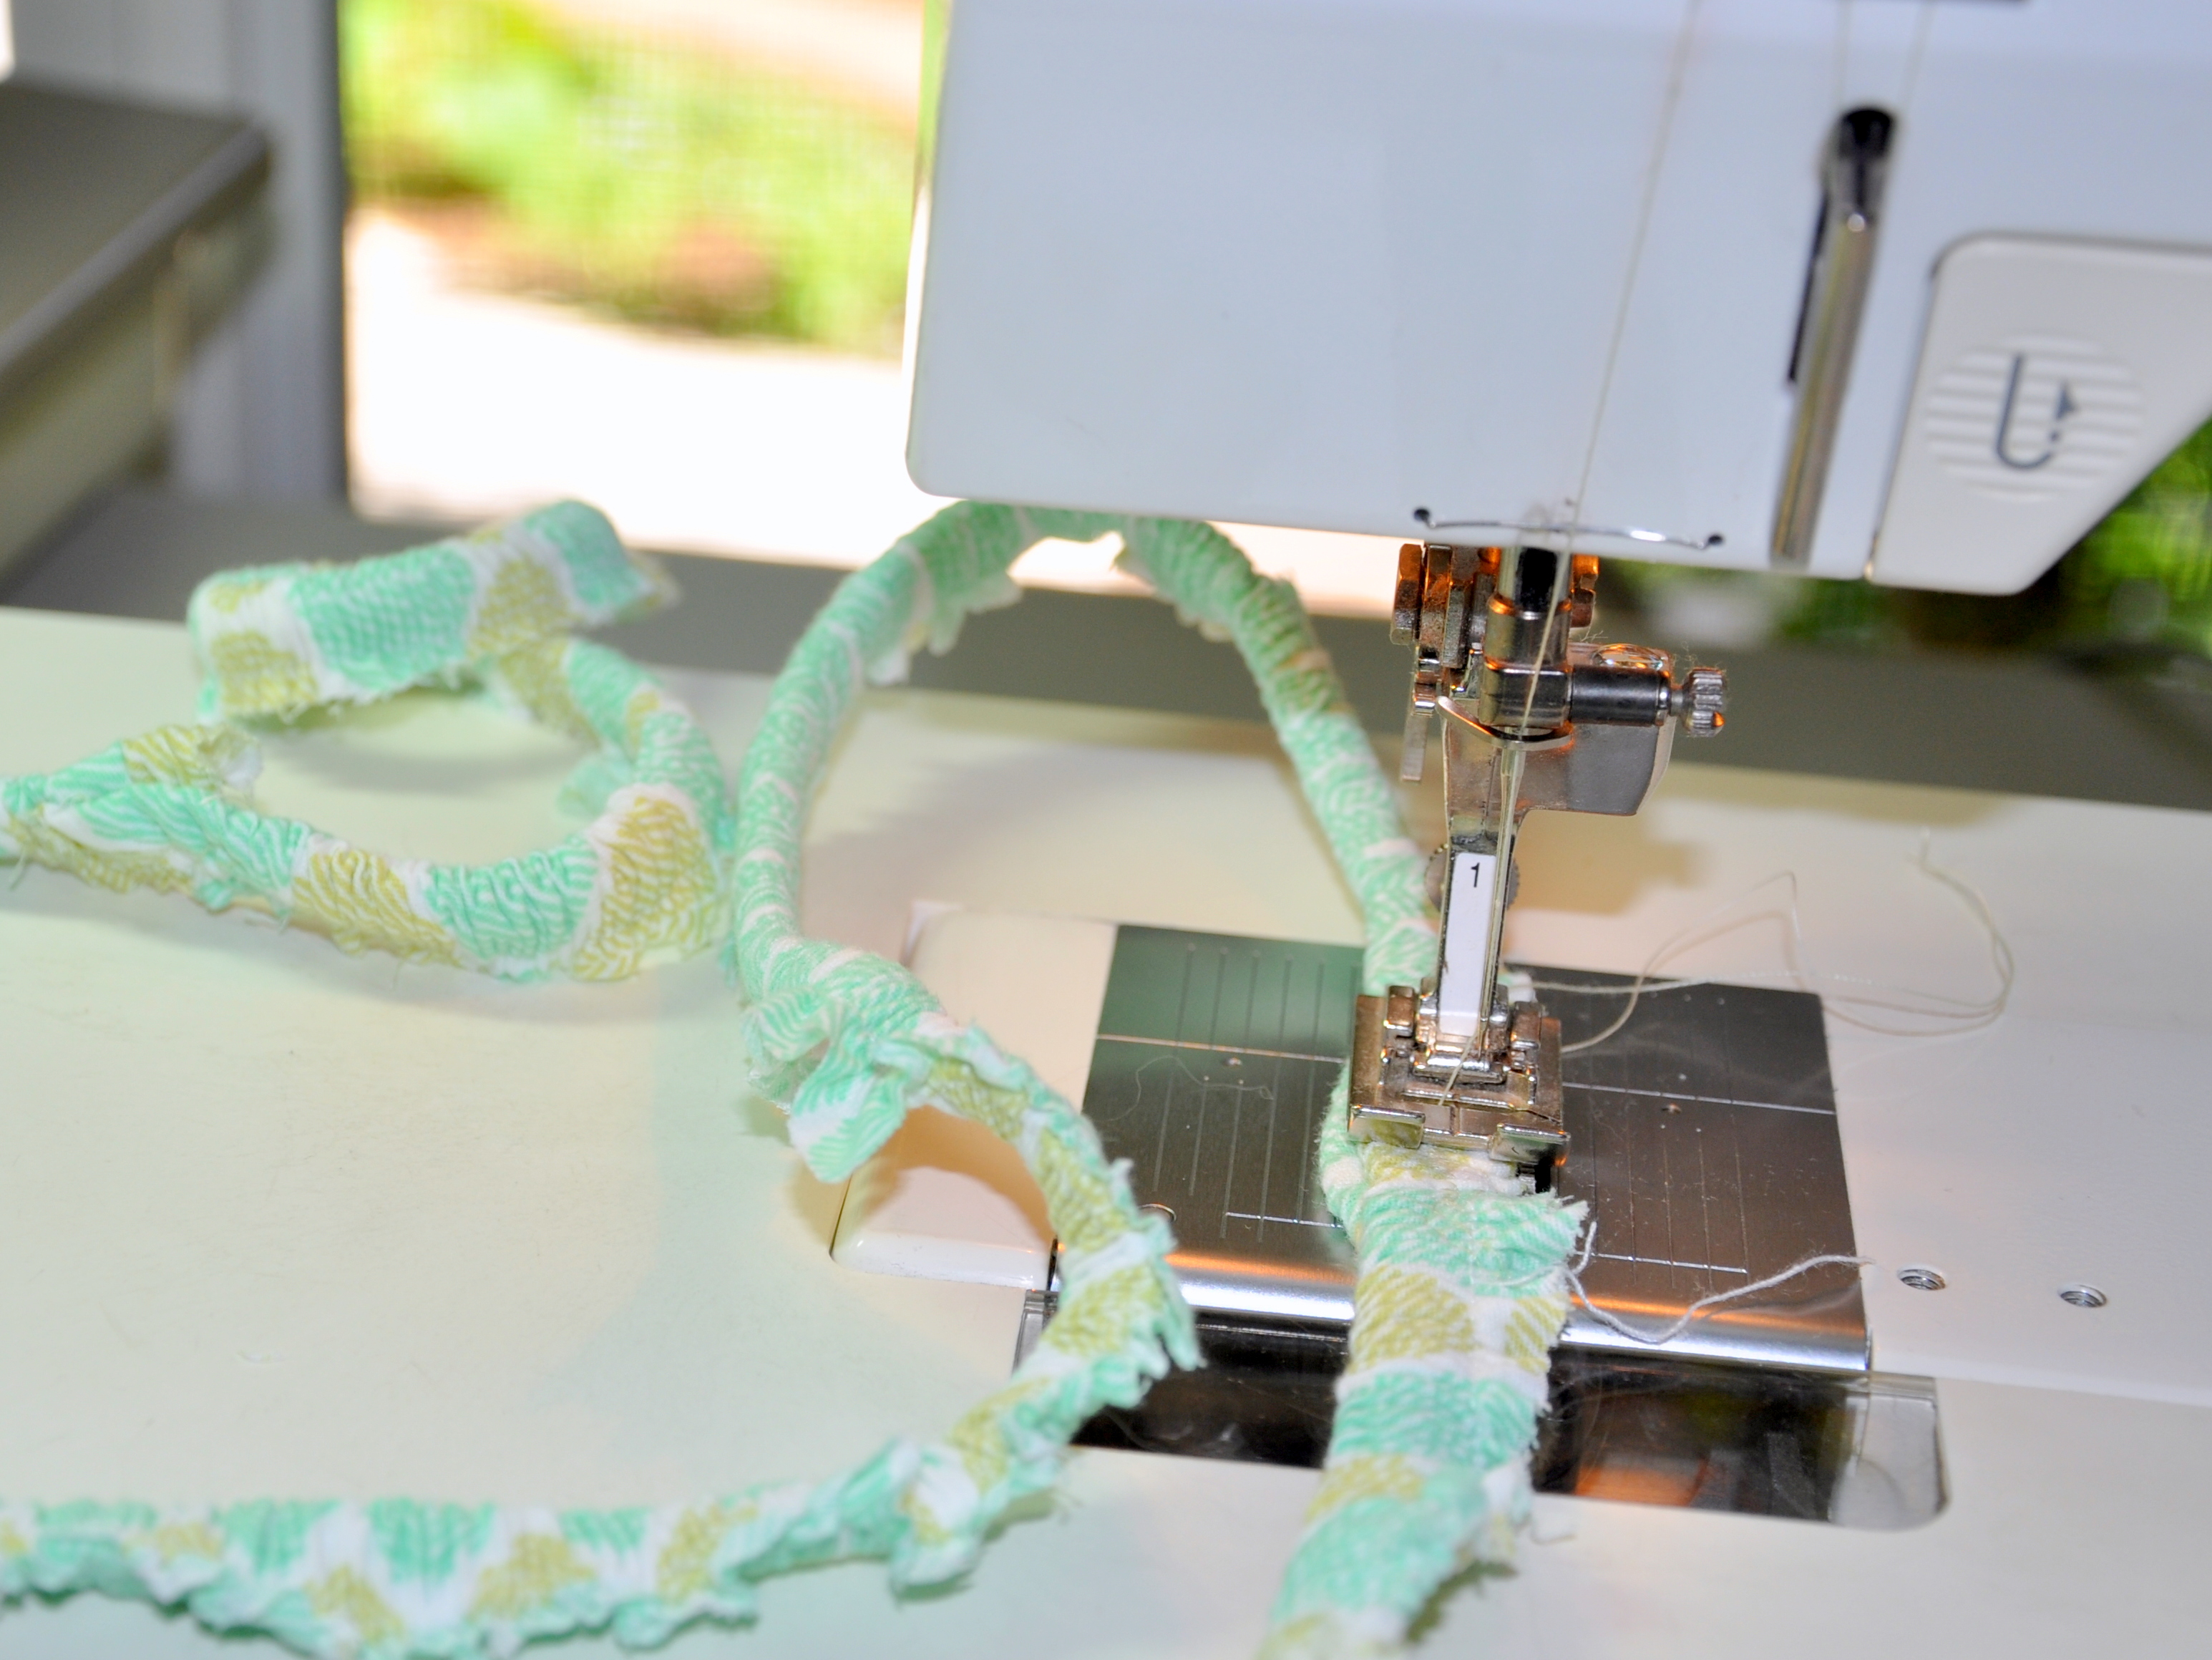
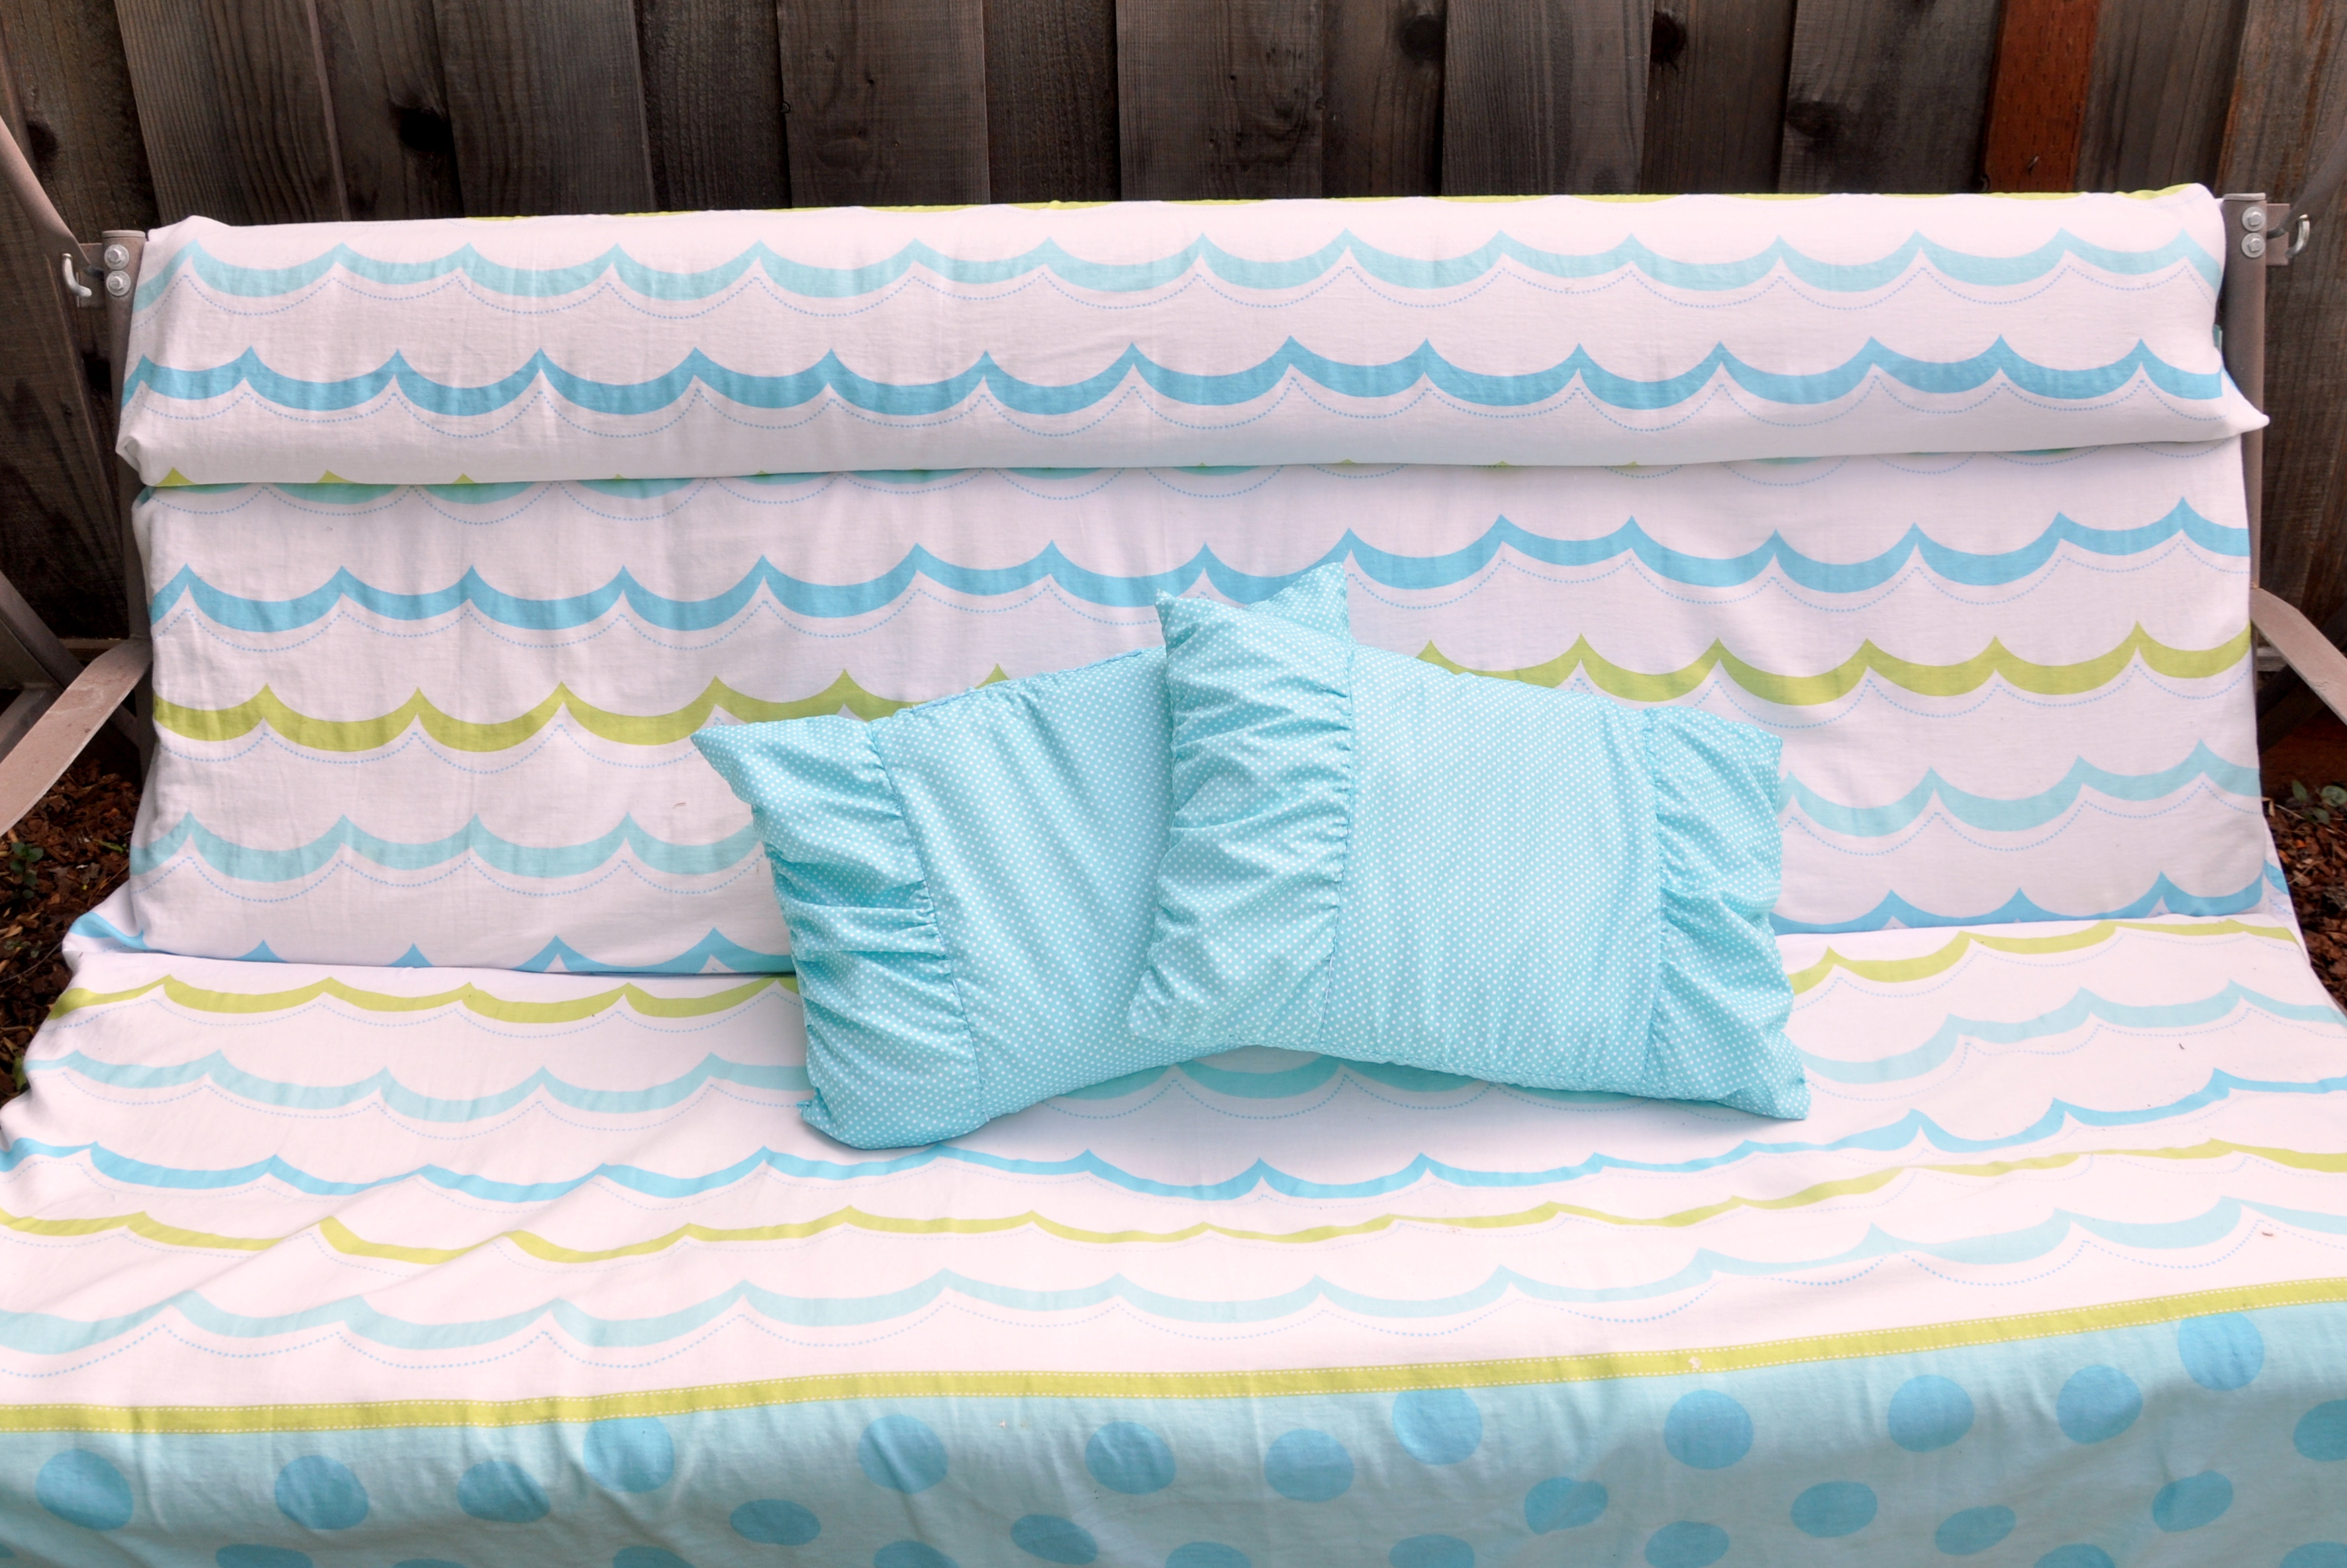
I changed the neckline of the two knit dresses by adding soft elastic to the dress straps. I cut the back of the skirt from hem to waist, then overlocked the exposed opening. The new opening in the back of the skirt allows the dress to drape over the legs and hips for modesty, removing any bulk or discomfort created when sitting on a full dress.
The elastic at the neckline keeps the straps from slipping and gives her more control as she pulls the dress over her head.
The third dress had the requisite full skirt, so I cut it up the back from the hem to just below the waist. I removed the tie at the neck, created a new neckline, and added elastic.
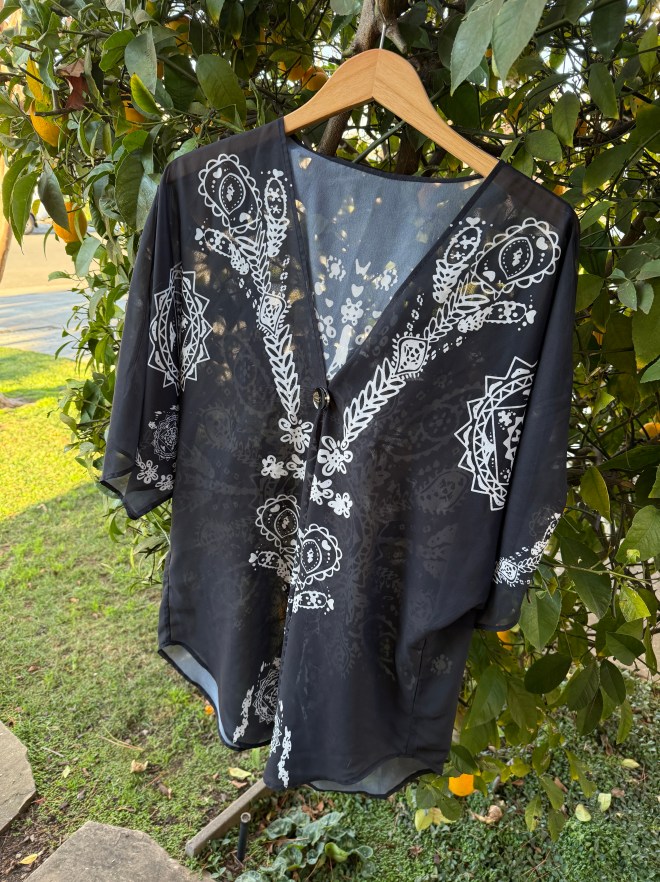
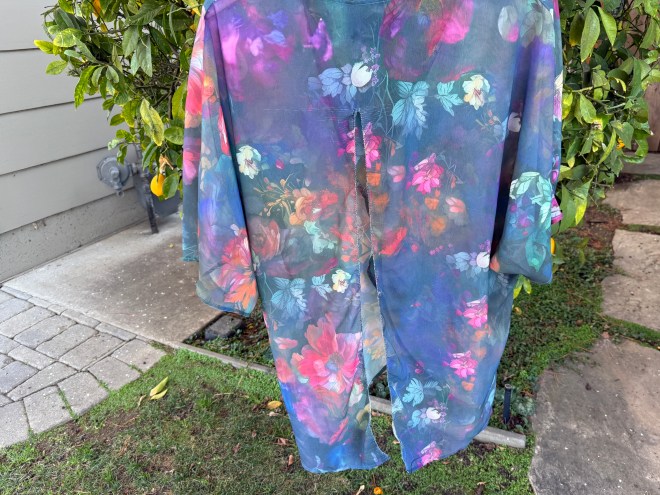
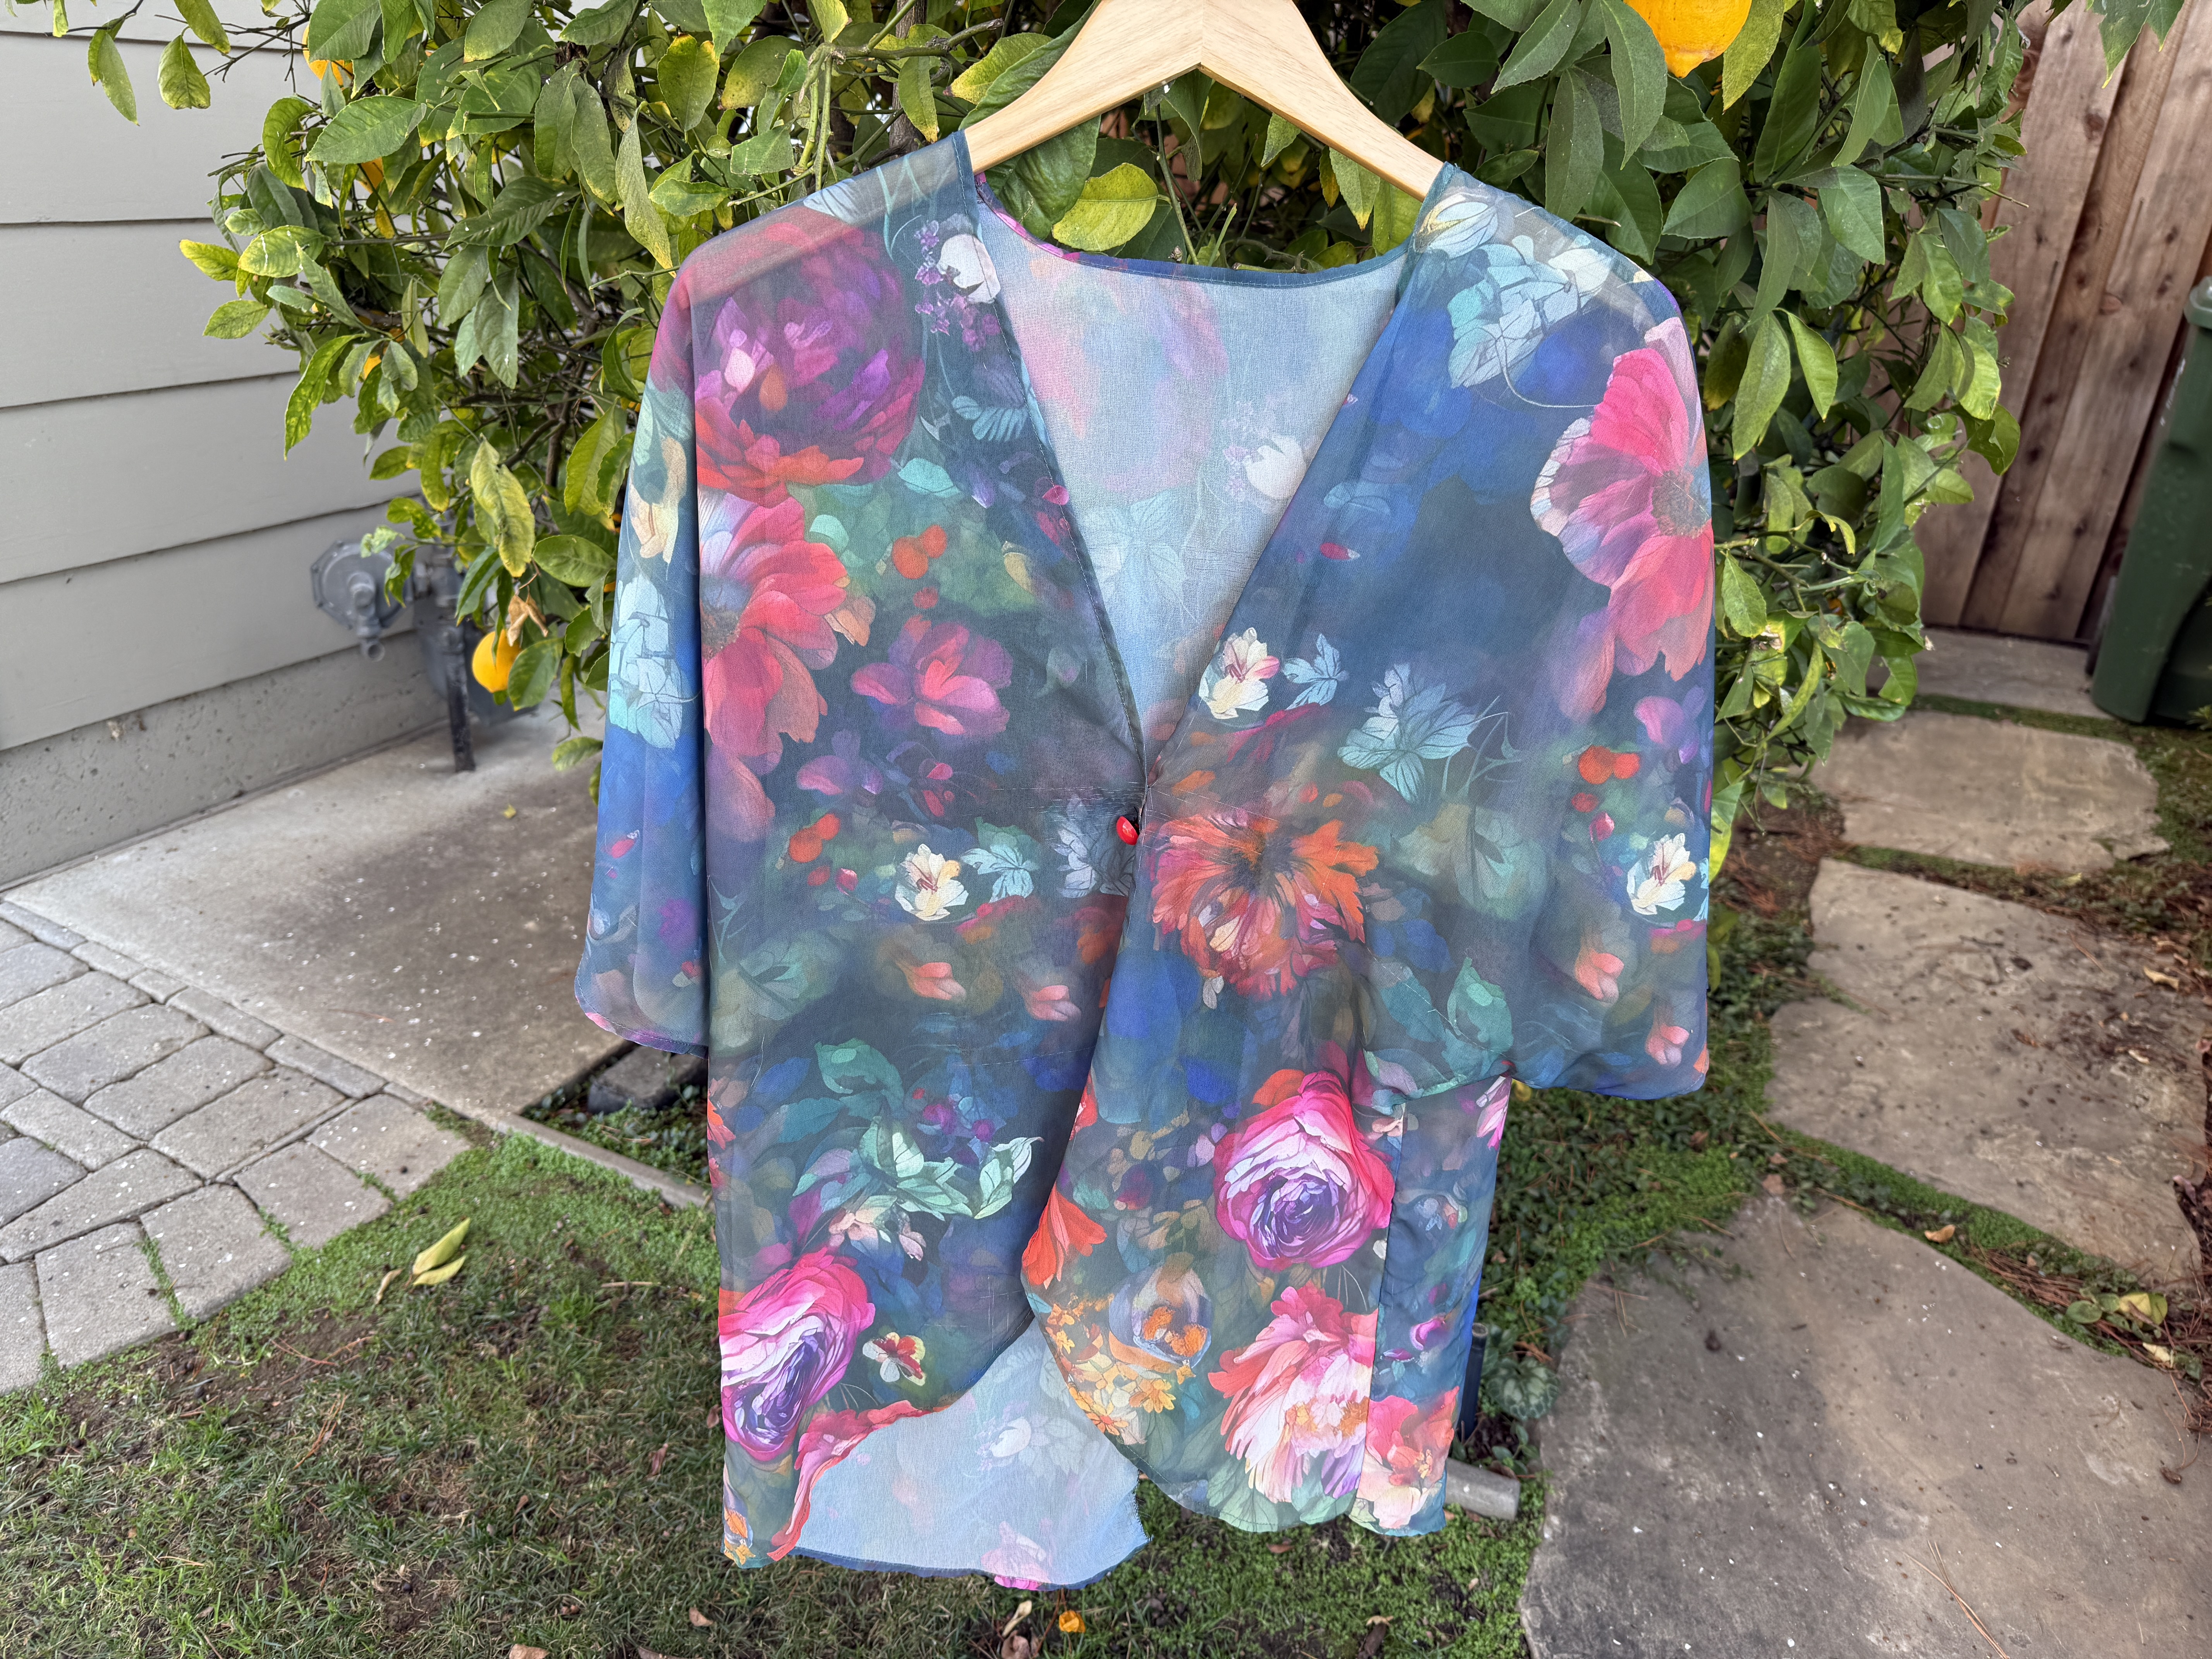
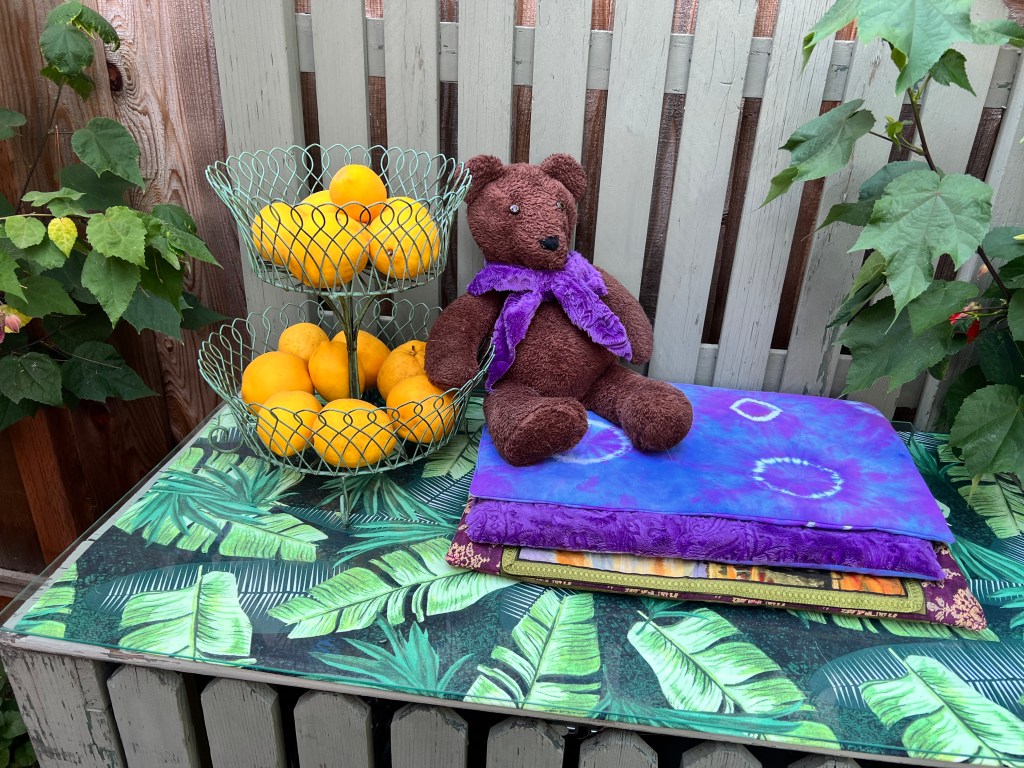
I altered five tops that Sharon bought online, cutting the center back and overlocking the edges. The button is decorative while adding some weight to the front of the garment, keeping the slippery fabric in place and creating an easy-to-use neck opening.

It would be nice to see the fashion industry put more effort into serving the millions of people living with a disability. Not all sizes are equal, and the industry eventually realized that and began offering petite clothing, plus-sized clothing, and even a few tall sizes for women like me. It’s time for industry leaders to recognize the need and to do market research geared towards people living with a disability and not just their caregivers.


An Update
Sharon works for the Veterans Administration or VA, processing a complex payroll of two hundred nurses twice a month. She’s a federal employee, a union member, and a remote worker since 2020.
The Department of Personnel Management issued directives requiring all federal employees to return to in-person work by May. One thousand four hundred employees were dismissed, with more likely to follow. All employees must send a weekly email describing five things they did that week as if they were children in grade school. Further insults to employees at large forbid displaying the Pride flag in any capacity, further clarified as no flag, flag pin, Pride flag on a poster or any other image. The fear, angst, and betrayal among federal employees throughout the country are palpable.
The assault on all we hold dear continues.


You must be logged in to post a comment.