
It’s become a bit of a hobby of mine. I like re-covering the garden swing every year.
Not!
I just finished sewing my third cover, not counting the original, for my beloved swing.

Garden swing cover, the bed sheet edition
I blame the squirrels. I’m not being mean here. I have photographic proof of the carnage. It’s become a bit of a neighborhood tradition to dismantle parts of my swing cover each year. Apparently they haul it off and line their nests.
My boys gave me this swing for Mother’s Day in 2009. I love it! It’s a relaxing place to hang out during the warmer months, and it gives me a wonderful view of my garden.
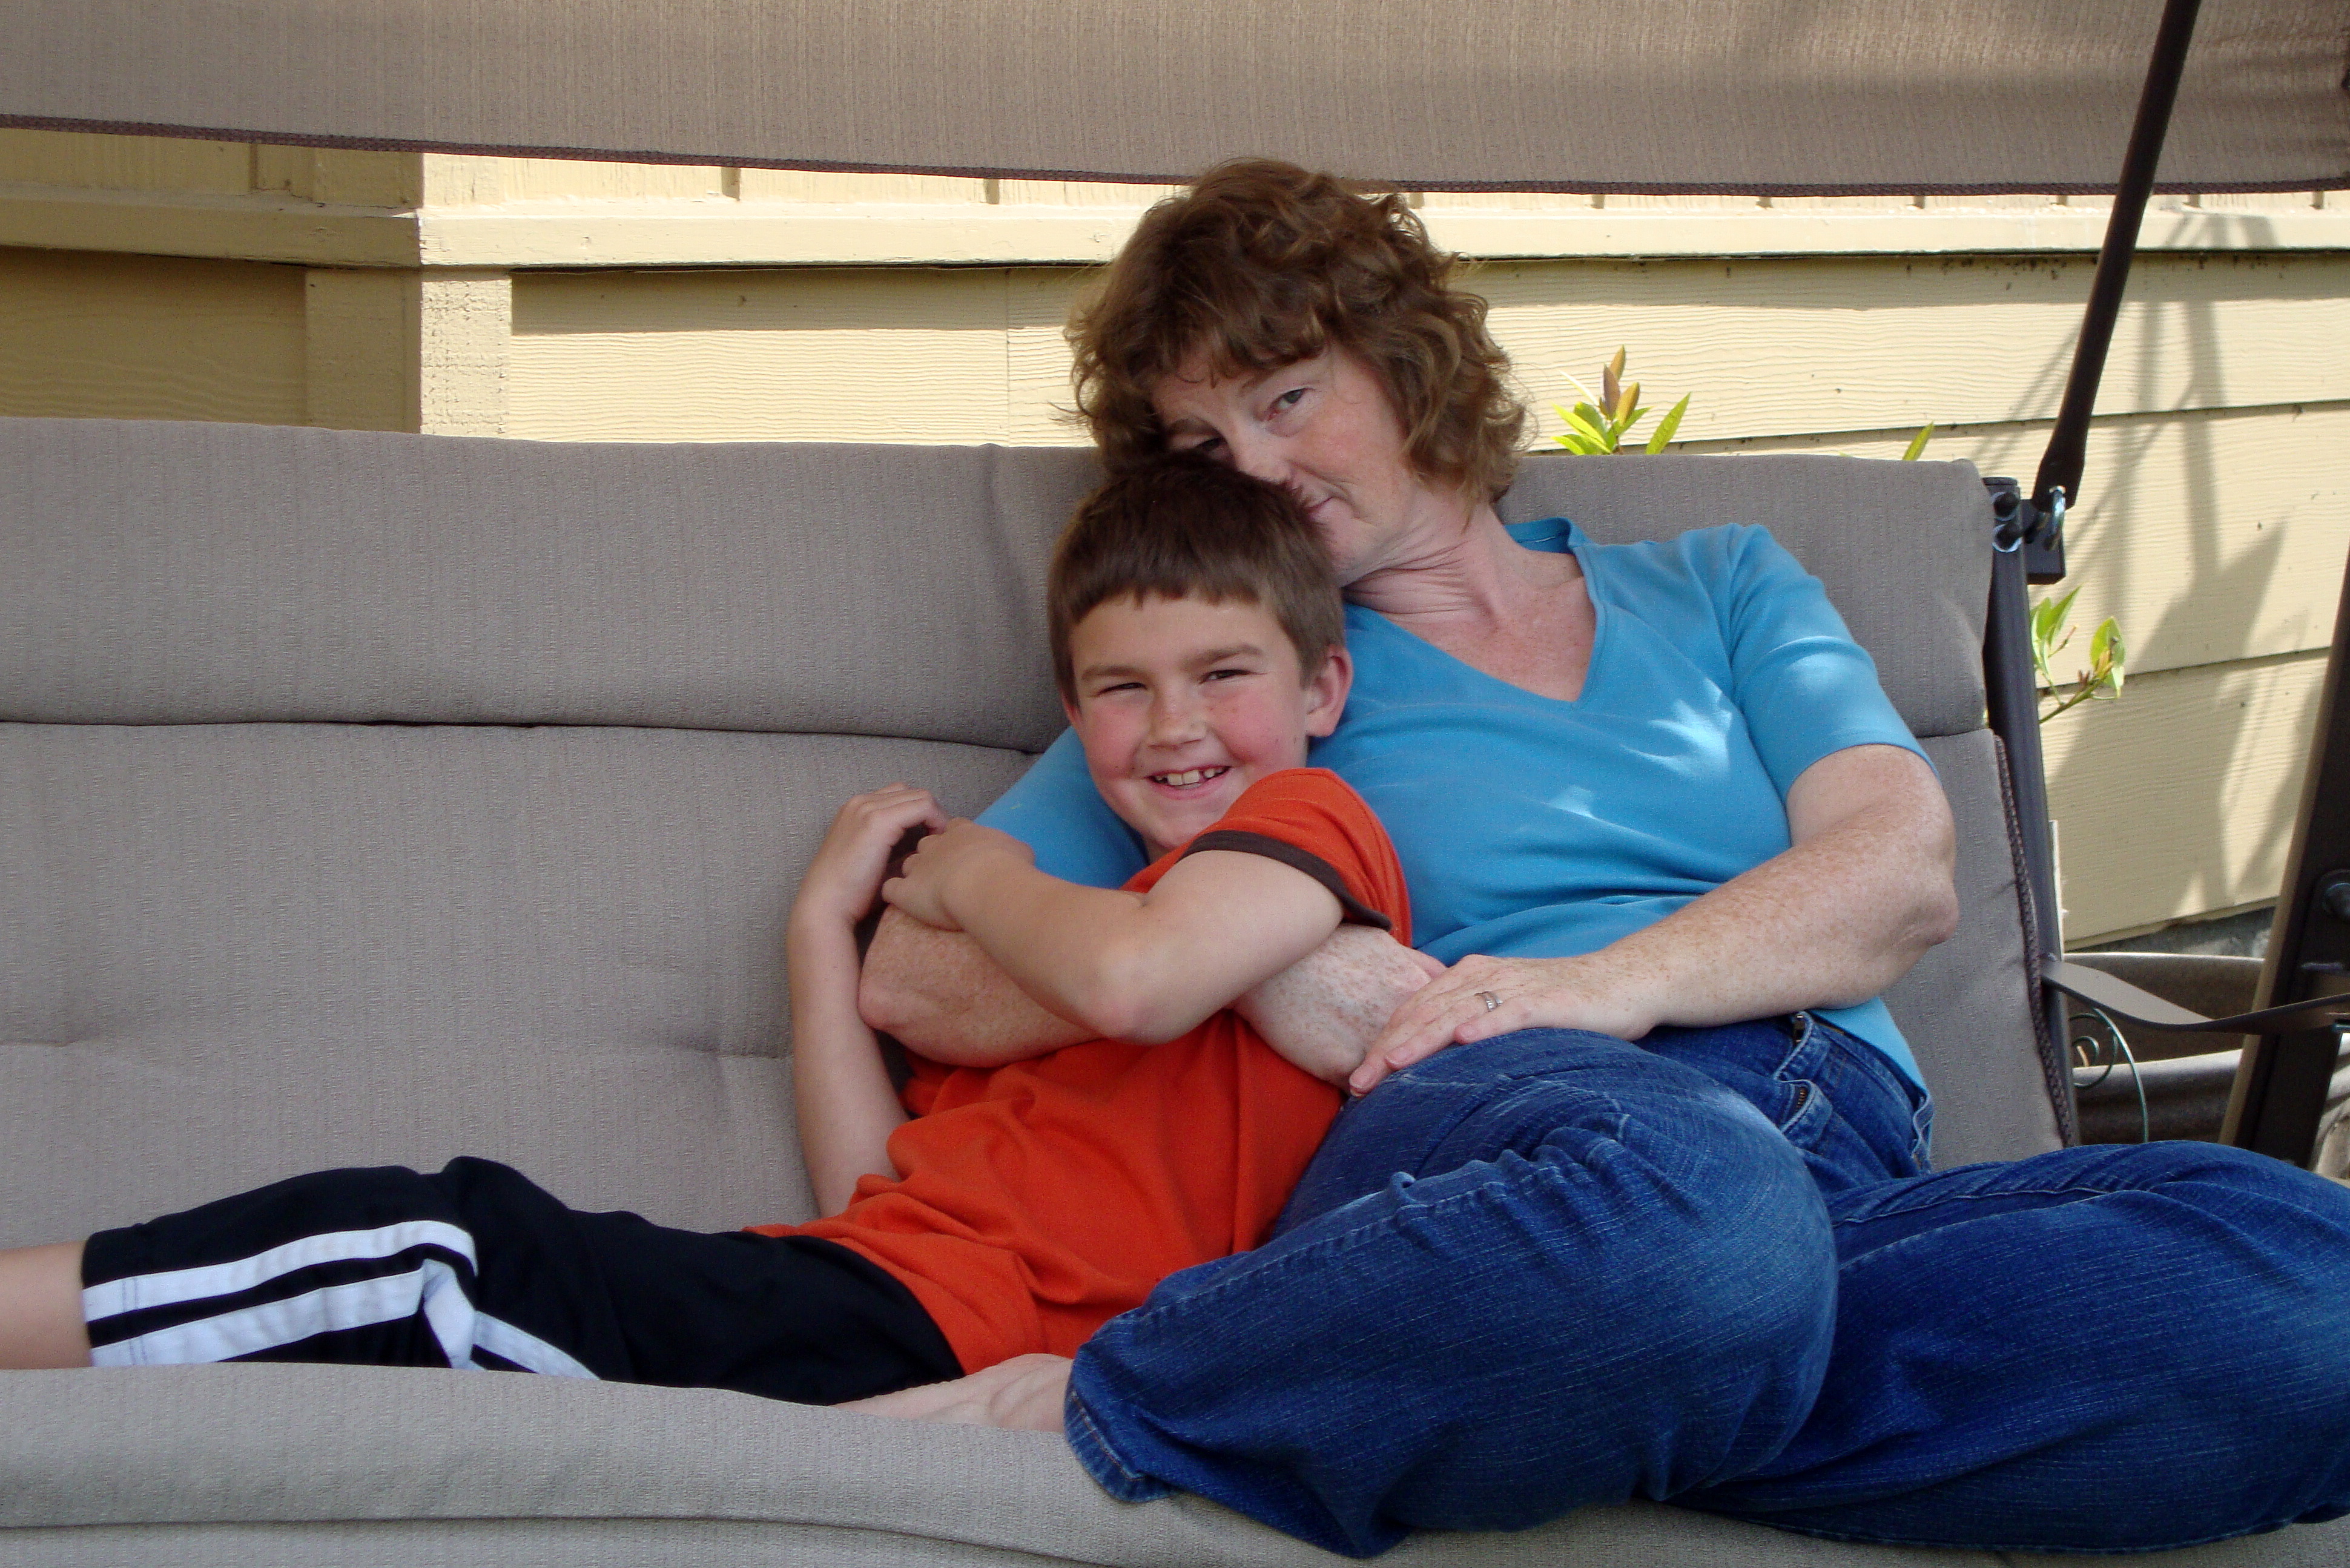
Mother’s Day, May, 2009
The swing came with a tan-colored cover, suitable for the outdoors. It lasted a few years, but weather and time took its toll. I decided to buy some nice upholstery fabric to make a colorful slip cover for the swing. I bought contrasting pink fabric and soft, cotton piping for trim and fashioned my pattern after the original.

My first swing cover, 2012
It turned out well.
Then one 4th of July I came home to a squirrel chewing on the back of the swing. She was after the soft cotton piping. How she knew it was there under the fabric is anyone’s guess. She chewed through the fabric to access the cord, then pulled it out and was on her way. Our block party was under way, so I couldn’t stay long. I came back inside, found the leftover piping and cut it into smaller strips. I draped them over the back of the swing, and sure enough, they were all carted away by the following day. Sadly, they didn’t stop there and by year’s end they had damaged the slip cover AND part of the original cover, this time after the fluff.

Garden swing rehab using a thrift store shower curtain, 2015
Last summer I went with a quick and easy cover. I found a blue cotton shower curtain at a thrift store for $4. Instead of putting a lot of time into sewing a cover, I simply attached a few ties to the back using a scrap of material on hand and called it done. Of course I had to re-stuff and repair the swing seat first, which I did using an old pillow and a tired looking tea towel.
My shower curtain fix worked for months, but eventually the squirrels got to it as well. Not quite as bad, but chewed nonetheless.
Off I went to my favorite thrift store, but this year no luck. I couldn’t find any shower curtains or fabric remnants that would work. I drooled over some pretty fabric at JoAnn’s Fabrics, but left after coming to my senses. I finally settled for a set of soft, cotton sheets from Target.
I used the fitted sheet to make the cover and bought some $3 bias trim in a coordinating color to trim the bottom edge. Now I have a second sheet to use next year and a pair of pillowcases for another project. Score!
I removed the elasticized edge of the fitted sheet and set it aside. In order to keep the sheet cover from slipping, I stitched the elasticized pieces together into one long length, then tied it at the back of the swing.
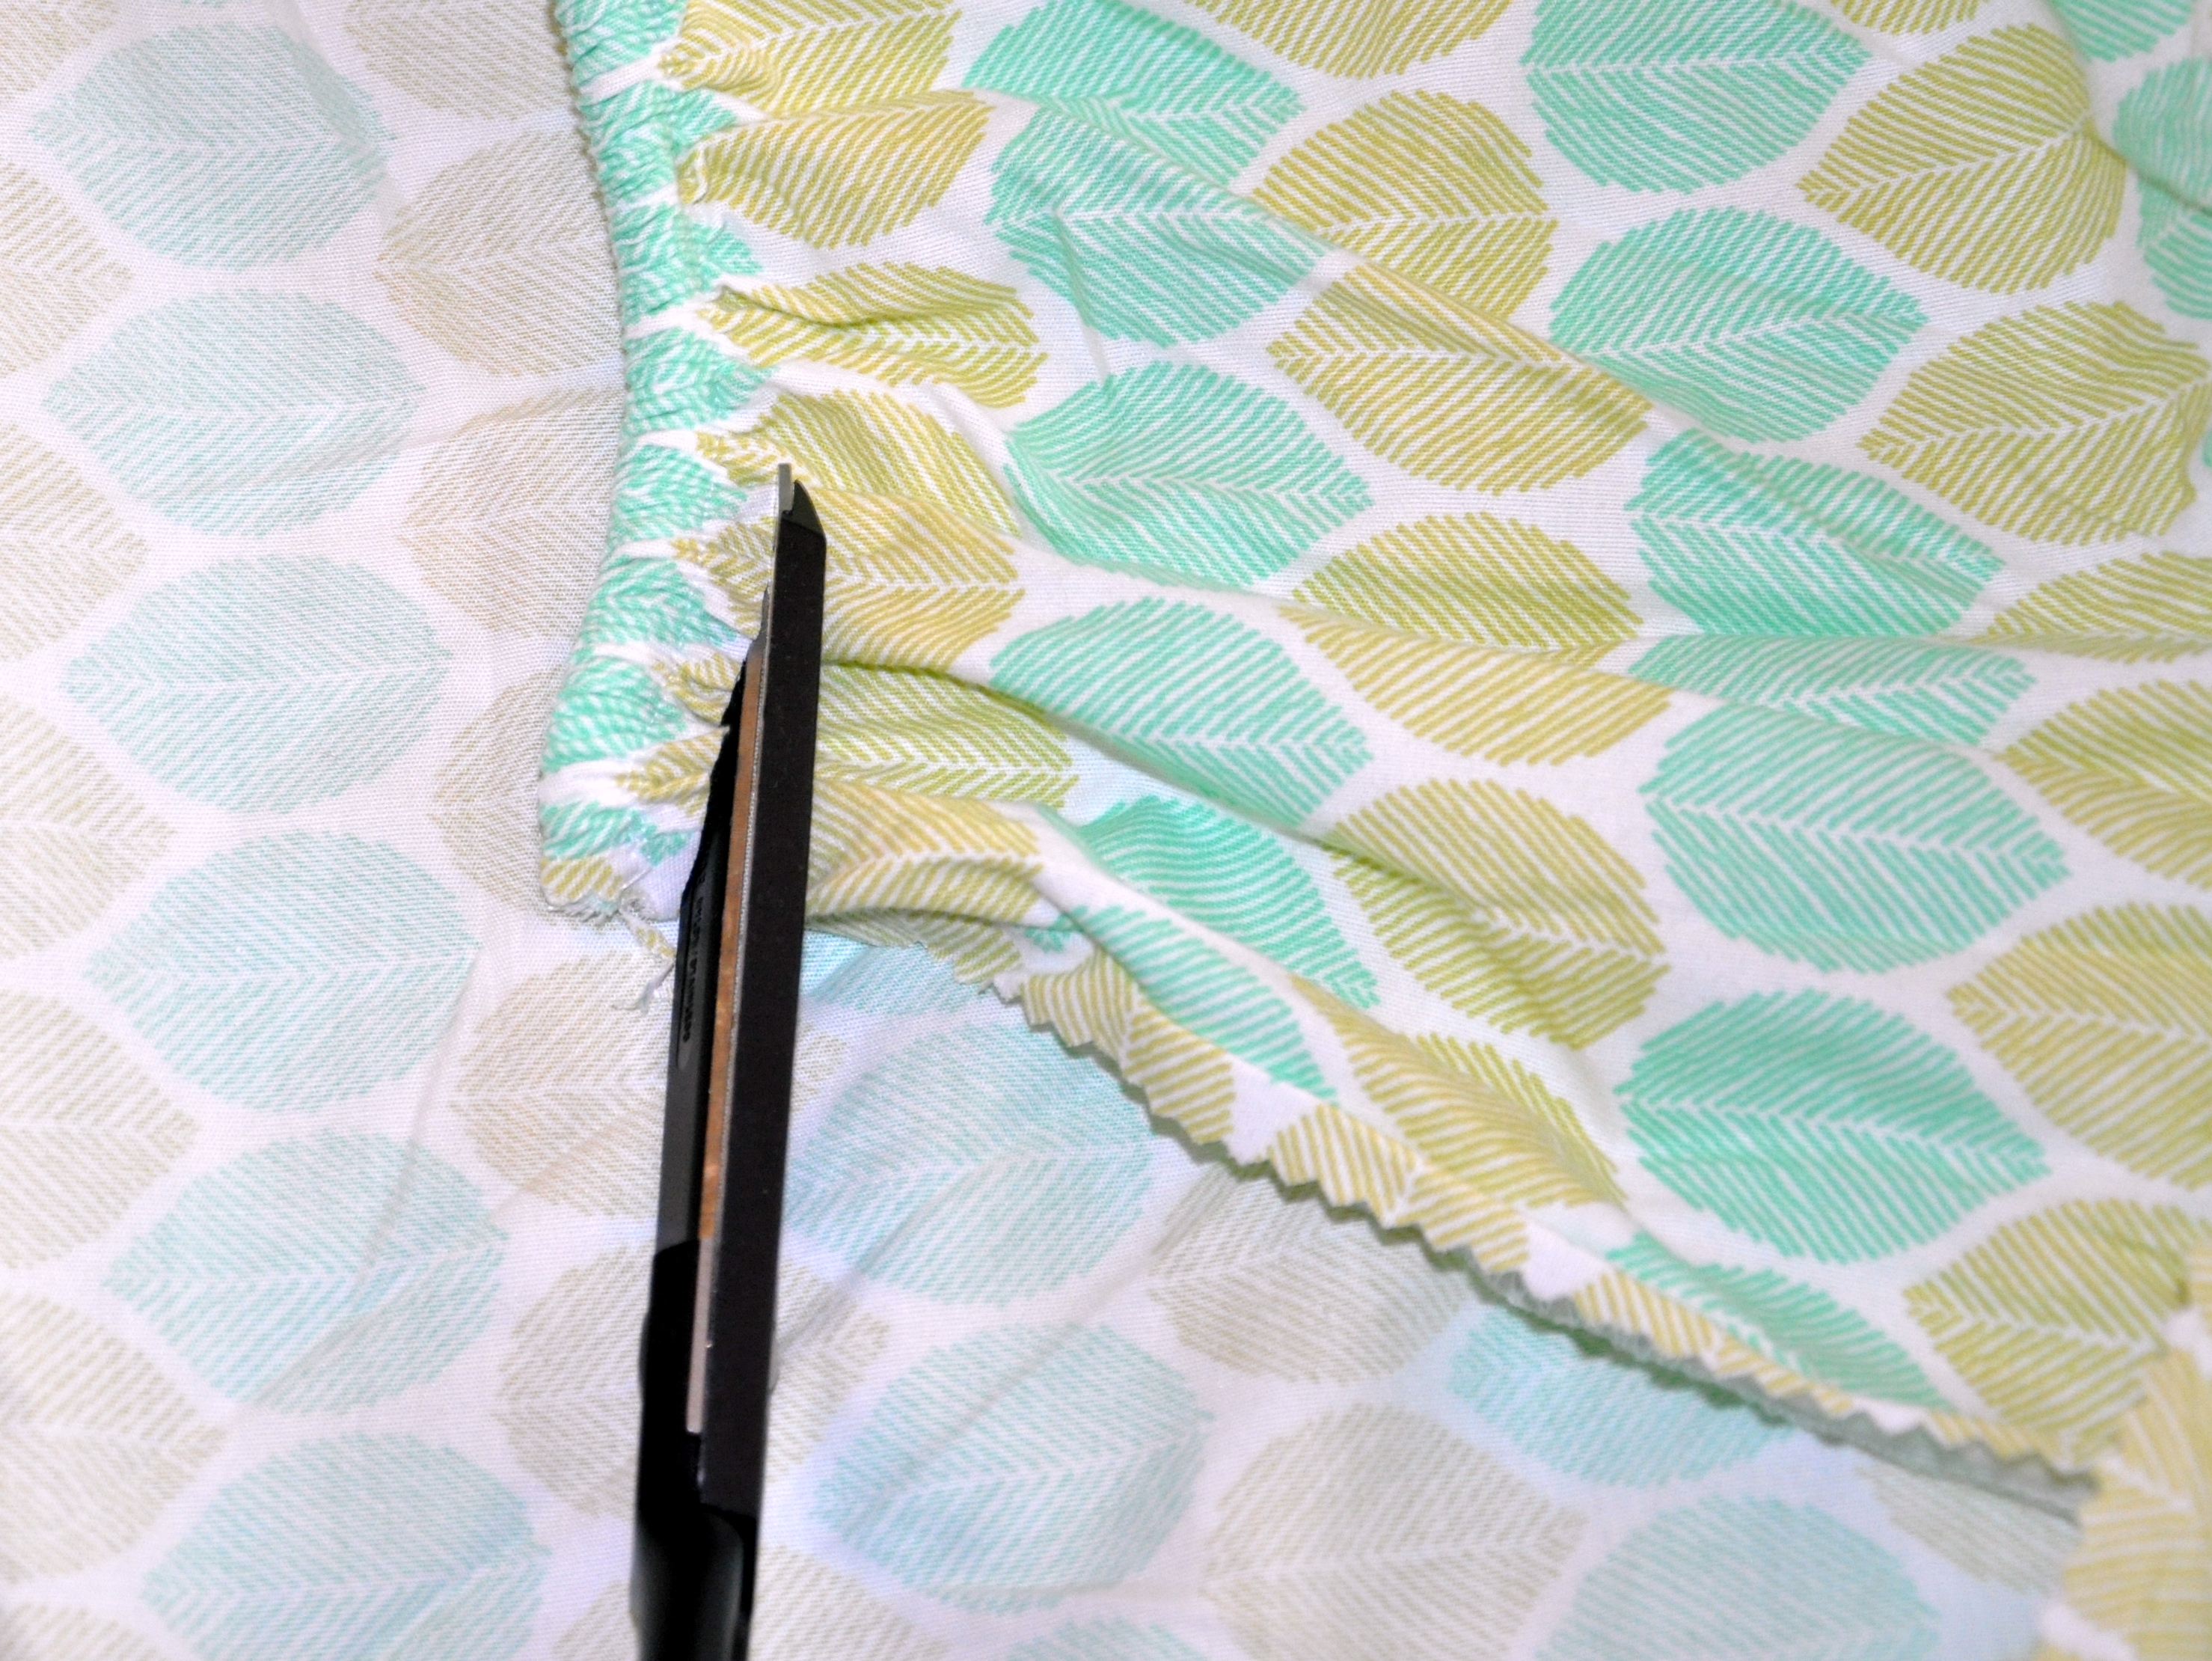
Removing the elastic from the fitted sheet
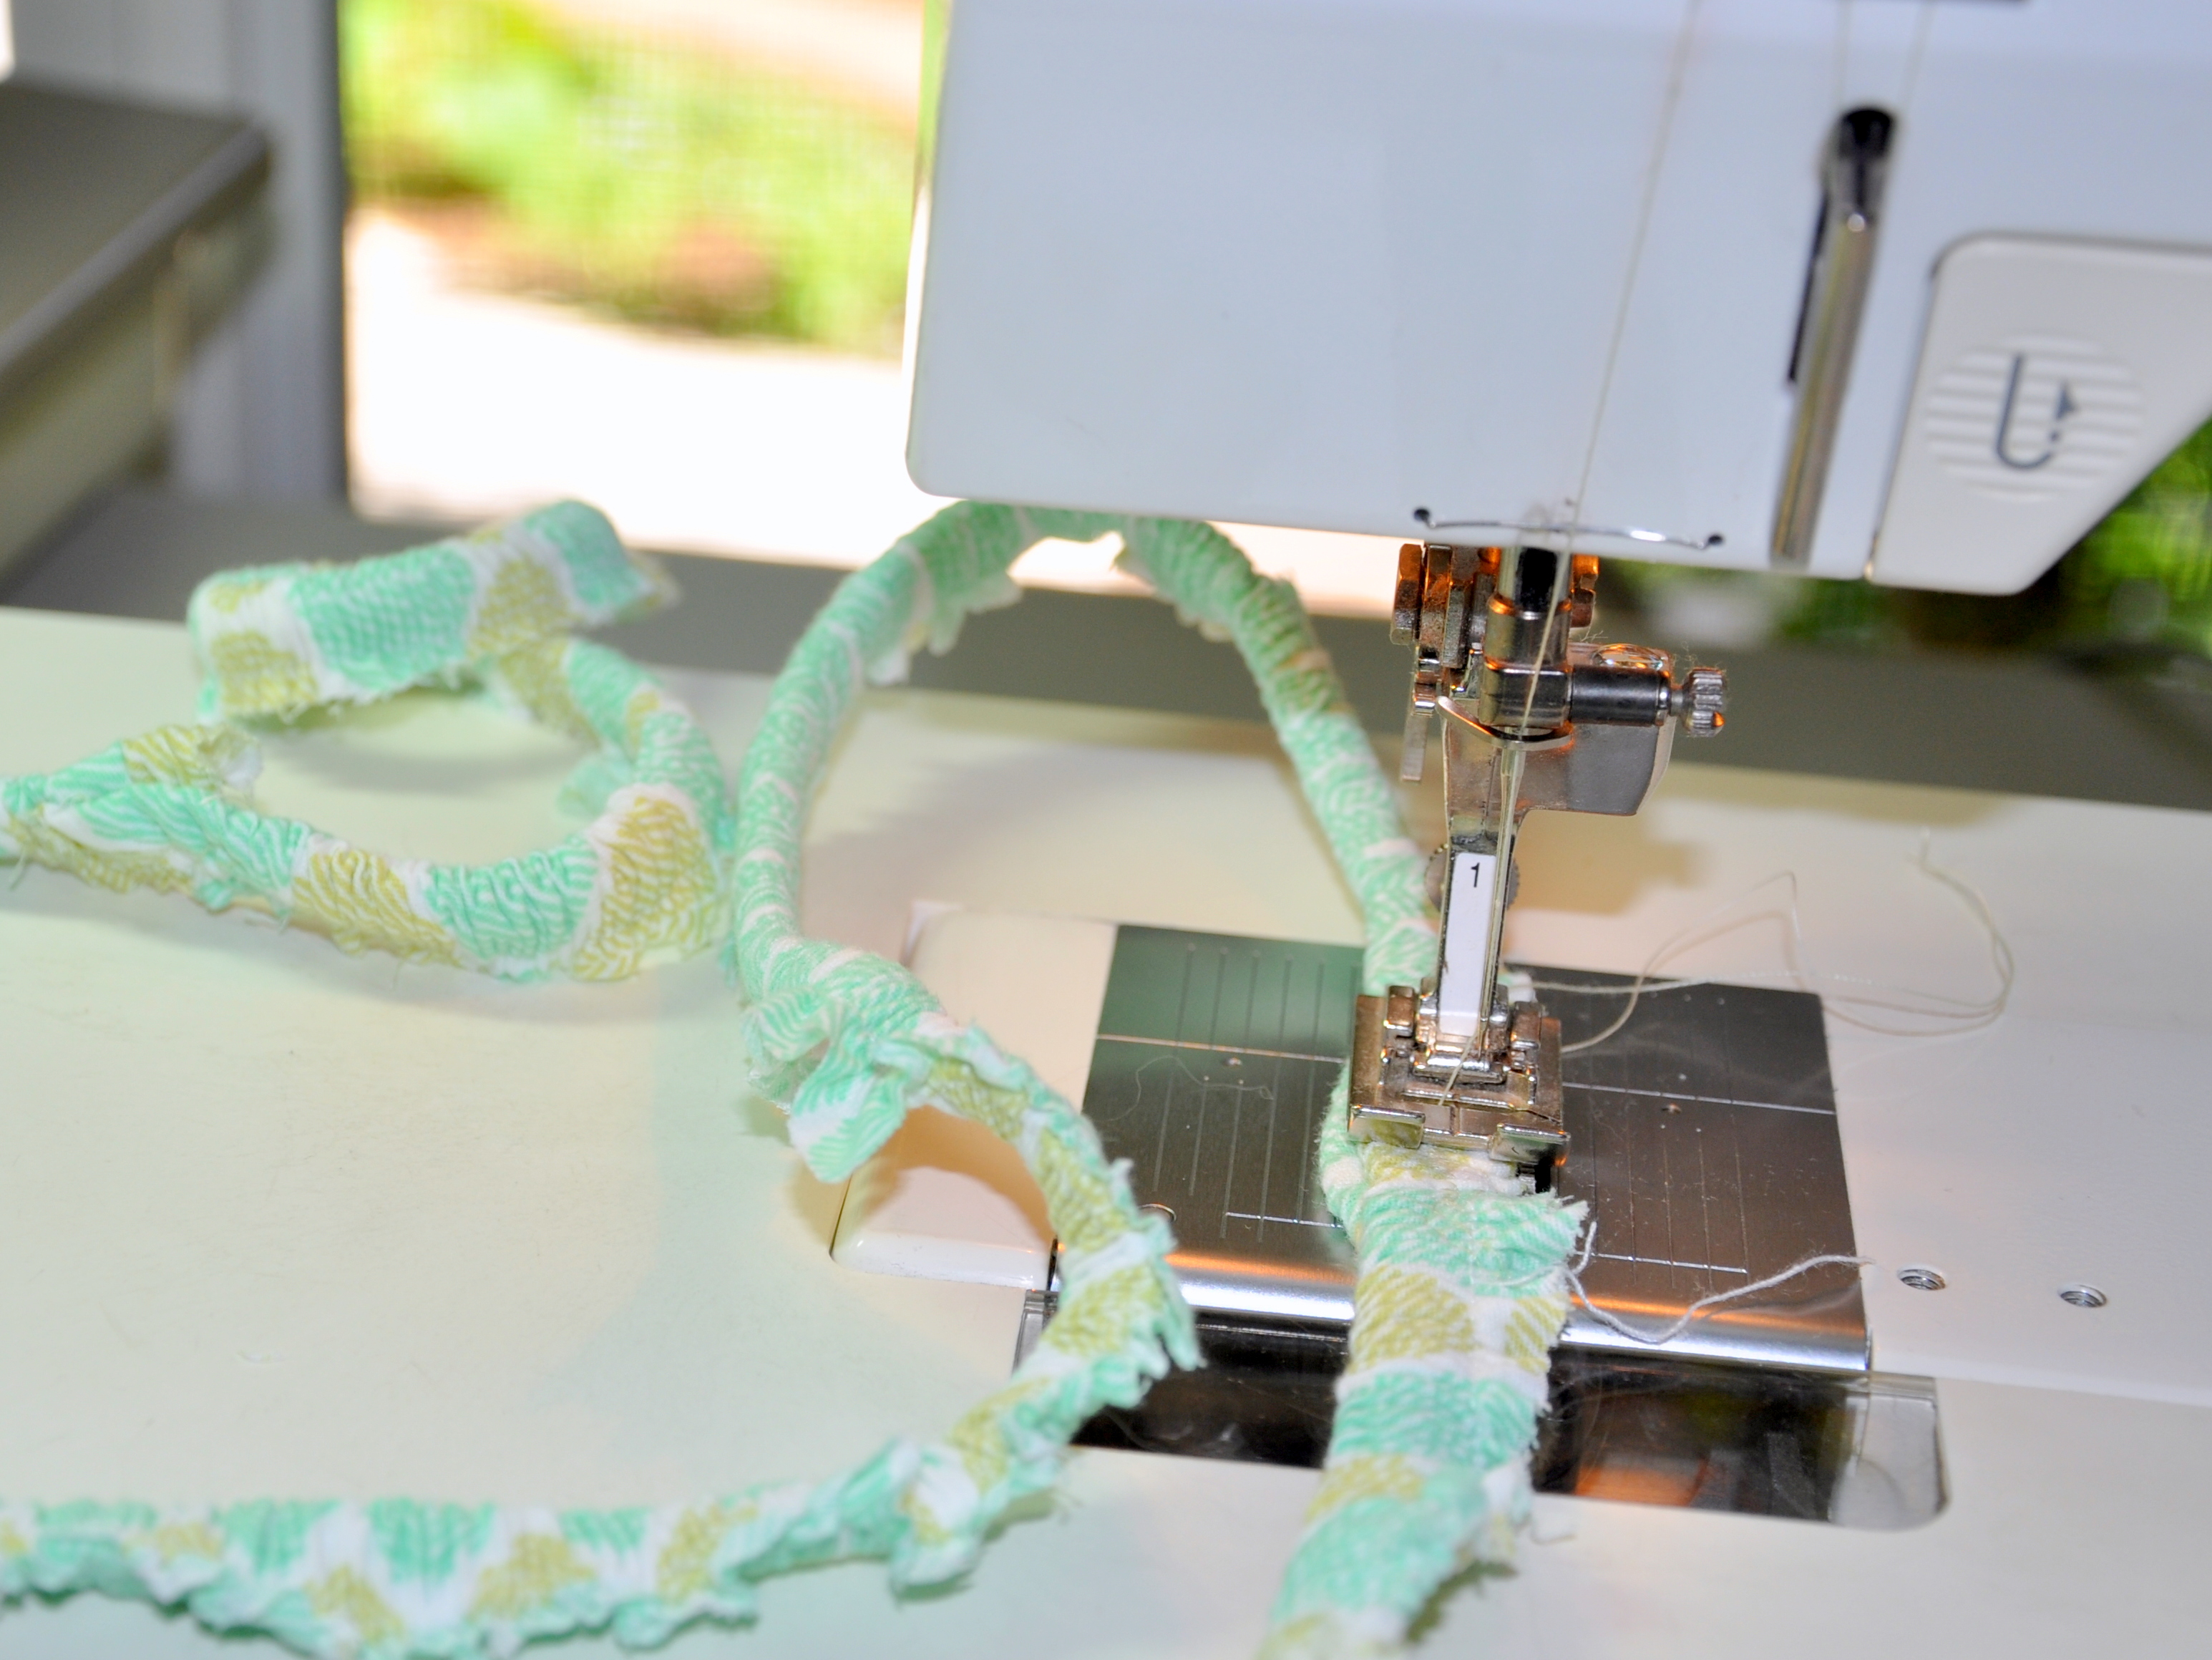
Stitching the lengths of elastic together to hold the swing cover in place

This holds the cover in place, staying hidden under the fold
Here’s the definition of a hobby:
noun:
1.
an activity done regularly in one’s leisure time for pleasure.
“her hobbies are reading and gardening”
Using this definition, it makes perfect sense that I would “regularly” make a garden swing cover “in my leisure time” while the squirrels laugh at me “for pleasure.”
Little stinkers!


You must be logged in to post a comment.