Putting My Paper Scraps to Work

Once a month, bloggers world-wide are encouraged to share a project our two made entirely out of scraps. To learn more about this ScrapHappy venture, be sure to check out Kate’s blog.

I put a lot of scraps to work this month.

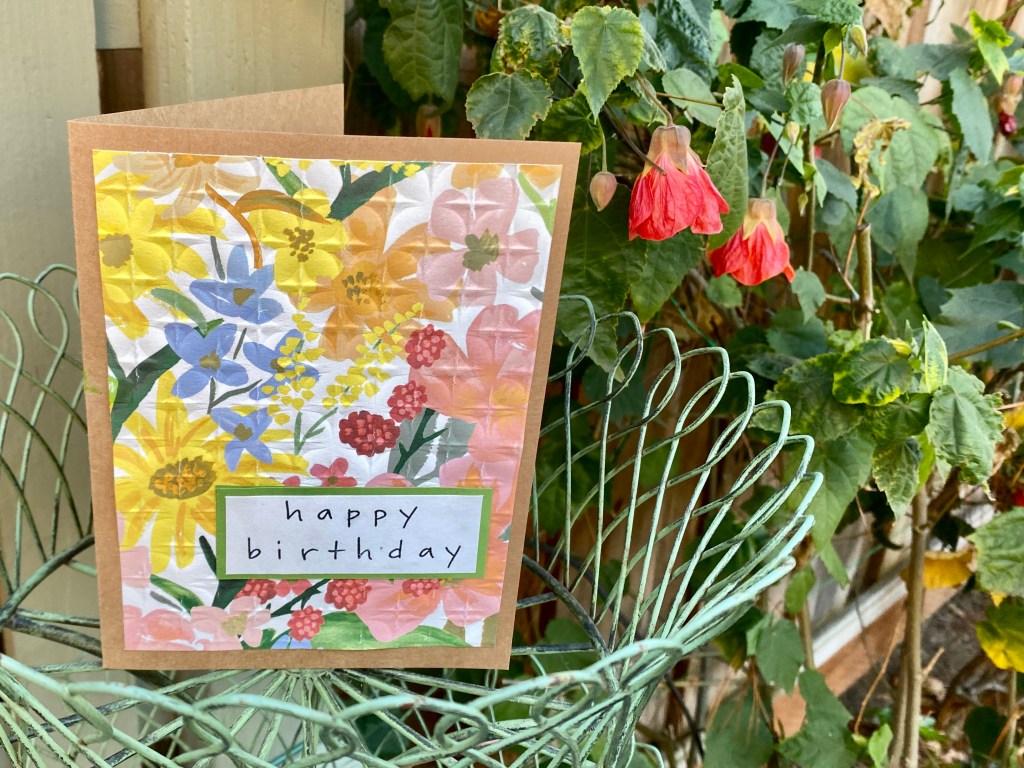
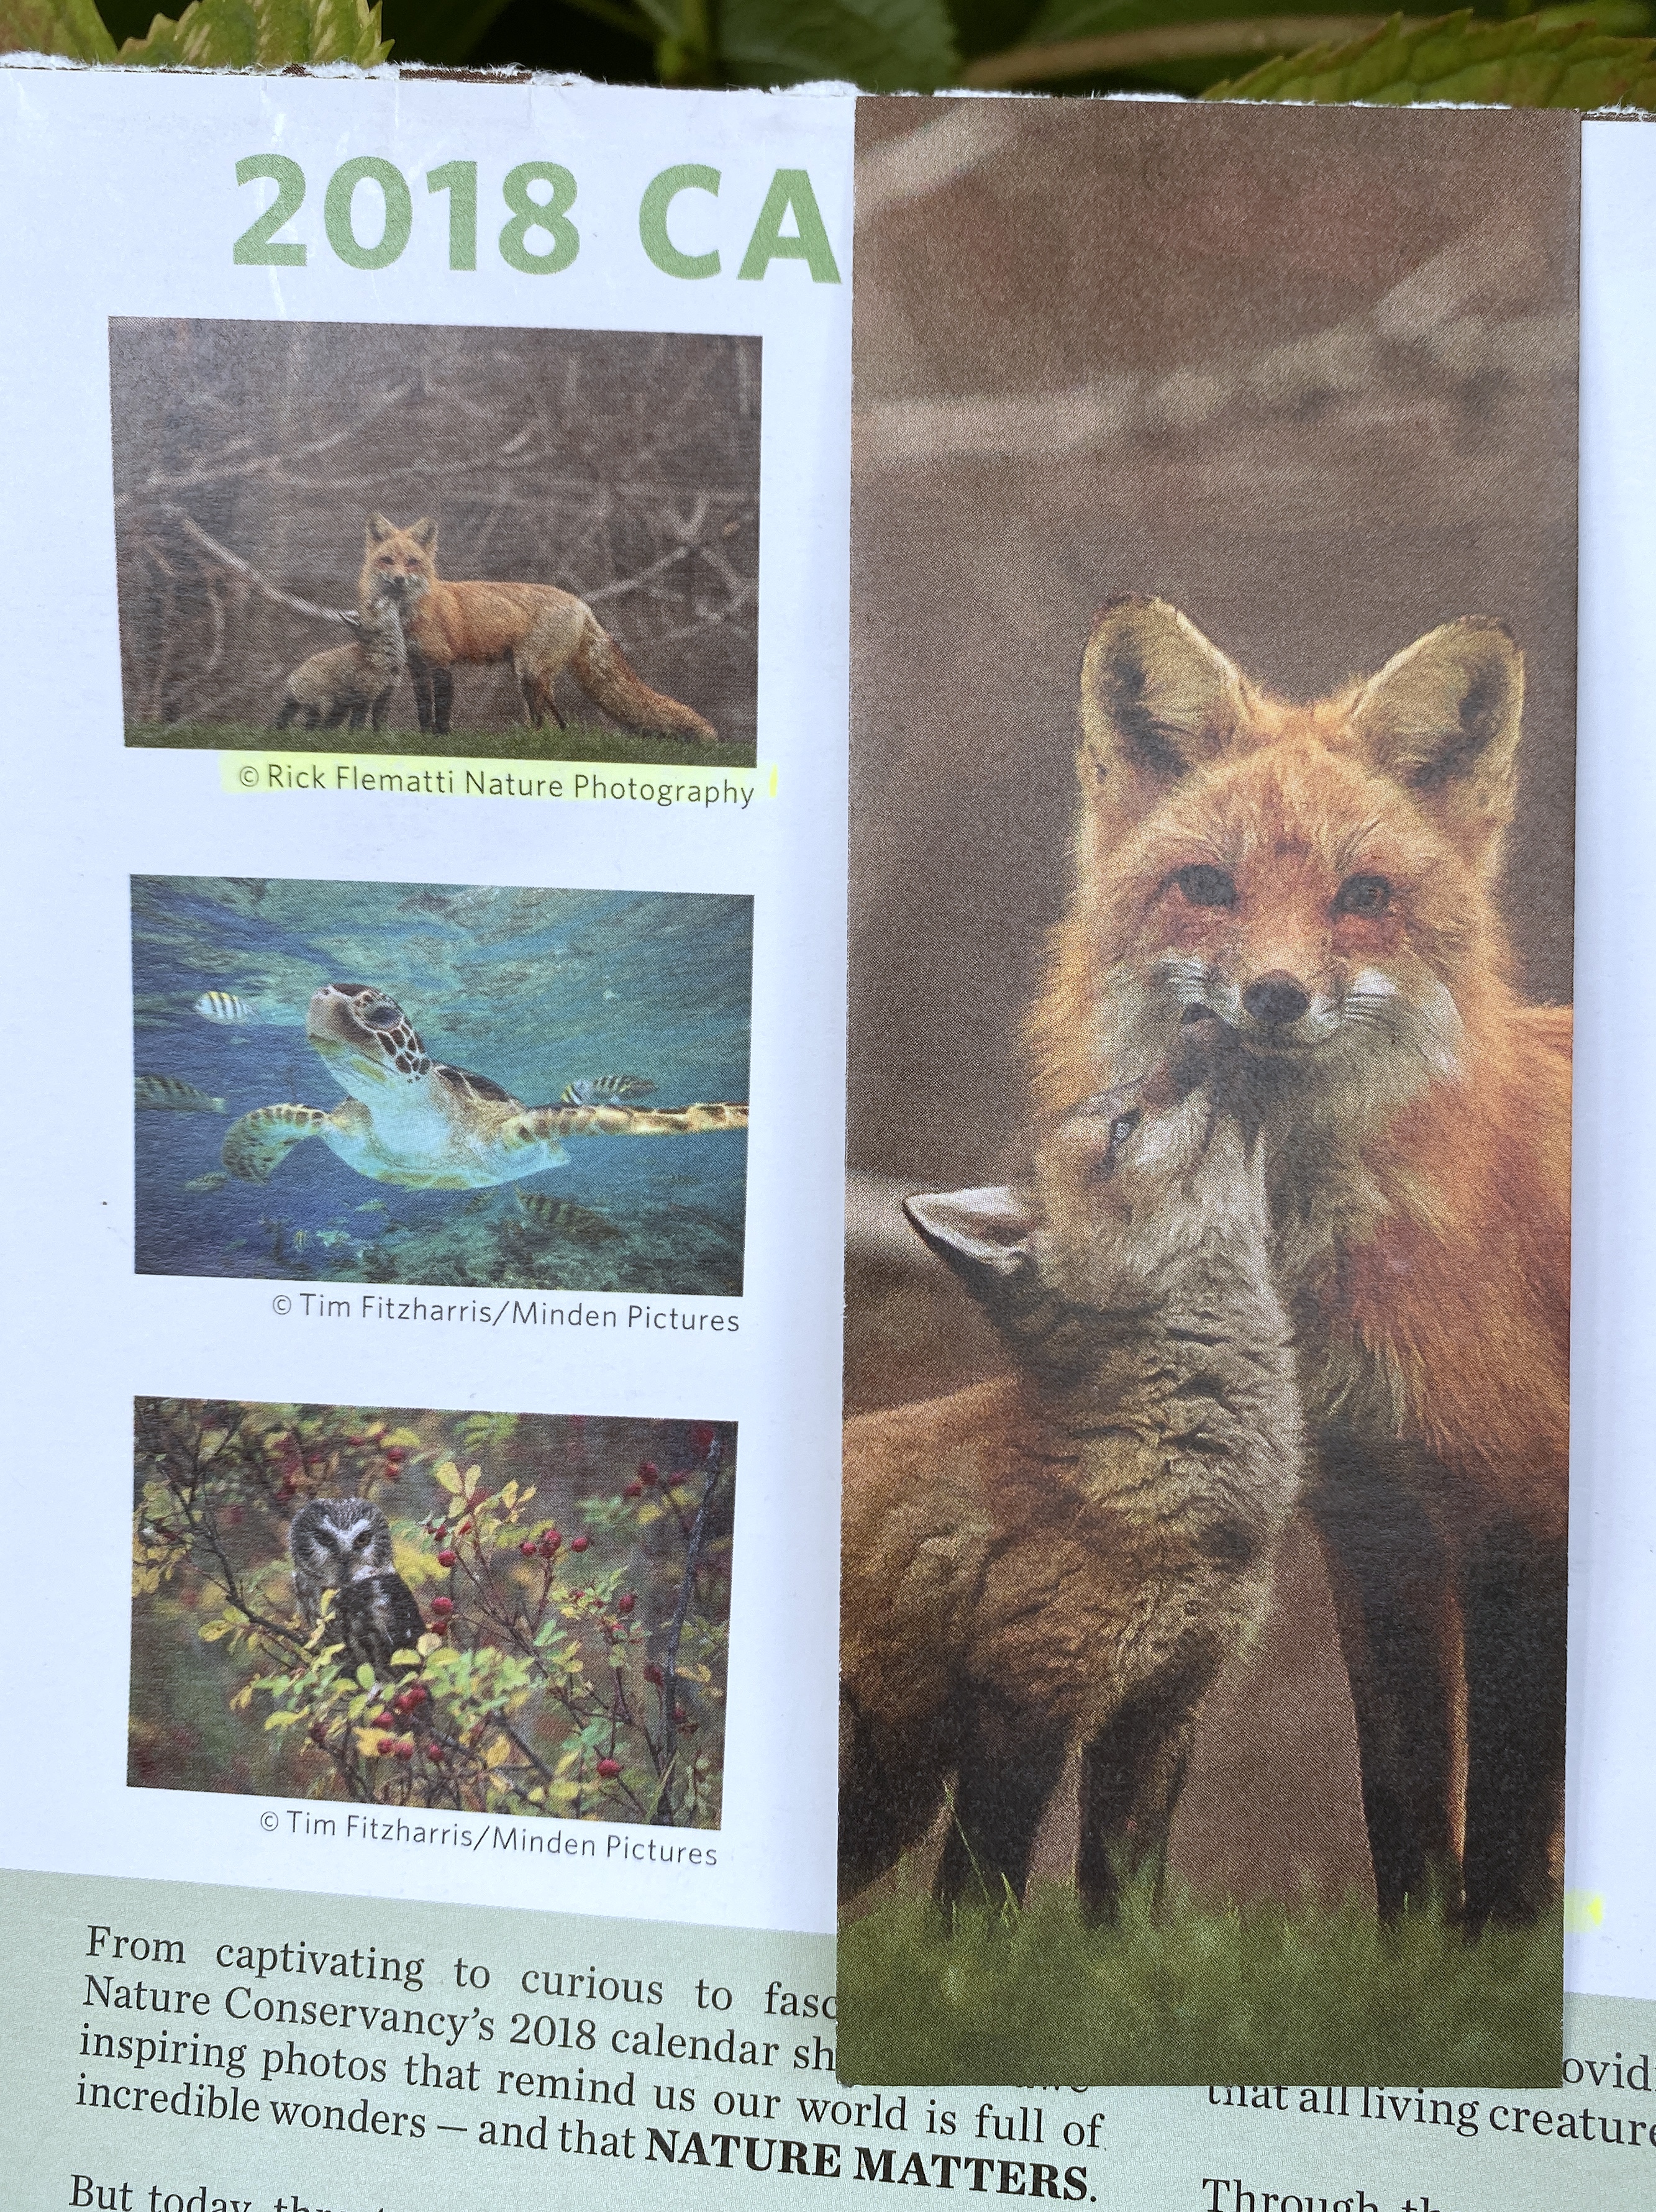
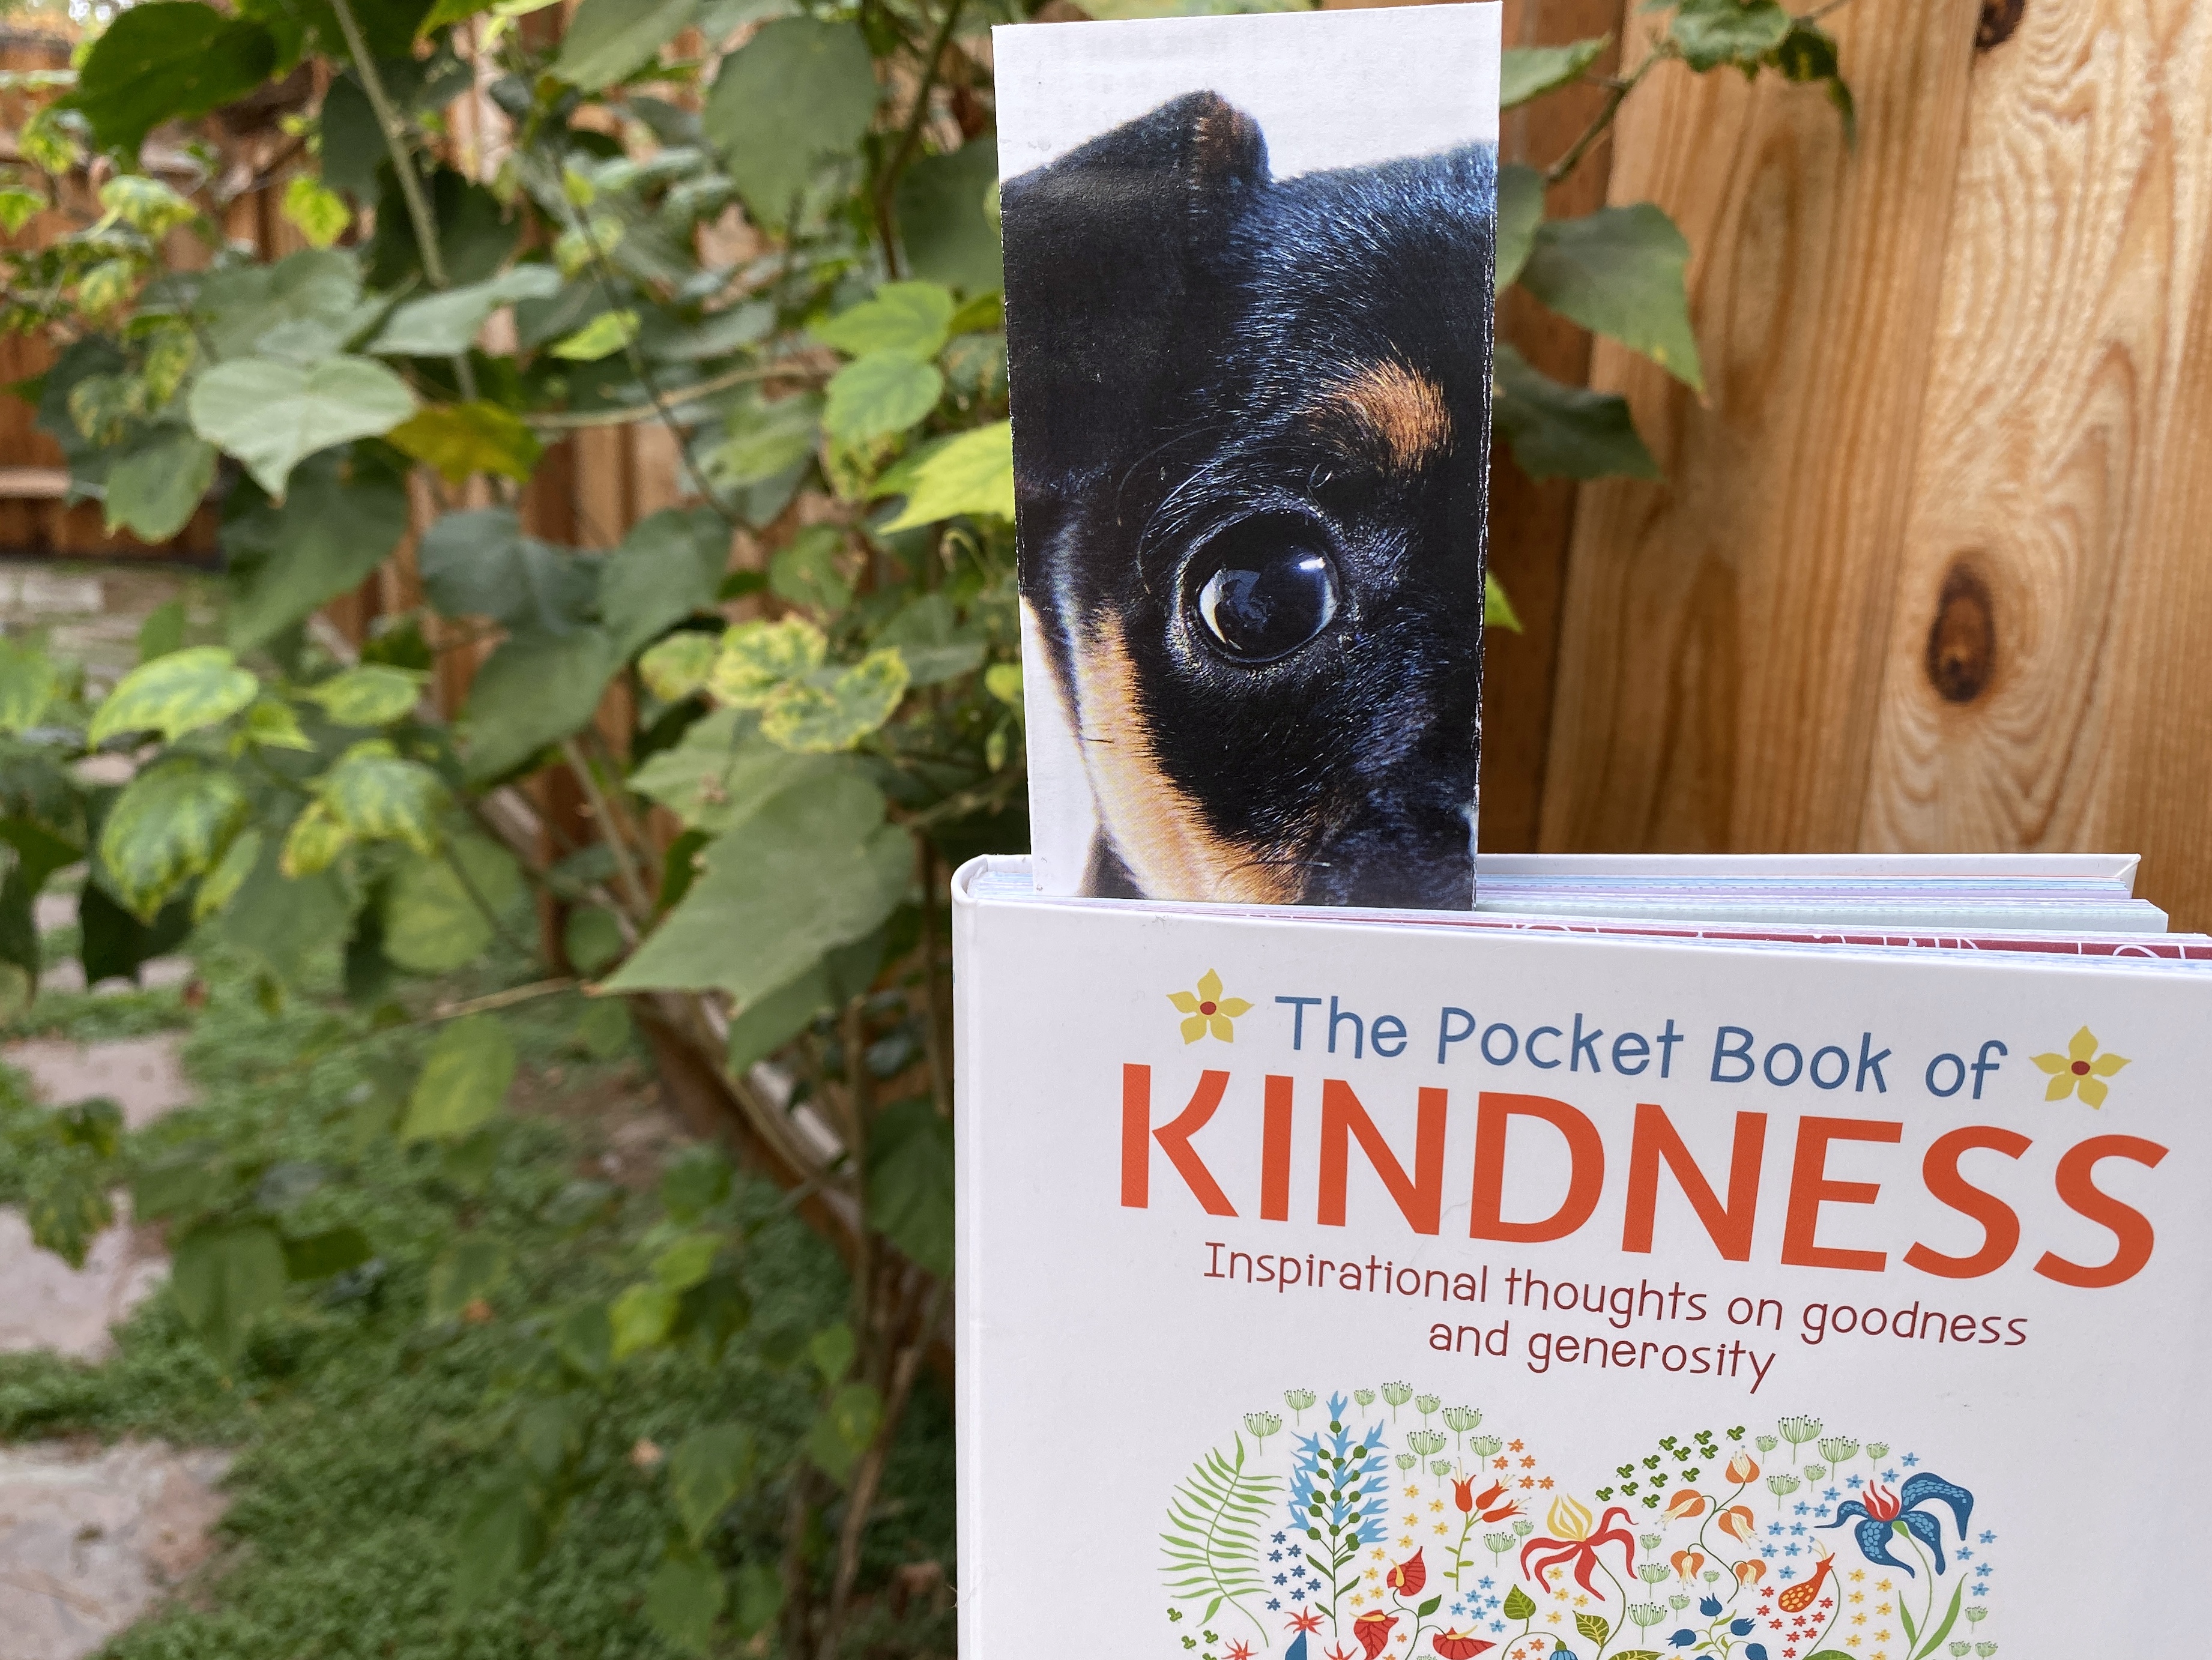
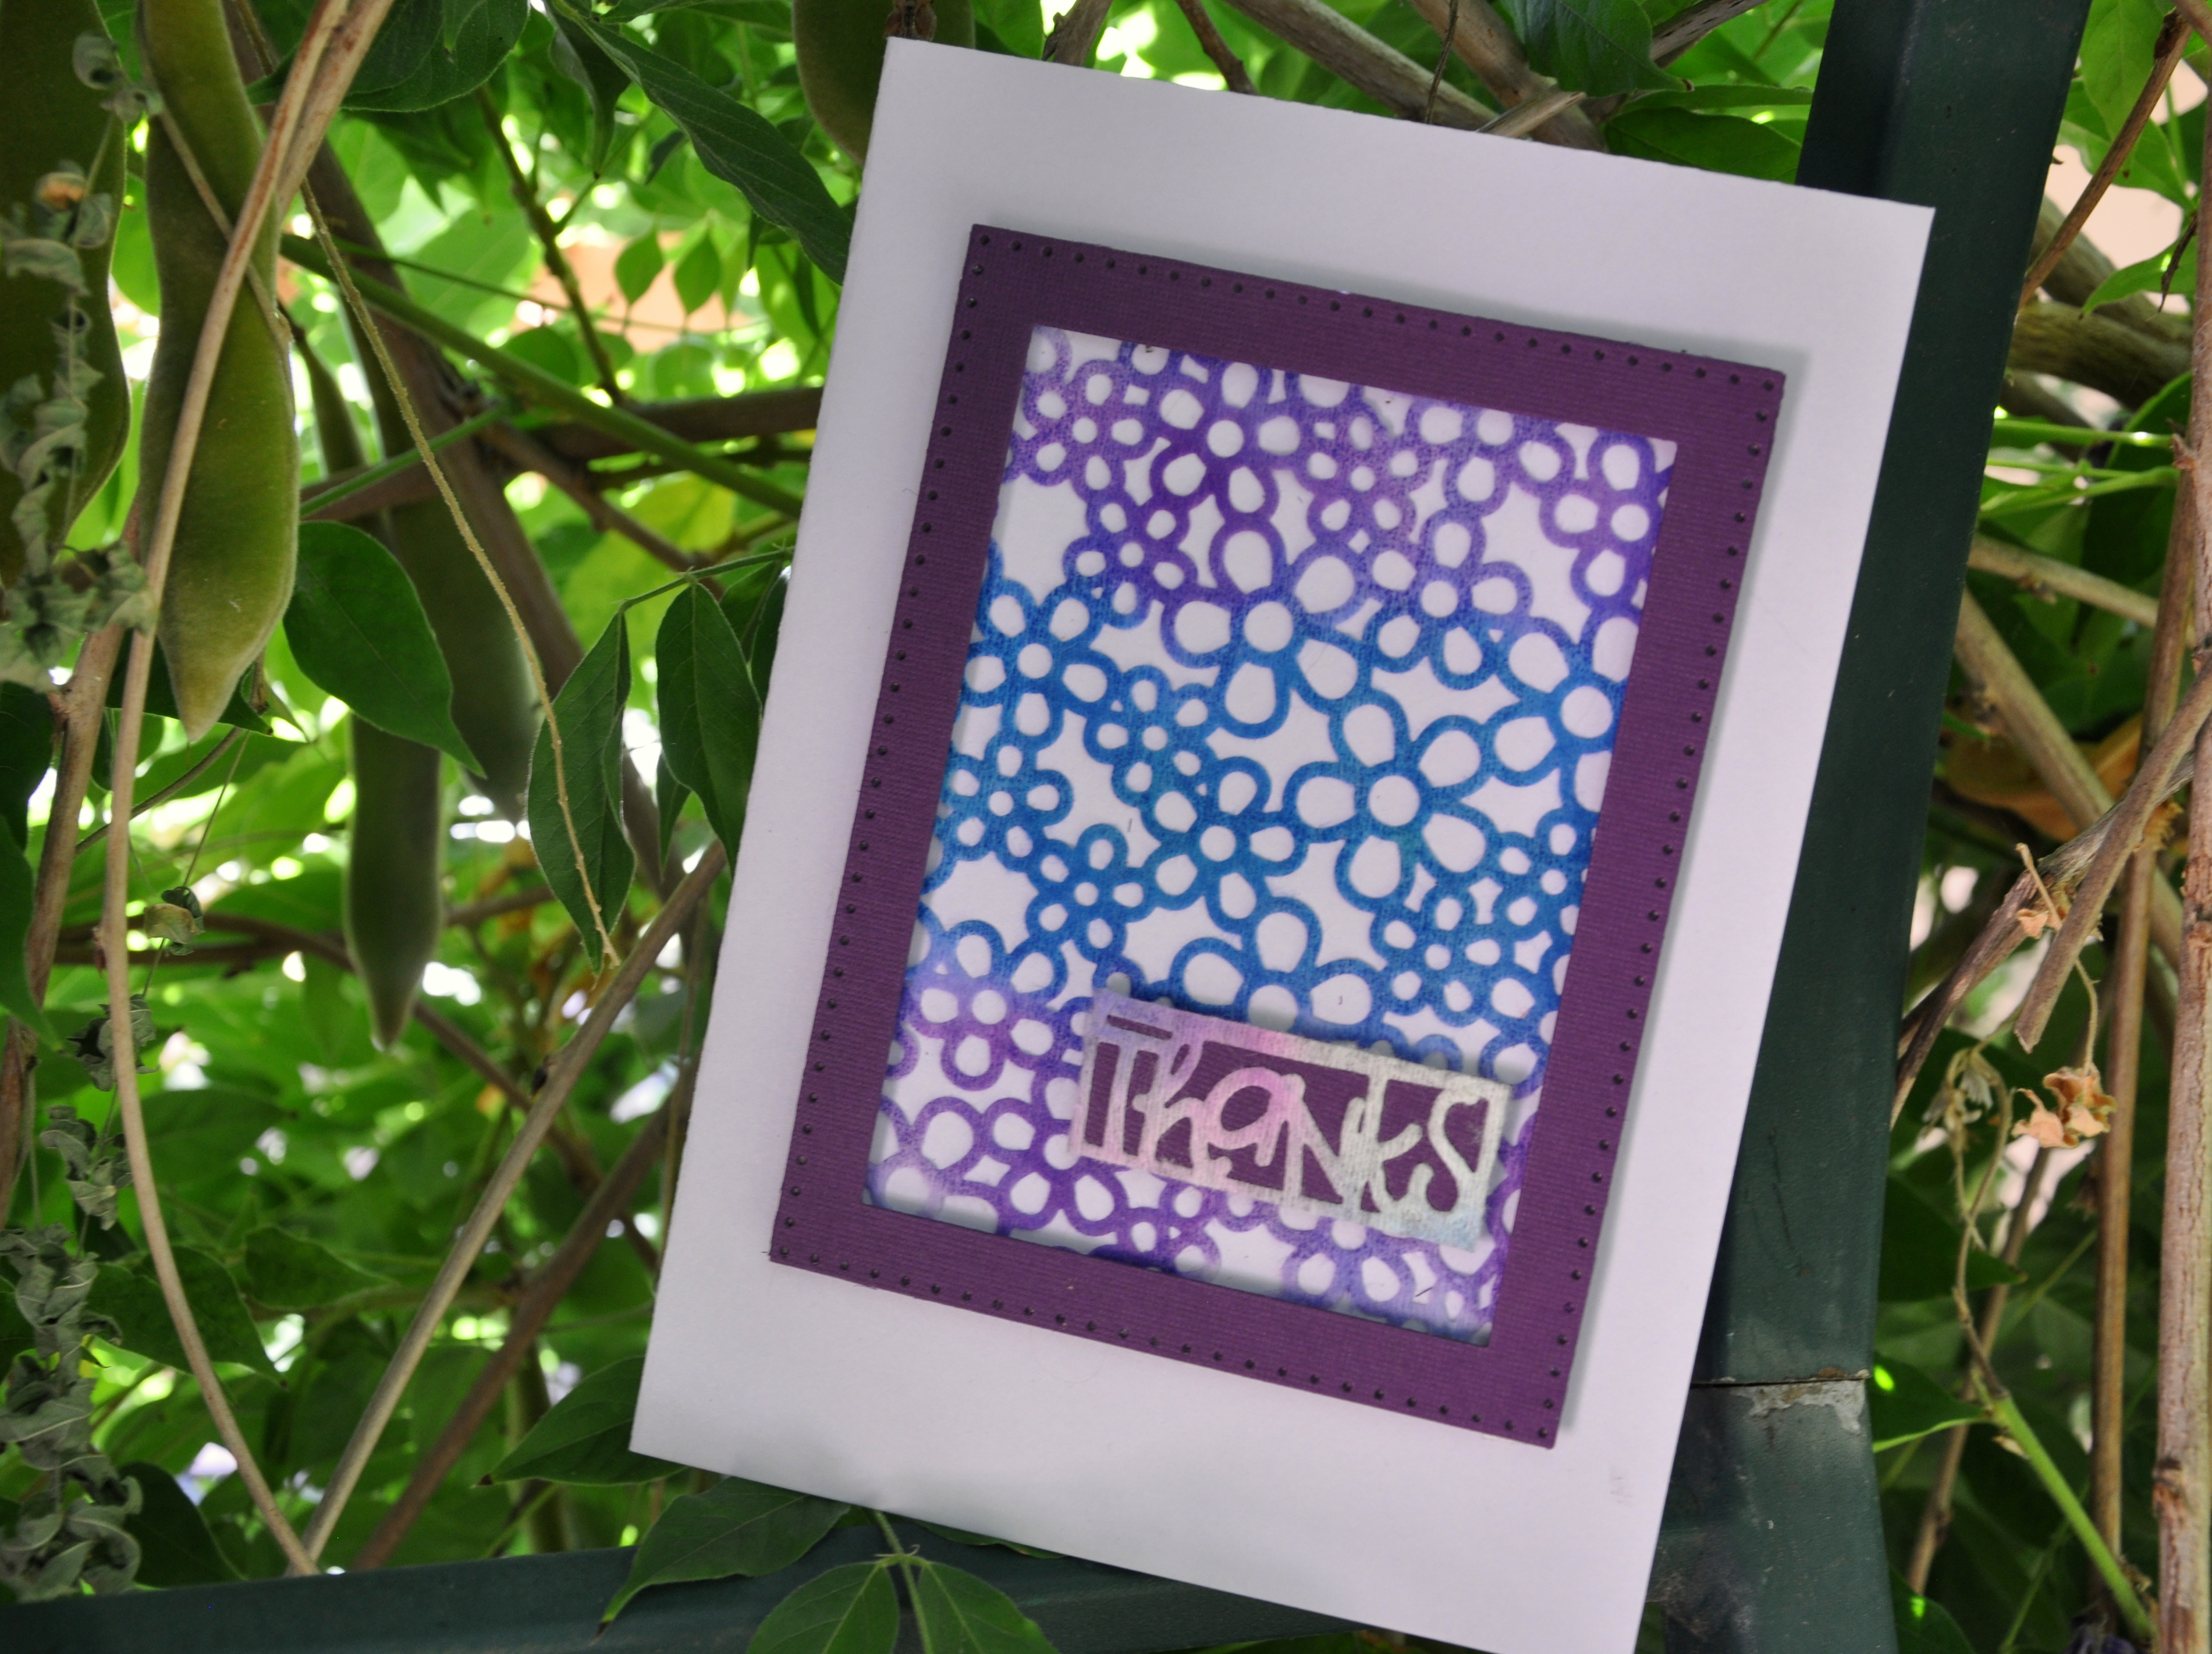
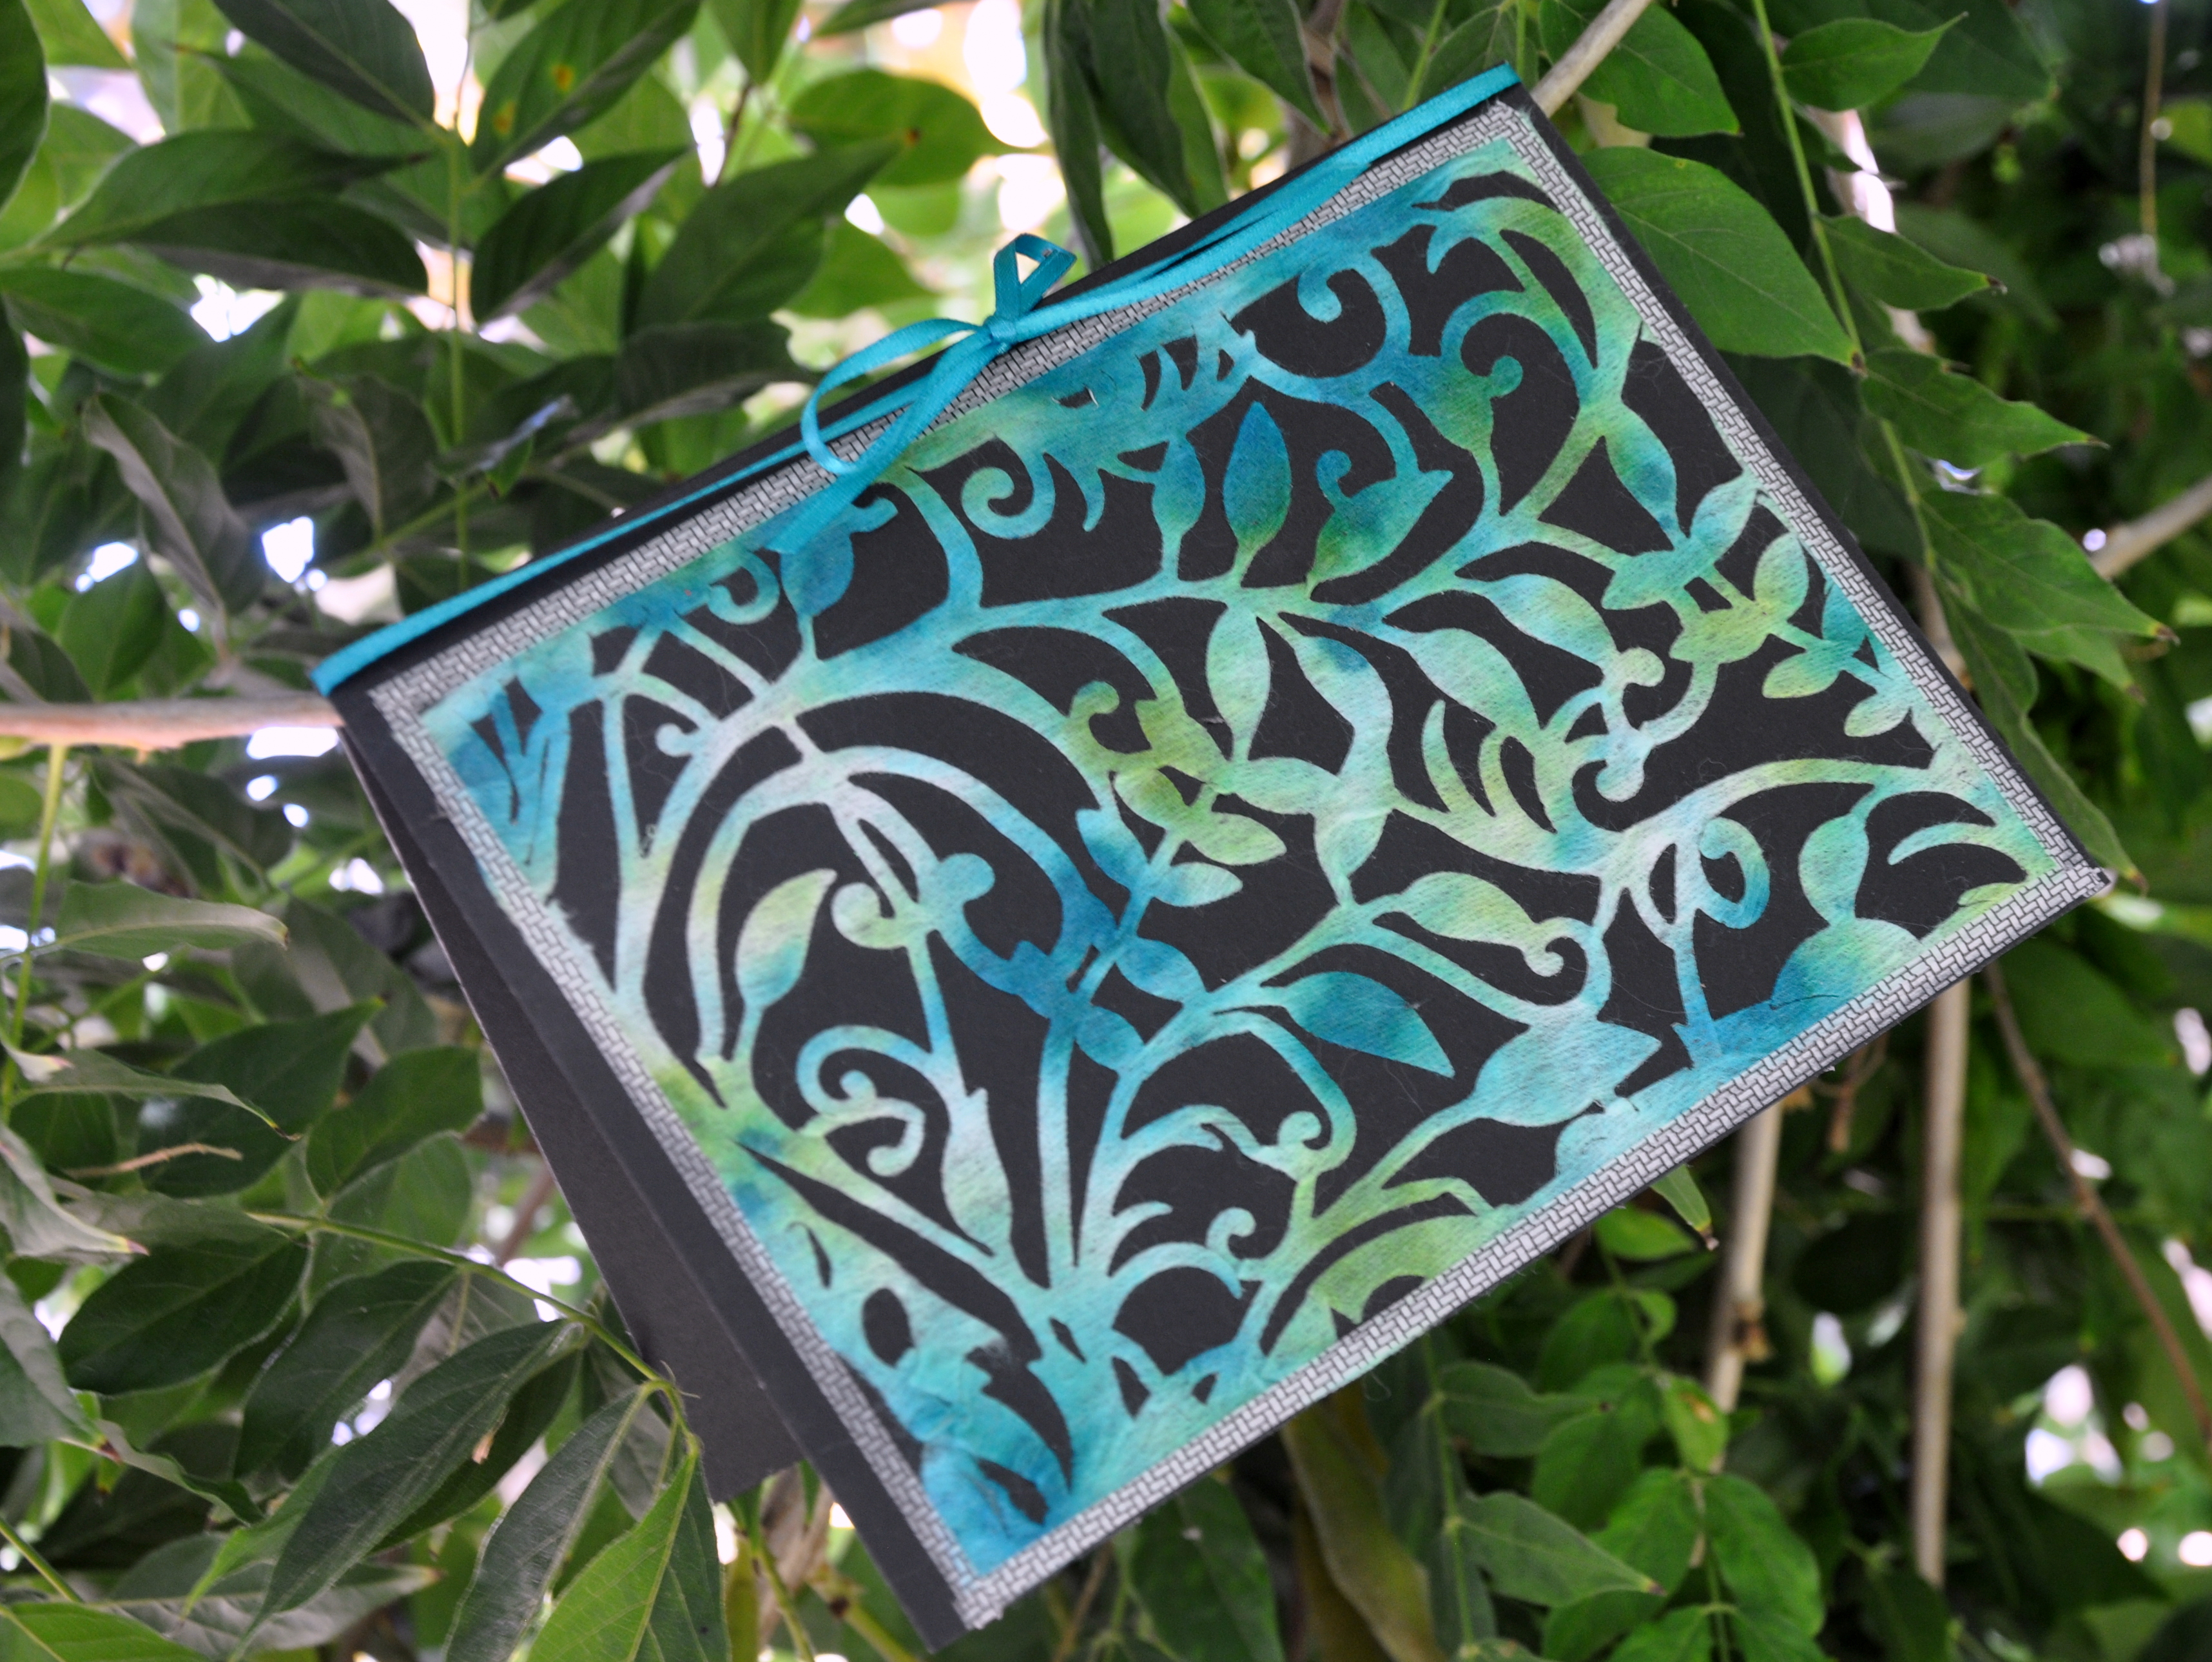
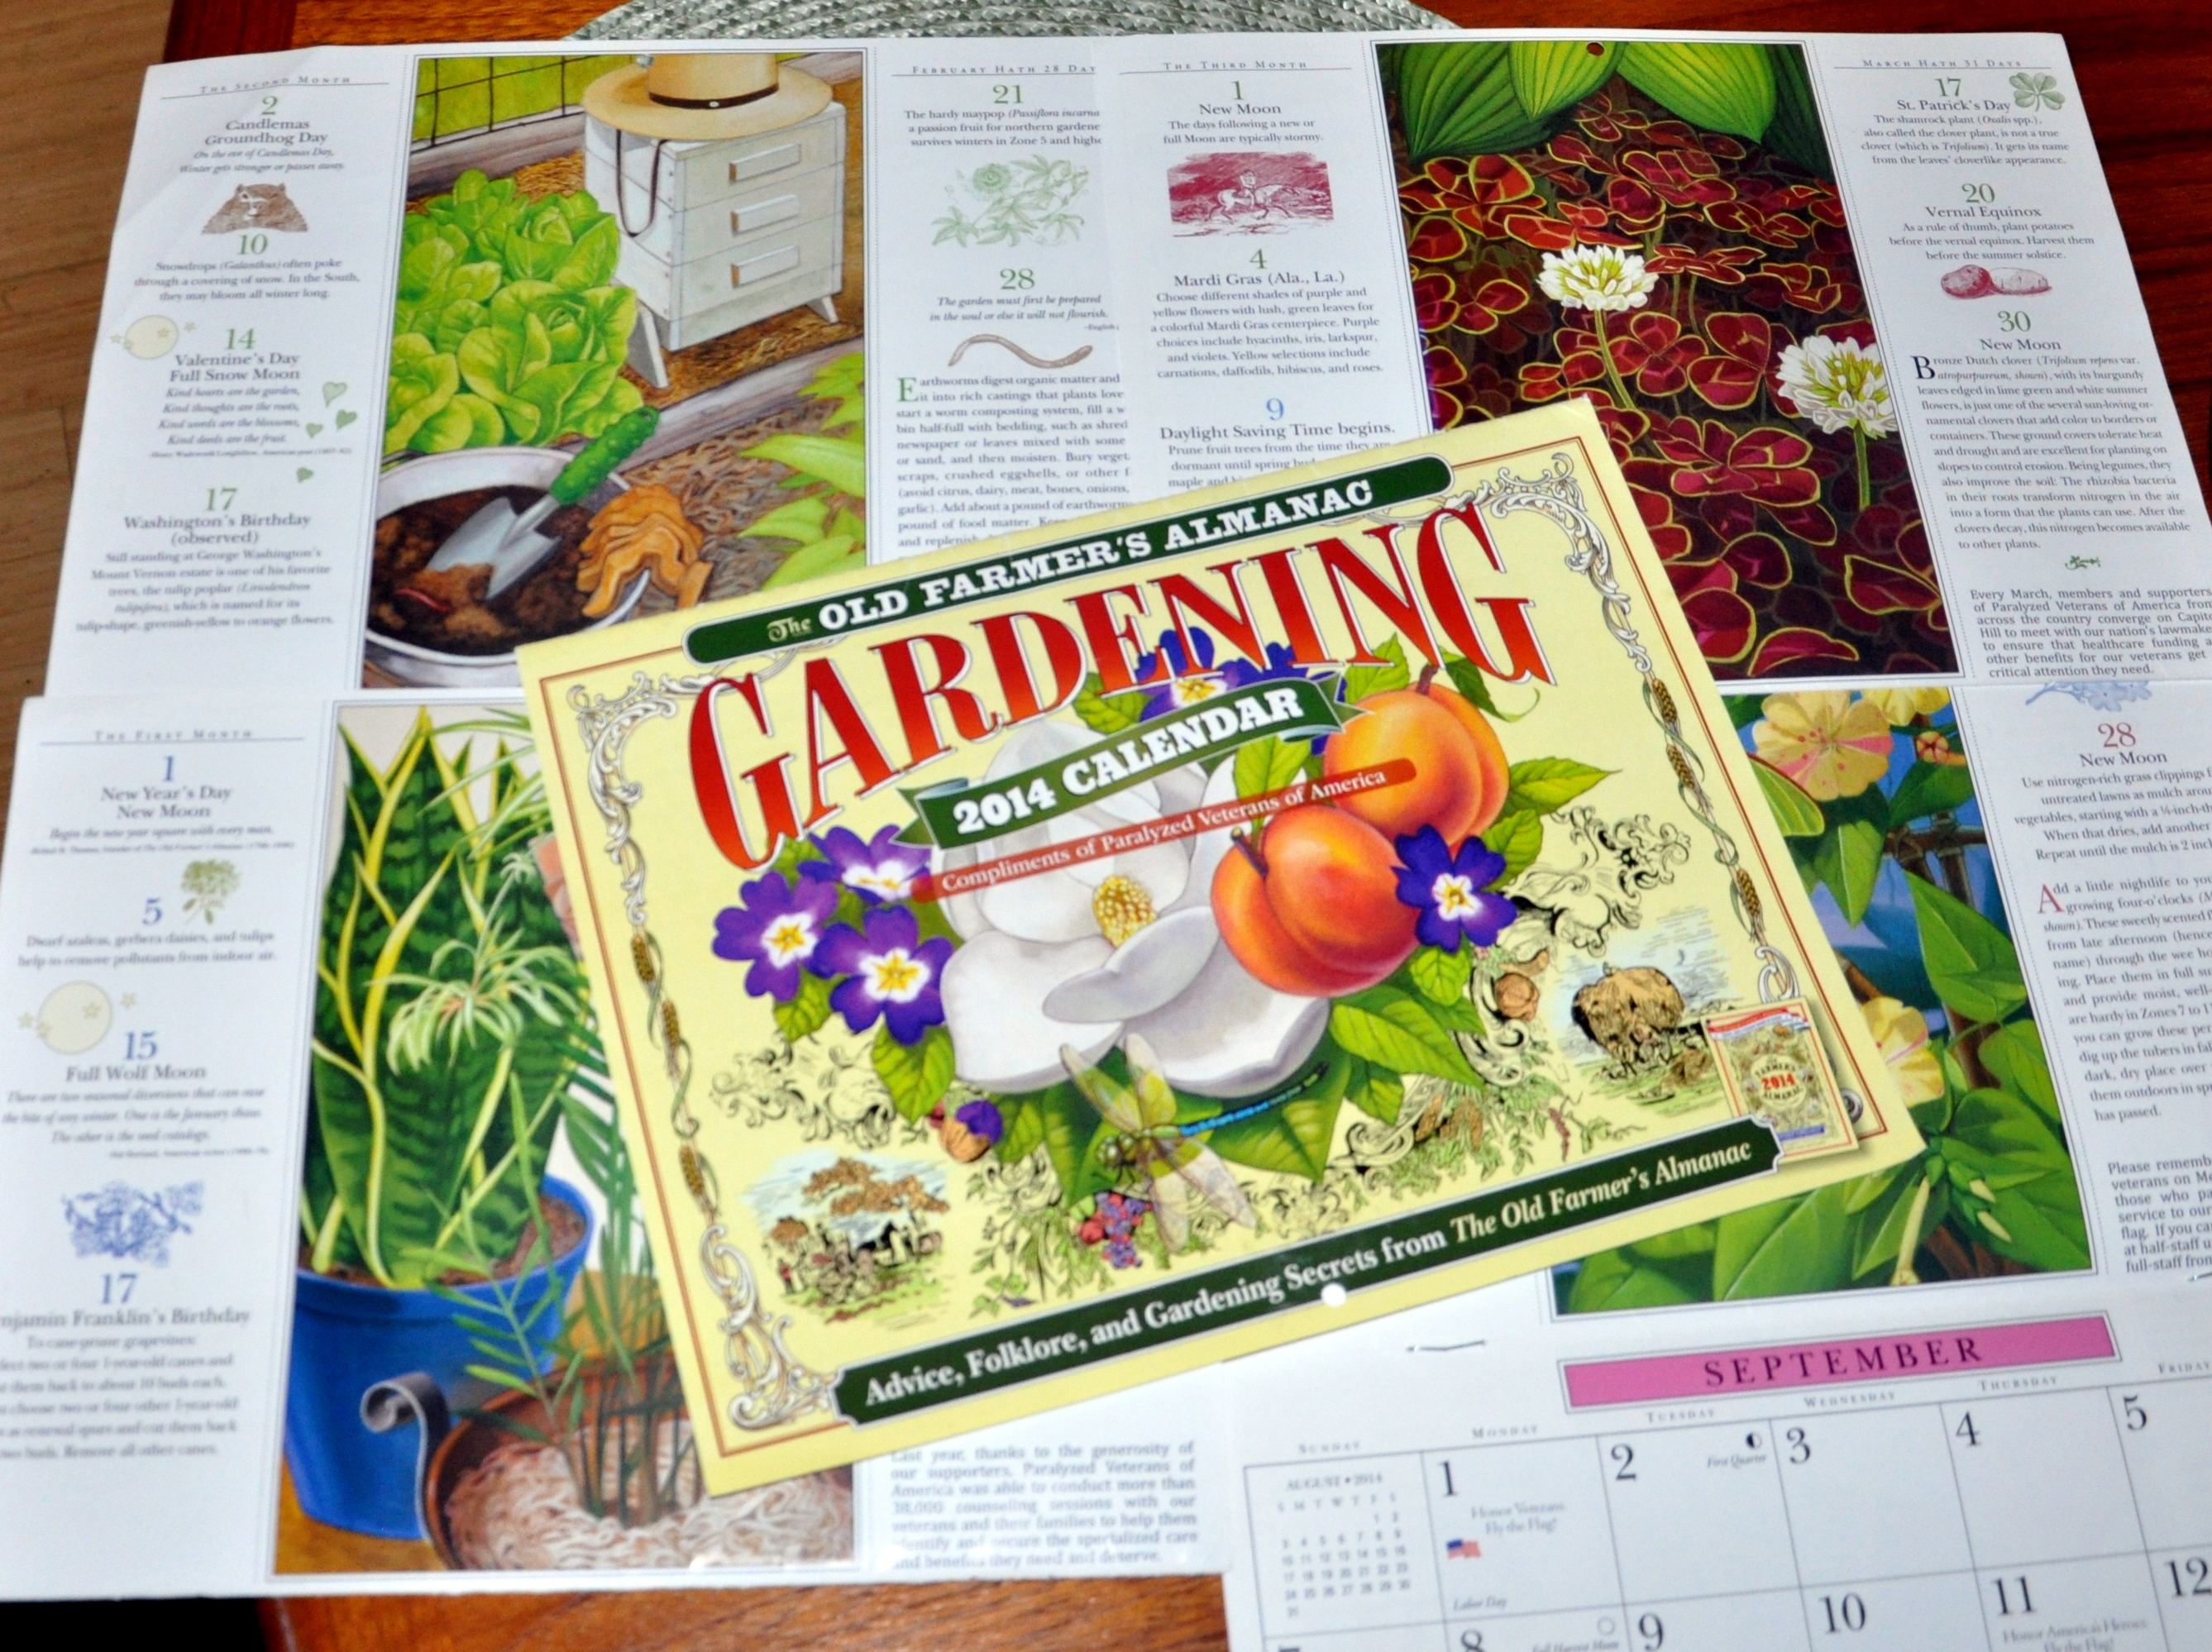
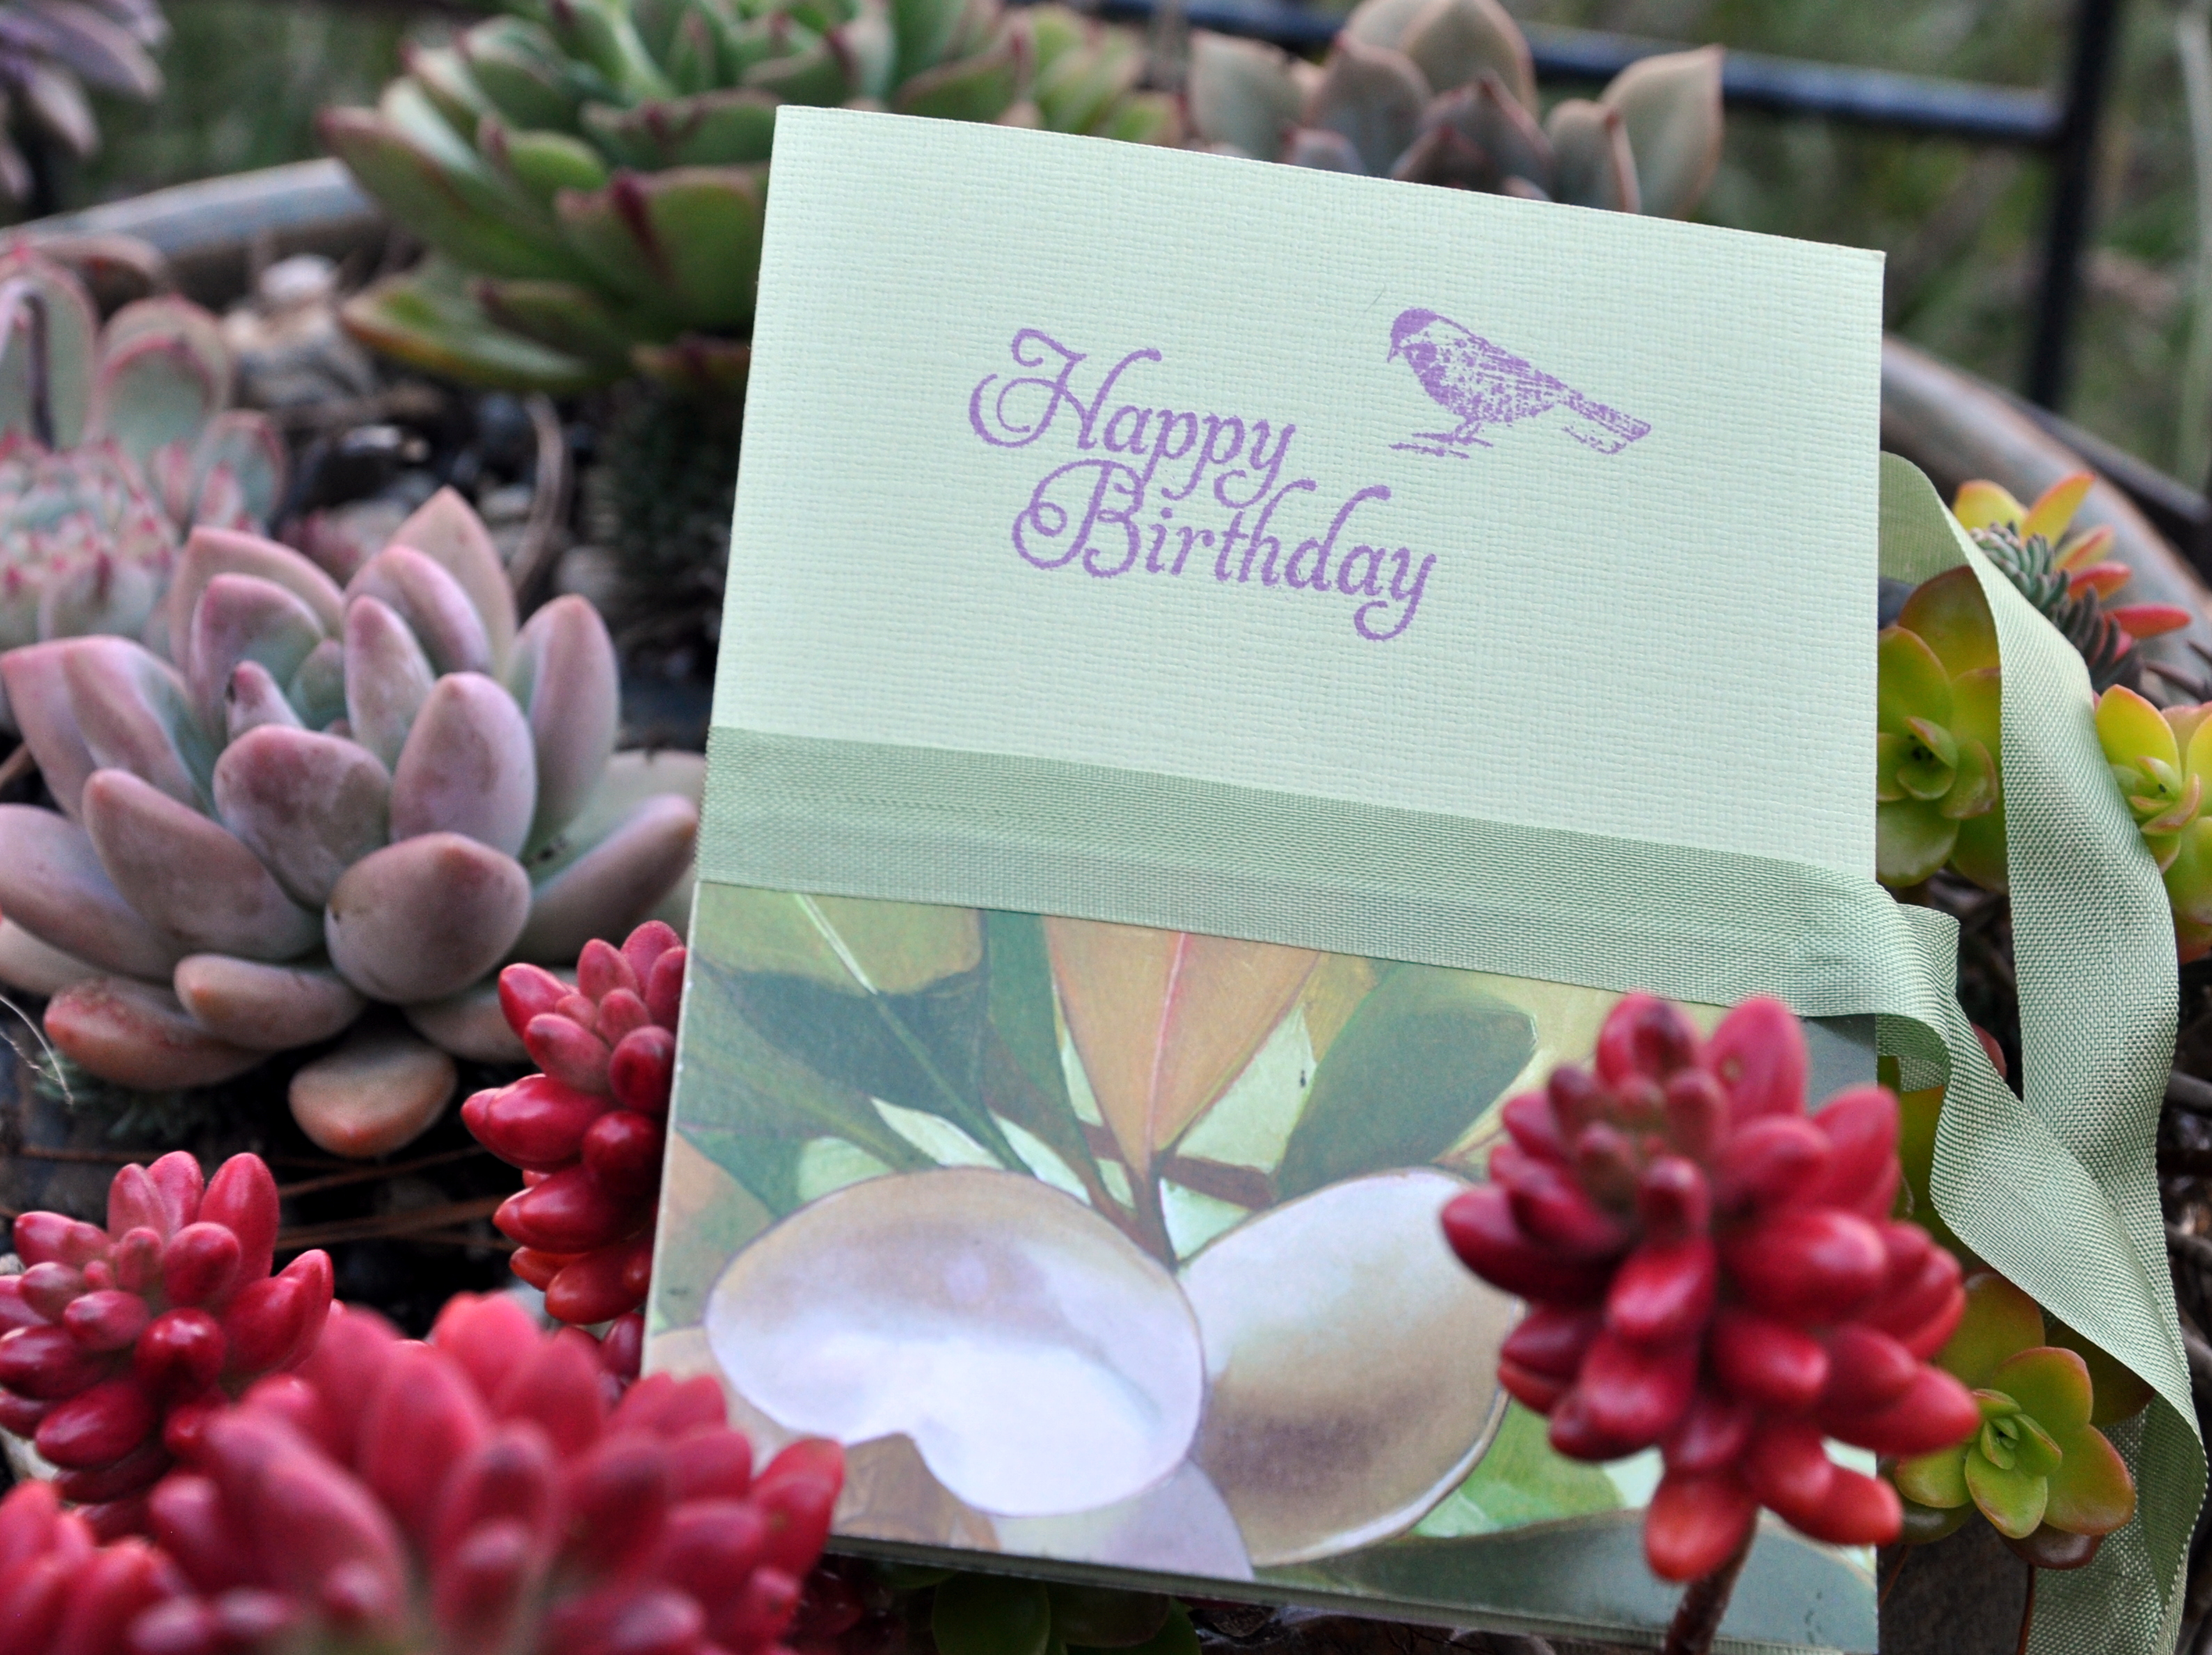
First up, I made a birthday card for a friend’s Aunt Ramona. Kate’s aunt turns 102 in March, and she hopes to receive 102 cards to ring in her birthday. I used the tear-off cover of an appointment calendar to help her celebrate this milestone.

The paper is a lovely weight with pretty flowers, so it made up beautifully into a card. I used my embosser to add the quilted texture and a simple scrap of green to frame the happy birthday sentiment. Inside I added a small envelope trimmed with Washi tape to hold a pair of lottery scratchers.

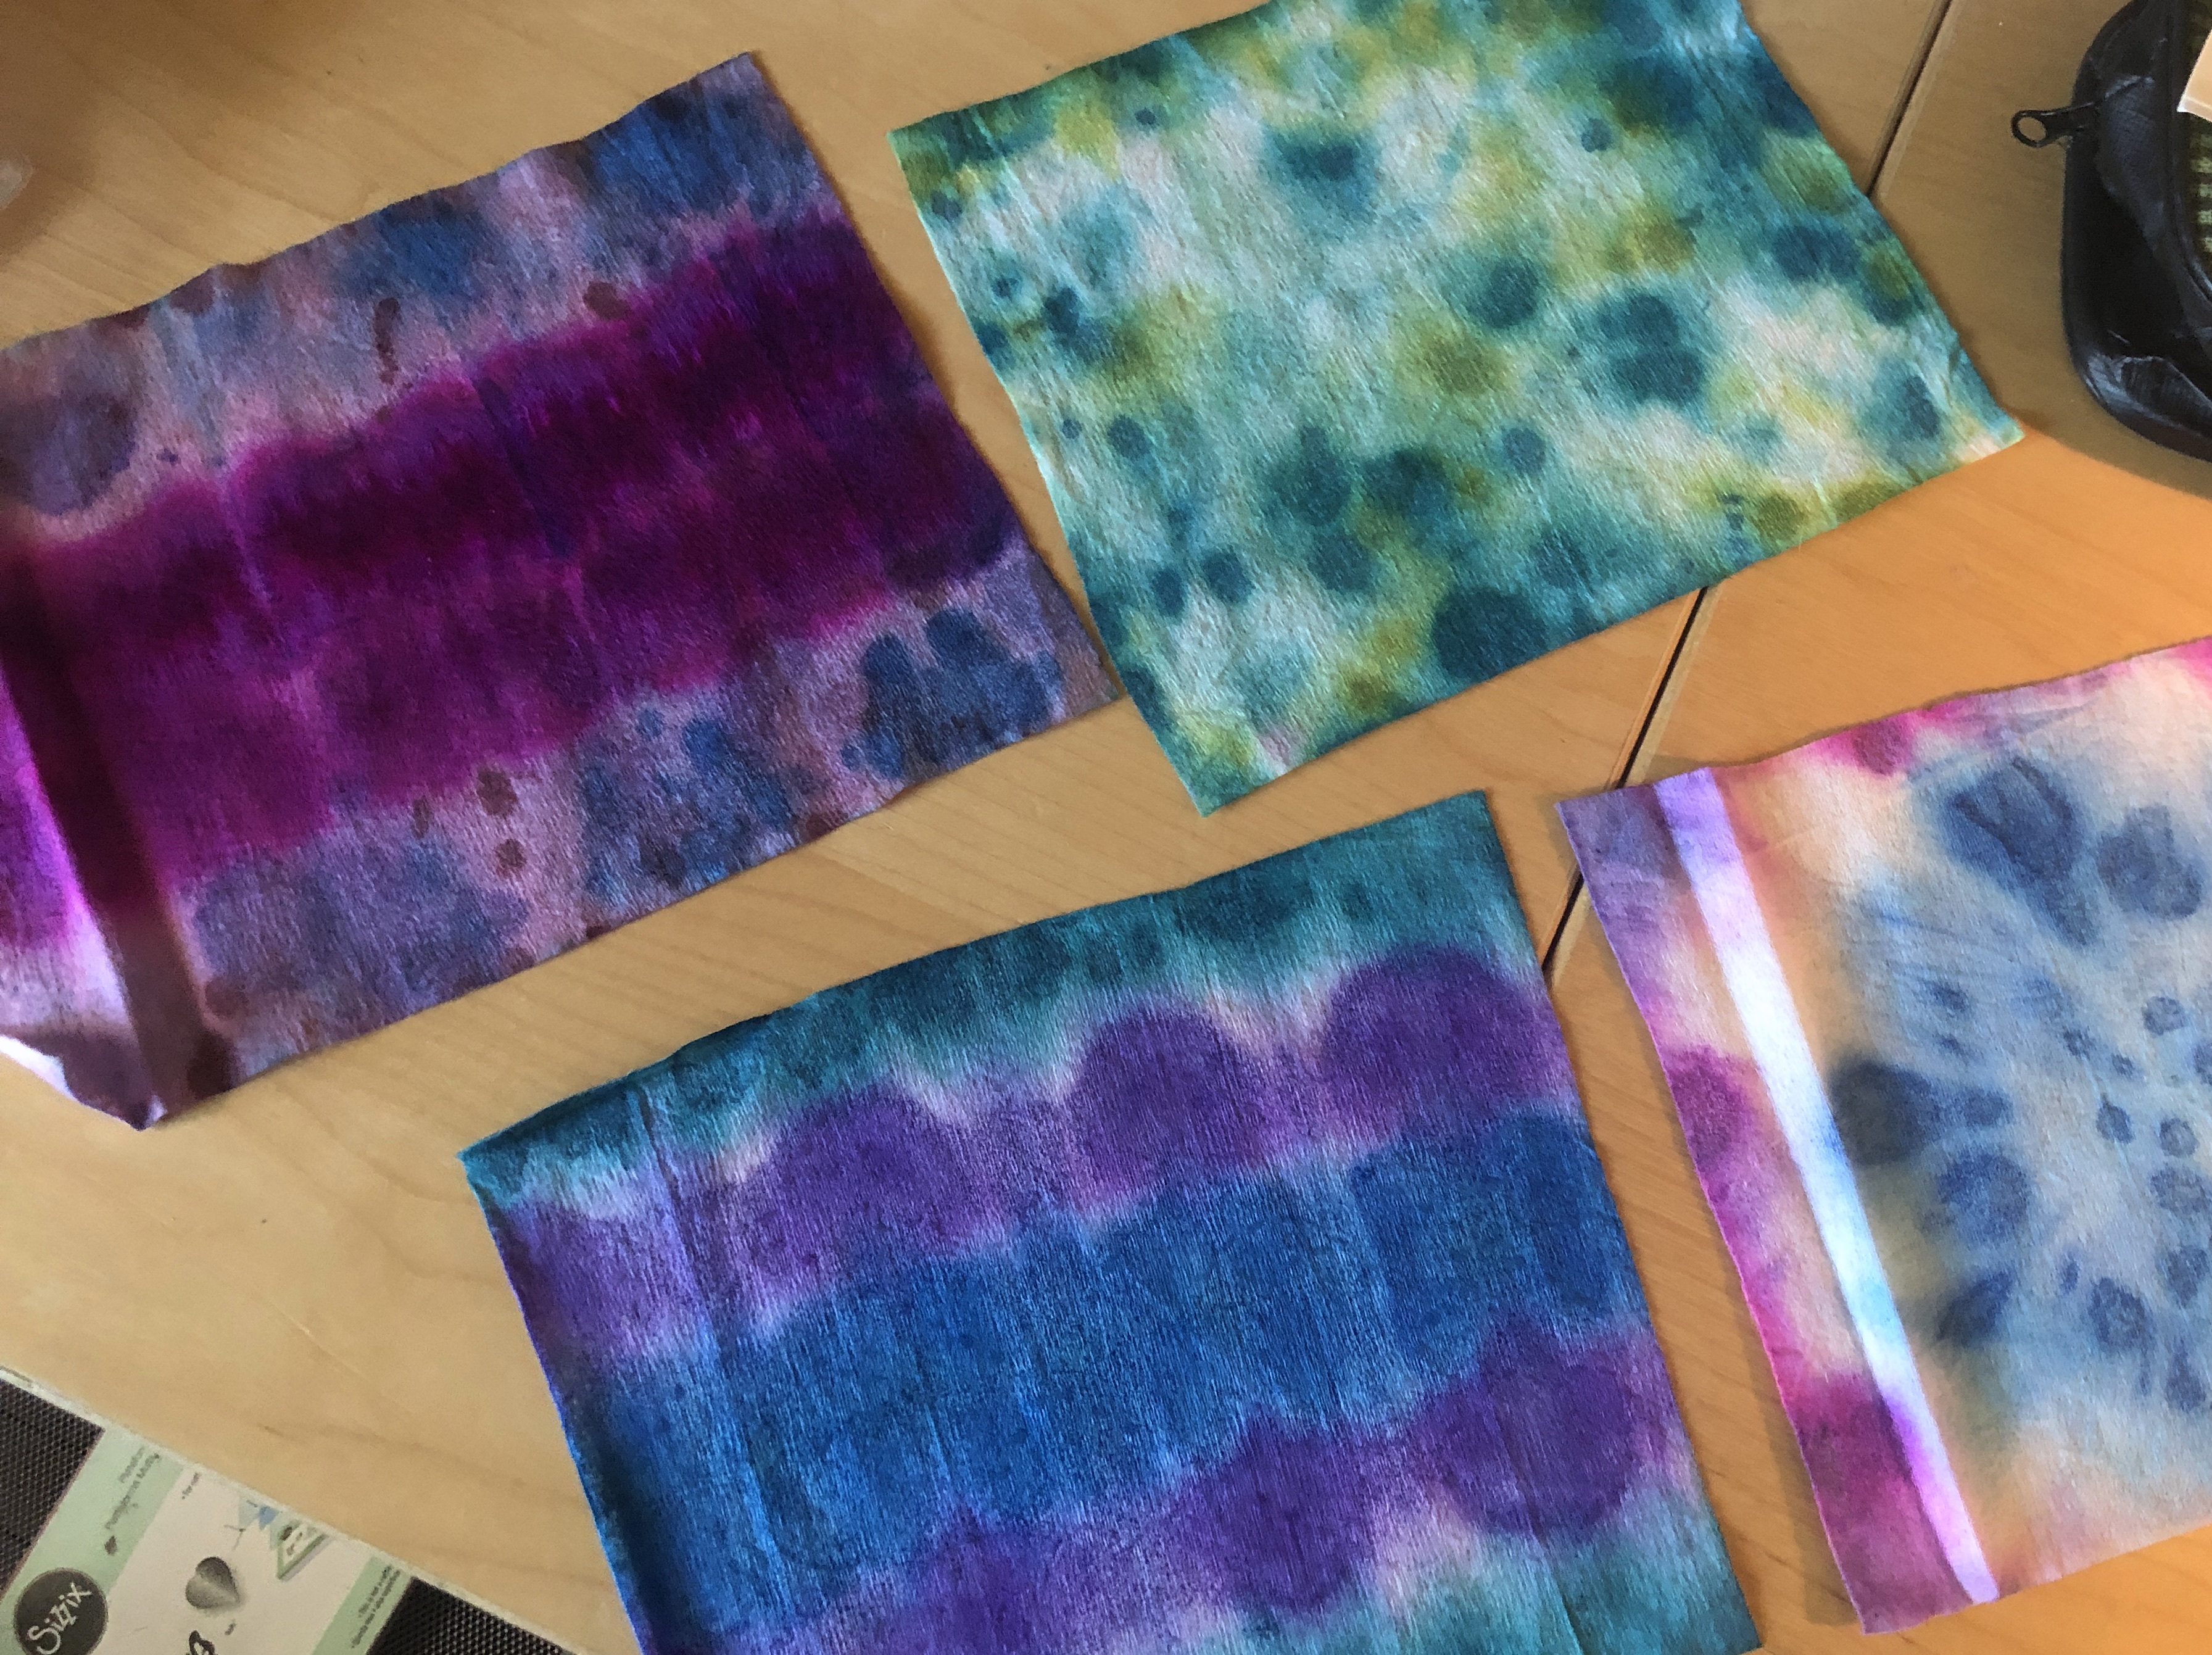
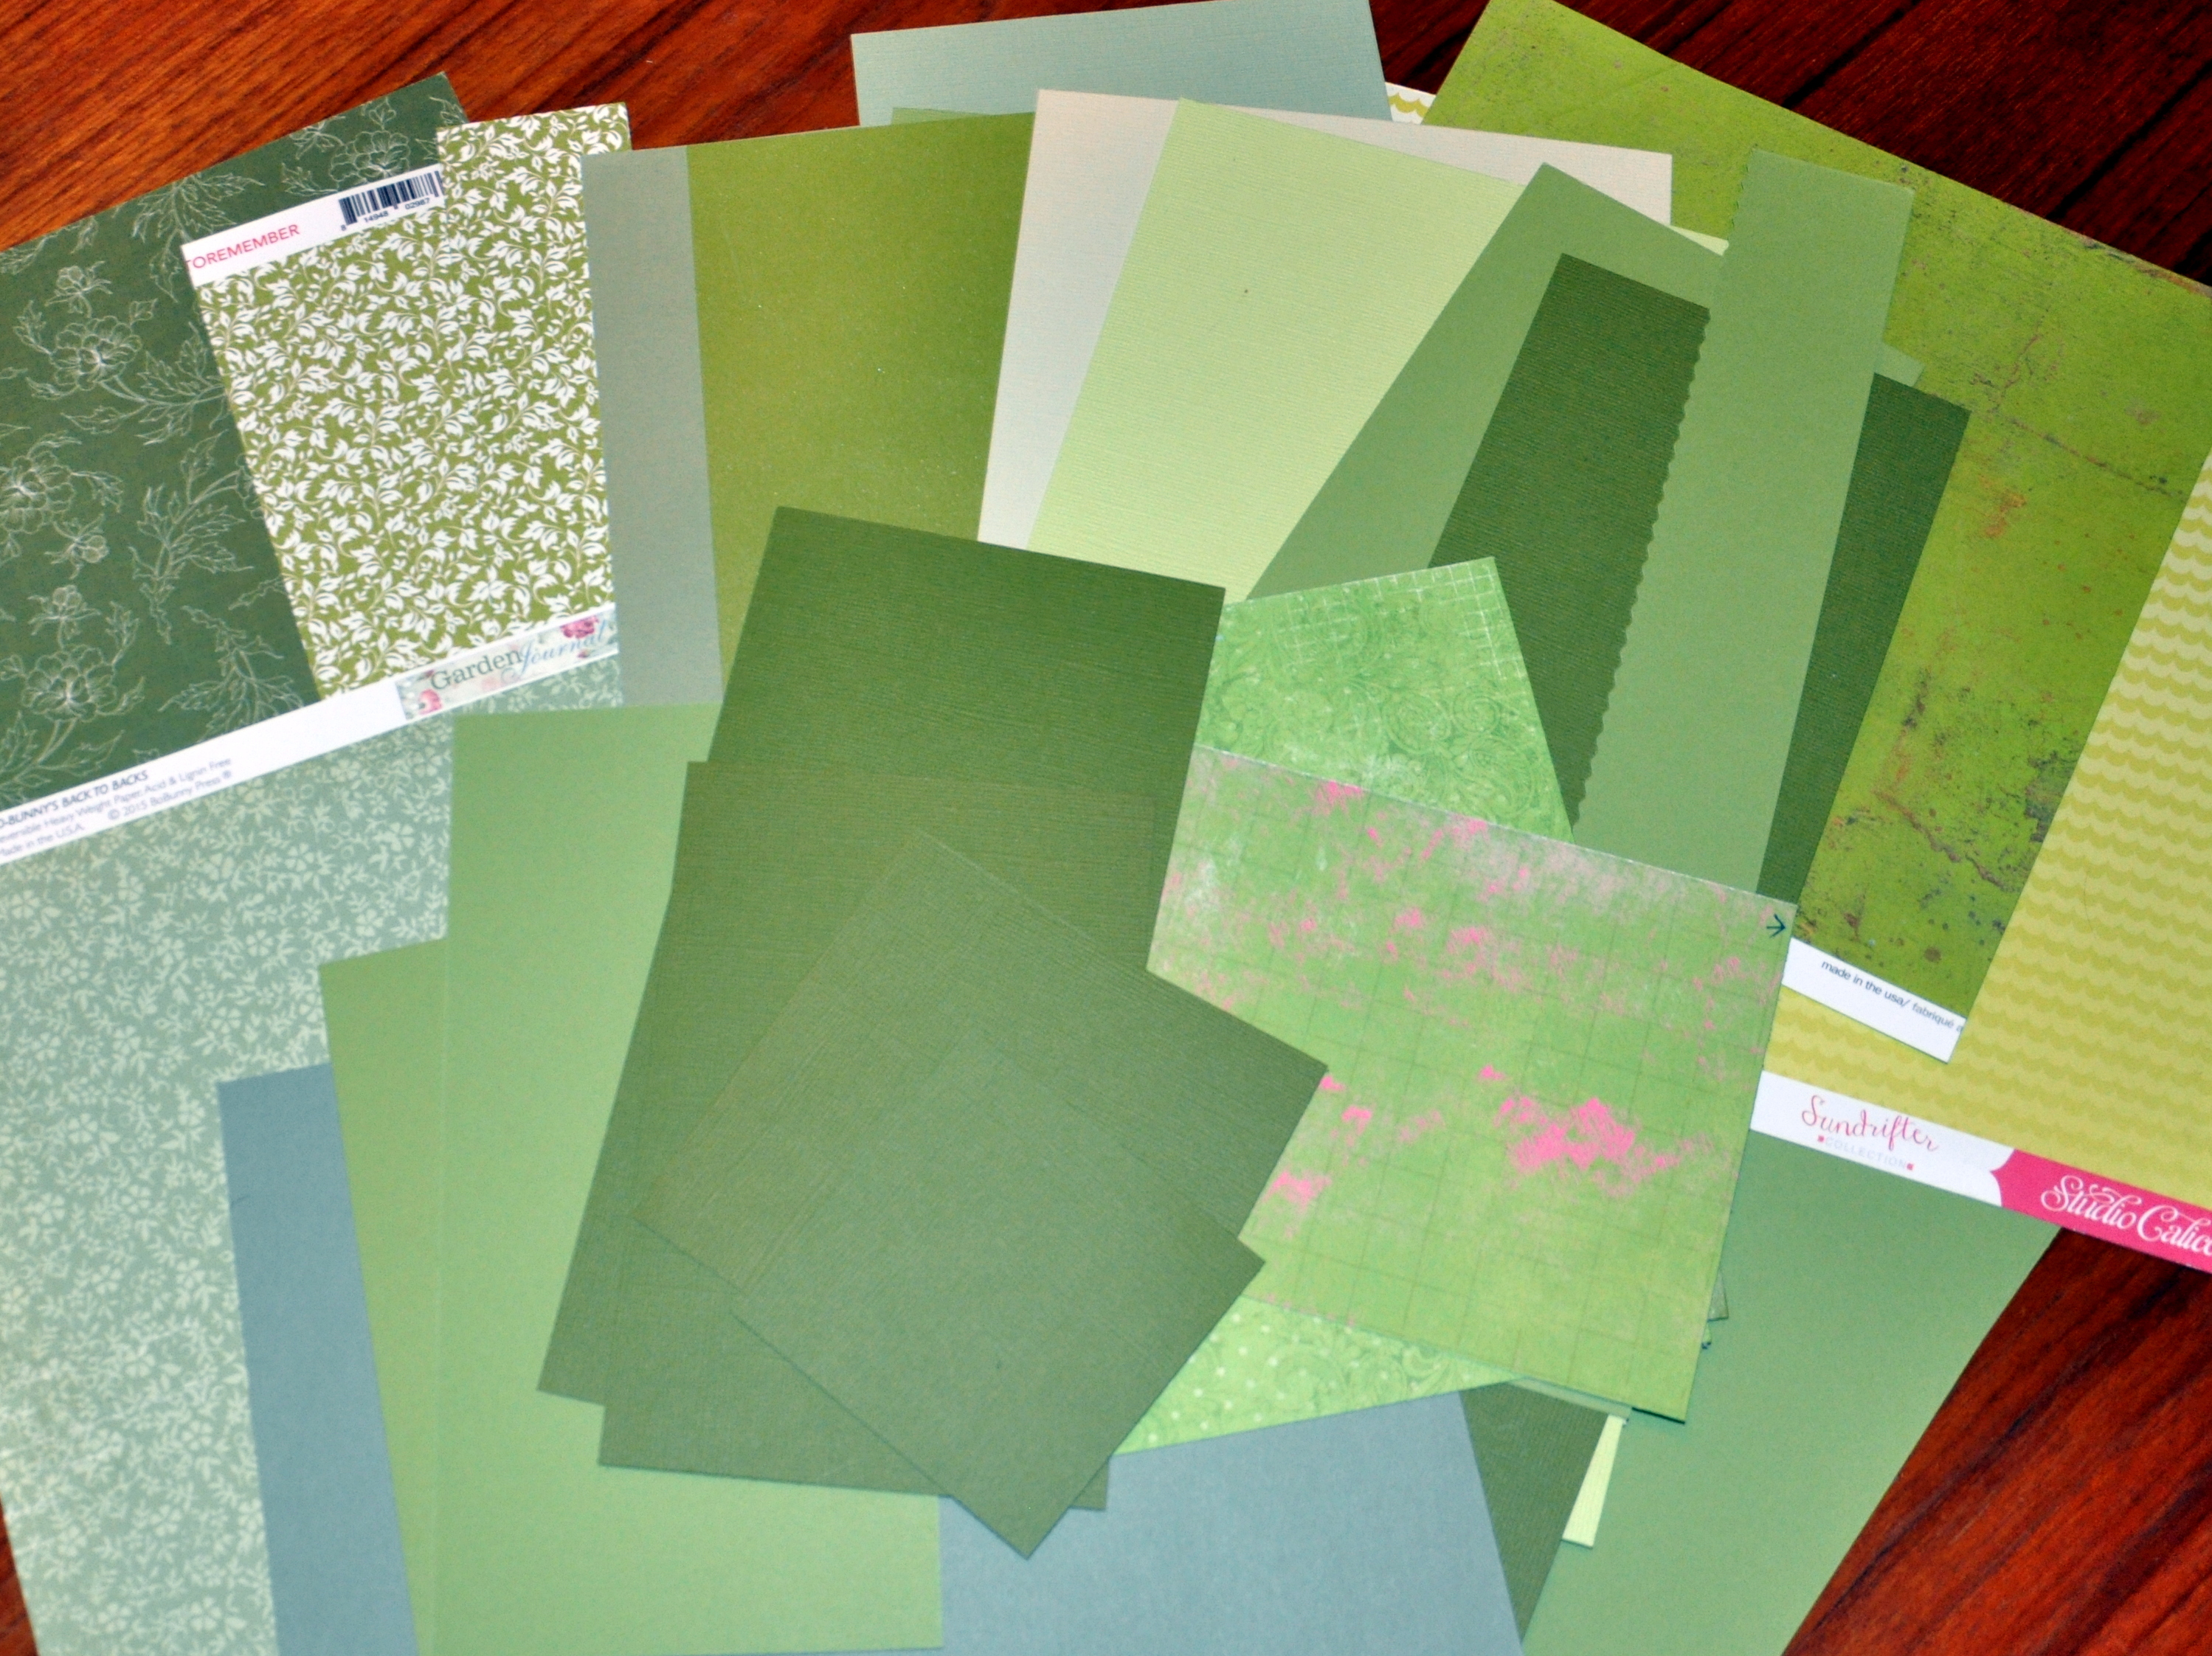
After tidying my craft table, I sorted the pile of small scraps by color. Whenever I sort my paper, it lasts for about a year or two, and then I haul it out and sort it again.

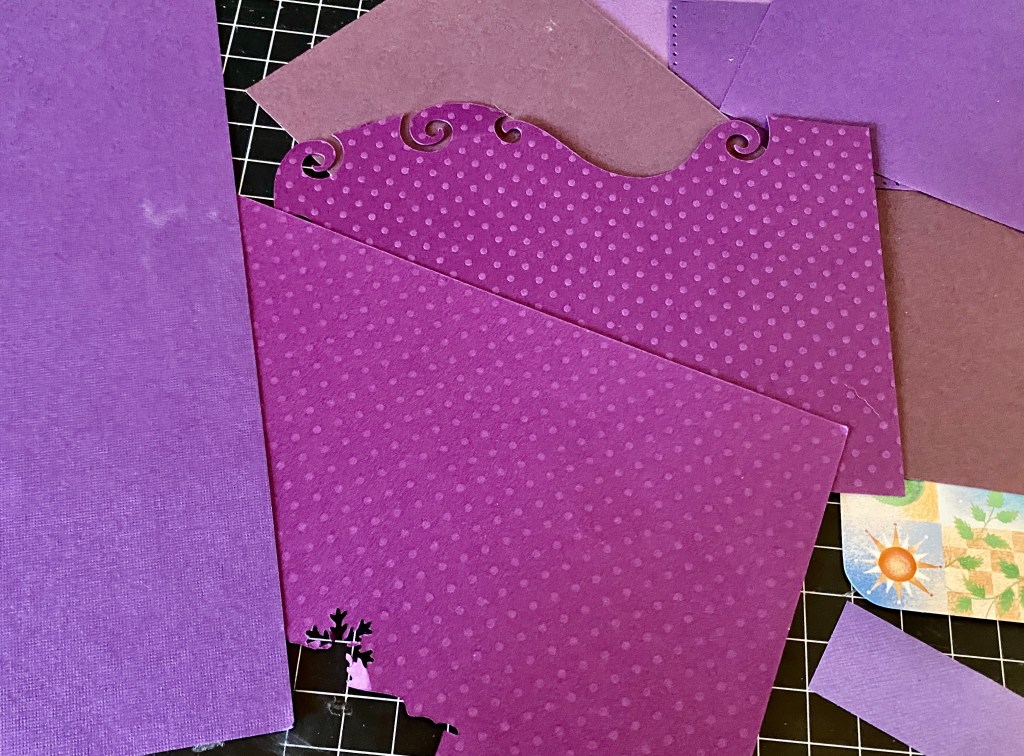
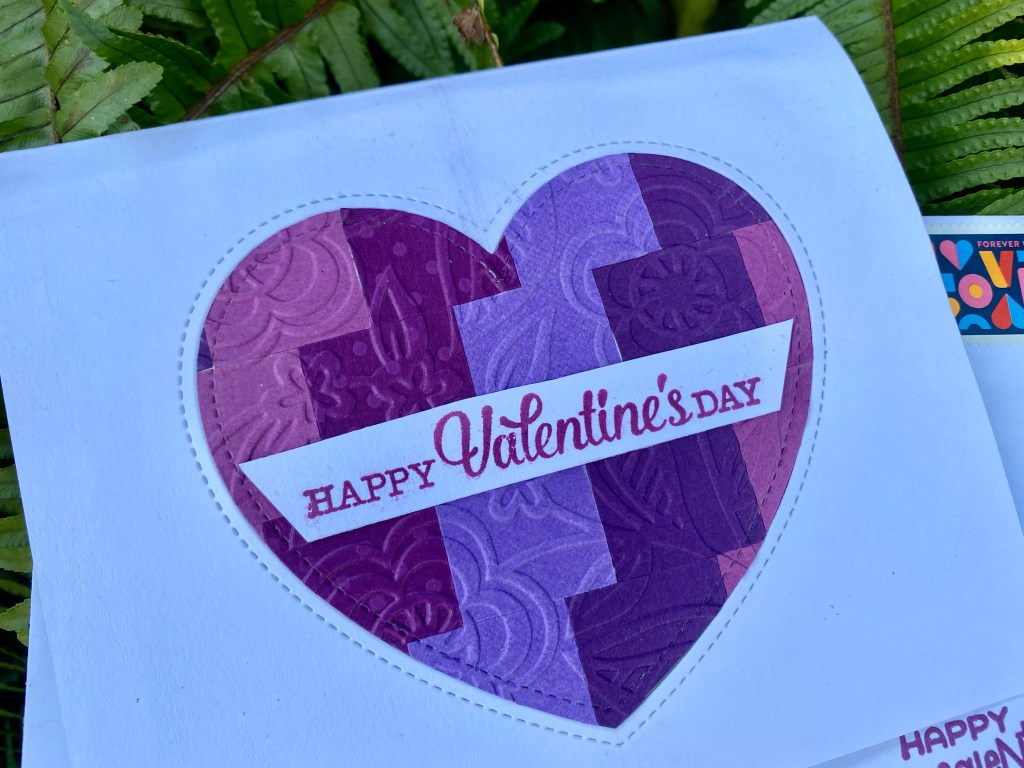
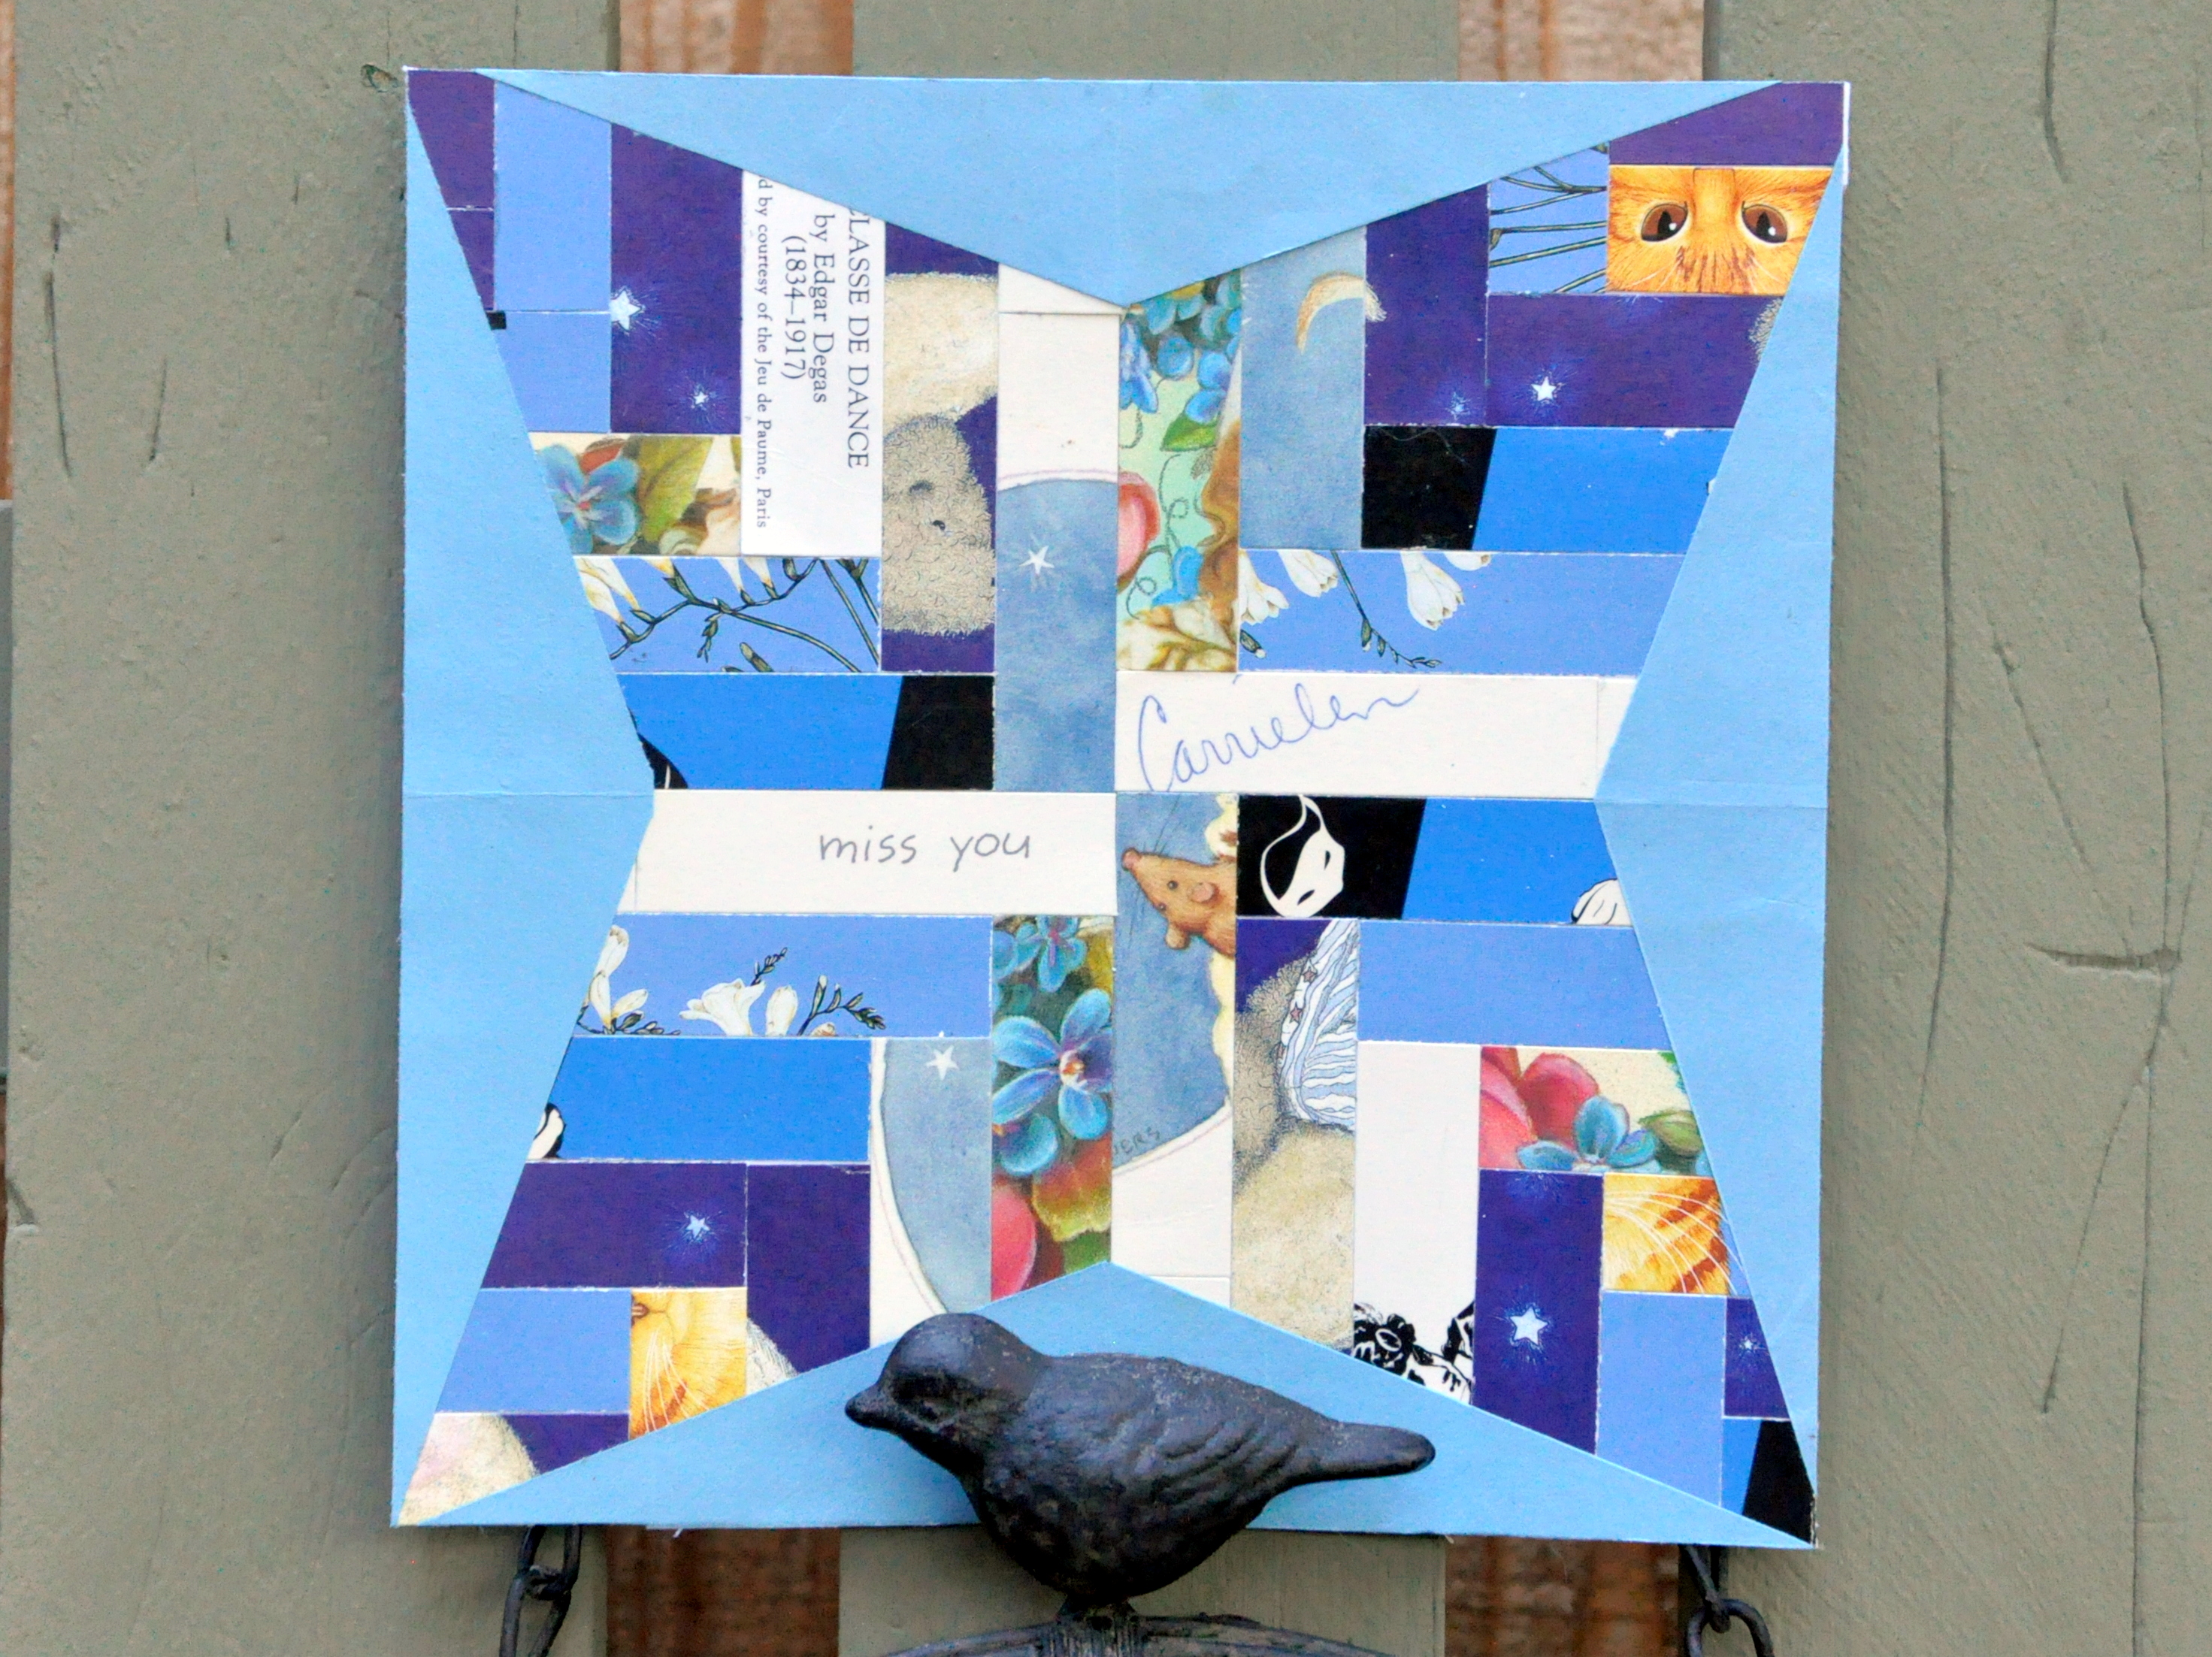
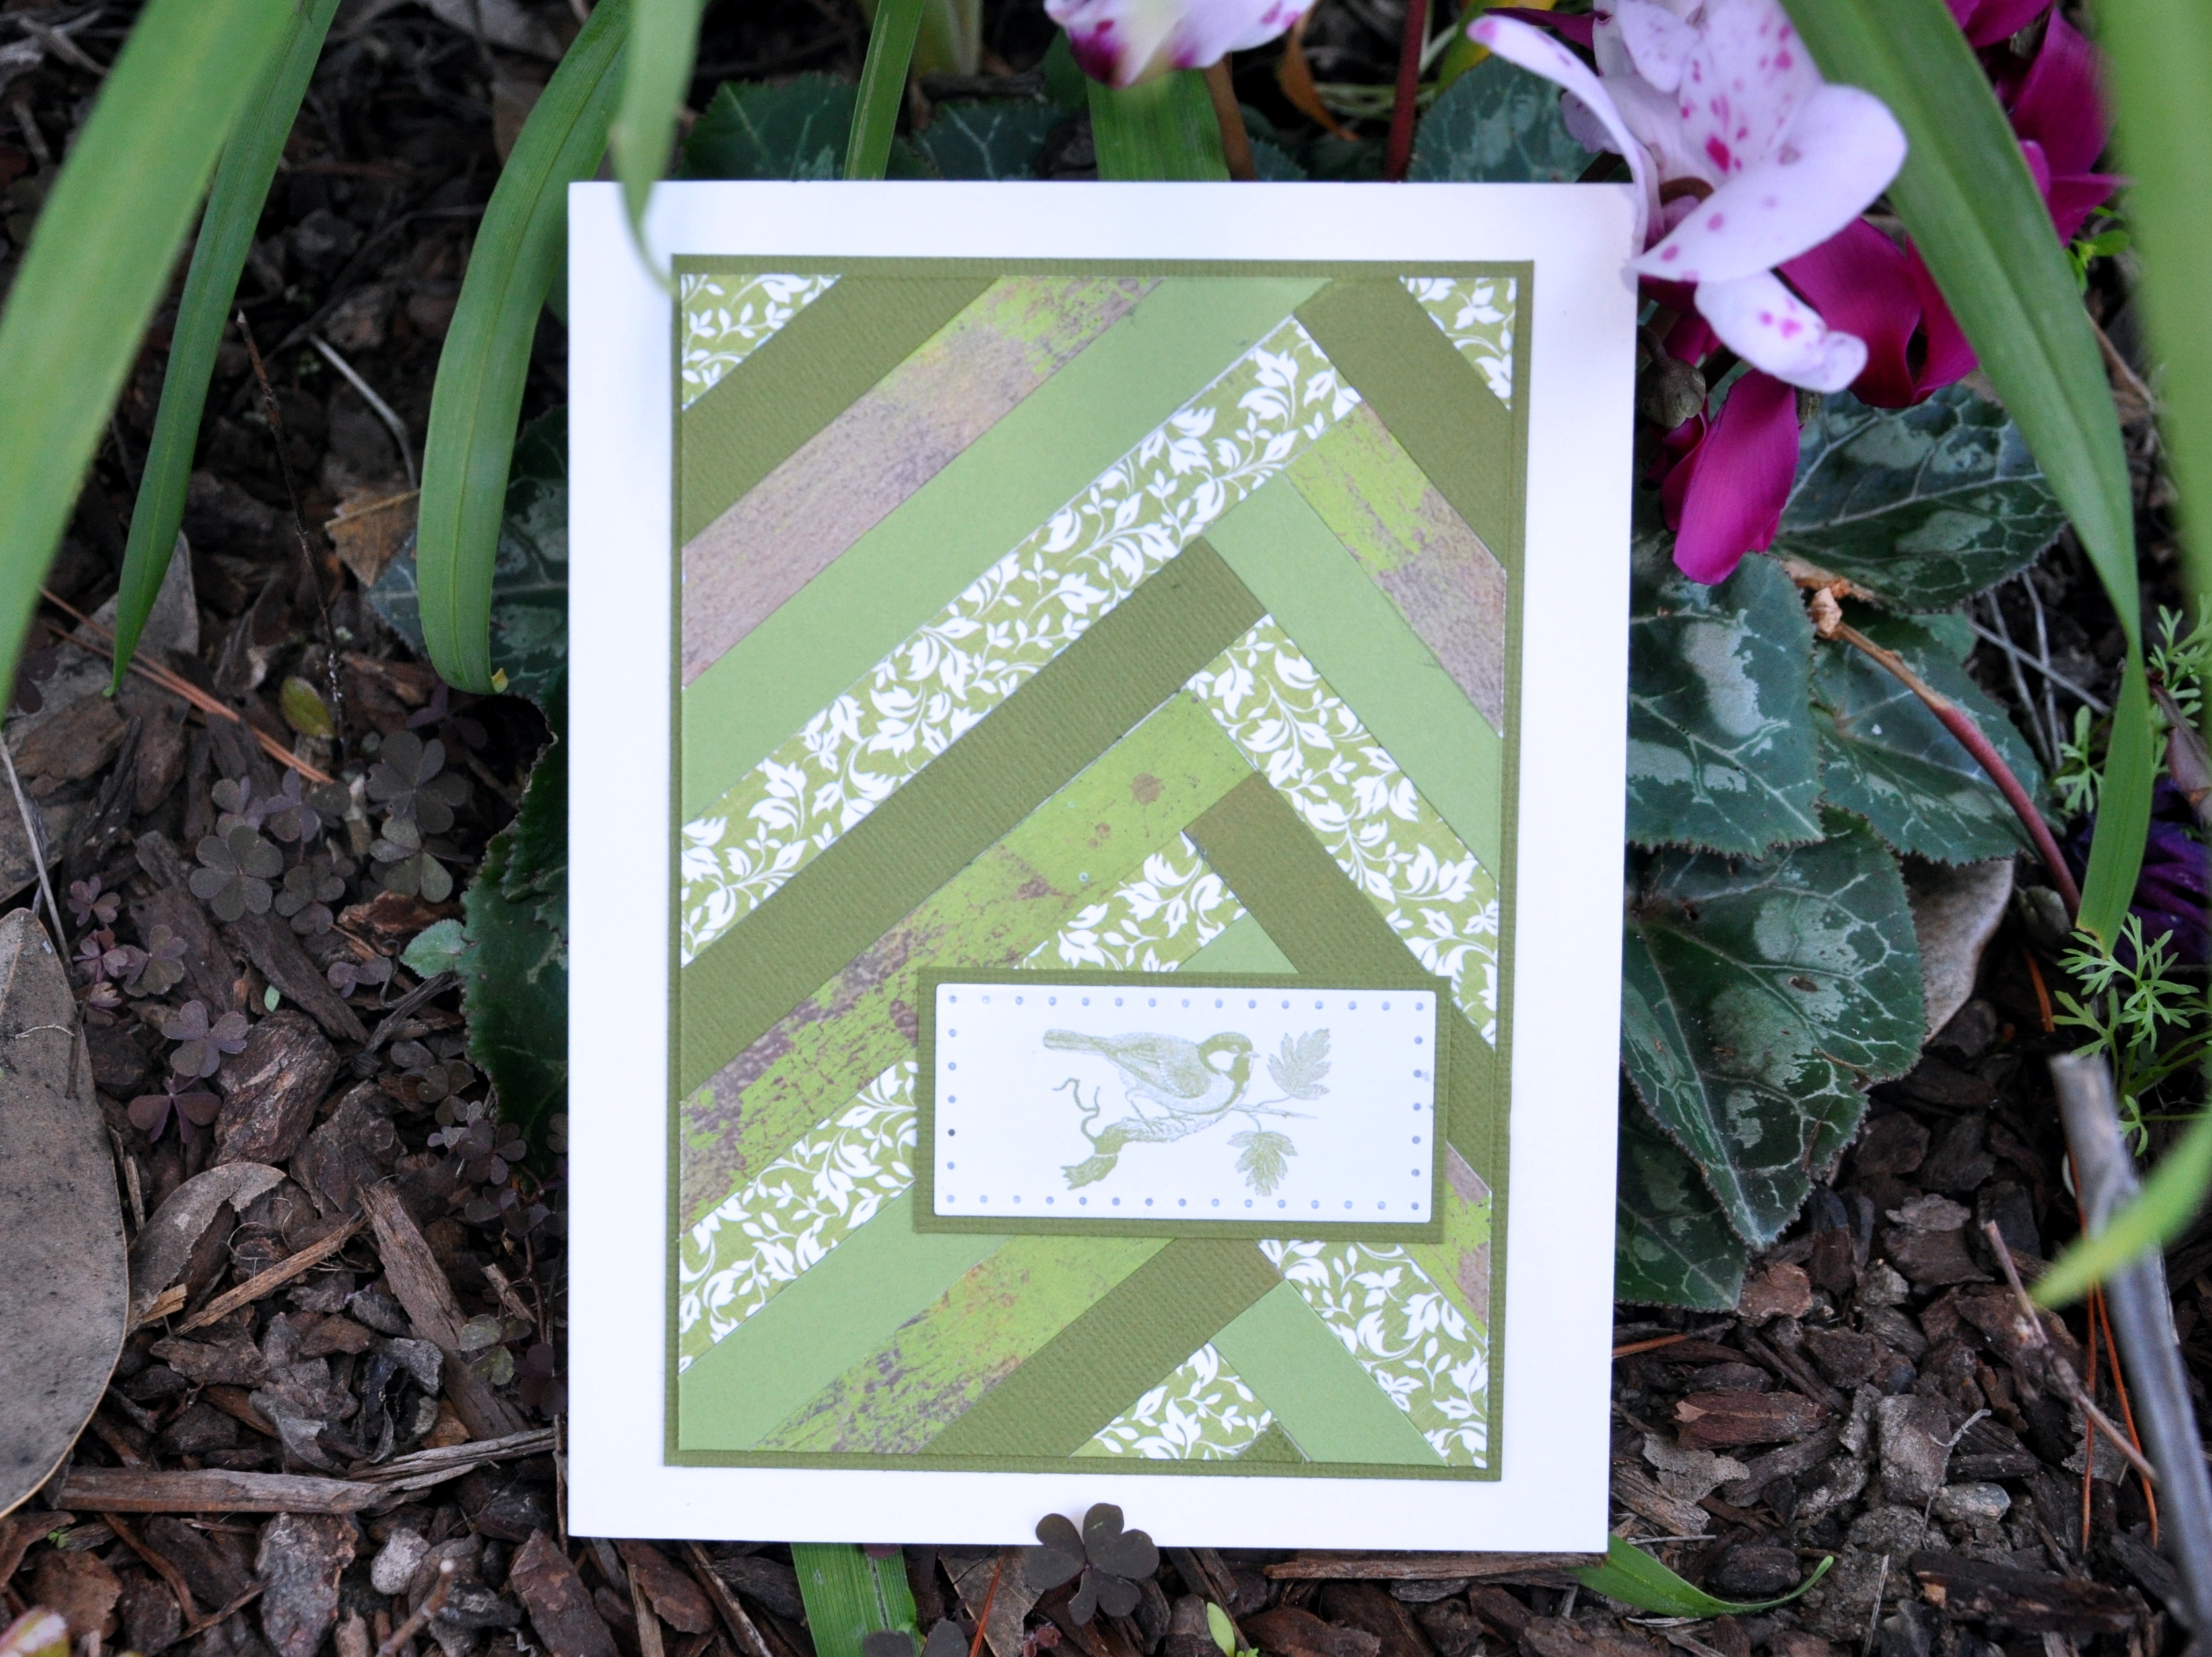
All that sorting allowed me to create my second project, a purple Valentine for my sister. I cut four shades of purple paper into one-inch squares, then glued them to a scrap of paper in rows with half-inch offsets. I ran the purple squares through my Big Shot using a heart-shaped die; then I embossed the heart with a floral pattern.

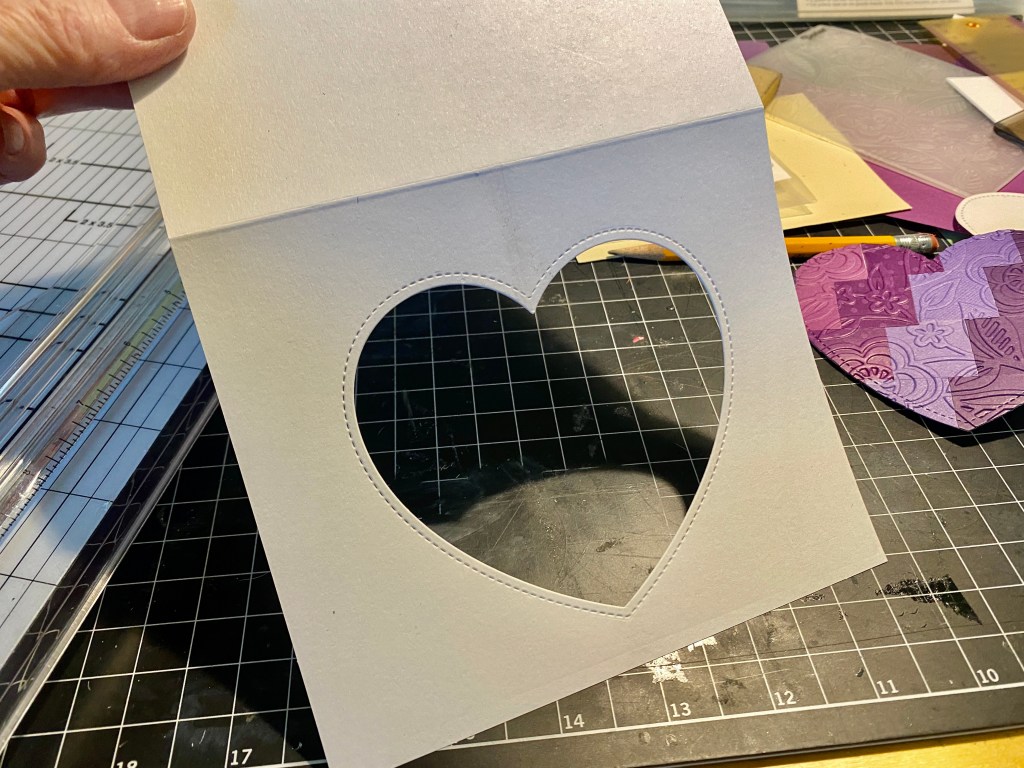
Using the same die, I cut a heart from the front of a white card. I placed the purple heart into the negative space, then backed it with a scrap of vellum to hold it in place.

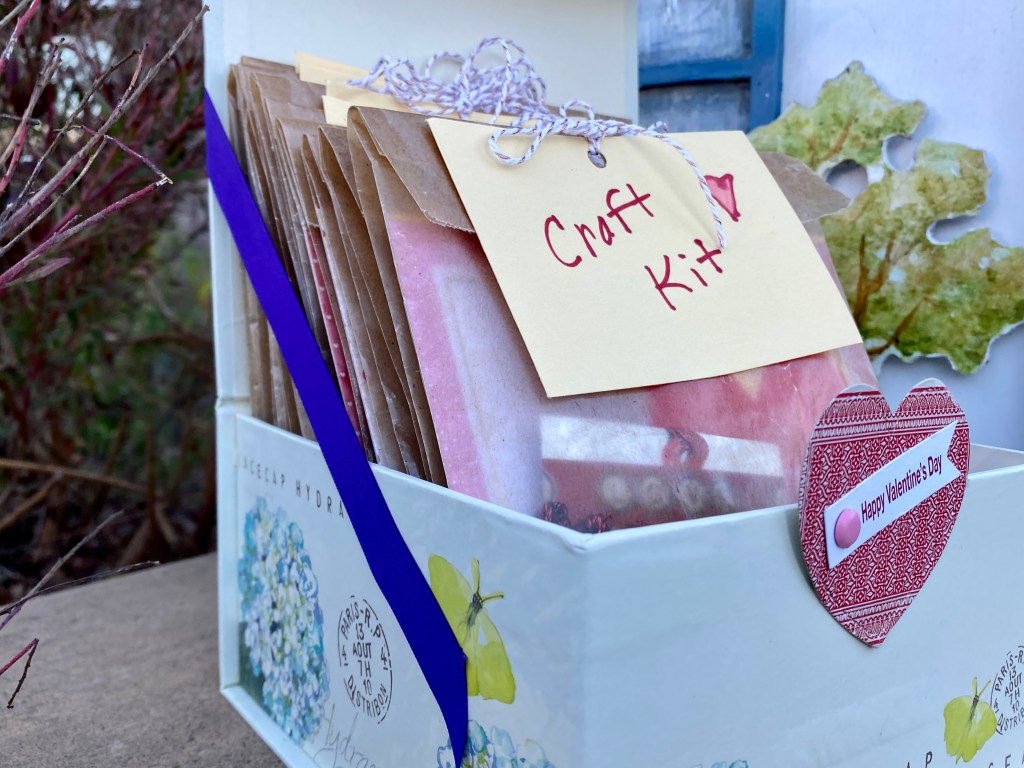
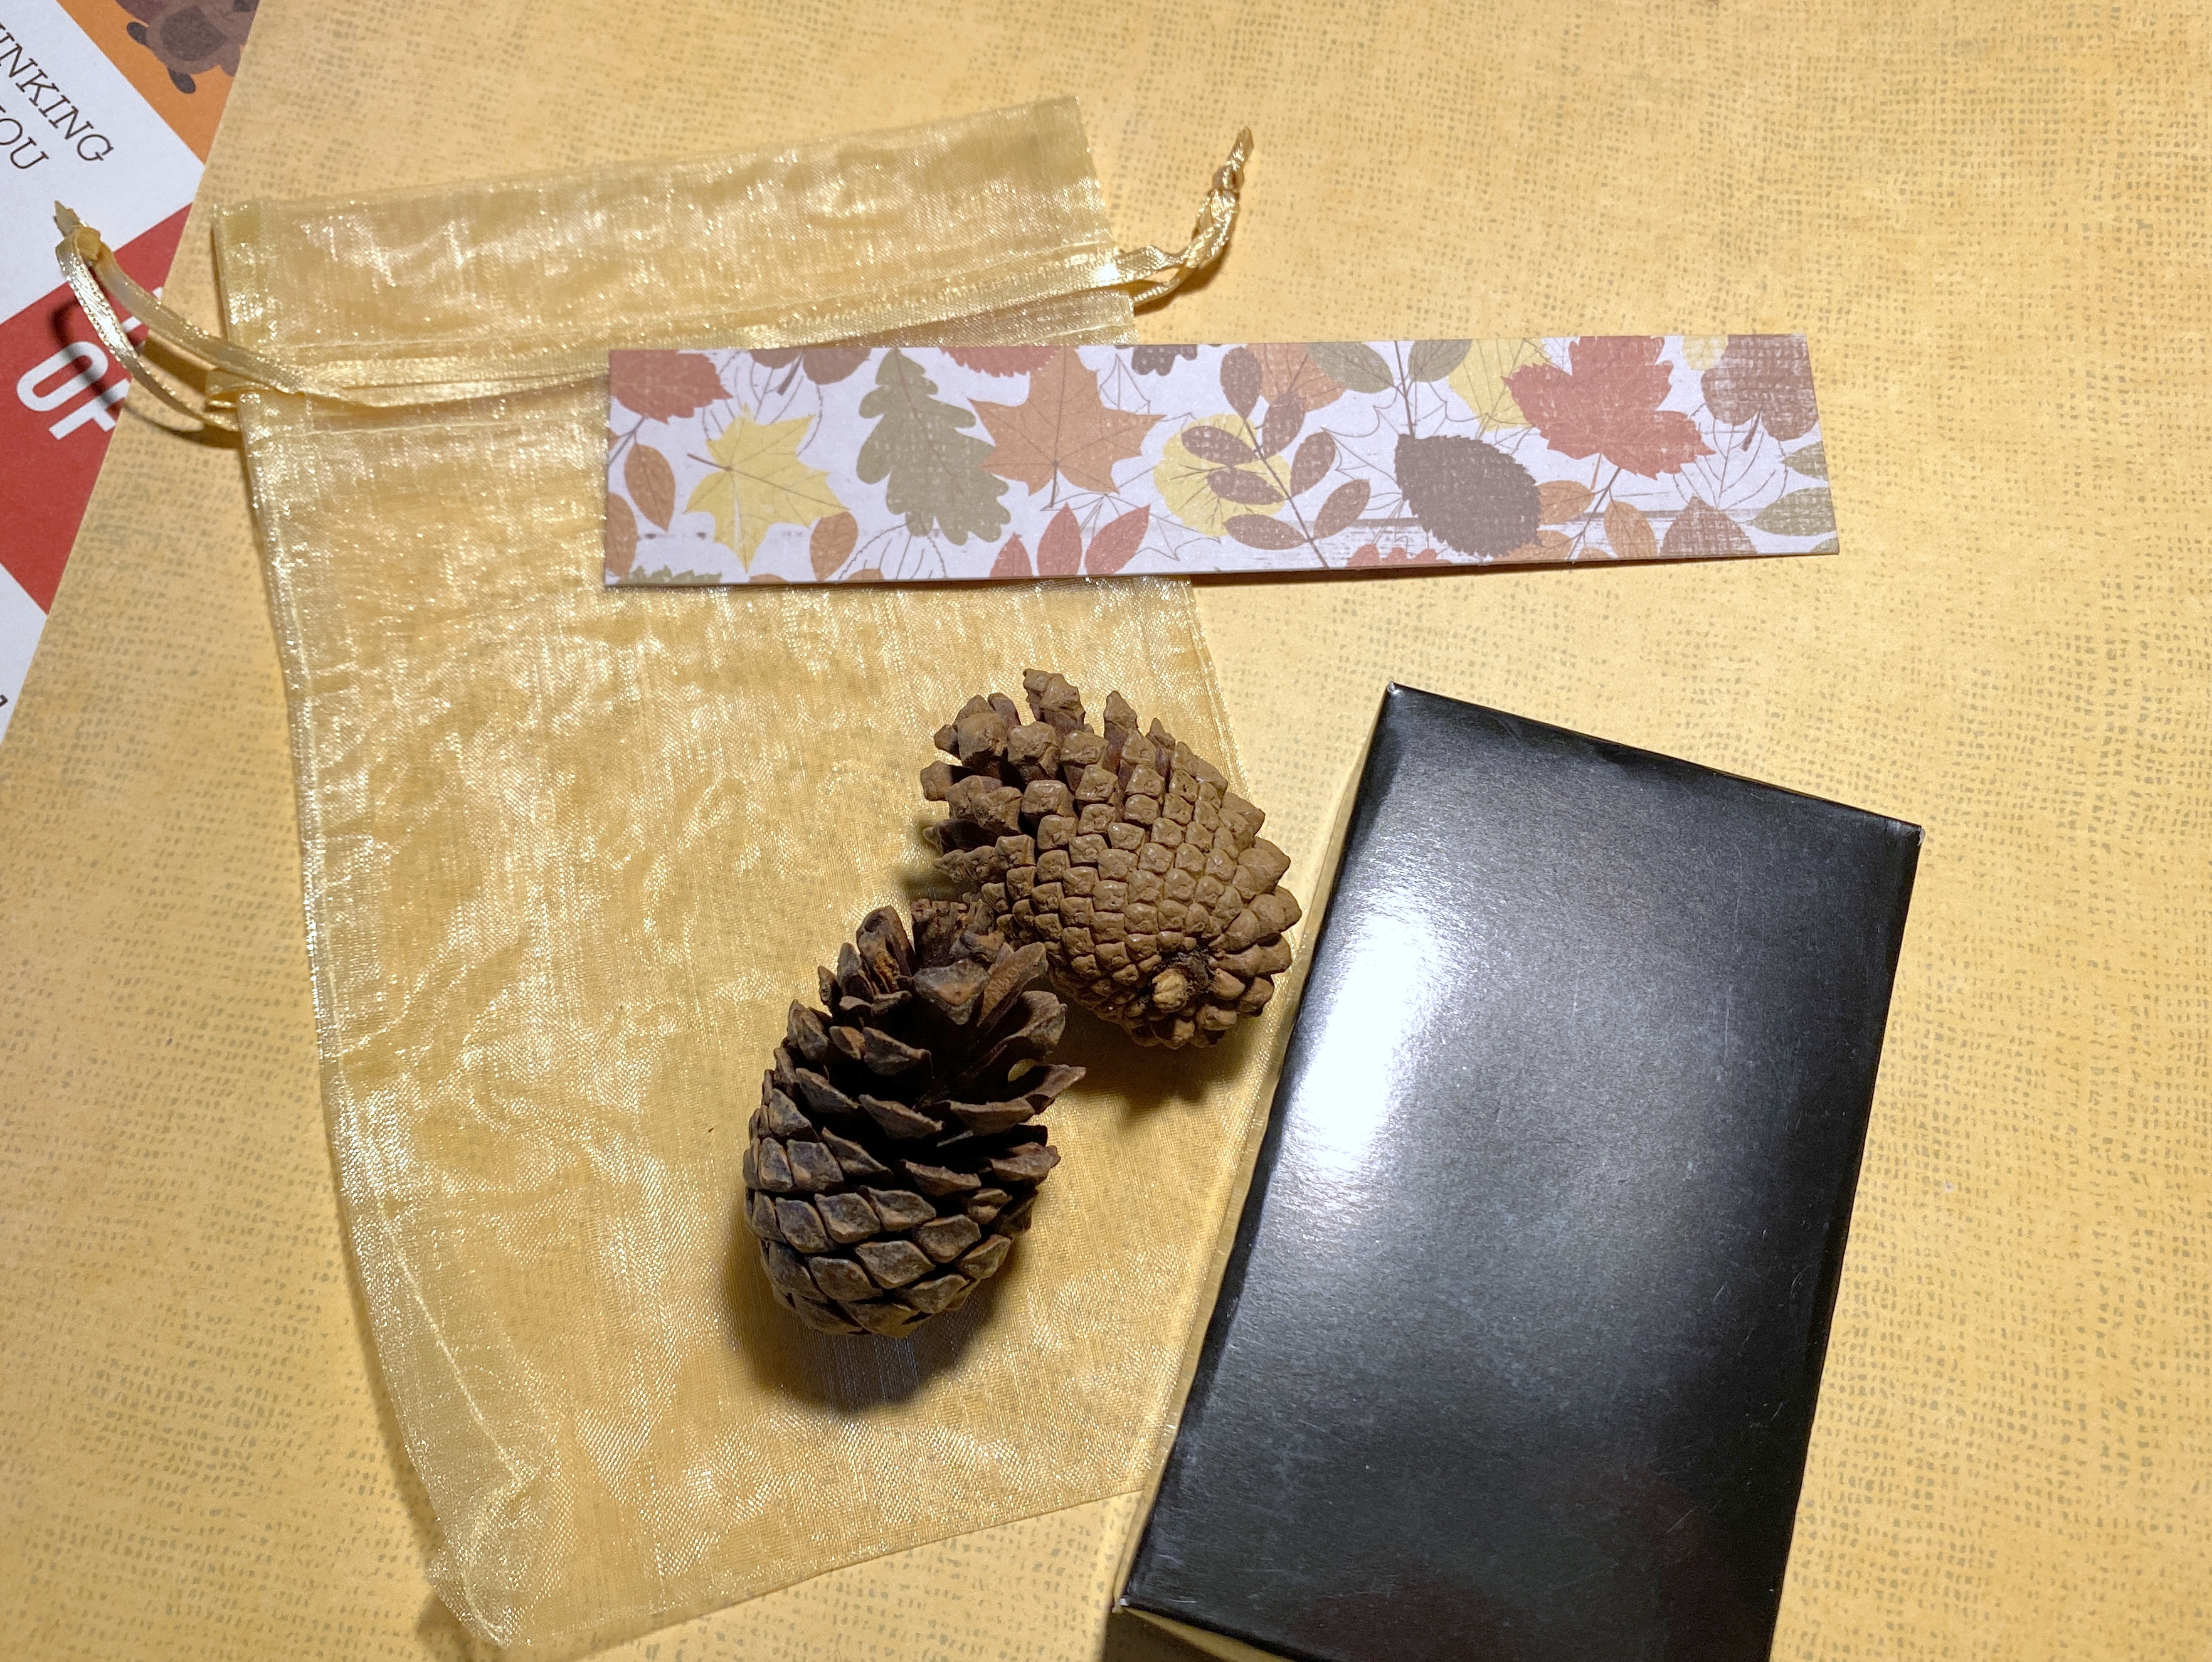
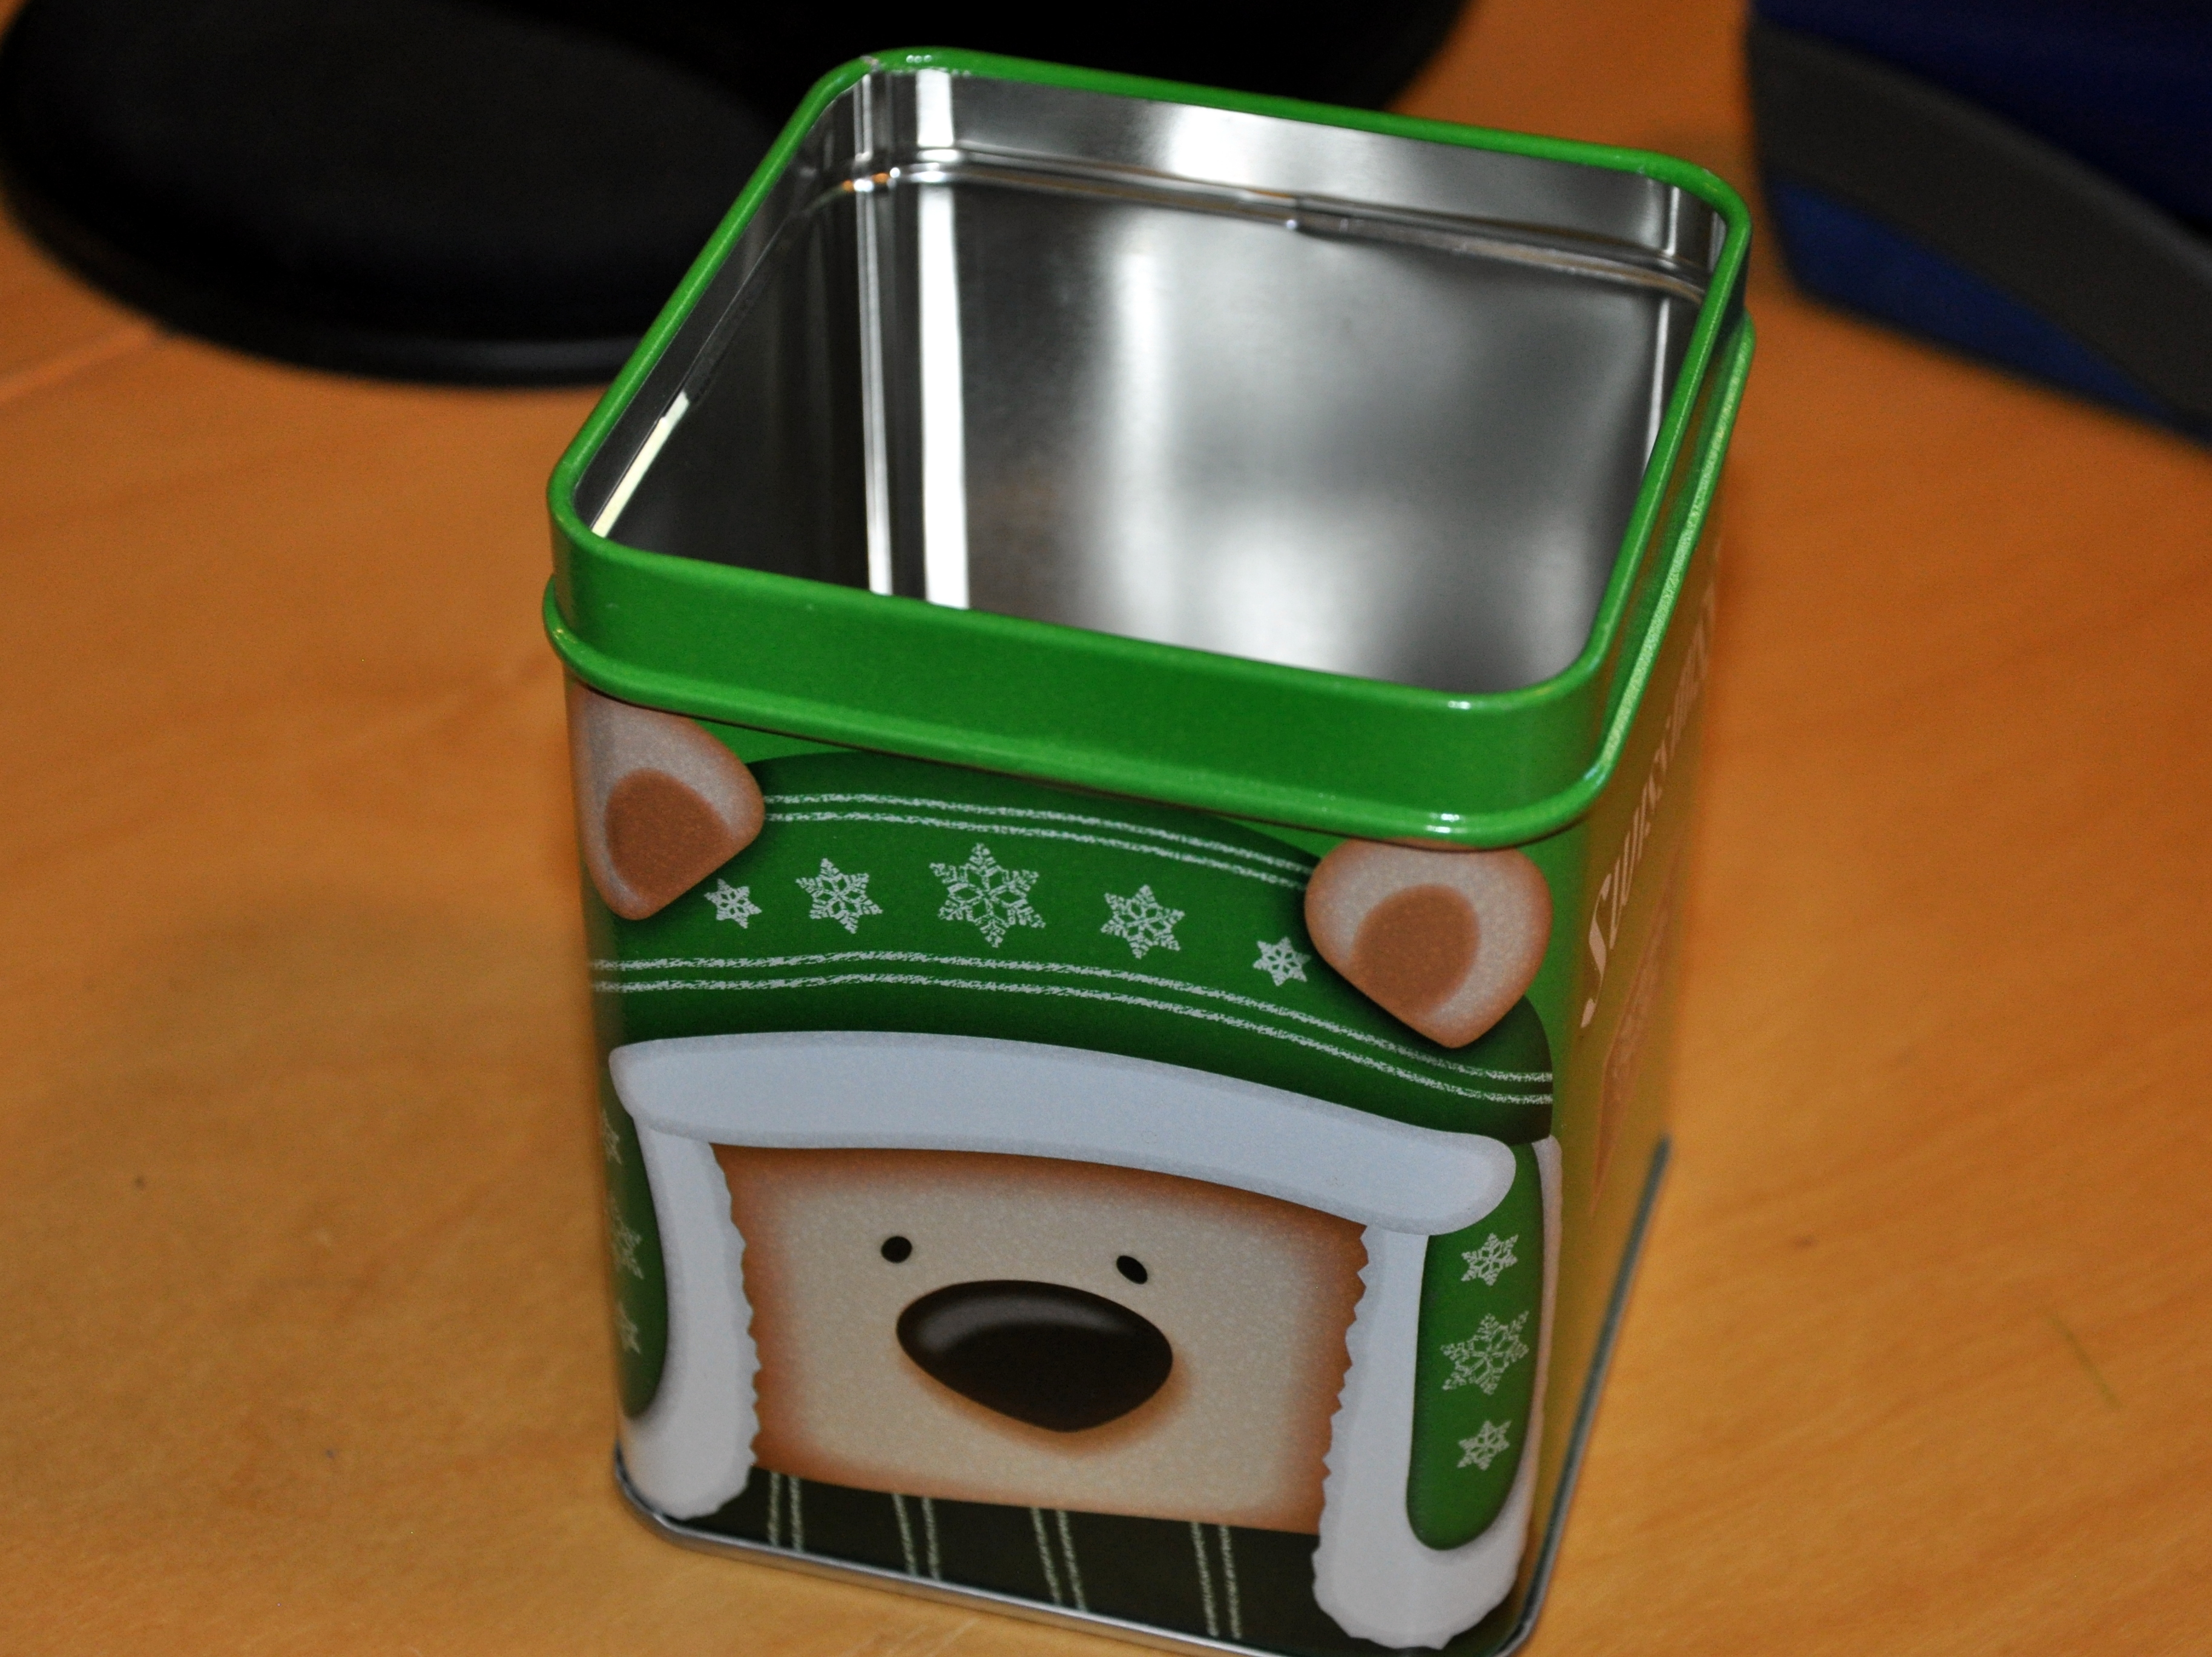
This month my final scrap-happy project pulled together paper scraps, leftover paper doilies, red rick-rack rescued from an unused box of fabric, and small coin envelopes once used by a church. They were part of the big clean-out when a developer purchased the church building that once housed Lifted Spirits. I added pink paper from last year’s projects and made a dozen crafting kits for our Little Free Library.

I gathered the assorted scraps into wax lunch bags. I folded the top with a tag and hole-punched the layers together, tying them with leftover twine.

Thanks as always, Kate. Be sure to checkout the creativity underway at the blogs listed below.

KateGun, EvaSue, Lynn, Lynda,
Birthe, Turid, Susan, Cathy,  Tracy, Jill,
Claire, JanMoira, SandraChris,
ClaireJeanJon, DawnJuleGwen,
Bekki, Sunny, Kjerstin, Sue LVera,
NanetteAnn, Dawn 2, Bear, Carol,
Preeti, EdithDebbierose 

Scrap Happy in Miniature

What’s a ScrapHappy post?

It’s an opportunity, or an excuse, to make something entirely out of scraps. Our host Kate, of Tall Tales from Chiconia, encourages the use of scraps to make something useful or beautiful or both.

If you would like to join us, please see the details at the end of this post.

Several years ago, I bought a beautiful felted wool birdhouse, hung it in a tree, and patiently waited for a nesting bird to make it home. How could they resist something so appealing?

The wooly nest has a small opening, soft, felted wool for warmth, and it’s even perchless to avoid predators.

I hung the cozy nest in different trees and at different heights. Year after year, nothing, and eventually, I gave up. I forgot about it, mostly. Earlier this year, I removed it from the tree, inspected it for insects, and brought it inside.

The wool was dirty and crusty from years outdoors. Even the paper wasps were indifferent. I rinsed the nest in warm water and watched years of dirt and grime fall away. My wooly nest came clean almost immediately.

In honor of ScrapHappy June, I turned the wooly nest into a fairy house.

woolen bird house

Felted wool birdhouse converted into a home for visiting fairies.

Once washed and dried, I removed the bottom stitching and inserted a glass sauce jar.

Glass jar viewed through nesting hole.

Now it can stand up on its own.

Jar inserted inside the birdhouse.

I tucked the wool leaves into the opening and added a piece of broken jewelry to make a window that a woodland faerie might enjoy.

glass jewel faerie garden window

An old piece of glass jewelry makes a superb window

The faerie house sits nestled under our Little Free Library.

Woolen faerie house sitting at the base of the faux tree.

My second scrappy project this month involved revitalizing a miniature version of a Little Free Library. The little, LFL is made from a cardboard box, with matchbook covers and toothpicks inside to form books. Twice, the heavy winds sent the miniature library tumbling through the yard. I knew sturdier measures were in order.

I employed a pair of joined wooden chopsticks that could be plunged deep into the soil, but they looked too new and shiny. I rubbed the sticks with the contents of my morning Roobios, and that did the trick.

chopstick legs

I used chopsticks to make legs for the miniature LFL.

chopsticks stained with tea

My morning tea leaves made a lovely stain.

The wee Little Free Library is in the shadow of the larger one, staked firmly into the ground. If your line of vision is in sync with your imagination, you can spot it from the sidewalk.

Refurbished miniature LFL.

Faerie’s can grab a book from the miniature LFL nearby.

As seen from the walkway.

I love repurposing items into something fun and whimsical. Creating from scraps is both challenging and rewarding, not to mention relaxing. I highly recommend it.

Check out the links below on June 15, 2020, to see the other scrap-happy posts.

KateGun, TittiHeléneEvaSue, Lynn, Lynda,
Birthe, Turid, Susan, Cathy,  Tracy, Jill, Claire, Jan,
Moira, SandraLindaChrisNancy, Alys, Kerry, Claire, Jean,
Joanne, Jon, HayleyDawn, Gwen, Connie, Bekki, Pauline,
Sue L, Sunny, Kjerstin, and Vera

Scrap Happy Faeries Relax at the Lake

What’s a ScrapHappy post?

It’s an opportunity, or an excuse, to make something entirely out of scraps. Our host Kate, of Tall Tales from Chiconia, encourages the use of scraps to make something useful or beautiful or both.

If you would like to join us, please see the details at the end of this post.

This ceramic container is the base of a former cat fountain. It seemed like a good idea at the time, but it was a pain to keep clean. It needed a new filter once a month, and it was heavy to pick up when it was time to transport it to the kitchen.

Our three kitties now get water from several glass bowls, except Tessa, who waits for a running faucet. Mouse prefers the water draining from Mike’s morning shower. Cats!

So this…

Once upon a time: a former ceramic cat water fountain

Empty container, only three-inches deep

…became this.

A quiet retreat in miniature

I couldn’t bear to throw out the container. I started with the idea of a small garden, but the dish is too shallow. Instead, I created a miniature lake-side retreat for imaginary faeries.

I lined the container with blue painter’s tape. In retrospect, I’m not sure it made much of a difference, as the bottom doesn’t show through. I cut a piece of plastic packaging into a wedge, dividing the container into two. The wedge is held in place with more blue tape.

Container lined with leftover blue painter’s tape

A scrap of stiff plastic divides the container

A few more blue pebbles would increase the depth, but scrap happy is all about using what you’ve got on hand. Instead, I used leftover glass vase filler to create volume. I sprinkled smaller blue pebbles on top. A couple of smooth rocks from my garden act as stepping stones into the cool, blue retreat.

The other side of the container started with medium-sized pebbles, graduating to small gravel (think sandy beach). I’ve used these tiny pebbles to mulch my potted succulents.

Protruding ceramic opening wrapped with leftover jute

A mix of New Zealand seashells adds charm to the pebble beach. Those seashells flew home with me from a fabulous New Zealand holiday two years ago. They continue to remind me of a spectacular holiday as well as time with dear friends.

I added a scrap of jute twine to the tube-like opening on the gravel side of the retreat. It once housed the cord for the fountain’s pump.

Rounding out this faerie retreat are three flowering nigellas. They make perfect, faerie-sized parasols, for sheltering from the sun. Nigella seed pods remind me of a few broken umbrellas with spokes still attached, so I placed the pods in the tube for interest.

Faerie sisters enjoying the view.

Nigella blooms make perfect parasols.

These wee faeries sit on a cushion of French lavender, sharing secrets and tossing their cares to the wind.

It’s been a while since I channeled my inner faerie gardener. It’s been so much fun.

Check out the links below on March 15, 2020, to see the other scrap-happy posts.

KateGun, TittiHeléneEvaSue, Lynn, Lynda,
Birthe, Turid, Susan, Cathy,  Tracy, Jill, Claire, Jan,
Moira, SandraLindaChrisNancy, Alys, Kerry, Claire, Jean,
Joanne, Jon, HayleyDawn, Gwen, Connie, Bekki, Pauline,
Sue L, Sunny, Kjerstin, and Vera

Scrap Happy April: Craft Kits at the Curb

Our Little Free Library, surplus children’s books, and craft kits, just off the sidewalk in front of our home.

What’s a ScrapHappy post?

It’s an opportunity or an excuse to make something entirely out of scraps. Our host, Kate, of Tall Tales from Chiconia, encourages the use of scraps to make something useful or beautiful or both.

If you would like to join us, please see the details at the end of this post.

I reorganized and tidied my paper crafting area last week and took a hard look at everything I had. I set aside items that have remained idle. I pulled together paper punches and acrylic stamps, ink pads, and paper, and created small craft kits. In other words, I used some of my scraps and materials so that others could make their own ScrapHappy® creation.

Kate, I hope this still counts.

With children forced out of school for the rest of the year, several Little Free Libraries are offering crafting material to help keep children engaged.

Our library is still open, and at least one grateful teacher has stopped by twice for books. She said she had to leave her classroom and couldn’t bring any of her teaching materials home with her.

In other crafting news, I made a few Easter cards last week.

Would I normally make Easter cards?

No.

Did I buy a packet of adorable paper in 2016 thinking it would be fun to make Easter cards?

Yes.

Card made from Authentique paper, vintage seam binding with inked edges

Now I have time on my hands.

The paper came in a kit, so not technically a scrap, however, all the solid paper, ribbons, and bows are legitimate scraps.

Easter Morn

I’m calling them ScrapHappy® cards in training.

Fingers crossed that I’m not drummed out of all this ScrapHappy® fun.

Here’s a gallery of the Easter cards using Authentique Collection’s Eastertime: (click on individual photos to enlarge)

Check out the links below on March 15, 2020, to see the other scrap-happy posts.

KateGun, TittiHeléneEvaSue, Lynn, Lynda,
Birthe, Turid, Susan, Cathy,  Tracy, Jill, Claire, Jan,
Moira, SandraLindaChrisNancy, Alys, Kerry, Claire, Jean,
Joanne, Jon, HayleyDawn, Gwen, Connie, Bekki, Pauline,
Sue L, Sunny and Kjerstin

ScrapHappy December: Wrapping a Starfish

What’s a Scrap Happy post?

It’s an opportunity or an excuse to make something entirely out of scraps. Our host, Kate, of Tall Tales from Chiconia, encourages the use of scraps to make something useful or beautiful or both.

If you would like to join us, please see the details at the end of this post.

Last month I helped put together a volunteer appreciation afternoon for Front Door Communities/Lifted Spirits. My friend Mary came up with the idea of a starfish keyring as a small thank you gift for our volunteers. The keyrings came packaged in a simple black box.

This is where my scraps come in. I had exactly two sheets of this autumn-themed paper, which I won at a scrapbooking event several years ago. I wanted to include “thank you” somewhere on the gift and came up with the idea of hand-stamping “thank you” and a couple of small stars on a band of paper. I needed 30 bands in all and had just enough to wrap 30 boxes, with enough left over for one bookmark!

Scrap-happy bookmark.

I assembled drawstring bags with the boxed keyring and the thank you band, then added small cinnamon-scented pine cones to help the box stand upright.

Gift bag and pine cones

Small bag, pine cones, black box and a strip of paper before stamping

This is what they looked like assembled on a tray.

Volunteer Appreciation gifts

Why starfish?  Here’s the story:

A young girl was walking along a beach upon which thousands of starfish had been washed up during a storm. When she came to each starfish, she would pick it up, and throw it back into the ocean.

She had been doing this for some time when a man approached her and said, “why are you doing this?  You can’t save all these starfish. You can’t begin to make a difference!”

She bent down, picked up another starfish, and tossed it into the ocean. Then she looked up at the man and replied, “Well, I made a difference to that one.”

Positive Promotions starfish key ring

Boxed starfish keyring with a parable

Our volunteers make a difference

These small crafty projects are about all I have time for of late, but they’re satisfying nonetheless.

If you would like to join us, please let Kate know.

Wishing you a happy, scrappy holiday!

Starfish Keyring: One Person Can Make a Difference

Starfish Keyring: One Person Can Make a Difference

Check out the links below on December 15th to see other scrap-happy posts.

KateGun, TittiHeléneEvaSue, Nanette, Lynn, Lynda,
Birthe, Turid, Susan, Cathy, Debbierose, Tracy, Jill, Claire, Jan,
Moira, SandraLindaChrisNancy, Kerry, Claire, Jean,
Joanne, Jon, HayleyDawn, Gwen, Connie, Bekki, Pauline, and Sue L.

ScrapHappy November: Wall Calendar Bookmarks

I’m joining Kate, of Tall Tales from Chiconia, for her monthly scrap-happy blog post. The challenge is to create something made entirely of scraps, or as Kate put it this month it’s “time to show stuff made from bits of other stuff!”

This month I converted pages from my old wall calendars into bookmarks for our Little Free Library. With a library at the curb, it’s a fun excuse to make several bookmarks at once.

Sample calendars

The Nature Conservancy calendar and bookmark: photograph Rick Flematti Nature Photography

Bird calendar page into bookmark: photograph Loic Poidevin

Being the animal lover that I am, I’m on mailing lists for the Humane Society Silicon Valley (HSSV) and the Nature Conservancy. Their calendars are too beautiful to toss so I upcycle the pages into an assortment of things.

Time is short, so nothing fancy this month.

I perused my stash, set aside pictures that would work for the scale of a bookmark and then located the most strategic center.

Sweetness overload

A pair of puppy bookmarks

A trio of kitty calendar bookmarks

From our HSSV calendar (the book is a gift from my friend Kelly)

Will you look at those puppy-dog eyes?

More puppies

I cut a 6 x 6-inch focal point from the center of the calendar, then score at the two-inch mark on either side.  I fold it into thirds and glue the layers together. These gorgeous calendars get a second life.

It’s surprising how relaxing this simple craft can be. I enjoyed revisiting the beautiful nature photography, and I smiled at the notion of all those cats and dogs going to their forever home.

That’s it for this month. I’m off to see how the rest of the bloggers below are using their scraps.

Check out the links below on November 15th to see other scrap-happy posts.

KateGun, TittiHeléneEvaSue, Nanette, Lynn, Lynda,
Birthe, Turid, Susan, Cathy, Debbierose, Tracy, Jill, Claire, Jan,
Moira, SandraLindaChrisNancy, Kerry, Claire, Jean,
Joanne, Jon, HayleyDawn, Gwen, Connie, Bekki, Pauline, and Sue L.

ScrapHappy August: Tie-Dyed Wet Wipes

It’s true. This month’s scrap-happy card project uses tie-dyed wet wipes. Four year old, tie-dyed wet wipes, just to be sure that they are good and dry.  [Smirk]

I’m joining Kate, of Tall Tales from Chiconia, for her monthly scrap-happy blog post. The challenge is to create something made entirely of scraps.

A few year’s back I took a card-making class with my sister from Michael Strong.

Michael had us create cards using  baby wipes, normally reserved for changing nappies or diapers and a few drops of alcohol ink.

alchohol ink Tim Holtz baby wipes

Alcohol Inks by Tim Holtz

baby wipe tie dye

White backing paper and tie-dye affect using baby wipe and inks

After the ink dries, you attach the wipe to a sticky backing for support. I came home with several finished cards, a pile of tie-dyed samples and lots of good intentions.

tie dyed wet wipes

Samples of ink-dyed wet wipes

These past four years flew by!

With ScrapHappy August looming, I pulled out my four-year-old stash of faux tie-dyed wipes looking for inspiration. One by one, I ran each sample through my Big Shot die-cutting machine, and I was off having fun.

In class we made simple backgrounds using the tie-dyed sheets. I took it a step further and cut the samples into interesting shapes.

Here’s one for Halloween: I used the shadow cut of a “trick or treat” die and a circle to emulate the moon. I used an “oops” card to make the grey shadows, simply tearing the edges and adhering to the top and bottom of the card. That’s supposed to be a bat over the moon, but only if you’re hard of seeing. I’ll have to fix that.

Halloween tie dye card

Next up, a Christmas card using one of my sister’s snowflake dies and a blue and purple dyed wet wipe.

wet wipes merry christmas tie dye card

Ink-dyed wet wipe and snowflake die

This thank you card is going to our Lifted Spirits summer intern. She’s been a wonderful addition to our team. We’re going to miss her.

I die cut the daisy background , then made a frame to hide the jagged edges. The sentiment  “Thanks” is also from a tie-dyed sample.

thank you tie dye card

Ink-dyed wet wipe and two die cuts, daisy background and thanks sentiment

This meandering plant die is one of my favorites. It’s a gift from my friend Pauline.  I love the mixture of blues and greens.

If I did this again, I would not remove the sticky backing. I had to arm wrestle all those tiny bits into position and the backing kept sticking to itself, even when peeling slowly.  The colors are gorgeous though, and it’s interesting how much texture you’ll find in these wipes.

wet wipes tie dye card trellis

Ink-dyed wet wipe and meandering plant die

I still have several shapes to work with in the future, and as always, it’s great working with what you have.

I’m off to see what the rest of you are up to this month. Here are some links to other August scrap-happy posts.

Kate Gun, TittiHeléneEvaSue, Nanette, Lynn, Lynda,
Birthe, Turid, Susan, Cathy, Debbierose, Tracy, Jill, Claire, Jan,
Moira, SandraLindaChrisNancy, Kerry, Claire, Jean,
Joanne, Jon, HayleyDawn, Gwen, Connie, Bekki, Pauline and Sue L.


Scrap-Happy July: Cards and Letters Come Full Circle

I’m joining Kate, of Tall Tales from Chiconia, for her monthly scrap-happy blog post. The challenge is to create something made entirely of scraps.

Here is the inspiration for this month’s scrappy project.

I’ve been friends with Carrielin for nearly forty years. We met doing theatre at San Jose State in 1980. After she left the area, we stayed in touch the old-fashioned way: through cards and letters. Recently Carrielin came across a box of correspondence from me, mailed between 1989 and 1994. She re-read the letters, then offered to send them my way.  My dear friend mailed the cards with little notes attached letting me know what she had liked about certain cards. Isn’t that the sweetest?

Assorted cards sent to Carrielin in the early 90’s

It took some emotional preparation to re-read what I had written nearly three decades ago. When the time felt right, I read each one. Then I hatched a plan.

Now parts of those cards are heading her way once again, but this time as slivers of the past.

I decided to try a paper-piecing pattern shared by Kate on her blog. Kate is collecting gorgeous quilt squares to include in an ovarian cancer fundraising quilt. She’s done several over the years, with blocks she and other quilters create based on a theme and the color teal. You can read more about her efforts here.

One of Kate’s squares for the theme Scinteallation is called Basketweave Braid Star, a paper piecing pattern by Nydia Kehnle. You can have a look at Kate’s gorgeous paper-piecing star on her blog.

Using her design, I cut strips from several of the cards using blues and creams. I chose bits of the cards that represented our interests, including theater and dance, whimsy, art, flowers, cats (of course) and the Victorian era. I used card backings which are generally white, and I even included her name from one of my letters.

Carrielin loves dance and teddy bears
Strips of original cards featuring interesting details

There was only one blue envelope in the batch, so I carefully cut triangles to create the star effect.

Pale blue envelope postmarked 1989.

Here is the finished card with the envelope border.

Finished card using strips of greeting cards with a recycled envelope border
The finished card

Do you like crafting from scraps? Why not join us for the next round.

From Kate’s blog:

“ScrapHappy is open to anyone using up scraps of anything – no new materials. It can be a quilt block, pincushion, bag or hat, socks or a sculpture. Anything made of scraps is eligible. If your scrap collection is out of control and you’d like to turn them into something beautiful instead of leaving them to collect dust in the cupboard, why not join us on the 15th of each month? You can email Kate at the address on her Contact Me page. You can also contact Gun, via her blog, to join. We welcome new members. You don’t have to worry about making a long-term commitment or even join in every month, just let either of us know a day or so in advance if you’re new and you’ll have something to show, so we can add your link. Regular contributors will receive an email reminder three days before the event.”

Scrap-Happy March: Paper Greens

I’m joining Kate, of Tall Tales from Chiconia, for her monthly scrap-happy blog post. The challenge is to use scraps from other projects to make something useful, beautiful, or both. Several bloggers post once a month showcasing a project made entirely from scraps.

This month I’m using green paper scraps and pages from an old wall calendar.

I started with this pile of paper scraps…

green scrap paper

Green just happens to be my favorite color

Assorted pages from an old gardening calendar

Old Farmer's Almanac Calendar

The Old Farmer’s Almanac Gardening Calendar

And a green Christmas tin.

Swiss Miss chocolate tin

Swiss Miss chocolate tin

I made three greeting cards…

Green strip quilt card

Card made from scraps of green paper and a calendar cut-out

calendar page card with vintage ribbon

Calendar page card with vintage ribbon rests near deep purple hyacinth

Tri-fold card

Tri-fold card

…and about 30 bookmarks. Here’s one made from the center of a calendar page.

calendar page bookmark

Calendar page bookmark with vintage seam binding

I also made a sign for our Little Free Library in honor of St. Patrick’s Day this coming Monday, and I covered a hot chocolate tin to hold the bookmarks.

four leaf clover lore

A bit of four-leaf clover lore in our LFL

Little Free Library with green books

Books with green spines and a covered Christmas tin full of bookmarks

All three cards incorporated bits of the calendar and paper scraps. I like creating like this, with a small pile of bits and bobs and no real plan.

I used a small bird drawing from the calendar for the first card

The trifold card incorporates the center panel from one of the calendar pages on the cover and on the inside of the card.

The third card is simply a photograph from a Nature Conservancy calendar, tied with vintage seam binding. I used a die to cut a note of thanks from a green paper scrap.

The bookmarks are an eclectic bunch. I used several scraps of green paper, bits of vintage seam binding, Washi tape, and again, parts of my Old Farmer’s Almanac calendar. Lexi, my artistic friend, designed her own Washi tape. You can see it here along with several of her other creations.

The green theme won’t last long in the Little Free Library as books come and go, but it has been fun playing with paper and ideas. Thanks for inspiring me to slow down, Kate, and to take some time to play.

Do you like crafting from scraps? Why not join us for the next round.

Little Free Library with green books and bookmarks

Little Free Library filled with green books, bookmarks and a note about four-leaf clover lore.

It *is* easy being green! (Sorry, Kermit).

From Kate’s blog:

“ScrapHappy is open to anyone using up scraps of anything – no new materials. It can be a quilt block, pincushion, bag or hat, socks or a sculpture. Anything made of scraps is eligible. If your scrap collection is out of control and you’d like to turn them into something beautiful instead of leaving them to collect dust in the cupboard, why not join us on the 15th of each month? You can email Kate at the address on her  Contact Me page. You can also contact Gun, via her blog, to join. We welcome new members. You don’t have to worry about making a long-term commitment or even join in every month, just let either of us know a day or so in advance if you’re new and you’ll have something to show, so we can add your link. Regular contributors will receive an email reminder three days before the event.”

Scrap Happy August

I’m joining Kate of Tall Tales from Chiconia  for another monthly scrap-happy blog post. The challenge is to use scraps from other projects to make something useful, beautiful or both. Several bloggers post once a month showcasing a project made entirely from scraps.

I’m sharing a couple of scrappy cards this month using a style I learned in a card-making class earlier this year. It’s called a z fold card because of the shape it makes when opened. The cards we made in class were too fussy for my taste, but I really liked the lines. Half the fun of learning something new, is coming home and making it in your own style.

The first card went to Anne who blogs at Anne Lawson Art. Anne is an amazing artist with a special love of feathers. She sells her work in her Etsy shop. If you aren’t already following Anne, go have a look around. Her work will take your breath away.

I started with a general idea, but Anne’s card evolved over time. Out of a pack of assorted paper I found a single page of white feathers on a gray background. Kismet! I had to set that one aside for Anne. Then I found a couple of feather ephemera in a box of scraps. I couldn’t believe my luck. I had a small scrap of paper with “friend” written in a variety of languages, and finally I had all I needed for Anne’s card.

feathered z-card

Feathers and friendships: A z-card for Anne

That said, you crafty types know that it’s not done till it’s done. The open card needed a little extra something. Knowing Anne’s love of nature, I decided to add a cut out of a nature scene from a book I brought home from Germany nearly thirty years ago. They published Holden’s Nature Notes posthumously in a book called The Country Diary of an Edwardian Lady. I loved the art and had hoped to brush up on my German at the time by reading the beautiful entries. All these years later, one of Holden’s pages made it in to Anne’s card.

feathered z card with holden art

Assorted scraps often make the best cards

A small strip of Washi tape and a bit of sparkle and the card was ready for the post.

opened feathered z card

The opened card forms a box

Thumbing through Edith Holden’s book inspired a second card. Her illustrations are gorgeous. I also love the old, parchment-colored paper. Time to take it off the shelf and give some of the pages a second life.

Edith Holden book cover

Edith Holden’s beautiful art

I used the same z-fold card format for my friend’s birthday card. Paper scraps formed the bottom of the card, while punched pages from my Holden book decorate the facade and the interior. I kept this design simple, letting the illustrations speak for themselves.

birthday z-card

A birthday card for a friend

opened z-card

Opened z-card

Edith Holden calendar page

One of Edith Holden’s calendar pages

Edith Holden illustrations

Edith Holden illustrations

Are you joining this month’s scrap-happy blog hop? Please post your link or comment below.

Thanks for inspiring us, Kate.

From Kate’s blog:

“ScrapHappy is open to anyone using up scraps of anything – no new materials. Anything made of scraps is eligible. If your scrap collection is out of control and you’d like to turn them into something beautiful instead of leaving them to collect dust in the cupboard, why not join us on the 15th of each month? You can email Kate at the address on her Contact Me page. New members are welcome. No long-term commitment required. Regular contributors will receive an email reminder three days before the event.”