
As the winter solstice approached earlier this week, I mentally composed a blog post, yet here it is, Christmas Eve and I’m just sitting down to write. December has been a time warp, bending to life’s whim and disregarding my preference for a calm and ordered season.

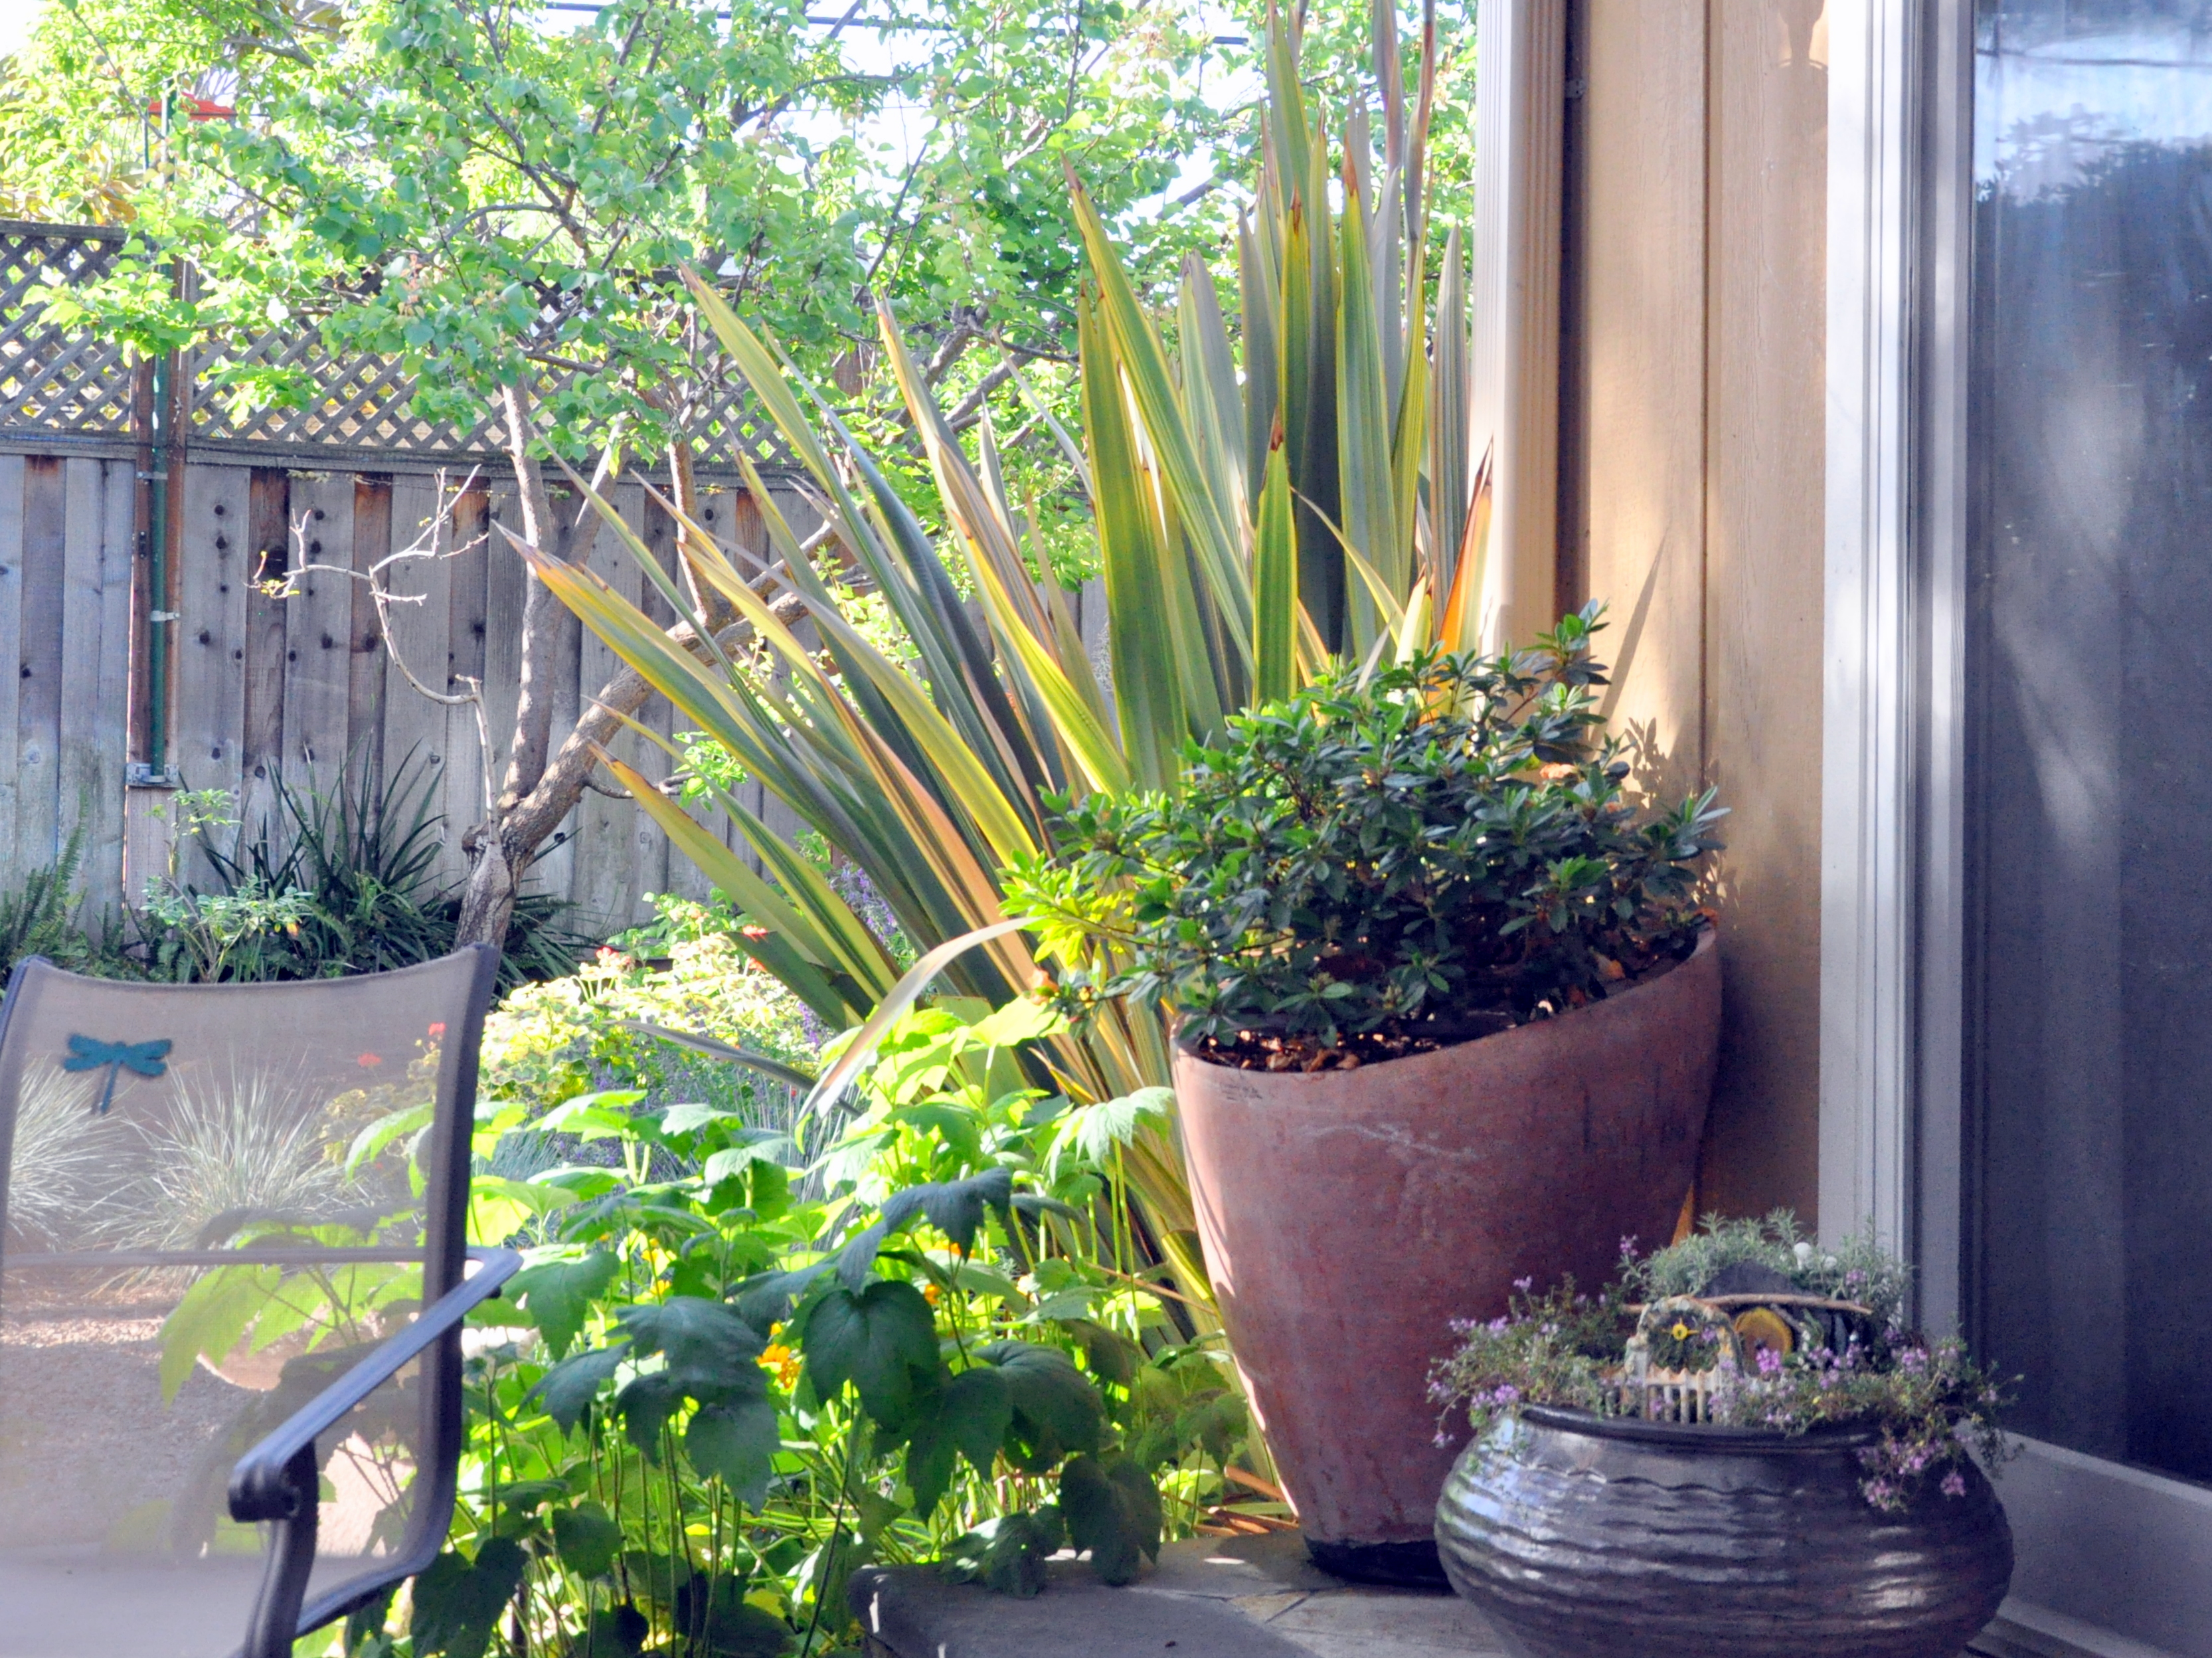
Nature is a balm, a lovely escape from the daily grind, a place to be in mind, body, and soul when all you have to do is step outside. Migrating birds are passing through, singing in the now-barren trees. I can’t help but look up, pause, and enjoy the chatter. The squirrels are active along the fences, dropping into the garden and scratching at the earth to bury their stash. Anna’s hummingbirds stay year-round and are chasing each other away from one of the feeders as I write this post.

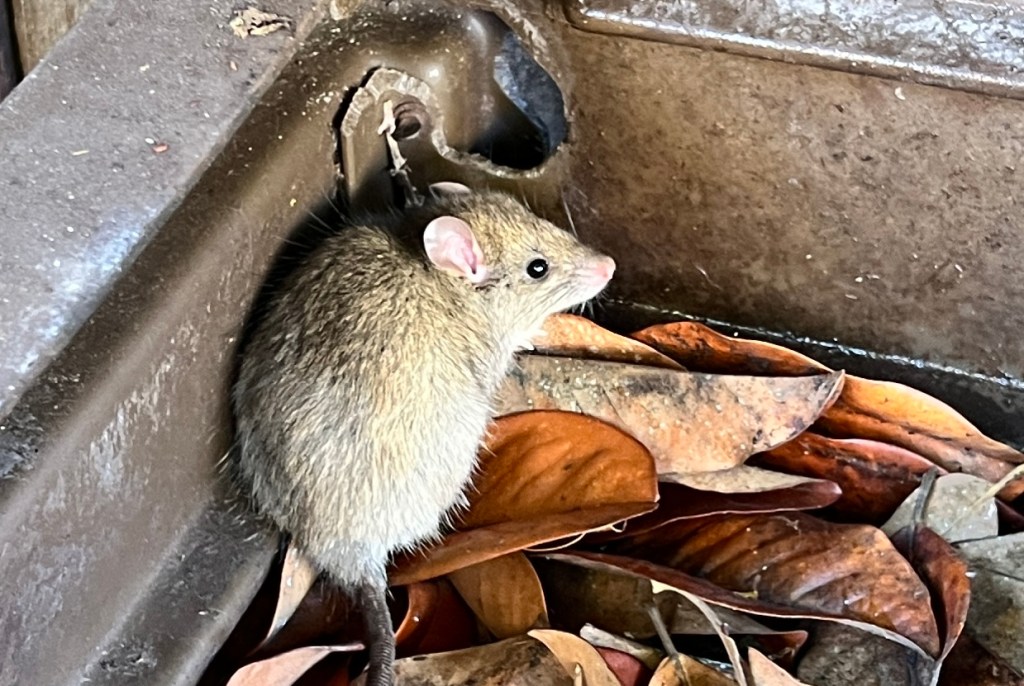
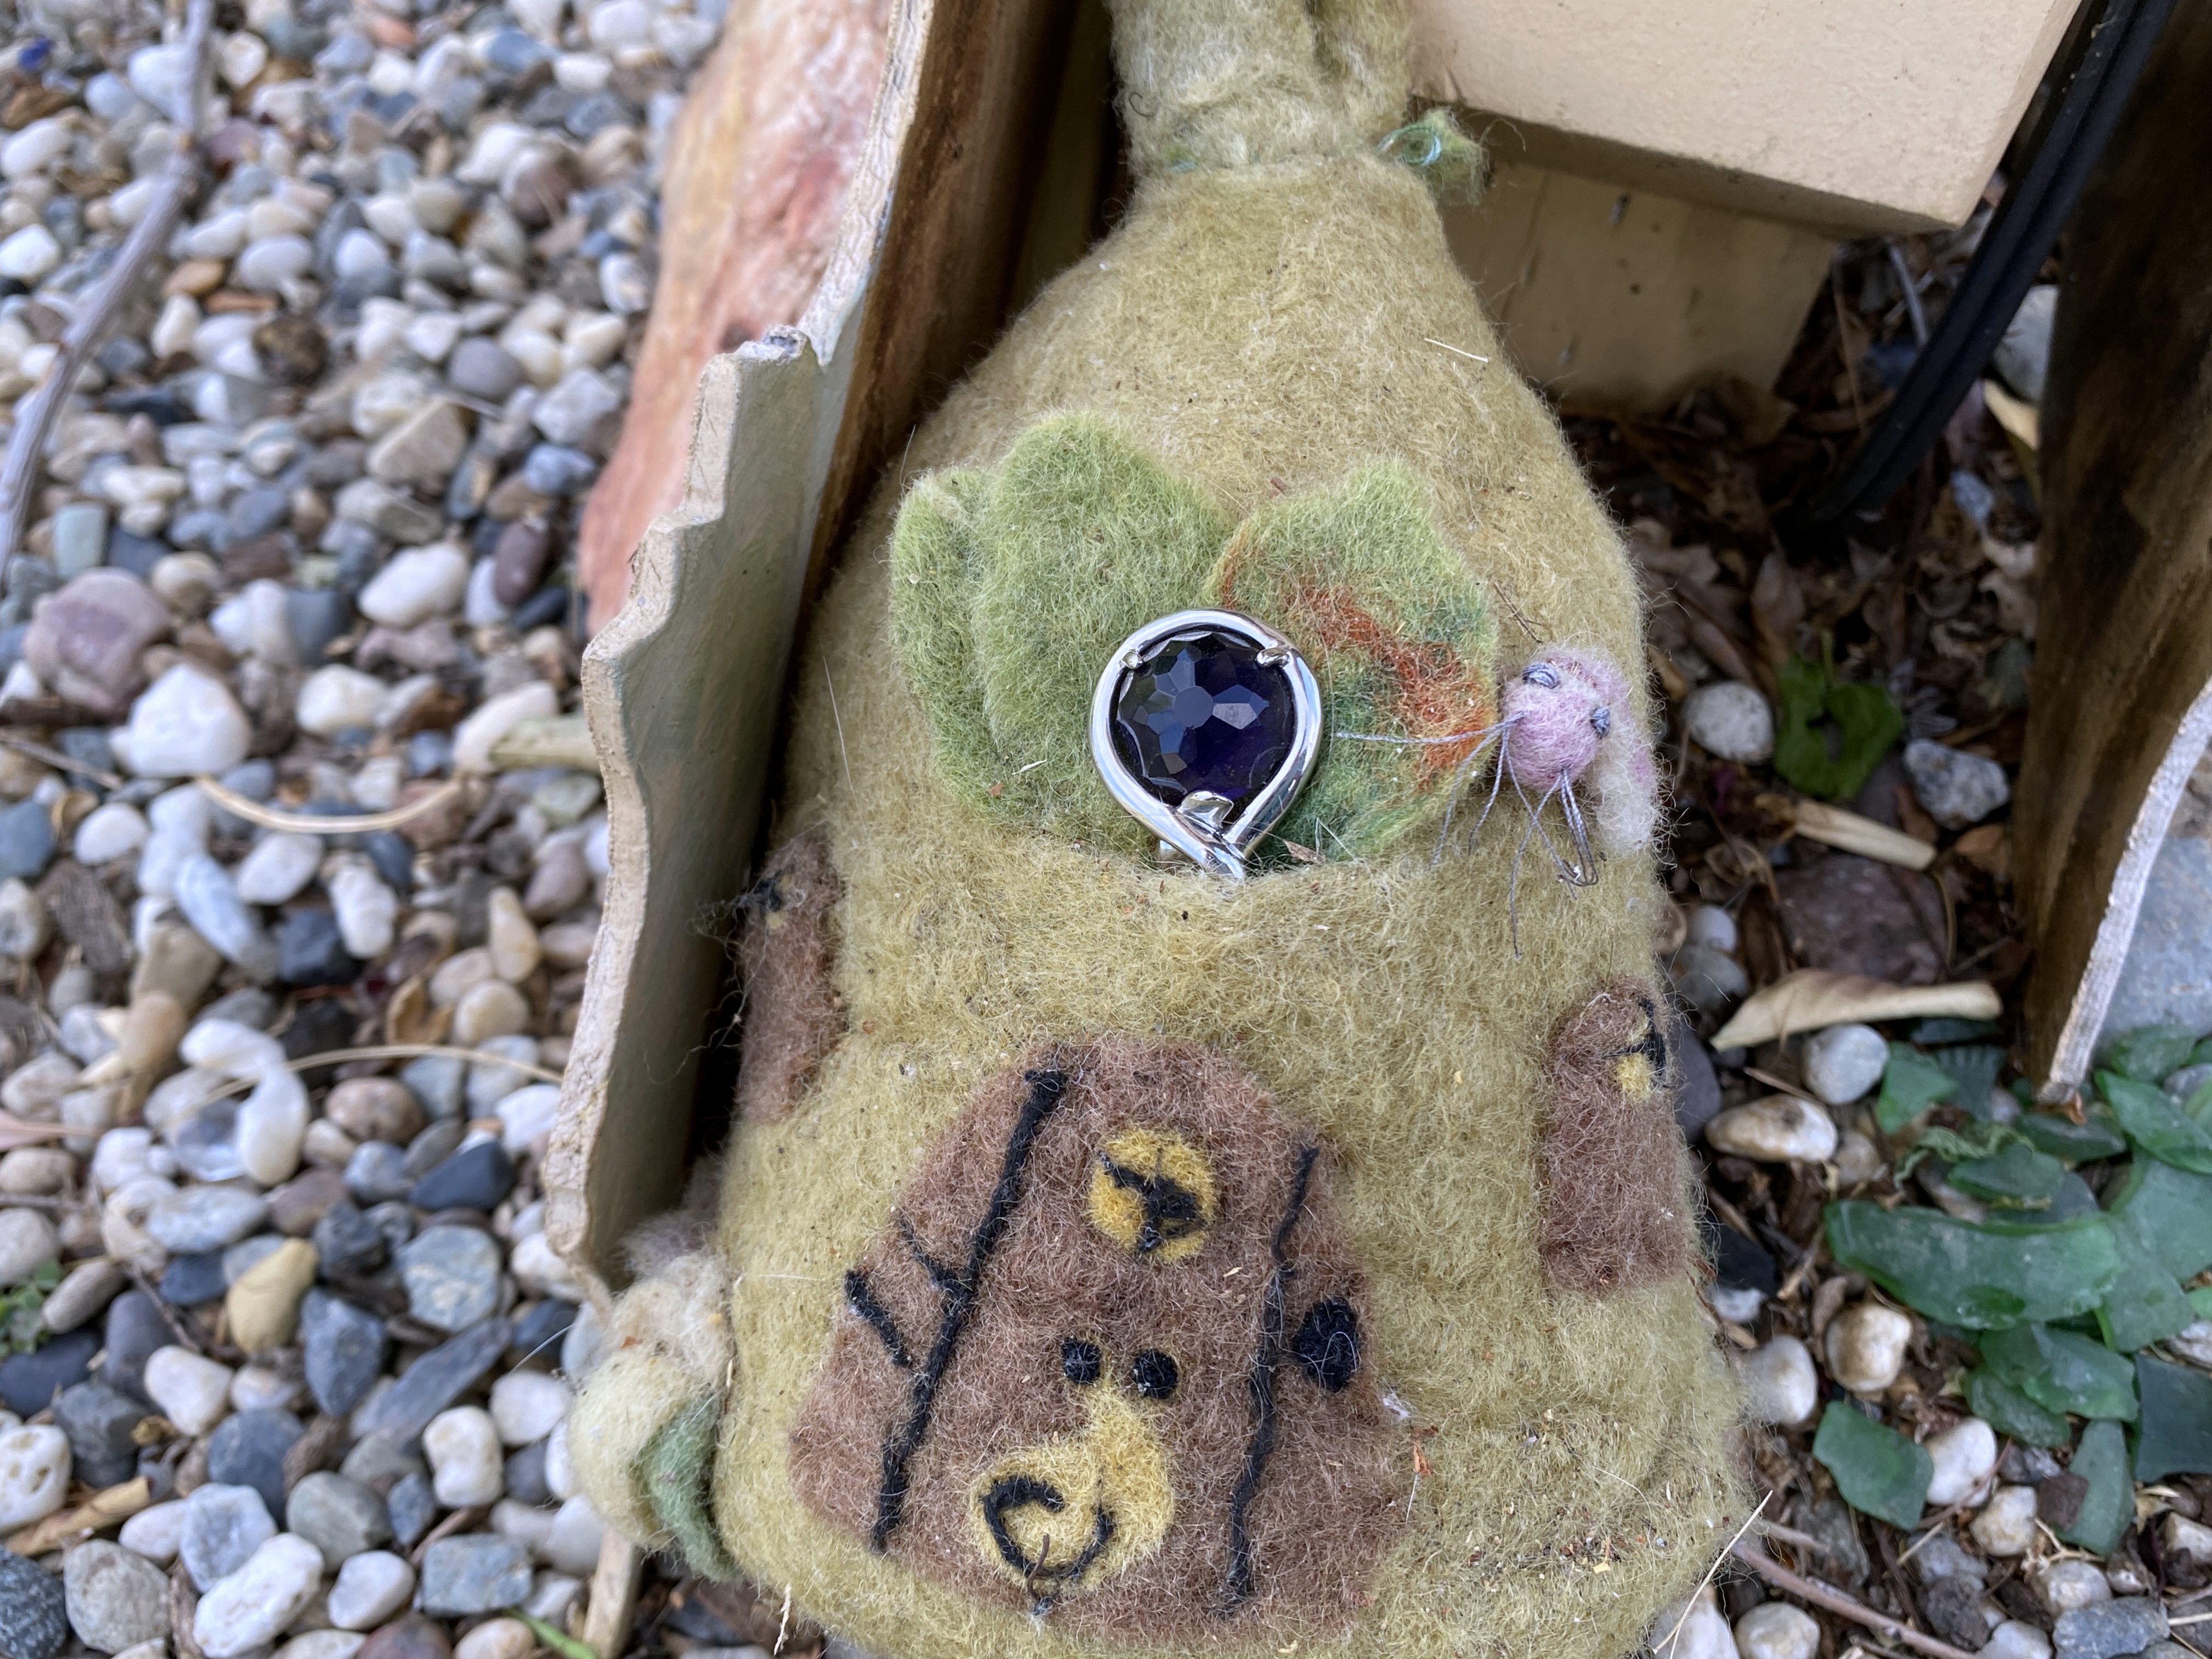
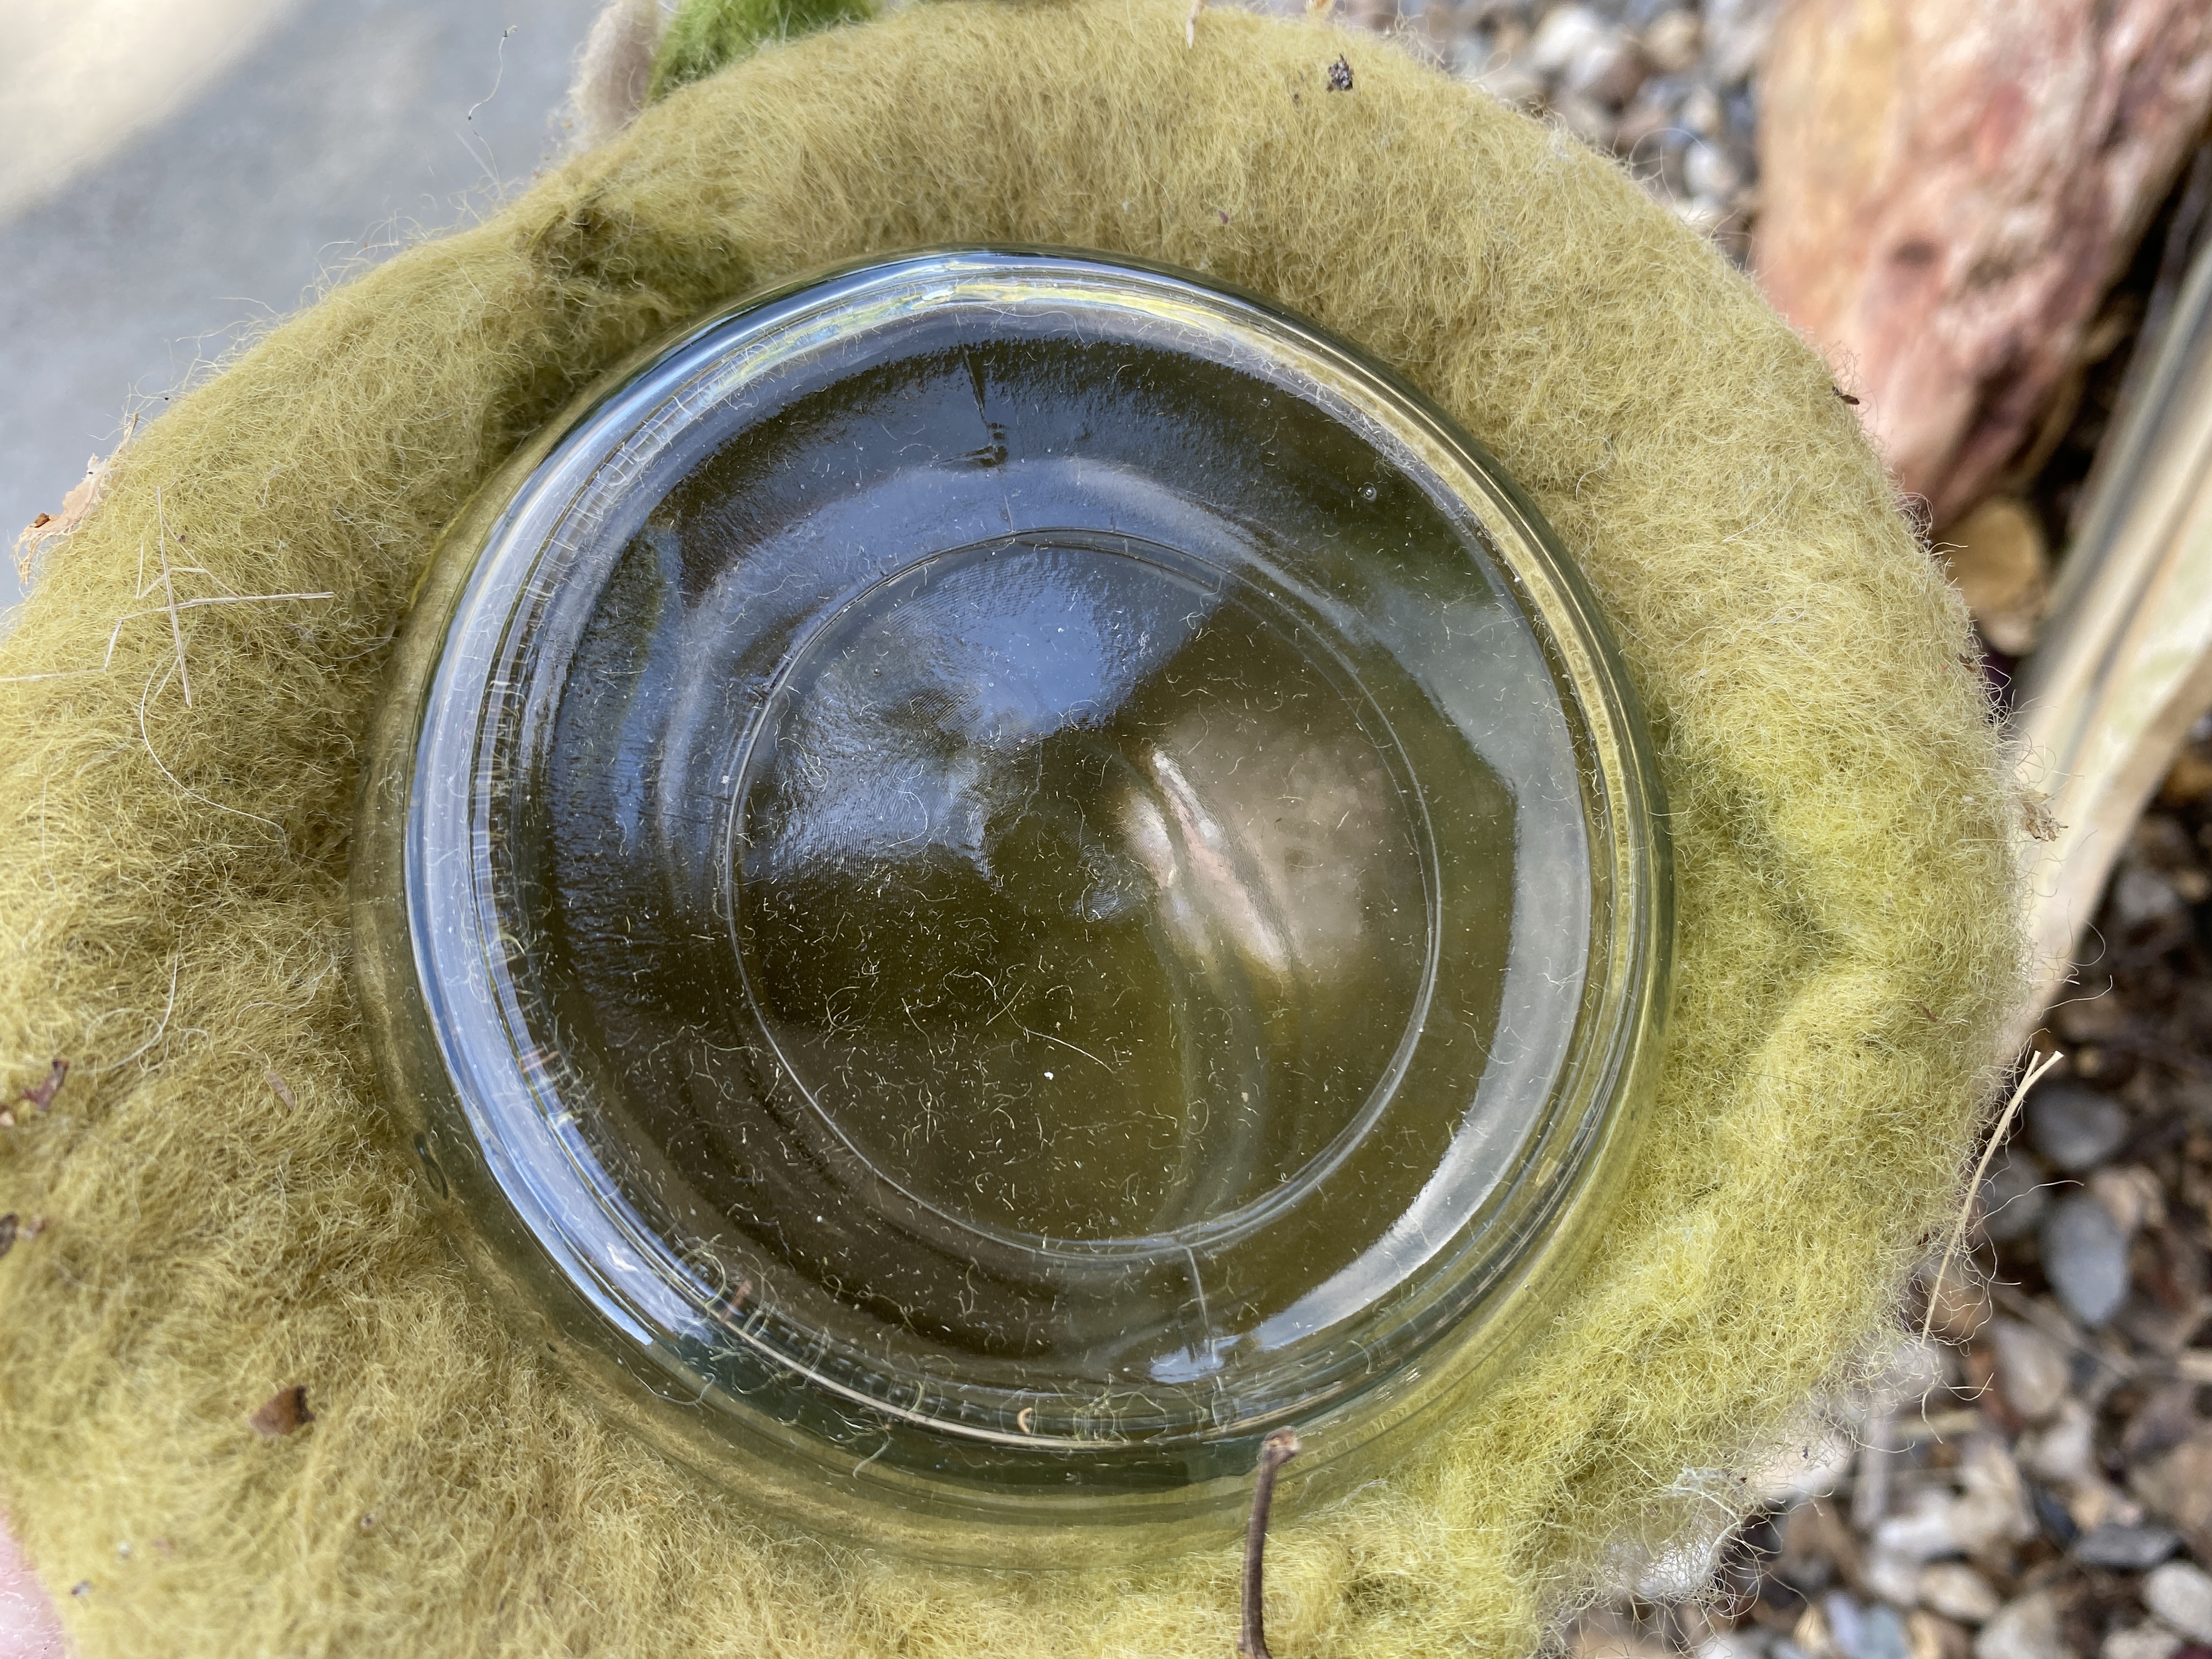
I startled this little critter in the compost bin.
We had a few days of rain this week, clearing away the trapped valley smog and refreshing the air while providing moisture for the garden.

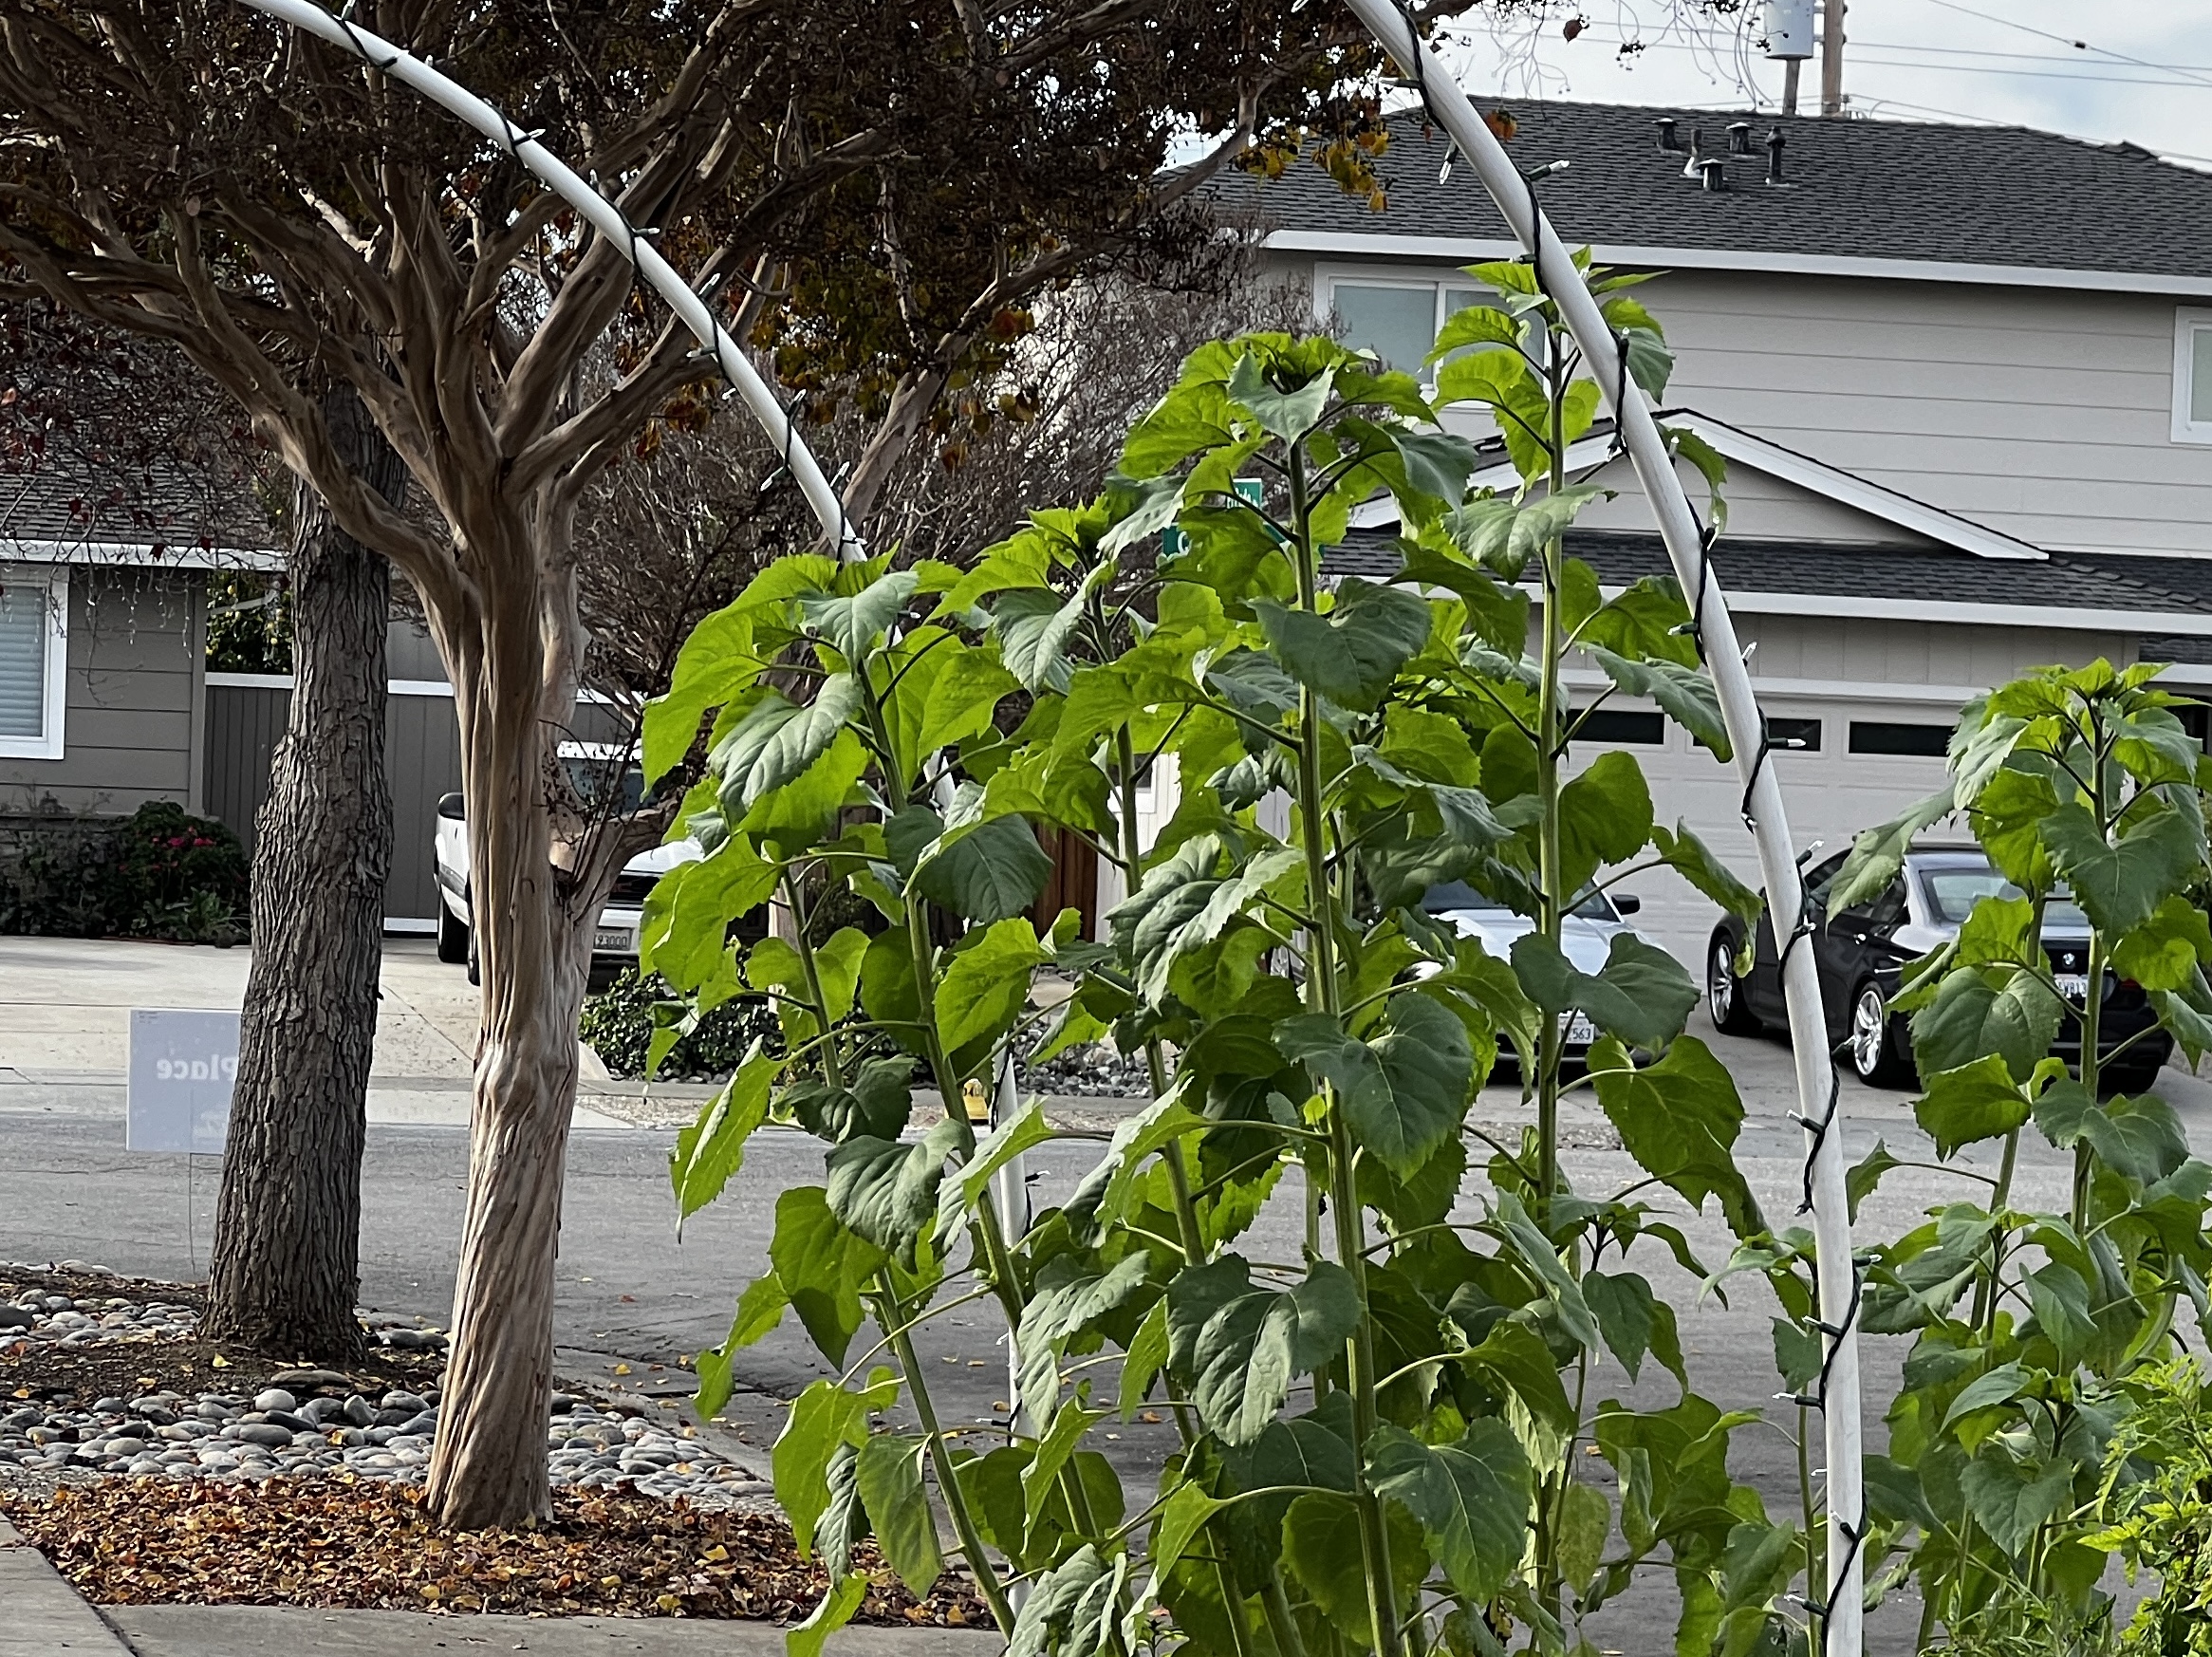
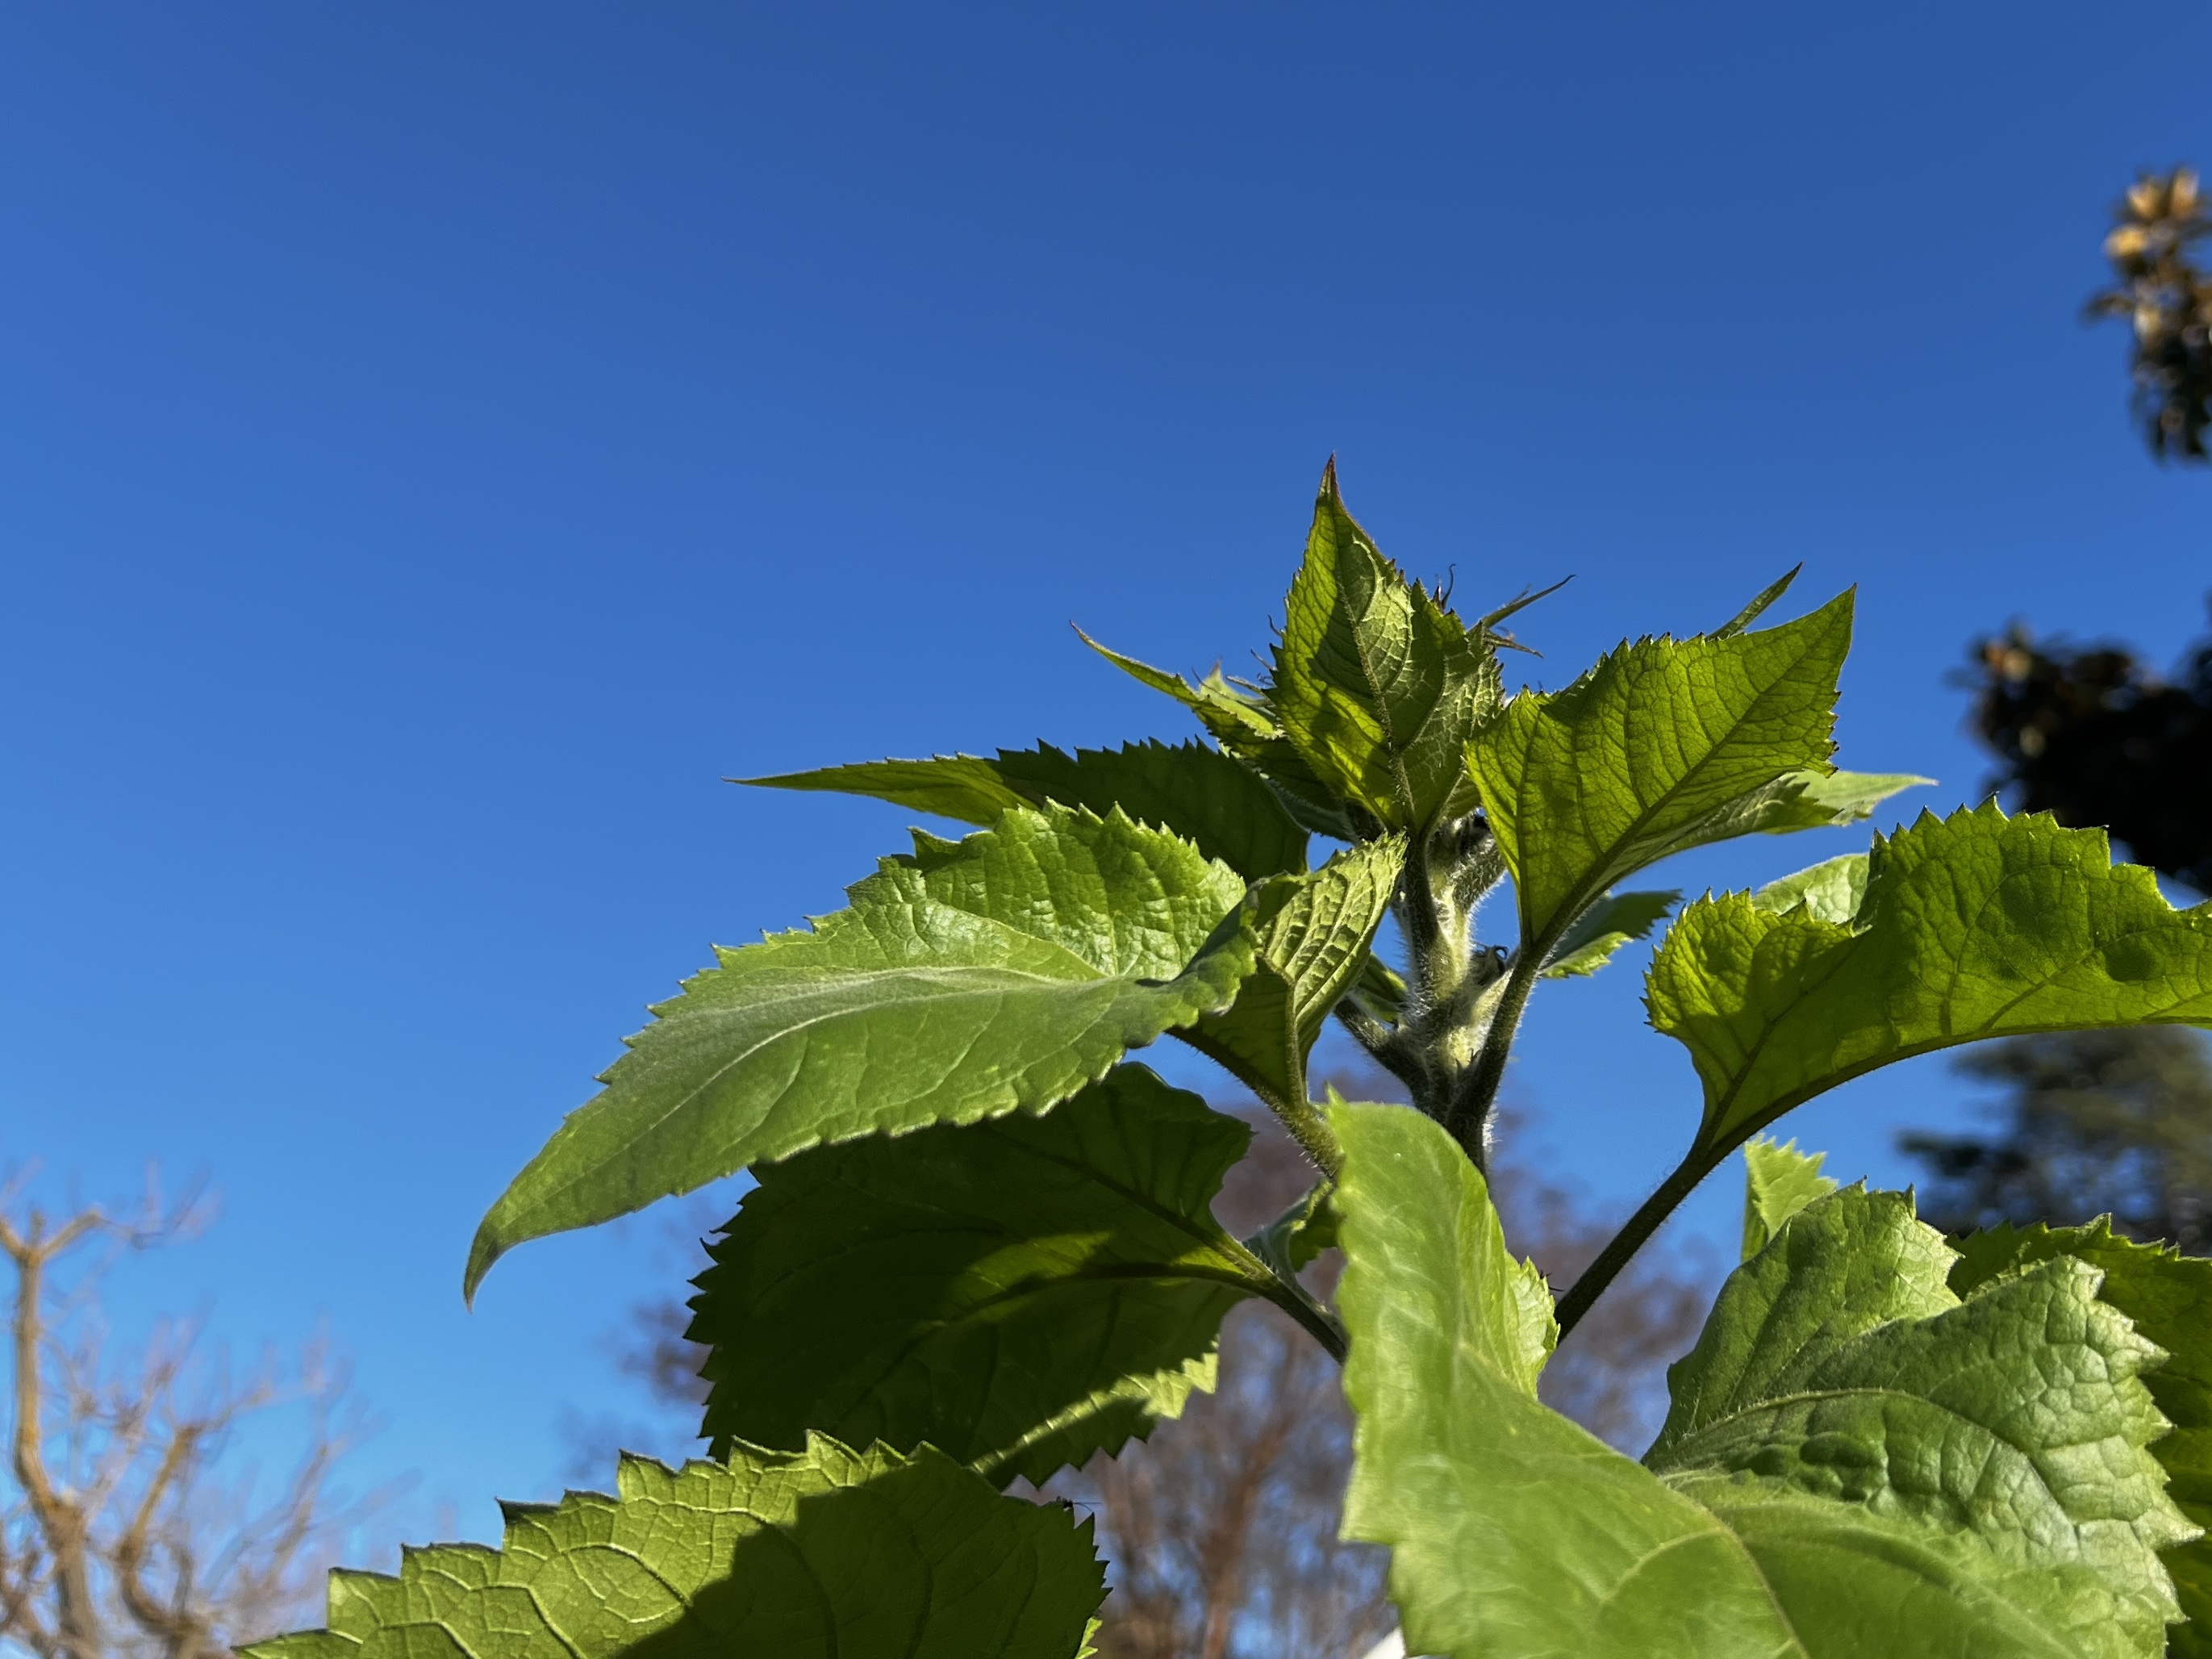
To my amazement, an unseasonable sunflower crop thrives even after a few days of frost. The plants are seven feet tall, with one promising to flower by Christmas. I’ve never grown sunflowers in winter and assumed the seeds dropped by the summer crop or planted by the squirrels would remain dormant till next spring. I’m always learning.
There are signs of life everywhere with the promise of a cheerful spring. I had naively been pulling up California poppies when they died back, but further reading advised cutting the plant back without disturbing the root system. I’m reaping the benefits of that advice with lacy green foliage throughout the front garden. My beloved hyacinth is sprouting, along with freesia and an unexpected single paperwhite Narcissus tazetta.

Our recent storm ended my leaf-raking for the year, which I will miss, believe it or not. That same storm invited weeds to sprout, and the violets are again trying to take over, so there will be plenty to keep me engaged.
I hope you have a lovely holiday season, a Merry Christmas, and all good things in the coming year.
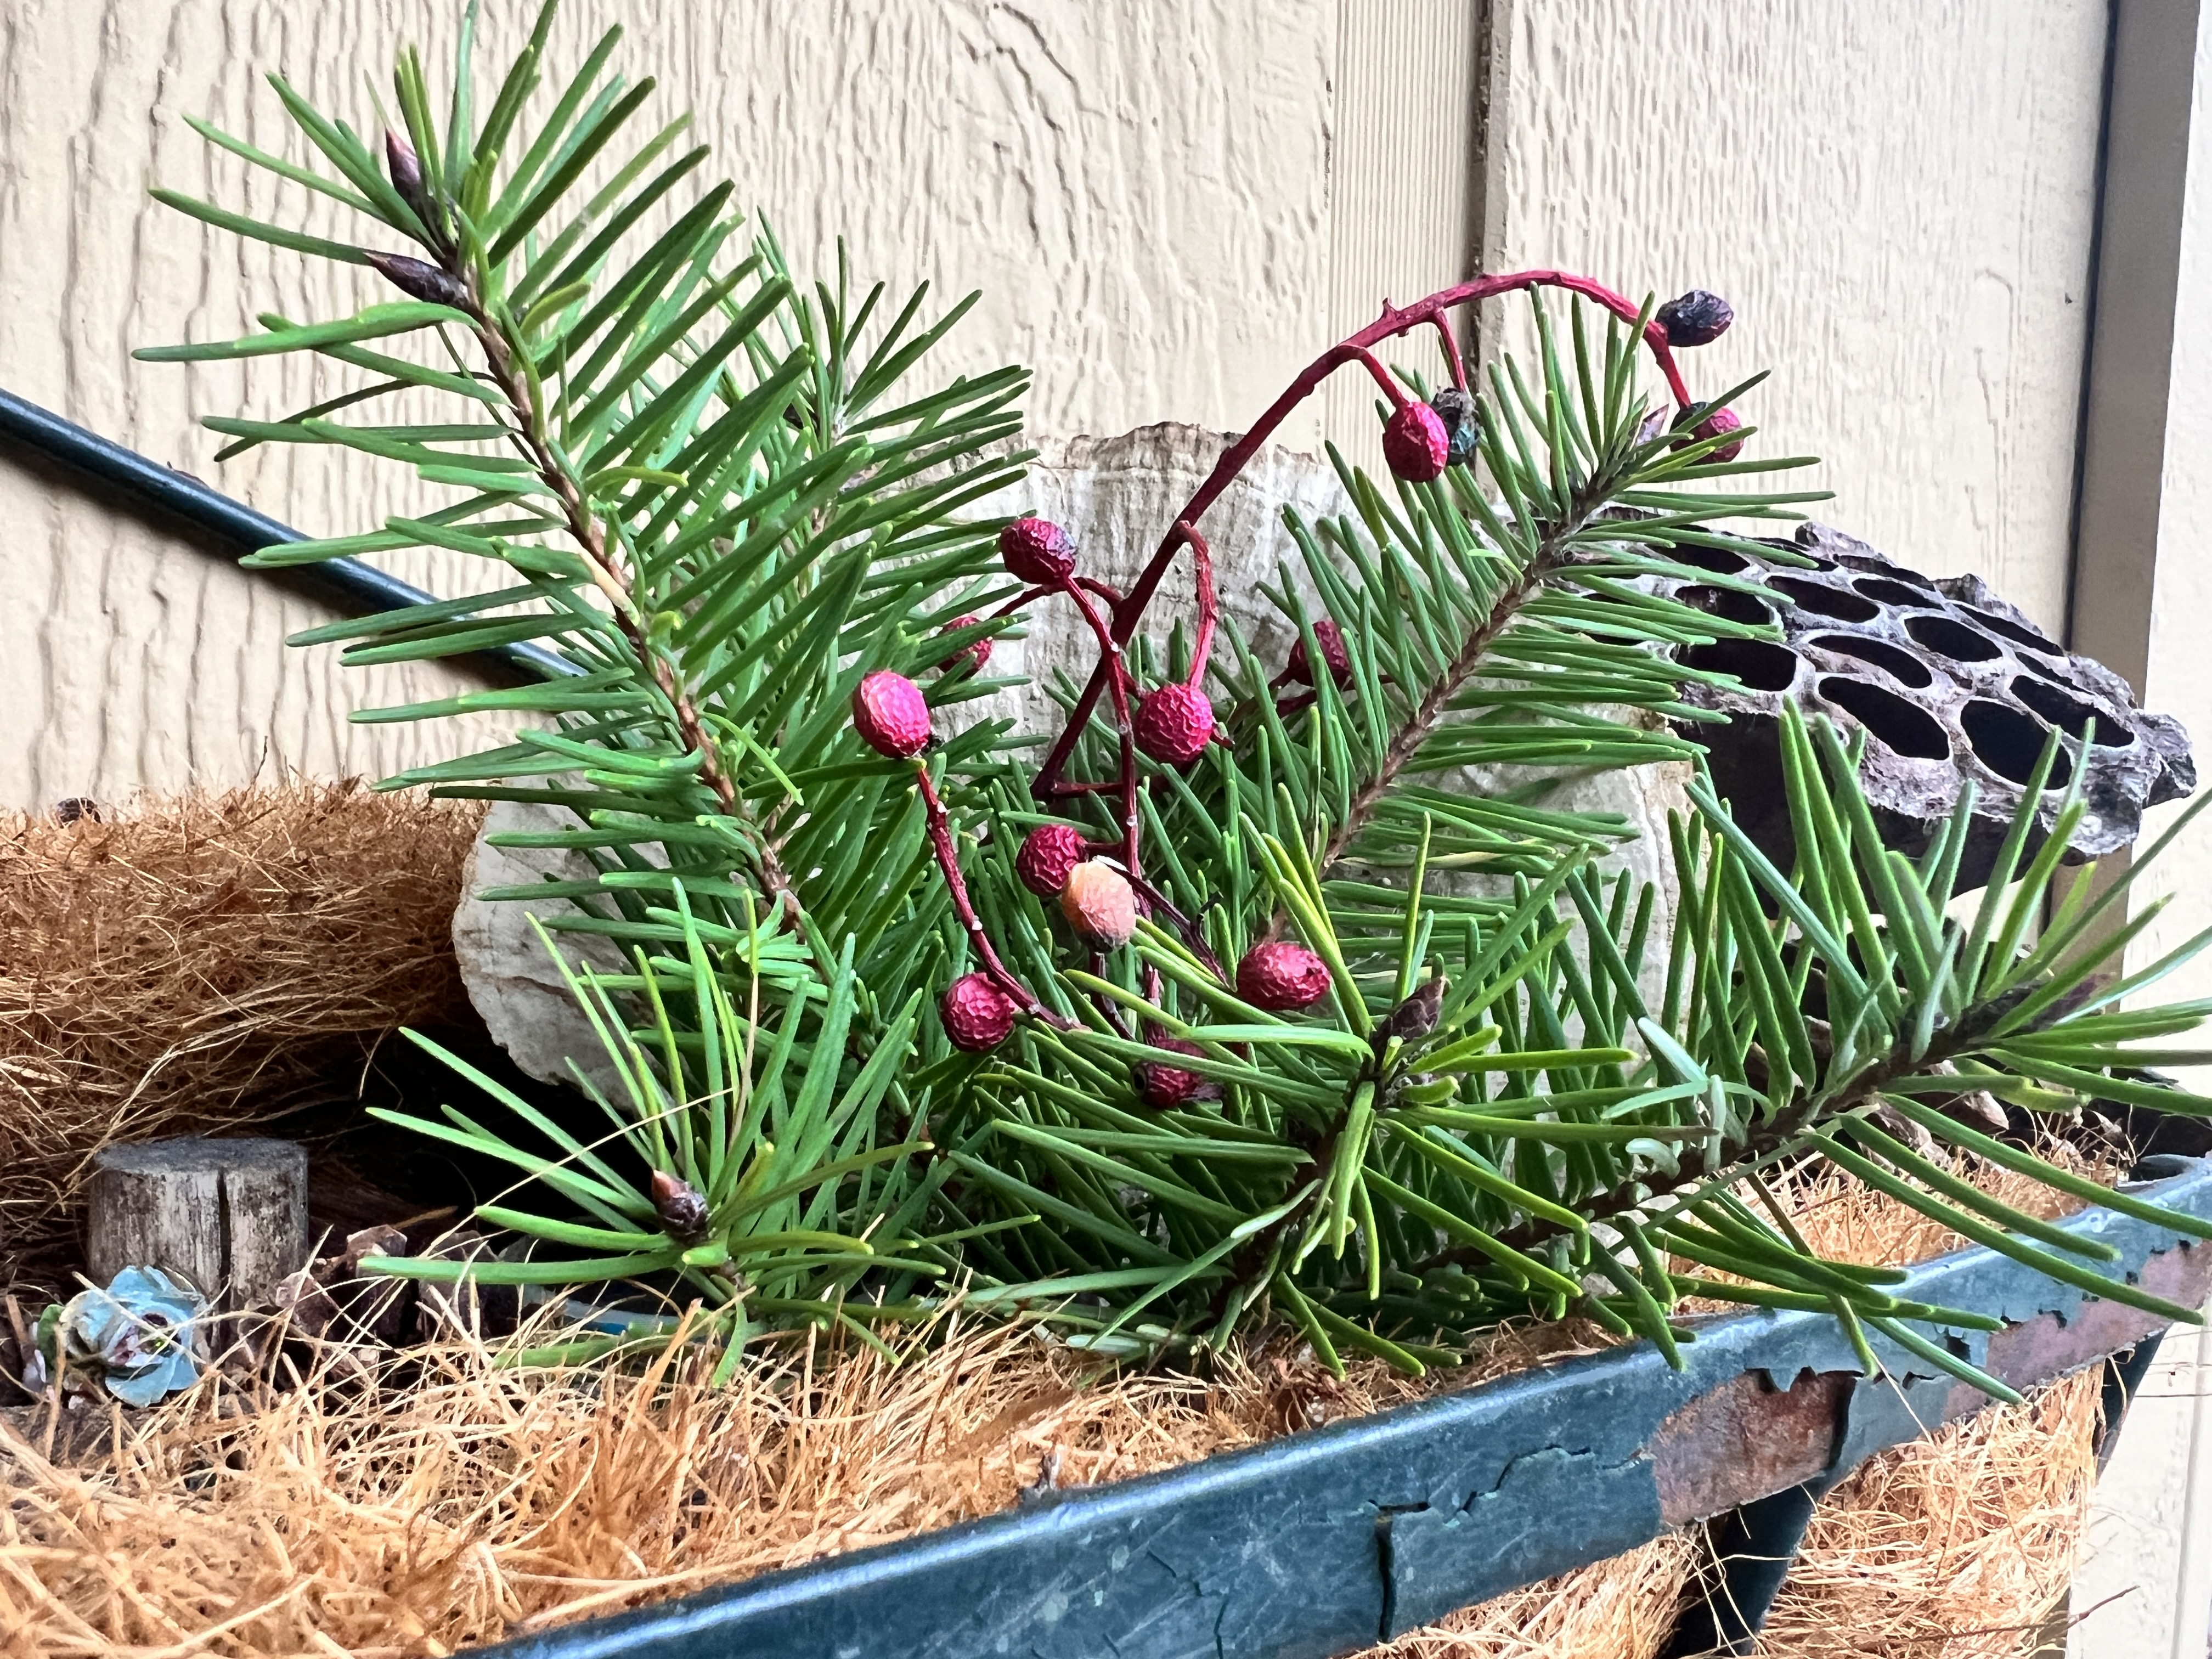
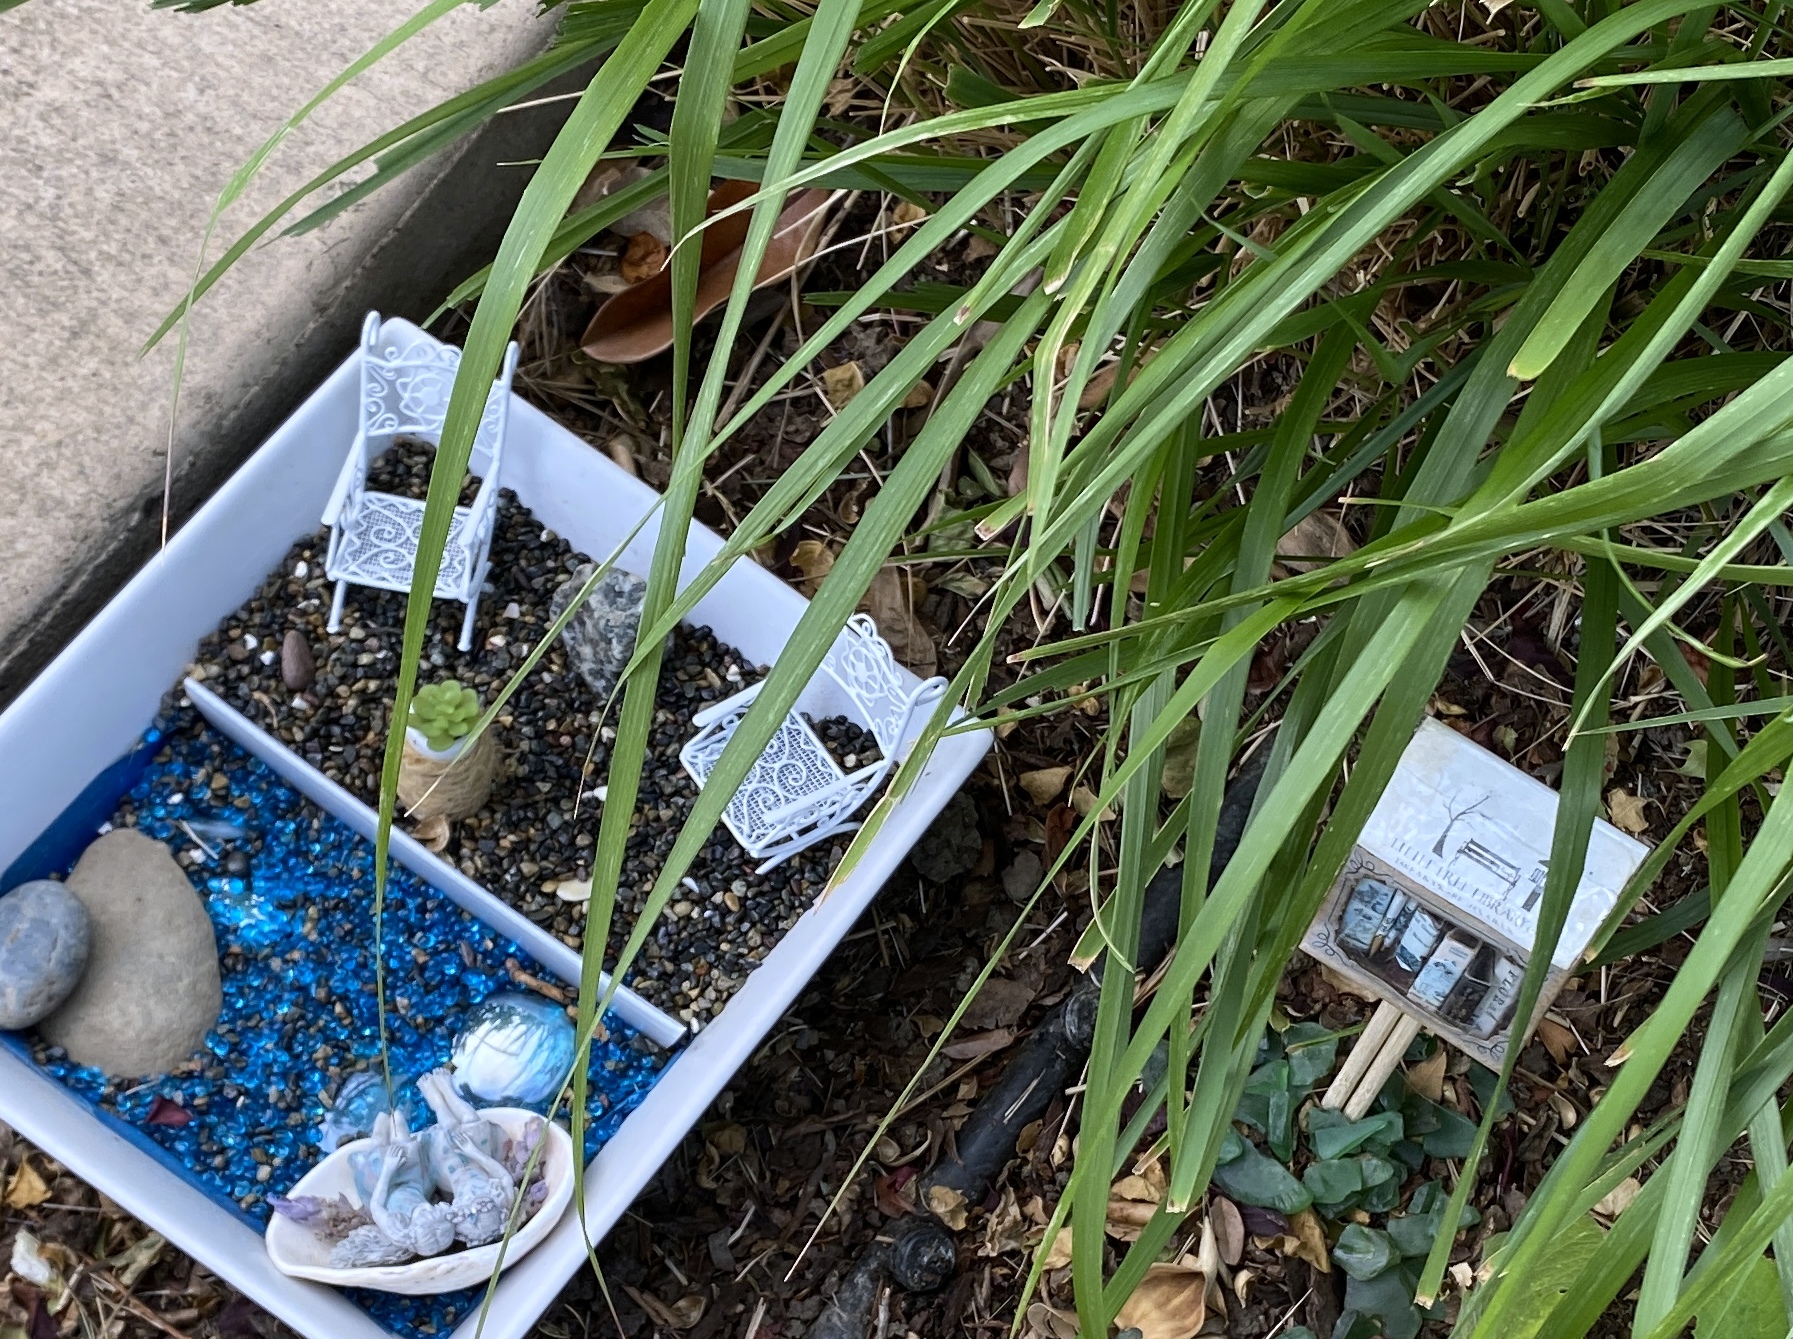
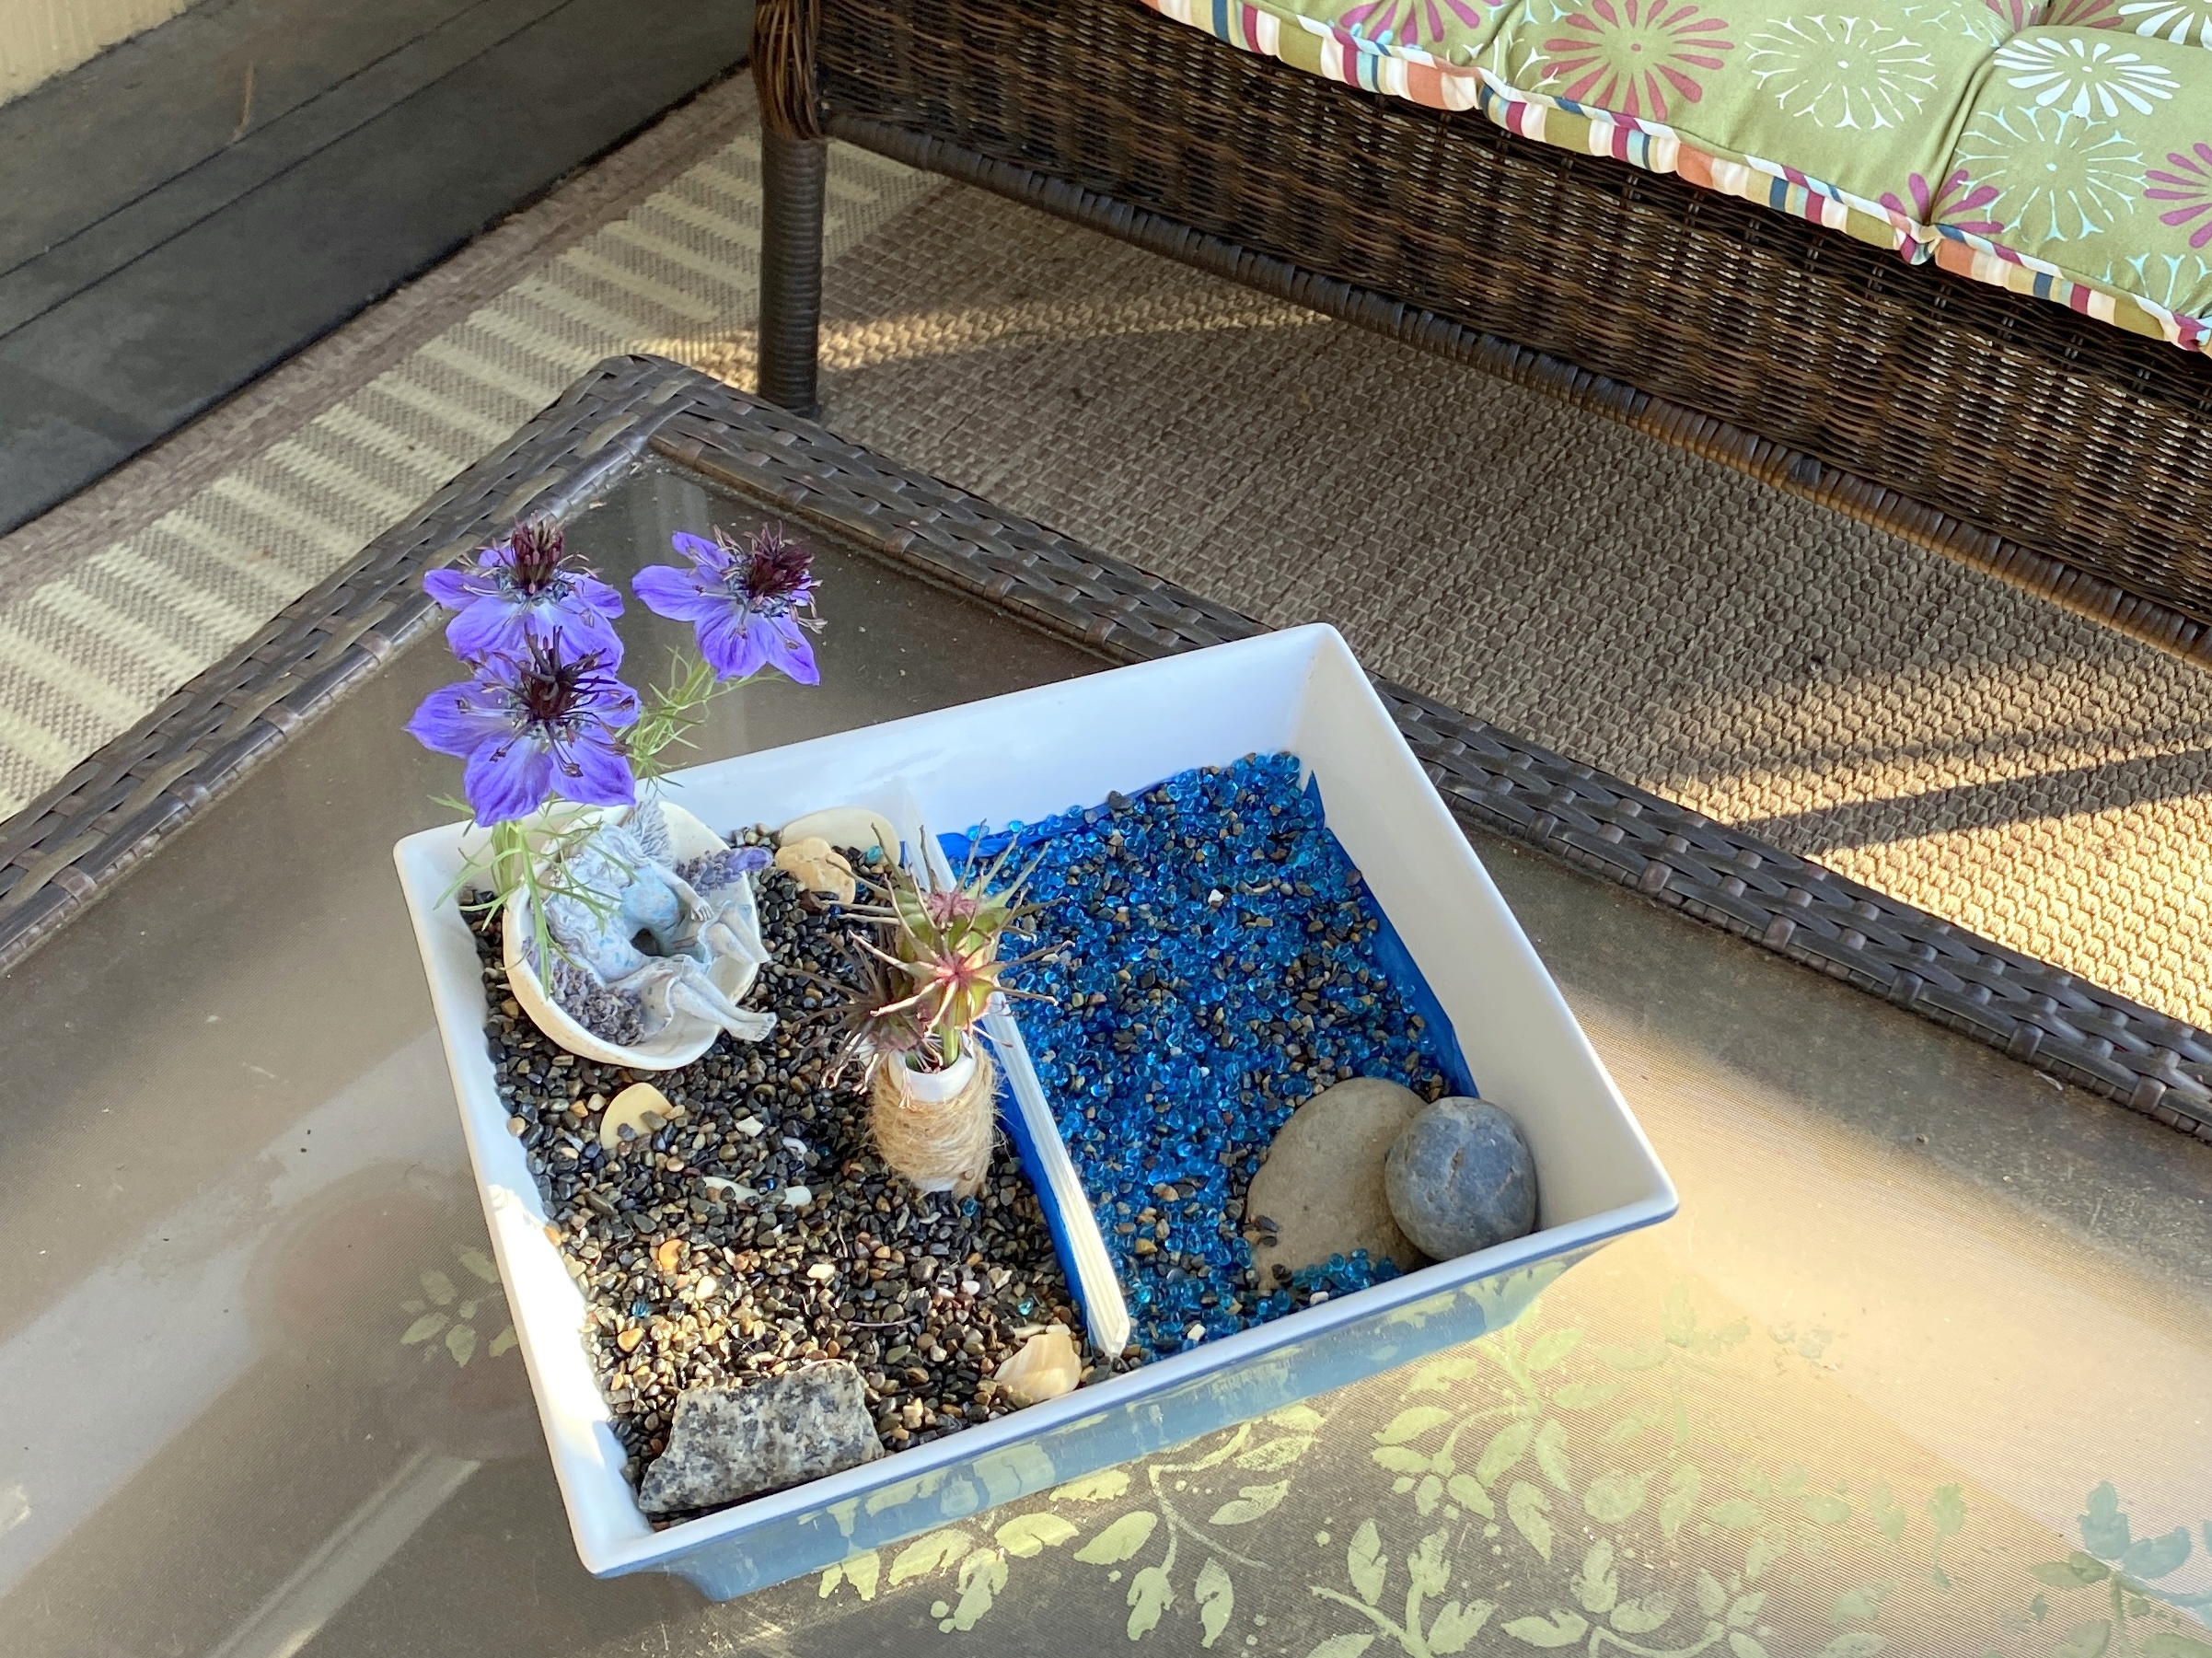
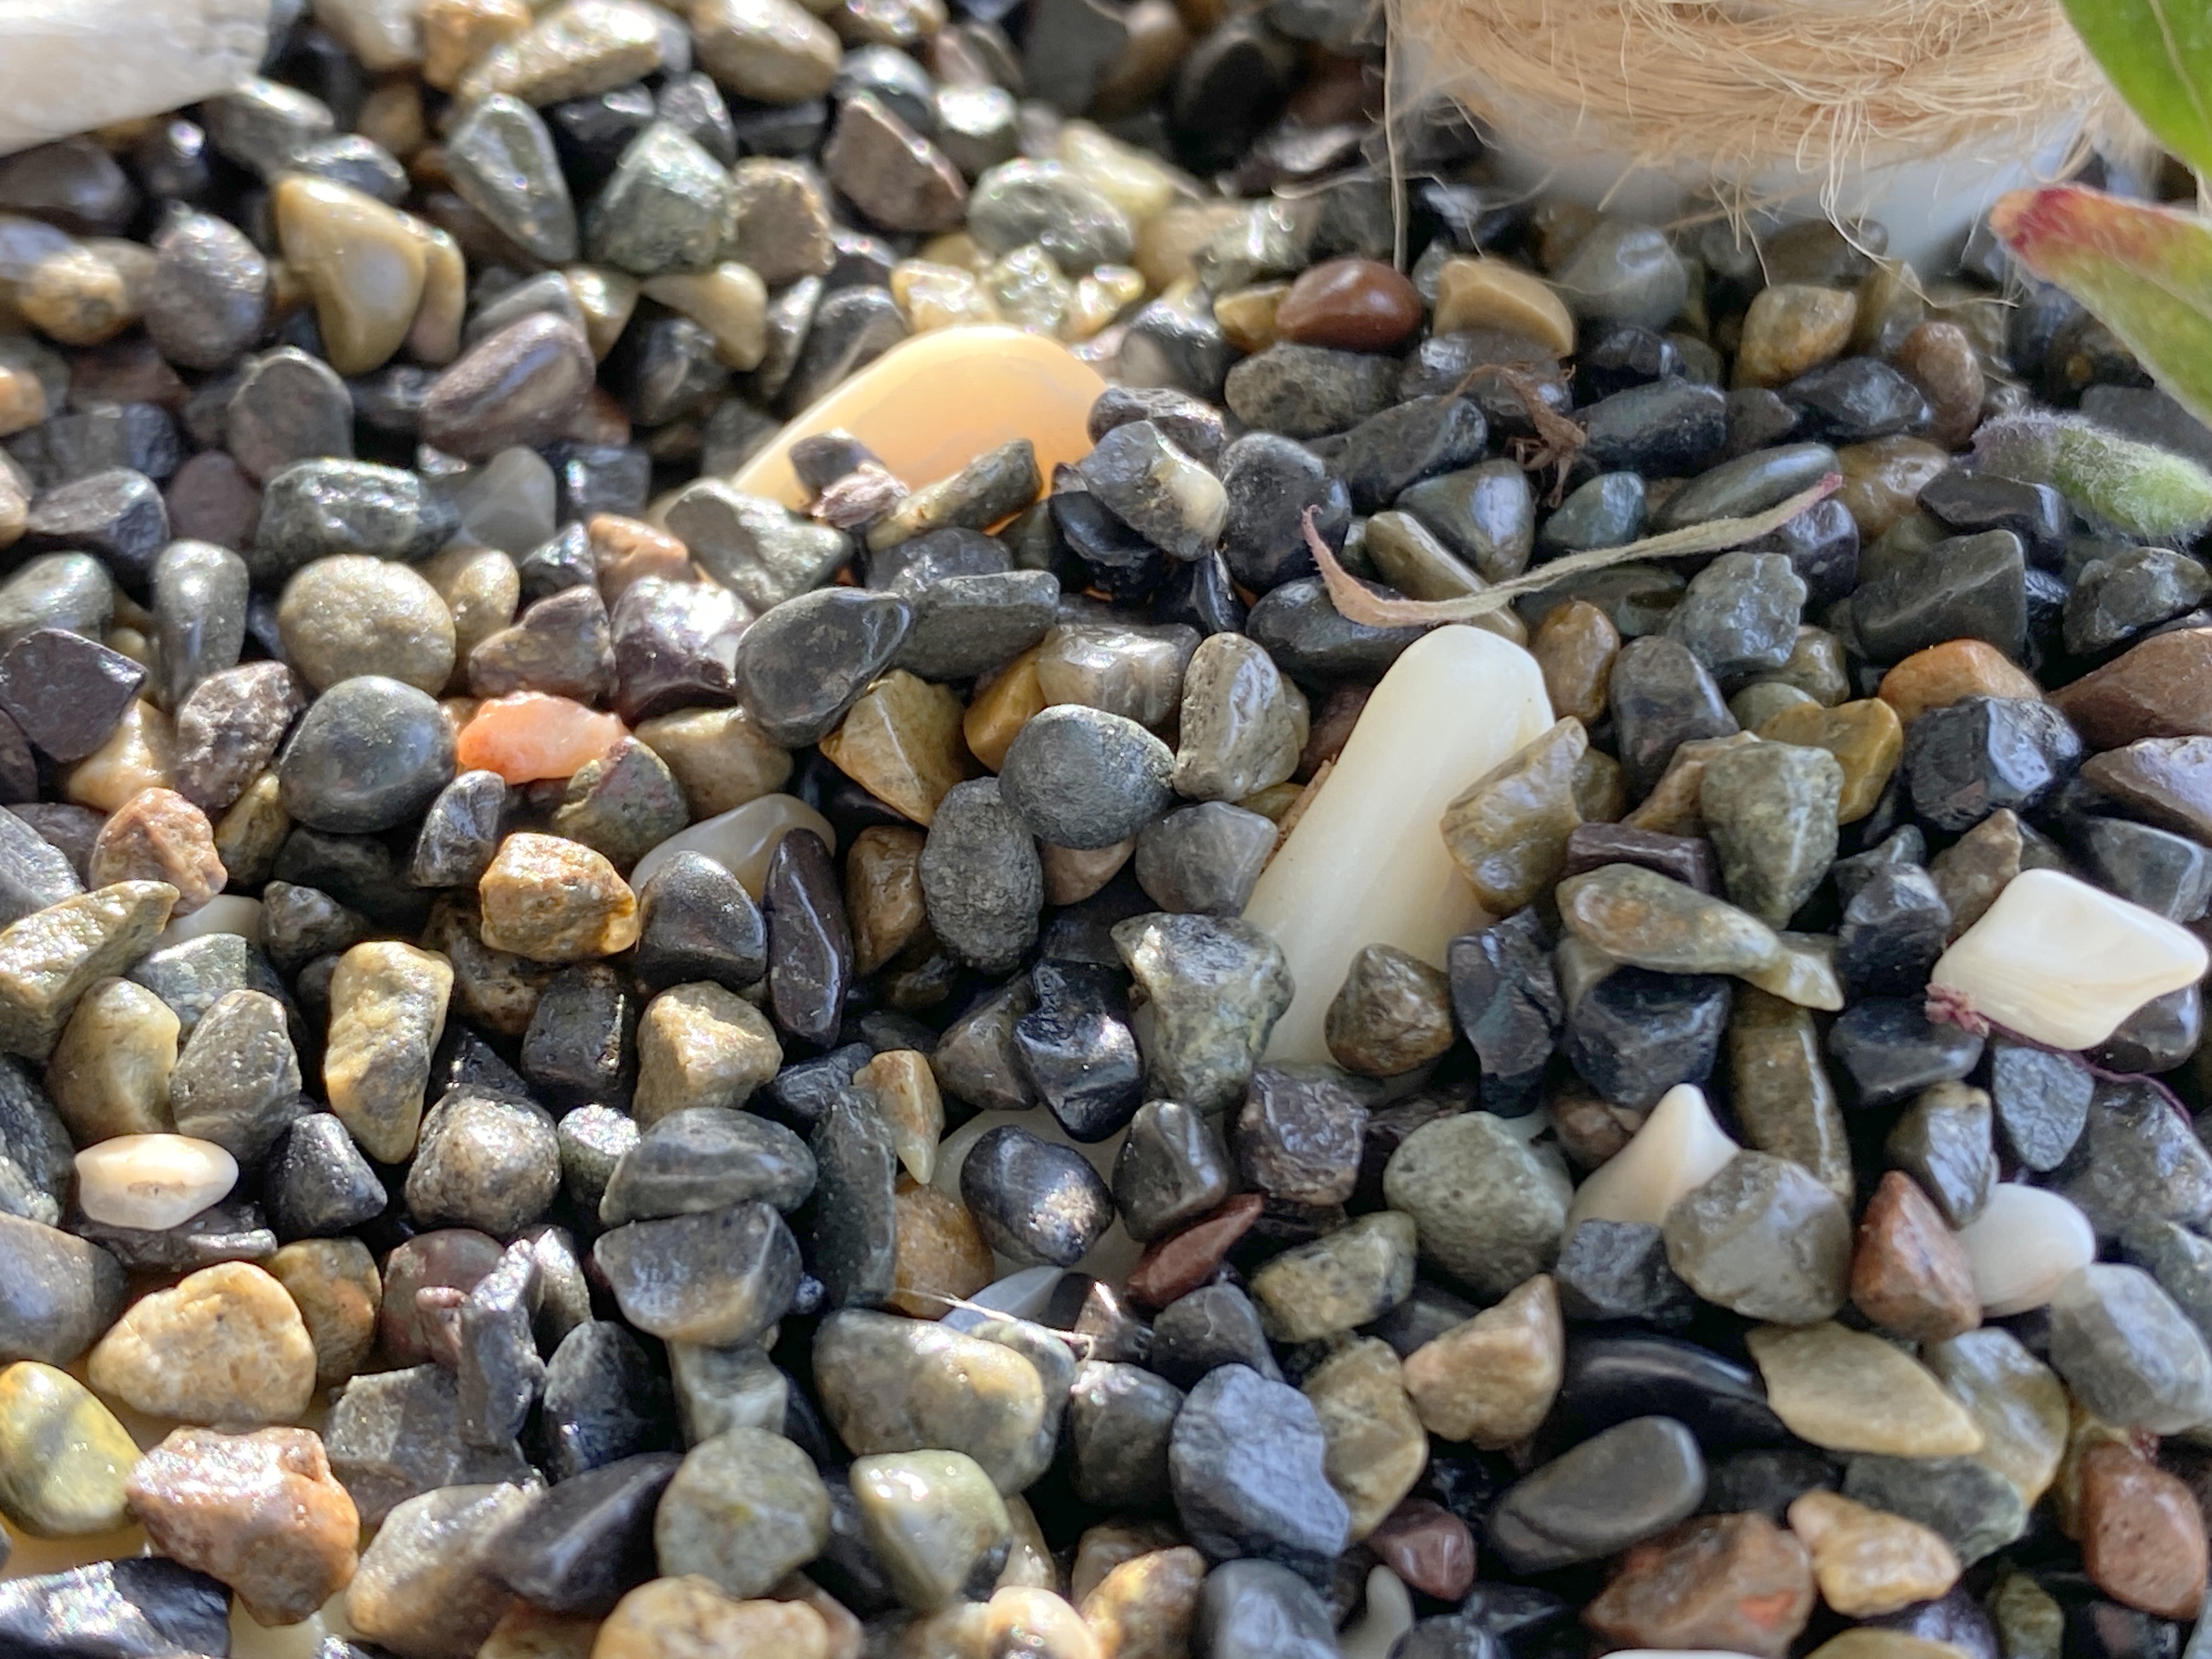
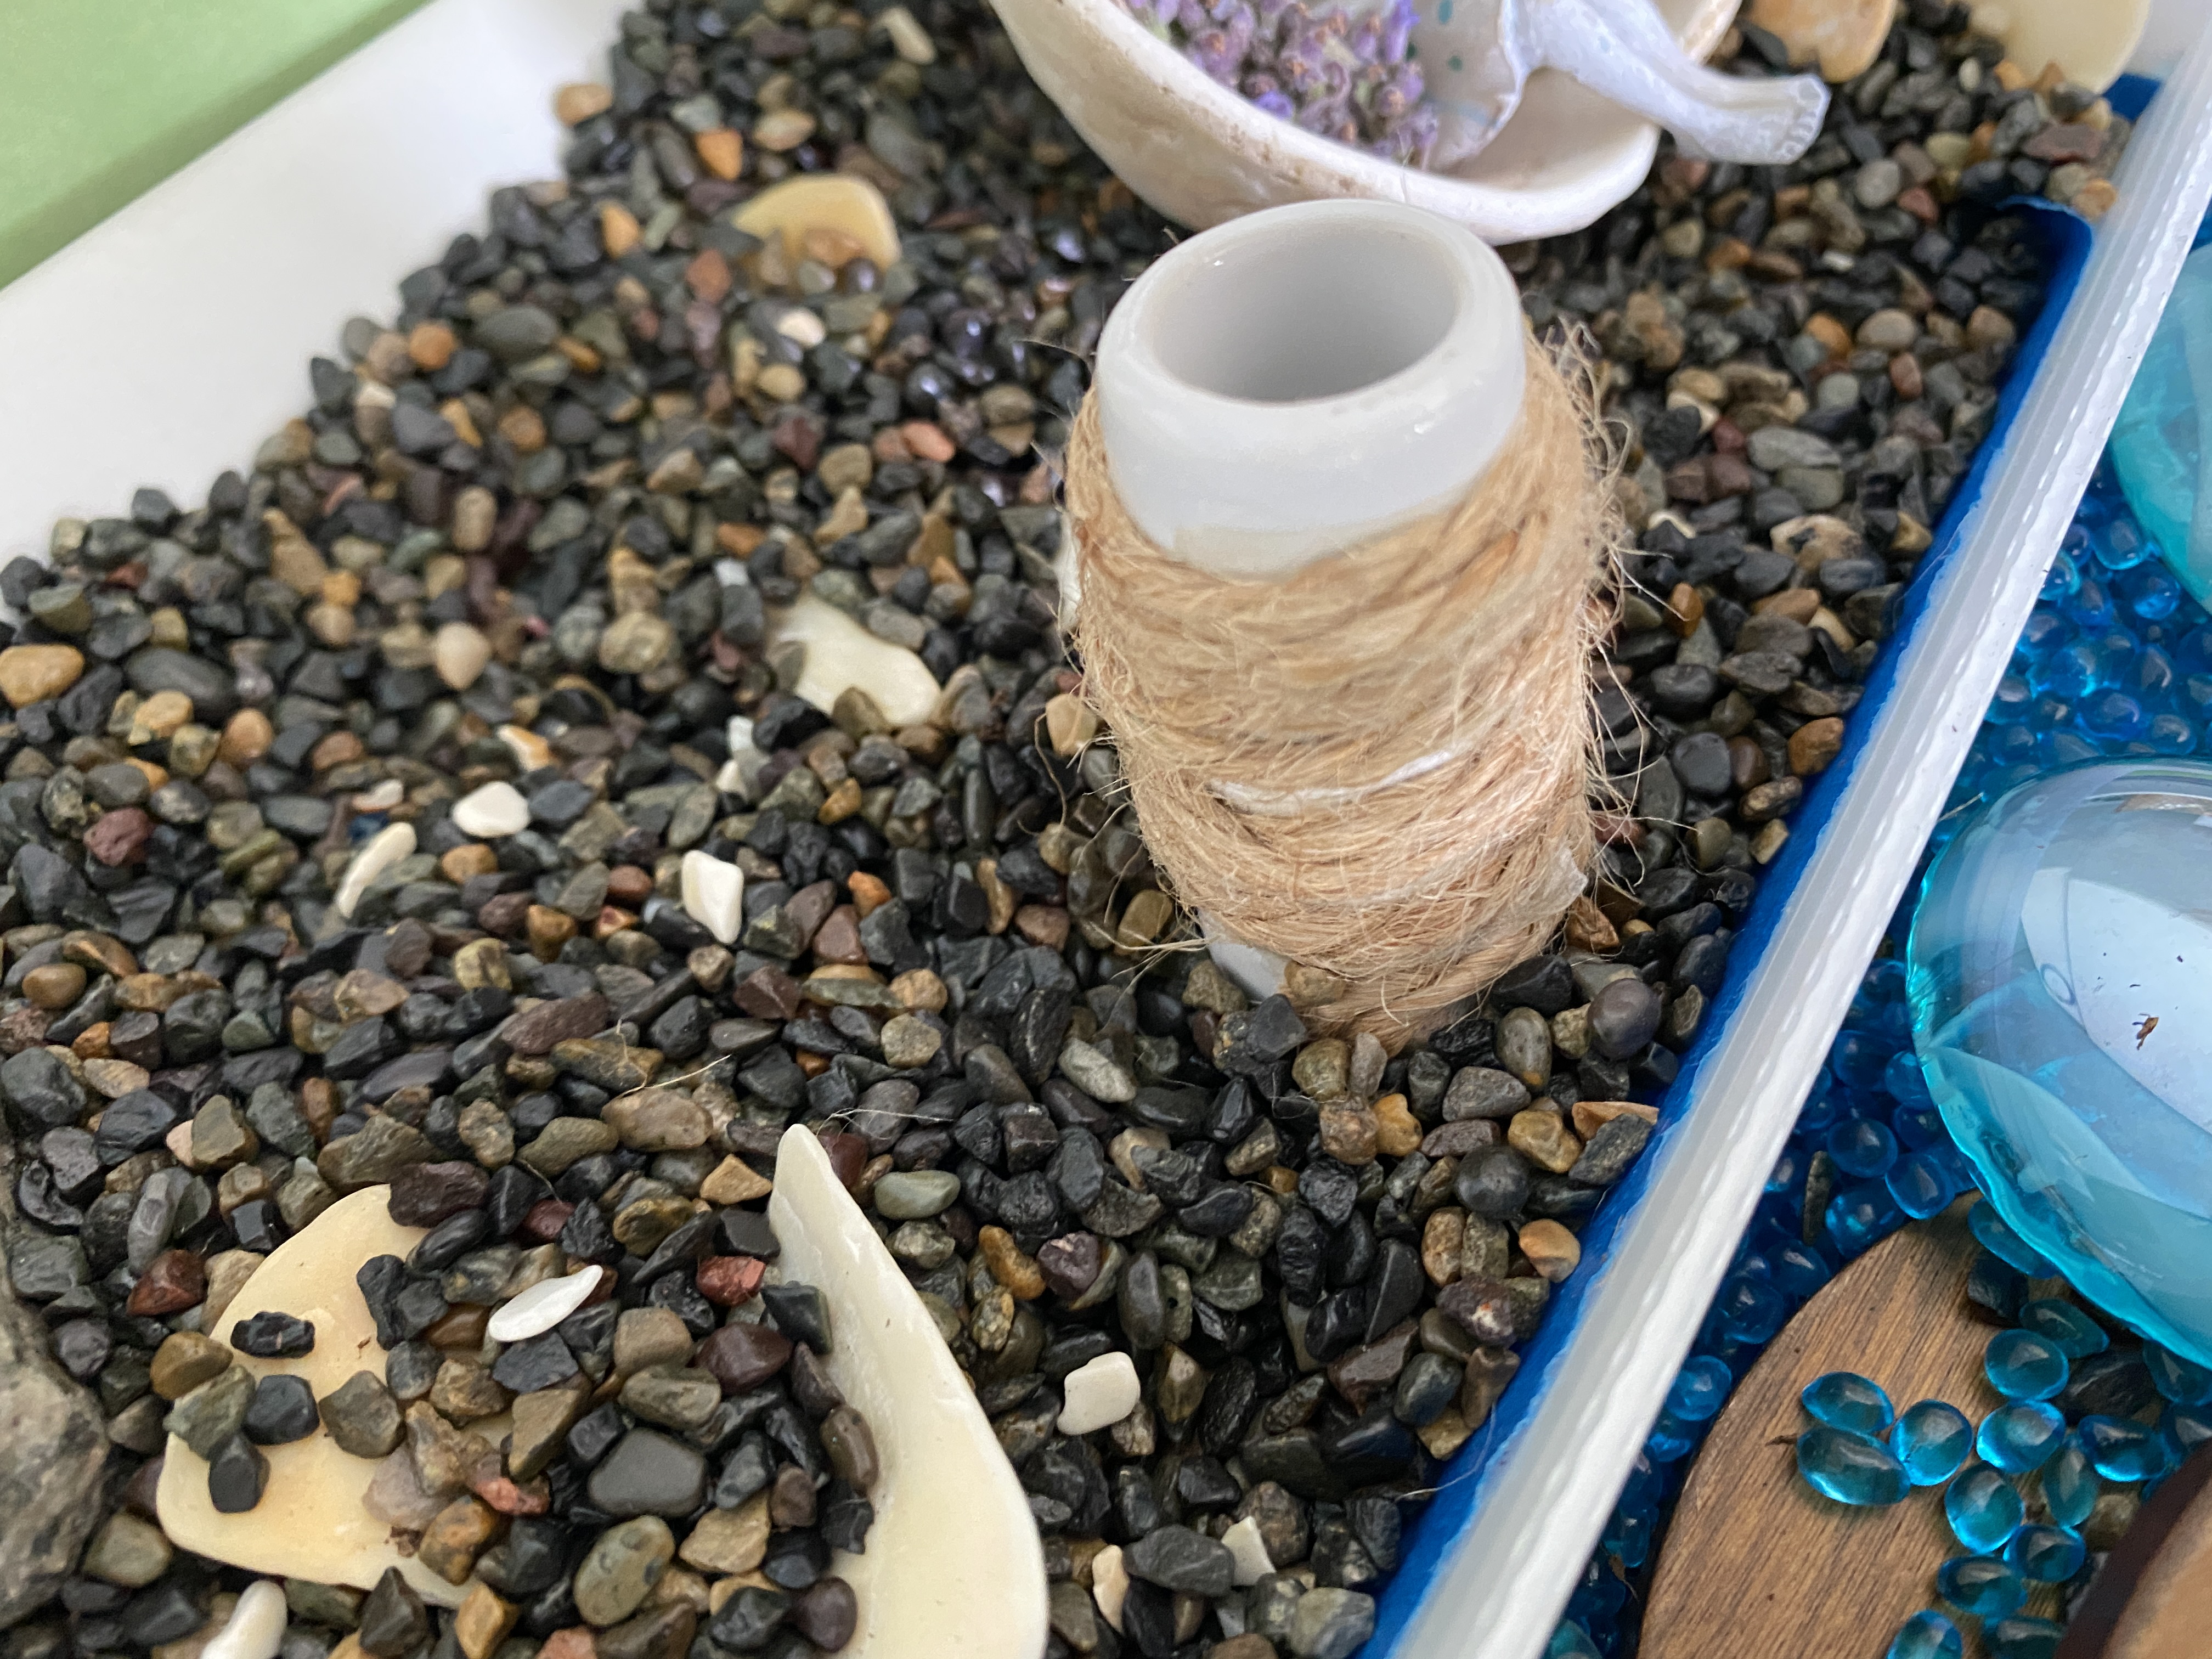
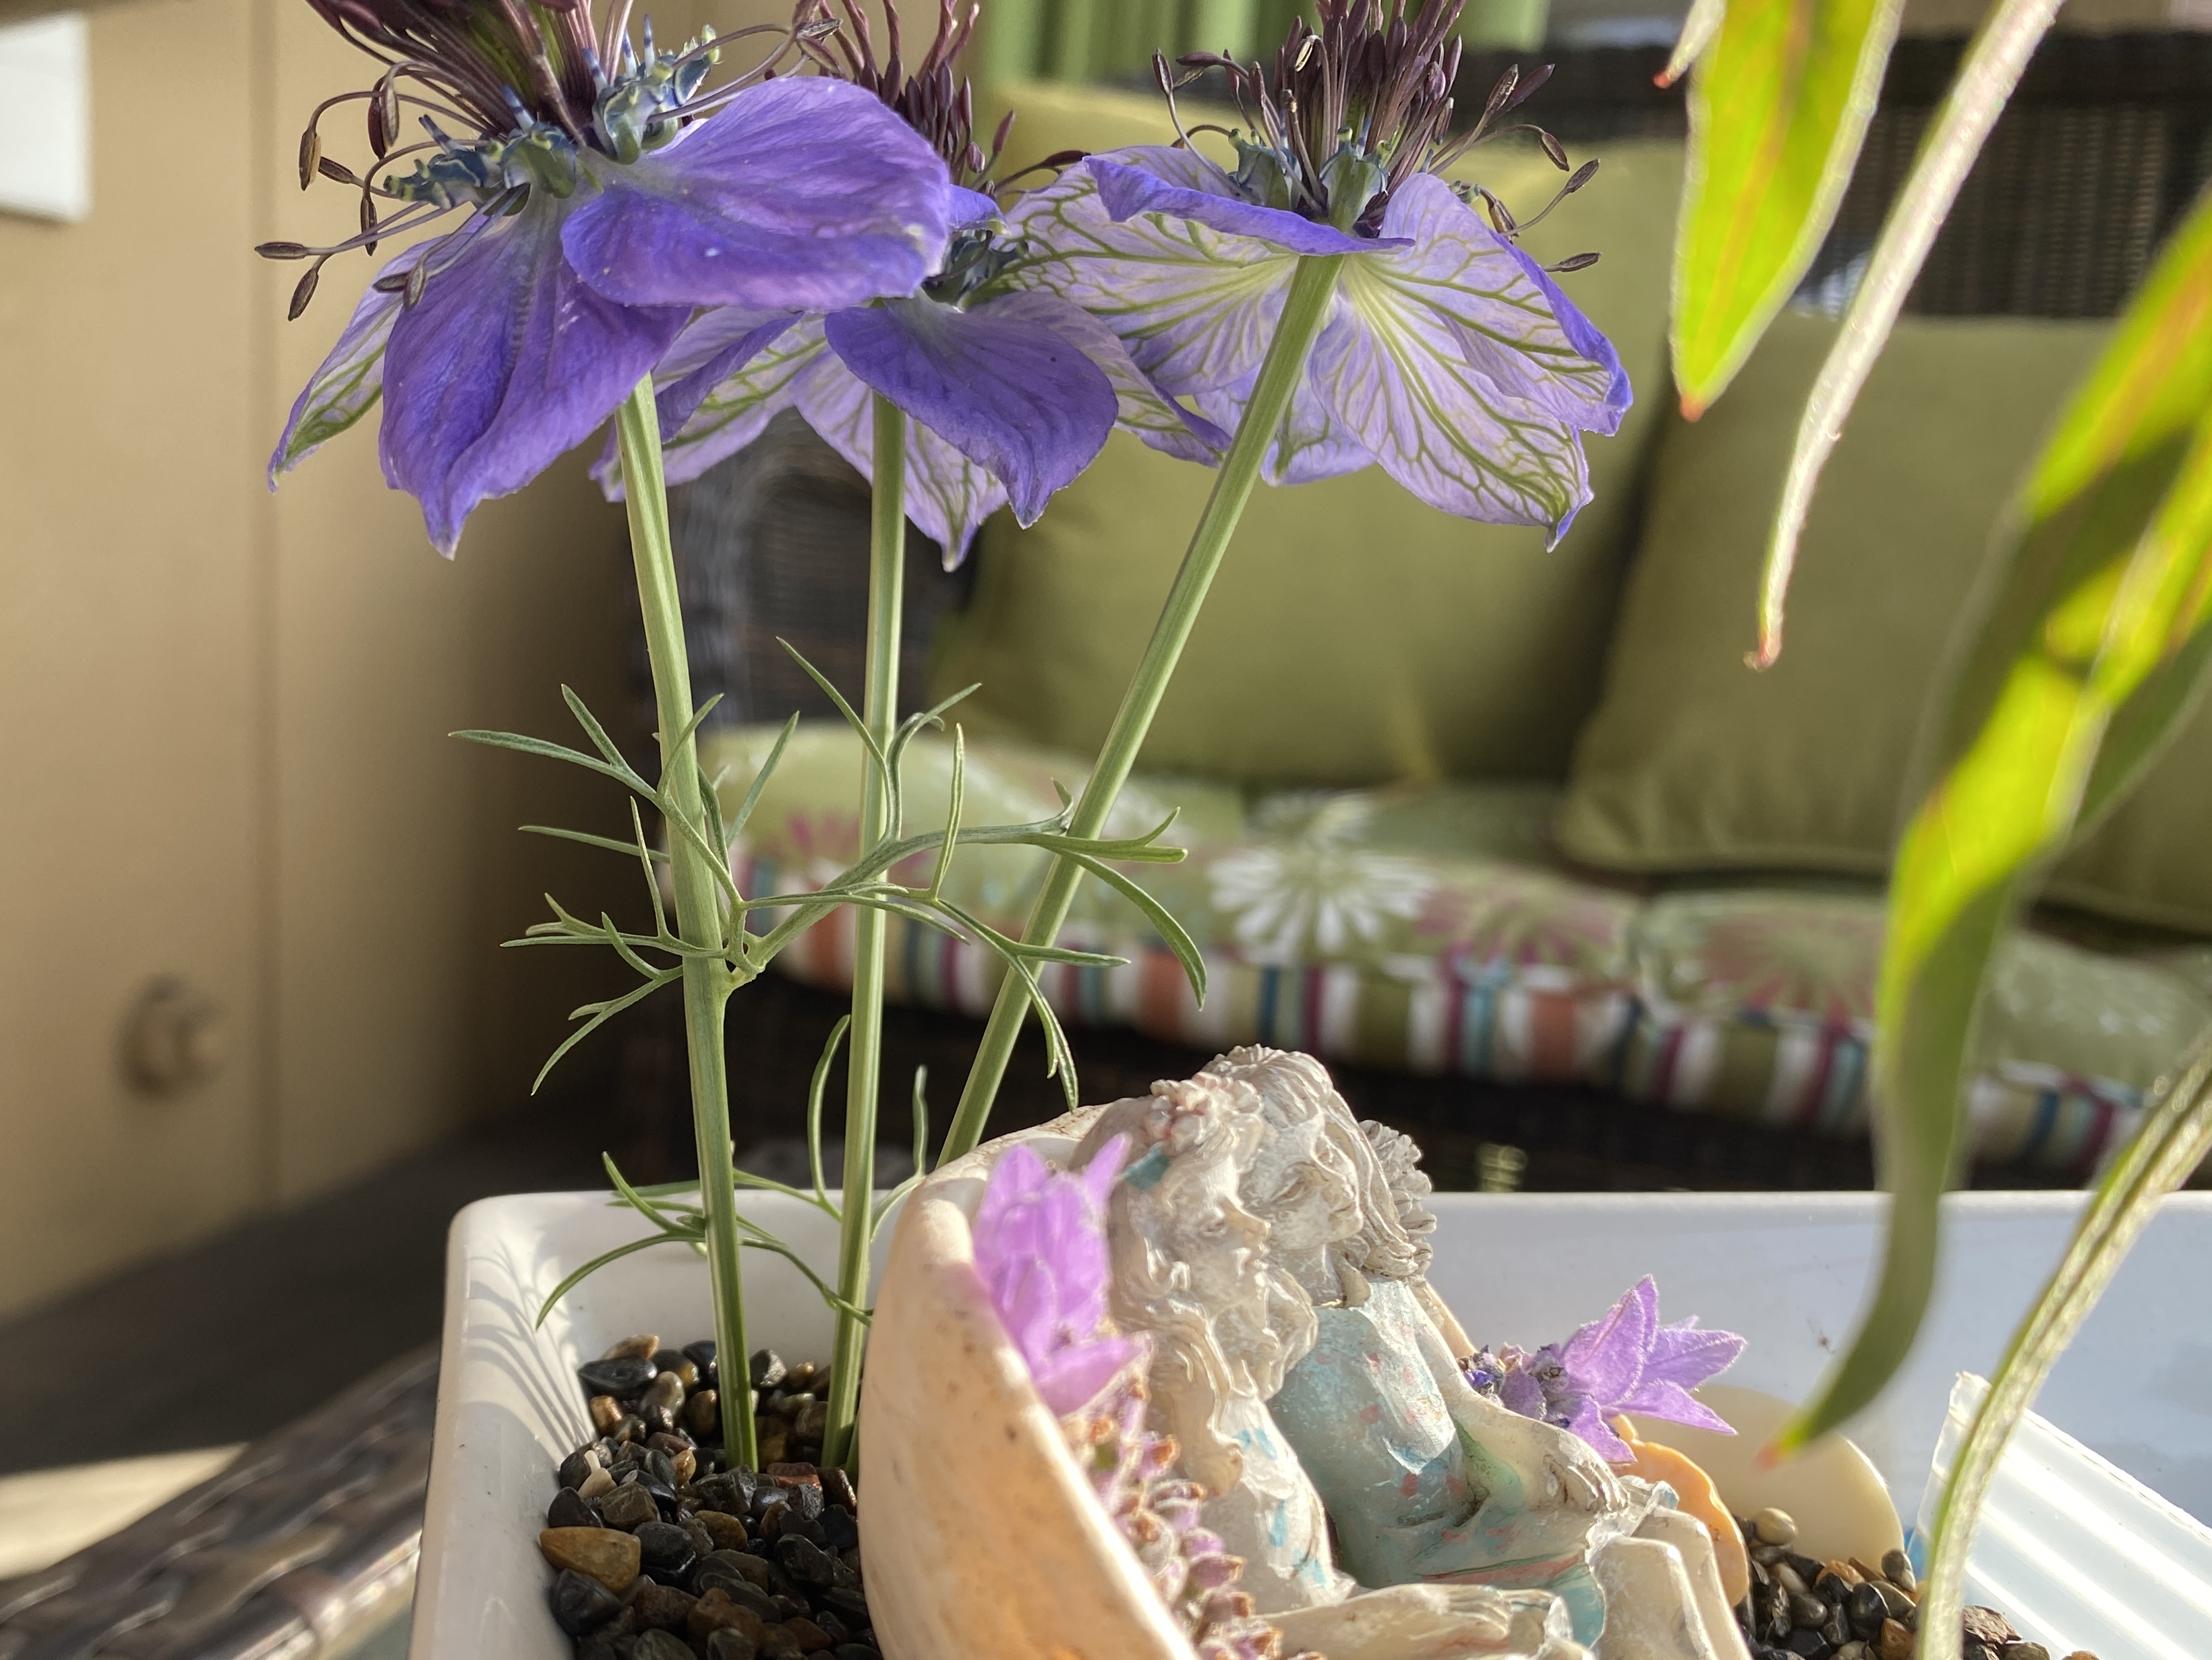
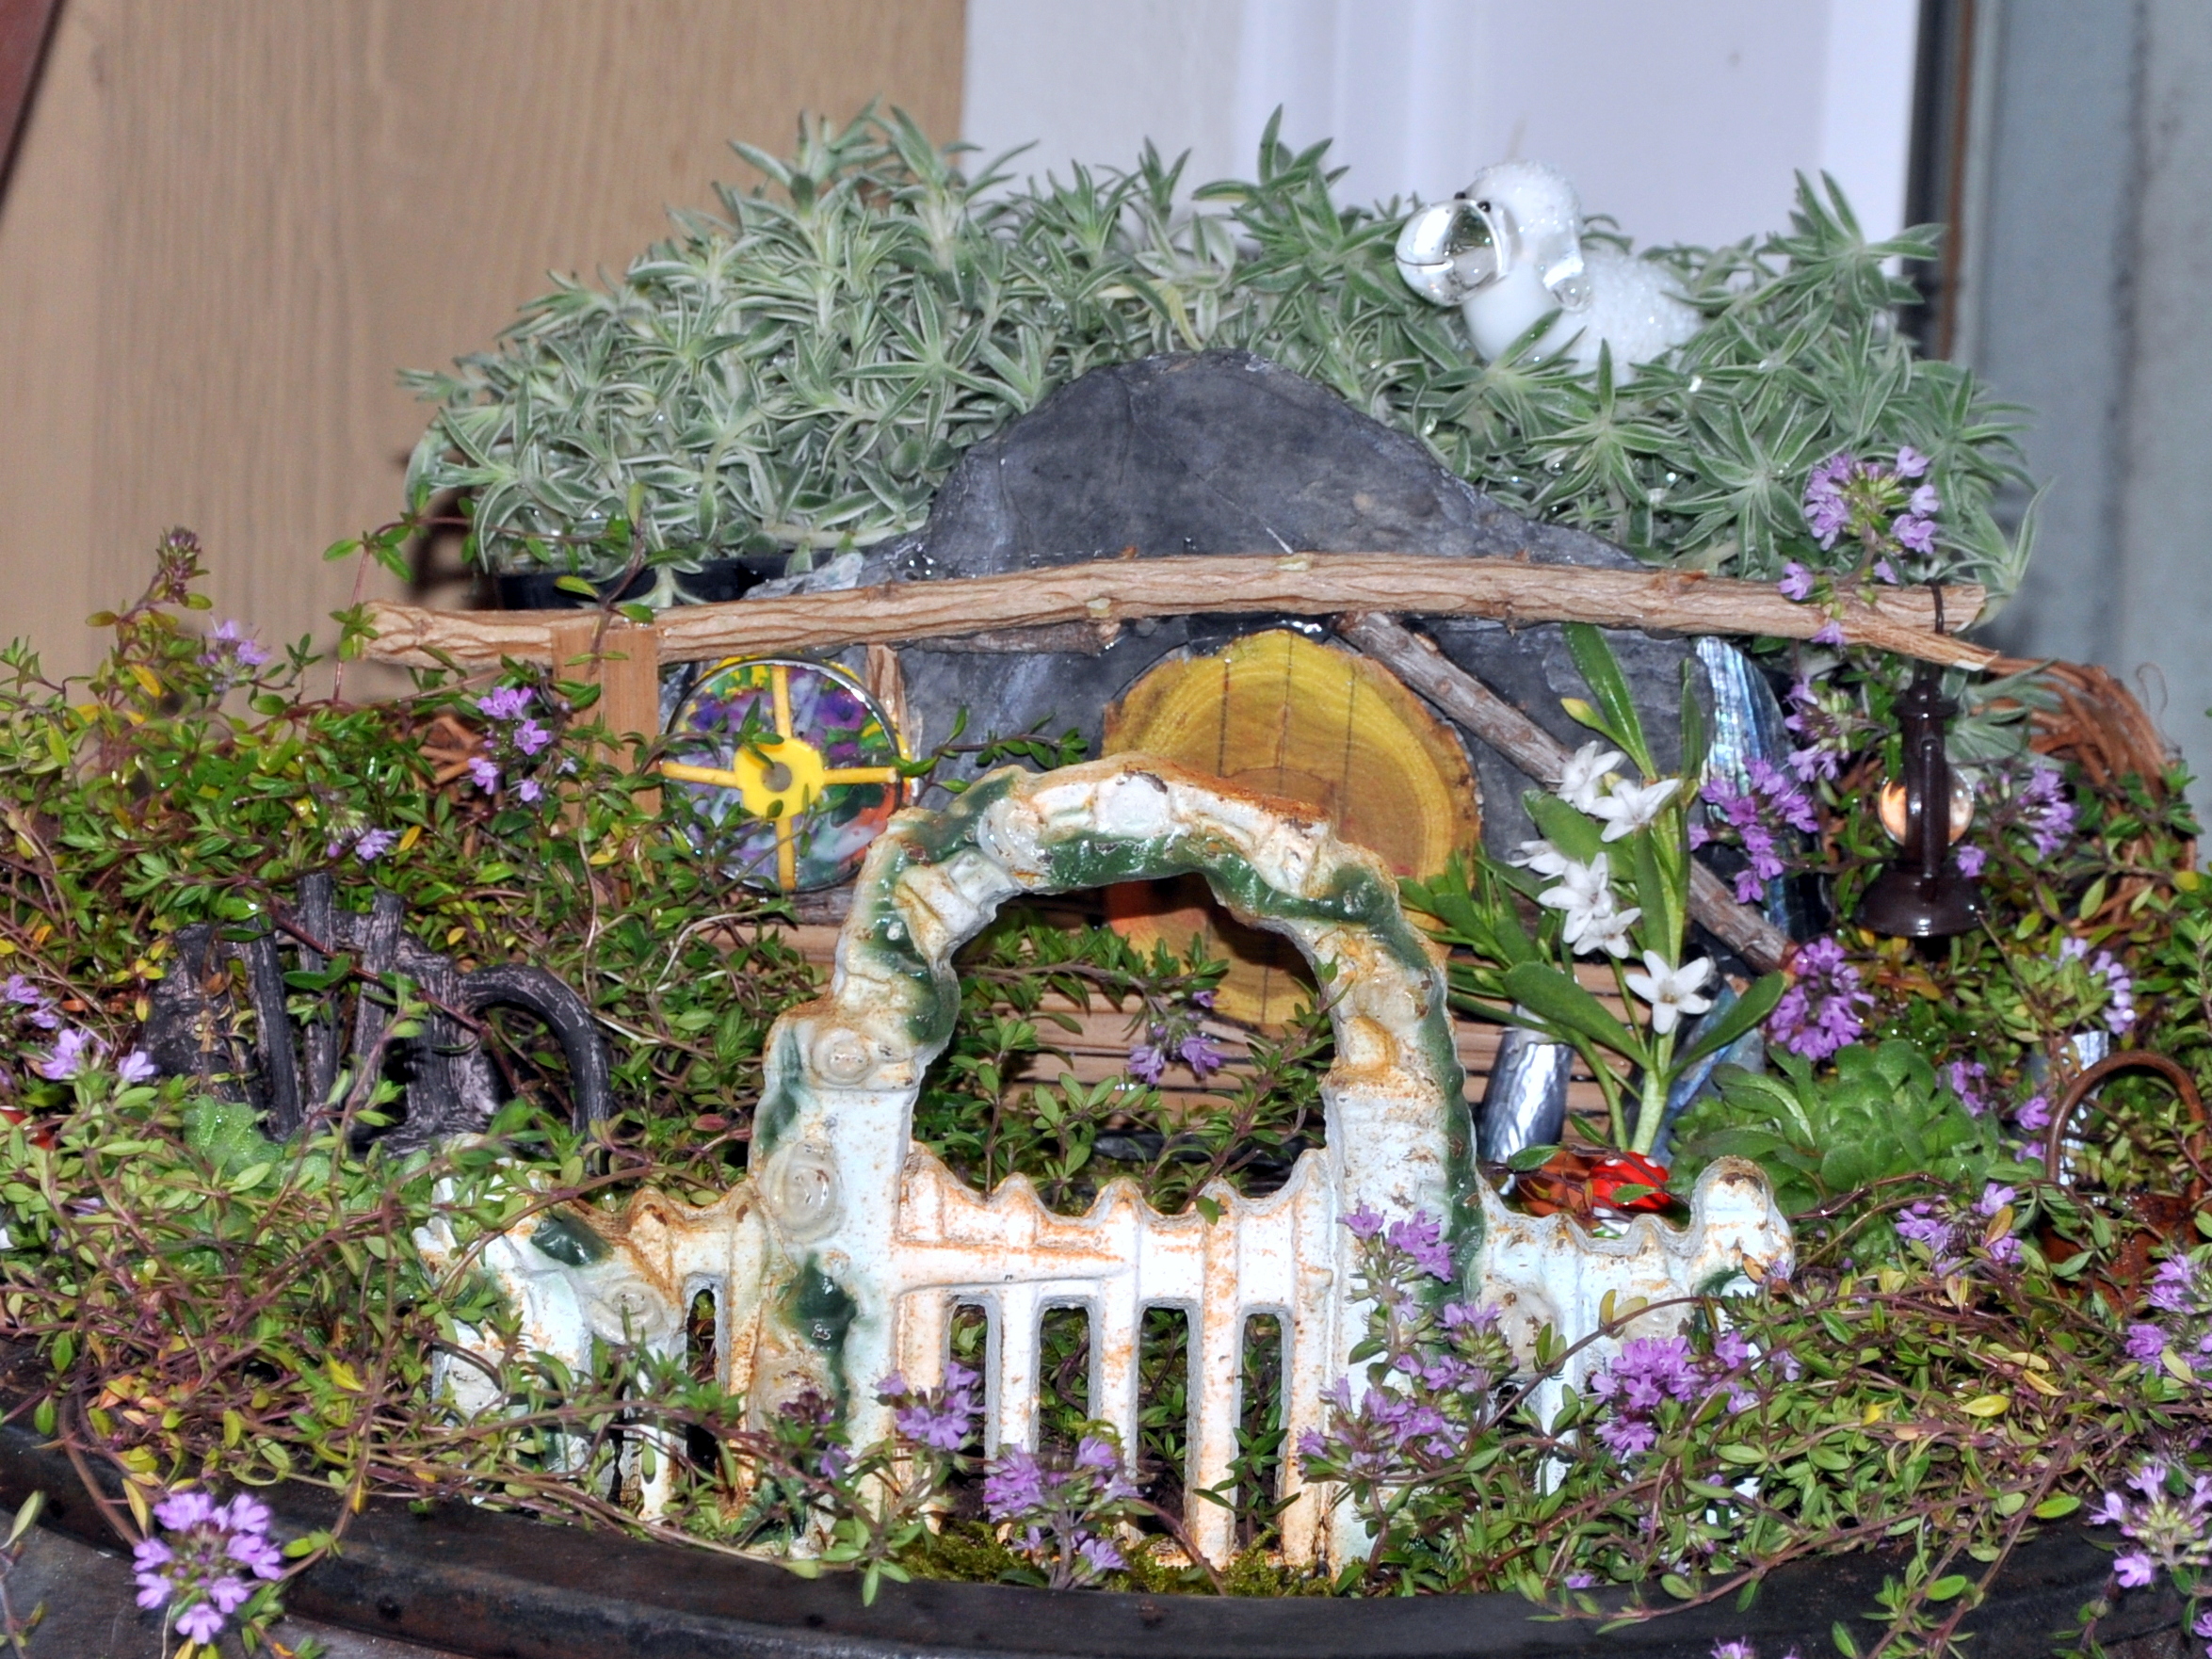
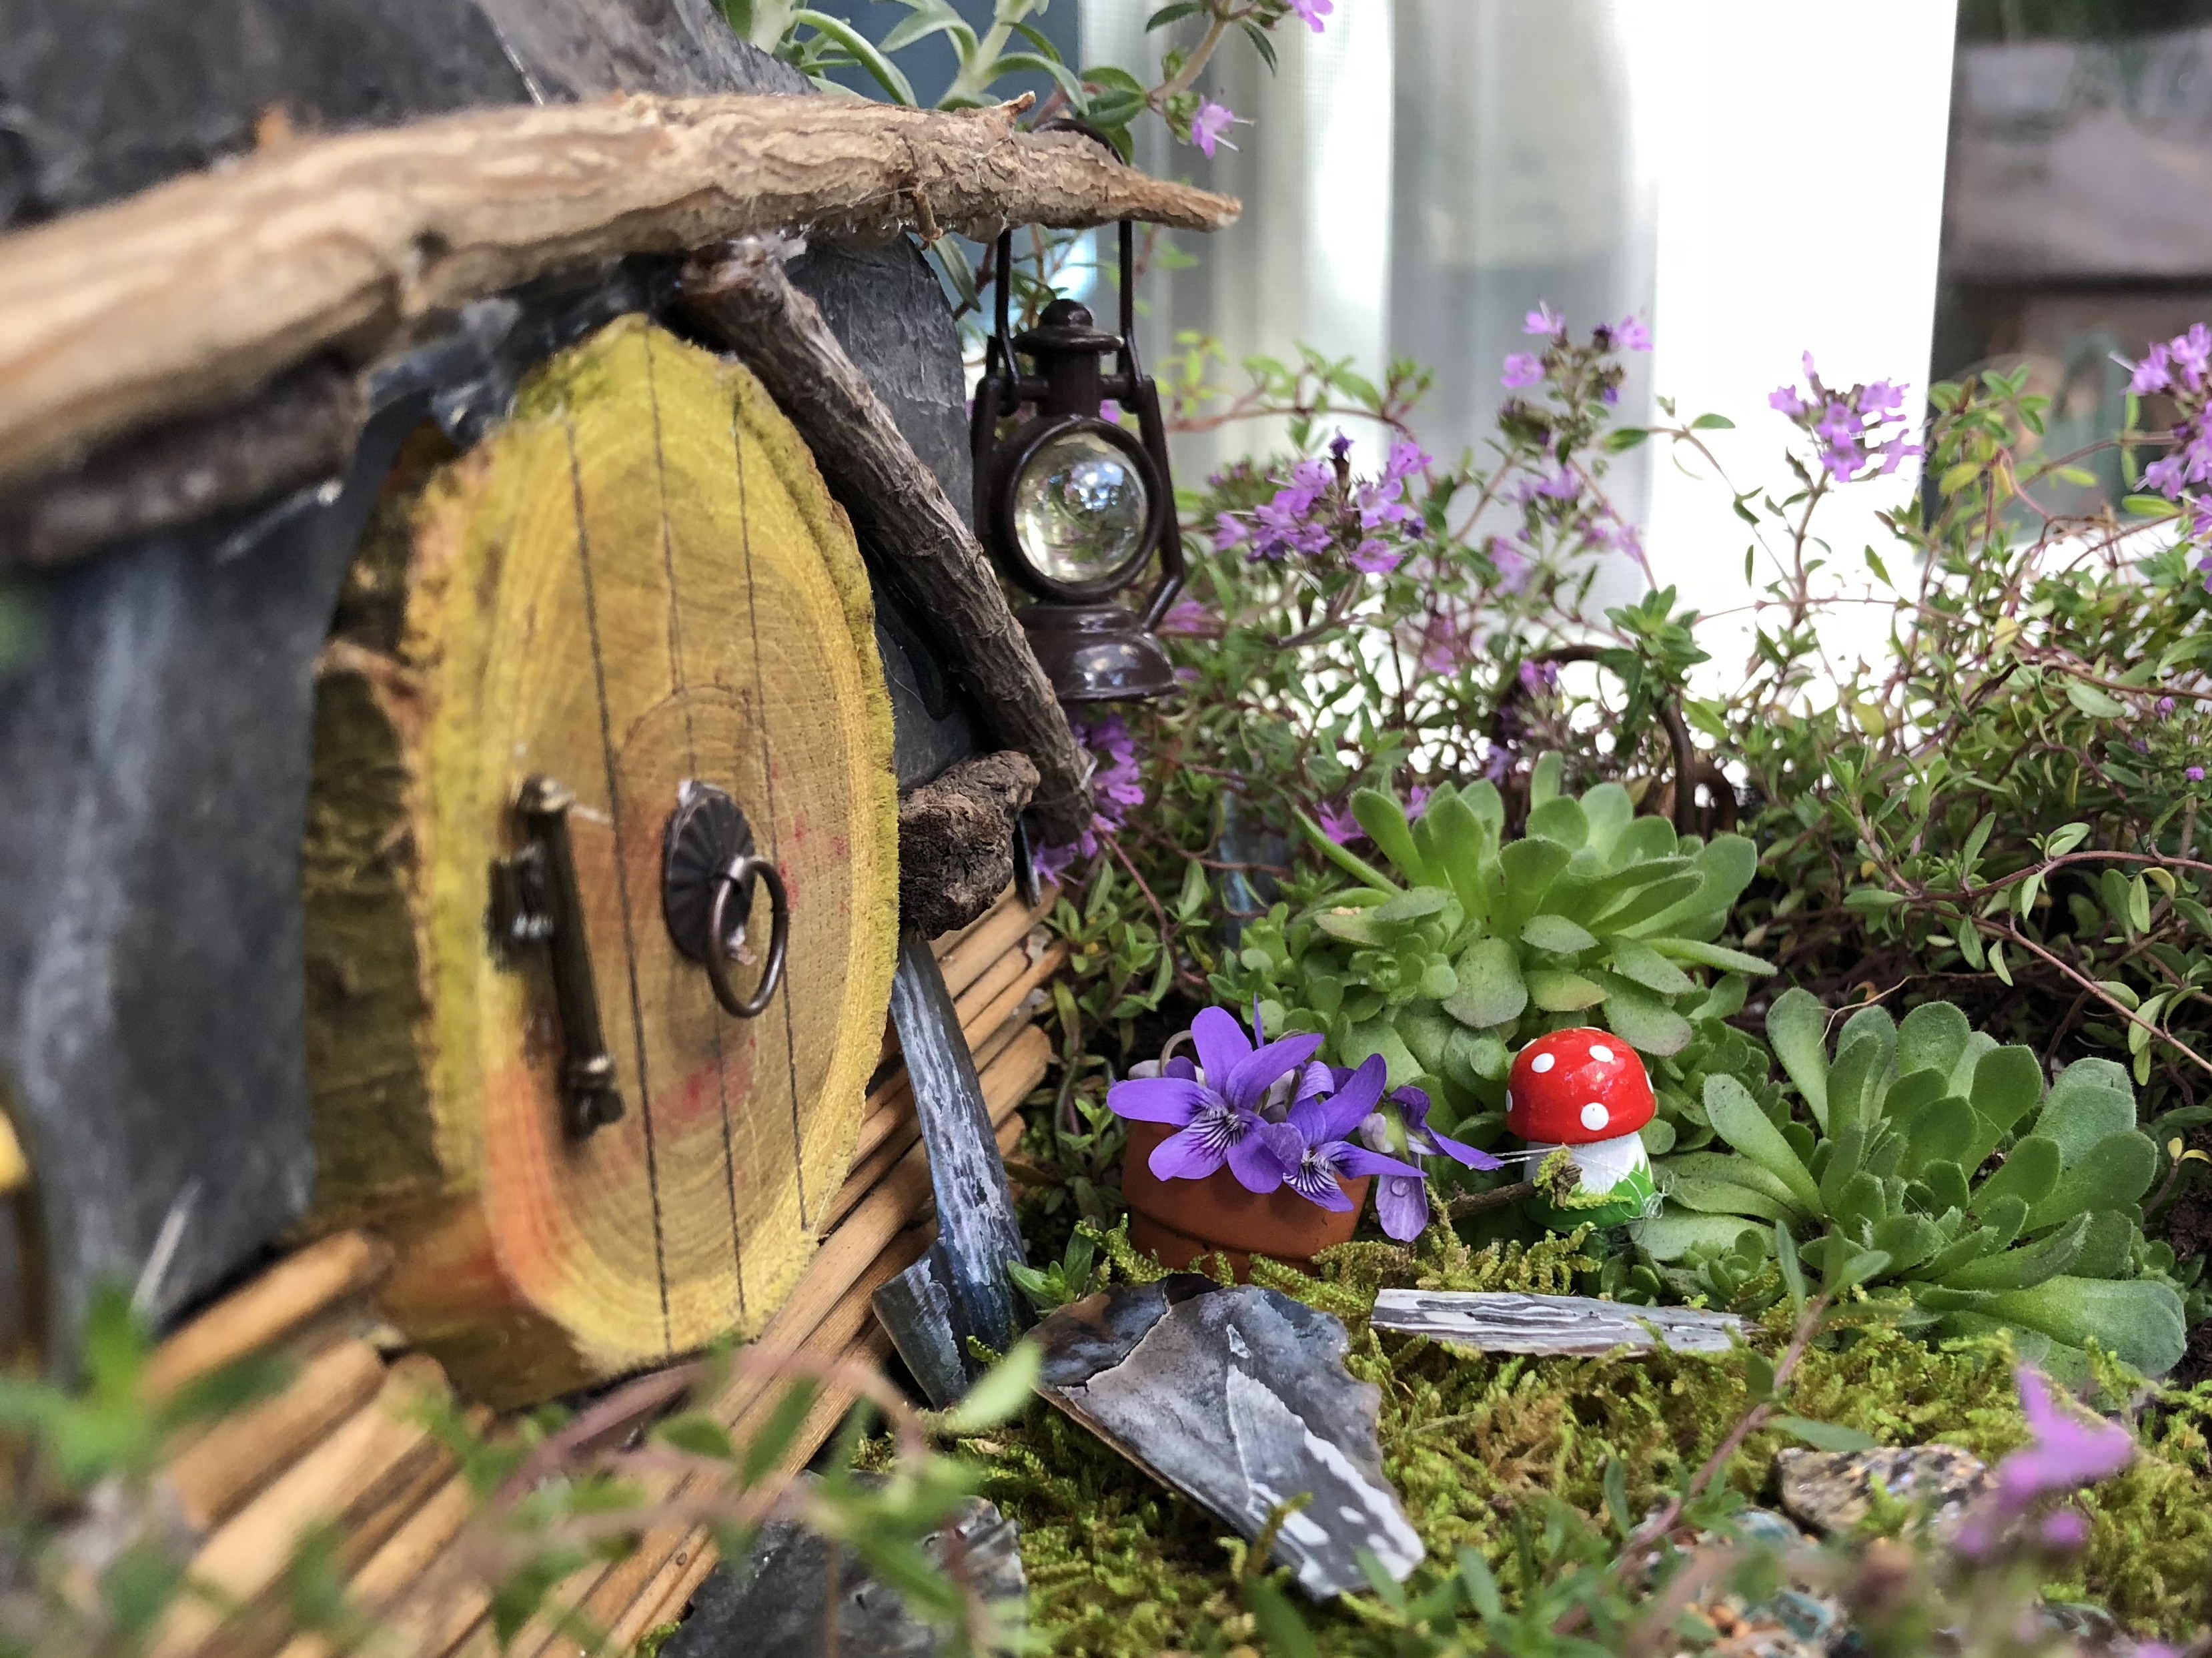
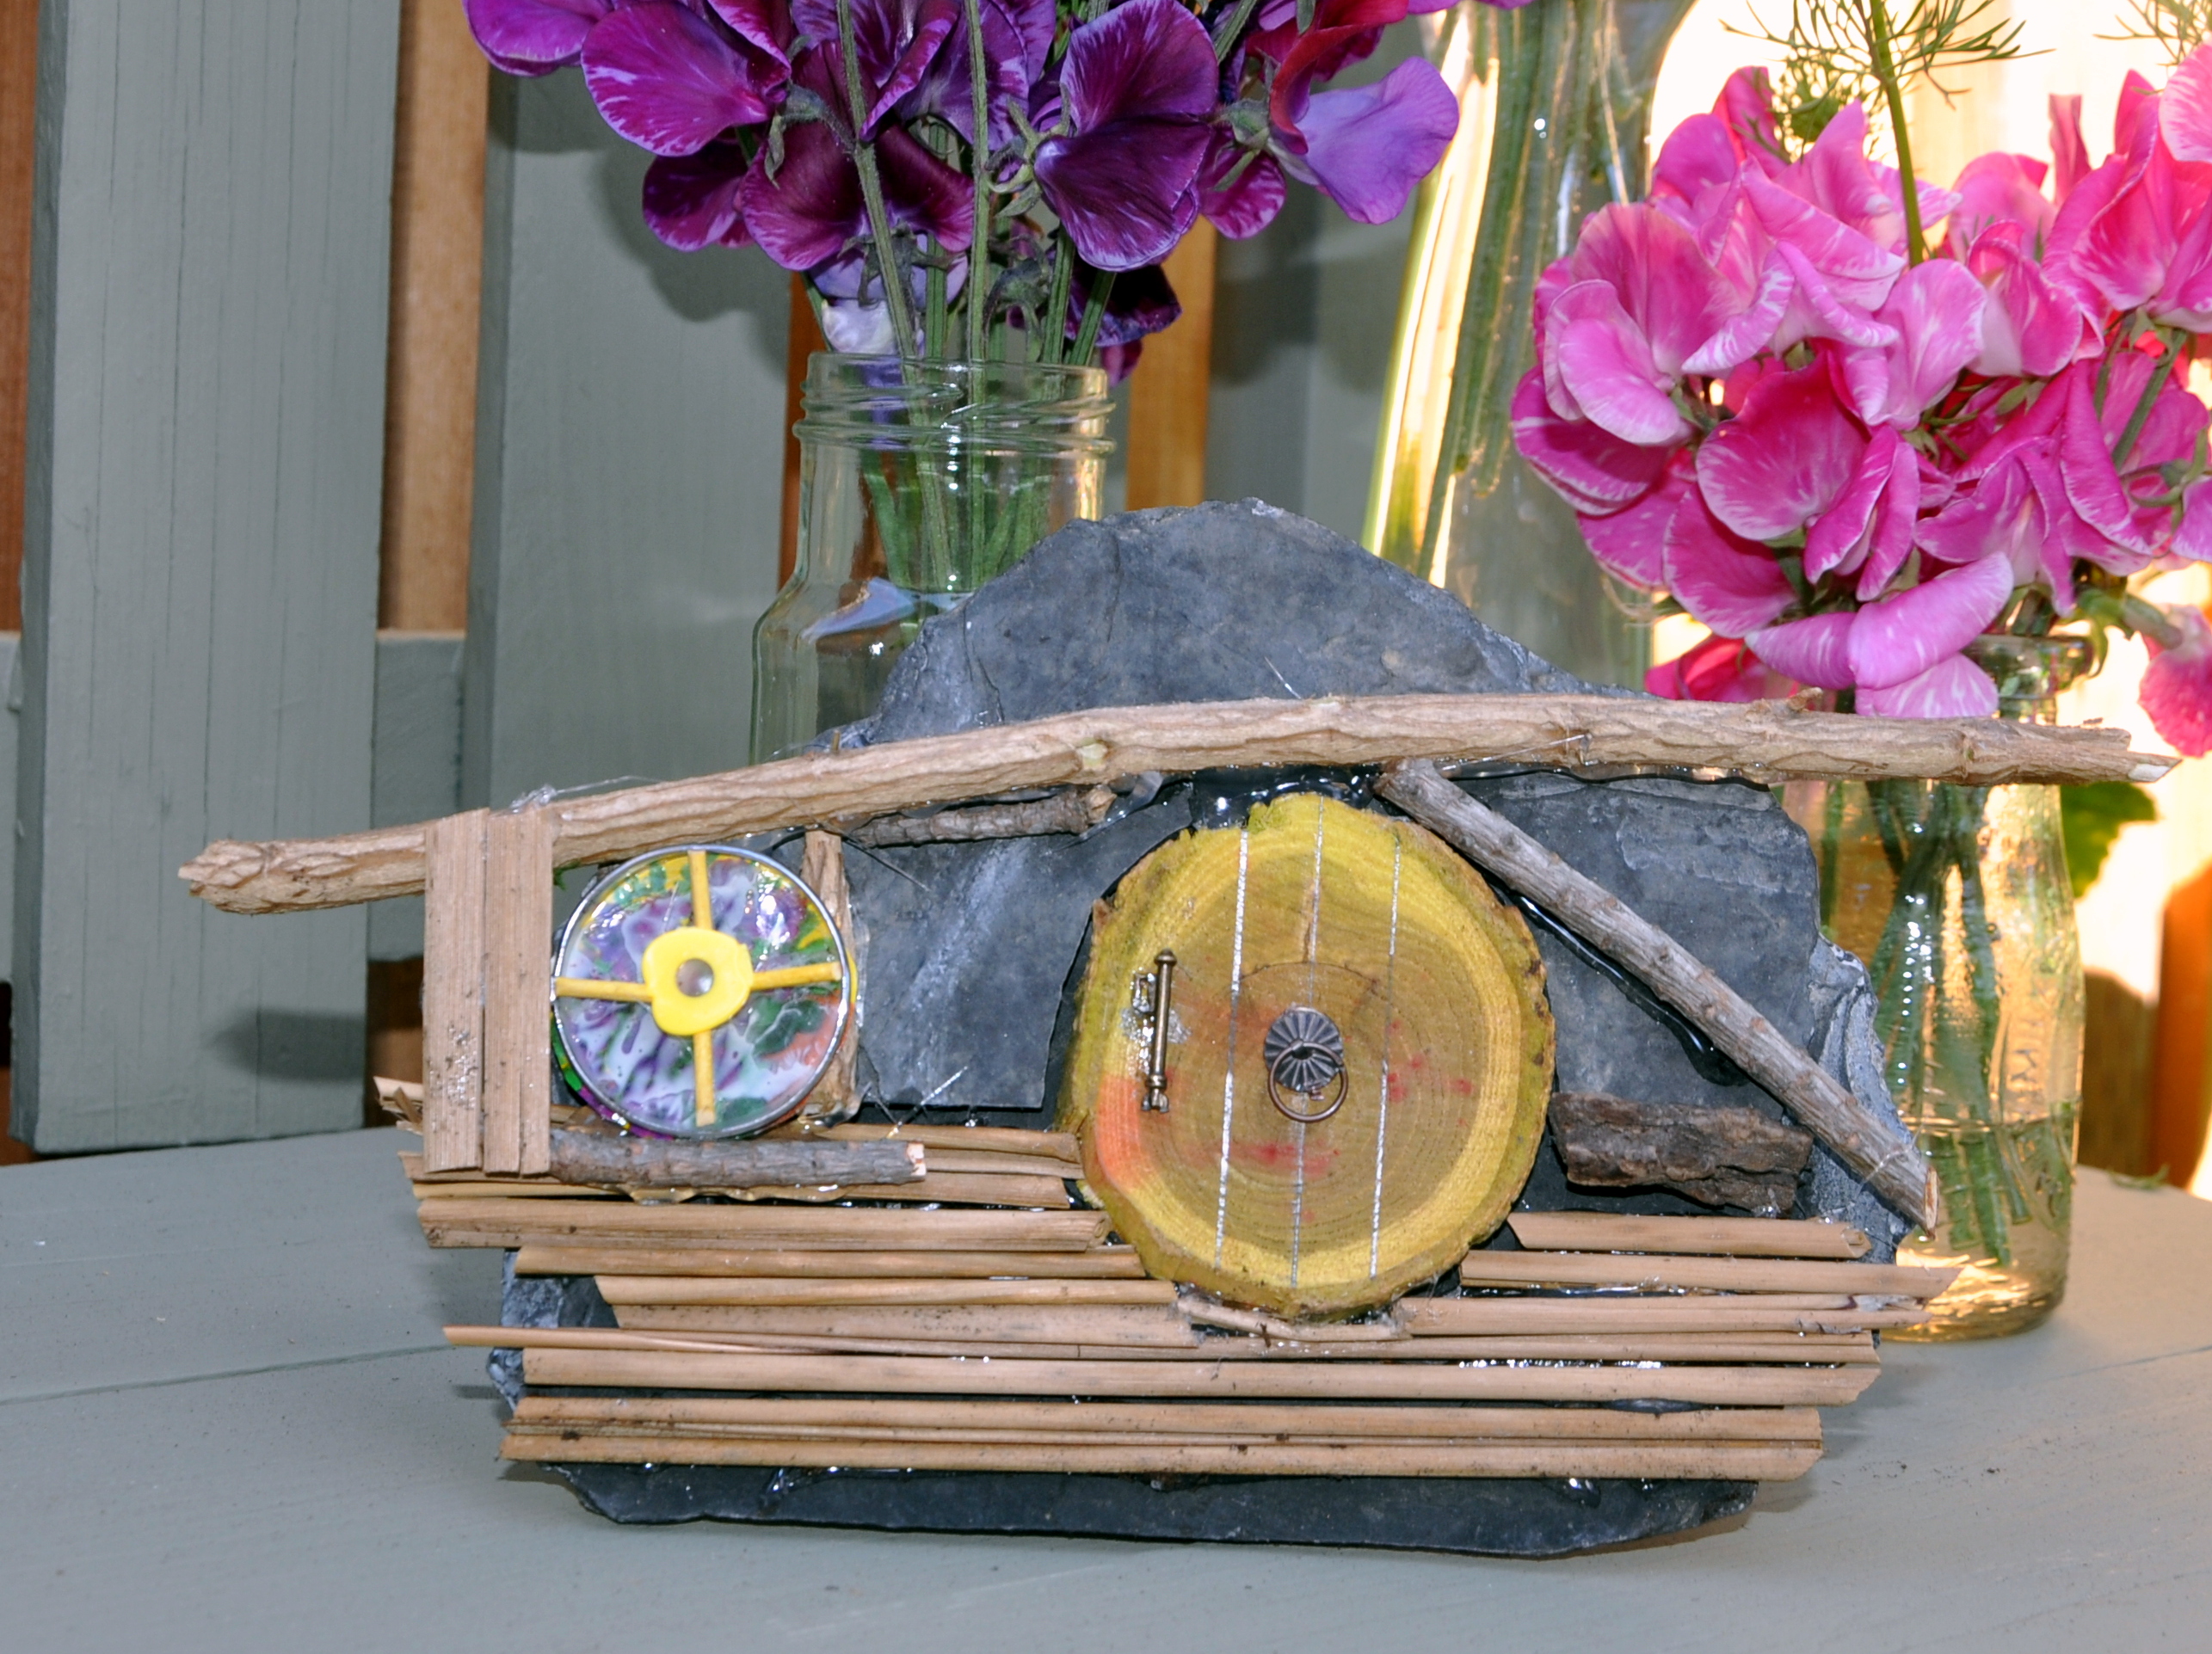
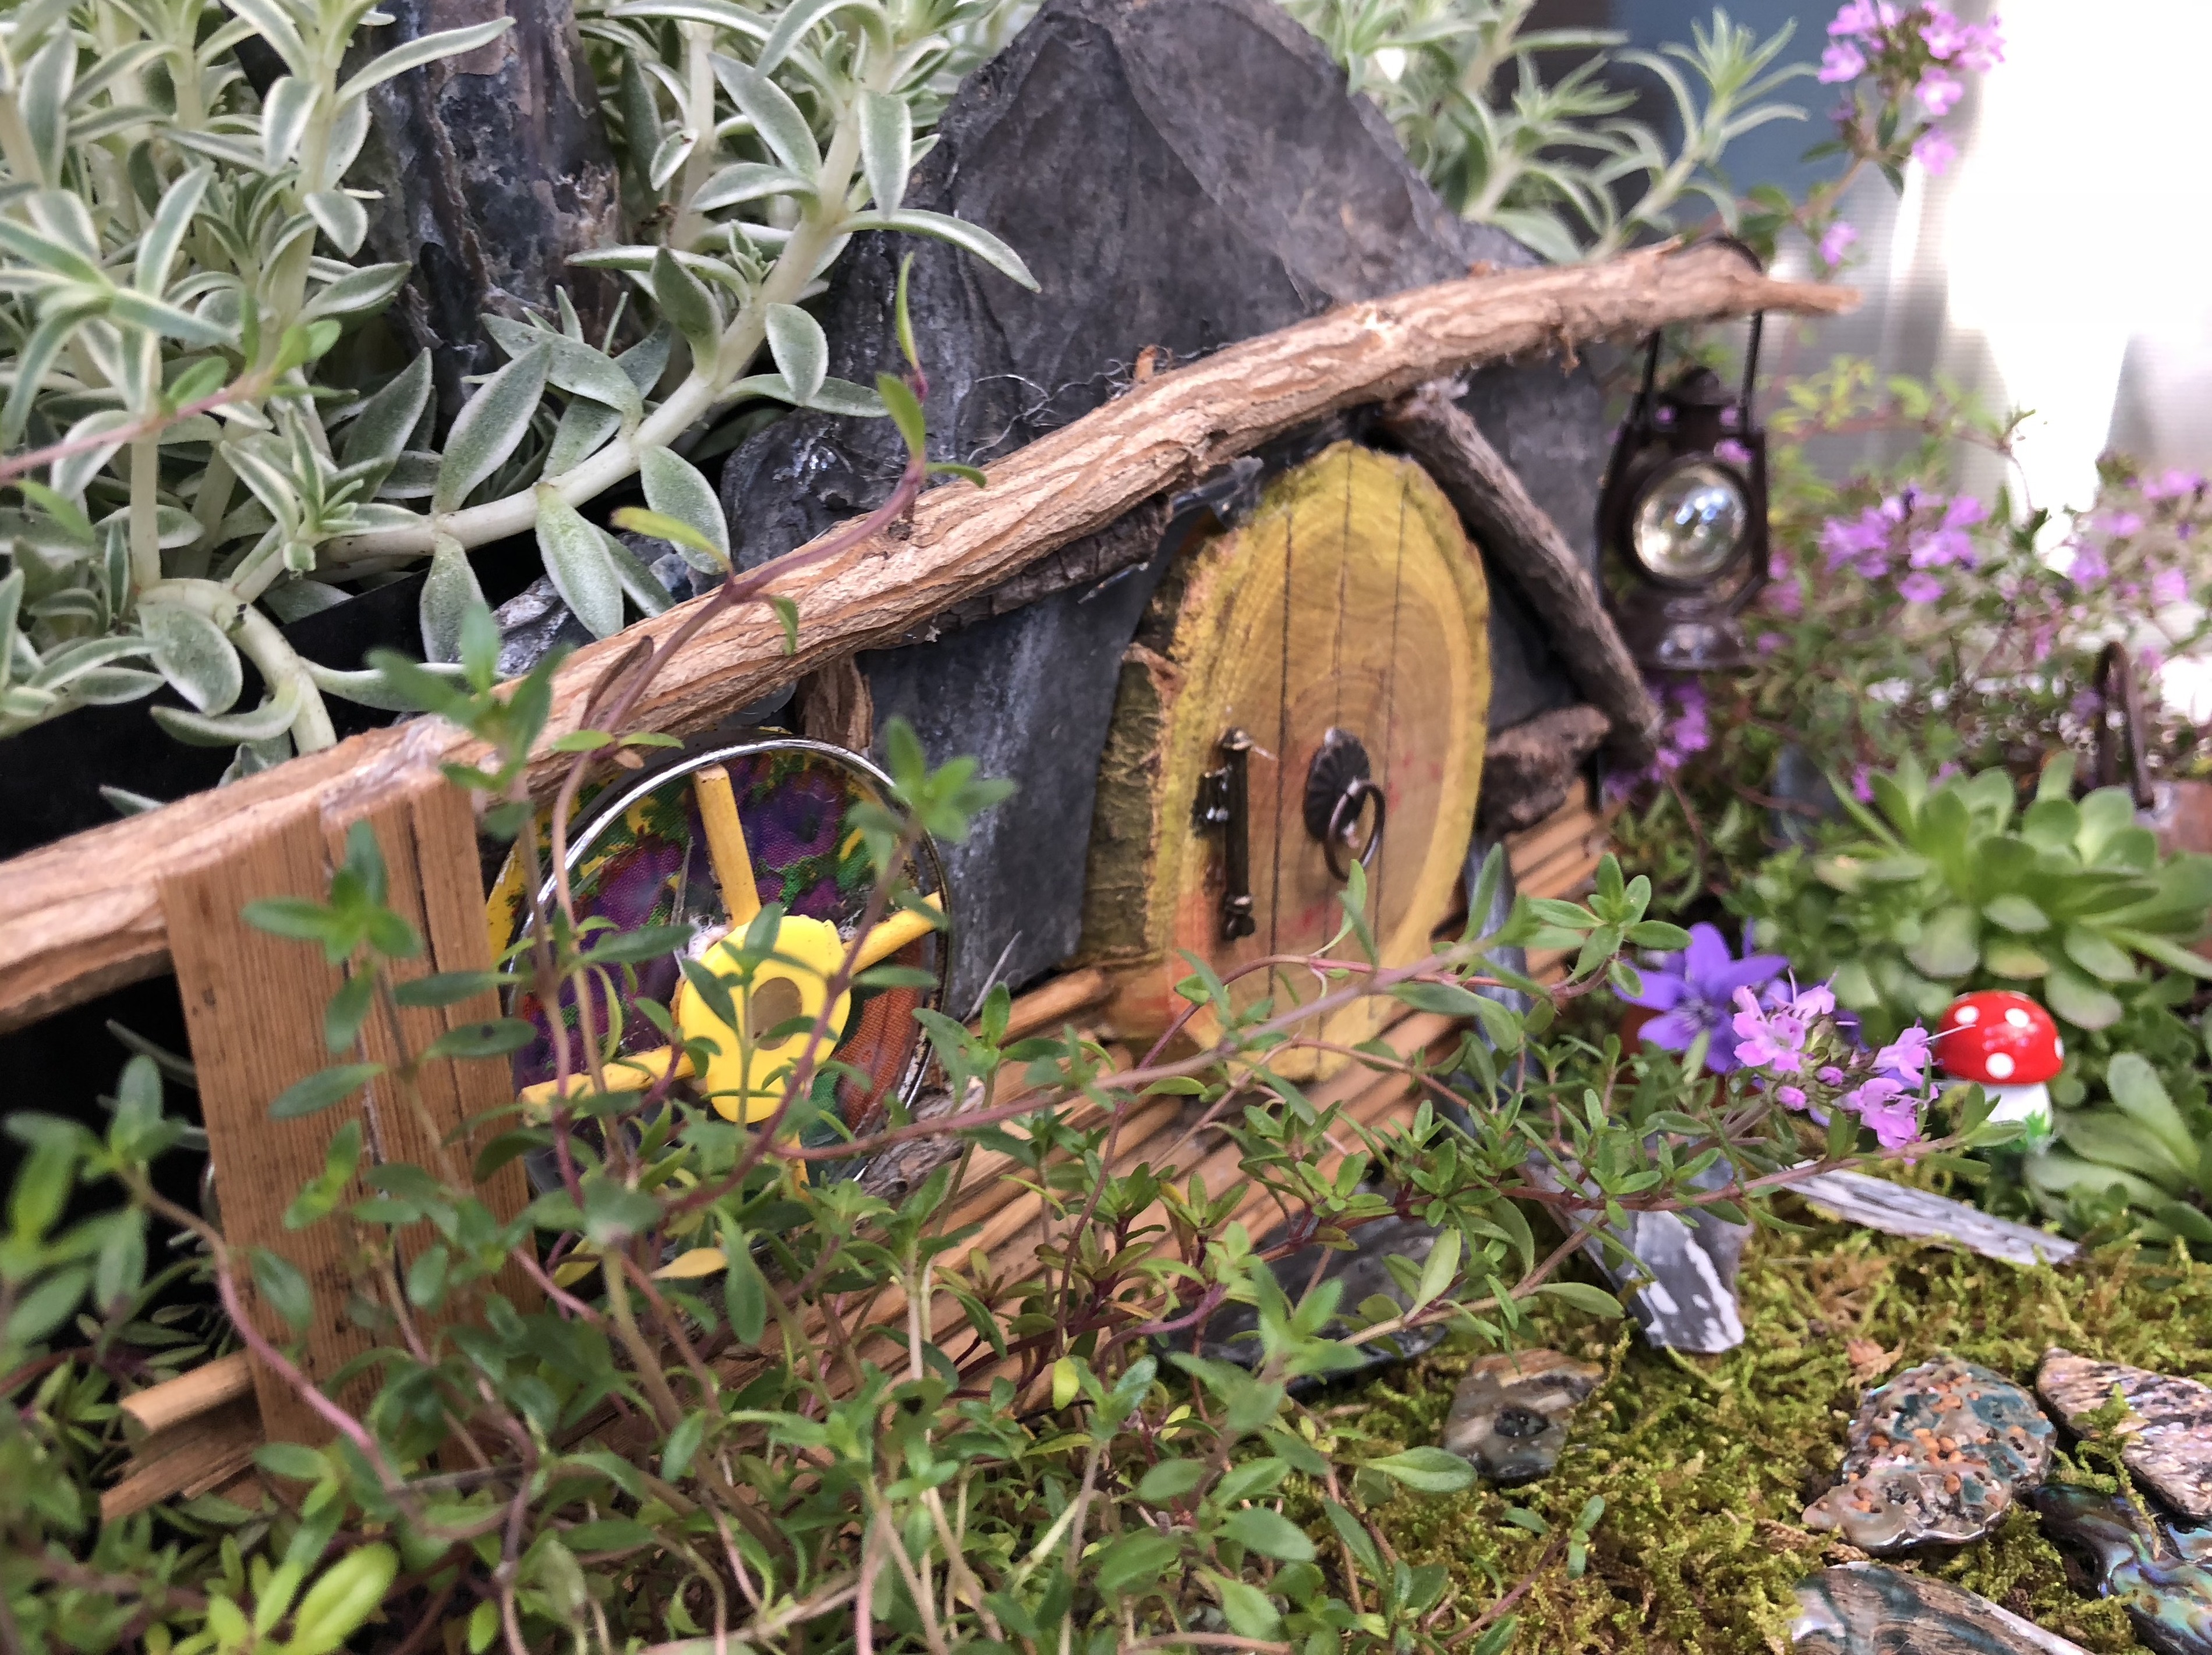
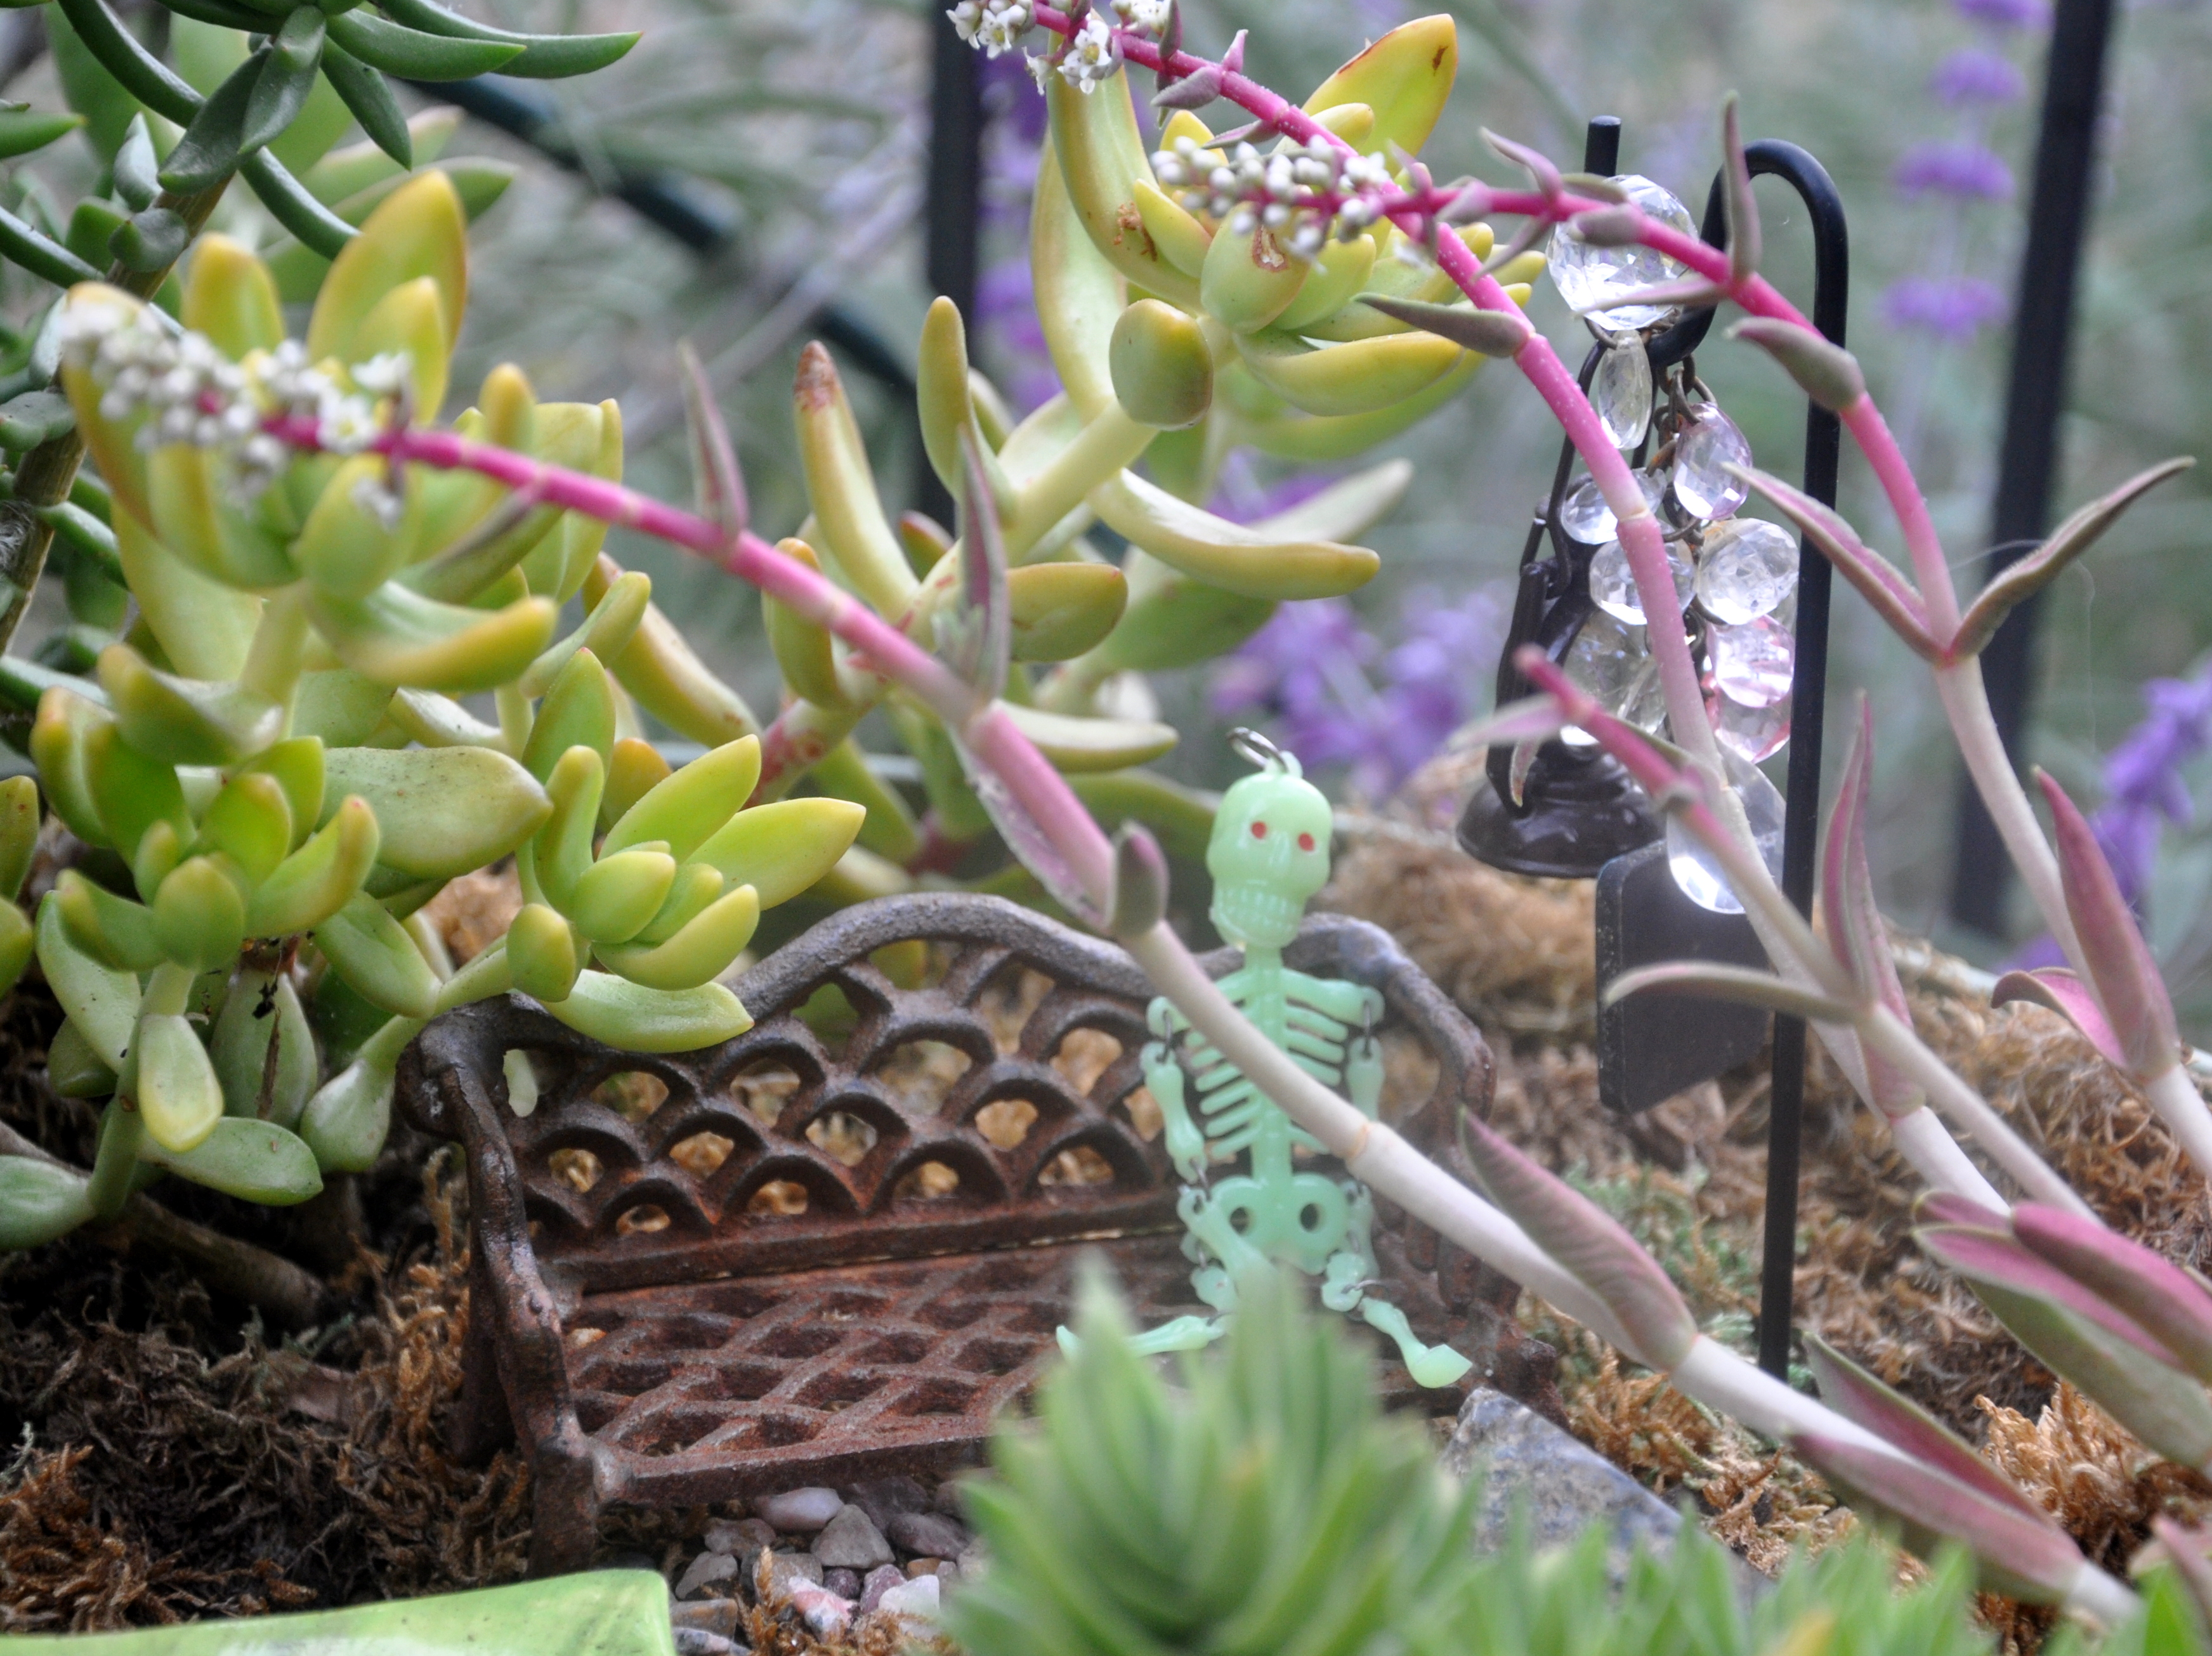
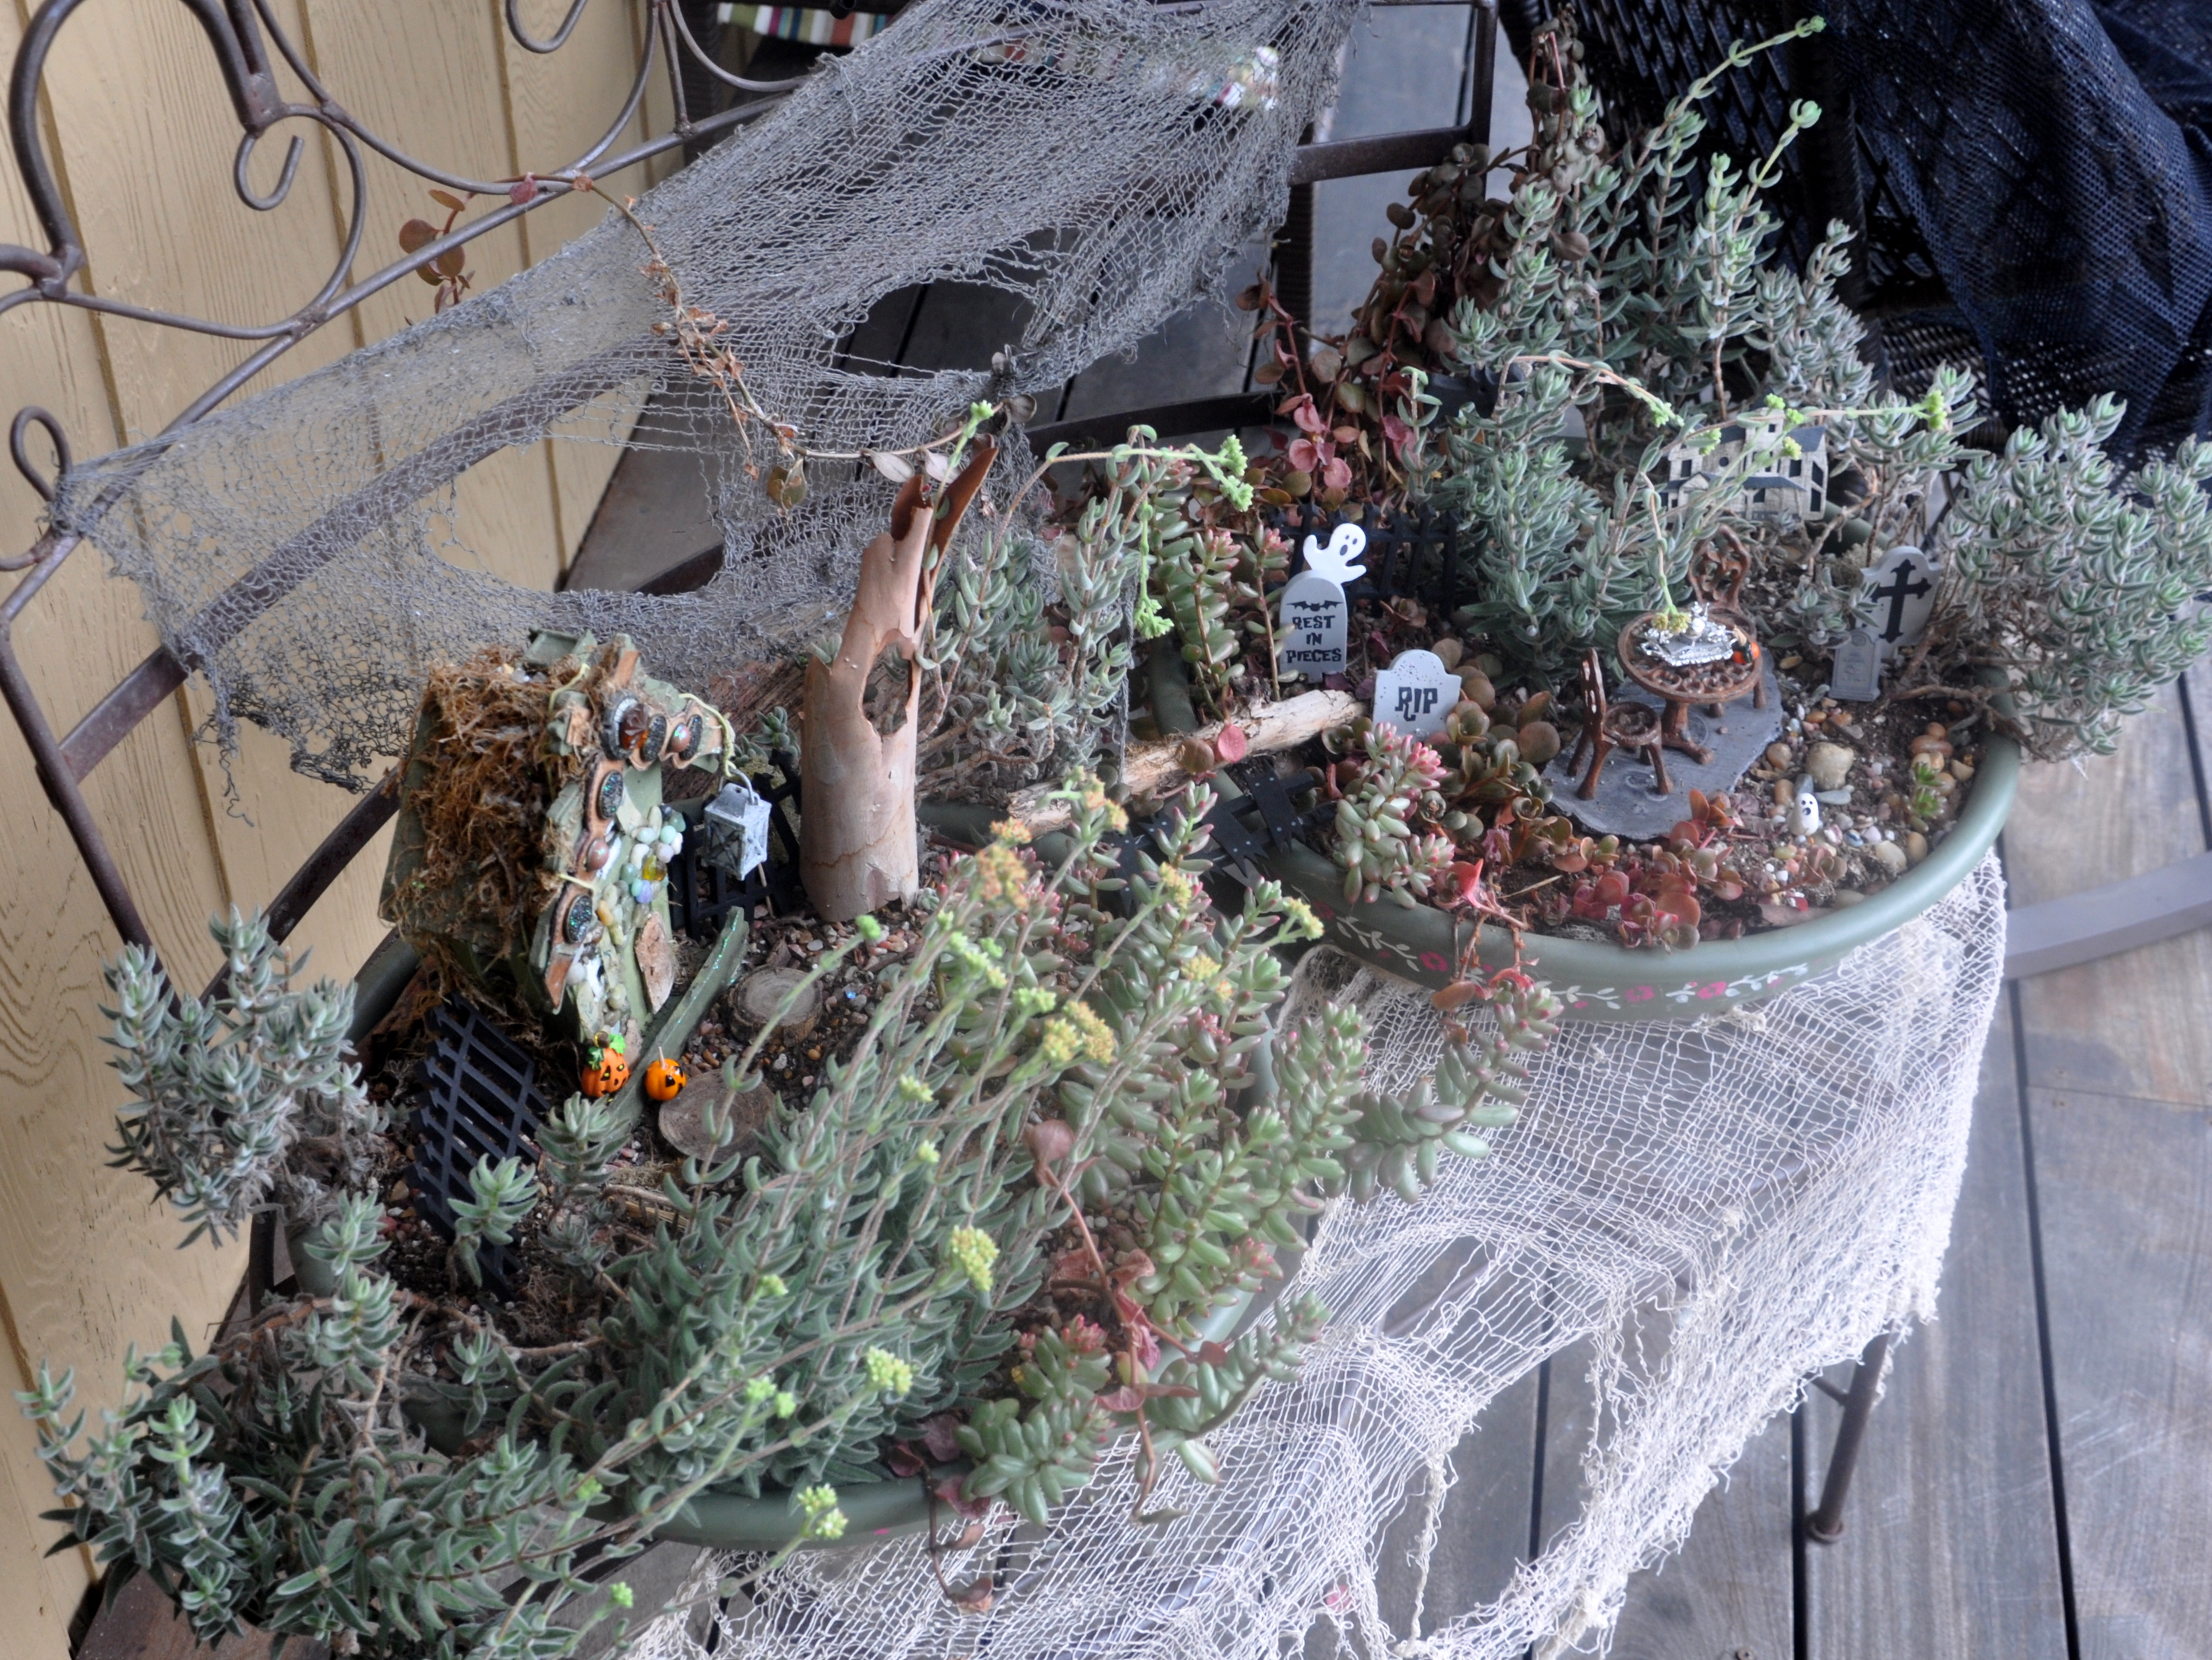
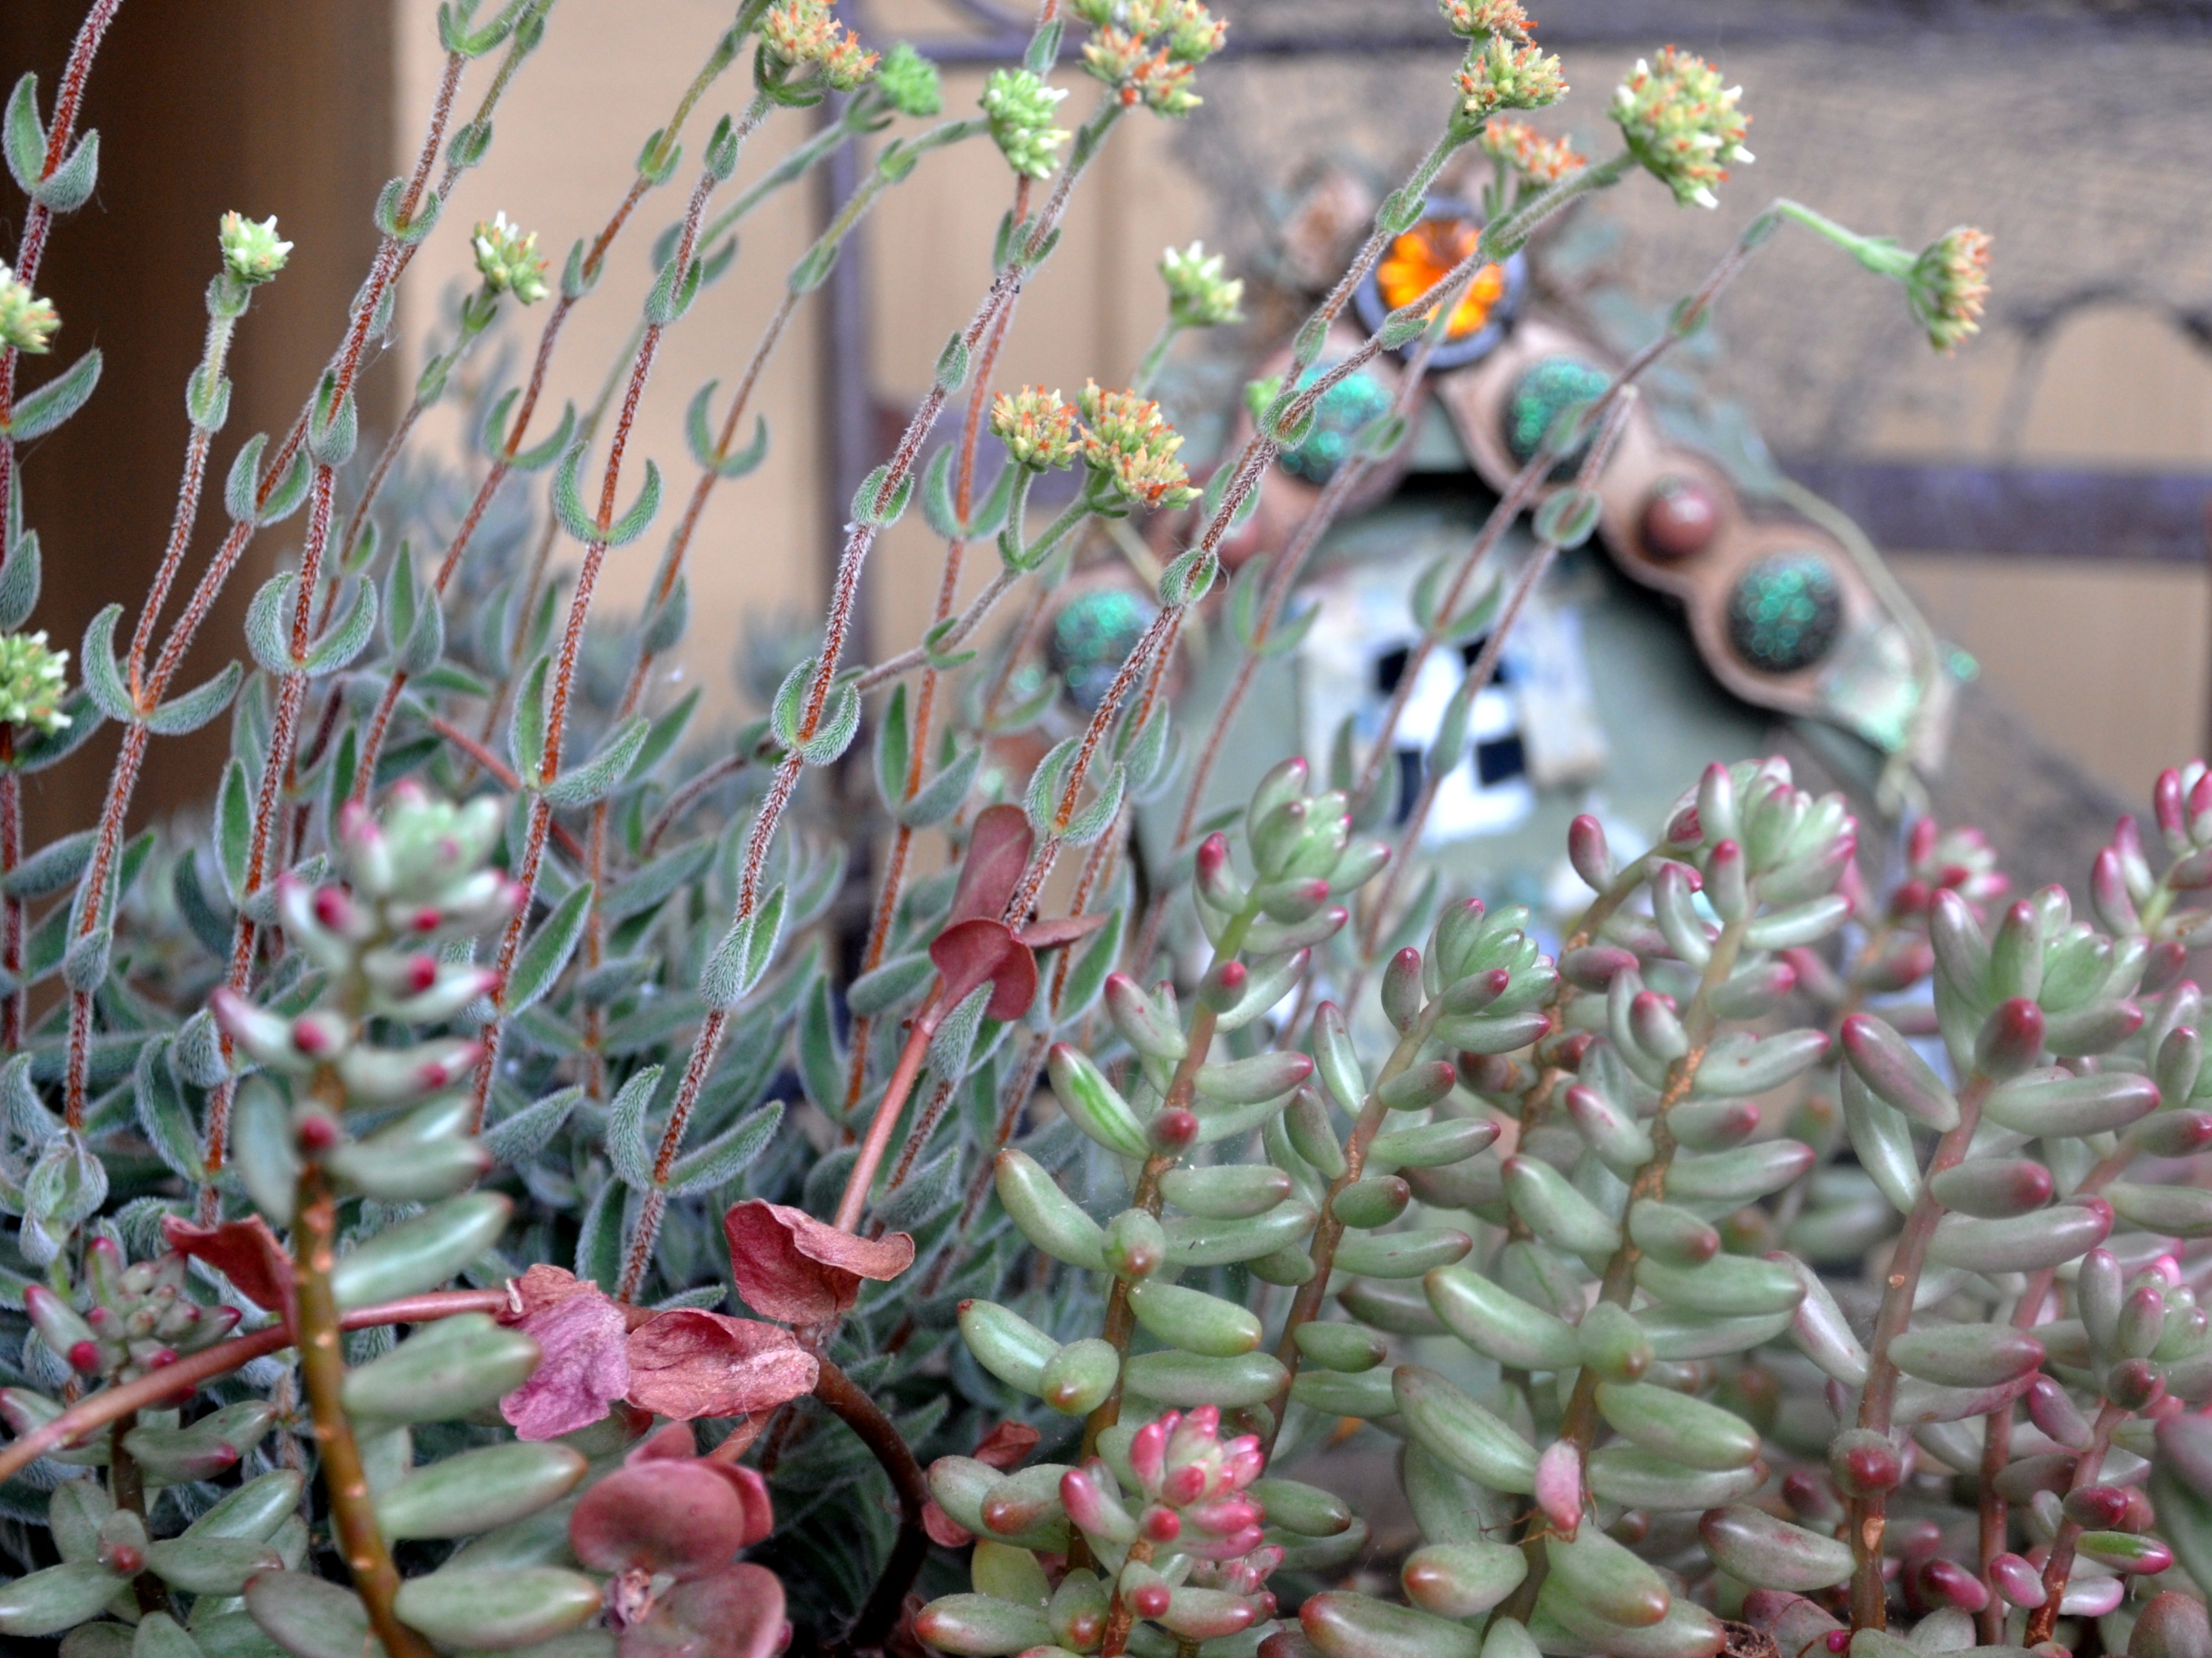
A small gallery from two of my fairy miniature gardens:


You must be logged in to post a comment.