ScrapHappy December: Wrapping a Starfish

What’s a Scrap Happy post?

It’s an opportunity or an excuse to make something entirely out of scraps. Our host, Kate, of Tall Tales from Chiconia, encourages the use of scraps to make something useful or beautiful or both.

If you would like to join us, please see the details at the end of this post.

Last month I helped put together a volunteer appreciation afternoon for Front Door Communities/Lifted Spirits. My friend Mary came up with the idea of a starfish keyring as a small thank you gift for our volunteers. The keyrings came packaged in a simple black box.

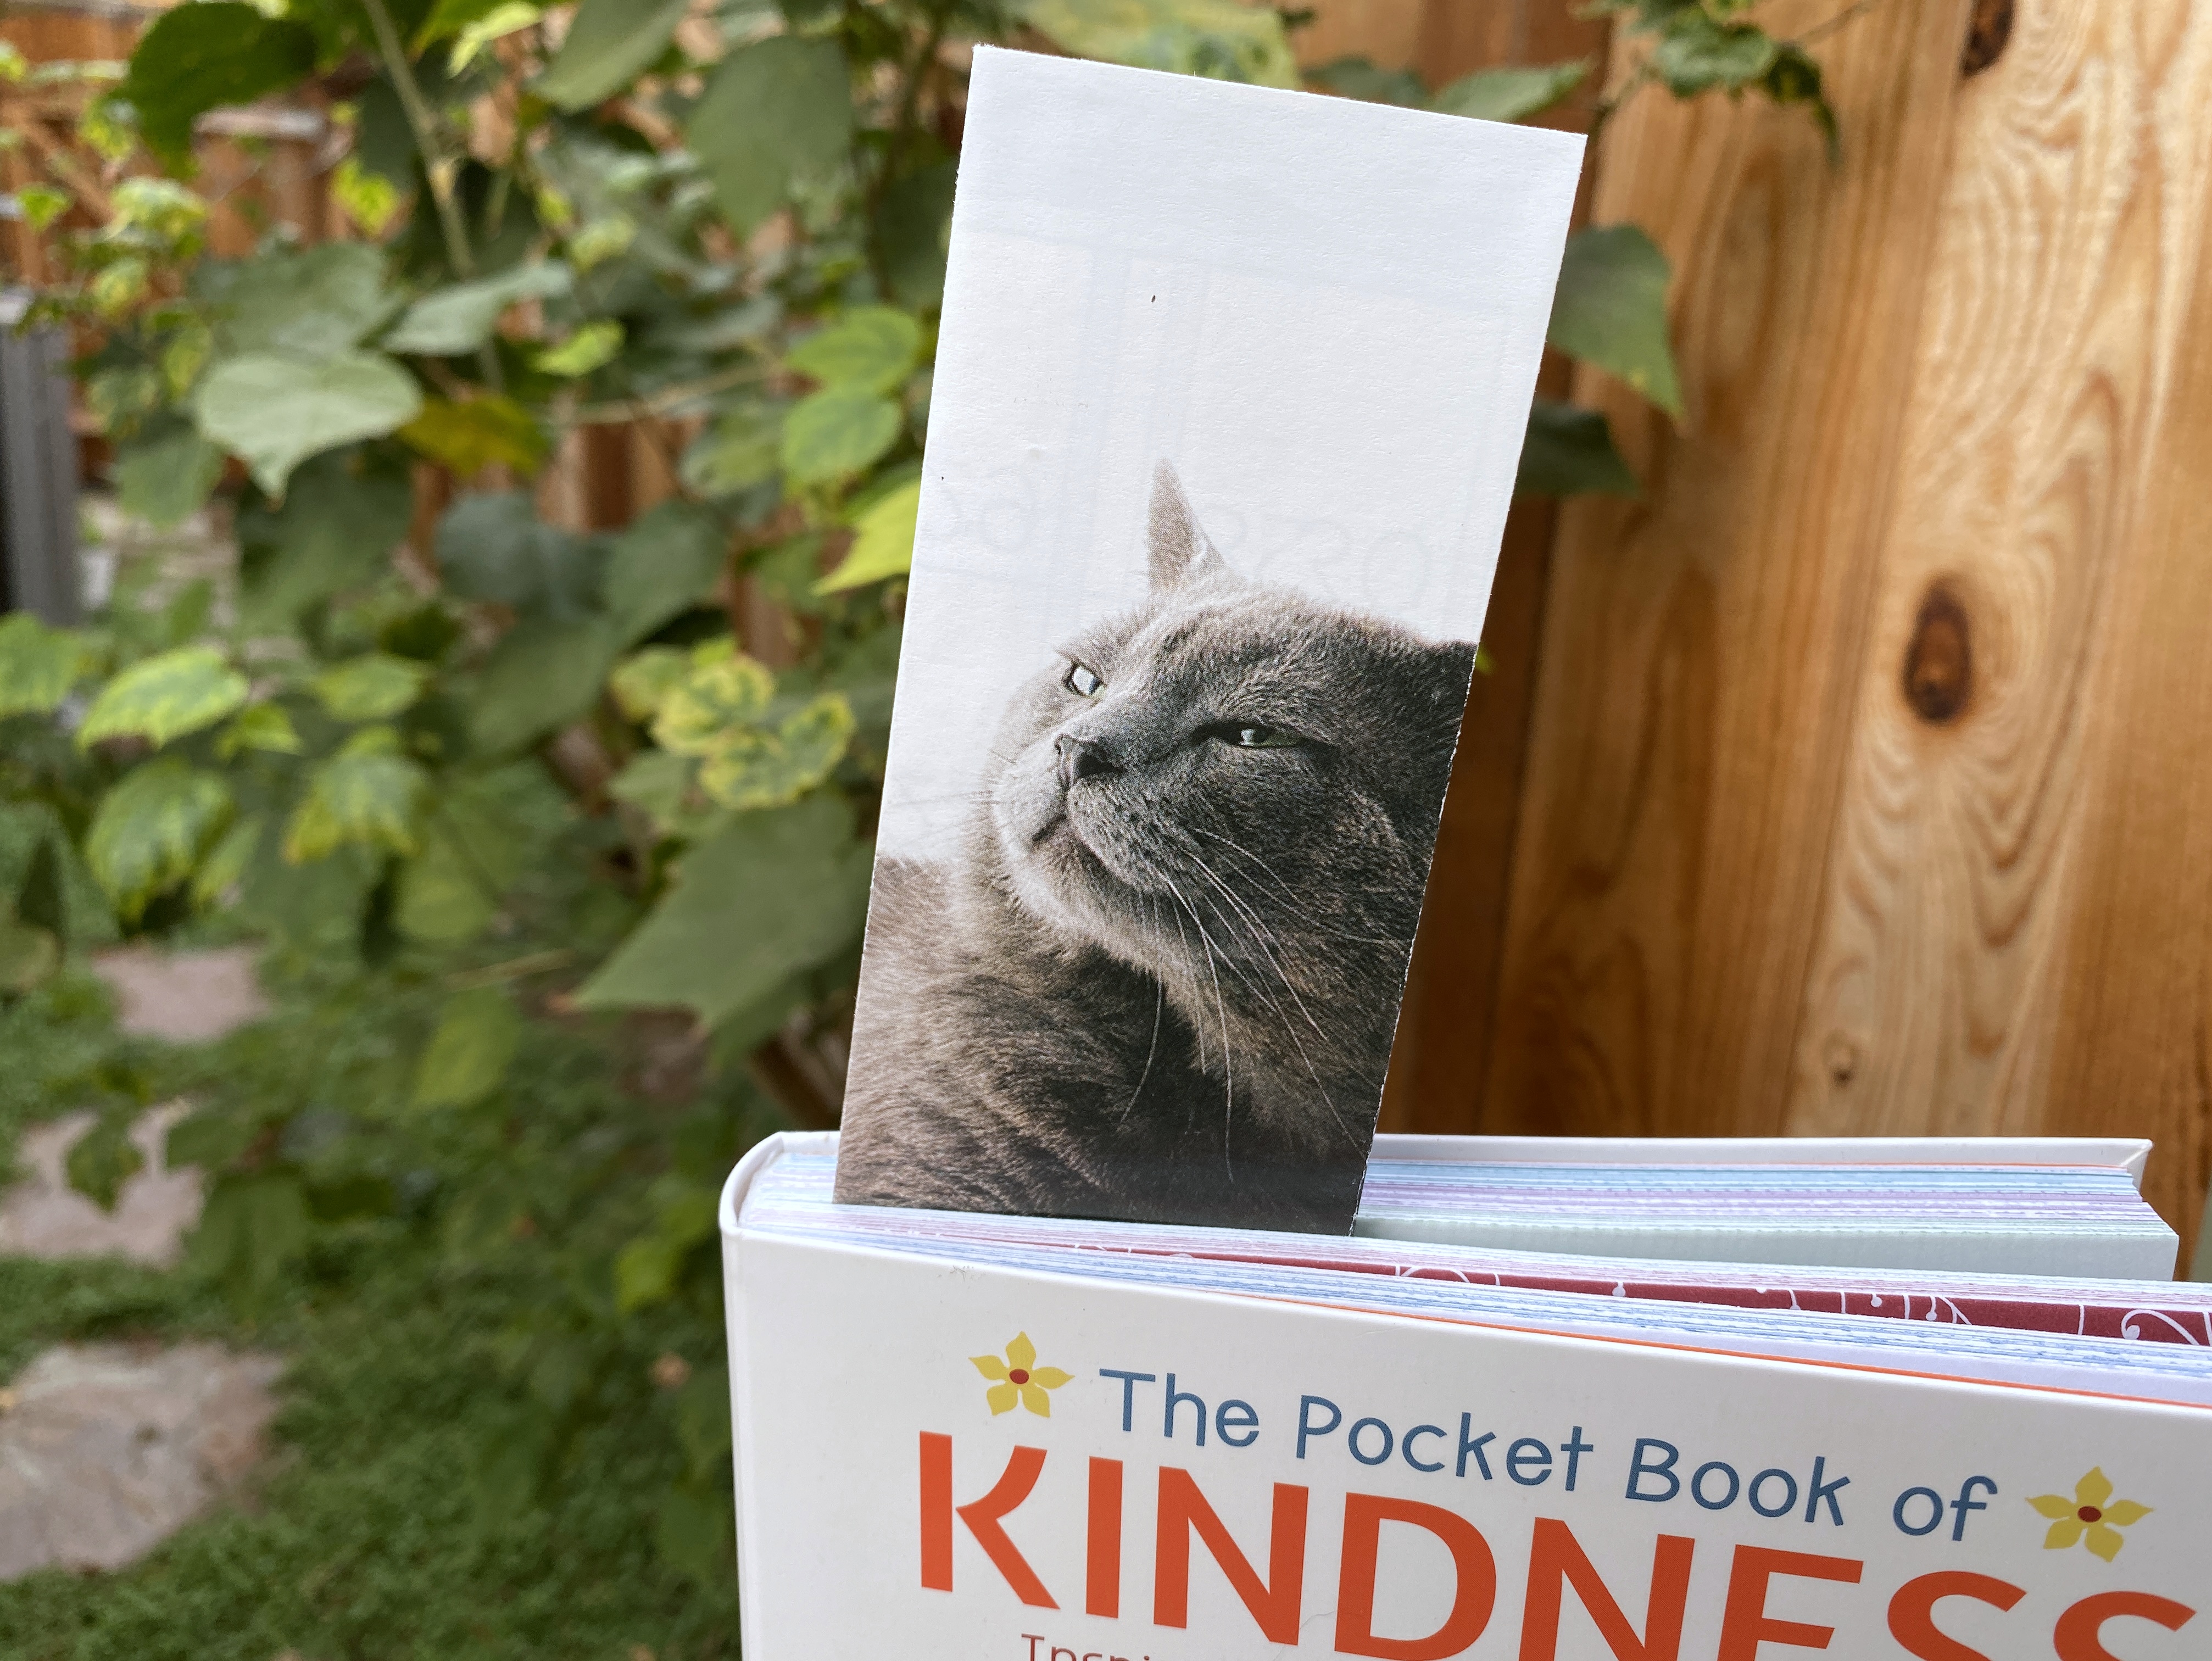
This is where my scraps come in. I had exactly two sheets of this autumn-themed paper, which I won at a scrapbooking event several years ago. I wanted to include “thank you” somewhere on the gift and came up with the idea of hand-stamping “thank you” and a couple of small stars on a band of paper. I needed 30 bands in all and had just enough to wrap 30 boxes, with enough left over for one bookmark!

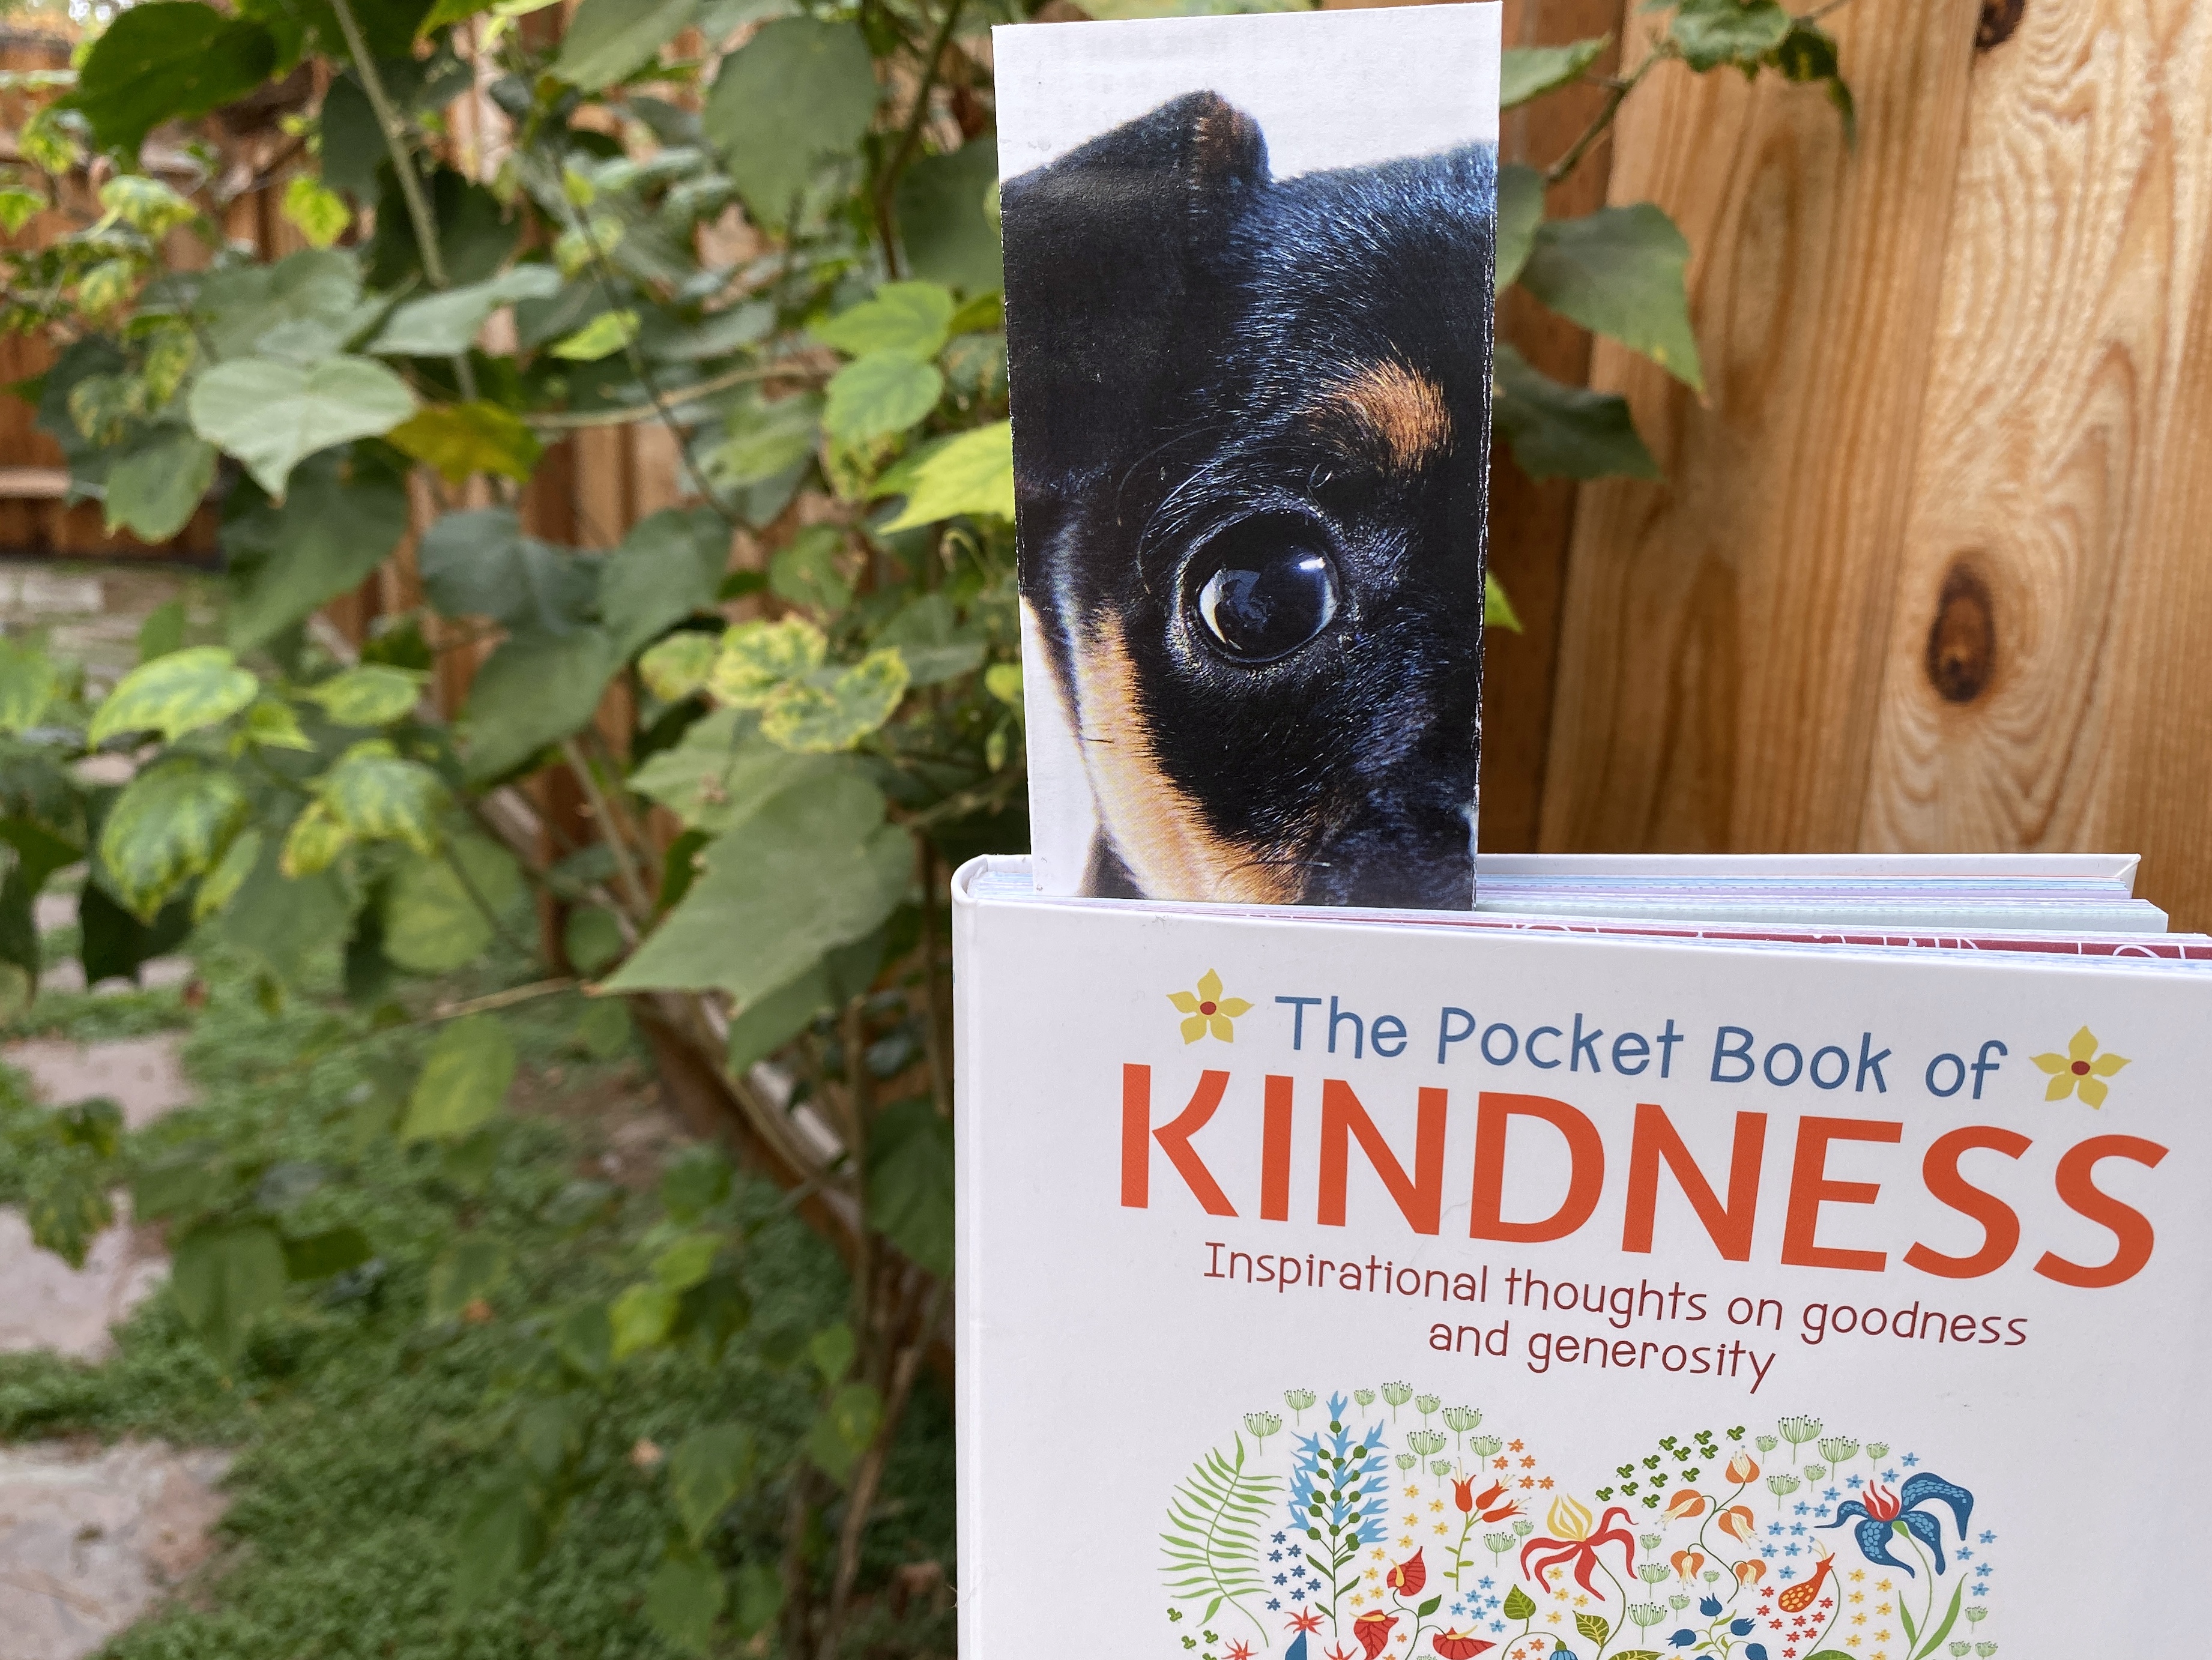
Scrap-happy bookmark.

I assembled drawstring bags with the boxed keyring and the thank you band, then added small cinnamon-scented pine cones to help the box stand upright.

Gift bag and pine cones

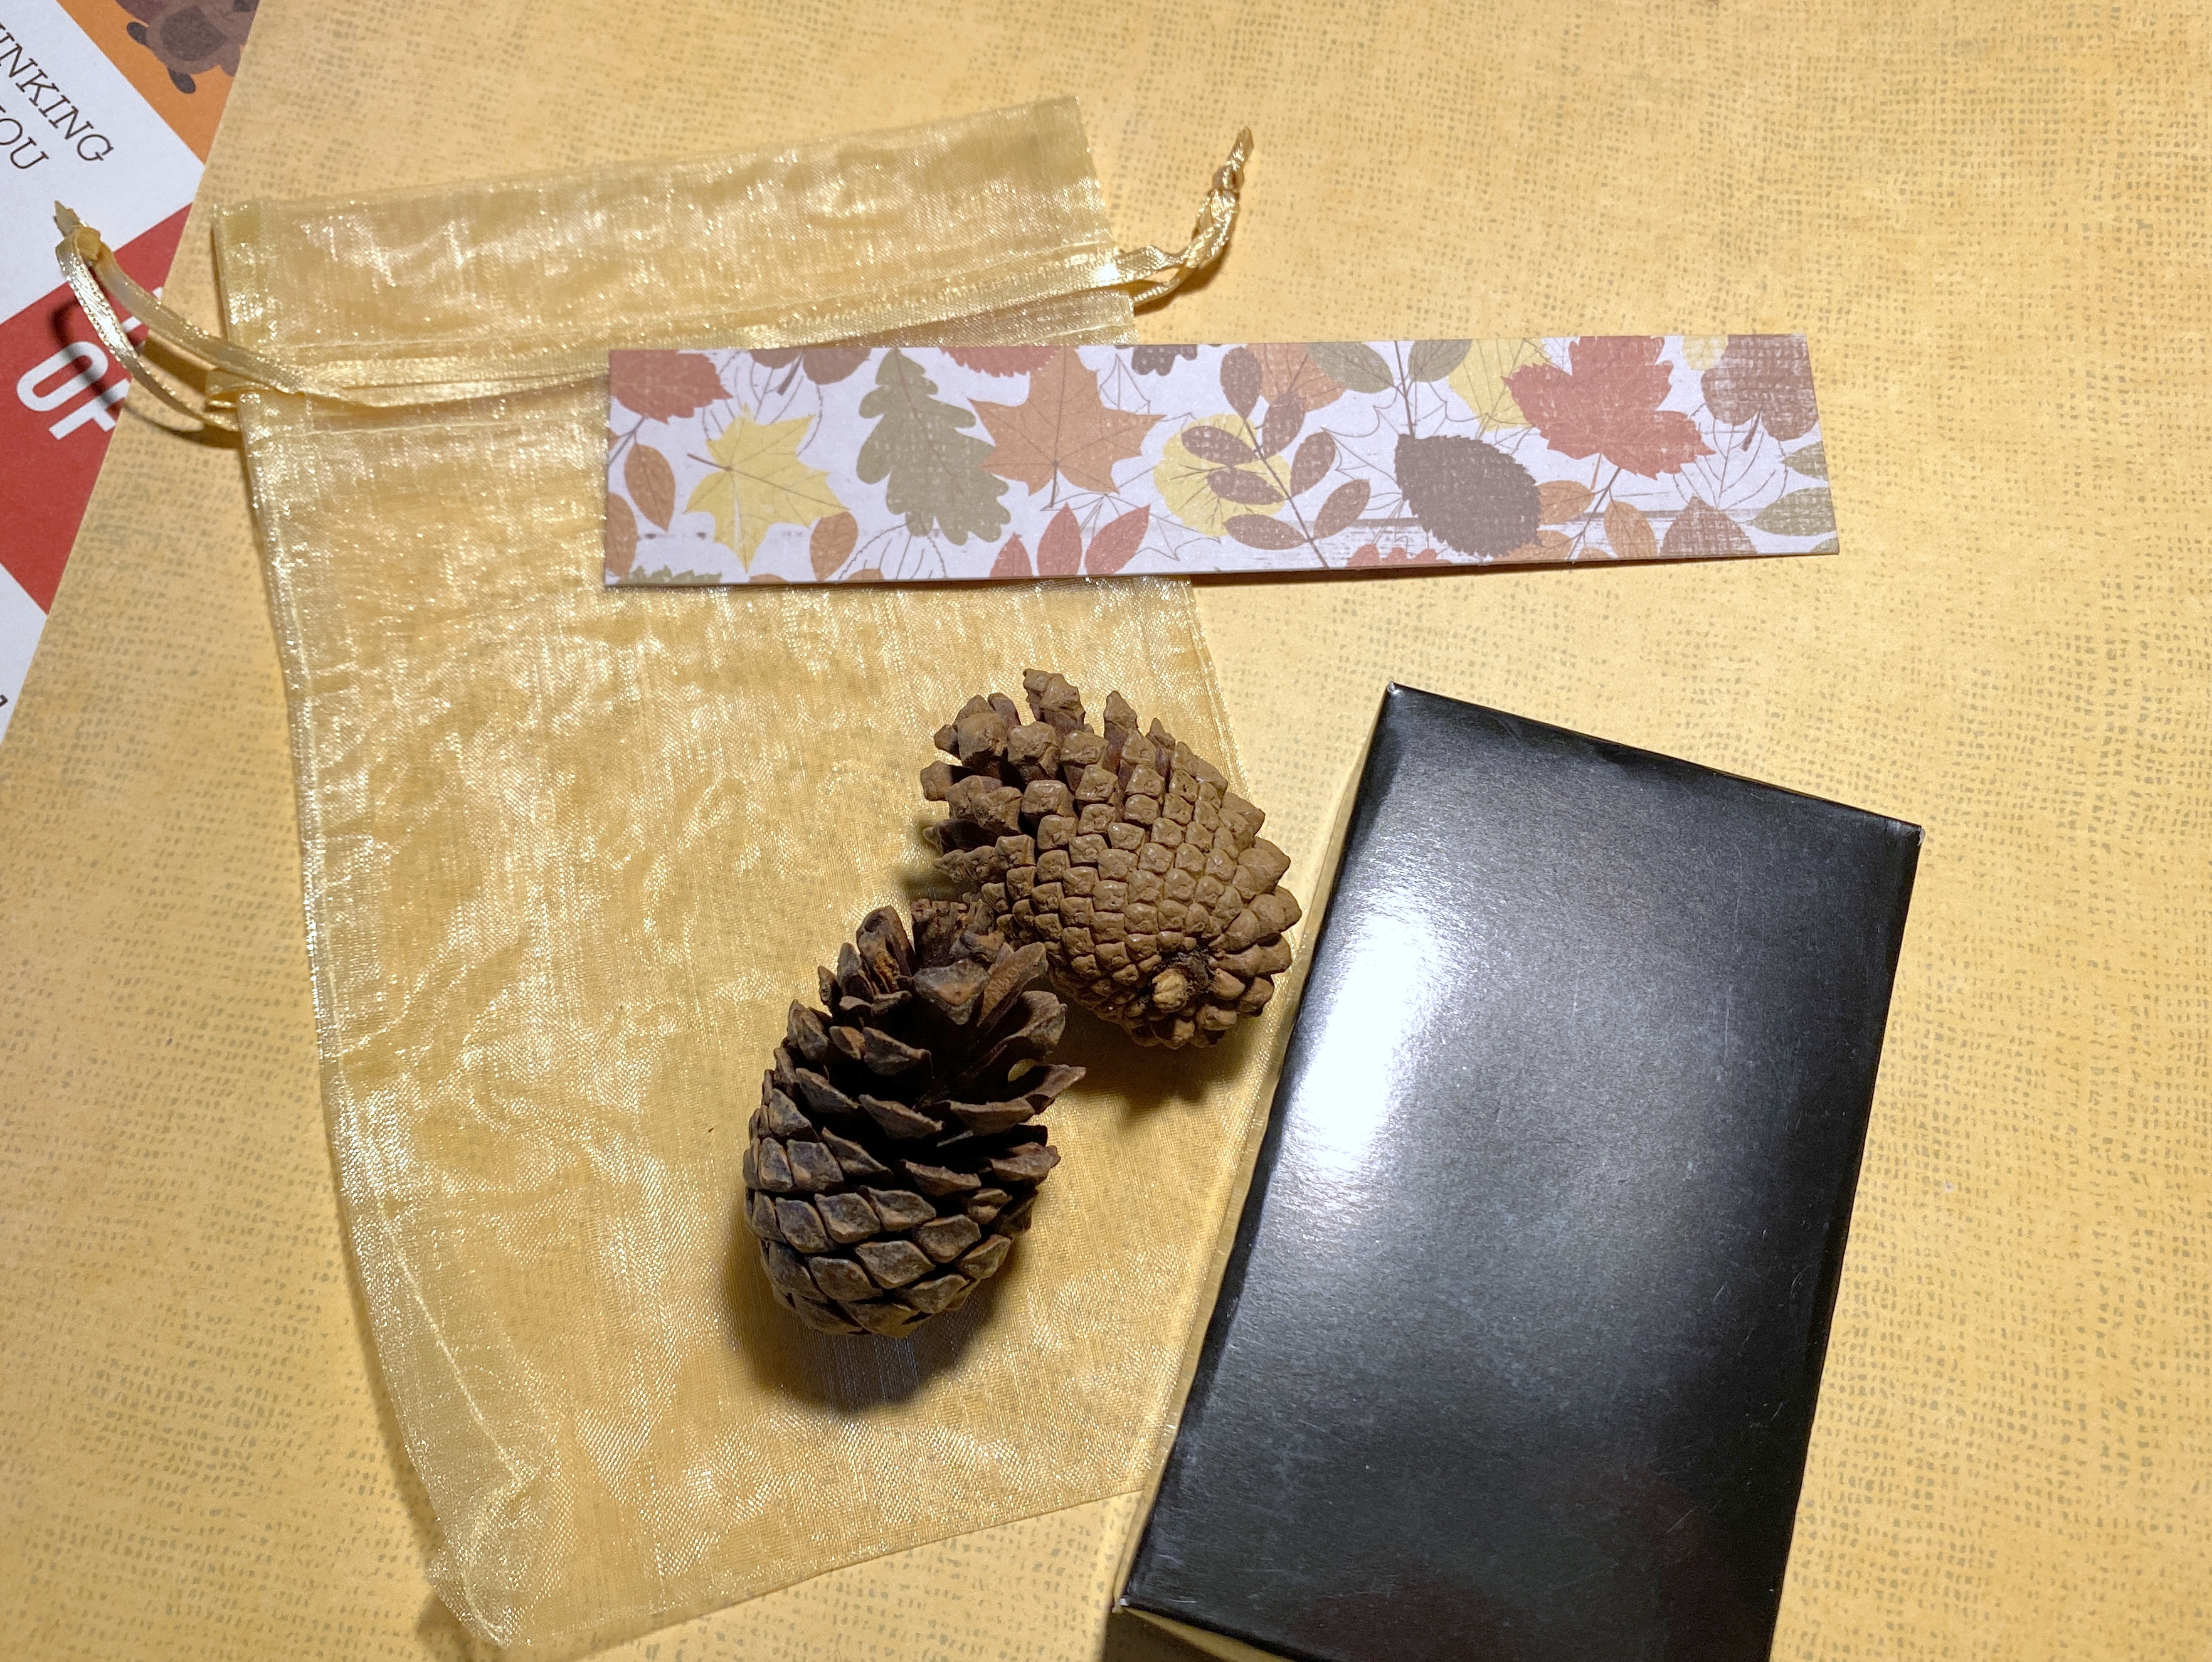
Small bag, pine cones, black box and a strip of paper before stamping

This is what they looked like assembled on a tray.

Volunteer Appreciation gifts

Why starfish?  Here’s the story:

A young girl was walking along a beach upon which thousands of starfish had been washed up during a storm. When she came to each starfish, she would pick it up, and throw it back into the ocean.

She had been doing this for some time when a man approached her and said, “why are you doing this?  You can’t save all these starfish. You can’t begin to make a difference!”

She bent down, picked up another starfish, and tossed it into the ocean. Then she looked up at the man and replied, “Well, I made a difference to that one.”

Positive Promotions starfish key ring

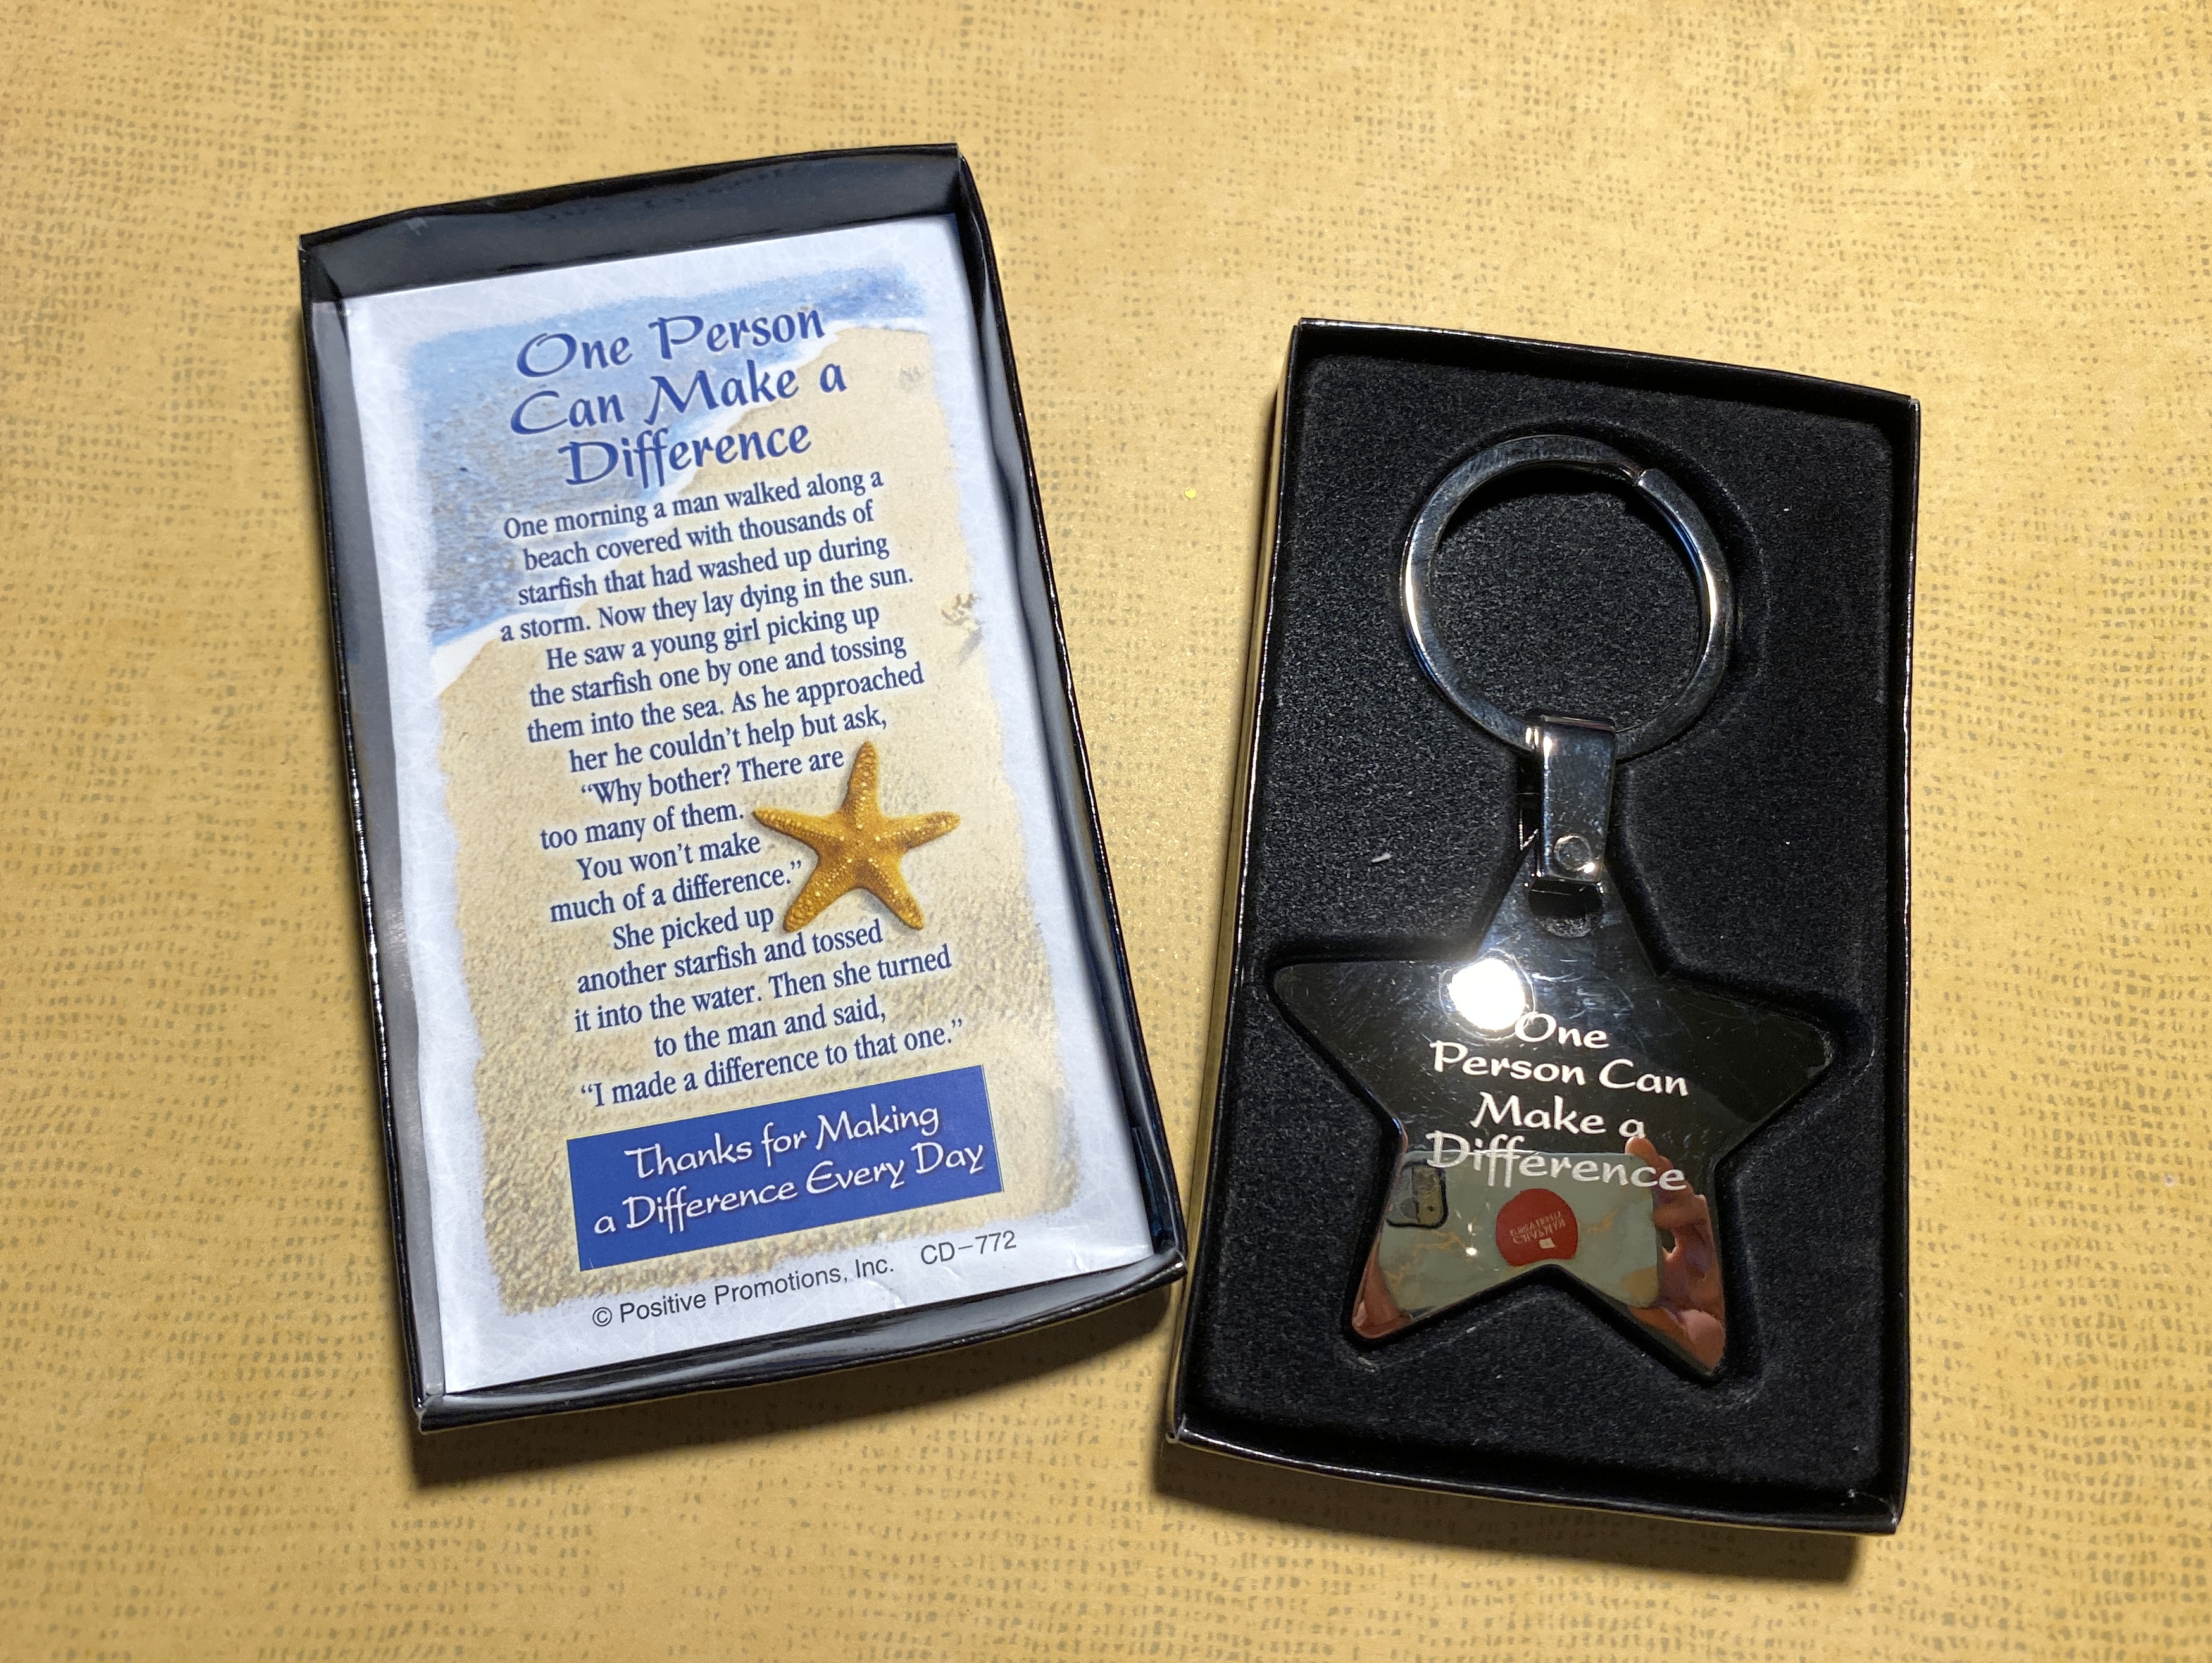
Boxed starfish keyring with a parable

Our volunteers make a difference

These small crafty projects are about all I have time for of late, but they’re satisfying nonetheless.

If you would like to join us, please let Kate know.

Wishing you a happy, scrappy holiday!

Starfish Keyring: One Person Can Make a Difference

Starfish Keyring: One Person Can Make a Difference

Check out the links below on December 15th to see other scrap-happy posts.

KateGun, TittiHeléneEvaSue, Nanette, Lynn, Lynda,
Birthe, Turid, Susan, Cathy, Debbierose, Tracy, Jill, Claire, Jan,
Moira, SandraLindaChrisNancy, Kerry, Claire, Jean,
Joanne, Jon, HayleyDawn, Gwen, Connie, Bekki, Pauline, and Sue L.

ScrapHappy November: Wall Calendar Bookmarks

I’m joining Kate, of Tall Tales from Chiconia, for her monthly scrap-happy blog post. The challenge is to create something made entirely of scraps, or as Kate put it this month it’s “time to show stuff made from bits of other stuff!”

This month I converted pages from my old wall calendars into bookmarks for our Little Free Library. With a library at the curb, it’s a fun excuse to make several bookmarks at once.

Sample calendars

The Nature Conservancy calendar and bookmark: photograph Rick Flematti Nature Photography

Bird calendar page into bookmark: photograph Loic Poidevin

Being the animal lover that I am, I’m on mailing lists for the Humane Society Silicon Valley (HSSV) and the Nature Conservancy. Their calendars are too beautiful to toss so I upcycle the pages into an assortment of things.

Time is short, so nothing fancy this month.

I perused my stash, set aside pictures that would work for the scale of a bookmark and then located the most strategic center.

Sweetness overload

A pair of puppy bookmarks

A trio of kitty calendar bookmarks

From our HSSV calendar (the book is a gift from my friend Kelly)

Will you look at those puppy-dog eyes?

More puppies

I cut a 6 x 6-inch focal point from the center of the calendar, then score at the two-inch mark on either side.  I fold it into thirds and glue the layers together. These gorgeous calendars get a second life.

It’s surprising how relaxing this simple craft can be. I enjoyed revisiting the beautiful nature photography, and I smiled at the notion of all those cats and dogs going to their forever home.

That’s it for this month. I’m off to see how the rest of the bloggers below are using their scraps.

Check out the links below on November 15th to see other scrap-happy posts.

KateGun, TittiHeléneEvaSue, Nanette, Lynn, Lynda,
Birthe, Turid, Susan, Cathy, Debbierose, Tracy, Jill, Claire, Jan,
Moira, SandraLindaChrisNancy, Kerry, Claire, Jean,
Joanne, Jon, HayleyDawn, Gwen, Connie, Bekki, Pauline, and Sue L.

ScrapHappy August: Tie-Dyed Wet Wipes

It’s true. This month’s scrap-happy card project uses tie-dyed wet wipes. Four year old, tie-dyed wet wipes, just to be sure that they are good and dry.  [Smirk]

I’m joining Kate, of Tall Tales from Chiconia, for her monthly scrap-happy blog post. The challenge is to create something made entirely of scraps.

A few year’s back I took a card-making class with my sister from Michael Strong.

Michael had us create cards using  baby wipes, normally reserved for changing nappies or diapers and a few drops of alcohol ink.

alchohol ink Tim Holtz baby wipes

Alcohol Inks by Tim Holtz

baby wipe tie dye

White backing paper and tie-dye affect using baby wipe and inks

After the ink dries, you attach the wipe to a sticky backing for support. I came home with several finished cards, a pile of tie-dyed samples and lots of good intentions.

tie dyed wet wipes

Samples of ink-dyed wet wipes

These past four years flew by!

With ScrapHappy August looming, I pulled out my four-year-old stash of faux tie-dyed wipes looking for inspiration. One by one, I ran each sample through my Big Shot die-cutting machine, and I was off having fun.

In class we made simple backgrounds using the tie-dyed sheets. I took it a step further and cut the samples into interesting shapes.

Here’s one for Halloween: I used the shadow cut of a “trick or treat” die and a circle to emulate the moon. I used an “oops” card to make the grey shadows, simply tearing the edges and adhering to the top and bottom of the card. That’s supposed to be a bat over the moon, but only if you’re hard of seeing. I’ll have to fix that.

Halloween tie dye card

Next up, a Christmas card using one of my sister’s snowflake dies and a blue and purple dyed wet wipe.

wet wipes merry christmas tie dye card

Ink-dyed wet wipe and snowflake die

This thank you card is going to our Lifted Spirits summer intern. She’s been a wonderful addition to our team. We’re going to miss her.

I die cut the daisy background , then made a frame to hide the jagged edges. The sentiment  “Thanks” is also from a tie-dyed sample.

thank you tie dye card

Ink-dyed wet wipe and two die cuts, daisy background and thanks sentiment

This meandering plant die is one of my favorites. It’s a gift from my friend Pauline.  I love the mixture of blues and greens.

If I did this again, I would not remove the sticky backing. I had to arm wrestle all those tiny bits into position and the backing kept sticking to itself, even when peeling slowly.  The colors are gorgeous though, and it’s interesting how much texture you’ll find in these wipes.

wet wipes tie dye card trellis

Ink-dyed wet wipe and meandering plant die

I still have several shapes to work with in the future, and as always, it’s great working with what you have.

I’m off to see what the rest of you are up to this month. Here are some links to other August scrap-happy posts.

Kate Gun, TittiHeléneEvaSue, Nanette, Lynn, Lynda,
Birthe, Turid, Susan, Cathy, Debbierose, Tracy, Jill, Claire, Jan,
Moira, SandraLindaChrisNancy, Kerry, Claire, Jean,
Joanne, Jon, HayleyDawn, Gwen, Connie, Bekki, Pauline and Sue L.