Kate of Tall Tales of Chiconia invites us to share our scrappy creations once a month for a meme she calls scrap-happy. I’m sharing three cards this month.
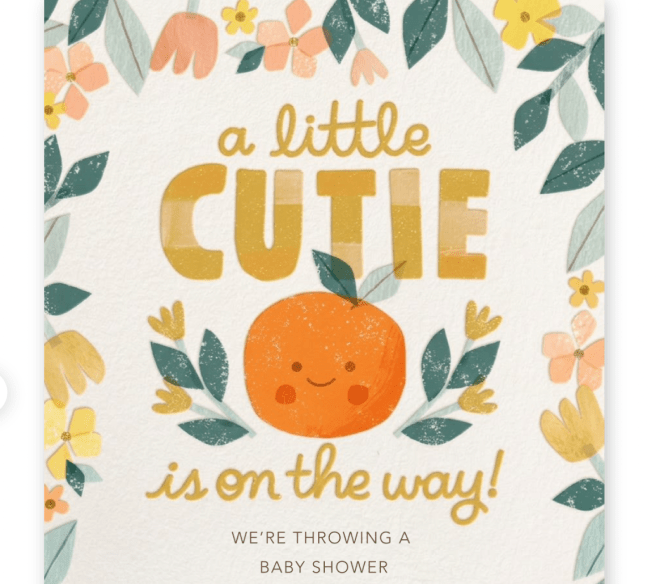
Imagine my delight when planning a baby shower card, reluctant to trot out the twentieth-century culture trope of pink or blue, to see this delightful, digital invitation.
Cuties are small mandarin fruit, and the oft-used descriptor of adorable babies and, stating the obvious here, they’re orange.
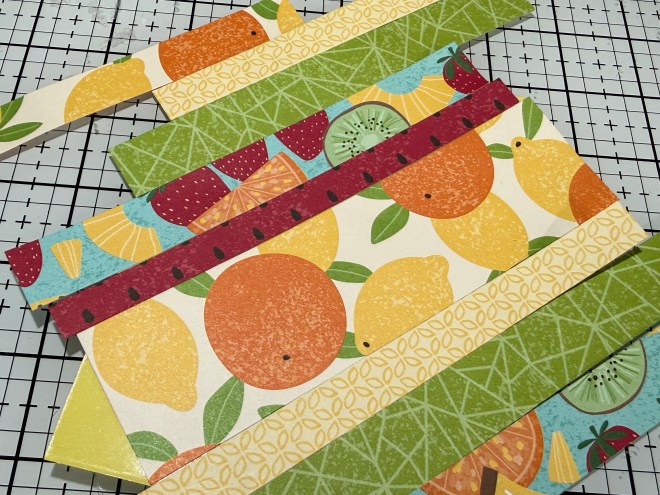
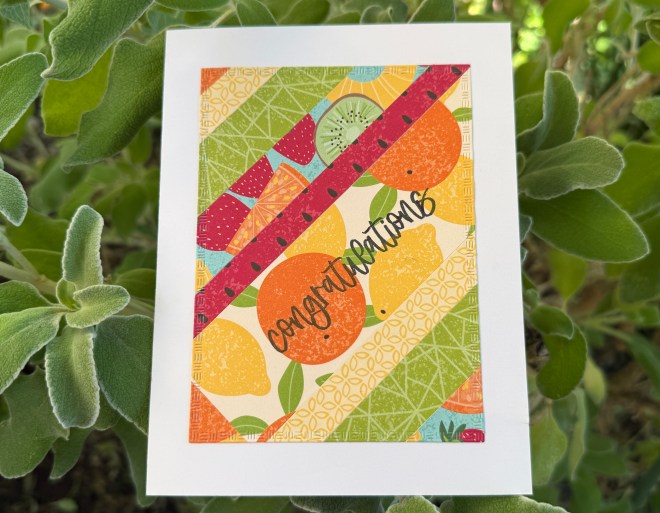
A few years ago, I bought a paper pack with 6 x 6 inch sheets of fruit-themed paper. I have a few odds and ends left, plenty to make this card,
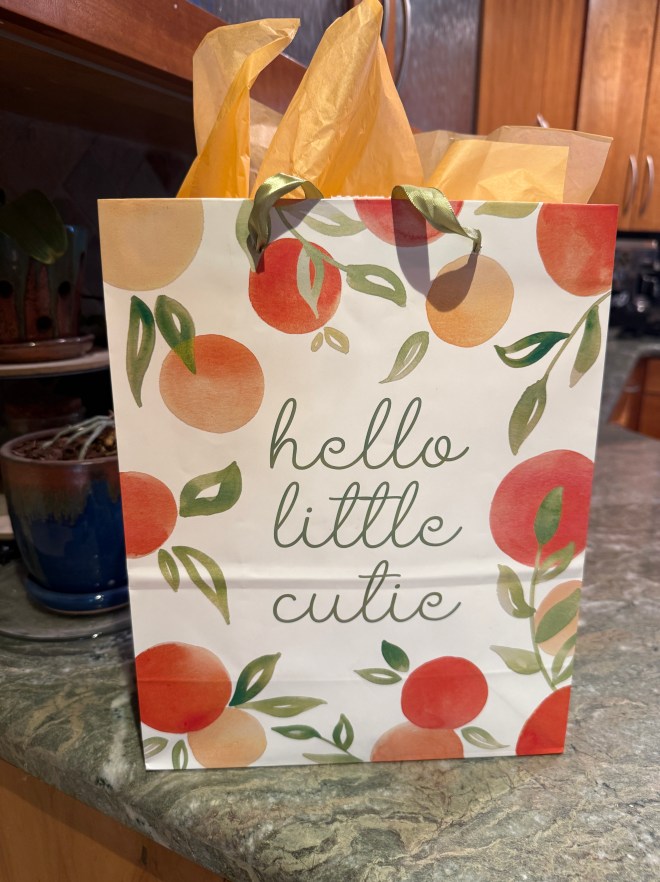
and I found the perfect gift bag to go with it. It’s fun when things come together like that.
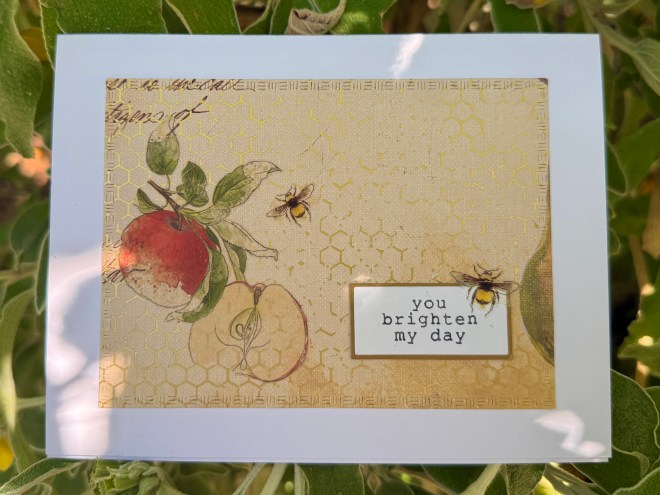
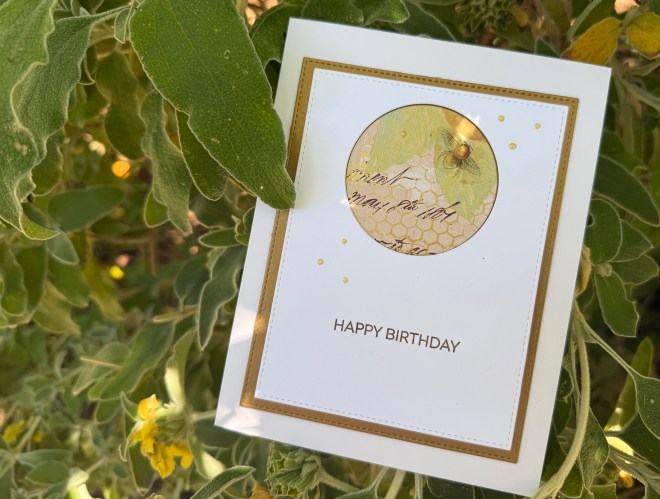
The other two cards used up the last of my beloved beehive paper and three rub-on bee transfers.
The following bloggers participate in this monthly challenge. Thank you, Kate, for inspiring us.
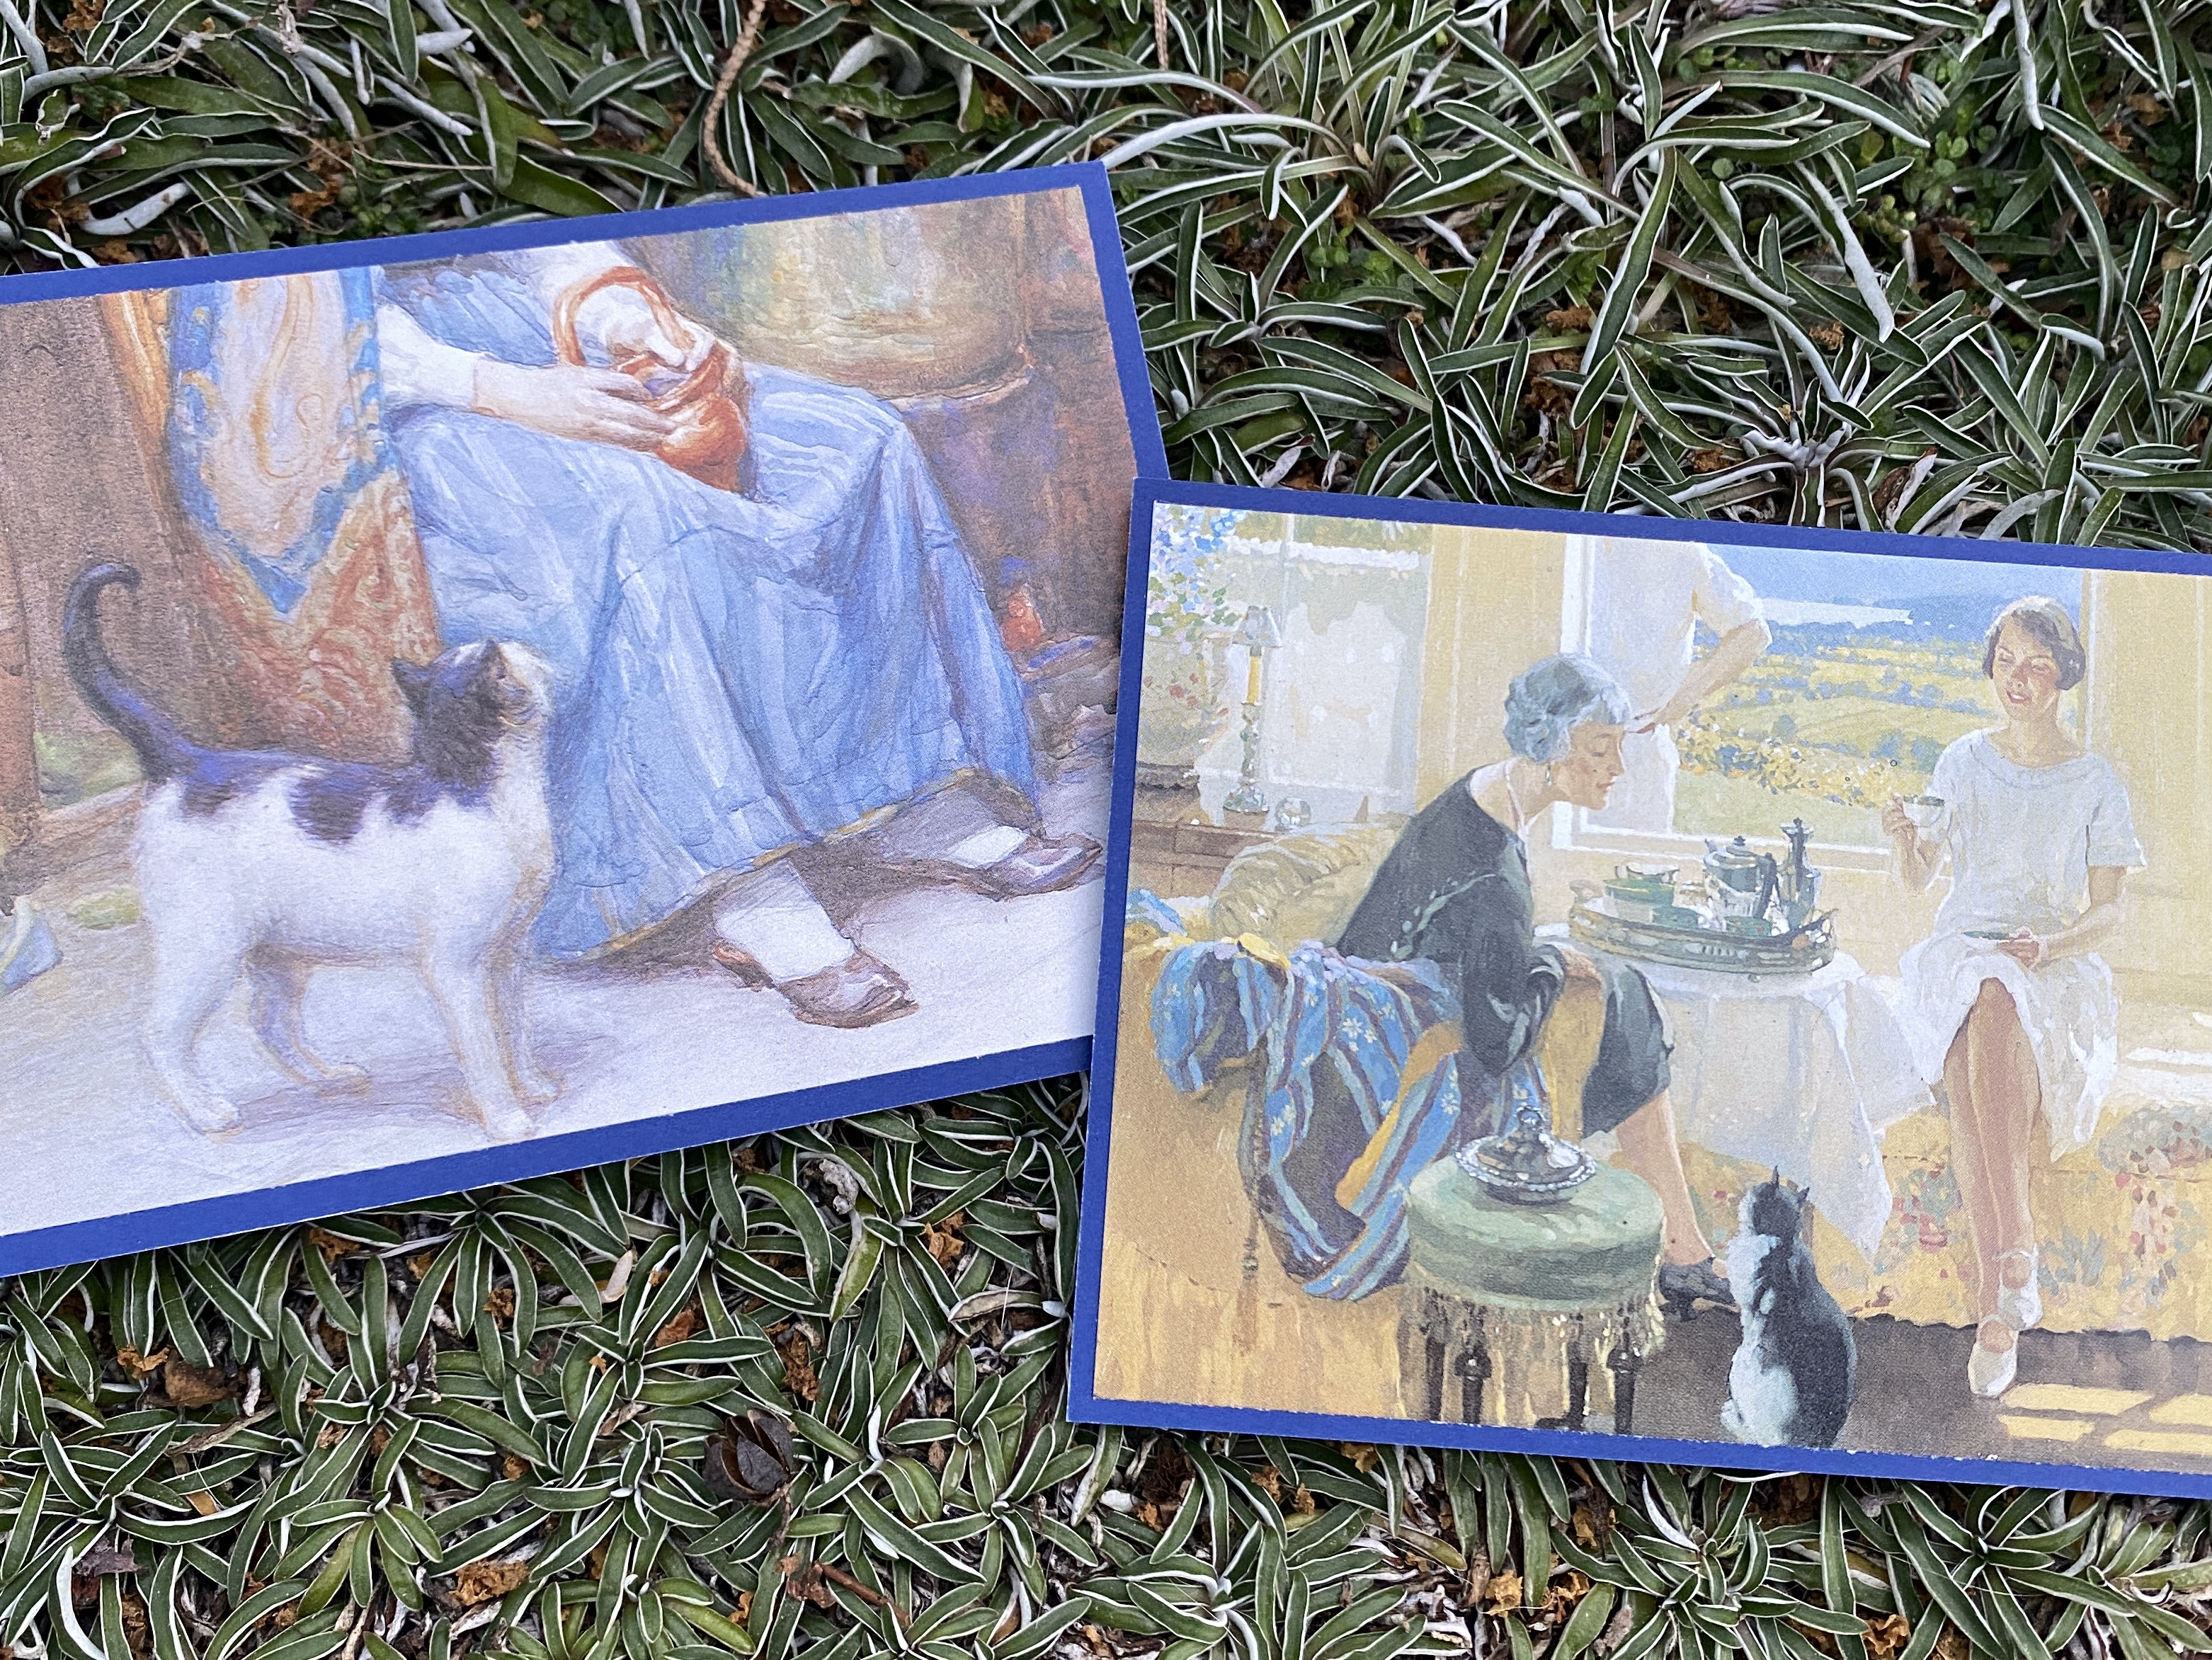
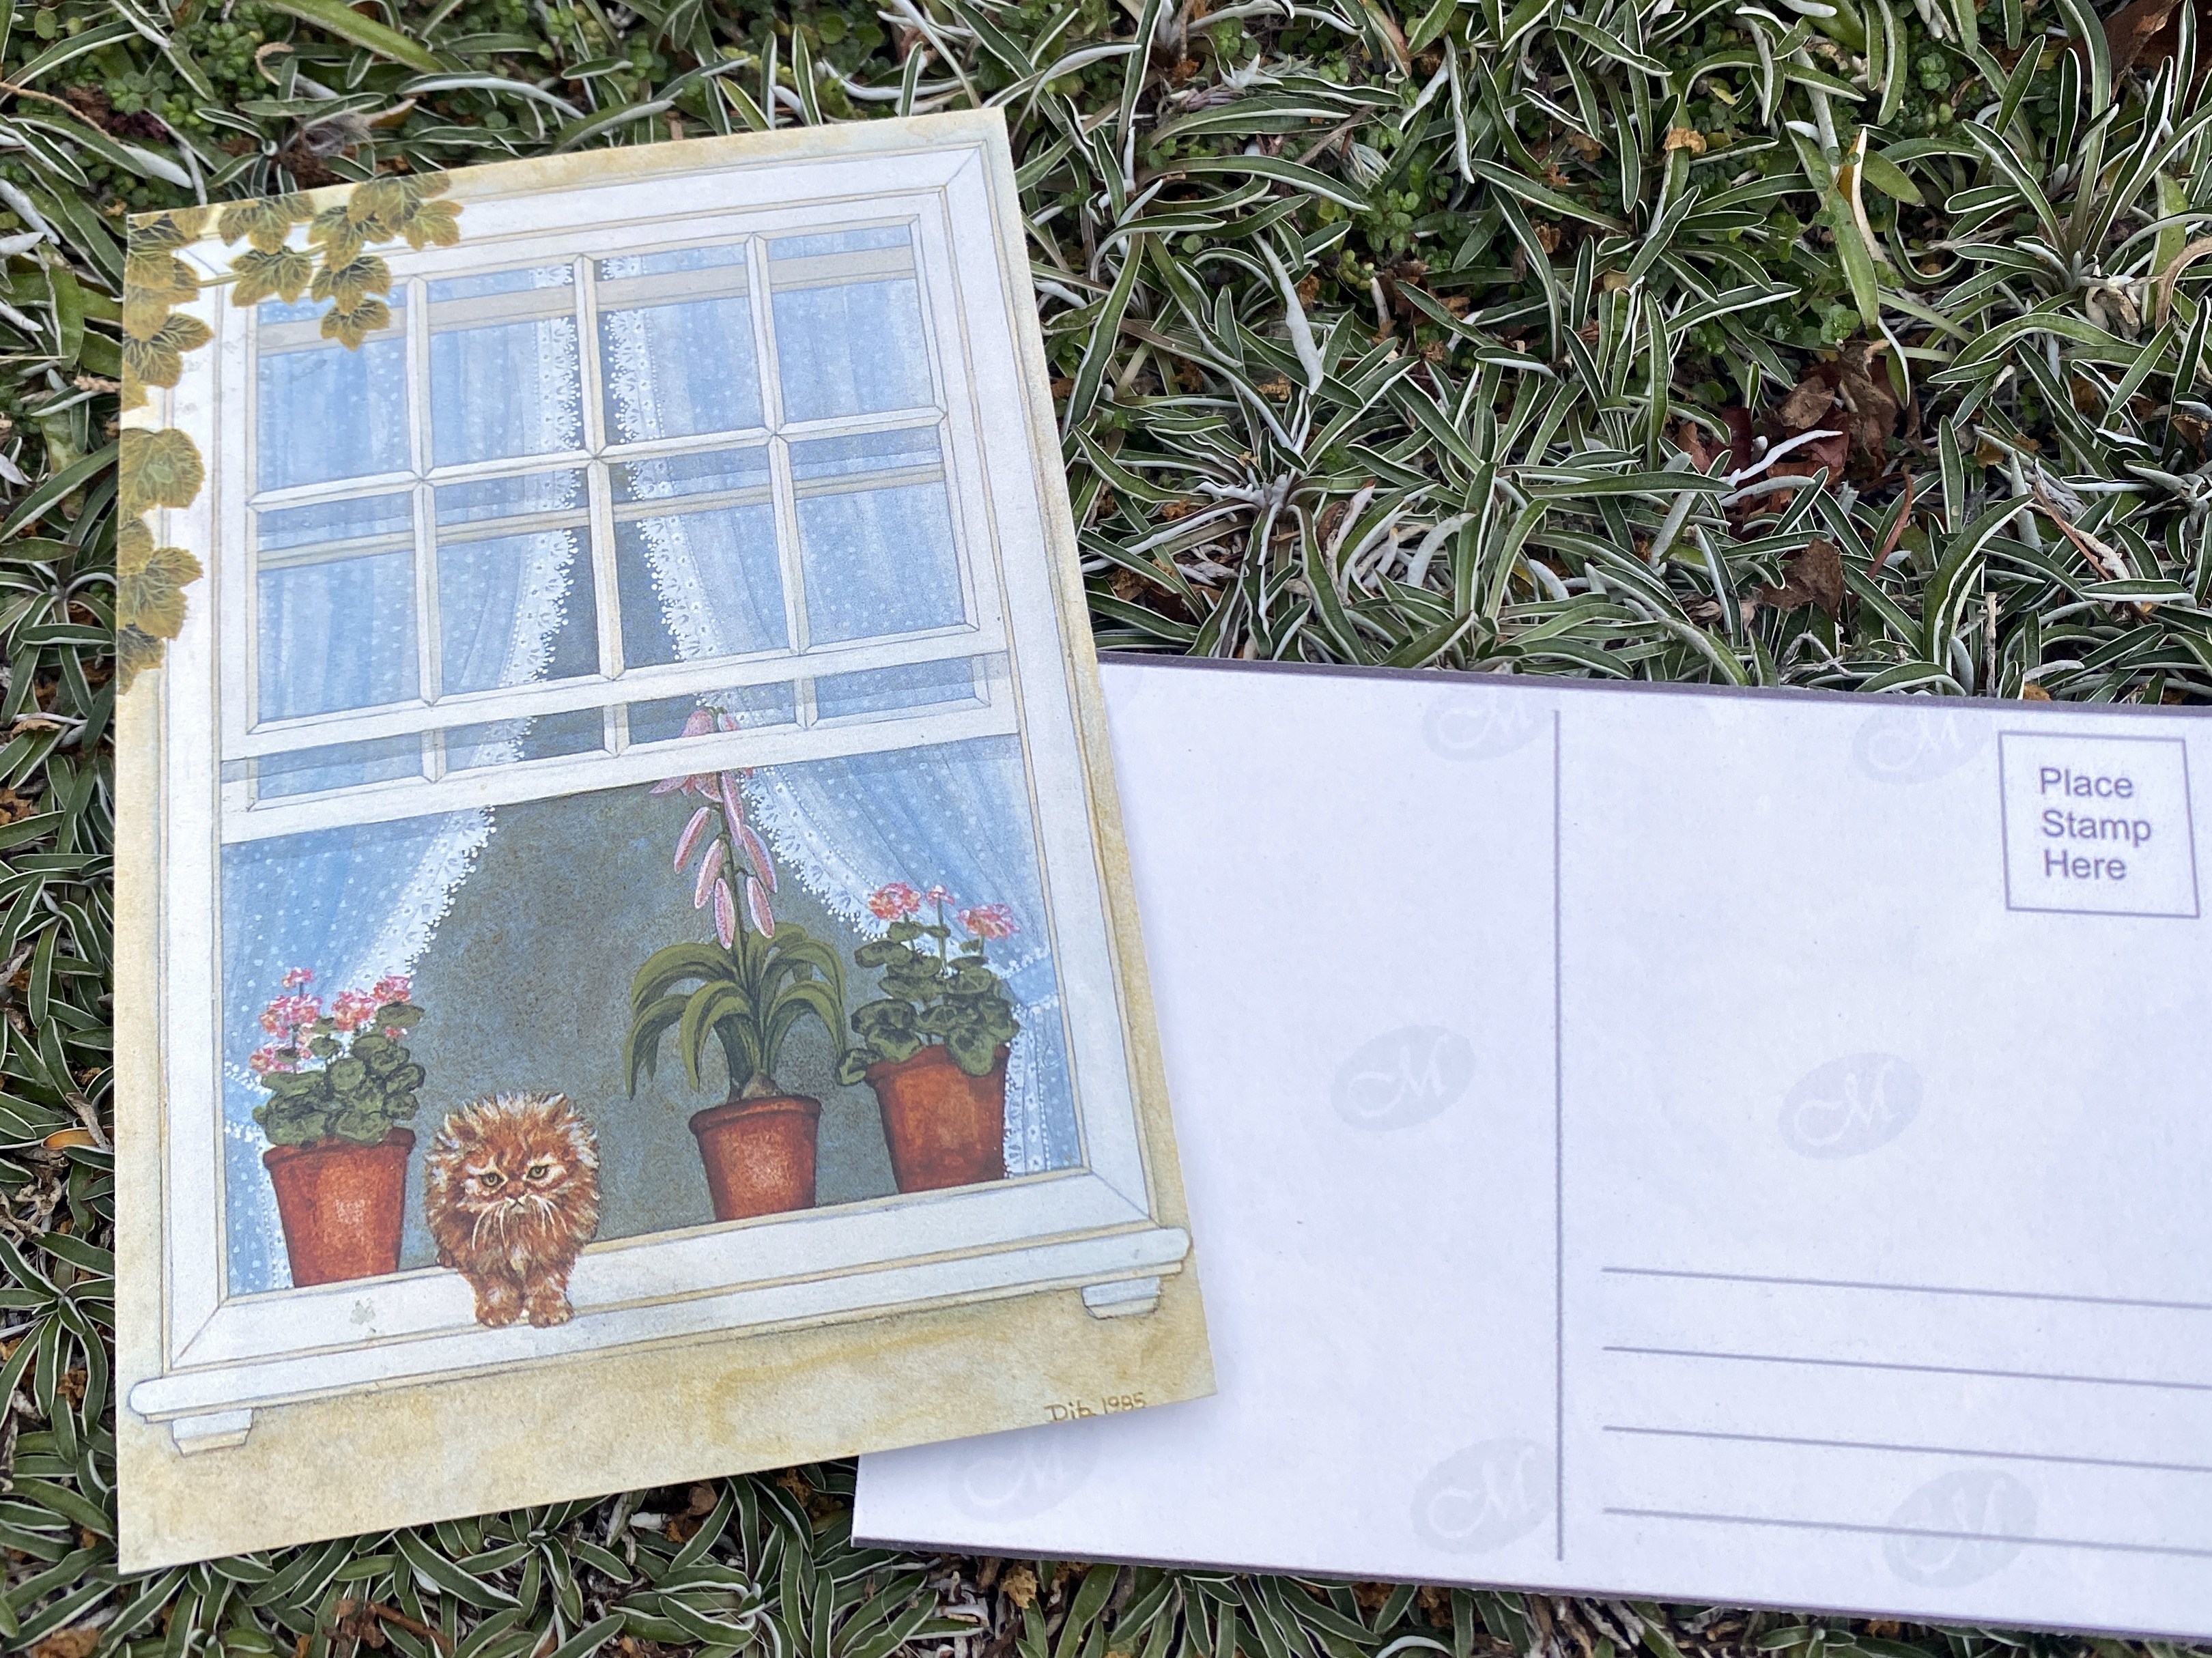
My friend Alicia sent me the following note, along with this Cats in Art diary from 1988.
“I came across this unused diary, and though I have no use for it, was reluctant to discard it. I thought of you, wondering if you might find some purpose for it in your crafts.”
It’s nice when your friends get you, eh?
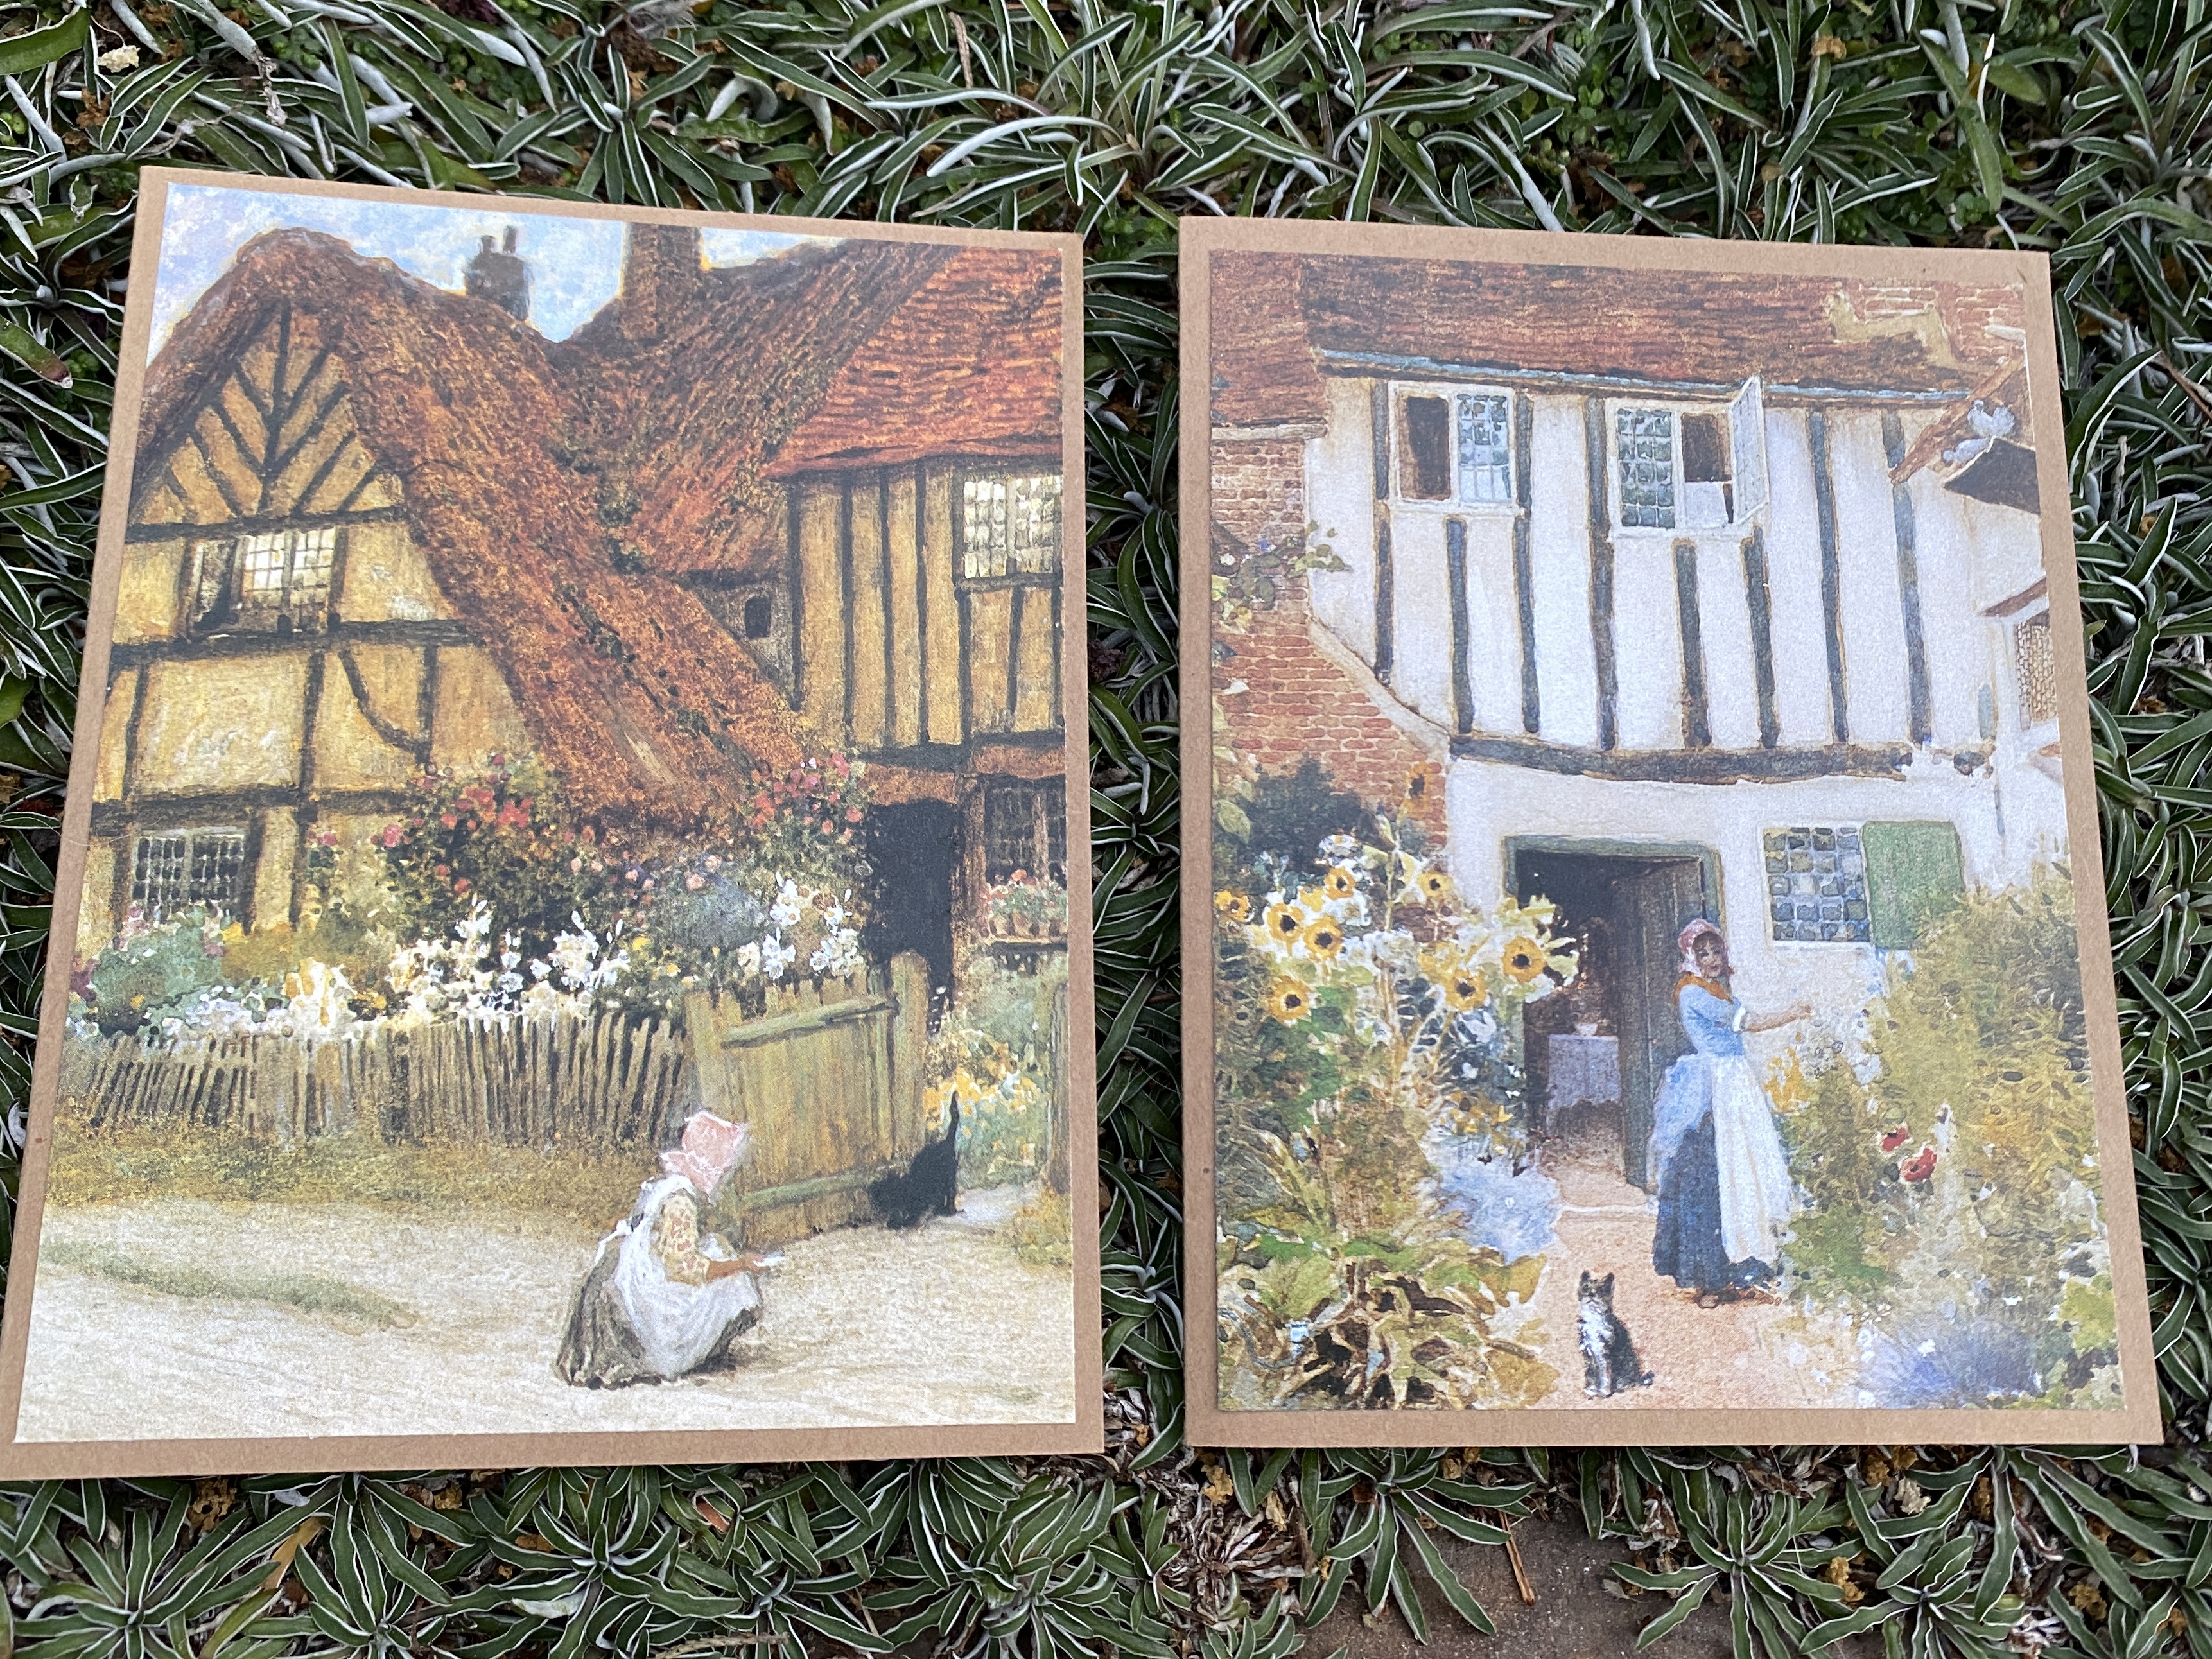
I’ve had so much fun taking apart the pages and turning them into cards, both big and small. My favorite images included cats in the garden or perched near windows and the art that beautifully conveys the natural world. While I appreciate all art, I’m not enamored with dark oils or dreary scenes.
I made two small blue note cards, a pair of craft paper cards, two oversized cards, and even a couple of postcards. I wanted to preserve as much of the original art image as possible.
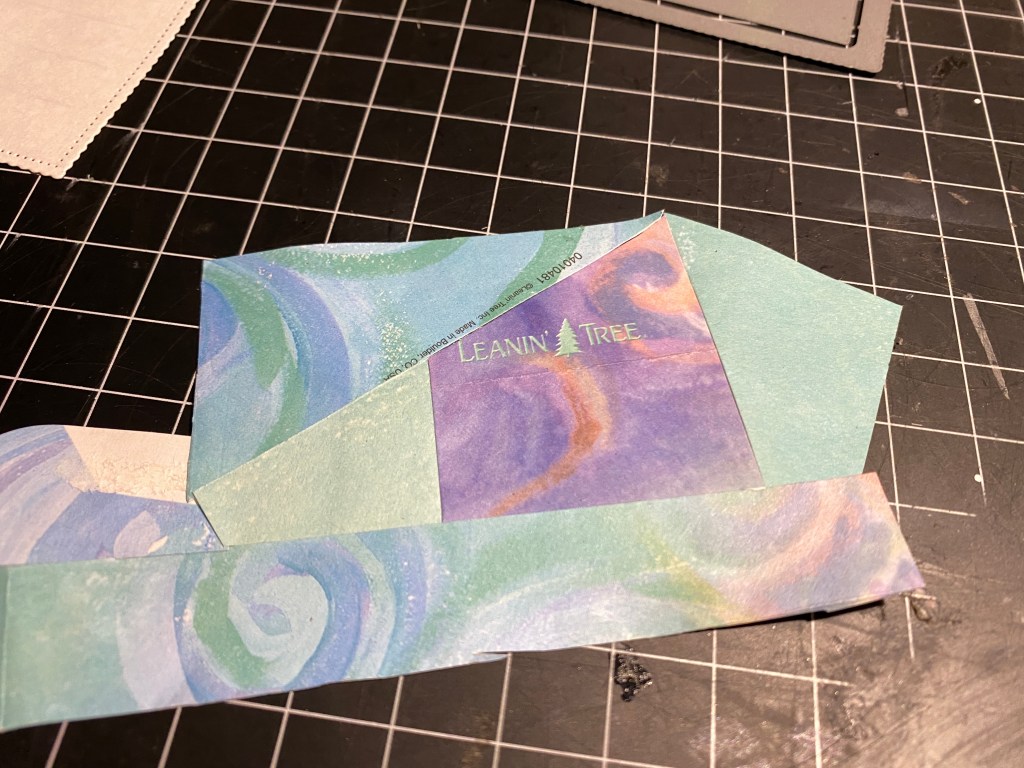
The one exception is this z-fold card. I used part of the image on the front and another part of it on the inside. Both are viewable when the card is open.
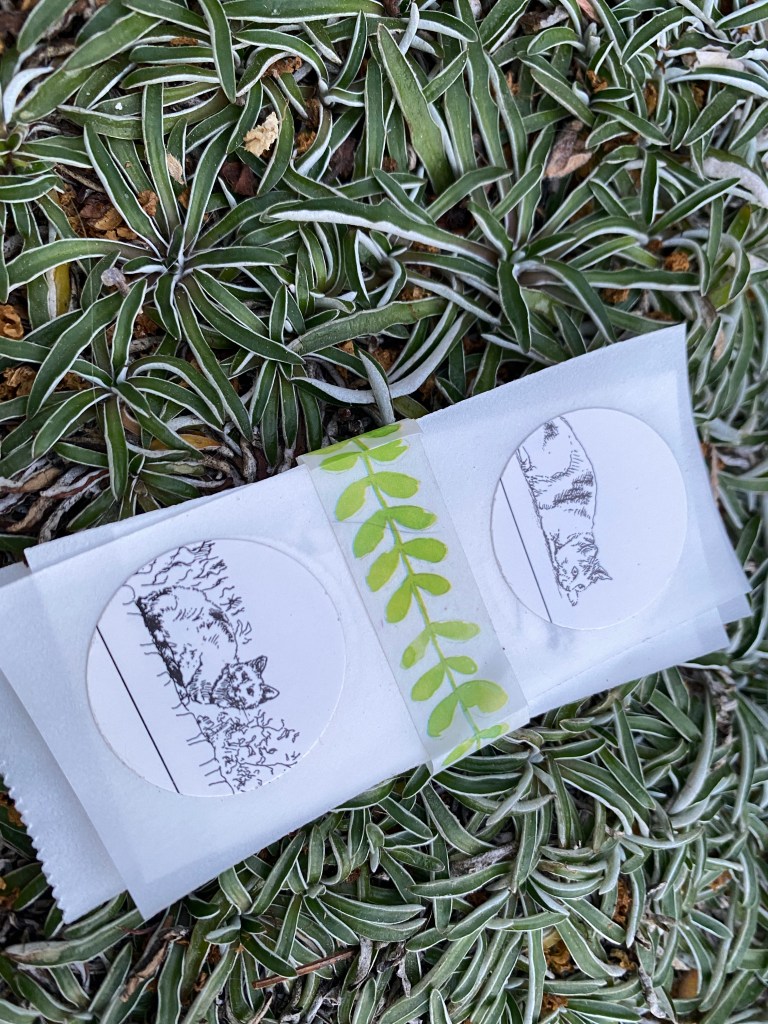
I made ten cards in all, plus the thank you card using the beautiful art. I cut circles out of some of the calendar pages and made stickers to go with the cards.
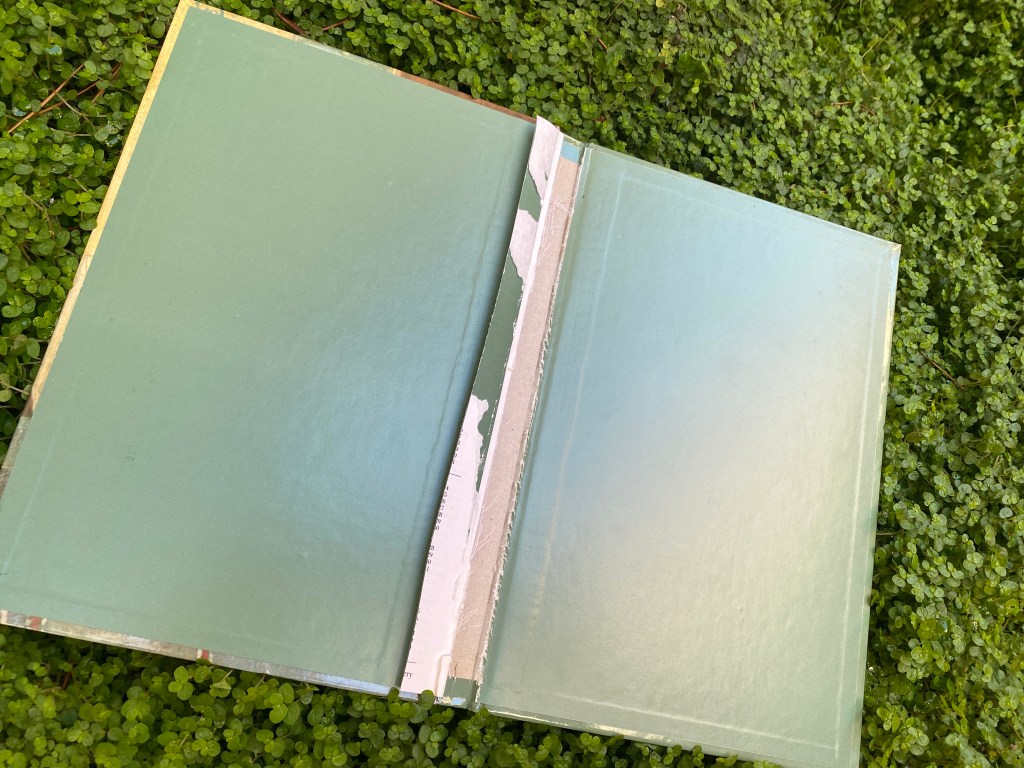
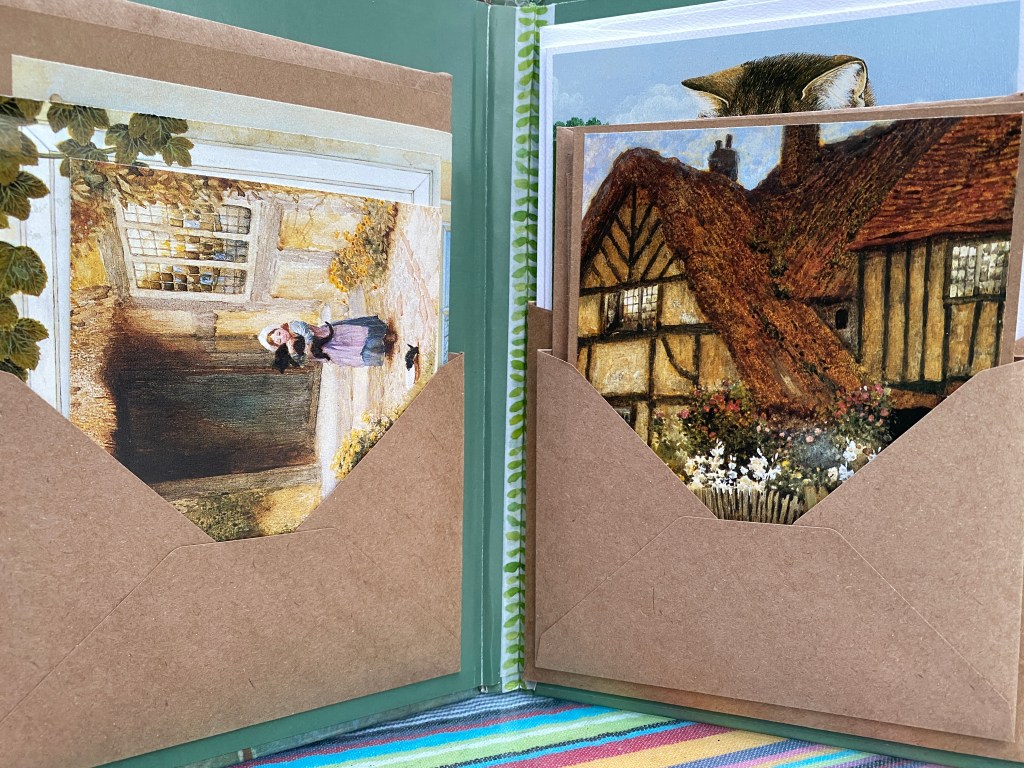
It then occurred to me that I could re-purpose the calendar cover to make a folio for the set of cards. I carefully cut the remaining pages, made a flap over the rough center, and then covered it with Washi tape from my stash.
I adhered three craft envelopes in two different sizes to hold the cards and stickers in place. Everything fit beautifully. The final detail: adding a piece of vintage seam binding, also from my stash, to pull it all together.
I look forward to Kate’s monthly crafting challenge. Kate encourages the art of creating something beautiful or useful or both, made entirely out of scraps.
My volunteer work has kept me busy this month, so in addition to challenging myself to craft with scraps, I also challenged myself to find windows of time for creativity. I made a simple to-do list to go along with the lengthy one. The simple list says: Blog, garden, craft, repeat. It’s a reminder to take time for myself doing some of the things I love.
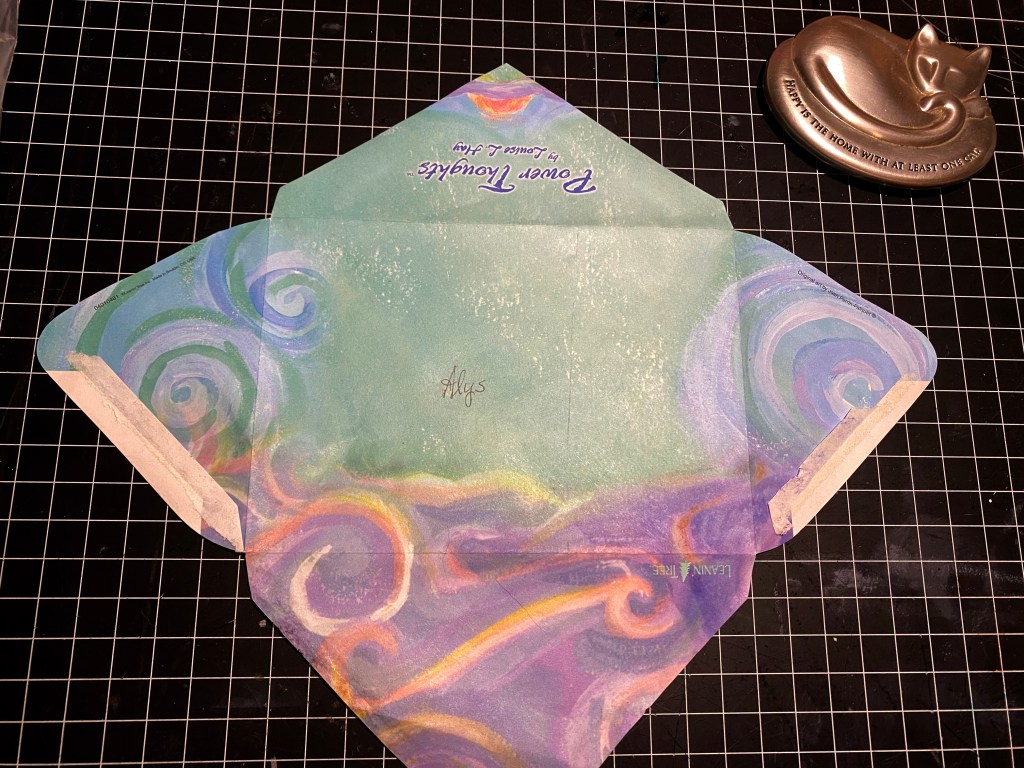
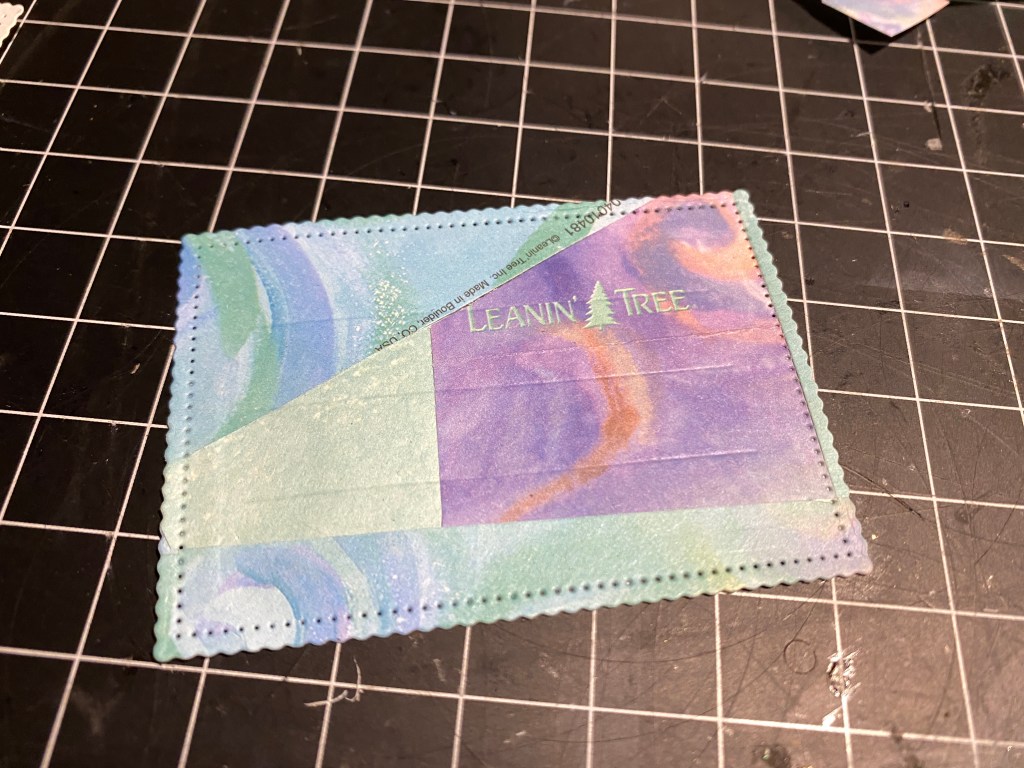
My favorite scrap-happy project this month is a thank-you card. I made the card for the recipient using the envelope from one of her cards. The colors are a calming blue and green, with a splash of orange.
Here’s the envelope with the flaps opened flat.
I cut a piece from the front that incorporated several of the colors, above.
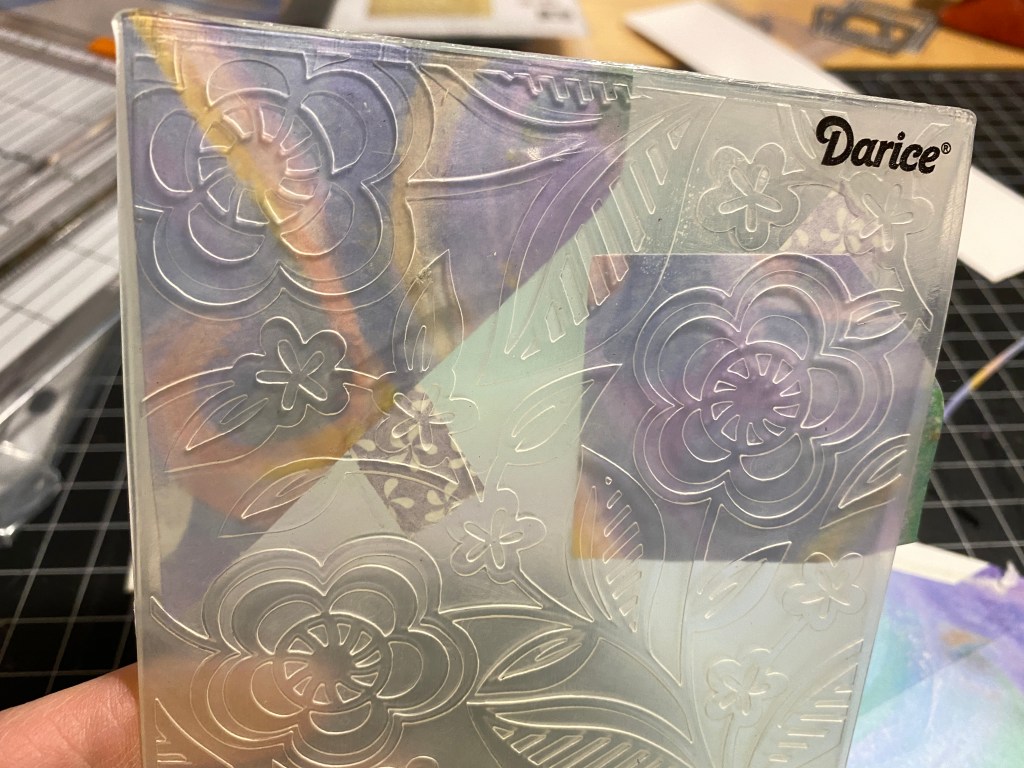
I embossed the section with a flower pattern, then trimmed it to a clean rectangle.
Of course, having my name in the center of the card wouldn’t do. So, I took another piece of the envelope, embossed a scrap, and used it to hide my name.
I embossed a few more scraps to bring color and texture to other parts of the card.
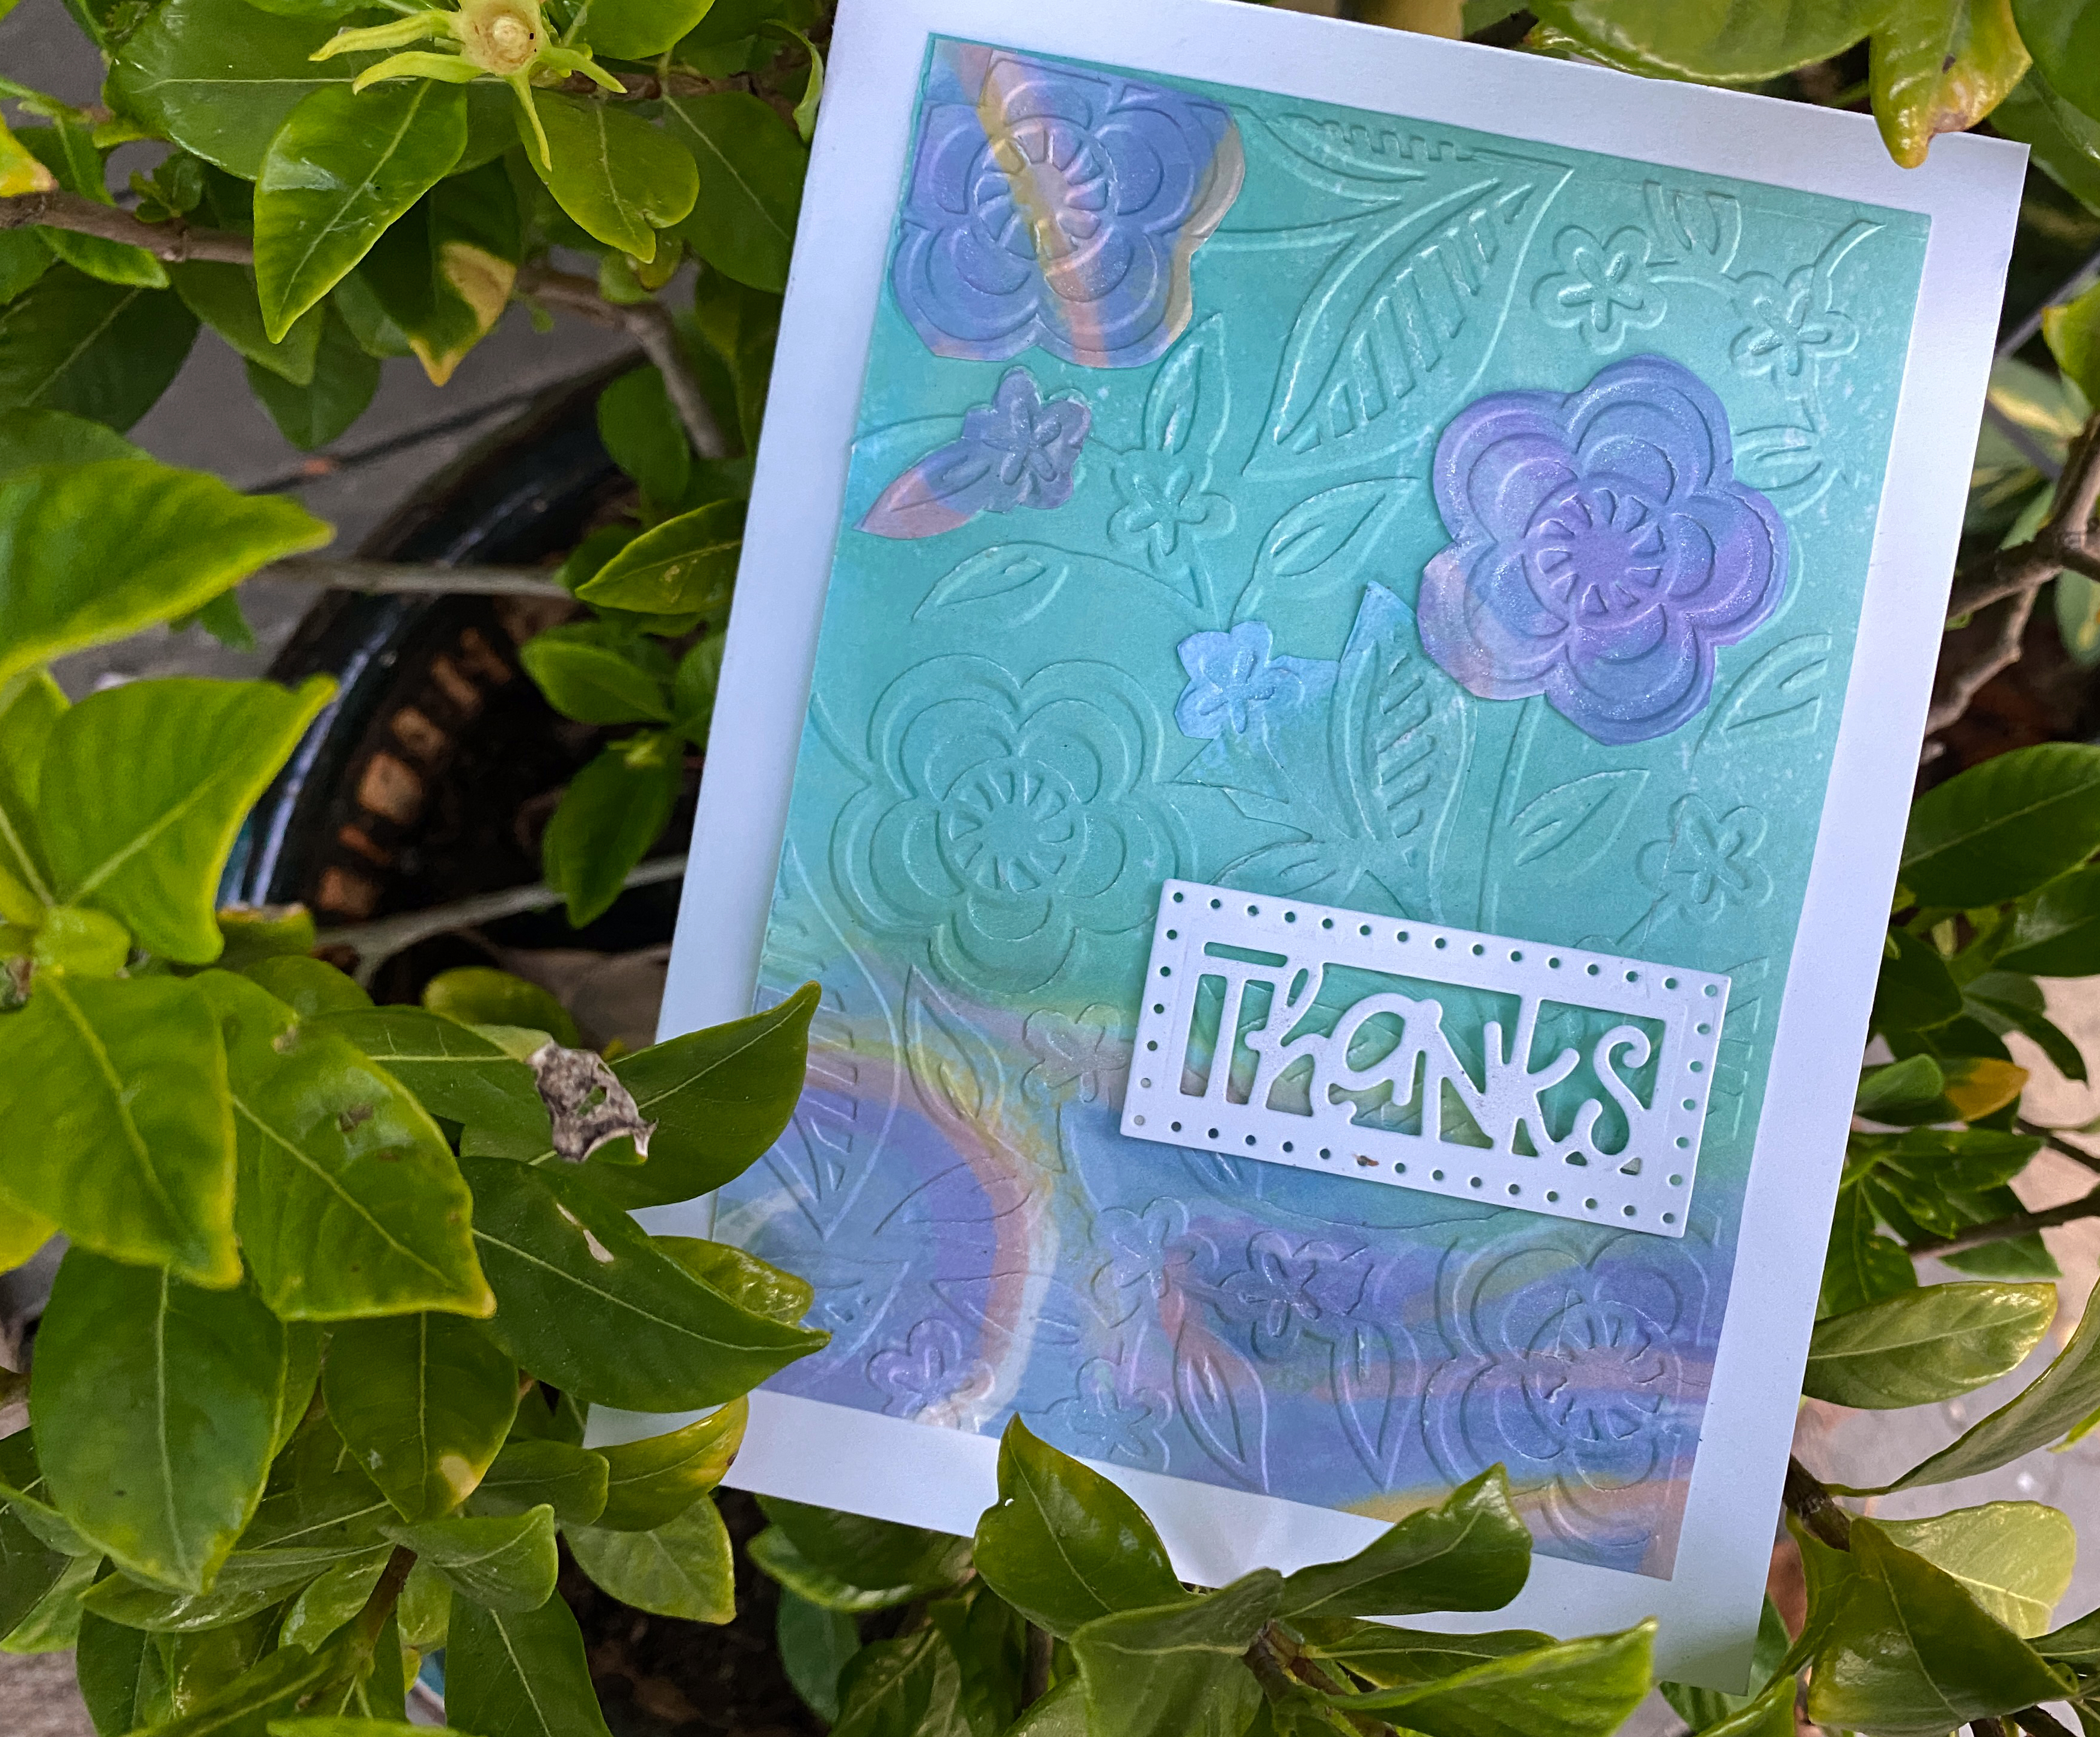
I used a scrap of white card-stock to cut the word “thanks” and another scrap to make a white folding card.
Here is the finished card, above. I used the remaining scraps to create a label for the front of the mailing envelope and for a seal for the back. I wanted to include credit for the envelope art, so I put her name on the back of my card.
The scraps were too small to make a label, so I pieced them together, then cut with one of my dies.
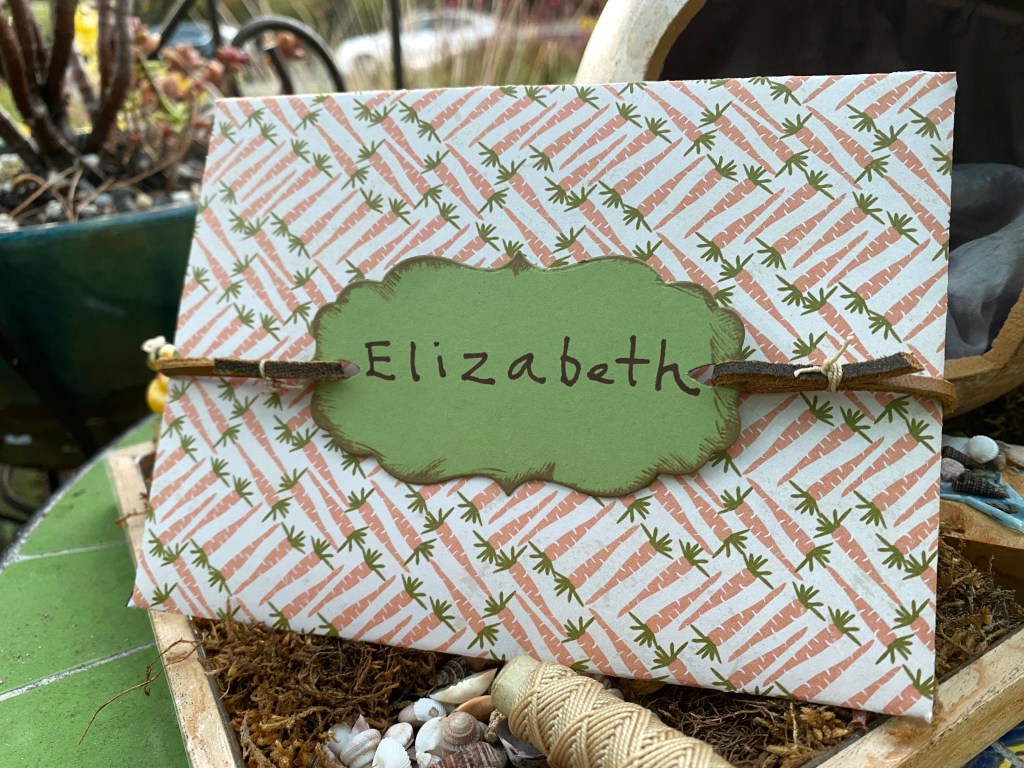
Ironically, my next scrappy project is an envelope. Elizabeth loves horses, and spends her spare time on a ranch. She buys bags of carrots before she goes. I traced an envelope template onto carrot-patterned paper, leftover from an Easter pack. I cut a scrap of green card stock, used brown ink around the edges for a distressed look, then wrapped it with a scrap of leather from a pair of old bootlaces. I secured the edges of the leather with waxed thread that has been rolling around my sewing box since 1980!
My last and quirkiest entry this month is my nautical jewelry. I tied a piece of jute string around the neck of this tiny bottle. The bottle held a single-serving of hot sauce either at a restaurant or on a flight. I don’t remember. I rescued it from its likely destination (the trash) and used it once for a costume. It recently resurfaced, and I’ve pressed it into use as a necklace. I wrapped the bottle with nautical-themed Washi tape, and scrapped my way to an original piece of jewelry.
The necklace also doubles as a cat toy.
That’s a scrap (wrap)!
Do you have scraps laying around the place waiting for a new life? Come join us for future scrap-happy posts.
Thanks for hosting, Kate.
Be sure to check out the blogs listed below for other scrap-happy posts.
With my youngest son away at university our household Halloween mojo has been split in two, severed if you will, covered in cobwebs and devoid of life.
Fall garden, pumpkins and obligatory ghost
Okay, that’s a bit of an exaggeration, but I knew Halloween would feel different this year. My youngest has enormous Halloween spirit, and that spirit has momentarily left the building.
I shook off my wistfulness and set about decorating in my abbreviated style. We didn’t set up the inflatables this year, and there are no teenagers at home to “build” a haunted house.
The light-catcher is up in the window, and my pumpkin collection adorns the table, now set with two places, not four. There are a few night lights lighting the way to the bathroom in the dark hours of the night. Both lights were gifts from friends.
Succulents hold court in a cat-shaped plant stand with a few miniature tombstones
A yearly tradition on my front door, a gift from fellow blogger Marlene
My small pumpkin collection
The crocheted pumpkin is a gift from fellow blogger Cathy
Halloween light catcher, a gift from fellow blogger Pauline
We have pumpkins, of course. The squirrels planted a few seeds last fall, and most of the vines grew in the planting box.
Our self-seeded crop this year
Pumpkins up close
As seen from the garden
A late-season pumpkin vine grows over the edge of the box. A friendly bee rests on my hand.
My Halloween cards are also simple this year. I pulled out my Big Shot and a few watercolor postcards and made pumpkin leaf impressions. The transfers turned out really well with the extra moisture from the leaf absorbed into the paper. They have a nice, organic scent to them too, though I’m not sure it will last. Who doesn’t love the smell of chlorophyl?
Pumpkin leaf impression on a watercolor postcard
A little photo-bombing from Mouse
Pumpkin leaf impression on watercolor postcard, stamped with archival black ink
Dragons postage stamps
The back of the water-color postcards. I like the way the green seeps through
Variations on the card theme
The process is simple. While the leaves are freshly harvested, you sandwich the leaf against the water-color paper, then insert between folded scrap paper before running it through the Big Shot. The leaves have a lot of moisture, so the extra paper helps absorb it.
After drying, and pressing the cards between a hefty volume of Shakespeare, I hand-stamped a few images on the front and back of the card.
Freshly harvested pumpkin vine leaf
One leaf made several postcards
You can see the color transfer from leaf to paper
Hand-crank Big Shot
The Bard lends some heft and weight
Pumpkin leaf impression on watercolor postcard, stamped with archival black ink
I found beautiful dragon postage stamps at our local post office in orange, purple, and gold. They’re the perfect finishing touch.
We attended one Halloween party this year, and as usual had a wonderful time. The theme this year: horror kitsch. We struggled with a concept, till one of the women at our favorite costume shop, Natasha’s Attic suggested the ghosts from the Haunted Mansion Disneyland ride. I love Natasha’s and the folks who work there. It’s a family owned business here in San Jose. They’ve been around since 1977. It takes me back to my theatre roots whenever I’m there.
Ghostly hitchhiker costume
Ghostly hitchhiker costume
Ghoulish selfie
At the Halloween party doing our hitchhiker shtick
Natasha’s pulled together vintage pieces for us from their costume shop. We bought shoes from a charity thrift store, donned wigs and painted our faces a ghostly tint. My friend Isaac suggested seed lights to add to the ghostly effect. I sewed one strand under my skirt and another strand under Mike’s cravat.
Mike’s makeup is superior to mine *and* he did it all himself. He applied latex, then makeup, and even bought a pair of “rotten teeth” for full effect.
With the horrific news of this past week, Halloween gave us a welcome respite from the madness. If I haven’t said it lately, thank you for being here. My heart sings a little song with each comment and like.
Today I’m joining Kate at Tall Tales from Chiconia for her monthly scrap-happy blog post. The idea is to make something pretty using leftover scraps. Several bloggers post once a month showcasing a project using scraps of material leftover from quilting or other projects. I’ve been welcomed to post using paper scraps.
I’ve wanted to create cards using scraps for a while now. I think it’s fun and challenging creating with items you have on hand.
This first card incorporates some of my smallest paper scraps from a line by Graphic 45. Each square is approximately one inch (three centimeters), laid out in a three by four grid. I allowed space between the squares so I could score even lines for a bit of texture. I might try using my sewing machine on future cards as well.
ScrapHappy Quilting card detail
ScrapHappy quilting squares
Quilting card
My next card combines a variety of scraps from two paper lines. The colors worked well together. I fashioned it after some of the strip quilting I’ve seen in a variety of blogs. Call me crazy, but assembling these strips had great appeal. I’ll definitely do this again.
Strip quilting-styled card
Strip quilts with heart, also made from a scrap of paper
ScrapHappy strip quilt card closeup
You may have seen the following card in my Valentine’s Day card post. I’m including it here, since it also uses scraps.
I used the lining from an envelope I received last year. It was too pretty to throw away, so I kept it knowing I could put it to use.
The floral paper came from the lining of an envelope
Even scrappy-er. What’s left of the envelope liner
Sizzix Flip-it card die
I made this last card using a sheet of scrapbooking paper left over from a project a year or two ago. I used one of my new dies to punch the word “thanks” out of the blue portion of the paper, then used adhesive dots to make it three-dimensional.
ScrapHappy card closeup
ScrapHappy card
Thank you card using single sheet of leftover paper
Have you made something entirely out of scraps lately? Please share your link in the comments section, below.
From Kate’s blog:
“ScrapHappy is open to anyone using up scraps of anything – no new materials. It can be a quilt block, pincushion, bag or hat, socks or a sculpture. Anything made of scraps is eligible. If your scrap collection is out of control and you’d like to turn them into something beautiful instead of leaving them to collect dust in the cupboard, why not join us on the 15th of each month? You can email Kate at the address on her Contact Me page. You can also contact Gun via her blog to join. We welcome new members. You don’t have to worry about making a long-term commitment or even join in every month, just let either of us know a day or so in advance if you’re new and you’ll have something to show, so we can add your link. Regular contributors will receive an email reminder three days before the event.”
We’ve been dusting off the garden furniture and hanging our shade sails. Summer is on the way. Temps shot up overnight, with a high of 90 degrees (32C) in the forecast. There’s a dry wind blowing as well, making if feel more like July than April. It’s a bit strange.
I (mostly) played hooky today, enjoying lunch on the patio of The Left Bank with my friend Laura. I made phone calls in between our get together, but overall had a relaxing day.
The Left Bank, Santana Row
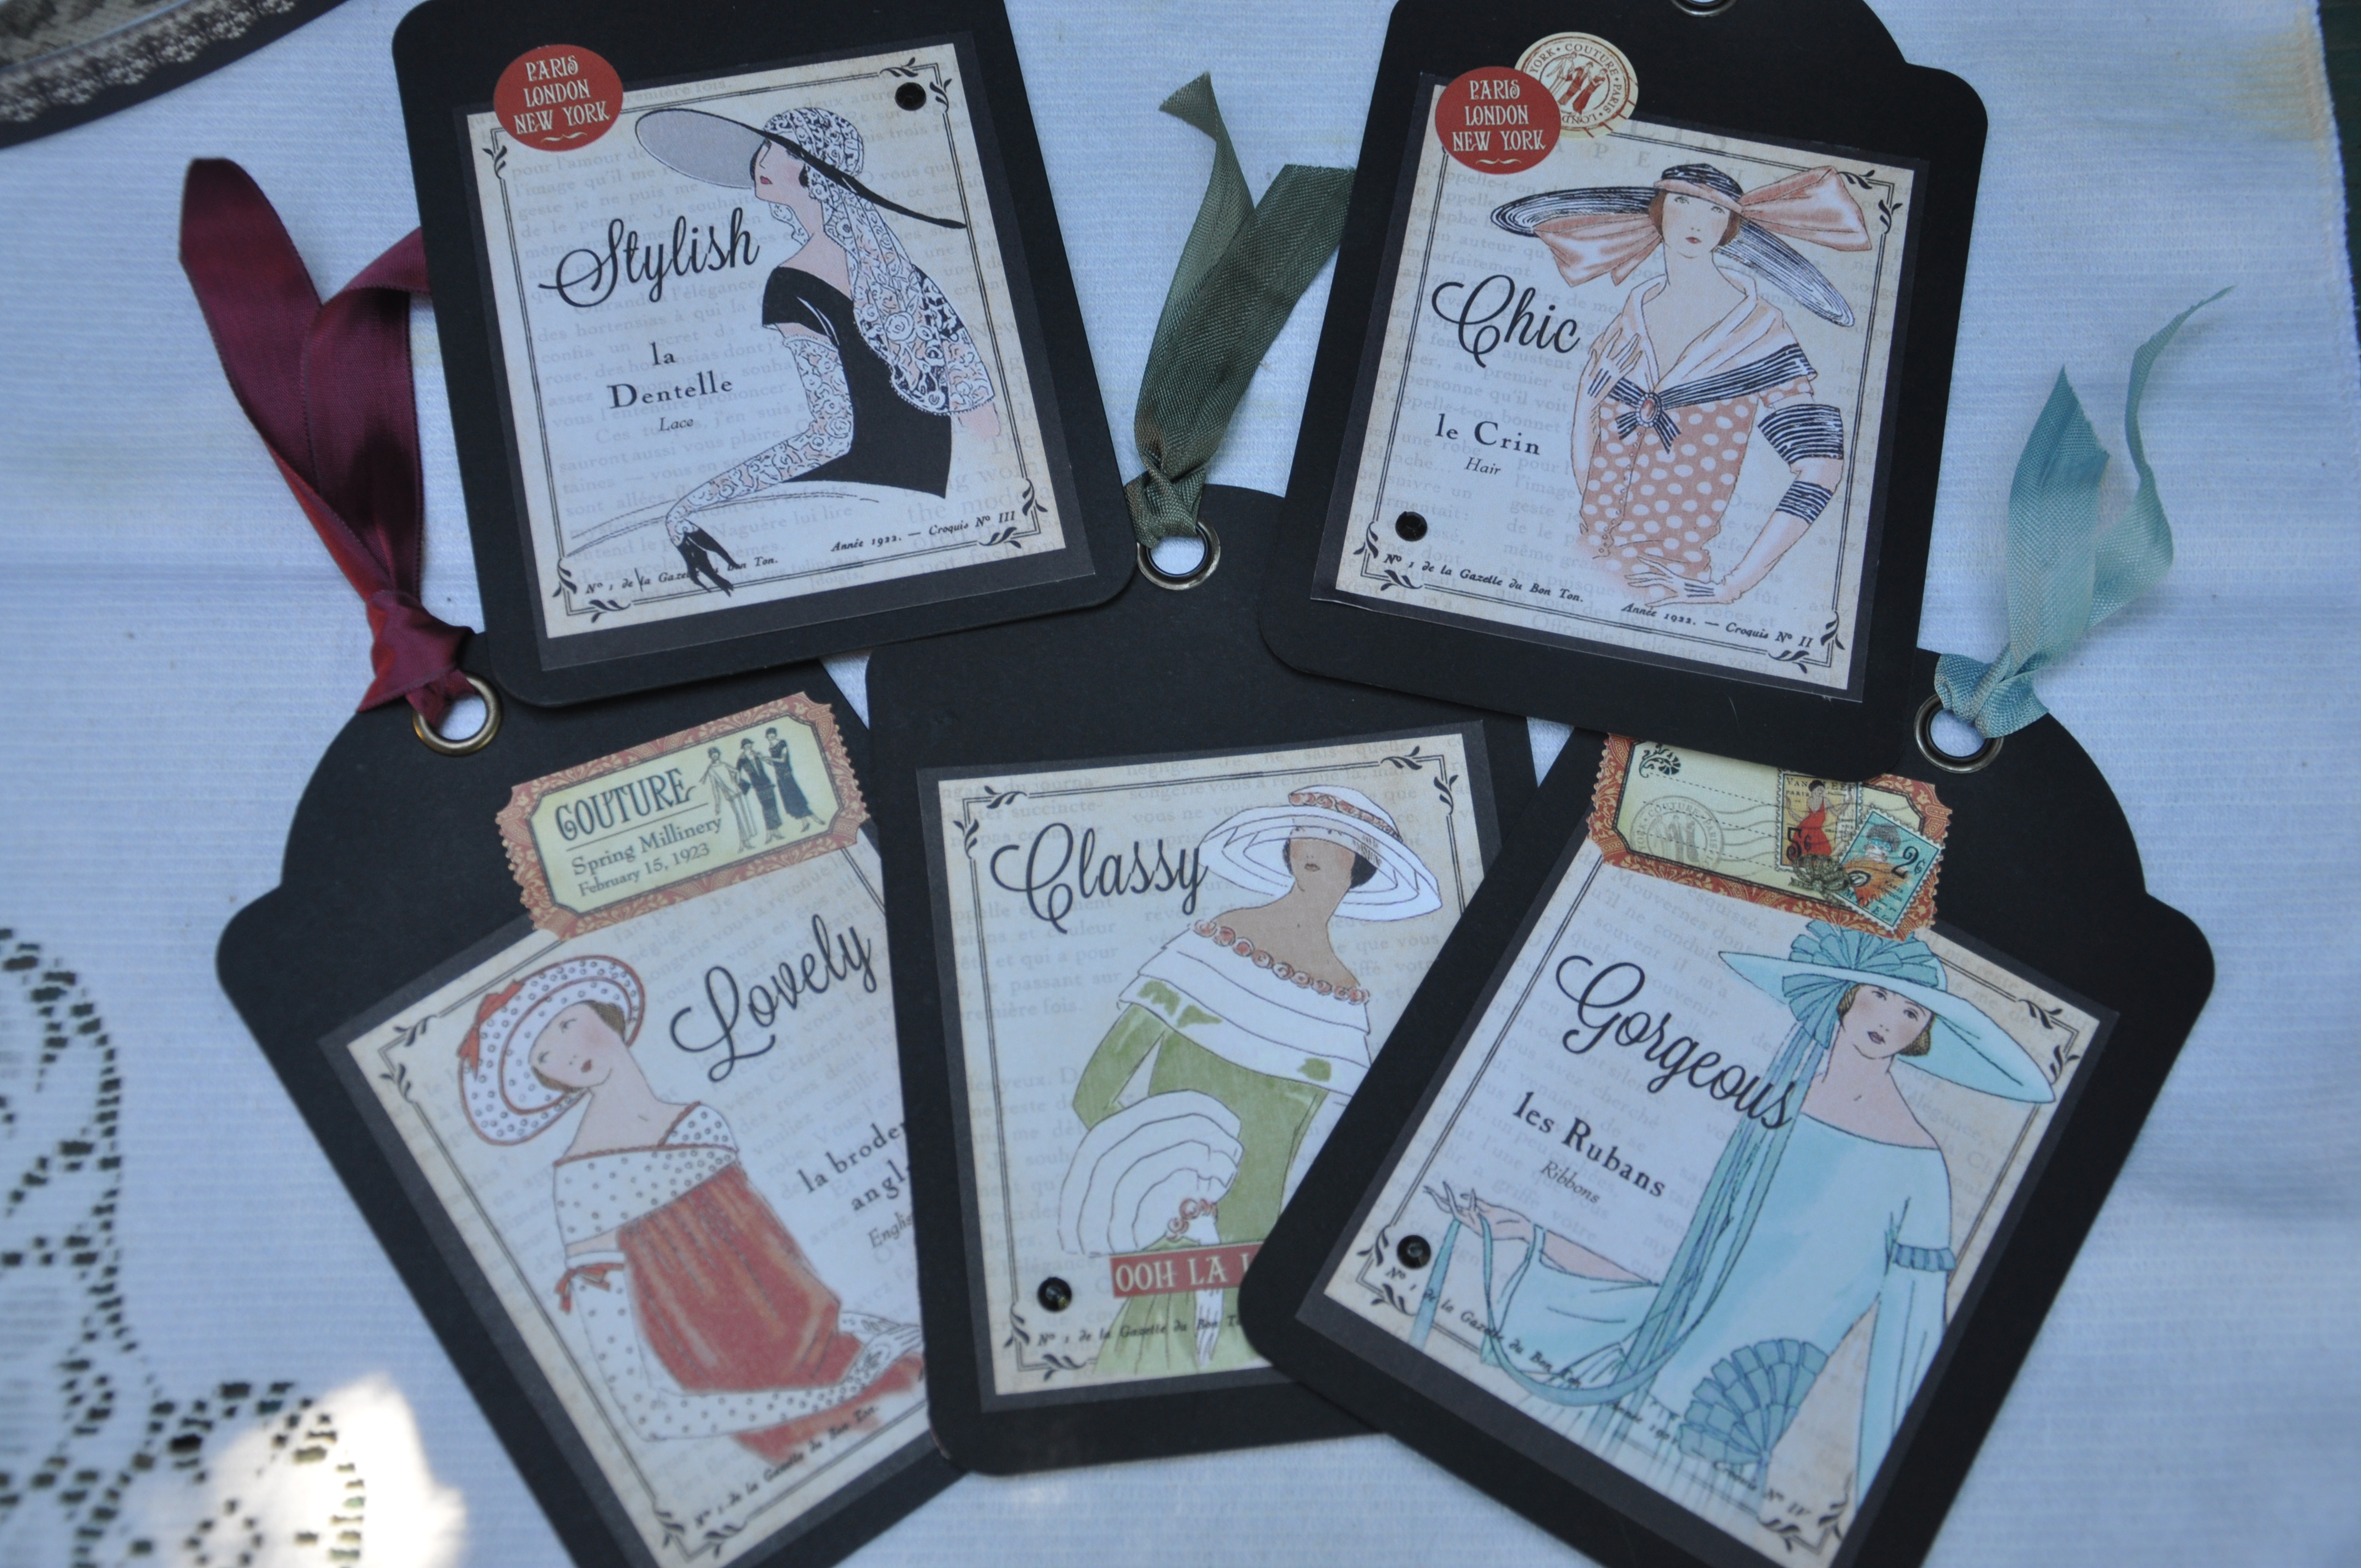
Yesterday I put the finishing touches on Laura’s birthday gift, a set of greeting cards and gift tags made using the Couture line of paper by Graphic 45.
Now that the birthday girl’s opened her gift, I can give you a little peek.
Graphic 45 cards, vintage trim
These shoes aren’t made for walking: Jet rhinestones by Kaiser Scrapbook, Couture paper by Graphic 45, vintage red seam binding from Green House Supply
Gift tags: Graphic 45 Couture paper and tags, vintage seam binding, Kaiser Scrapbook rhinestones
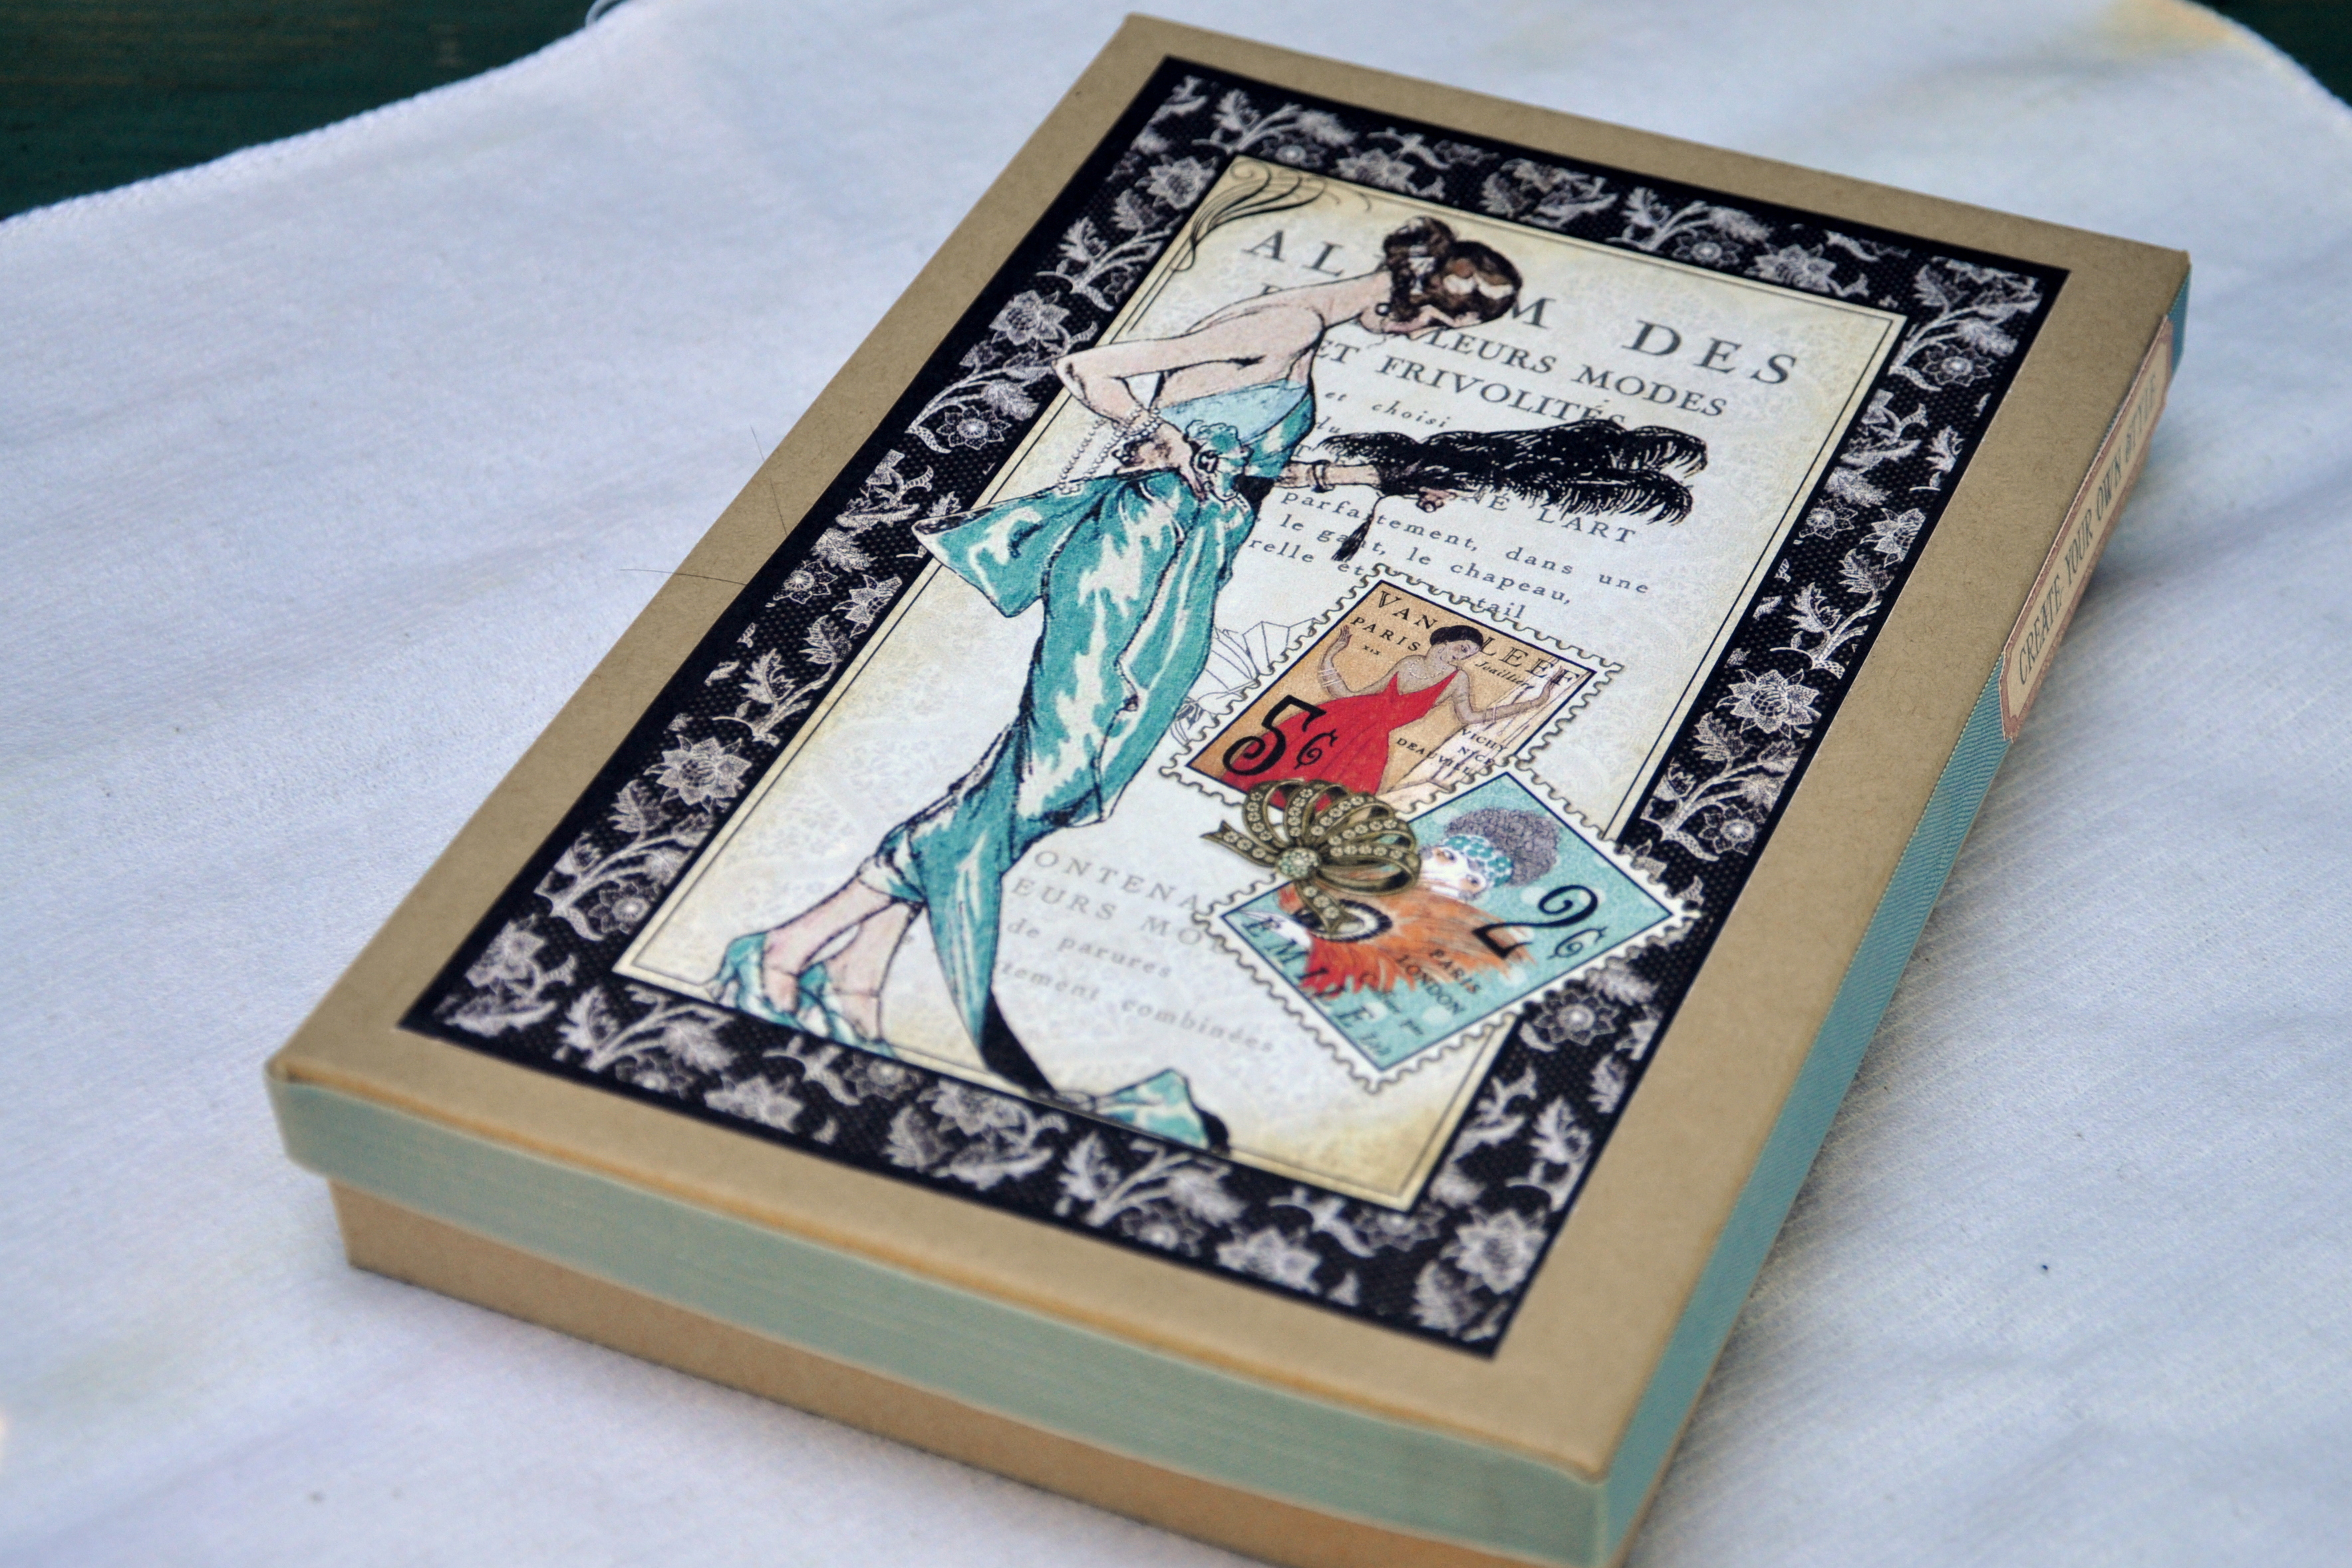
I trimmed the box and some of the cards with vintage seam binding from my friend Donna’s Antique Row booth. She sells a variety of ephemera with a changing selection, so it’s always fun to go look (and buy).
Box trimmed with vintage seam binding, topped with Graphic 45 Couture
Box detail
In other garden news, I’m still trying to decide what to do with our garden swing. It’s in a sorry state thanks to the nest-building squirrels. I’ll share more about that in another post.


You must be logged in to post a comment.