Halloween Cards: Chlorophyll Prints From My Garden (Part 2)

This is part 2 of my recent post about crafting from my garden.

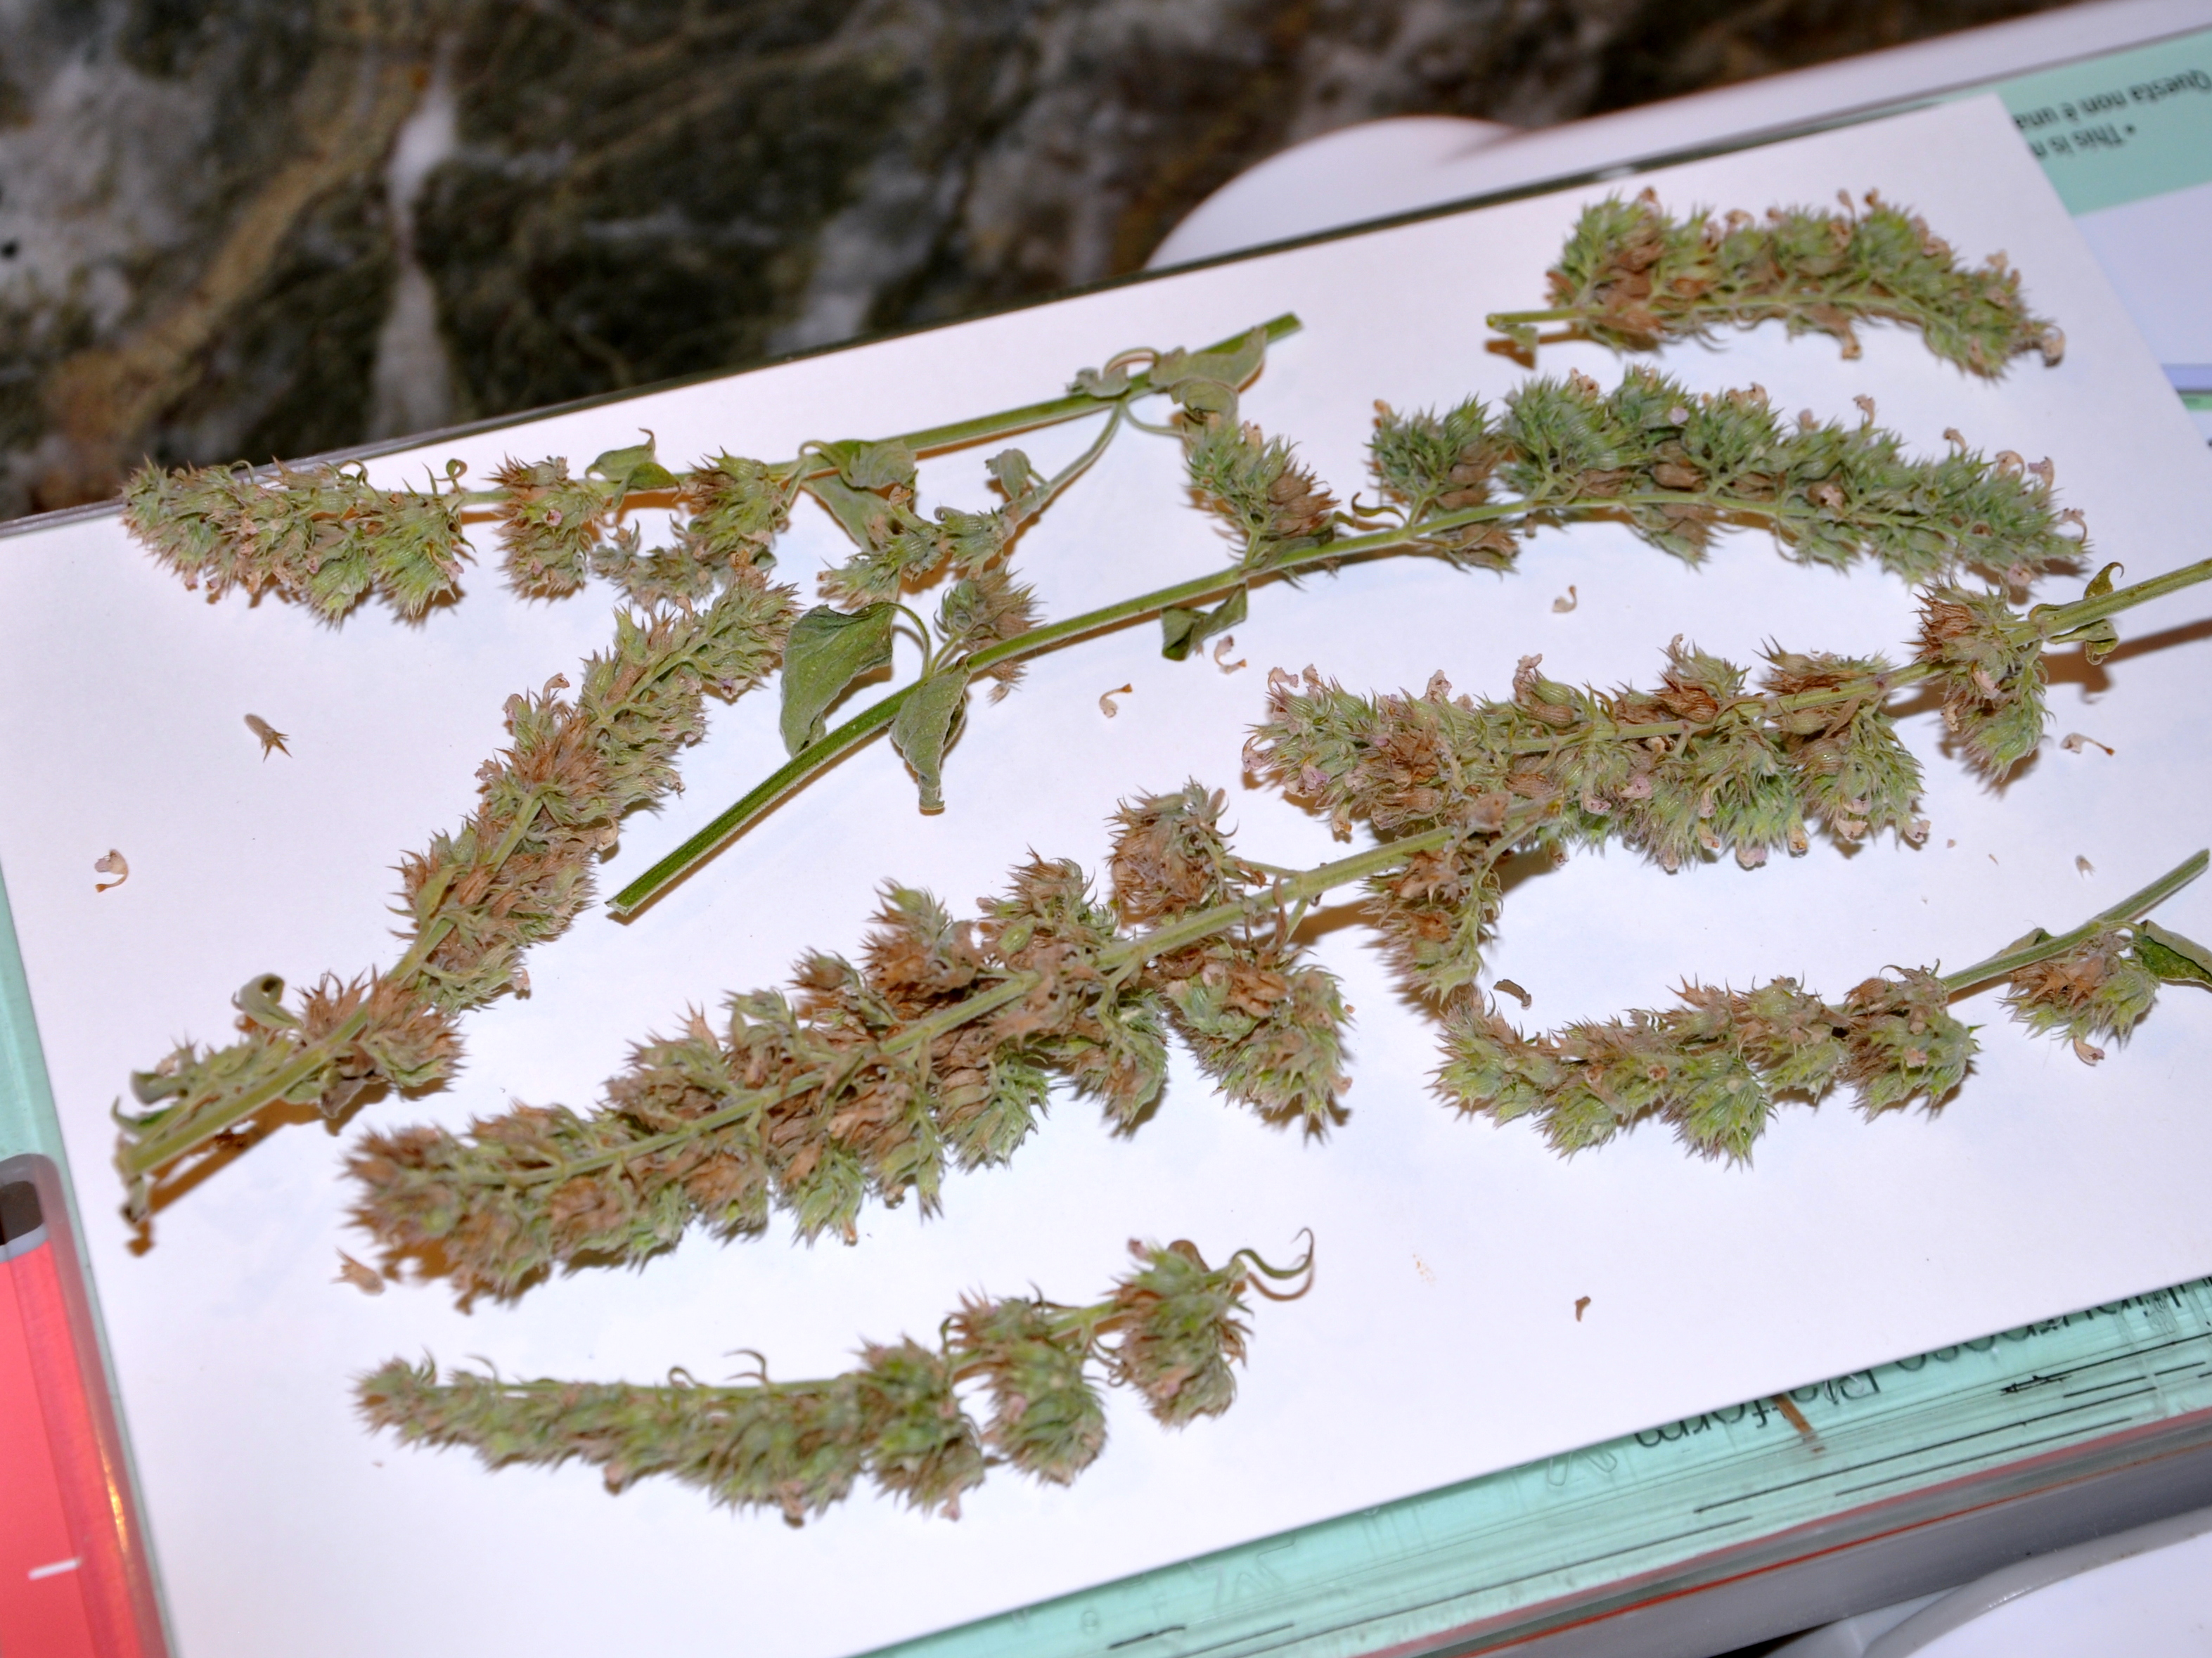
I’m crafting Halloween cards from my garden this year using chlorophyll prints. Before harvesting the last of the pumpkin vines,  I made chlorophyll prints from the pumpkin’s leaves.

Pumpkin leaves have a rich, green texture and that color and texture transferred beautifully on white card stock. I used my recently acquired Big Shot tool to make the impressions/prints. You can see the other card style in my post: Halloween Cards: Crafting from my Garden.  I blogged about my first attempts with chlorophyll prints in a post: Experimenting with Chlorophyll Prints.

I found inspiration on Dawn’s blog late last year. You can have a look at her beautiful card creations at Petals. Paper. Simple Thymes.

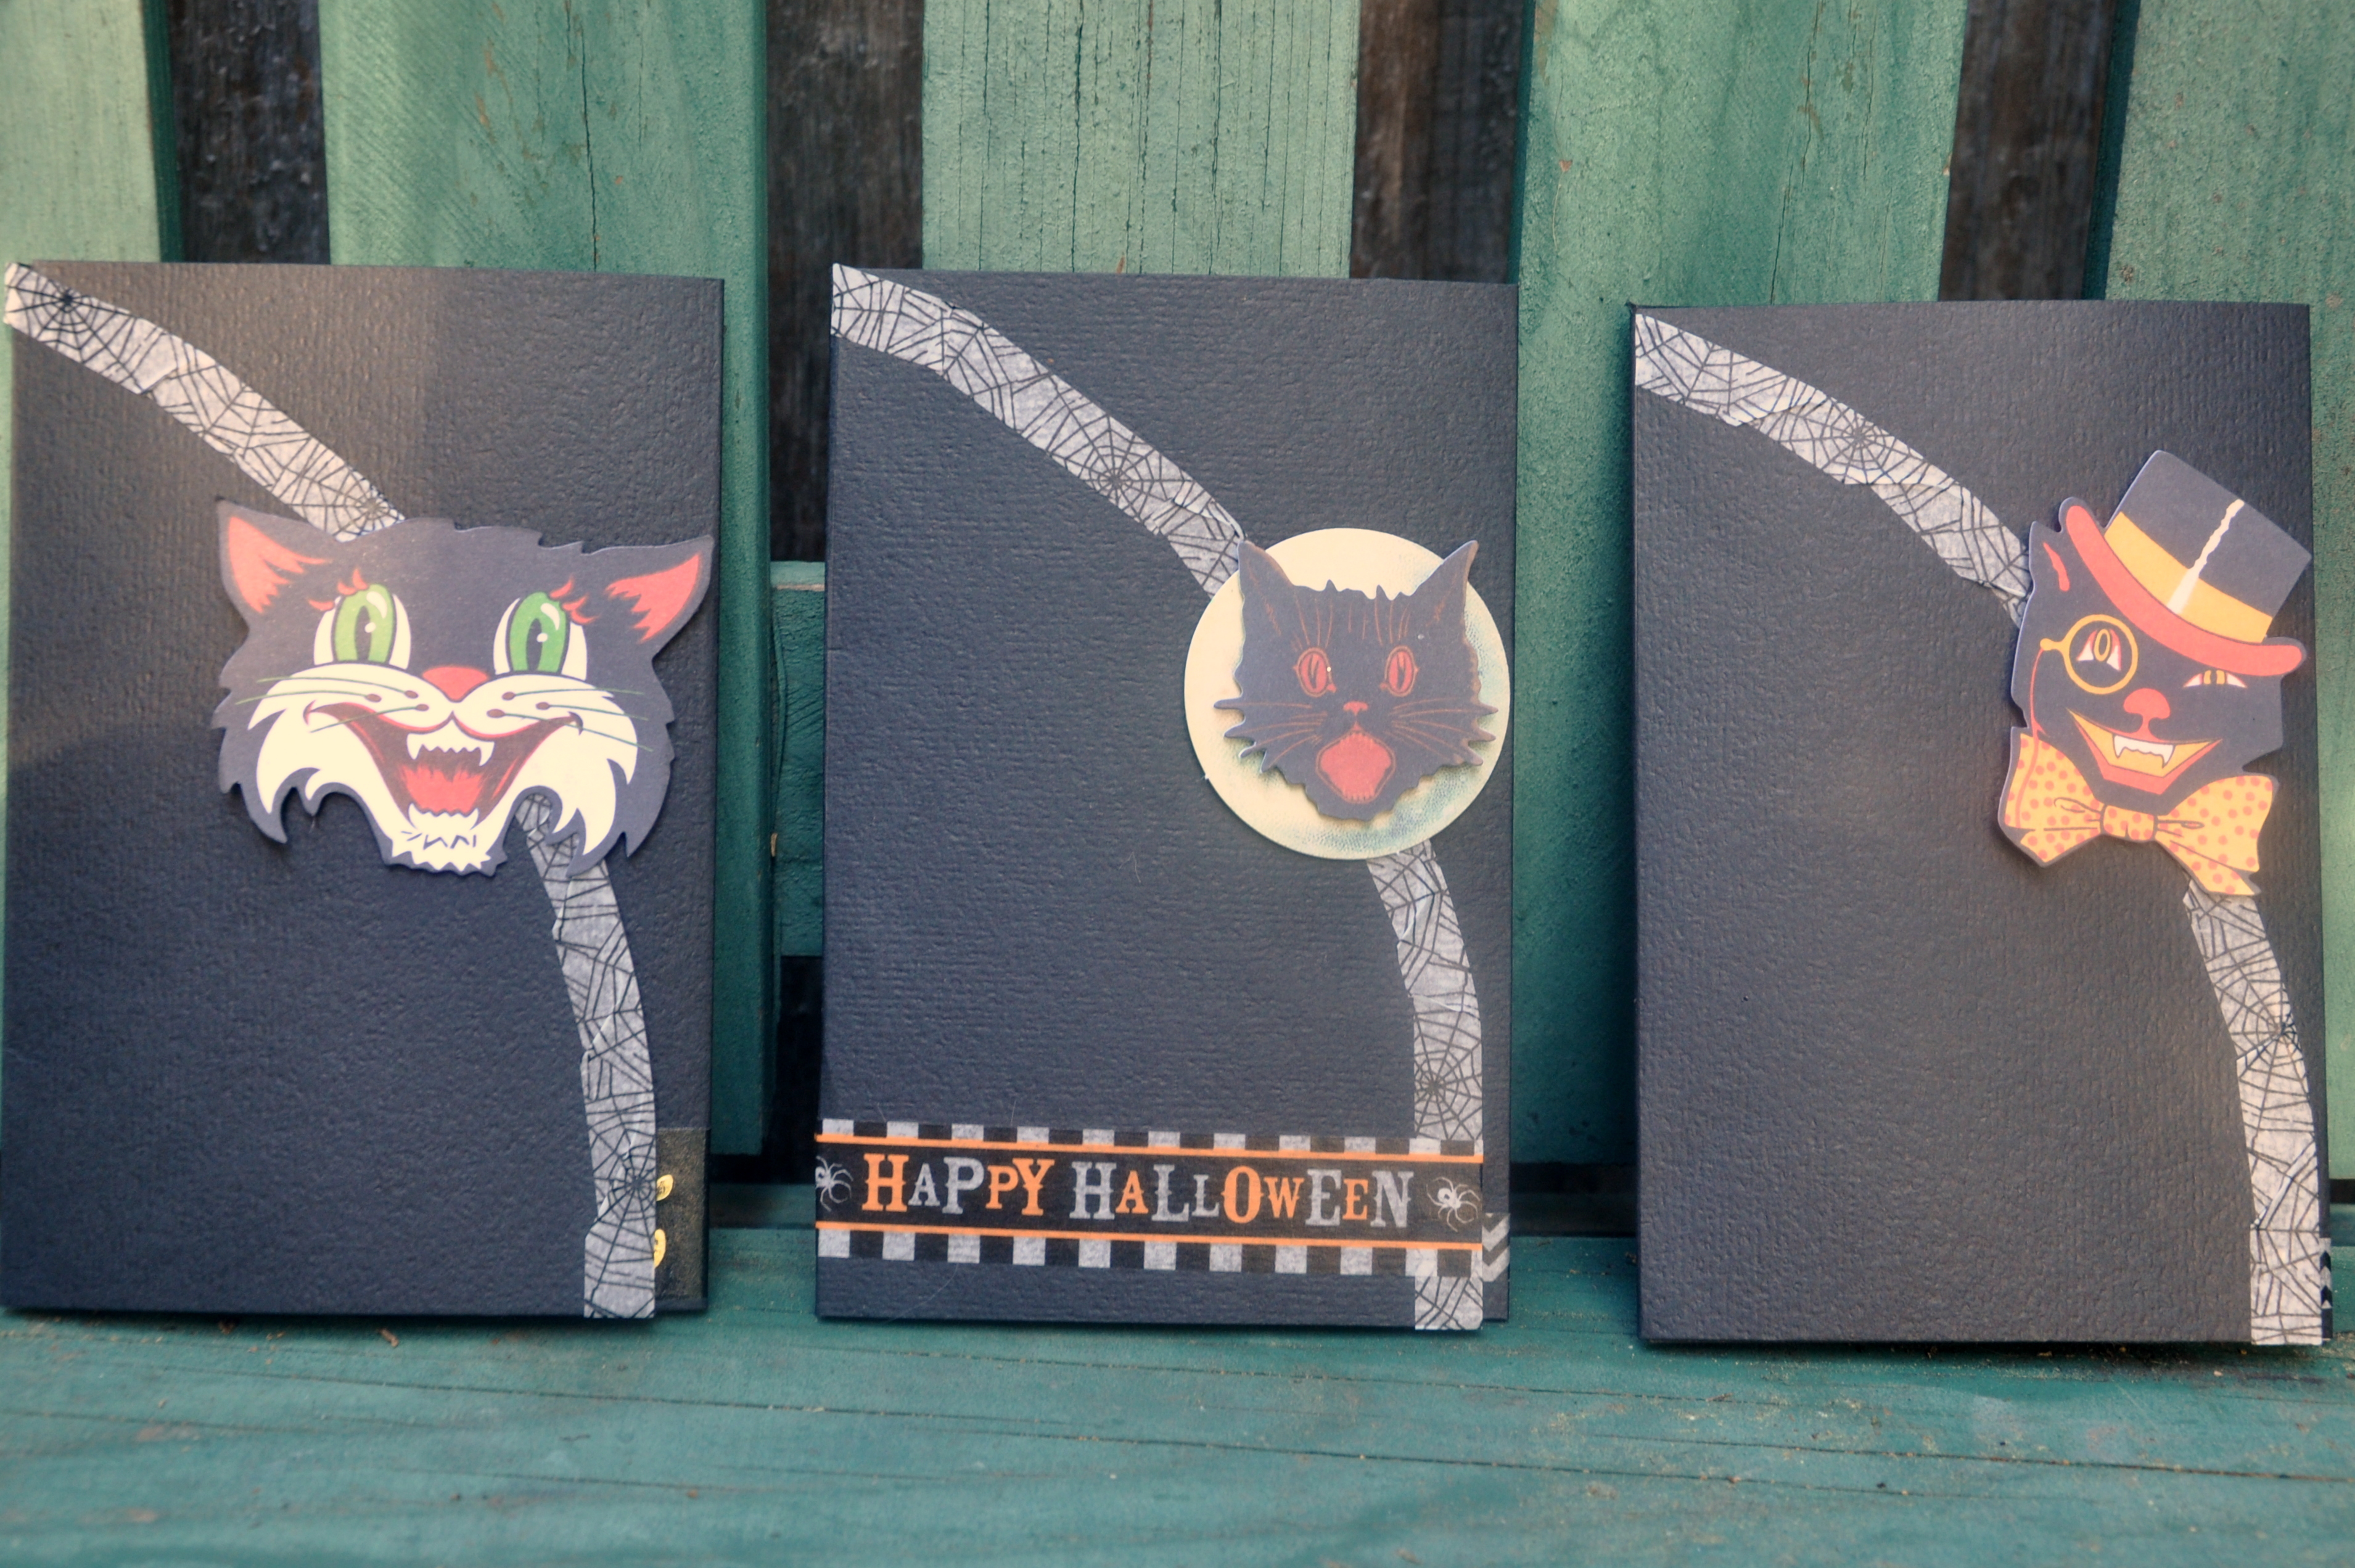
For this set of cards, I used the pumpkin leaf impression on the cover. I added a stamped pumpkin image and a few green leaves along with the stem.  Inside the card I used the chlorophyll print from the Nepeta once again, along with a pine-needle imprint for the small pumpkin.

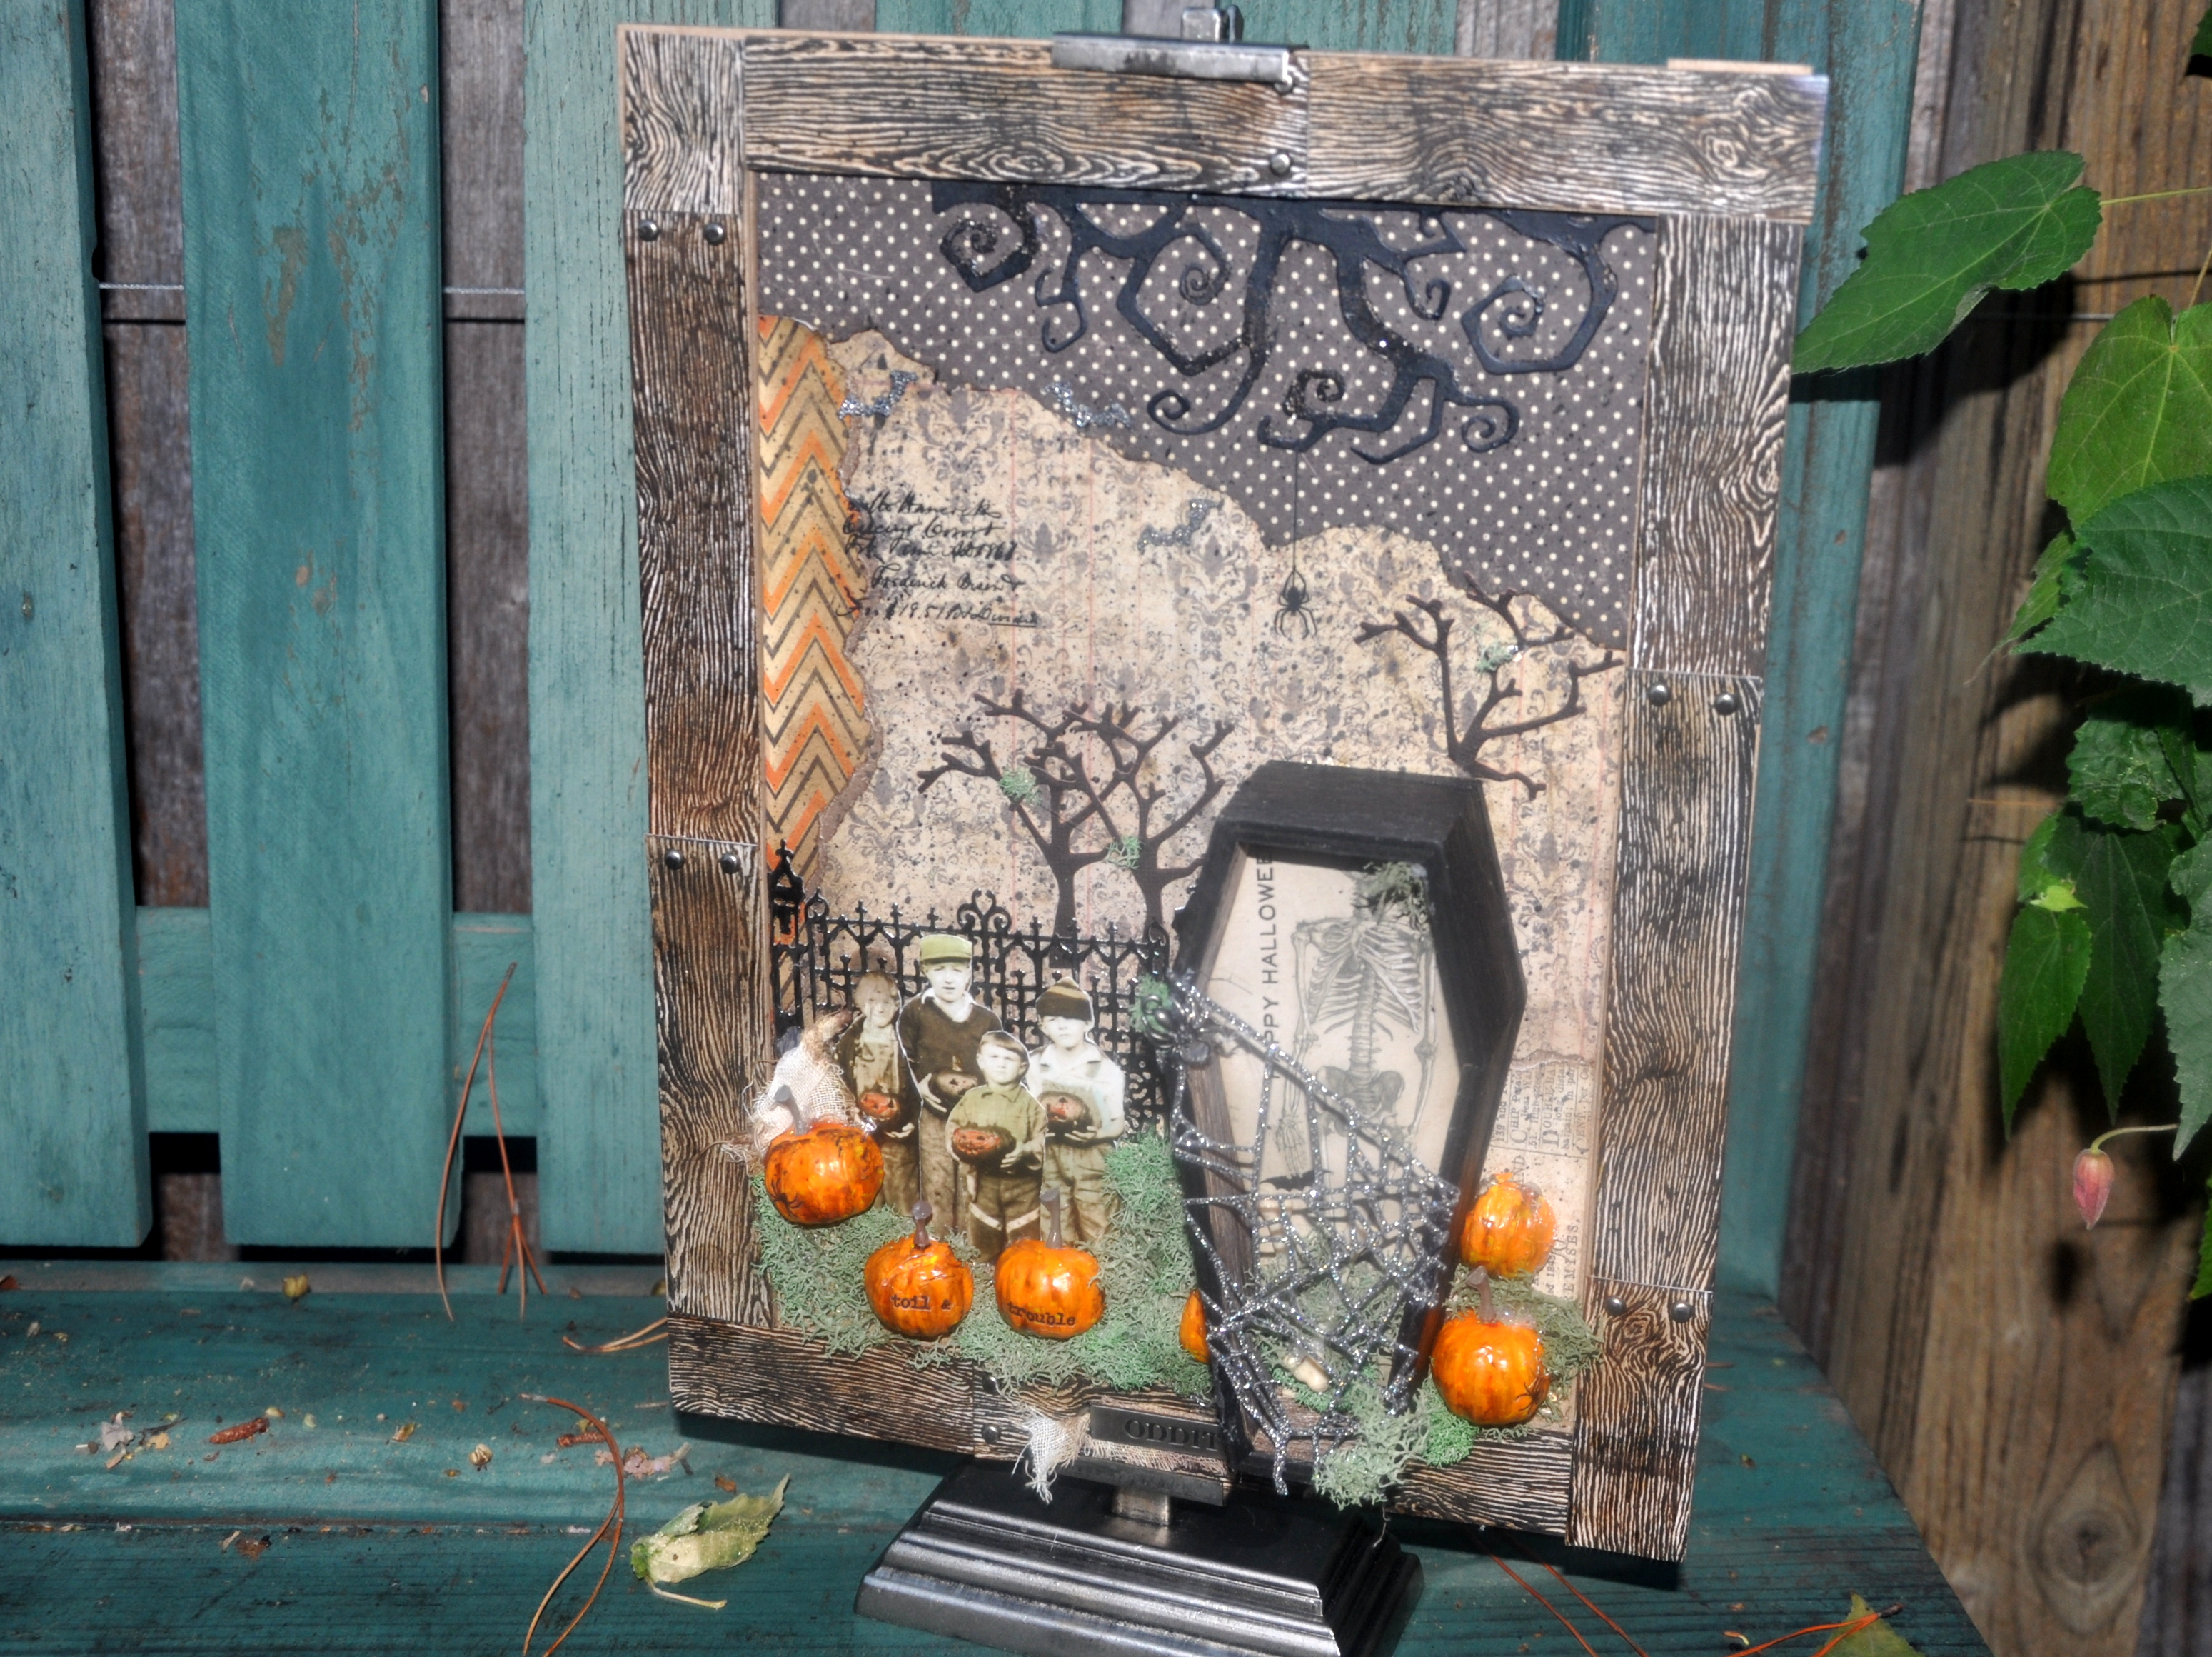
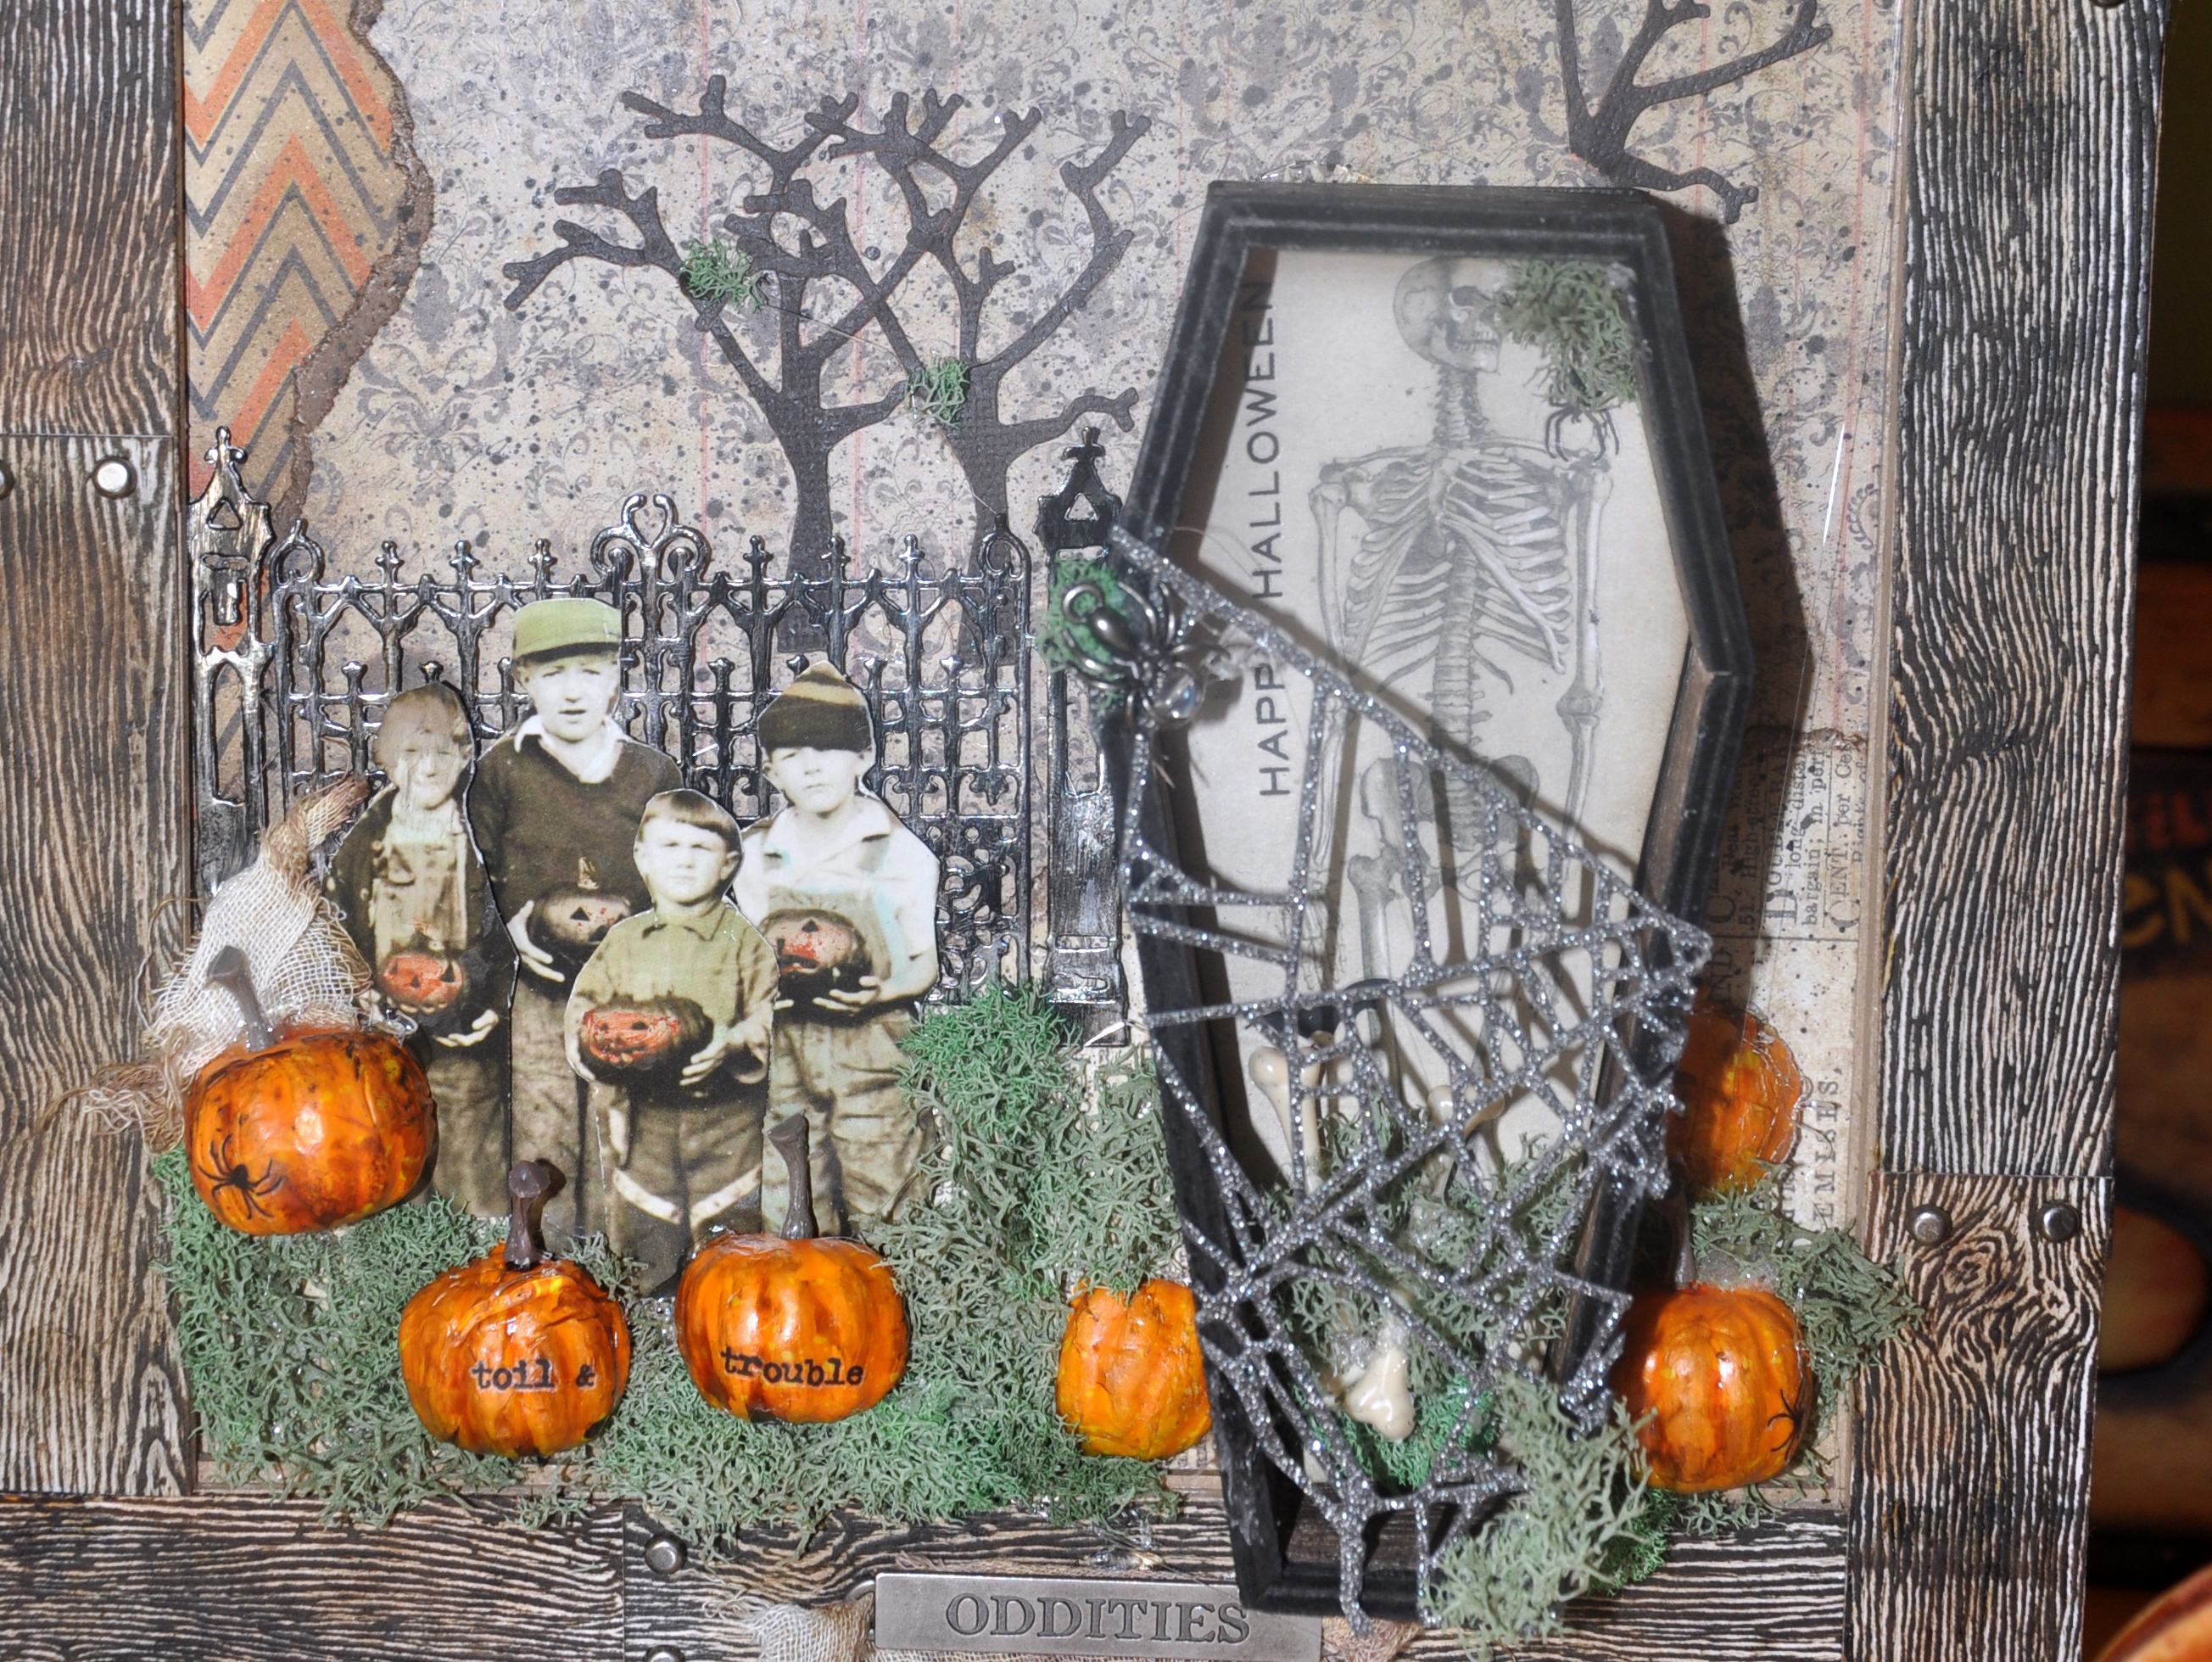
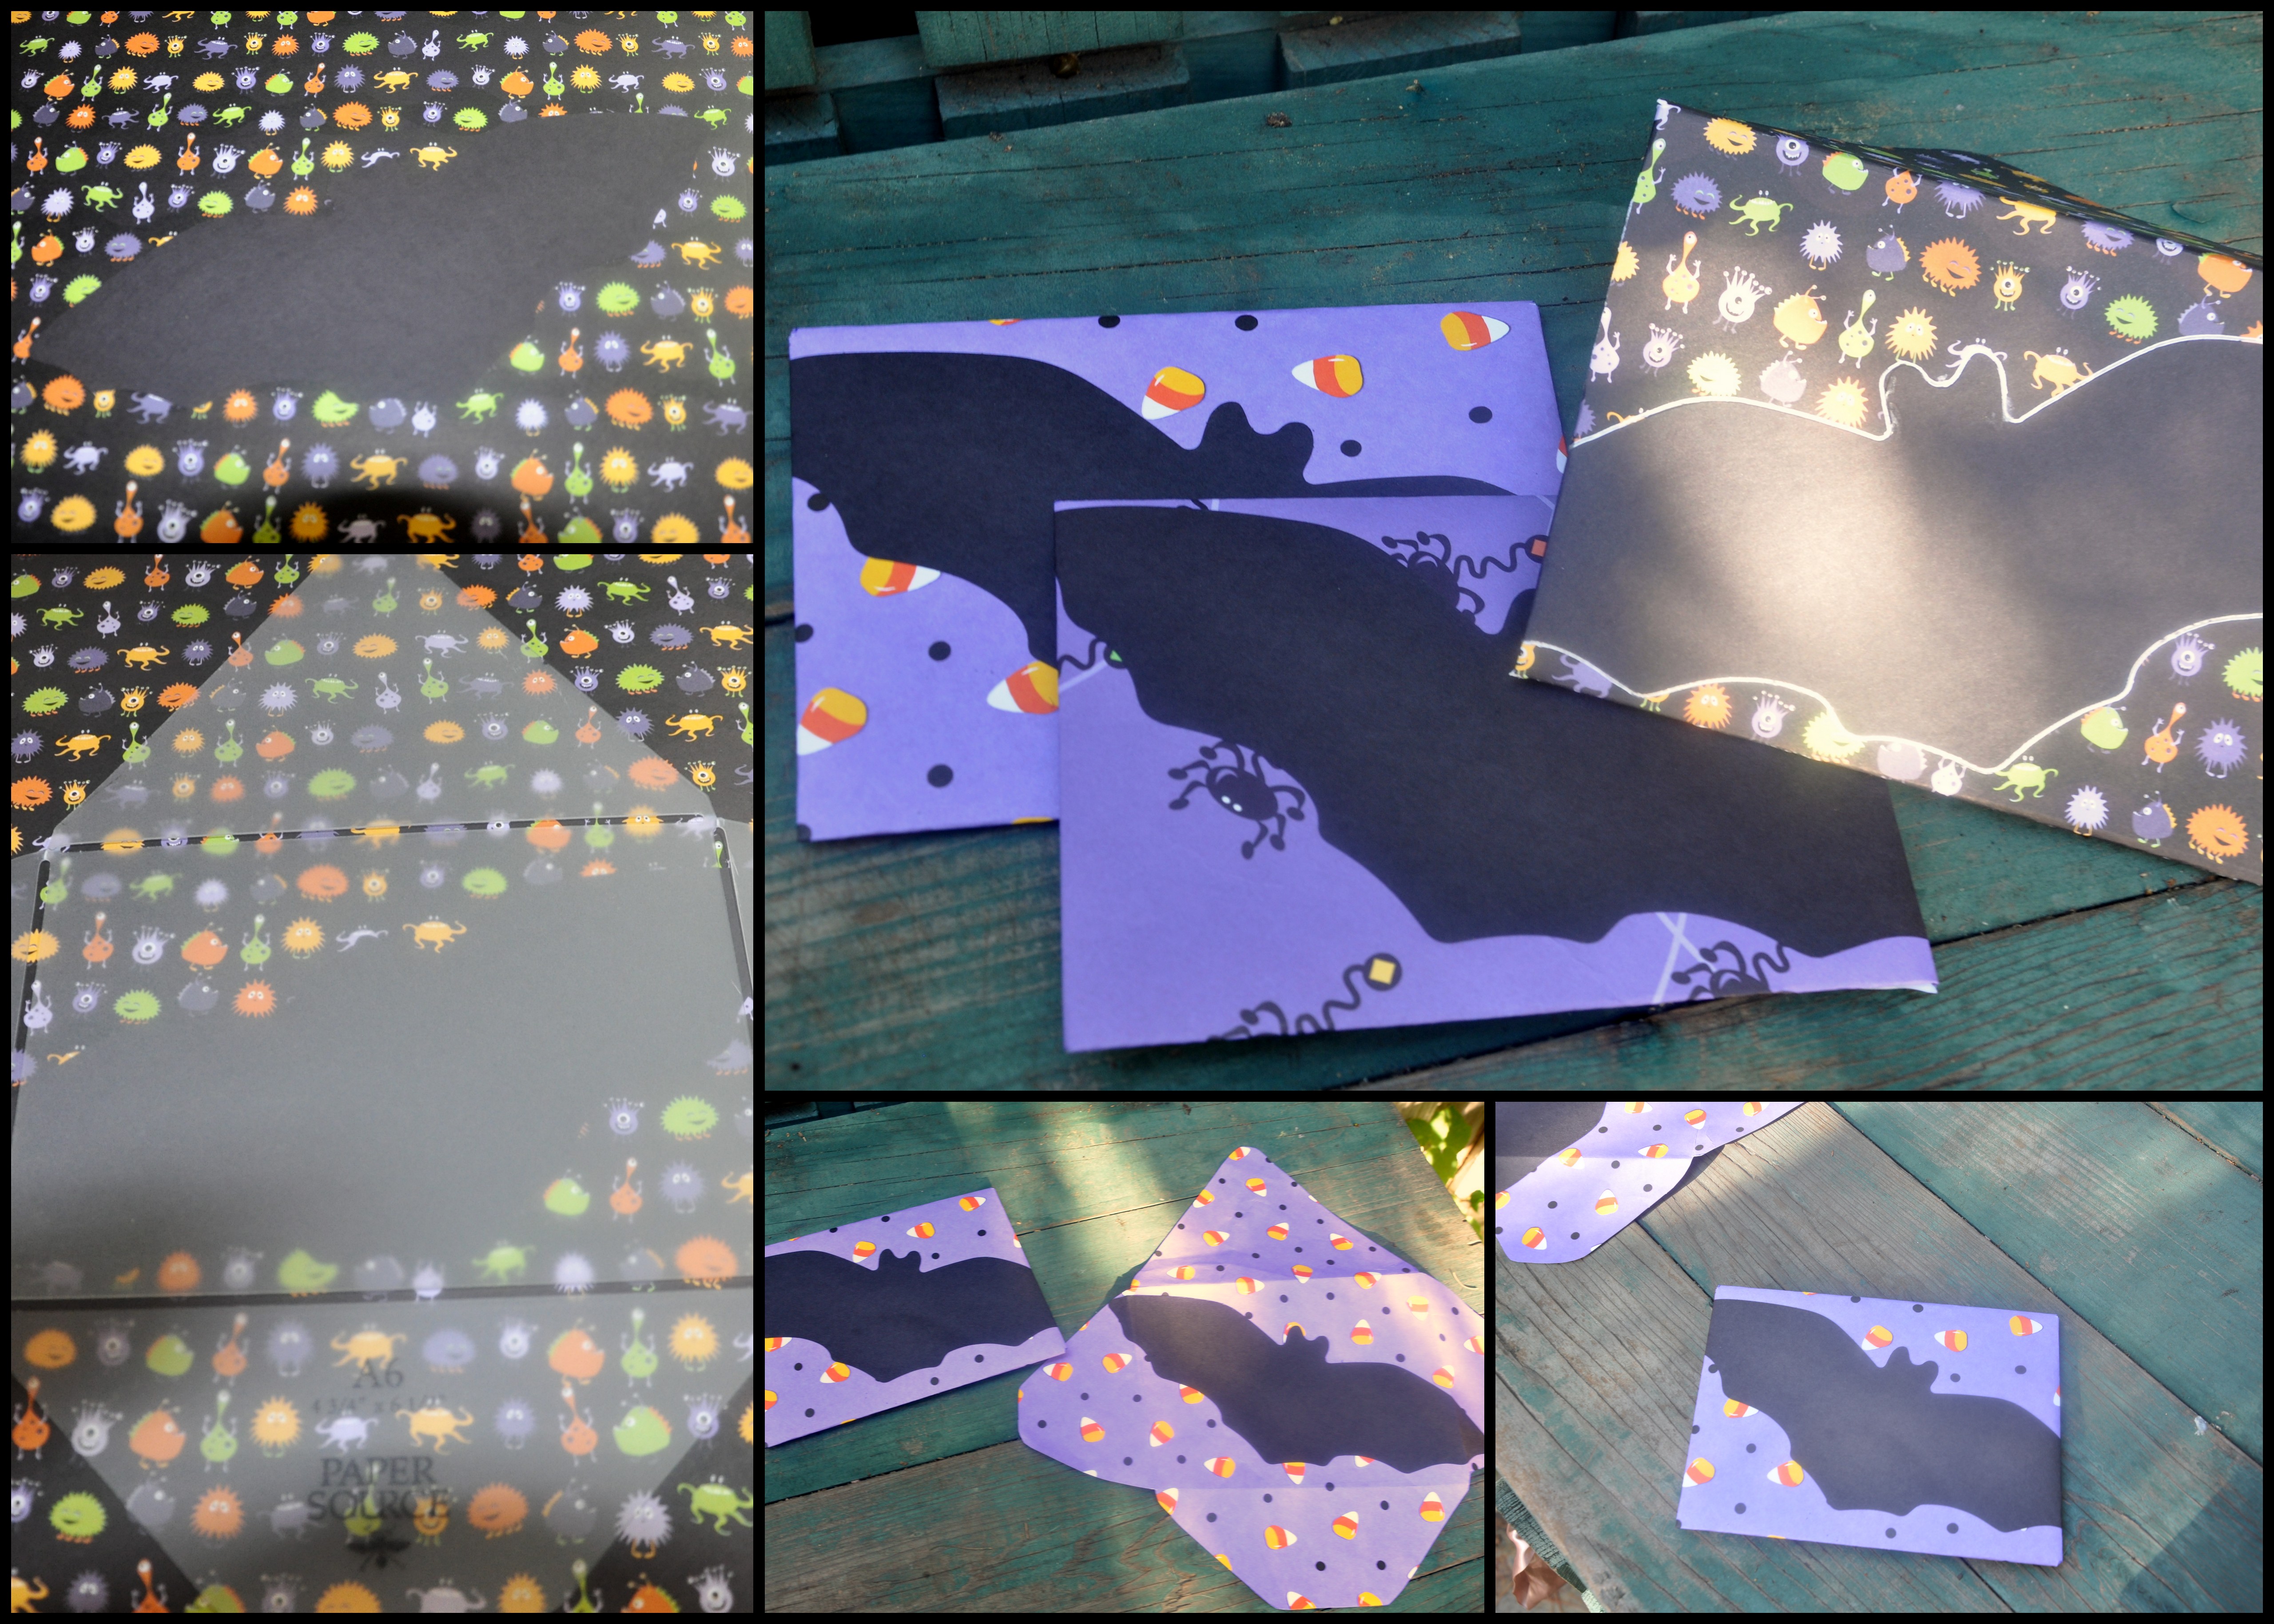
I used craft envelopes for the smaller cards, adding a spider web detail to the flap. A few years ago, Tim Holtz came out with a stencil called Shatter. It makes the perfect spiderweb, don’t you think?

Blue ink worked well on the black envelopes, whereas silver ink showed better on the craft paper. Our post office is selling Disney Villain postage stamps this time of year. They’re the perfect finishing touch. Disneyland may call itself the “happiest place on earth”, but many of the movies I watched as a child scared me to my core.

But hey, it’s Halloween. Hopefully my cards don’t send a chill down anyone’s spine.

Note: I wrote this post a few weeks ago, but waited to share it in October. Since writing this light-hearted post, if feels like the wheels have come off the proverbial bus. I’m trying to regain some perspective. November is just around the corner. I hope it brings cooler weather and cleansing rains.

Northern California Fire Update:

Sonoma was the hardest hit county in this month’s wildfires with some 6,800 homes lost. Another 569 homes in Napa County were destroyed. The two wine country counties each lost at least 5 percent of their housing stock, according to estimates.

Santa Rosa, Sonoma County’s largest city, lost entire neighborhoods, including the suburb of Coffey Park and mobile home parks. The fires also left a path of destruction in Fountaingrove, a neighborhood known for its expensive homes.

Overall, the Northern California wildfires burned more than 245,000 acres, destroyed an estimated 8,700 structures and killed at least 42 people, according to Cal Fire. As of Wednesday, at least 16 people were still listed as missing in Santa Rosa. – Source CNBC

Save

Save

Save

Save

Save

Save

Halloween Cards: Crafting from my Garden

This year I’m crafting Halloween cards from my garden. It’s been a lot of trial and error, but I’m having fun.

My approach to crafting Halloween cards is often catch-as-catch can. I’ll spot a few things here and there in a store, or I’ll pull together items from my stash. No two cards are alike, and I’m fine with that. For me, that’s part of the fun.

Halloween cards

Halloween cards from prior years

This year, using my Big Shot die-cutting gadget, I’ve made several chlorophyll prints from the abundant pumpkin leaves trailing across my garden. The leaves transferred beautifully, revealing wonderful detail.

pumpkin leaf chlorophyll print

Pumpkin leaf impression

With success on my side, I decided to try making prints using the bright yellow pumpkin flowers. I had to be judicious, because although the pumpkin’s leaves last for weeks, the flowers close and drop within a day or two. I made flower impressions in phases, also enjoying the process.

Pumpkin flower impression

A: Pumpkin blossom, B: Pressed pumpkin blossom, C: Partially removed, and D: pumpkin flower imprint

Though the flowers transferred well, the color didn’t last. Within a few days the brightness faded to a soft peach. I used the imprints anyway, for a subtle suggestion of color and because they work well with my Halloween theme.

Since I was on a roll, I braved the crazy heat, and gathered a few more items: the drying flowers of the Nepeta (cat mint) and some of the dropped pine needles from a neighboring tree. The dried flowers left a mottled brown impression, perfect for the pumpkin stems, also known as a peduncle.

nepeta going to seed

Nepeta going to seed

Drying Nepeta flowers and leaves on paper before pressing

Drying Nepeta flowers and leaves on paper before pressing

nepeta impressinos

Nepeta impressions for peduncles and background

The pine needles made a wonderful textured paper. I wanted to suggest the ribbing you would see on a real pumpkin. It’s subtle, but I like the way they turned out.

I rubbed yellow ink on the textured paper, then stamped two more layers of the stamp set with orange and russet ink. After stamping two different pumpkin shapes, I cut the small pumpkin images using my Big Shot. I made the stems using the Nepeta paper print.

Here’s the design:

I used a clever die to create the black card-stock base of the card. I used the pumpkin leaf imprint on one side and the flower imprint on the other. In the center I cut two small pumpkins from the pine needle paper using a clever die and stamp set that allows layering for a more realistic effect. I cut the stems, known as a peduncle, from the mottled Nepeta print for a natural look.

This particular style is labor-intensive, so I only managed to make eight cards. That said, I did a lot of experimenting along with using new tools. Next year I’ll be able to apply what I learned.  I punched squared out of all the different materials I used and mounted them on a piece of card stock. This will help me remember the different techniques for next year.

I used the remaining chlorophyll prints to make traditional fold-over cards. They were equally fun. I’ll blog about them later this week.

Are you trying something new and interesting?

Note:

To my friends out of the area, please know that we are safe. There is an active series of fires, 100 miles north of San Jose. Though we are sheltering from the heavy smoke as best we can, we are not in danger. My friends in Santa Rosa are safe. You can read more at the link below.

http://m.sfgate.com/news/article/2-big-wildfires-prompt-evacuations-in-Napa-County-12262945.php

Save

Save

Save

Save

Save

Save

Save

Save

Save

Save

Save

Save

Save

Save

Save

A Crafty October So Far

You should see my desk. It looks like a Whirling Dervish came through. I’ve hauled out paper and pens, circle cutters and glue, rubber stamps, ink pads and ribbon. It’s been a crafty October so far.

Crafting and a tidy work space do not go hand-in-hand. Unfortunately I do not have a dedicated craft space so I make do. I’m crafting using the corner of my desk, a small pop up table and my in box. Since Mike is out of the country for ten days, I called squatters rights on his side of our shared desk as well.  After repeatedly misplacing, then later unearthing my reading glasses, I’ve added “granny chain” to my shopping list. In the midst of all this chaos I’m having a blast.

Earlier this month, I took a class with my sister at The Island Creative Escapes. During the four-hour class, we learned a variety of mixed-media techniques while creating a “Haunted Pumpkin Patch”. You know me and pumpkins.

halloween-mixed-media

“Haunted Pumpkin Patch” mixed media class by Richele Christensen

Designer and blogger, Richele Christensen, lead the class. She’s a project manager and designer for Tim Holtz. All of the products are available through an assortment of Tim Holtz products. They provided a kit for all of the attendees, and then we shared a basket of inks and other tools.

halloween-mixed-media-tim-holtz-richele-christensen-001

Mixed media detail (top half)

halloween-mixed-media-tim-holtz-richele-christensen-002

Mixed media detail (bottom half)

We came home with a cute mixed media canvas and a variety of ideas along with a leftover sheet of rub-on decals and a packets of paper ephemera. Those leftovers were my starting point for a rainy day afternoon of card-making. Yes…it rained!

When our boys were young, I hosted a Halloween party every year for the neighborhood children. It went on for nearly a decade. So in addition to the leftover ephemera pack from class, I have Halloween-themed rubber stamps, materials from a teacher’s supply store, and an assortment of paper from the make-and-take crafts.

Decorated pumpkins: Halloween 2008

Decorated pumpkins: Halloween 2008

I used these over-sized shapes for the inside of the tri-fold cards:

cards-with-large-shapes

Leftover Halloween shapes from the teachers supply store, scored, cut and placed on the inside of a tri-fold card

This is what the cards look like when closed:

tri-fold halloween cards

Tri-fold cards: Black card stock, spider web Washi tape, Tim Holtz vintage cat ephemera

I had fun making my own envelopes.

halloween-card-envelopes-from-template

Leftover bat shapes and assorted paper get a new life as envelopes for some of the cards

I like the way the scrap of lace looks over the purple paper. I had just enough for one card.

purple-and-lace-halloween-card

This scrap of black lace was a bow on our class supply kit. I wrapped it around a scrap of purple paper, added a dangling spider charm and attached it to a black card. Scraps of the same paper decorate the envelope. The ghost is inside.

There is something to be said for loosening up on a practice card or two. I often have a hard time getting started, then an equally challenging time stopping. Who wants to fold laundry when a role of Washi tape is calling your name?

I moved from idea to idea, using the supplies and tools that I have on hand. At last I was in the zone.

Check out some of these beautiful creations:

Dawn at Petals. Paper. Simple Thyme

Kelly at Kelly’s Korner

Pauline at The Contented Crafter