Green Friday: Repurposing in and out of the Garden

Re-purposing was common practice during the Depression era.  It’s still common in developing countries where nothing goes to waste.  I’m a huge fan of giving new life to items that might otherwise be discarded.  There is an entire movement afoot, people reusing items in clever and original ways.

So, in honor of Green Friday, check out these fun ideas.

Greenhouse-Made-from-Windows

Greenhouse Made from old windows
Between Naps on the Porch

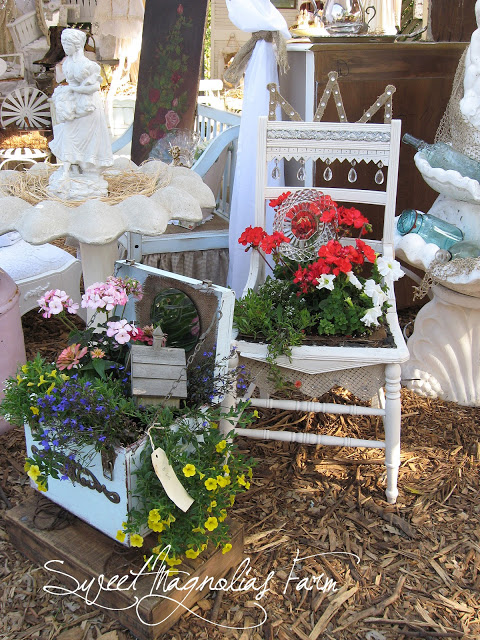
sweet magnolia chair

Lovely old chair breathes new life
Sweet Magnolia Farm

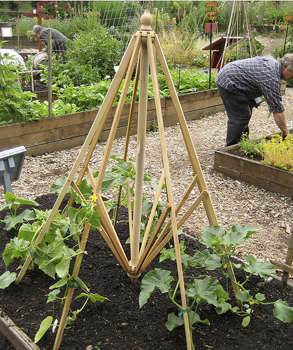
umbrellabeantrellis upcycle

Umbrella Bean Trellis from Dirt du Jour

bird bath light fixture

Light fixture bird bath from Indulgy

I wish I had 100 hours a week to read all the fascinating blogs out there. Here’s a small sample:

Dishfunctional Designs: Creative Things To Make With Old (I love the clever title)

Indulgy.com: Light fixtures live again

Denim Do Over: giving new life to old denim

Pinterest: Set the timer or you’ll never get anything done.

Facebook: Re-purposed, Recycled, Reused, Reclaimed, Restored

I like to re-purpose my wall calendar each year.  I reuse the pages to make envelopes, bookmarks, gift tags, small stickers, gift-card holders and other small paper items.

Last year I made a wreath for our front door using scraps of tissue paper, candy wrappers (ahem) , a dry-cleaning bag and the plastic sleeve from the newspaper.

Katherine, over at Pillows a-la- Mode recently refashioned an old sweater into the most adorable teddy bear you’ve ever seen.

Diary of a Mad Woman uses a similar sweater to make Christmas stockings. 

I hope you have as much fun as I did, visiting all these fun sites.  Please share your own re-fashions, links or blogs in the comments below.

The Giving Garden

One of the coolest things about our neighborhood is the general camaraderie.  Neighbors talk to neighbors.

On the surface, that sounds so simple, but time and again we hear from others how lucky we are to live on a street where all the neighbors know each other.  Over the years, we’ve covered for each other with emergency child-care, extra meals in times of poor health, emotional support and carrots.

Carrots?

Yes, even carrots.

The grandfather of one of the daycare kids walked by while I was curbside chatting with (yes) another neighbor.  I reached over to offer him a fresh garden pea, when he stopped me and asked if he could have ten.  More specifically, his granddaughter needed ten items to trade during Kindergarten class for a lesson on trade and Thanksgiving.

Our quick search didn’t  yield ten pea pods, but there were still plenty of carrots.  Not just any carrots, but the very carrots the wee kinder (gardener) planted herself.  He came back with his granddaughter later that day. Her brother gave her special permission to harvest his carrots as well in case she didn’t have enough.

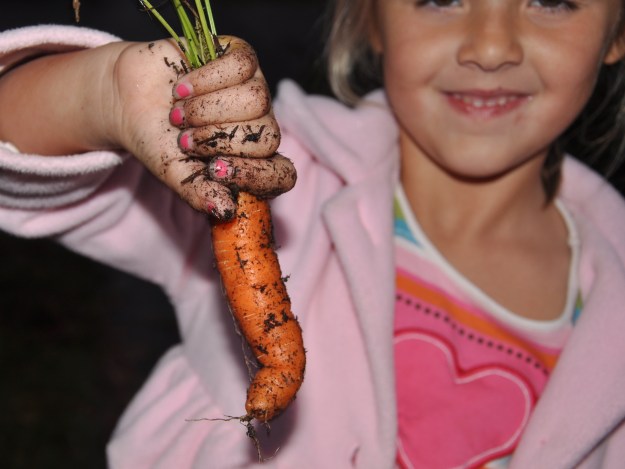
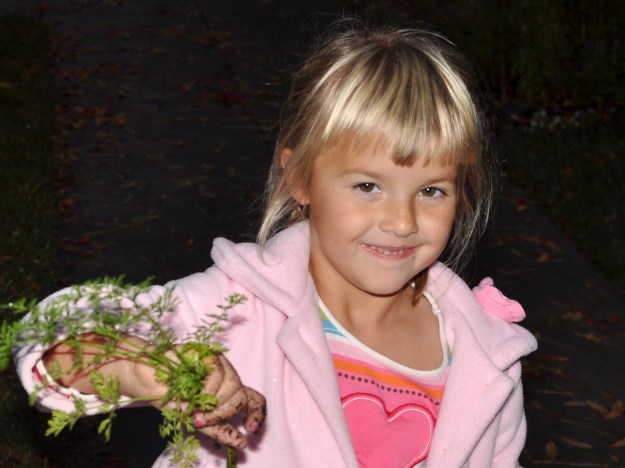
Baggy in tow, she pulled up several carrots, bagged them and happily smiled for the camera.

harvesting carrots

Harvesting

Grandpa asked her to rinse the dirt from her hands in the fresh rain water, and then she wiped them on the grass.  I stepped in and dried her tiny hands on the inside of my jacket, because honestly, once a mom always a mom.  I scooped her into a hug and she was on her way.

harvested carrot

Harvested carrot

all smiles

All smiles

You reap what you sow .  I felt such a welling of emotion as I turned to come inside.  Ten little carrots were on their way to the classroom, and once again the giving garden filled me with joy.

Garden Wreath Redux

Wonderful things happen when you write a blog. Here are my top three:

Community, community and community.

Last week I posted photos of my attempt at a garden wreath. The wreath had a lot going for it, but it lacked volume and charm.
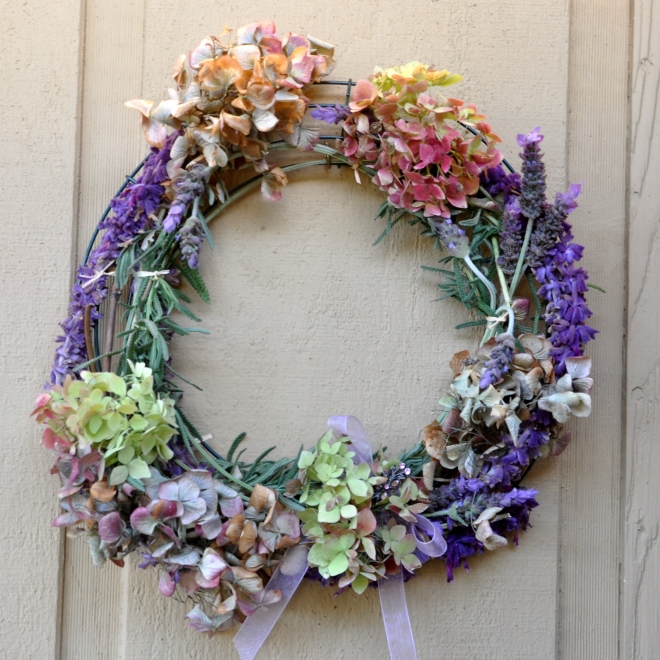
Garden Wreath Version 1.0

Garden Wreath Version 1.0

I asked for suggestions and received a tremendous outpouring of support.

The Contented Crafter had this to say:  Just this very morning I was discussing my art work with a friend and related how something Jane Davenport once said made a big impression on me and changed the way I viewed my creations.

Jane said [and I paraphrase] ‘Every creation goes through an ugly stage. Do not be put off, do not throw it out, do not walk away. Keep working at it until it becomes beautiful again’.

Not that I’m calling your wreath ugly – it isn’t. It is actually really pretty, and while still in development, shows enormous potential – it just needs more.

Which brings me to my second great life lesson – if a little is good, a lot is better :-) Bling it up Alys, bling it up!

In summary, don’t be discouraged.  Add some bling. Borrow seeds from the squirrels.
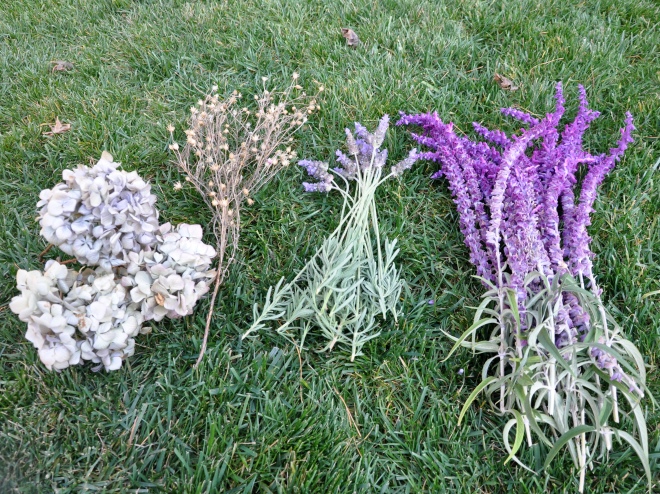
flowes and seeds

Flowers and seeds

Boomdeeadda added:

I would say you’ve got a lot of beautiful dried flowers but need a sturdier base to build upon. I especially love the hair pin, it’s a pretty detail and unexpected :D I also like that you used a loose triangle in your design. The rule of three always works best for arranging flowers. It’s going to be so awesome and I bet it smells really wonderful too.

  • Do you have any thin gauge wire? Here’s what a florist might do.
  • Take everything off and sort.
  • Spray Hydrangea with a bit of hair spray to lessen shedding.
  • make three mixed posies with your remaining dried flowers by wrapping stems with a bit of wire. Vary the sizes (S, M, L). Leave a length of wire to make a small loop.
  • Now, stuff the entire wreath with green sheet moss. Available from gardening stores. Winding thin wire around the wreath as you go. You hardly see it with the moss.

After reading Boomdee’s professional advice, it was tempting to box it up and send it to her with a thank you note.  Instead I behaved myself and took notes.

I took apart the wreath, salvaging the lavender, the ribbon and the hair pin. The hydrangeas were toast so I tossed what remained in the compost bin.

I dragged myself to a craft store (hee!) and picked up a bag of Spanish moss, floral wire and a roll of dusty silver tulle.  I bought purple ribbon as well, but didn’t use it.
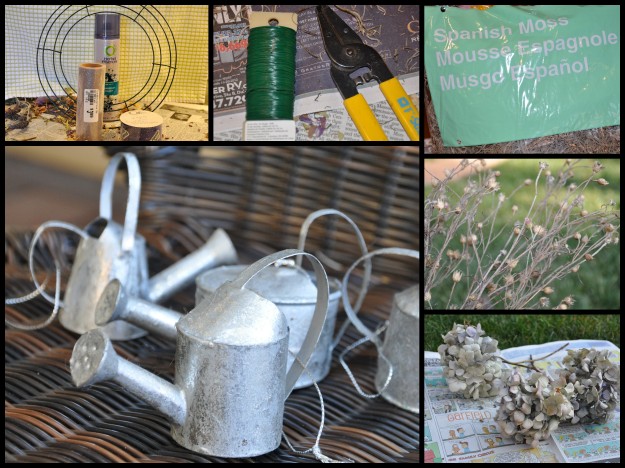
garden wreath collage

Starting from scratch

Cindy Knoke cheered me on as did Tami and Marlene, of In Search of it All. Marlene and LB both agreed that moss would give it some oomph.  Where the Journey Takes Me suggested the great and powerful Google for dried wreath inspiration.  Additional thanks to Sheryl at Flowery Prose.

Anne Lawson said: bling it up! When I paint there is often a point where I despair and think “it’s not working!” That’s the time to keep going, as many times it does come together.

I gathered lavender and sage in twice the quantities to allow for natural shrinkage when dried.  The hydrangeas were un-salvageable.  I used three of the flowers from a vase in my room.  I sprayed them first with hairspray to prevent shedding.  I added dried seeds from the Bachelor Buttons, and then stuffed all the gaps with moss.  The wire helped keep everything in place.

I dug out my Christmas ornaments early, remembering this cute set of watering cans, a gift from my sister-in-law many years ago.  The size and color worked well.  I added tulle to the original ribbon for a larger bow, placed dried lavender in the watering can and added the hair clip.
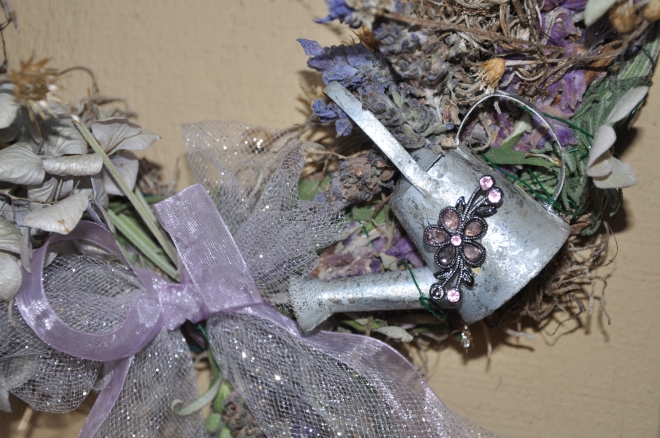
Garden Wreath Details
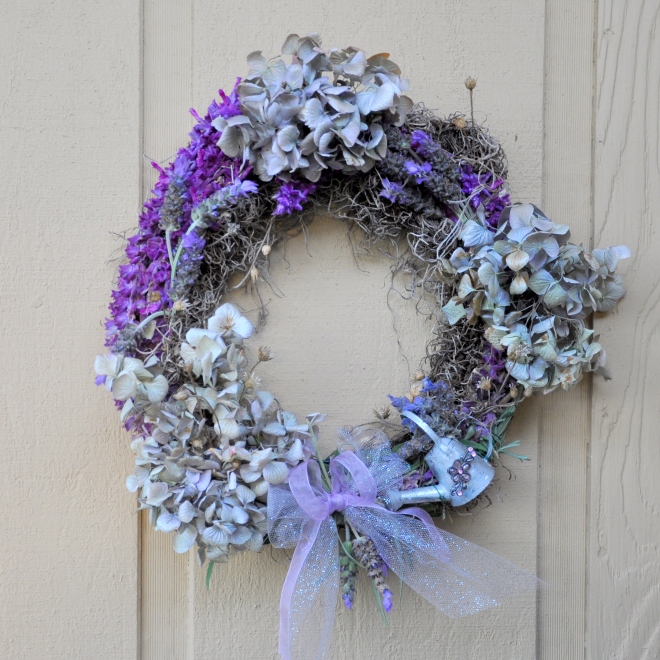
Garden Wreath Details

2nd wreath

Wreath Version 2.0

It’s still a bit lopsided, but overall I like it so much better. I’ve dubbed it the Village Wreath, as I couldn’t have done it without all of you.

XOX
Magnolia vs Scale: This Tree has Game

tulip magnolia March 2012

Tulip Magnolia
March, 2012 BC (Before Scale)

All is not lost!

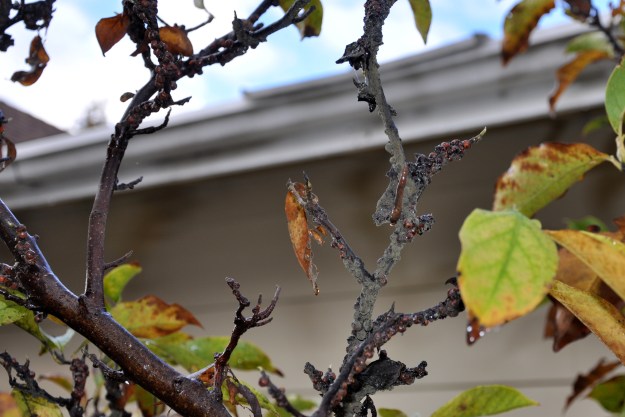
Last week I wrote about my struggling tulip Magnolia. It’s infested with scale, a nasty soft scale insect.  It’s been a problem for two seasons.  You can continue reading, or pop over to this page to view graphic photos.

Did you go look? It’s not pretty, is it?

I met with a certified arborist today to discuss the tree’s plight. The arborist nodded and said ‘yes it’s a problem,’ and agreed that gardens with tulip magnolias frequently harbor scale.  He went on to say the problem is systemic and that most treatments don’t work.

He did, however suggest a fairly new product that has recently shown promise.  Bayer Tree and Shrub Protect and Feed.   It’s applied at the roots so no spraying.  Further, it’s supposed to have minimal impact on beneficial insects, always a concern. I’m going to give it a try.  He said improvement wouldn’t happen ‘over night’ but that with time, it may help.  He noted the green shoots on the tree and the lack of mold as two good signs.  Apparently all my scraping and washing helped.

Two hours worth of scale removal.

Two hours worth of scale removal.

The arborist also approved of the banding  my husband banded did last summer.  It’s an ant barrier, a sticky substance that the ants won’t cross.  Since ants protect the scale in order to harvest the secreted honeydew, it’s another step toward protecting the tree.

Hope, renewed.

In other news…

Special thanks to Betsy of What’s Green With Betsy!?! and Pauline of The Contented Crafter for including me in there list of recommended bloggers.  I’ll write more about this later in the week.

Saucy Succulents

Succulents

I love that word.  Succulent conjures up something sweet and juicy, but it also refers to a type of plant.  Saucy, juicy, care-free succulents.

I met a succulent gardener last summer over a bunch of dirt.  Top soil to be exact.  Long story, but I ordered planting mix and received top soil instead.  The vendor offered a refund but would not come pick up the soil.  I offered the  top soil on Freecycle, and that’s how I met Amy.

Amy grows succulents in her beautiful garden.  I helped her unload the soil at her home and she gave me the nickel tour.  I hope to go back and take pictures to share with all of you.  Her garden is unique and perfectly suited to our semi-arid climate.

Amy sent home a few cuttings from her garden that day.

Amy succulent large pot

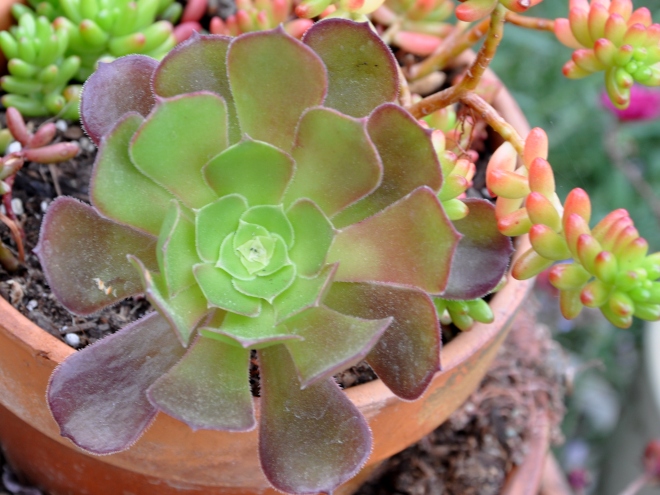
Cutting from Amy’s garden

Earlier this year, I planted Sedum in my tower of pots.  I simply pressed the cuttings directly into the soil and off they grew.  Amazing!  They’re doing great in a couple of pots on my deck.

tower of pots succulents

Tower of pots

succulent towe of pots

Amy’s cutting joins the tower of pots

Coincidentally, I bought a few succulents mid-July.  They came beautifully pre-planted and ready to hang.  I hung them on the side of the house near the deck.  They only need water about once a month.

assorted succulents

Assorted succulents hang on the side of the house

In early October, I moved the hanging planters to make room for Halloween decorations.  Turns out they look nice back-to-back on the center of the outdoor table.

succulent pots

Succulents relocated

succulent closeup

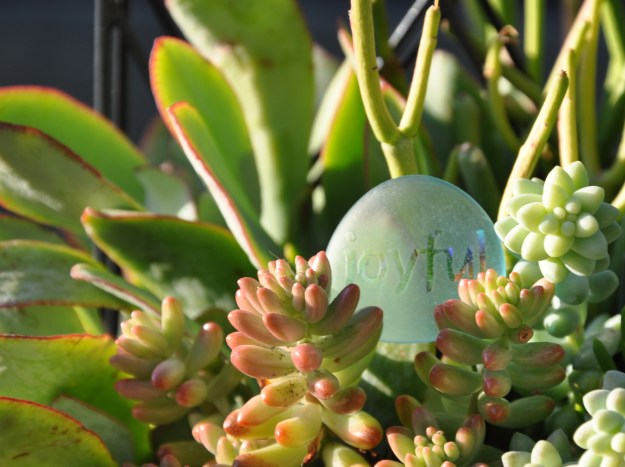
Closeup, with a joyful accent from Boomdee

These saucy succulents are a welcome addition to my garden ensemble. I’m looking forward to adding more next year.


Slugs and Scales and Disgusting Tales

snail and scale

Magnolia covered in scale

The title didn’t scare you off?

You thought we were safely passed Halloween and all things creepy?

What’s creepy about this photo isn’t the snail but the scale…all over my struggling Magnolia.  Two seasons of effort to remove it and it’s back, bigger and badder then ever.  Gross.

scale infestation

Scale infestation

Last year, when the tree was dormant, I spent an hour literally scraping all the visible scale from the tree. I went back over the branches with warm water, wiping down any residue. I went back two days later, removing what I missed.

The tree bloomed, but the scale came right back. Over the spring and summer, it spread to the entire tree, dripping sticky honeydew all over the shrubs below.

I hate giving up on this tree, but if I don’t remedy the problem, the scale will kill the tree.

I placed a call today to a certified arborist for a professional consultation. Ian Geddes has been a great help over the years, thinning and pruning tall trees, removing tree stumps and consulting on the health of our trees. I appreciate their expert advice.

snail in Magnolia

Just passing through

Now to get your mind off these creepy pictures, I’ll leave you with this: Dylan looking adorable on our hike earlier this week.

Dylan

Dylan

Addendum:

After I hit the publish button, WordPress told me this was my 500th post on Gardening Nirvana.  Instead of celebrating with flowers and fruit, I give you scale.

So it goes when you blog about a slice of life.  Please don’t hold it against me.  Alys

Rain, Glorious Rain

After an incredibly dry year, I’m so happy it finally rained.  Twice!  That’s a bit of a big deal around here after one of the driest years in memory.  We’re semi-arid to begin with.  We need all the rain we can get.

sweet peas in the rain

Sweet Peas refreshed

The air smells wonderful.  After a few hours of grey clouds, followed by sunshine, I feared we had already seen the last of it.  Then around 1:00 this afternoon, another storm blew in.  I’m loving it and enjoying it while I can.  We’re back to ‘sunny and 68′ F (20’ C) by the weekend.

hyacinth emerge

Hyacinth emerge

Our season runs from July through June.  Season to date is typically 2.18″. We’ve recorded 0.66.”

I realize it’s all relative.  Parts of the world are shoveling out snow.  Others are already fed up  with wind and rain.   Super Typhoon Haiyan besieged the Philippines and the mid west state of Illinois will take years to recover from late-season, powerful tornadoes.  Such devastating losses our weather can bring.  My heart goes out to everyone suffering  these profound injuries and loss.

Today, in my little corner of the world, I’m happy the rains are falling.  I’m also filled with gratitude for all I have.

'Maori Sunrise' New Zealand Flax

‘Maori Sunrise’ New Zealand Flax

Relief Efforts Around the Globe:

Wreathiness

Earlier today, ‘Selfie’ was named Word of the Year by the Oxford Dictionaries.  It brought to mind an earlier Word of the Year back in 2005 coined by Stephen Colbert of the Colbert Report: truthiness.

Truthiness  is “the quality of stating concepts one wishes or believes to be true, rather than the facts.”  That is how I feel about my garden wreath.

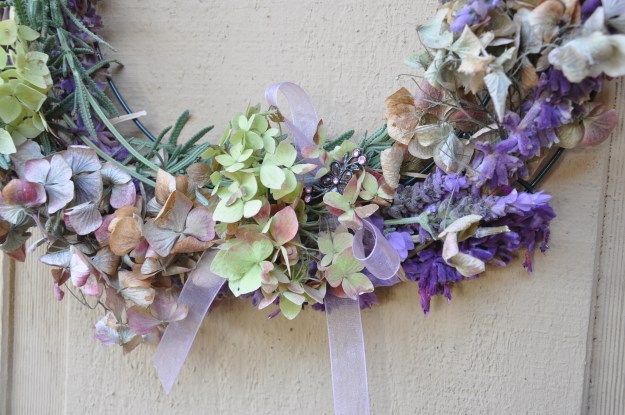
In concept I wish it were beautiful.  If  you look at a small corner of  the wreath it’s pretty.

wreath detail

Closeups are deceiving

If I was going for truthiness I could call it a day.  Alas,  I’m a gardener that likes to keep it real.

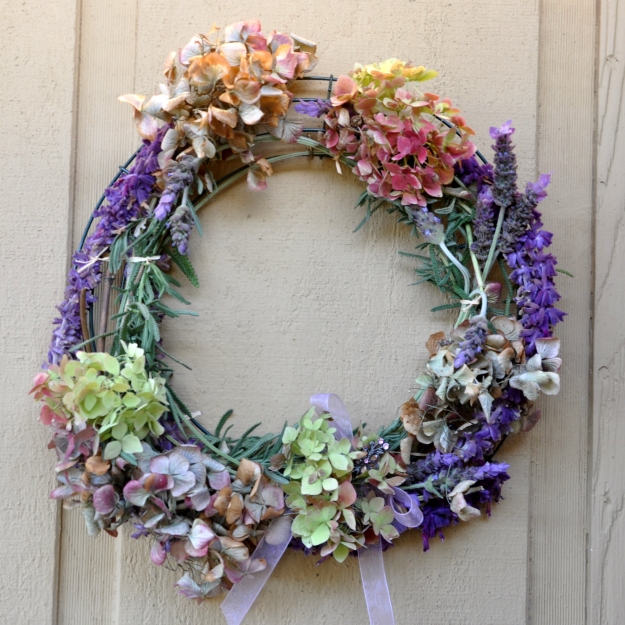
The wreath had potential:

  • A  sturdy, but unobtrusive green metal base from a craft store
  • Lovely hydrangeas, dried to a soft purple gray
  • Long strands of velvety, purple sage
  • Snippets of lavender here and there
  • Bits of ribbon and a hair pin, no longer in use.

I wrapped strands of  sage along the edges of the wreath, then placed three hydrangeas in a loose triangle.  I added a small ribbon and a hair pin.  It just wasn’t enough.  I gathered lavender and added sprigs of that, then hung the wreath on the door, scattering dried flowers  as I went.

The wreath lacks volume.  Adding lavender made it smell nice, but it didn’t really help my cause.  Every time I tried to ‘fluff it up,’ I made it worse. I found a few more hydrangeas, smaller and still green.  Still not enough.  Now I have dried petals all over the front porch. They continue to drop  every time I close the door.

wreath of shame

Wreath of shame

balding wreath

Balding wreath

So, crafty friends, what’s a gardener to do?  Should I hide my wreath of shame?  I ordered a Christmas wreath from the local Boy Scouts.  Maybe I should just wait for it to arrive.

Is there still hope for my garden wreath?

Suggestions welcome in the comments below.

Plan-Free: My Mellow-Yellow Weekend

We had a mellow-yellow, no plans weekend. I loved it. That’s not to say I didn’t do anything, but that I enjoyed doing ‘whatever.’

First up, crafting a wreath:

wreath detailI’ve had an idea bouncing around in my head for a while and wanted to give it a try. I’ve been drying a few hydrangea blooms, now faded to a soft purple-gray. The sage is winding down the season, but still has plenty of purple plumage to spare. The thought was to wrap strands of the soft sage along the edges of the wreath, punctuated with three hydrangeas and a bit of ribbon. The colors are lovely, but the implementation is all wrong. Further, the more I worked with the hydrangea, the more I damaged the brittle blooms. Stay tuned for my sad little tale later this week.

Next up, seed organizing:

Oh, how I love organizing. And seeds. And my computer.

I gave my Seed Keeper an end-of-season clean out. It’s a great place to collect and store the seeds, but after a busy spring, I’d neglected the contents. When I had finished planting, I tossed empty seed packets into the box, thinking I would later use them for record-keeping.

Seed Keeper Deluxe

Seed Keeper Deluxe

Head slap: I keep a blog. So, remembering the log part of blogging, I tossed the torn packets into the recycle bin. (At one point I thought I would save them to make cards, but muddied finger prints and torn edges helped me realize the error of my ways.)

The clean out left plenty of room for this season’s seed collection, my most methodical and organized to date.

Matching garden photos with the seeds I plan to store, I created a photo collage.  I sized the collage to fit a sheet of name badge labels, passed it through the printer and voila, an easy way to make seed packets. Using glassine envelopes on hand from last year, I included the name and the year, added the label and seeds, and filed them in my nifty Seed Keeper.

flower seed packets

Flowering annual seed packets ready to fill

flower seed labels

Photo collage for identifying seeds

squirrel on the fence

Looking for directions (sorry buddy, these seeds aren’t for you).  The peanuts are one house over.

End of the weekend, project:

I connected with Emma at Greenhouse Starter over the weekend and made plans to ship her Craft it Forward treasure.  I stayed up making a card to go with it, the perfect end to my mellow-yellow, no plans weekend.

Are you making your way through Monday or still hanging on to the weekend?

Seedy Business

last of the annuals

Remains of the Day

It’s seedy business.

If I don’t do it though, the birds, squirrels, wind and rain will.

Gather seeds, that is.

I’m fairly new to seed-saving.  I’ve always been a seed packet junkie, often buying far more seeds than I could ever hope to plant.  When my son was much younger, he regularly talked me into buying every pumpkin variety to be had.  Santa brought additional seeds for his Christmas stocking each year.  Our seeds runneth over!

Last year I started saving my own seeds and now I’m hooked.

Planting:

I planted four o’clock seeds this summer with mixed success, but collected them again for a second try.   I successfully started one plant in a pot, but thanks to ‘self-seeding’ ended up with multiple plants in the side garden.

Growing:

The compost bin produced an entire crop of pumpkins so I had left over seeds to spare.  I started several plants indoors, then gave them away to friends.  Reports were positive, so I definitely plan to do this next year.

Sharing:

This is the best part of my seed-saving adventures.  I saved handfuls of Cosmo seeds at the end of 2012 and gave them as gifts that Christmas.  I made a tri-fold card using digital software and my own Cosmo photos, then added small seed packets inside.  A few of my friends kept the cards and seeds intact, but others planted them.  My friend Stacie sent me a photo last month of her towering Cosmos.  That was pretty cool.

Cosmos Seed Cards - Page 001

Cosmo seed card front panel

Cosmos Seed Cards - Back Panel

Cosmos Seed Cards – Back Panel

Early this spring, I  gave away pumpkin seeds to a pair of adorable three-year-old twins.  I met them walking with their dad one evening while I was working in my garden.  The girls showed genuine interest, so I went inside and got them seeds to take home and plant…and they did!  I saw the family a few months later, and dad told me the plants took root.  Good stuff.

Saving:

The annual garden is going to seed and temps are finally dropping.  I knew time was of the essence.  I collected a healthy sample for next year, at the same time leaving plenty of seeds on the plants for my foraging friends.

seed gathering tray

My system: I used a portable tote and plastic cups from an Easter-egg dying project. I dropped seeds into the cups, then salvaged a bloom for easy identification later.

I’m looking forward to sorting and labeling seeds this weekend, a joyful activity for someone ‘born to organize’ like me.   I’ll share my progress next week.

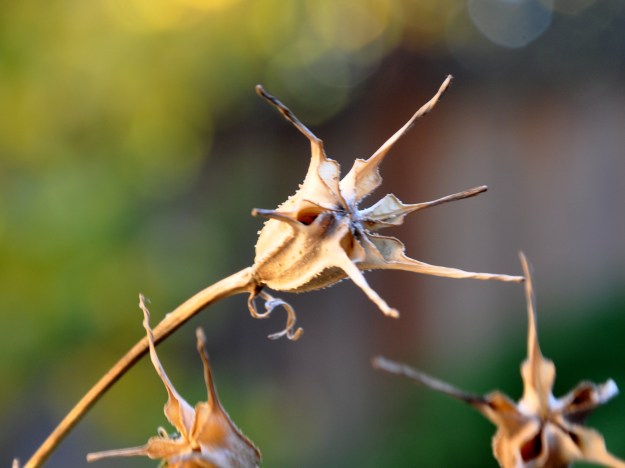
seed pod

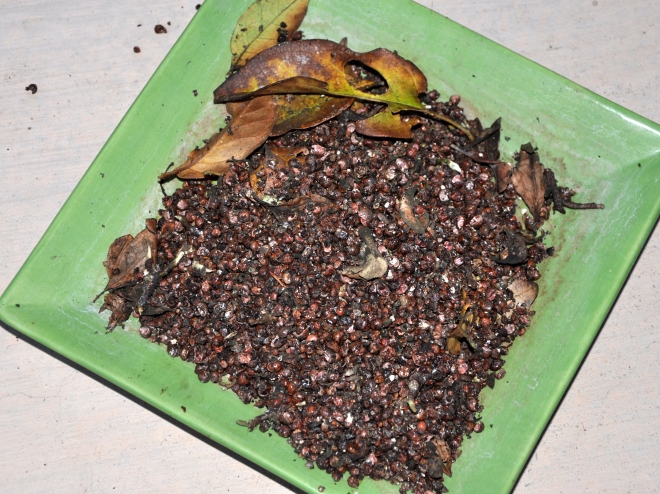
My favorite seed pod. Tiny black seeds tumbled out when I gently tapped the pod

Happy weekend!