Crafting cards has been a welcome distraction from the world’s chaos. I sit down at my desk to create as often as I can.
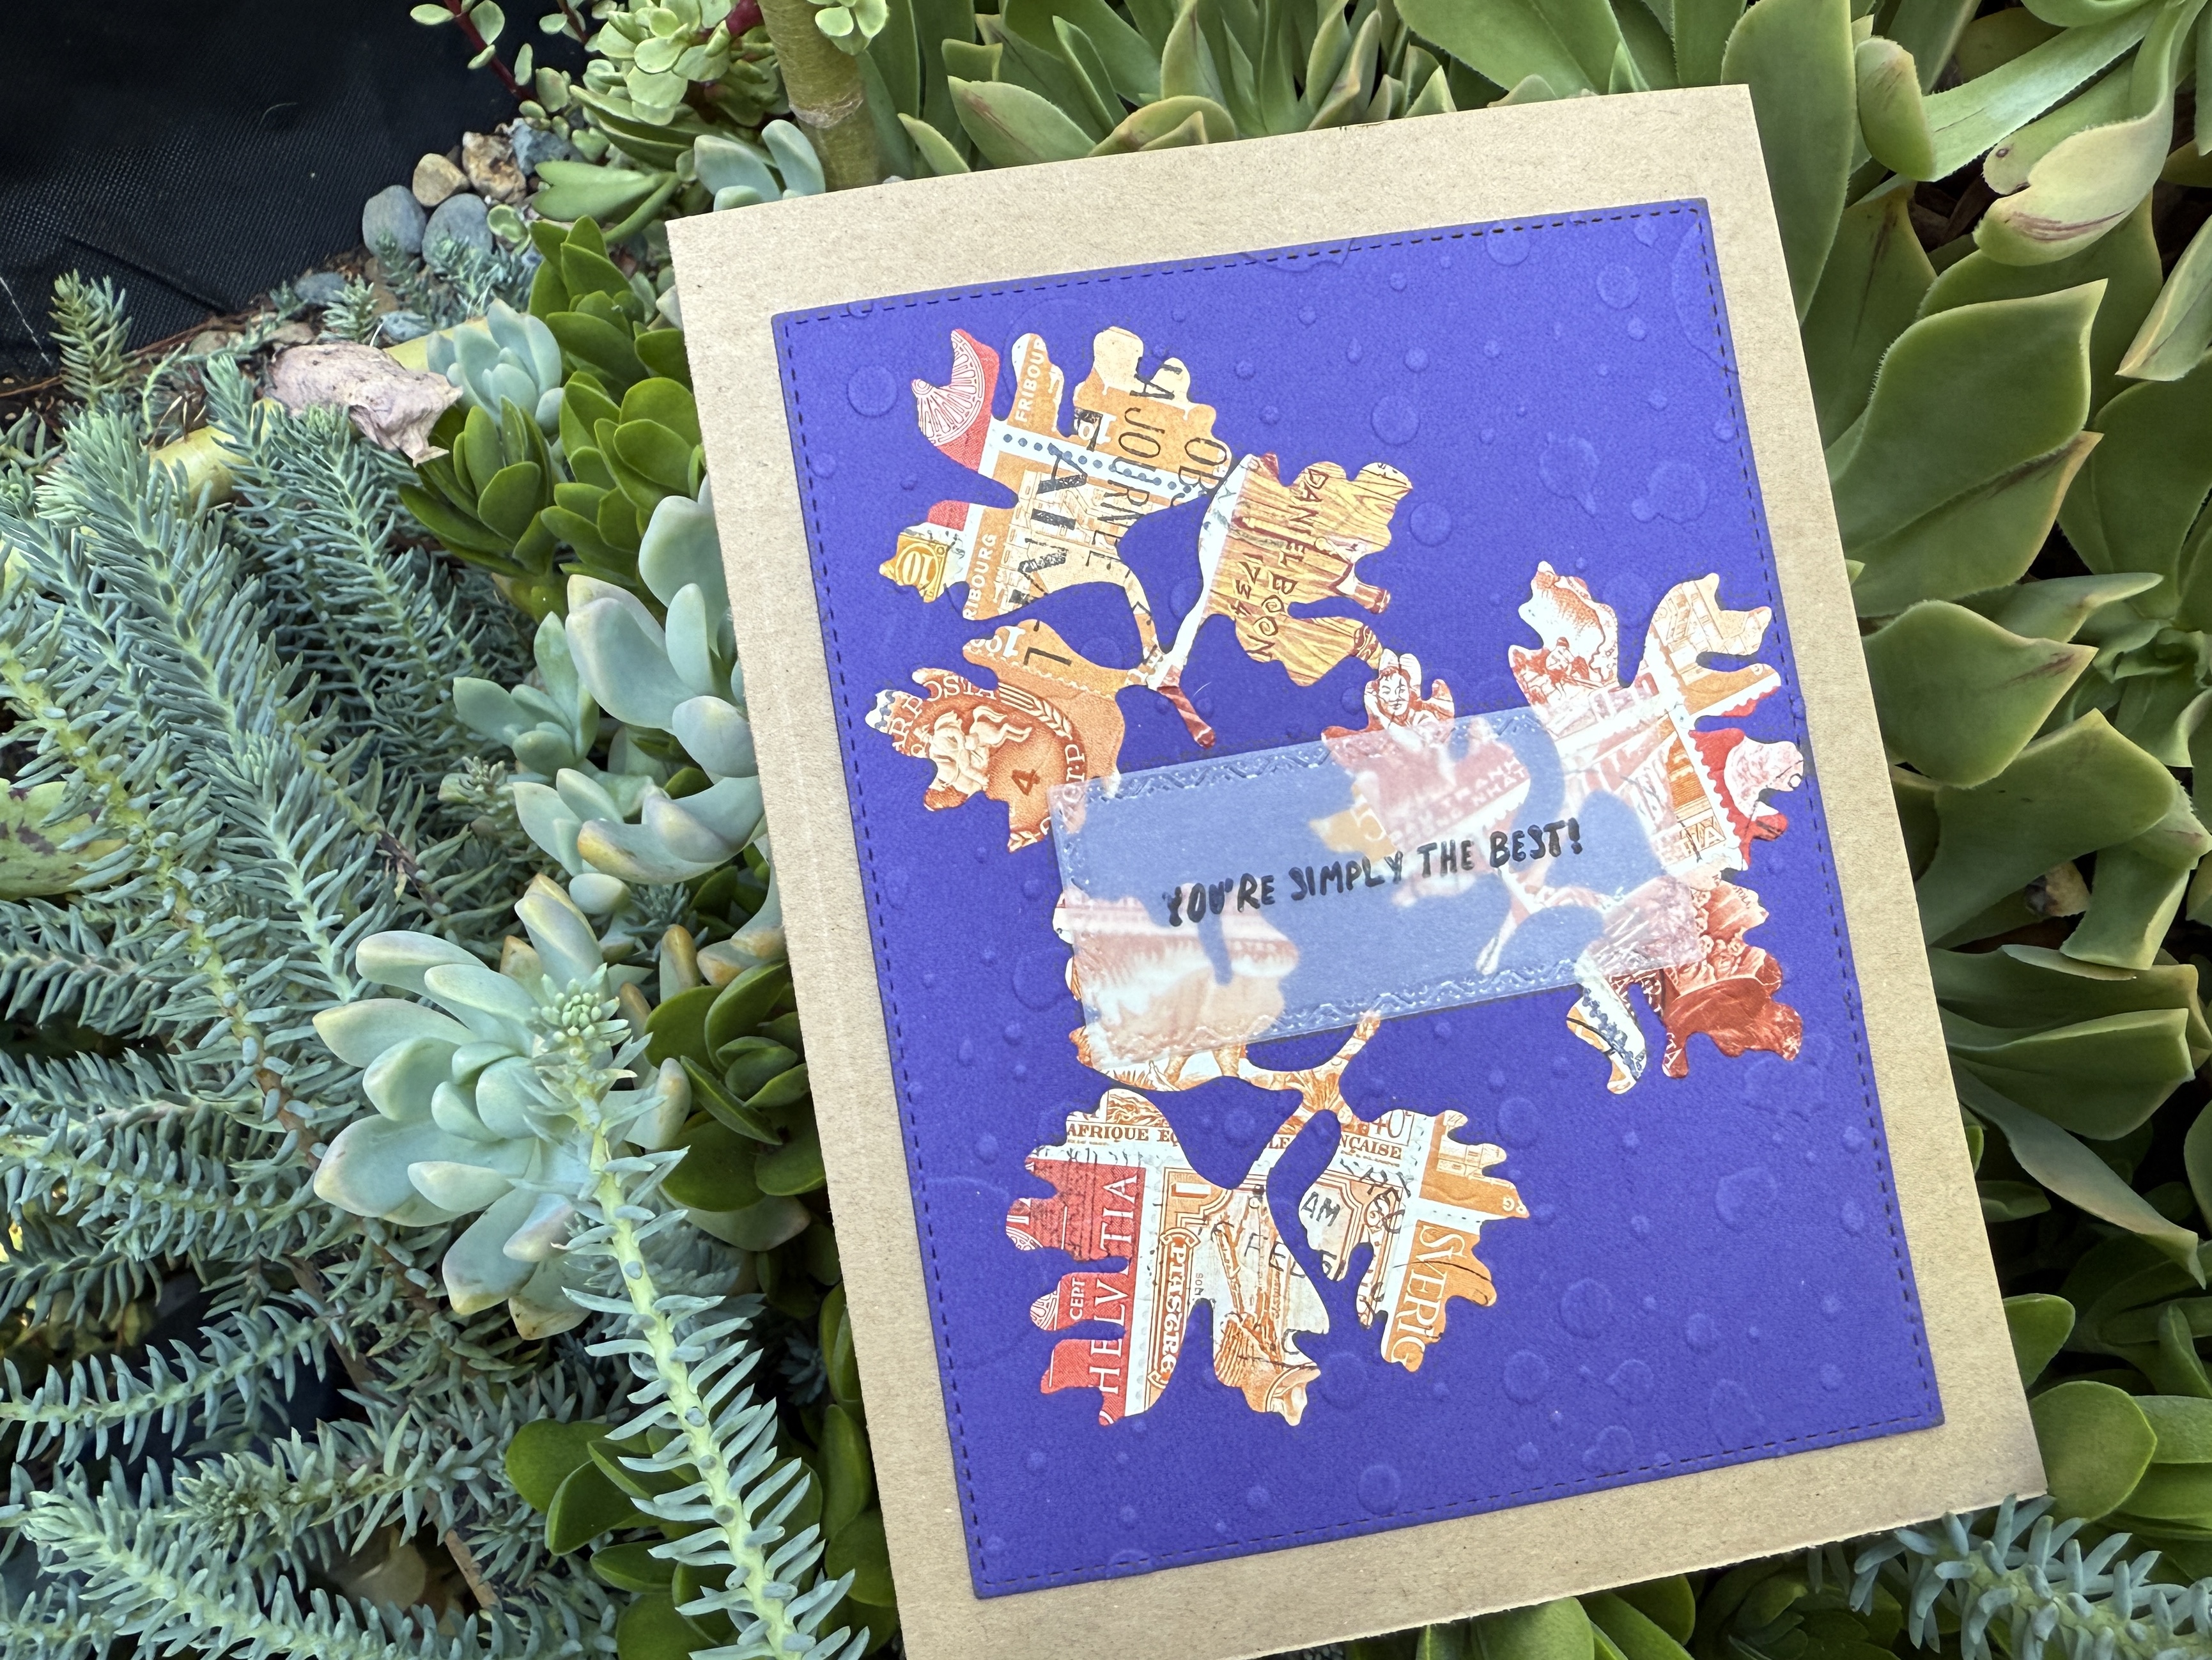
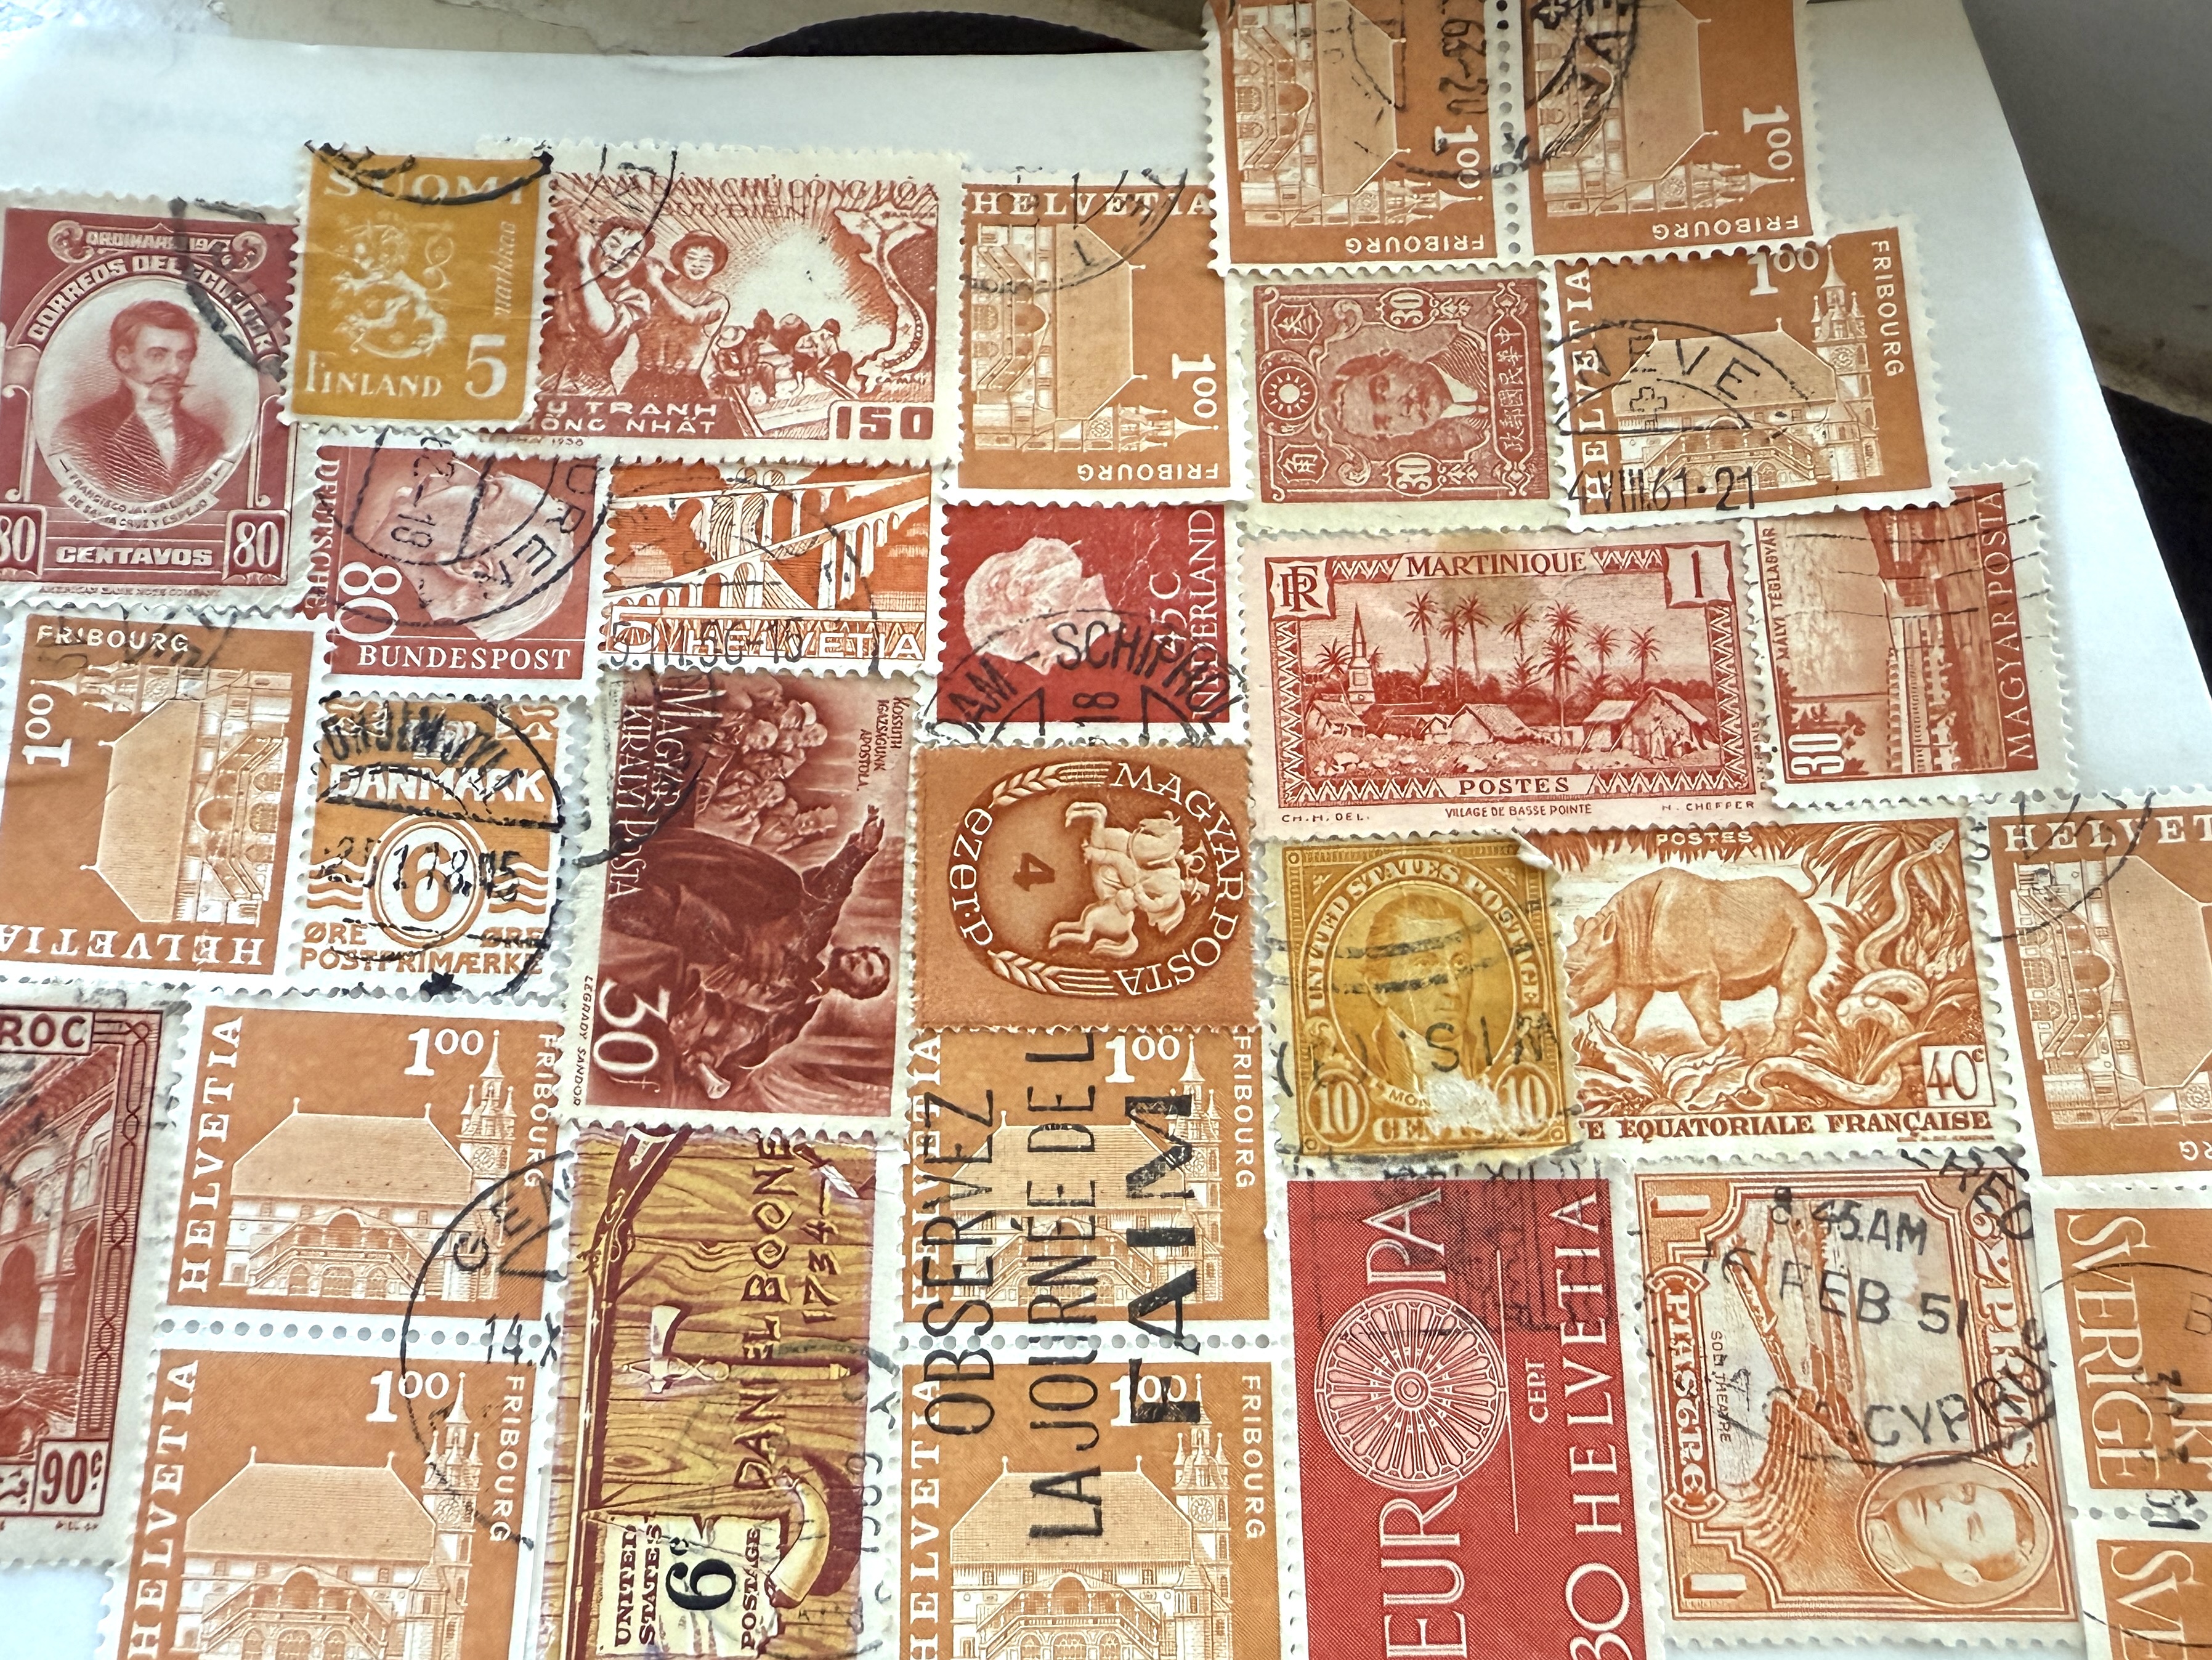
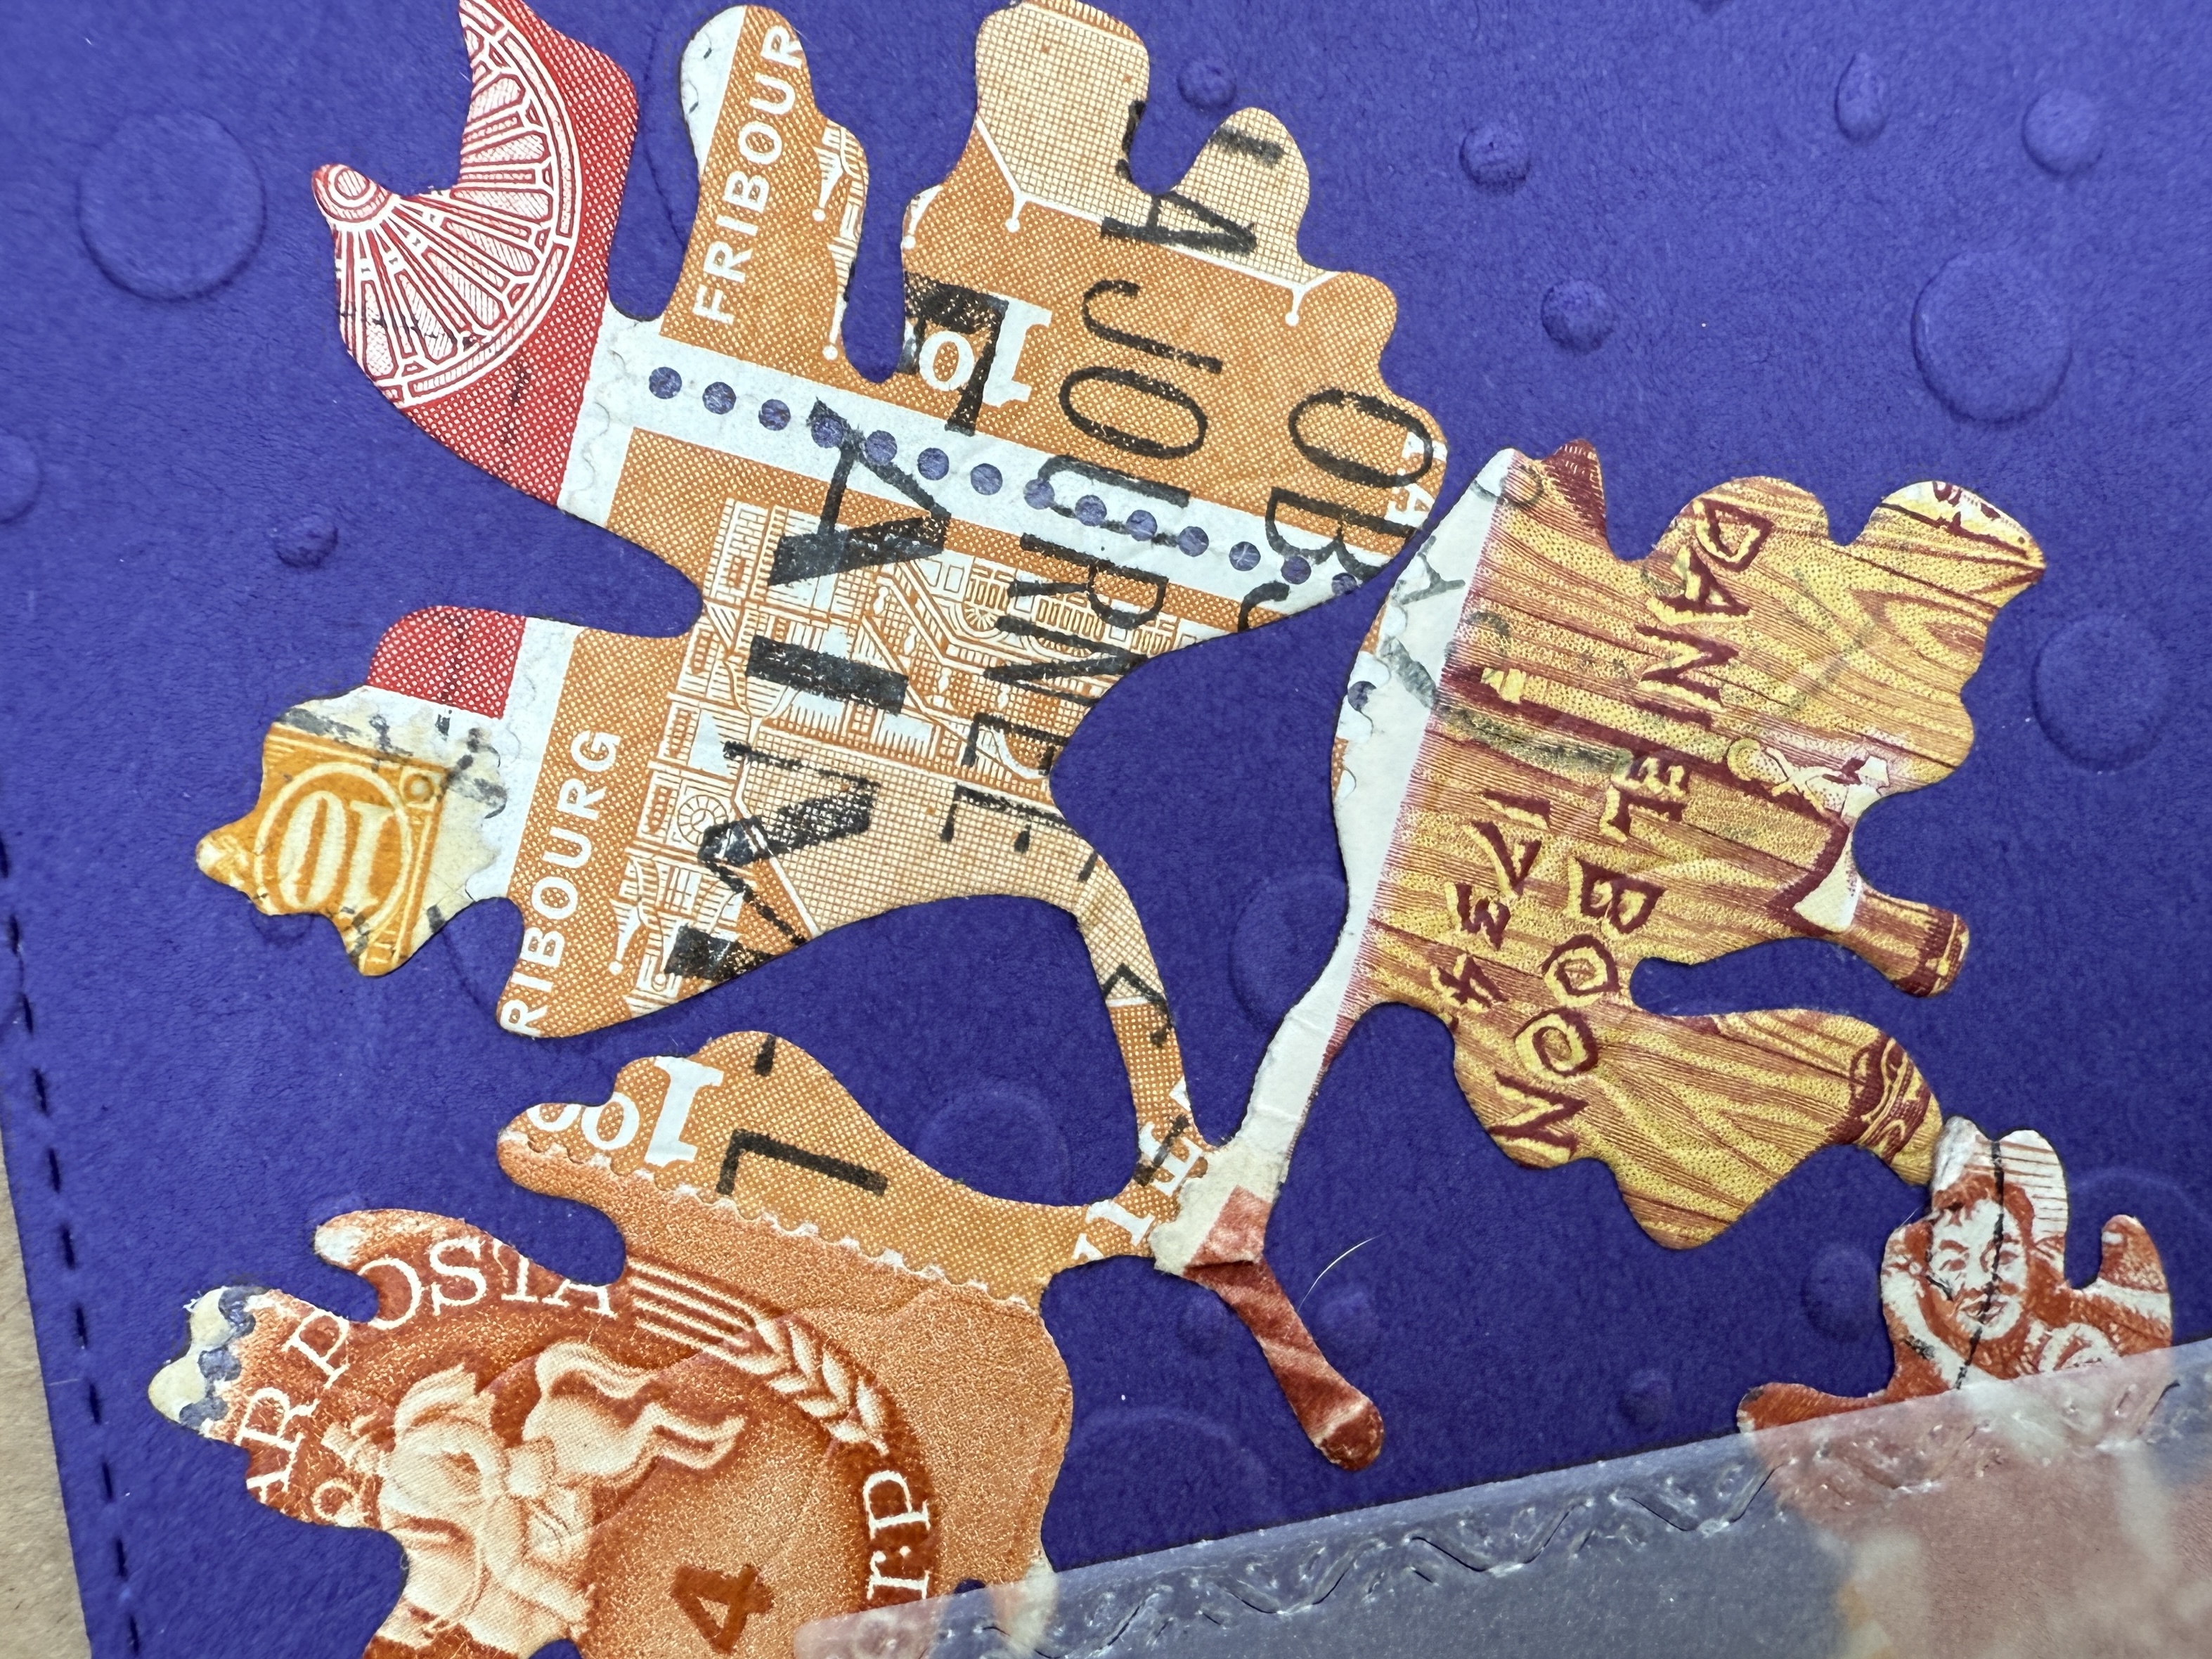
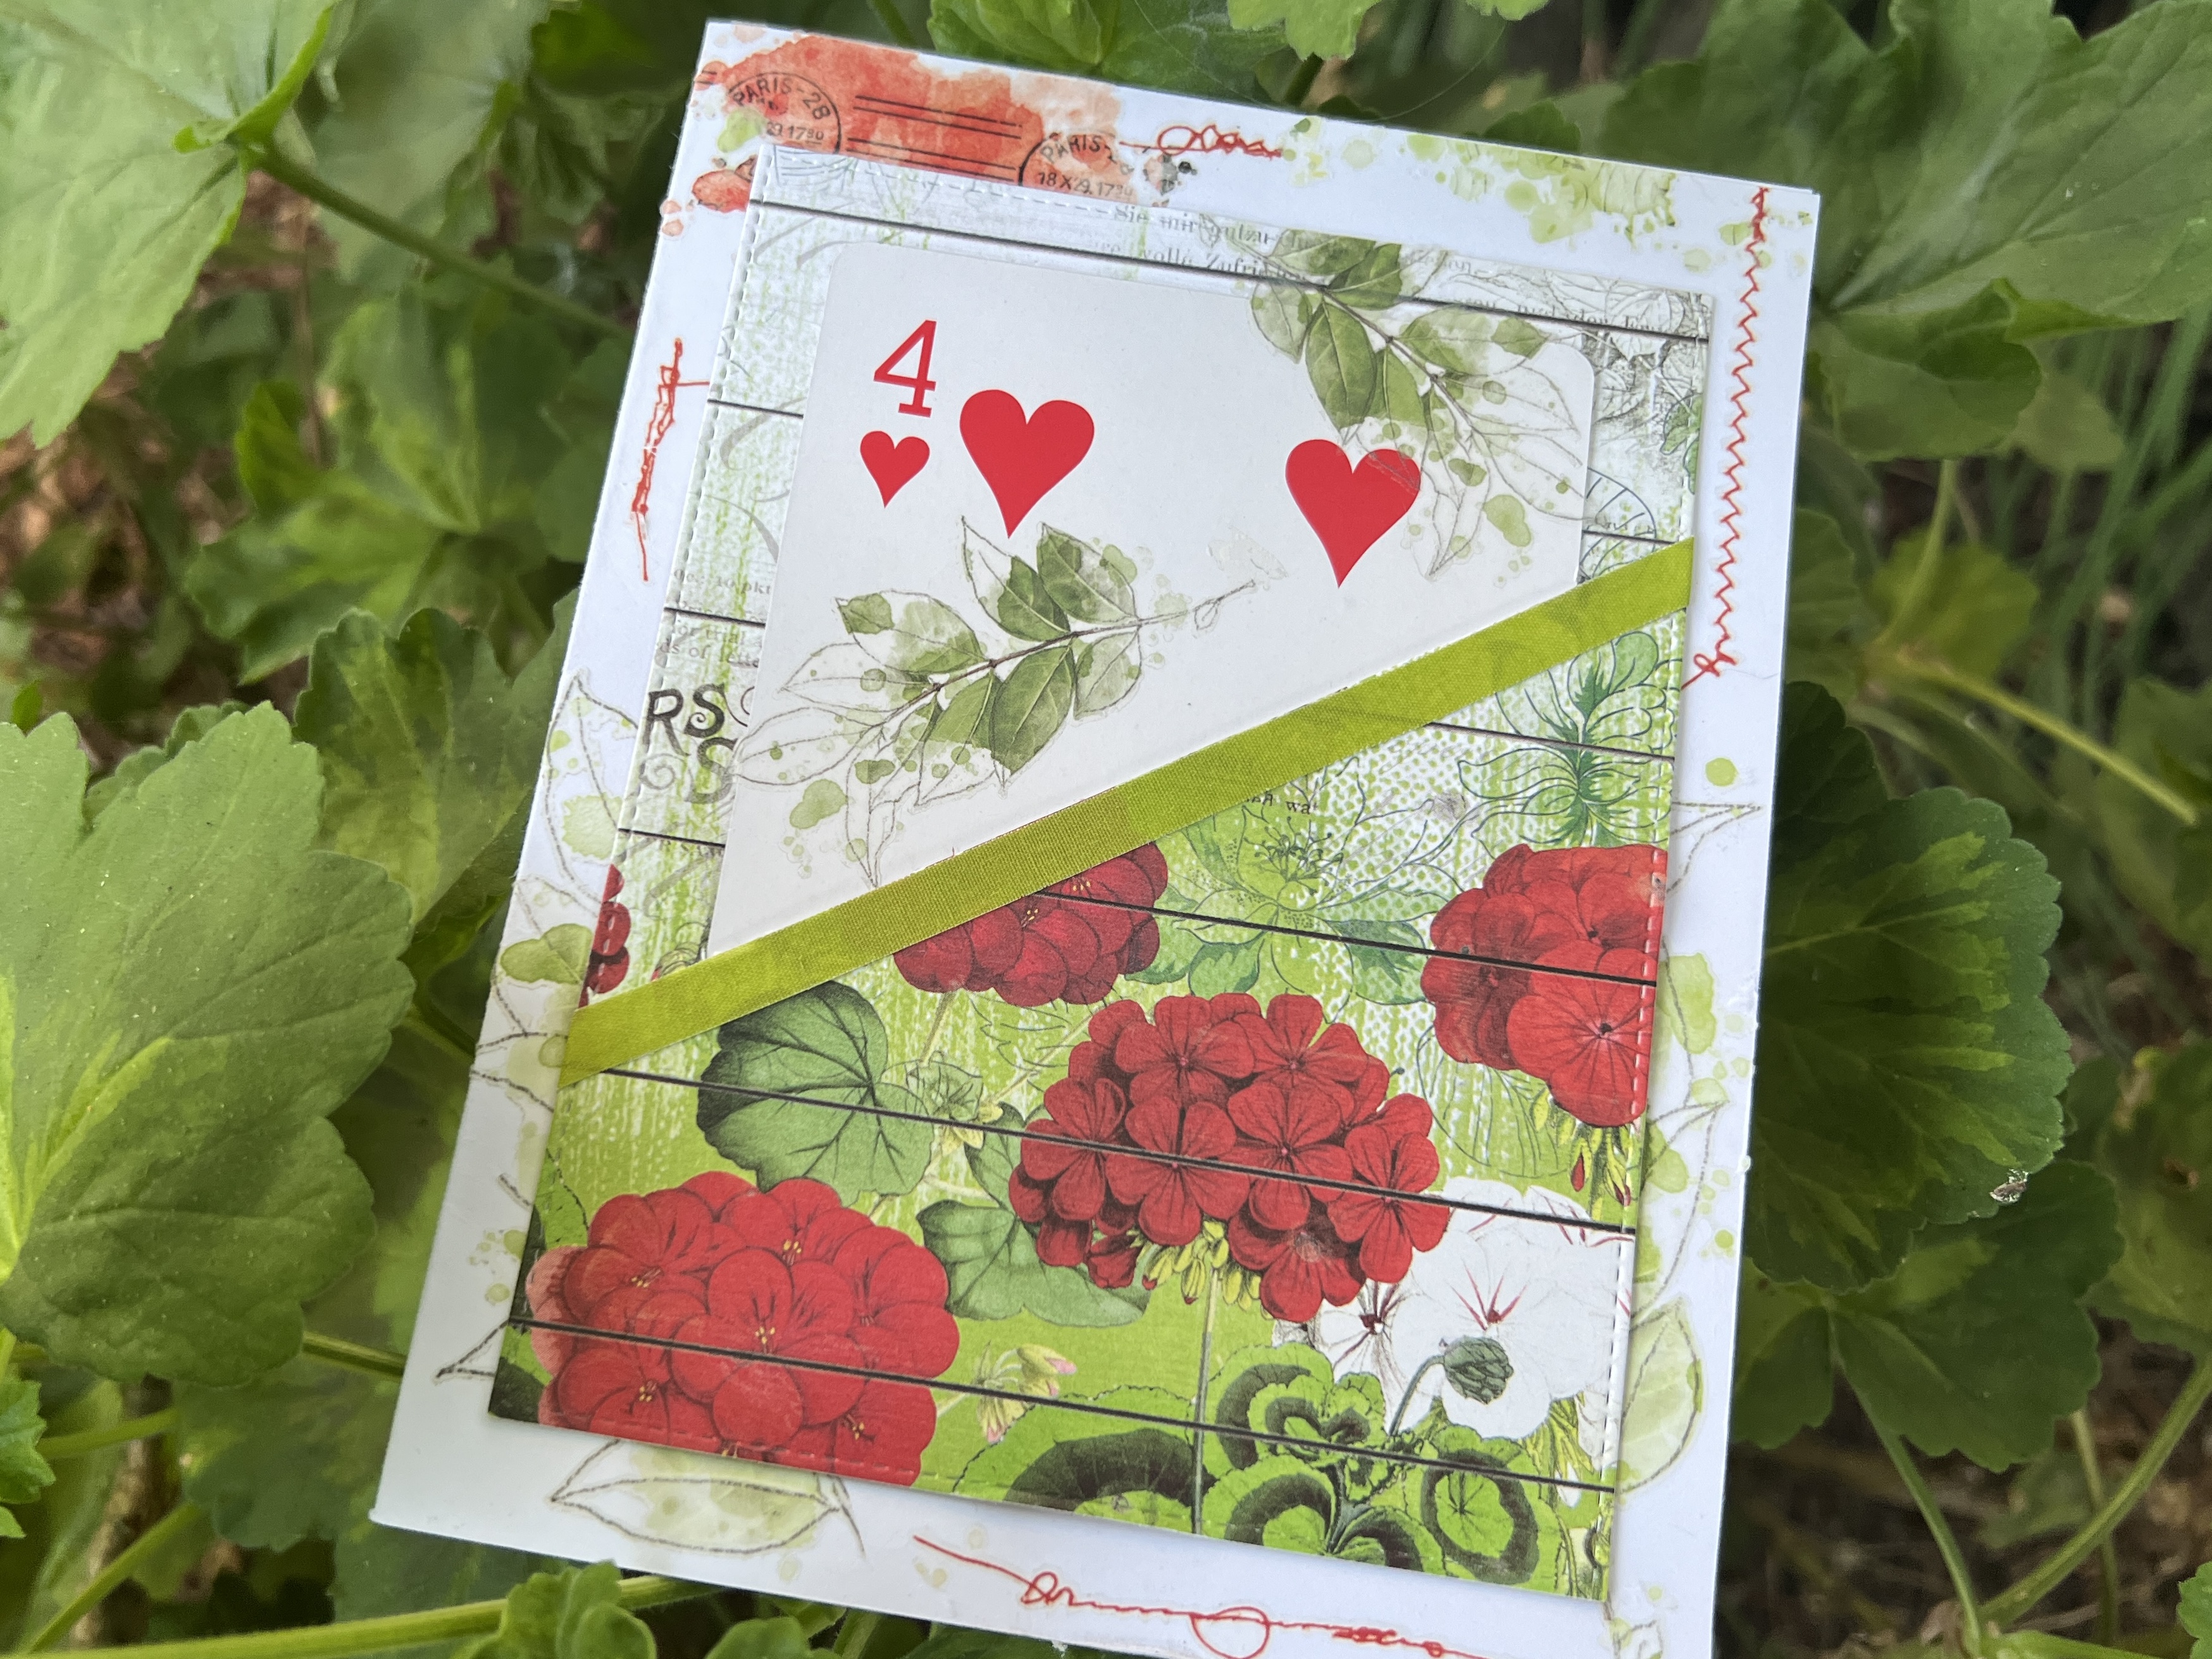
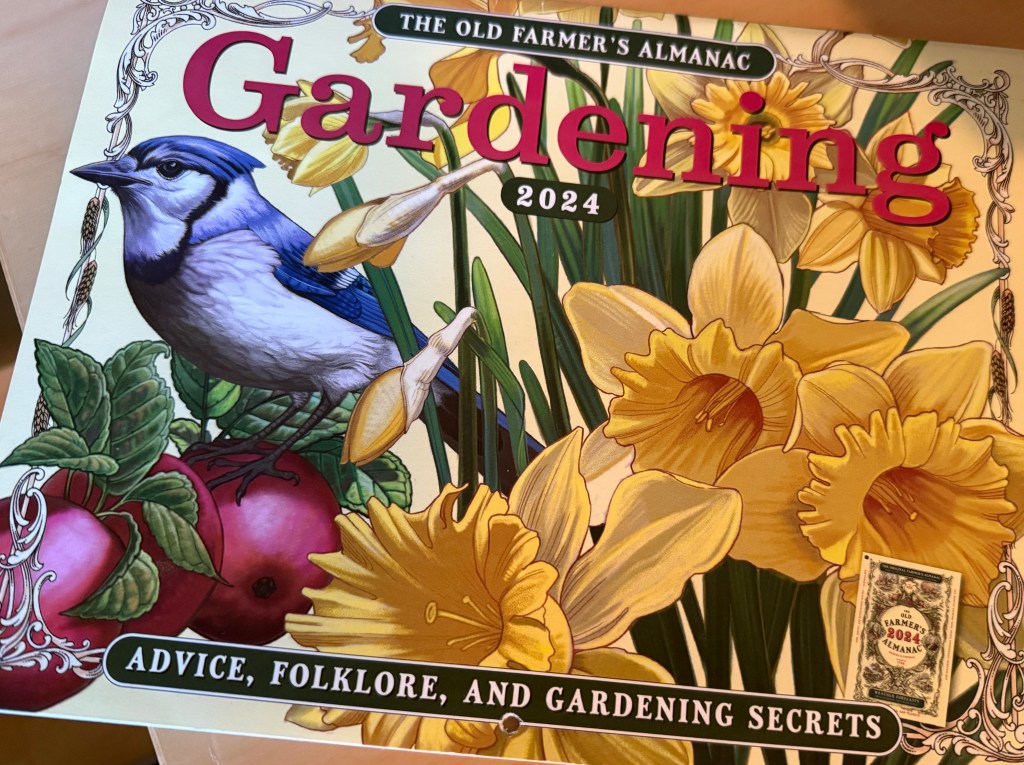
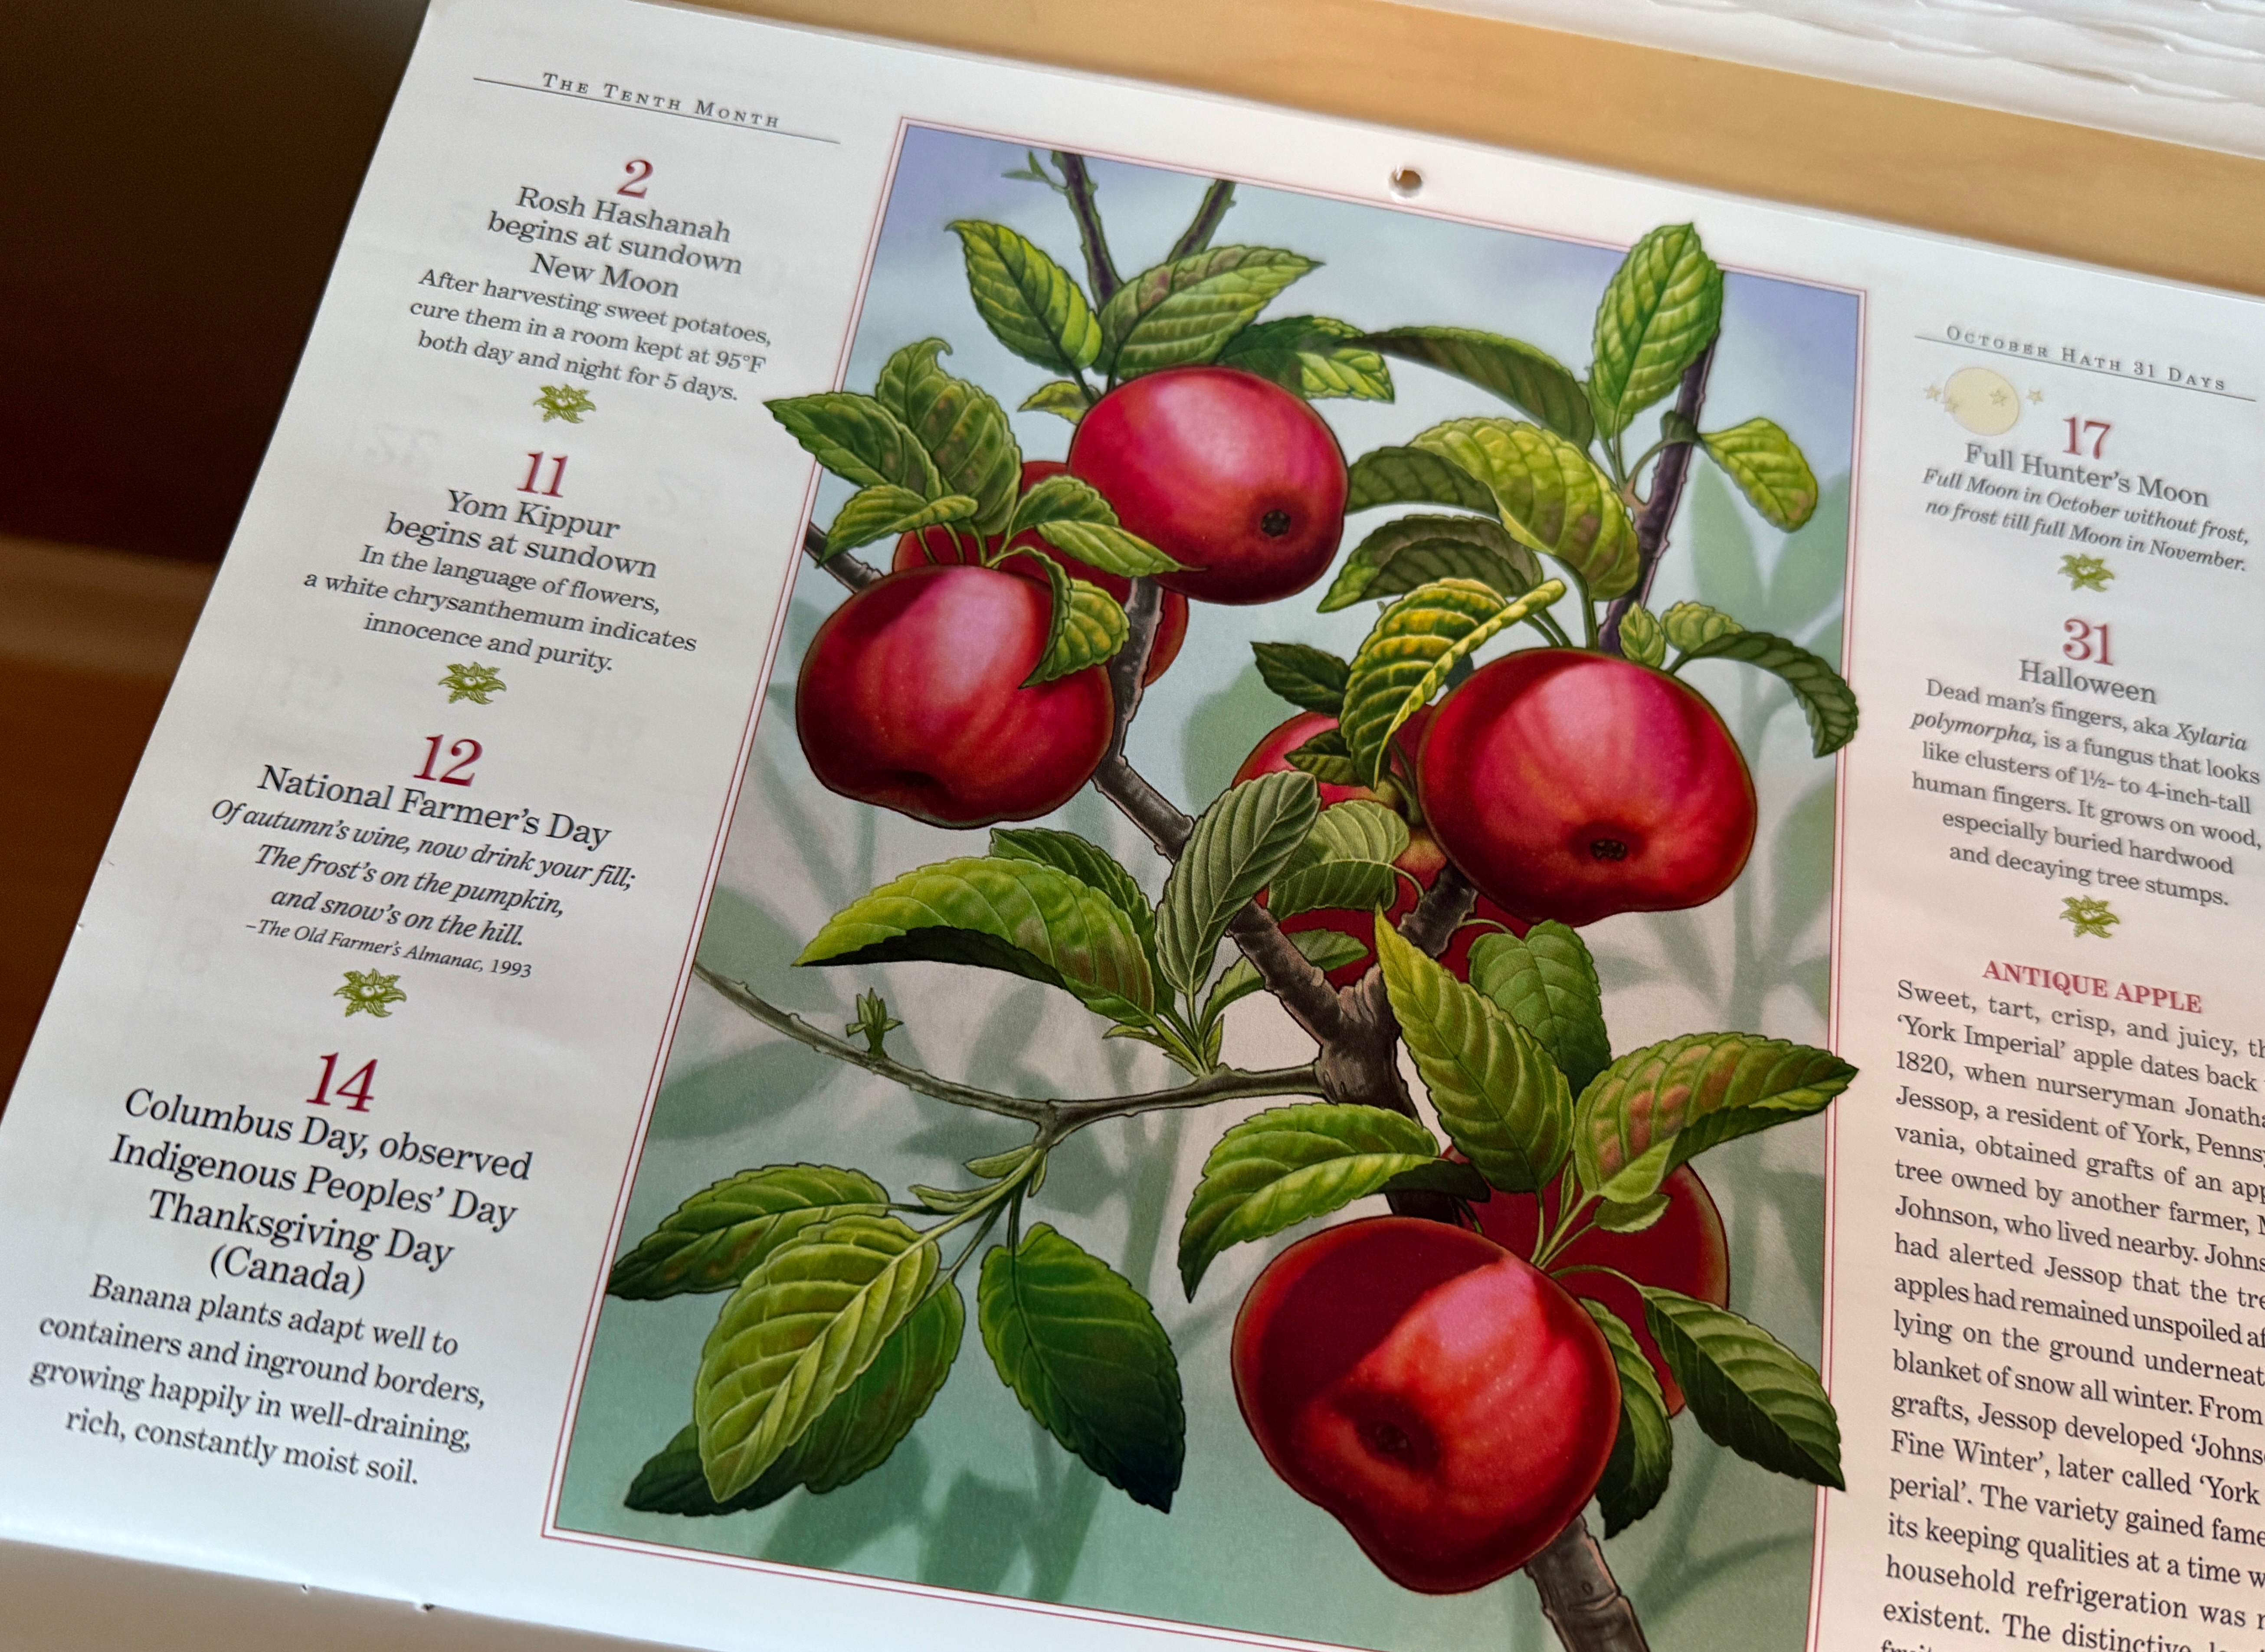
I’m joining Kate and others for the monthly “ScrapHappy” challenge. where makers create with scraps. I also enjoy upcycling with calendar pages and advertising mailers, so I’ve made some cards using them as well.
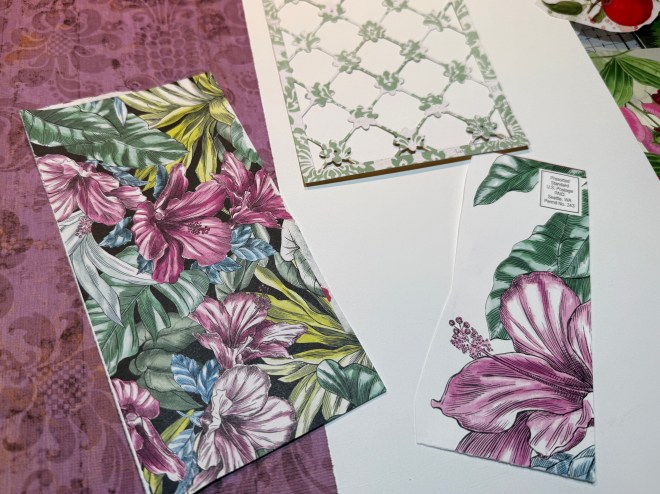
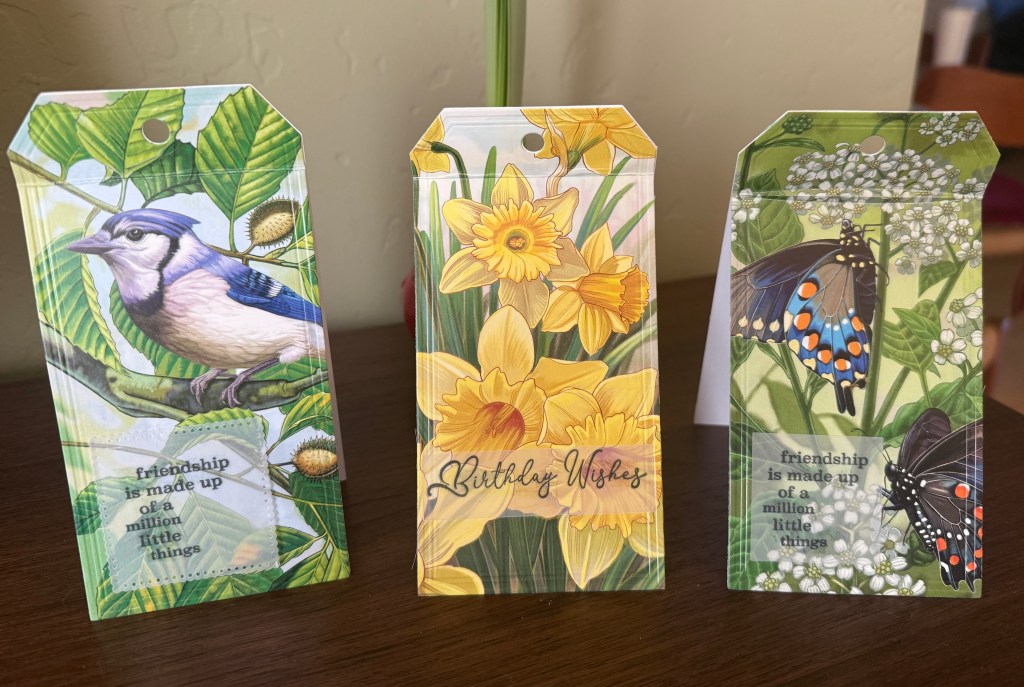
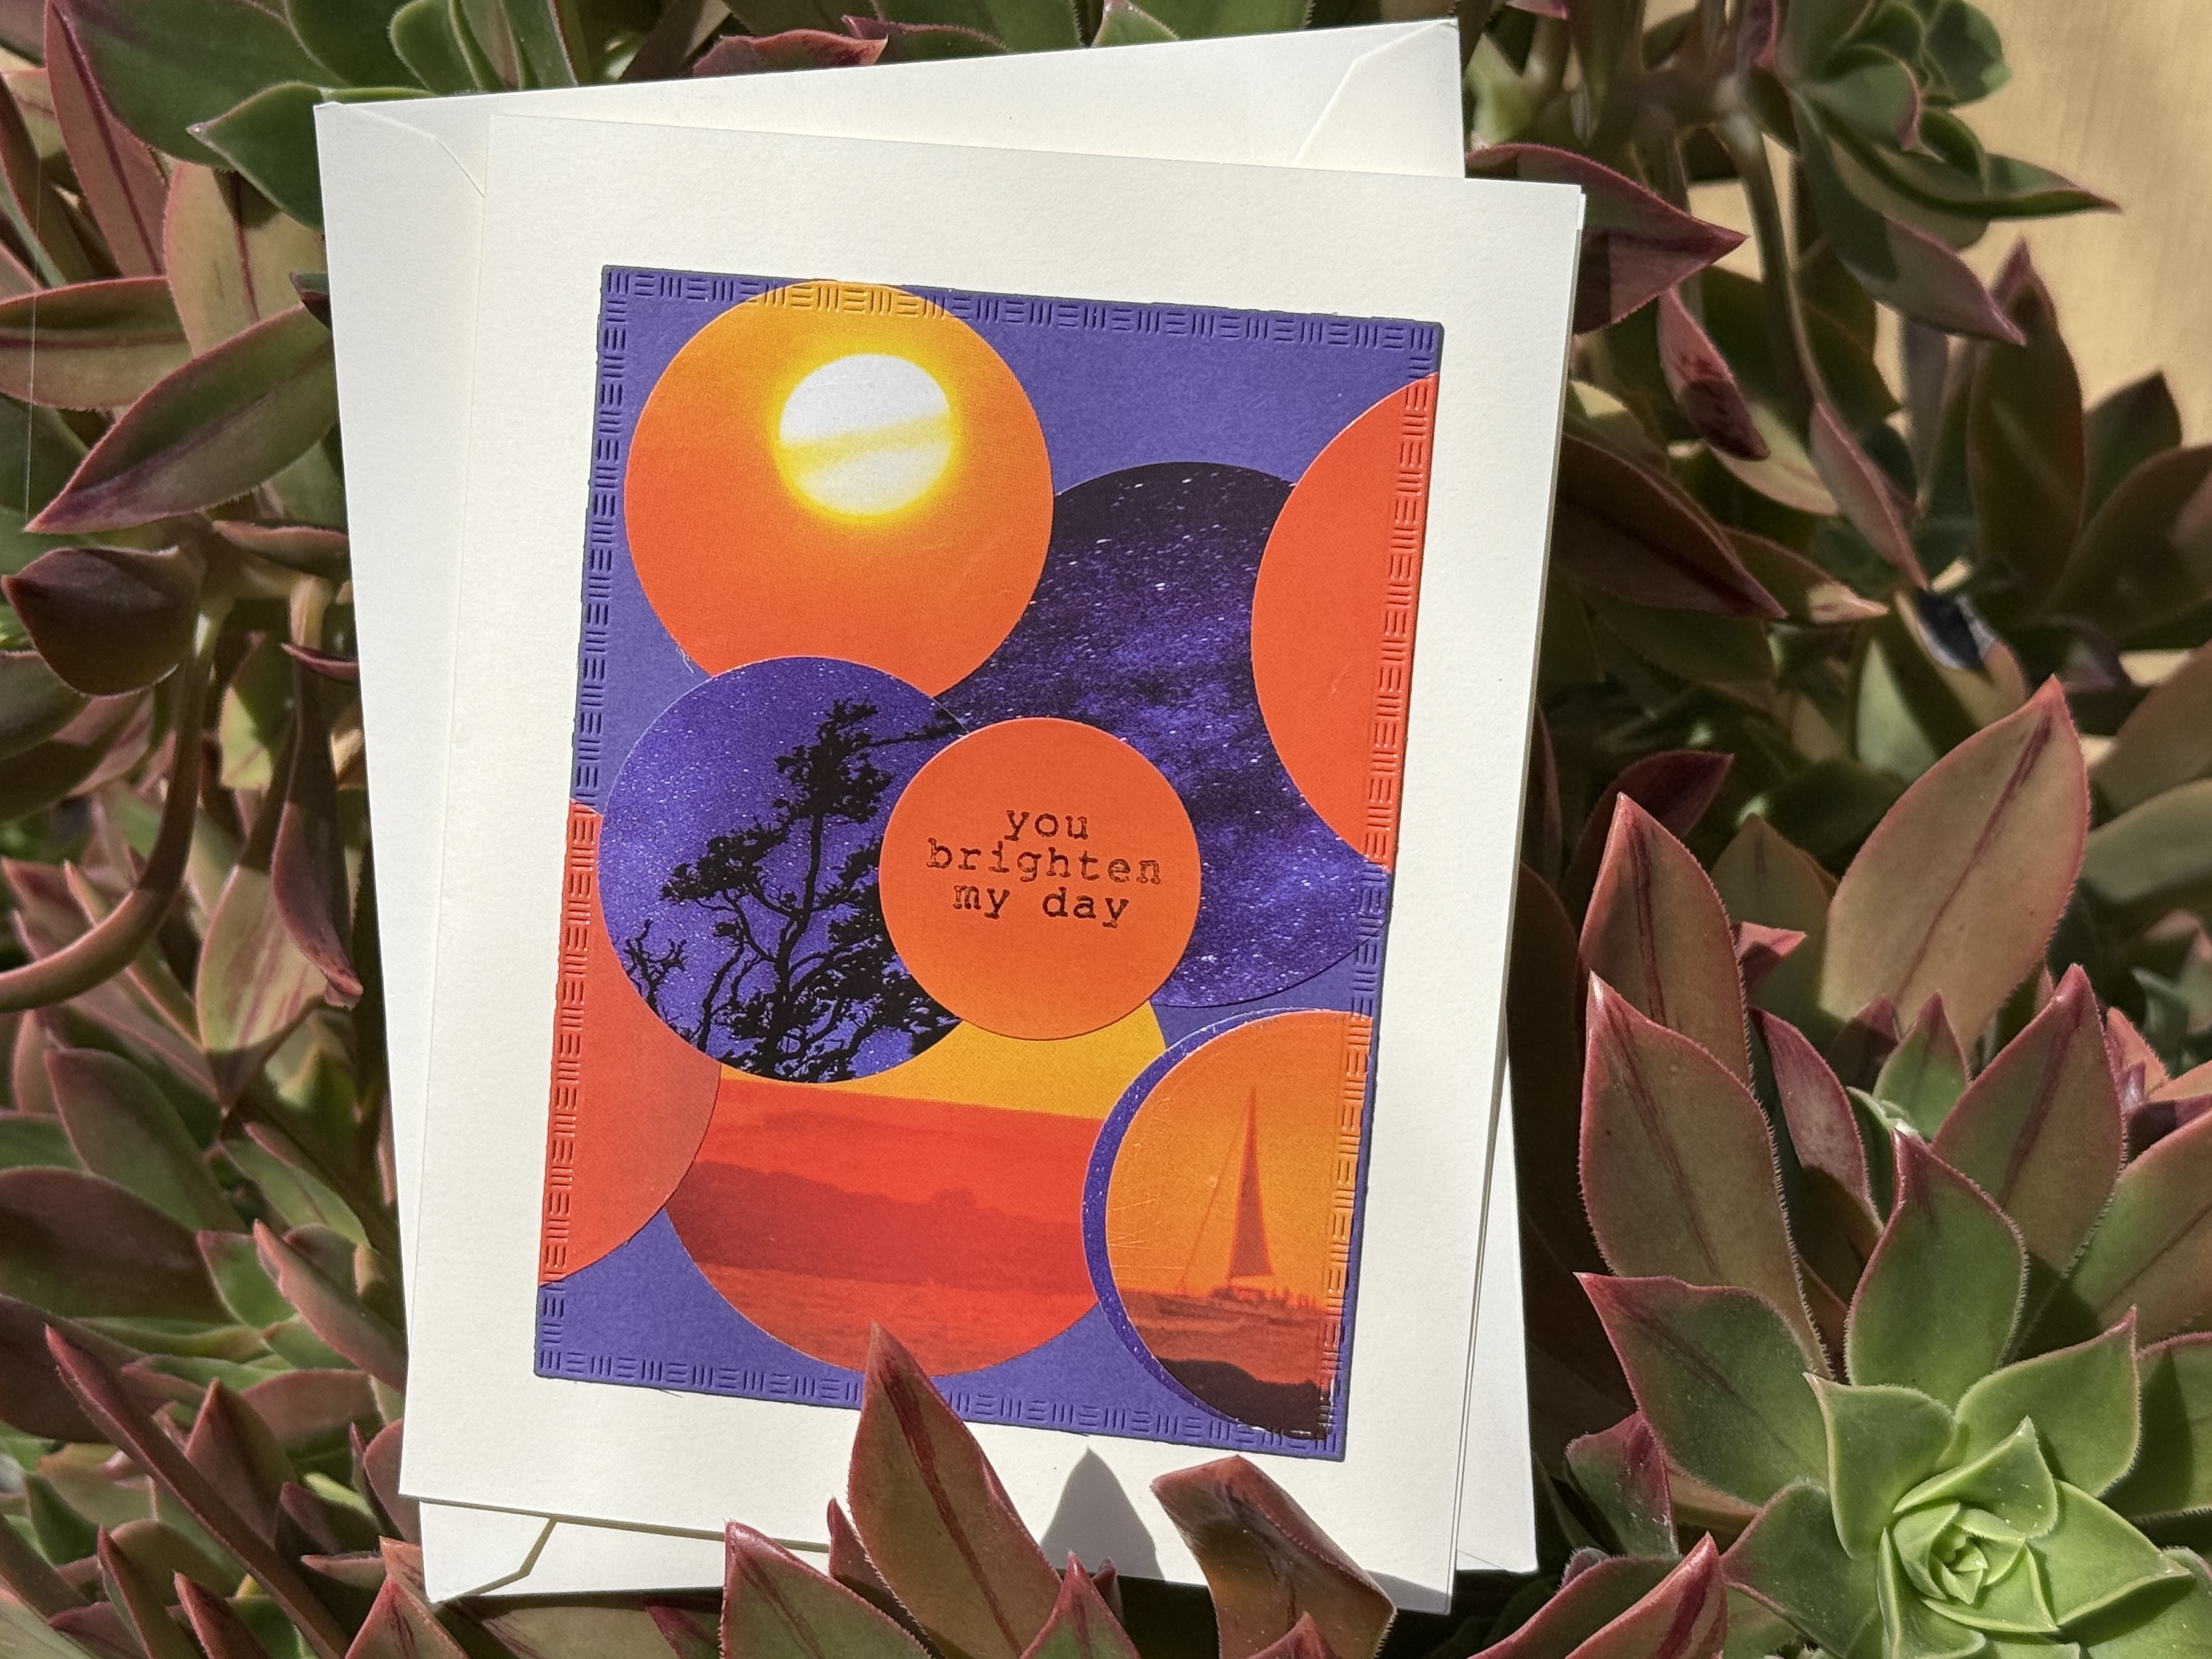
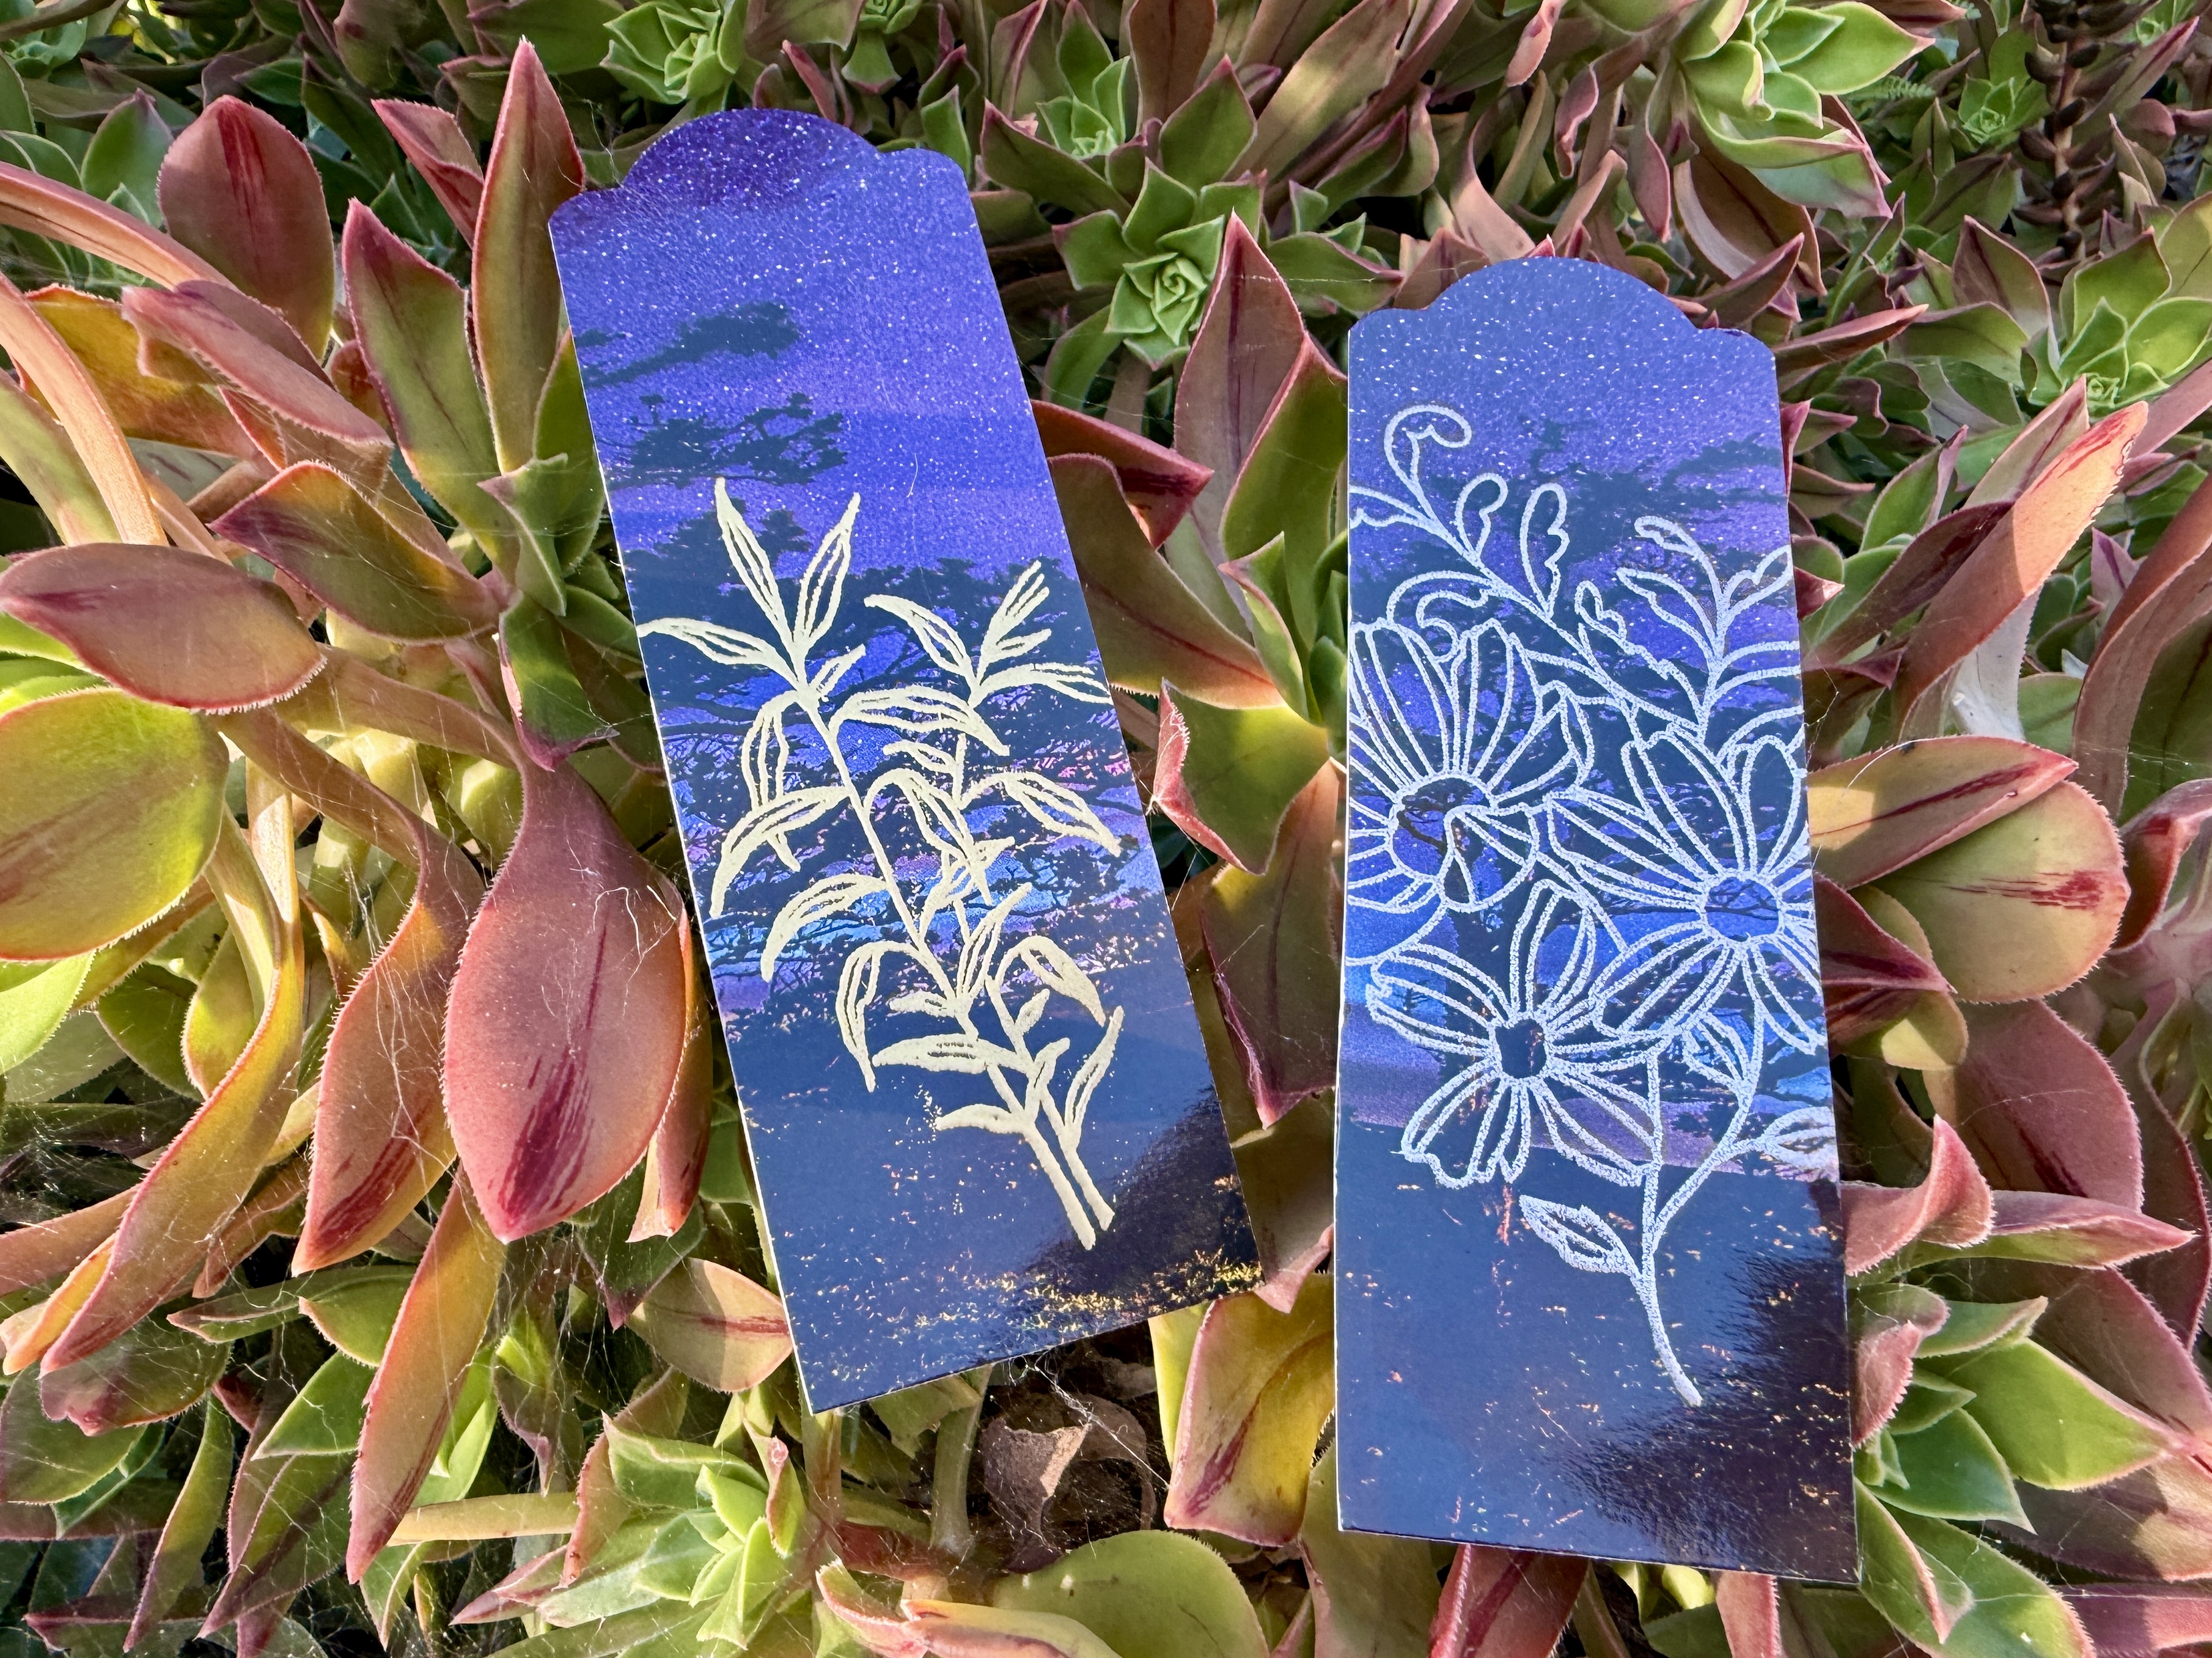
My friend Therese inspired this first set of cards. She passed on a drugstore calendar from Hawaii, full of tropical photographs in rich hues, and challenged me to have fun. I did!
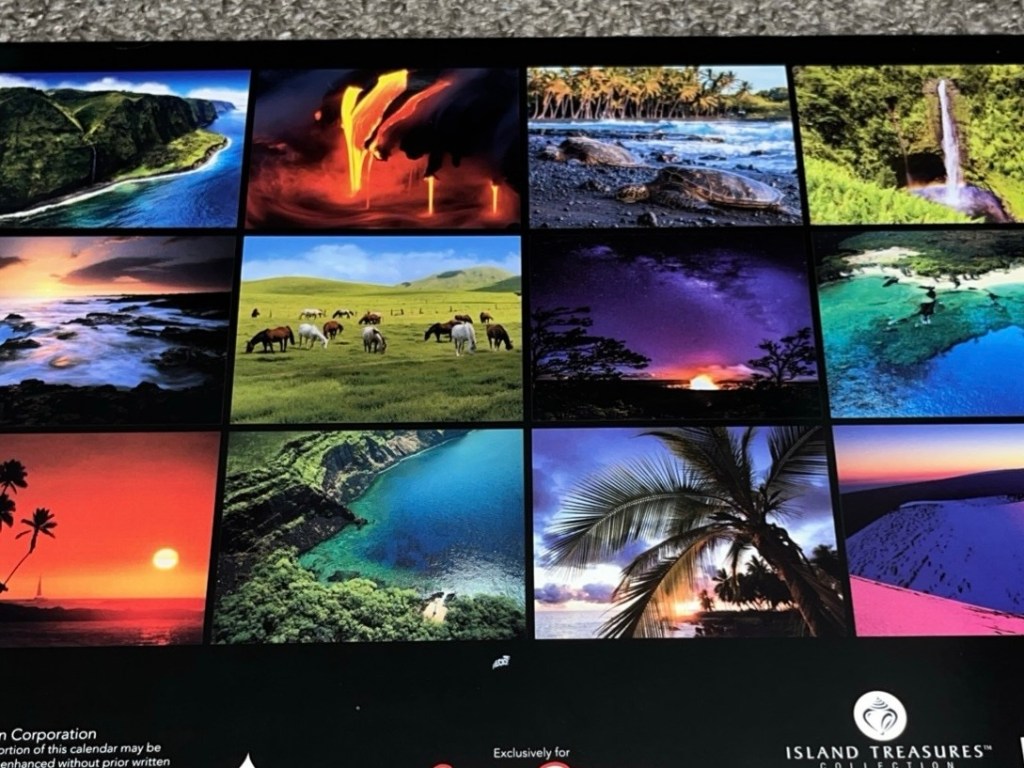
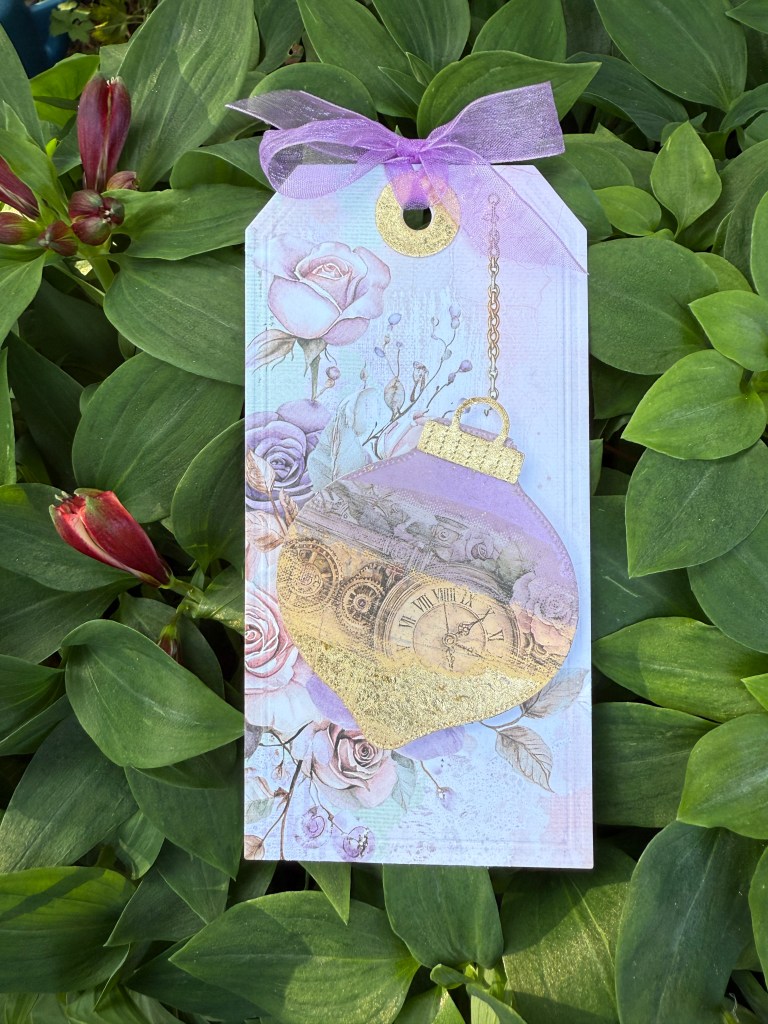
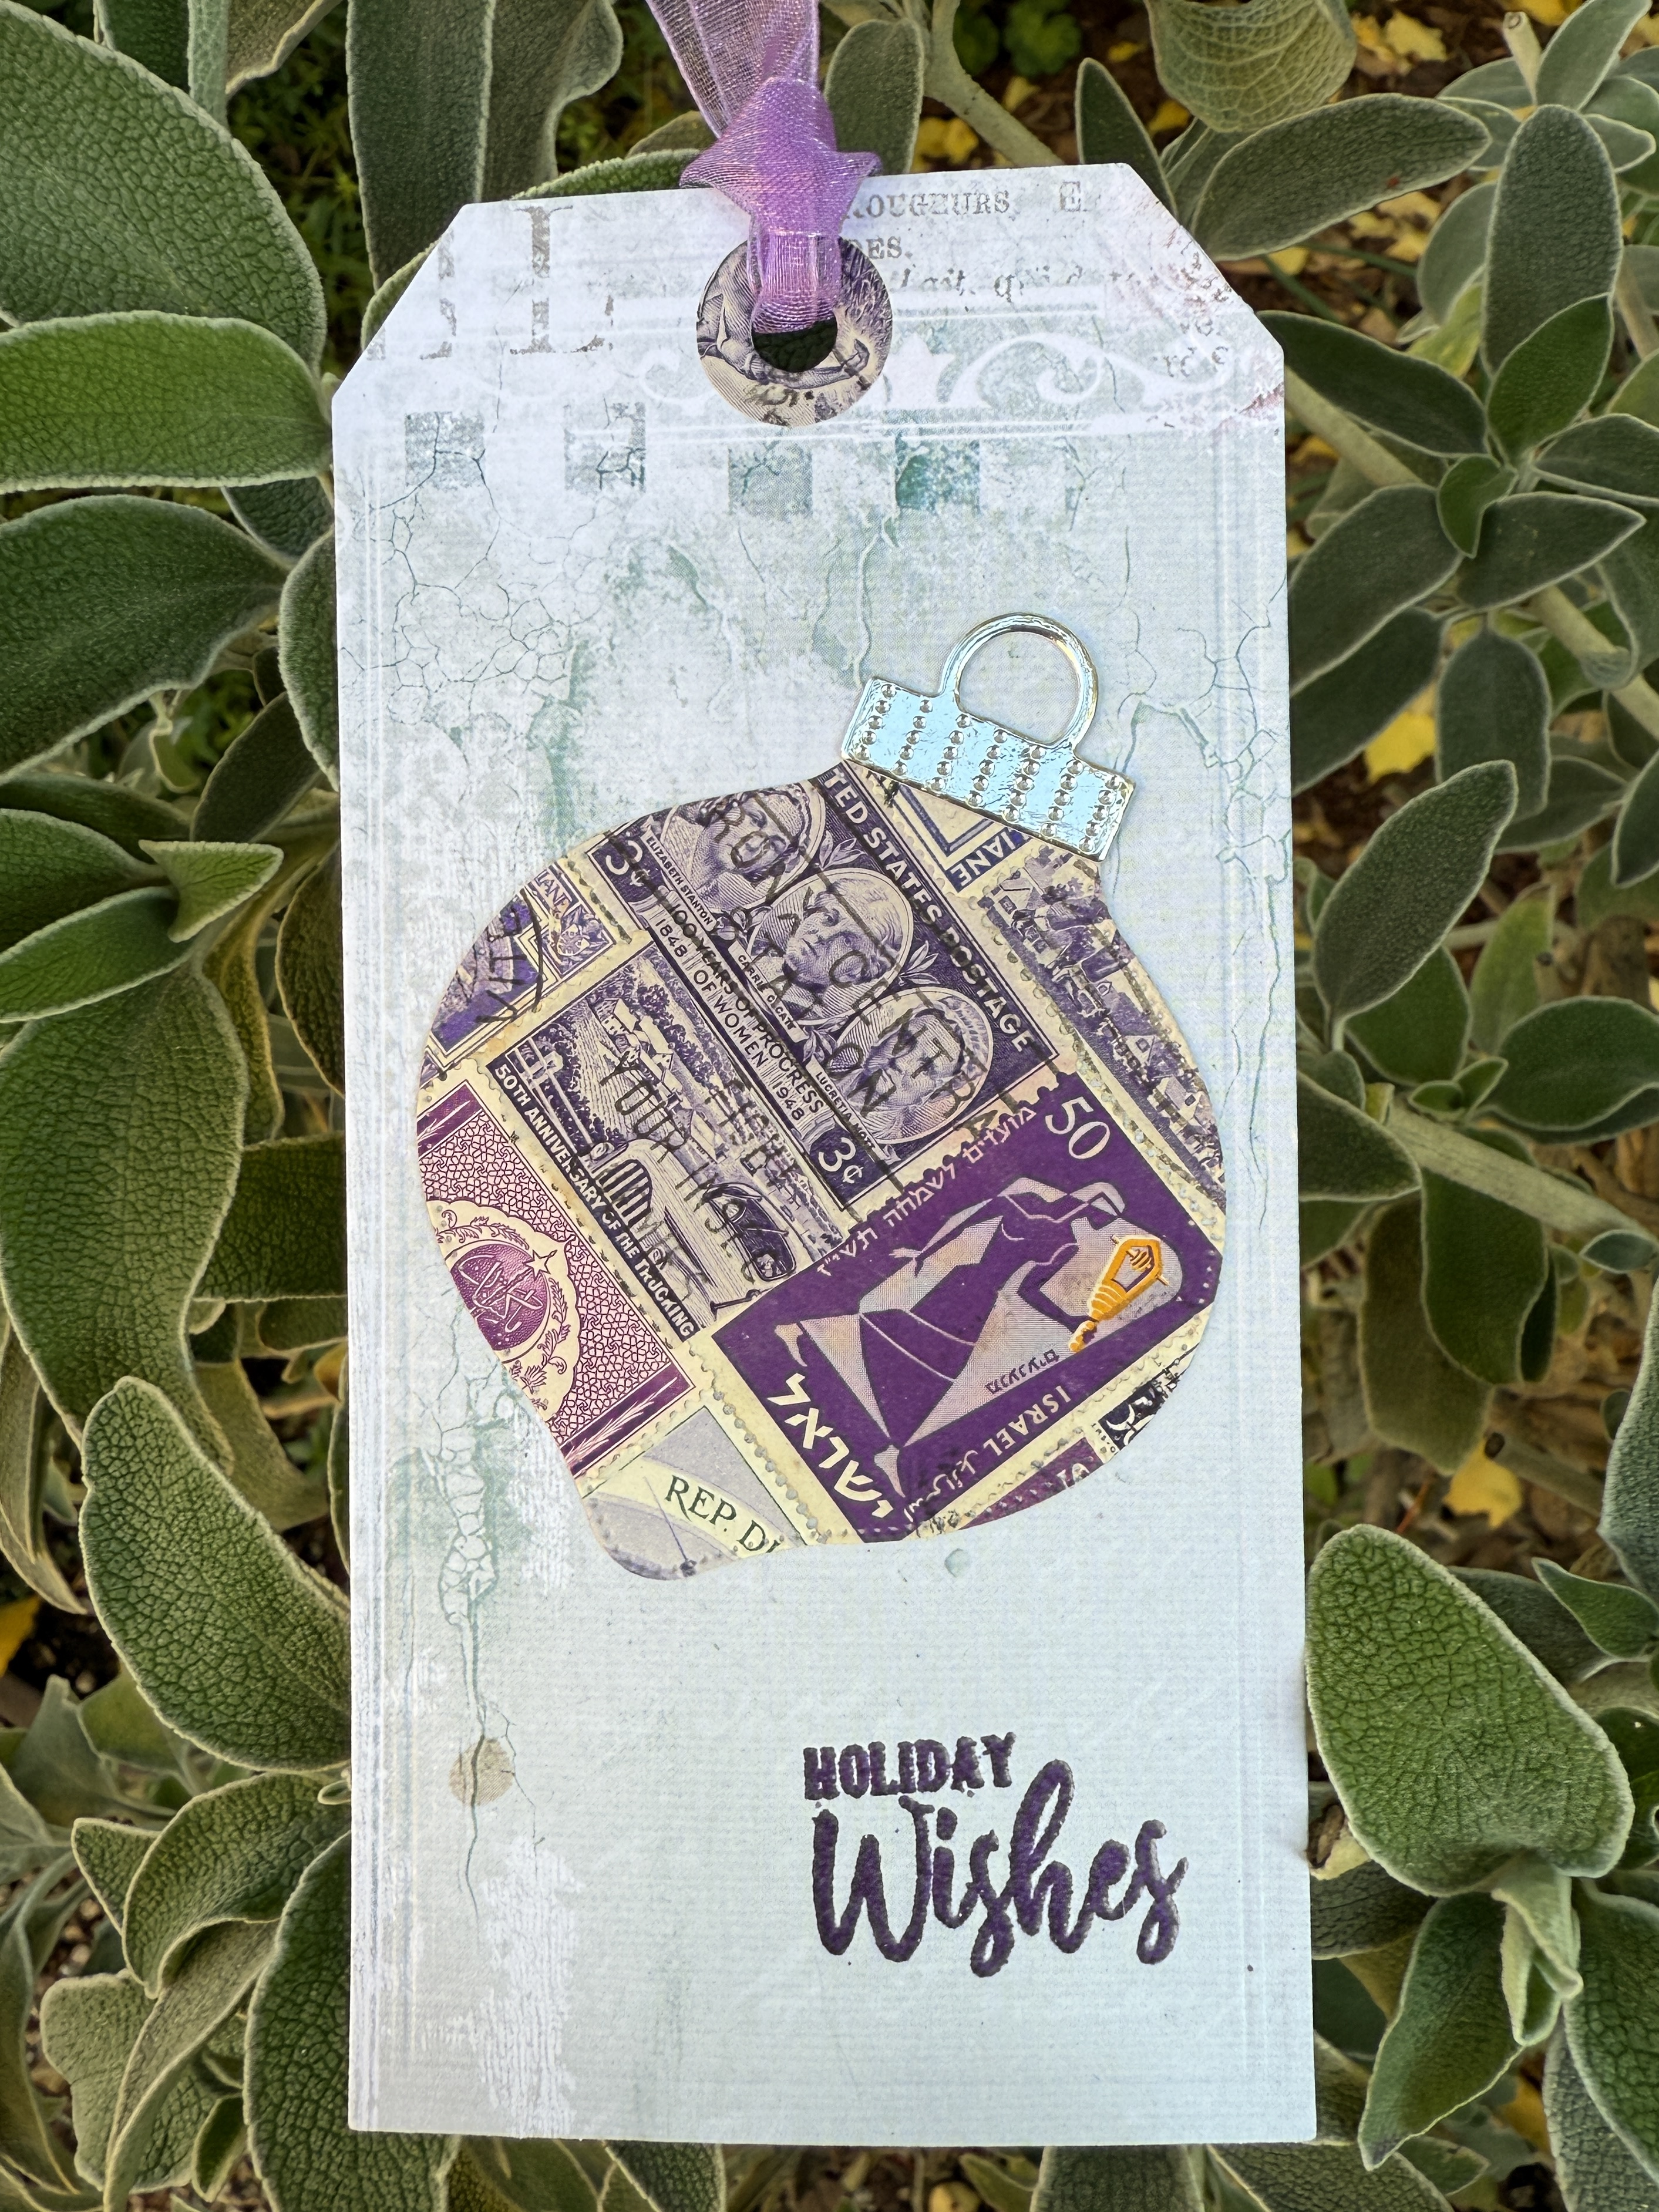
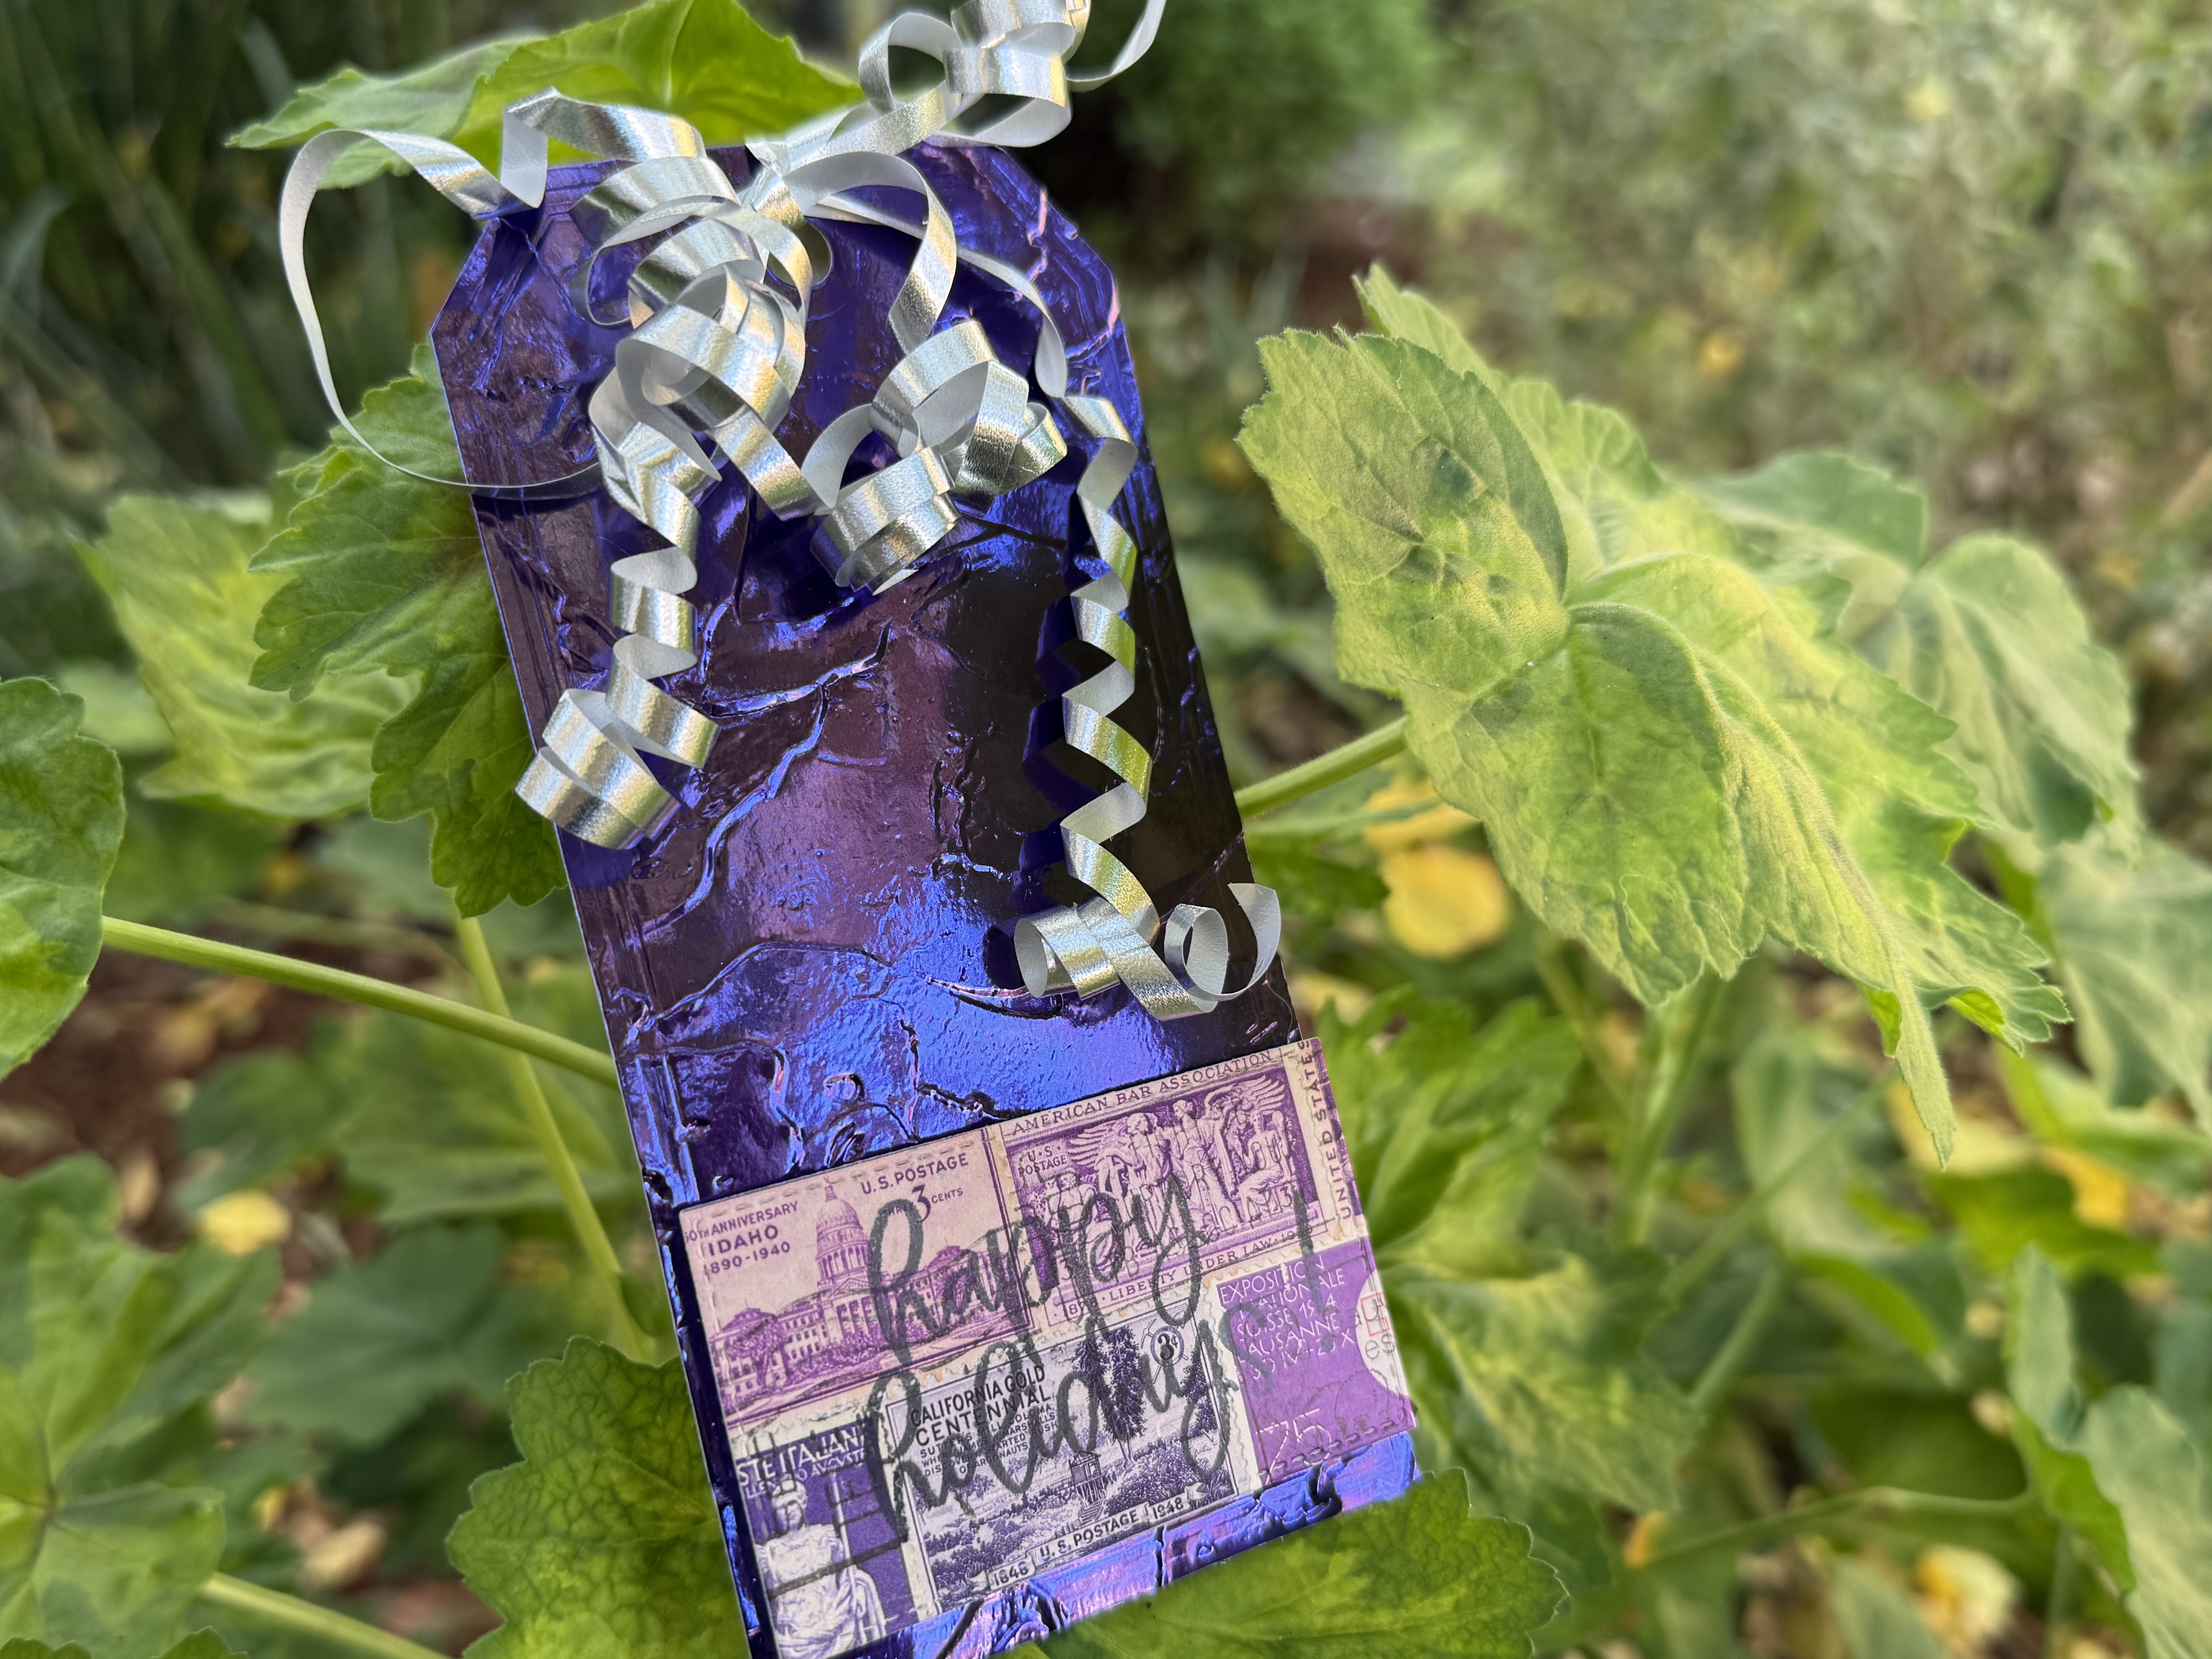
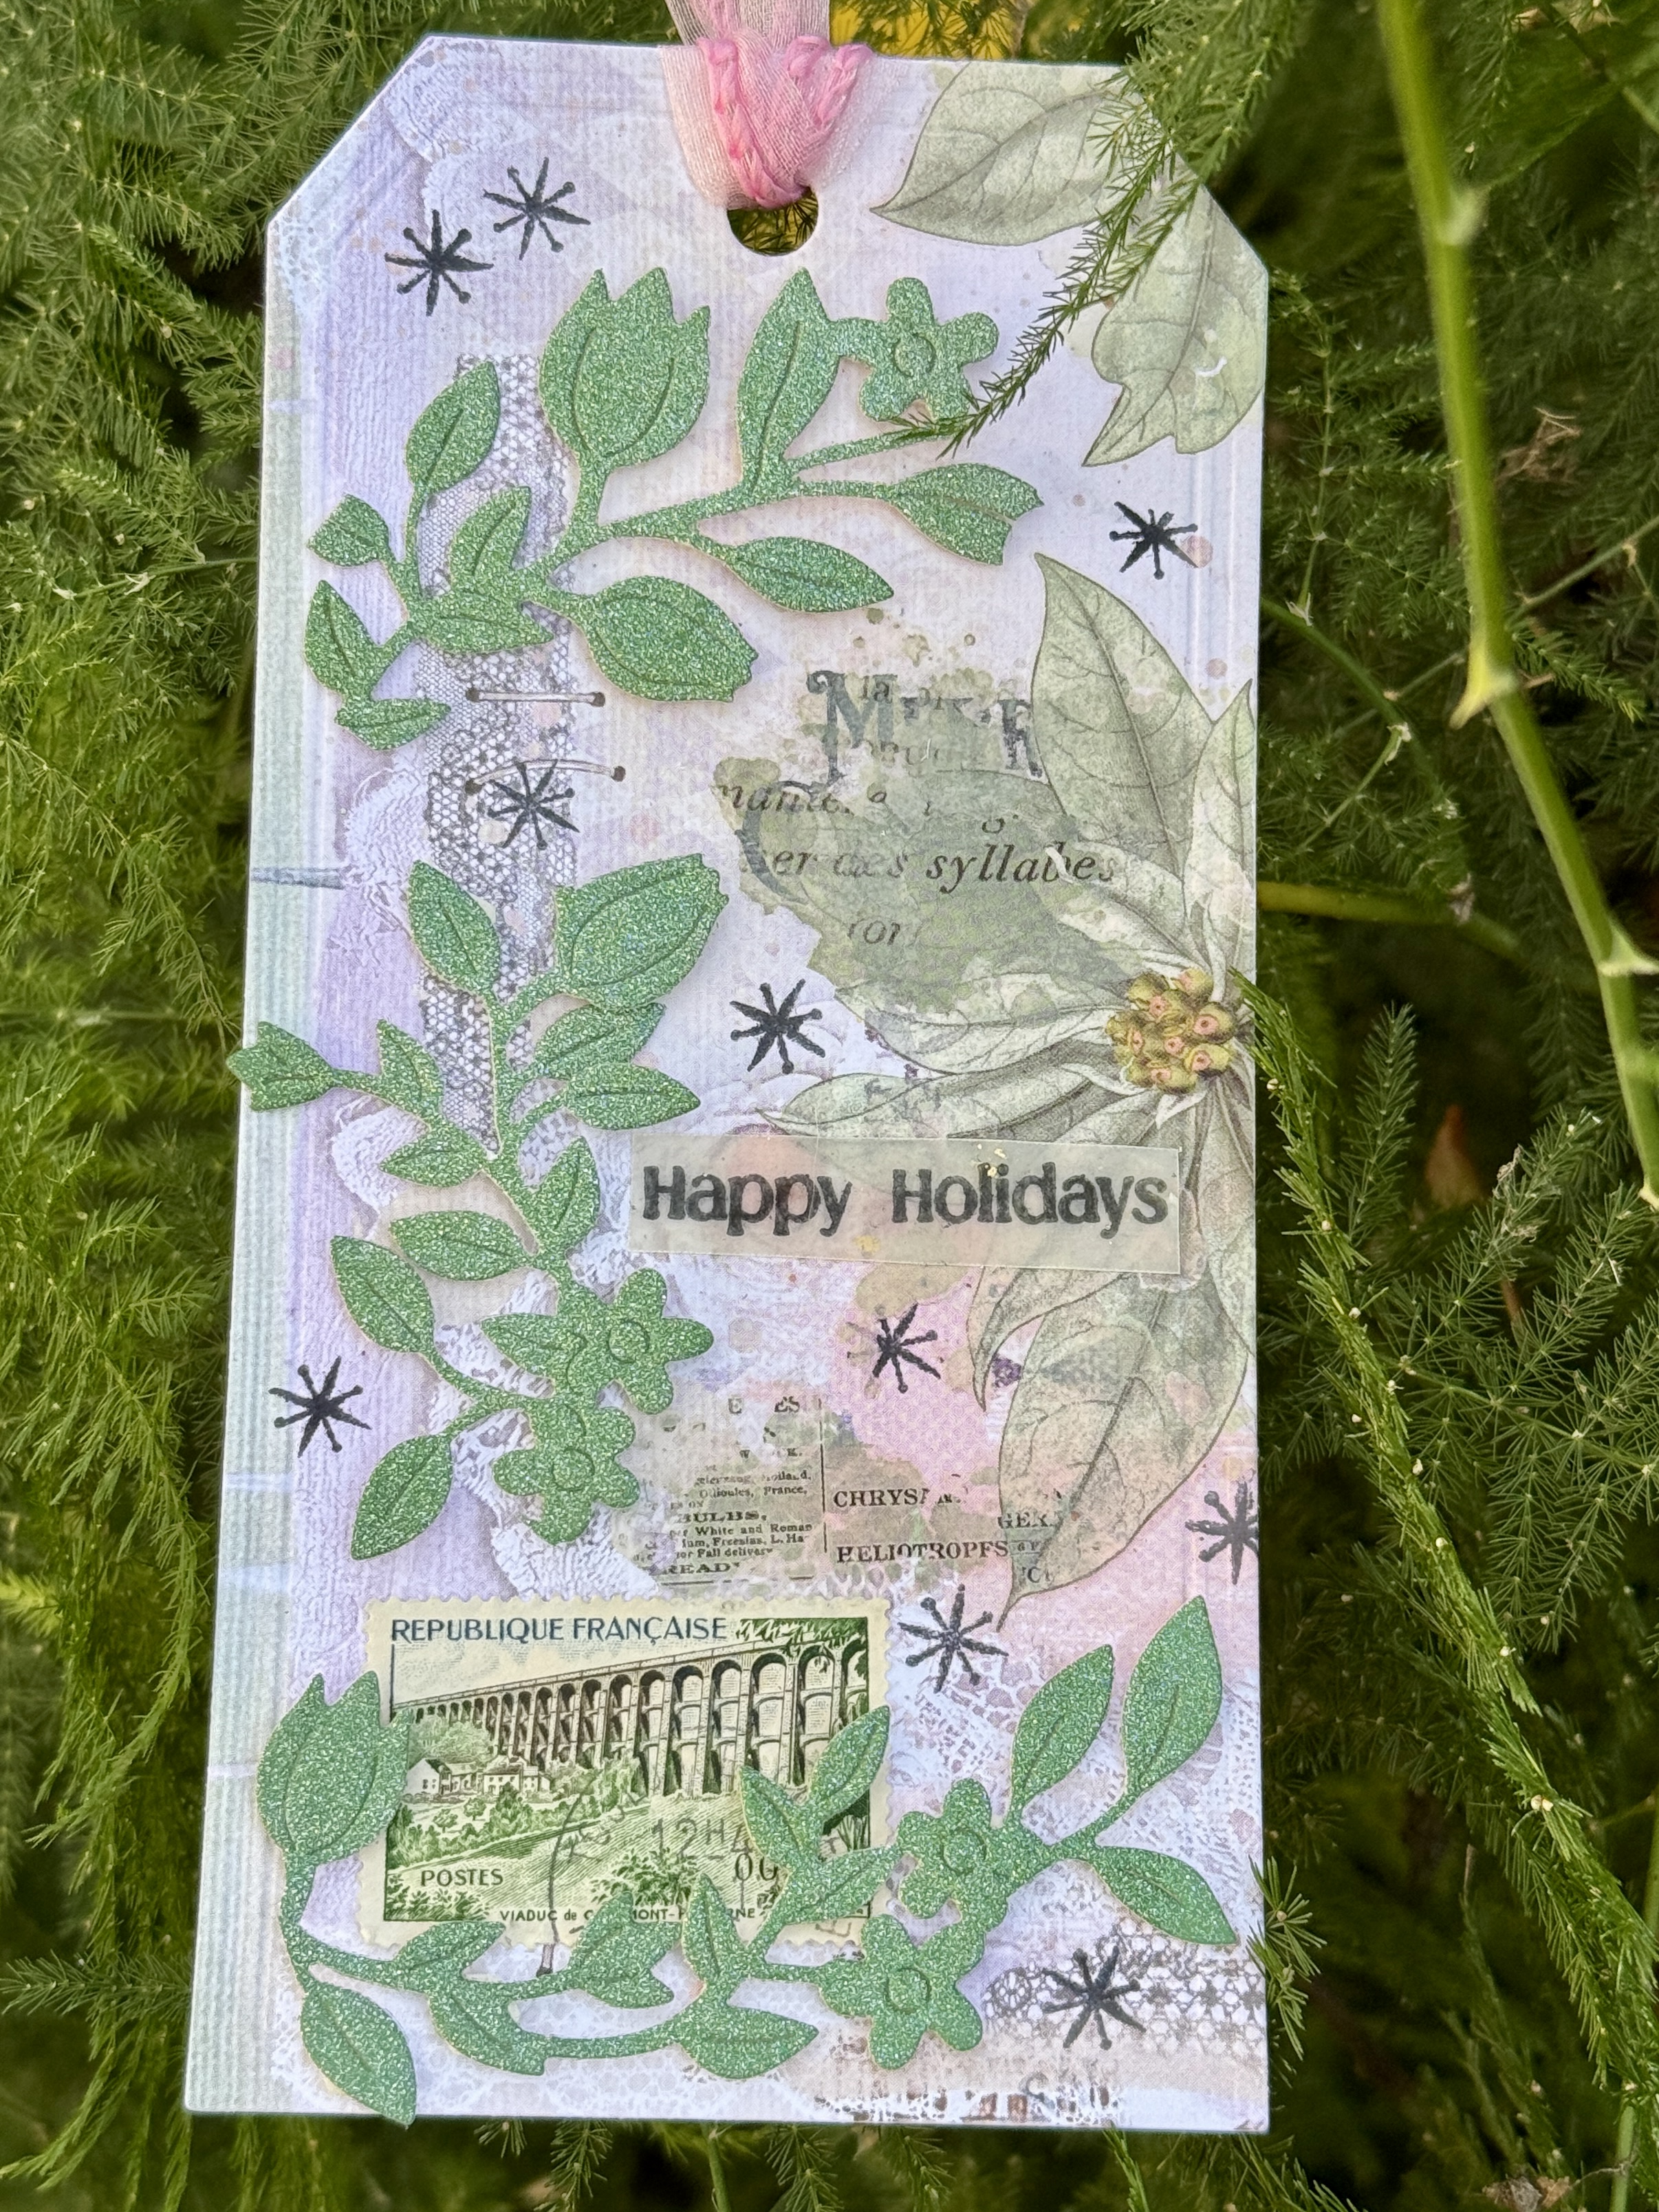
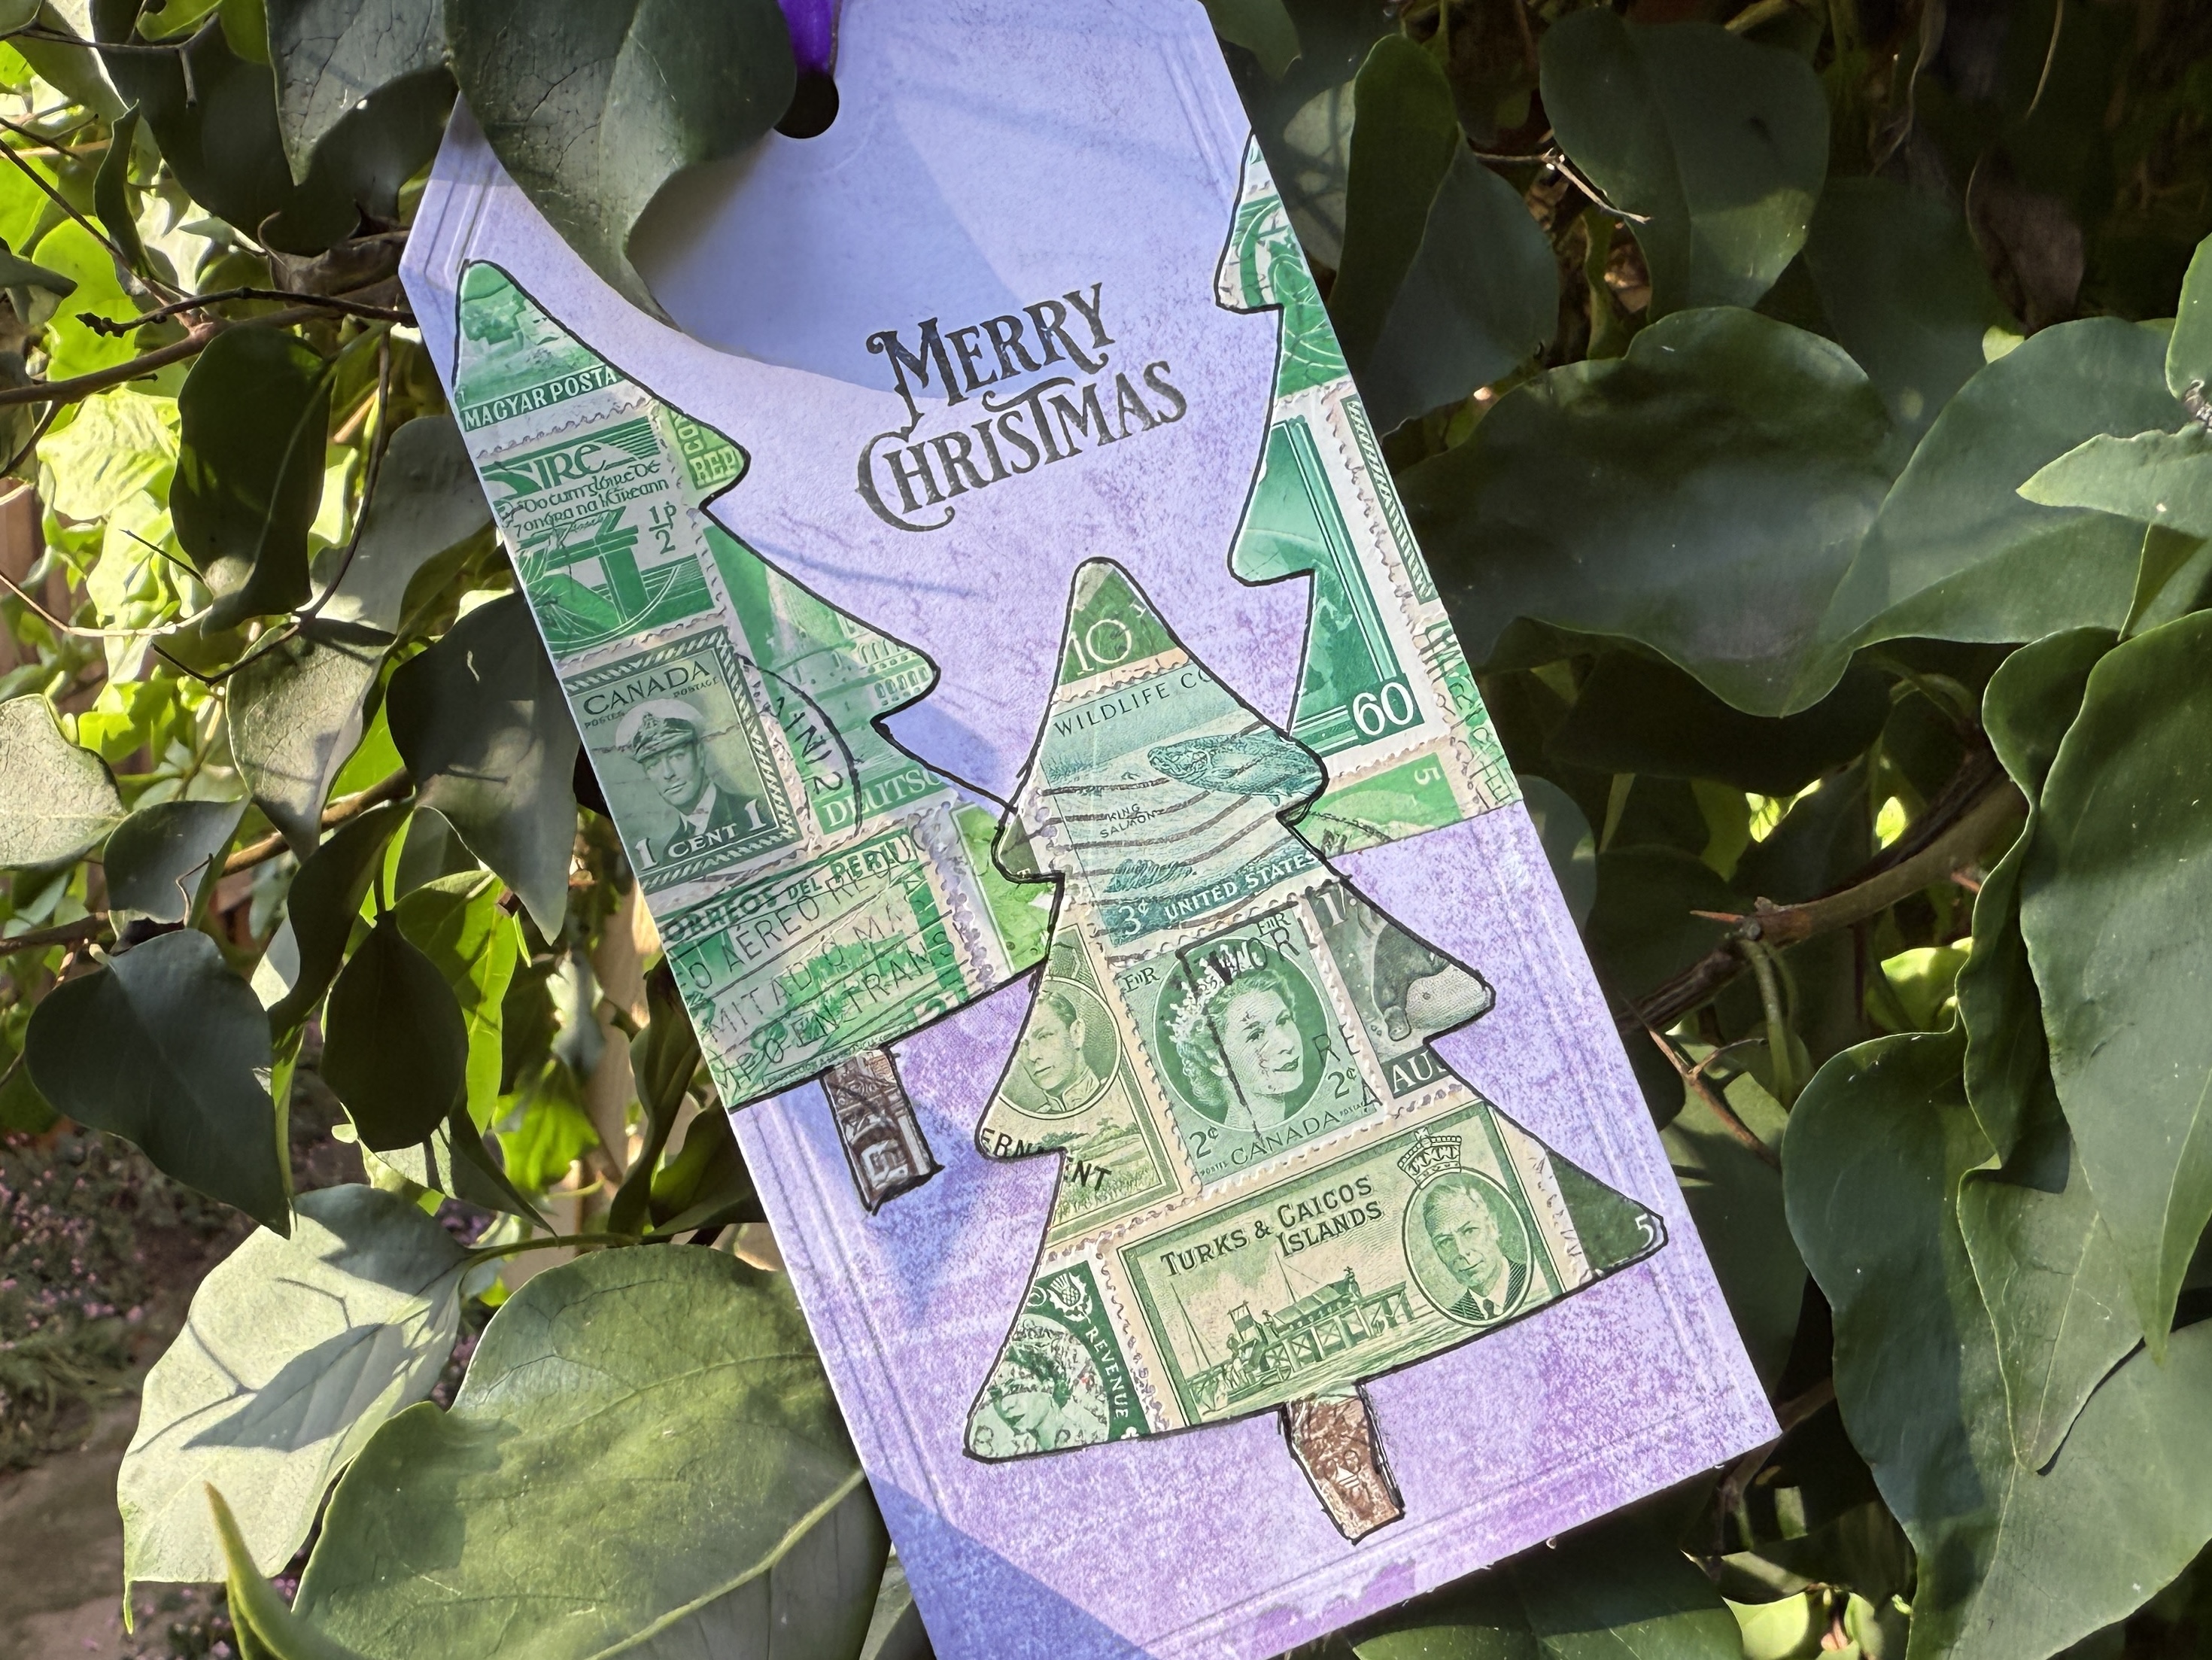
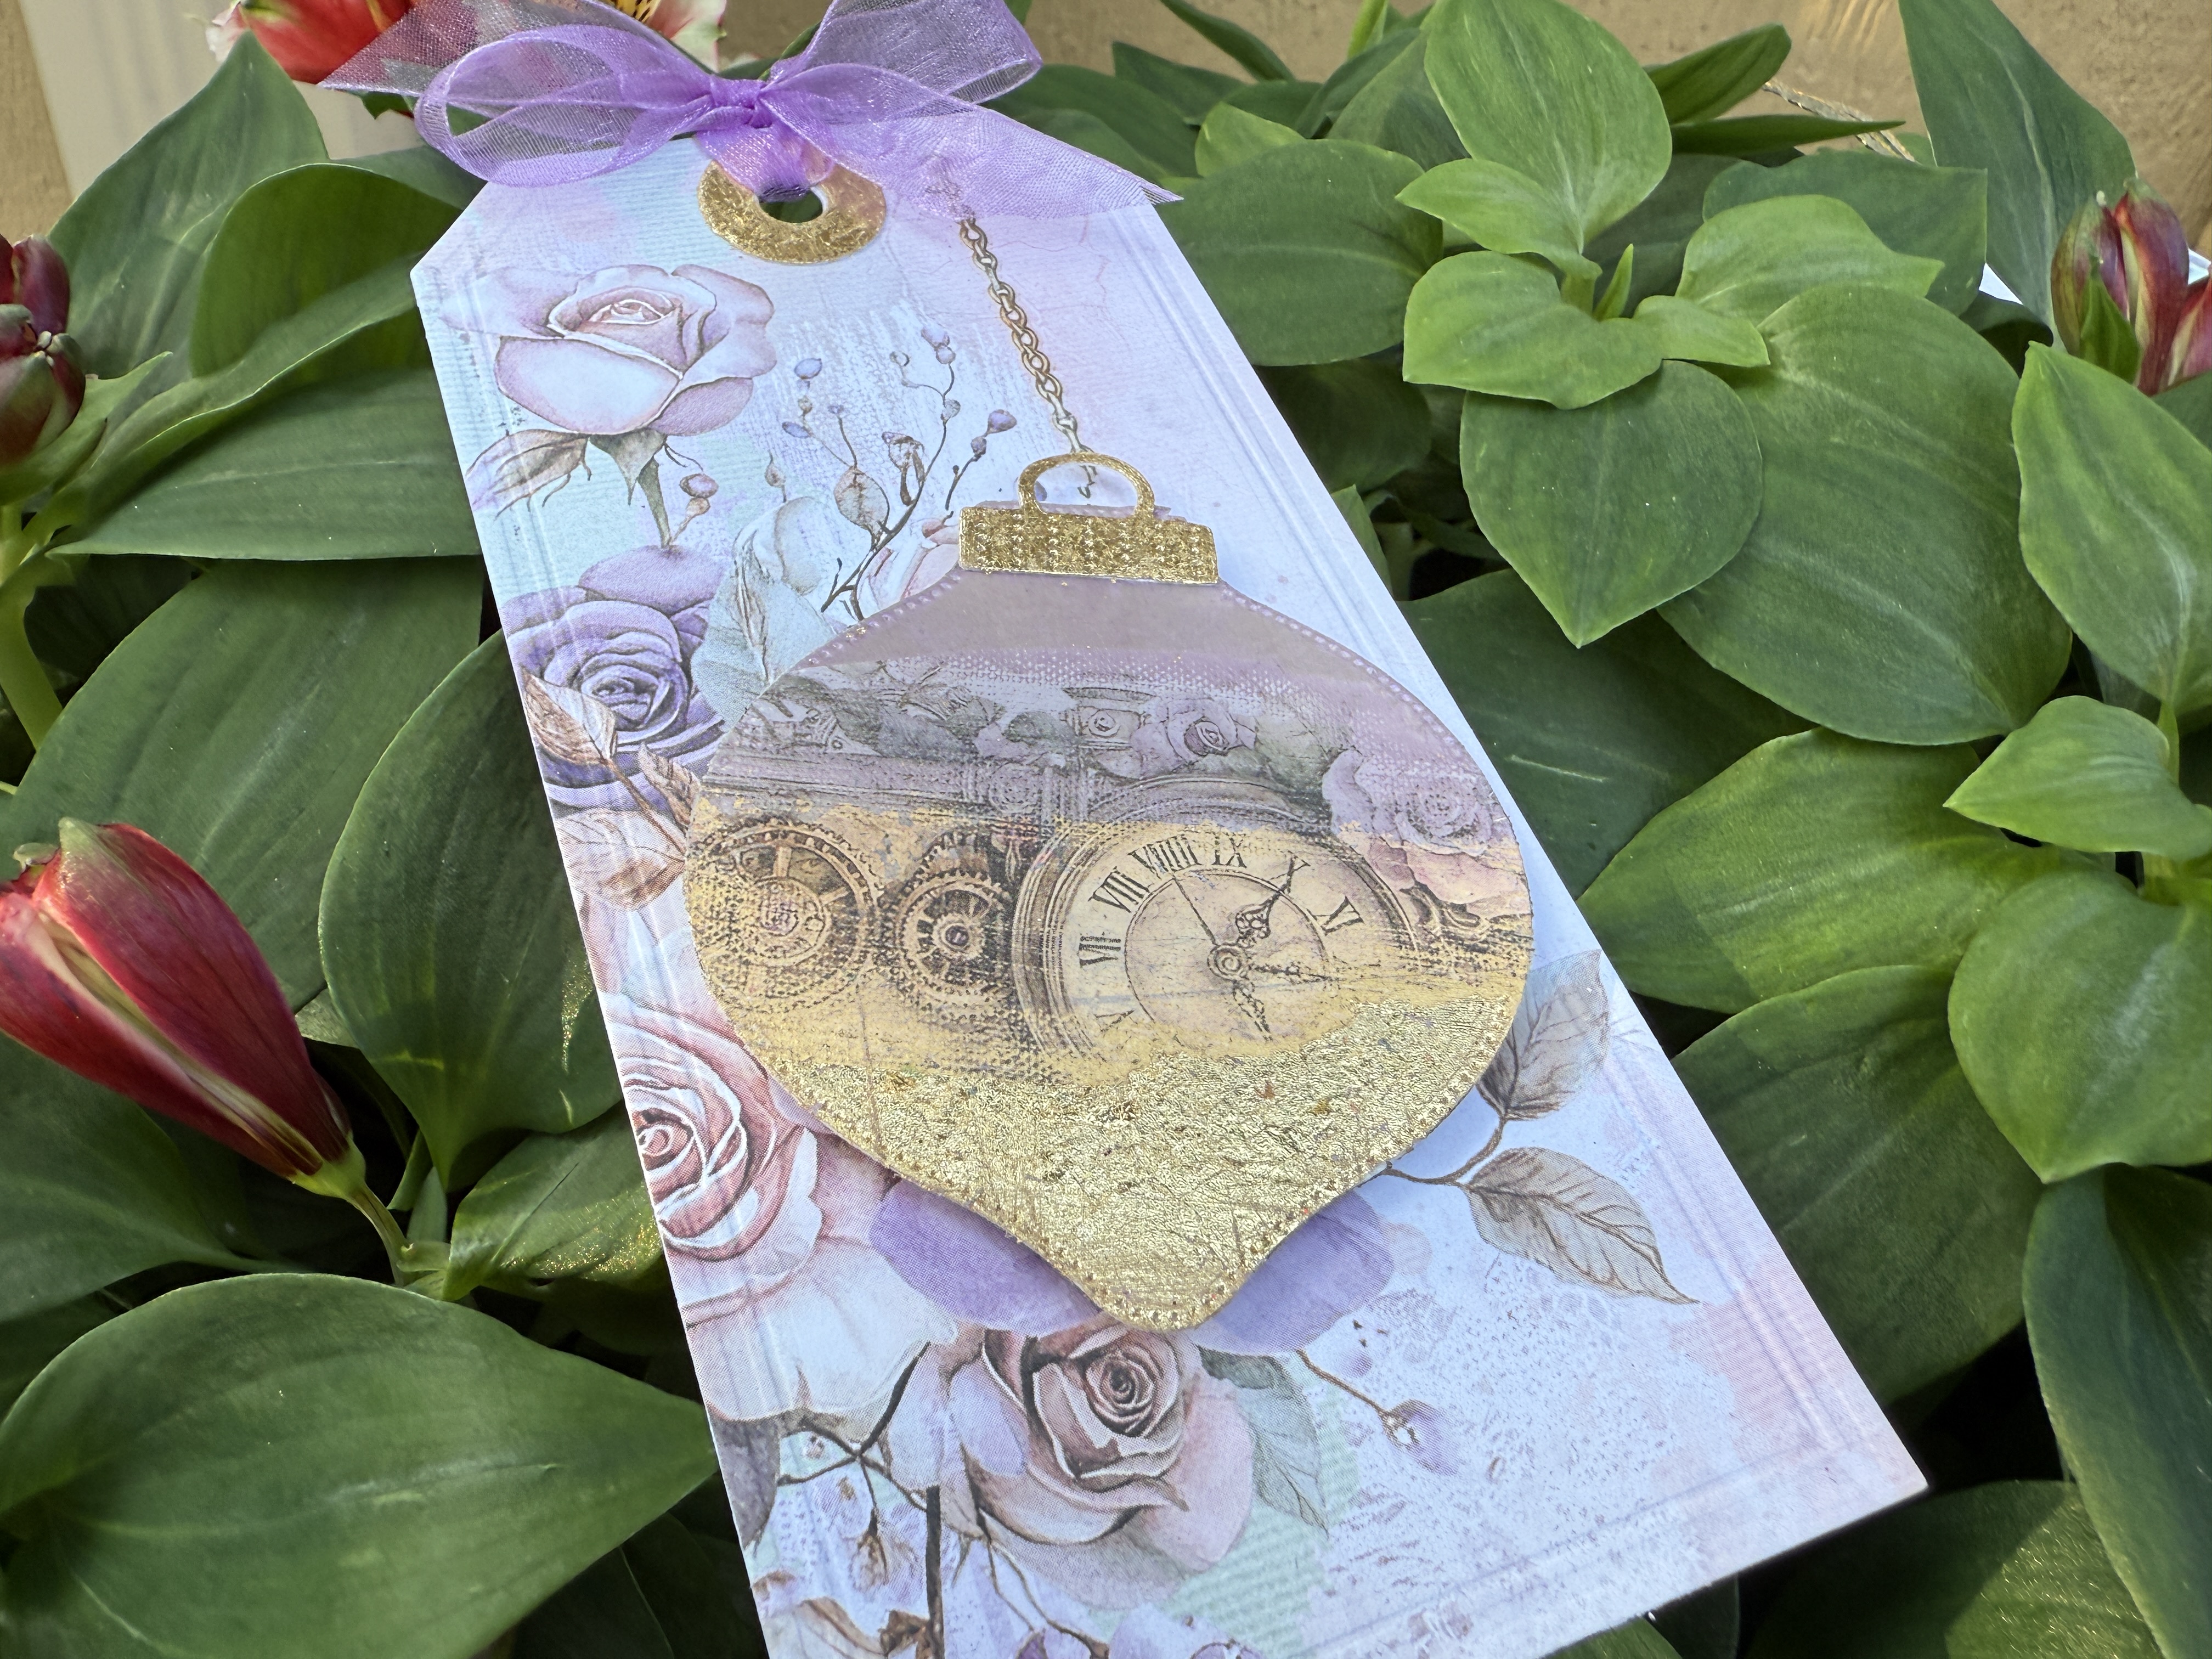
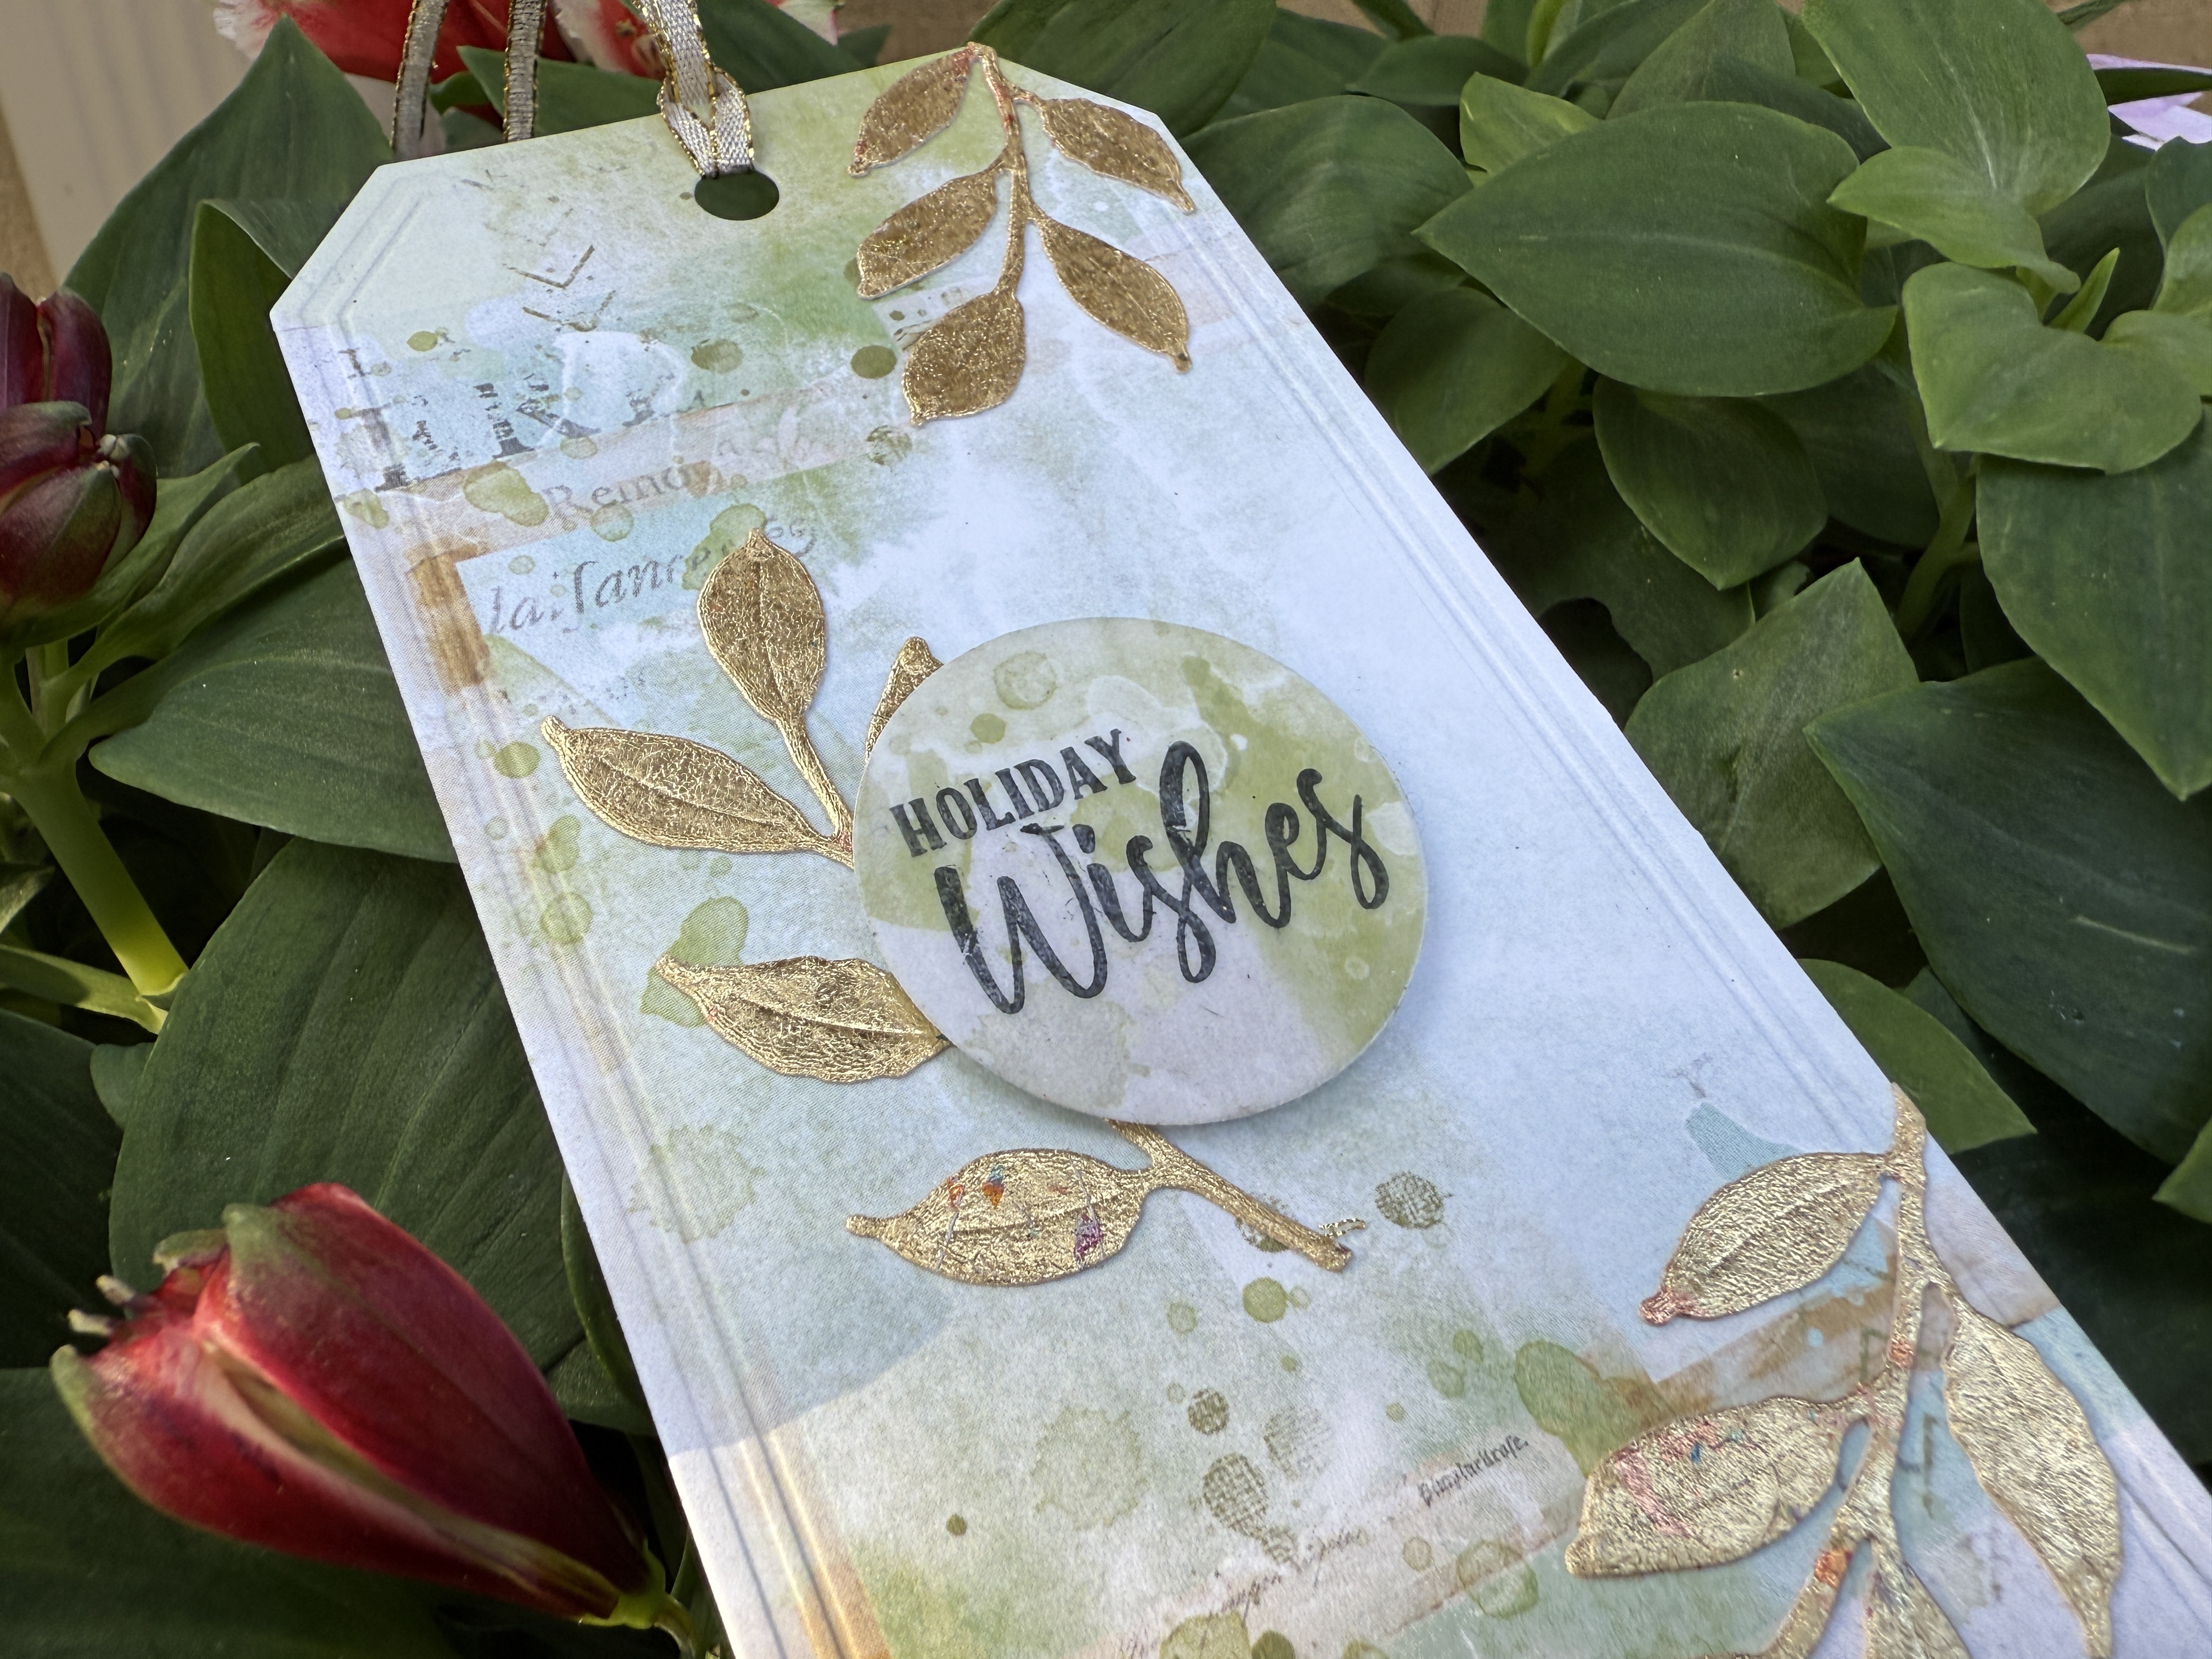
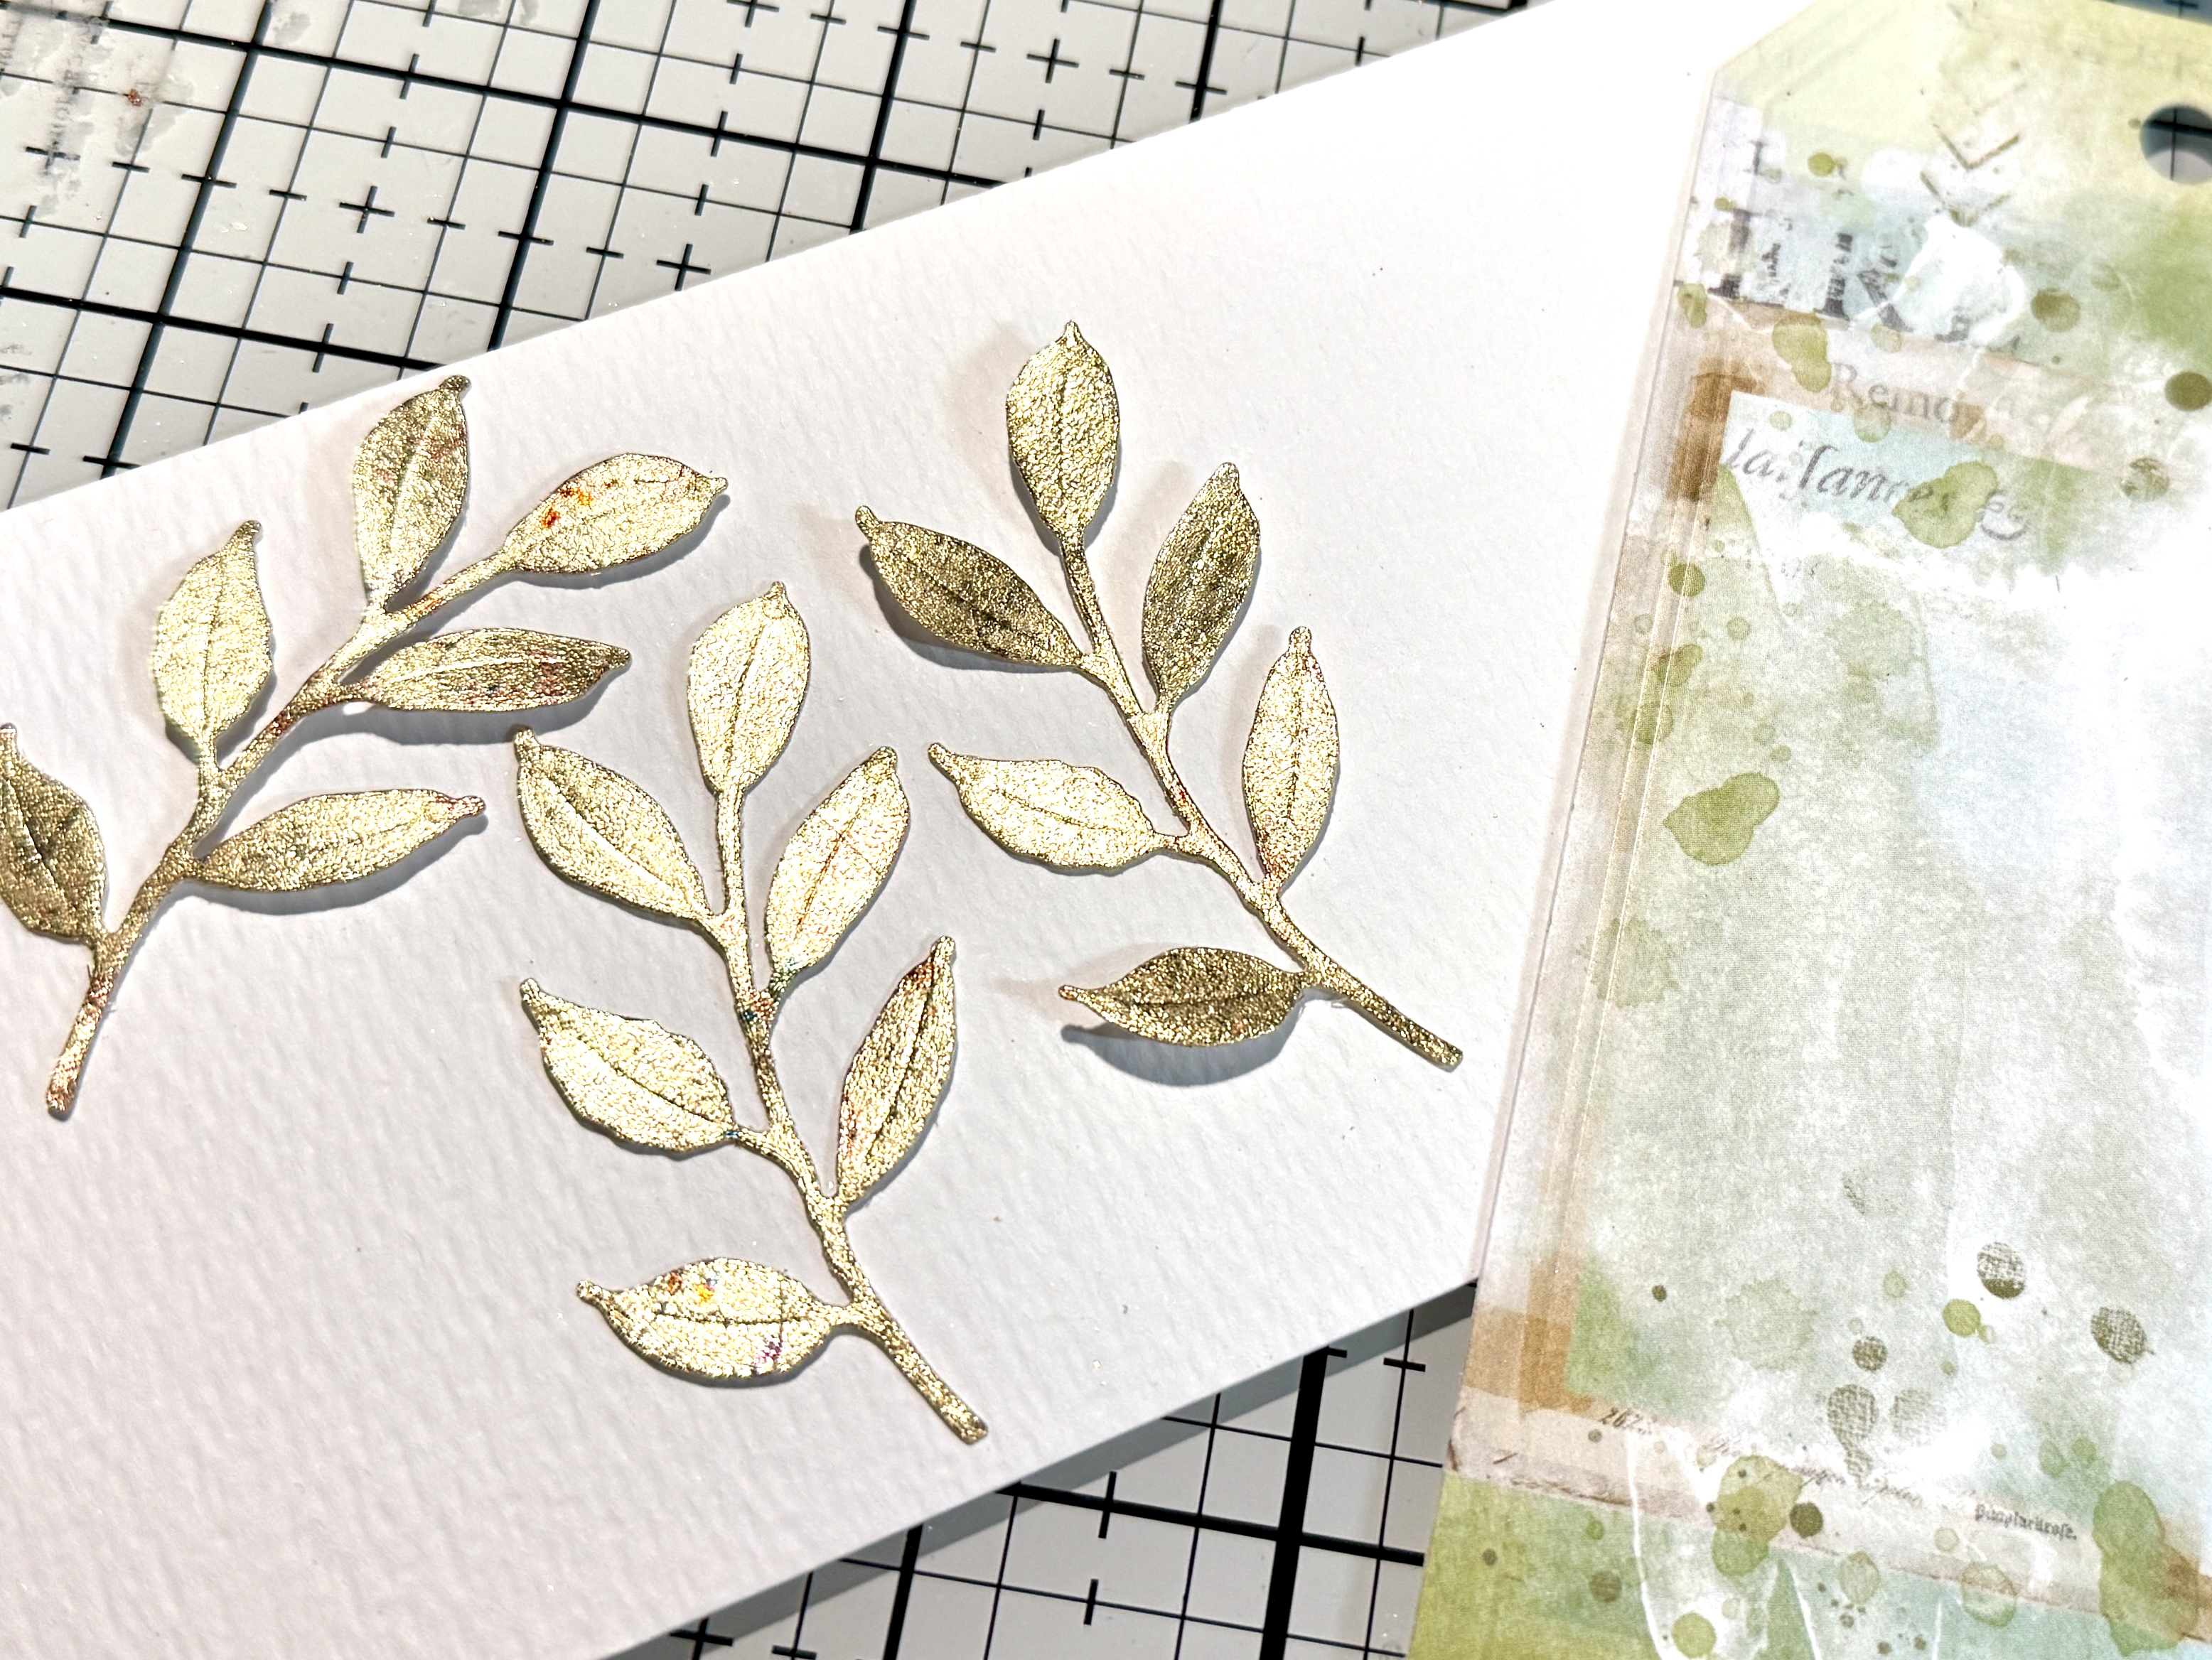
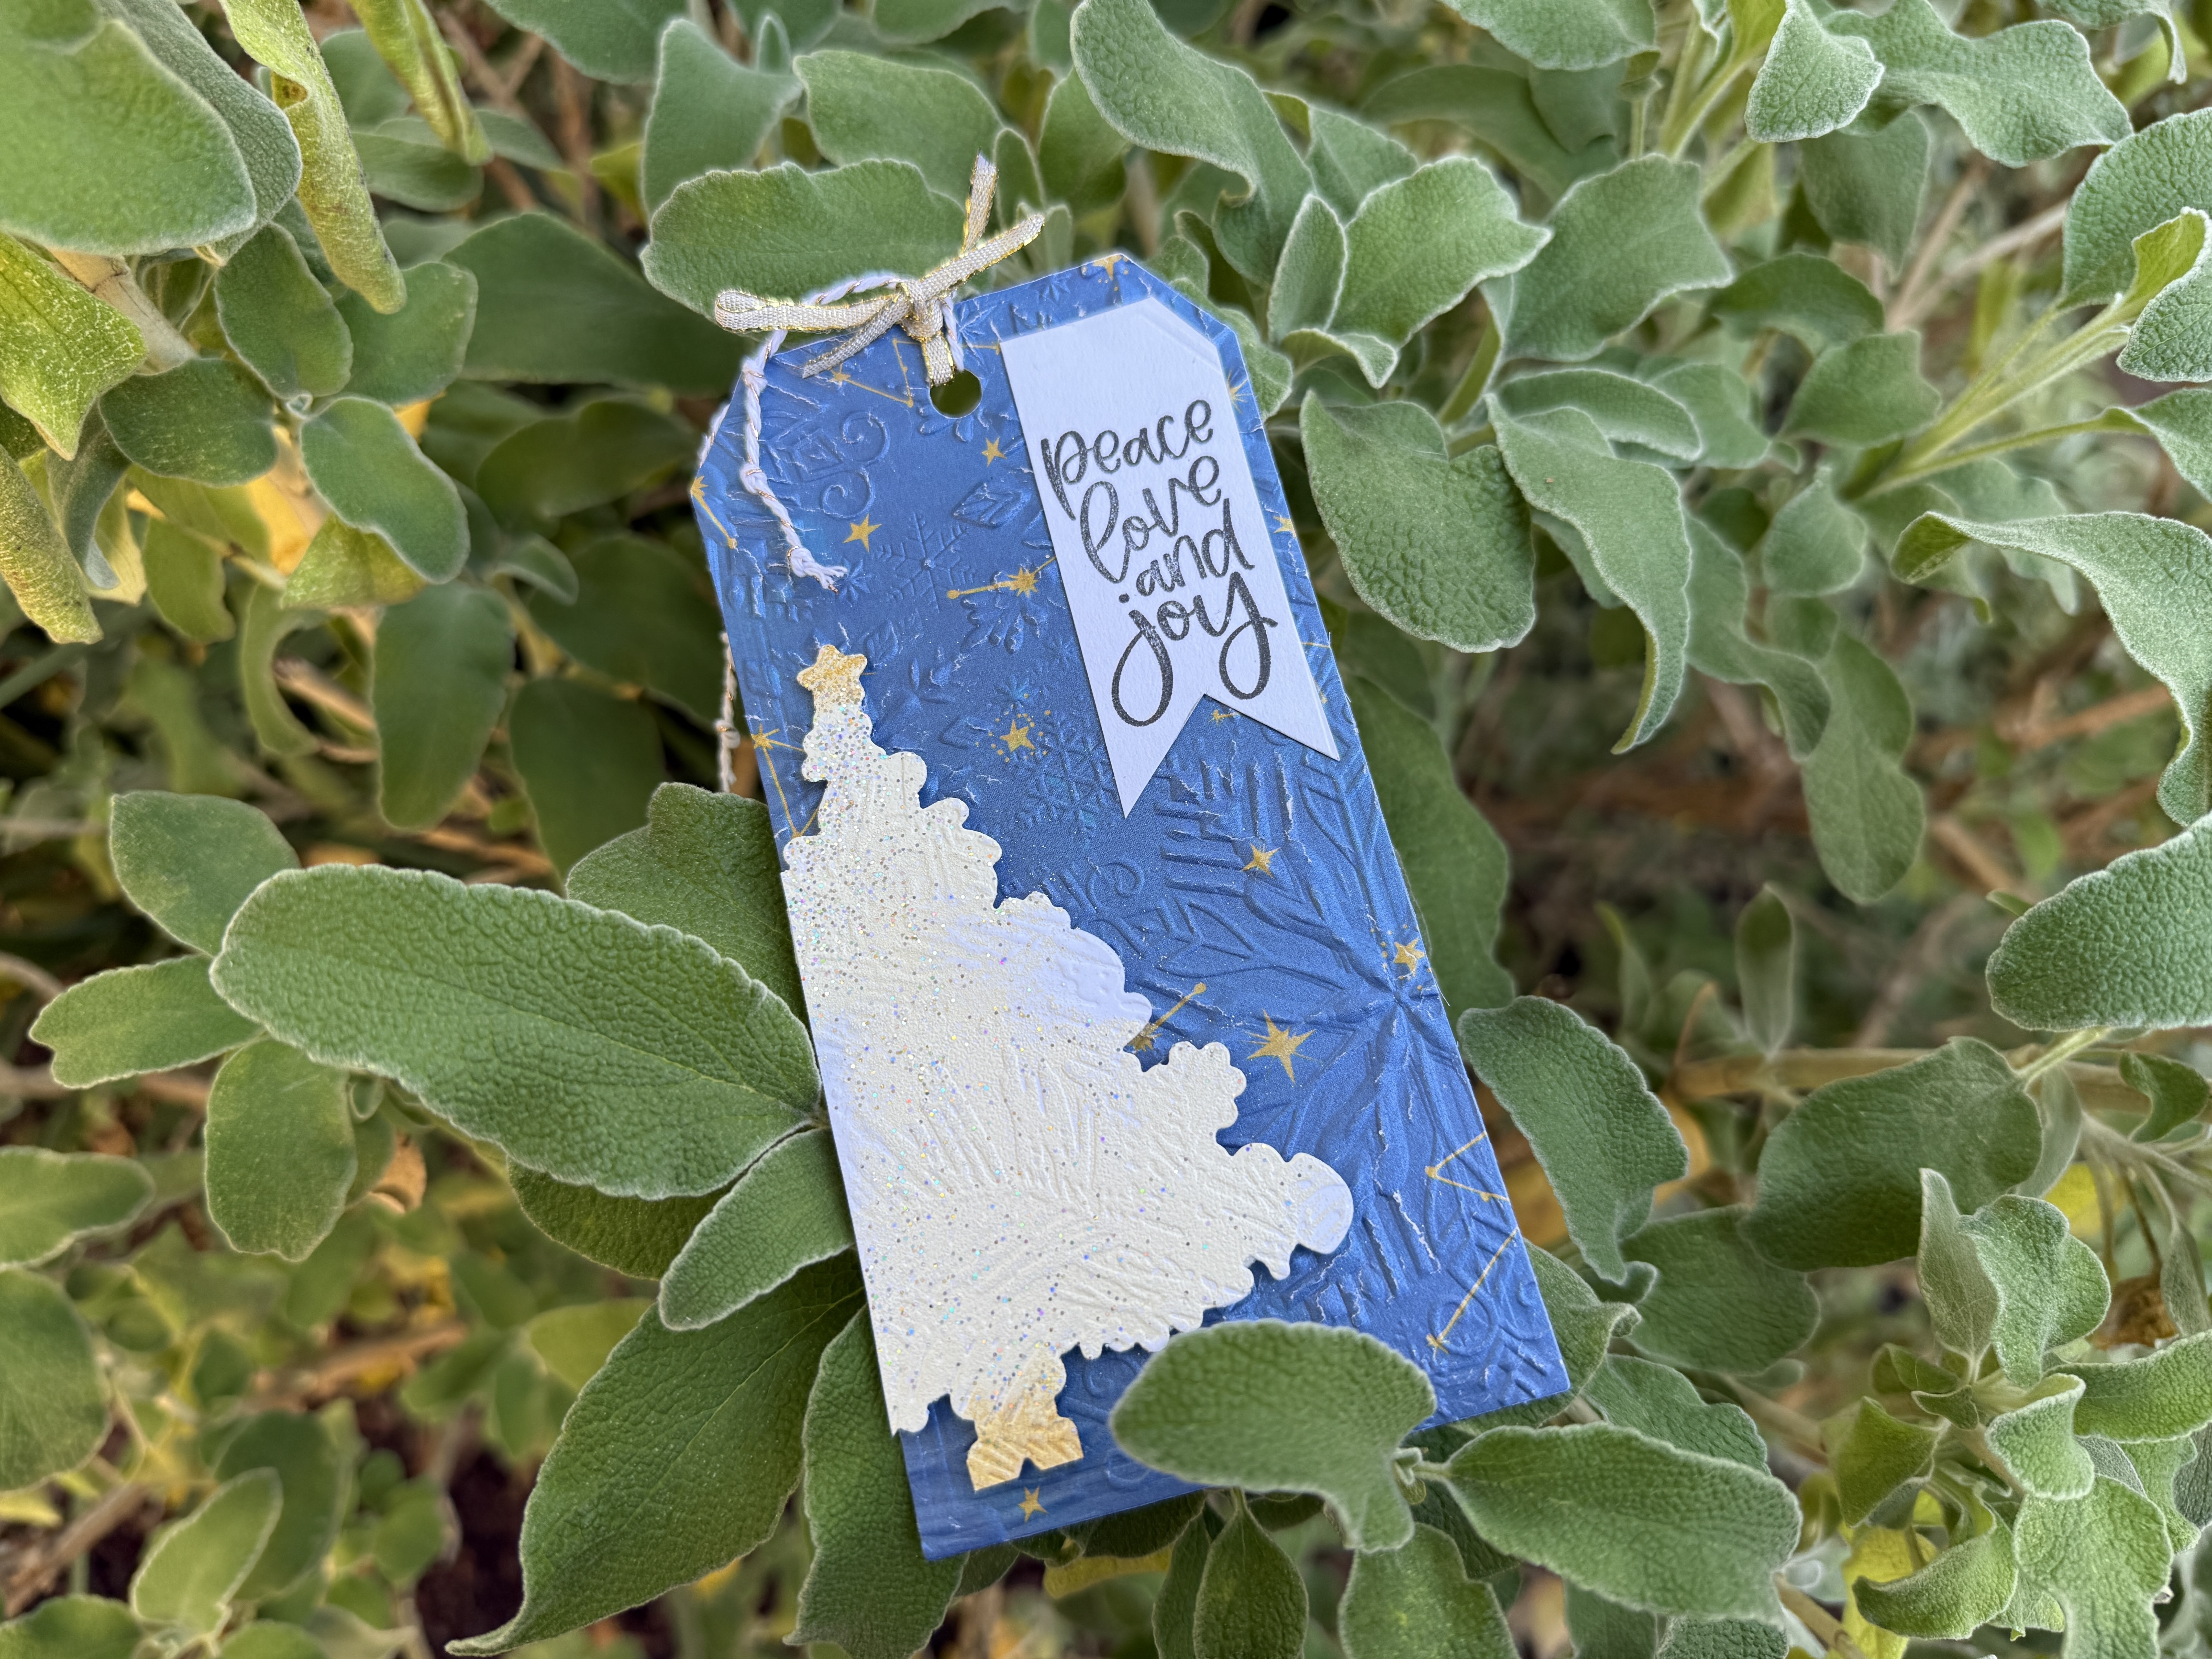
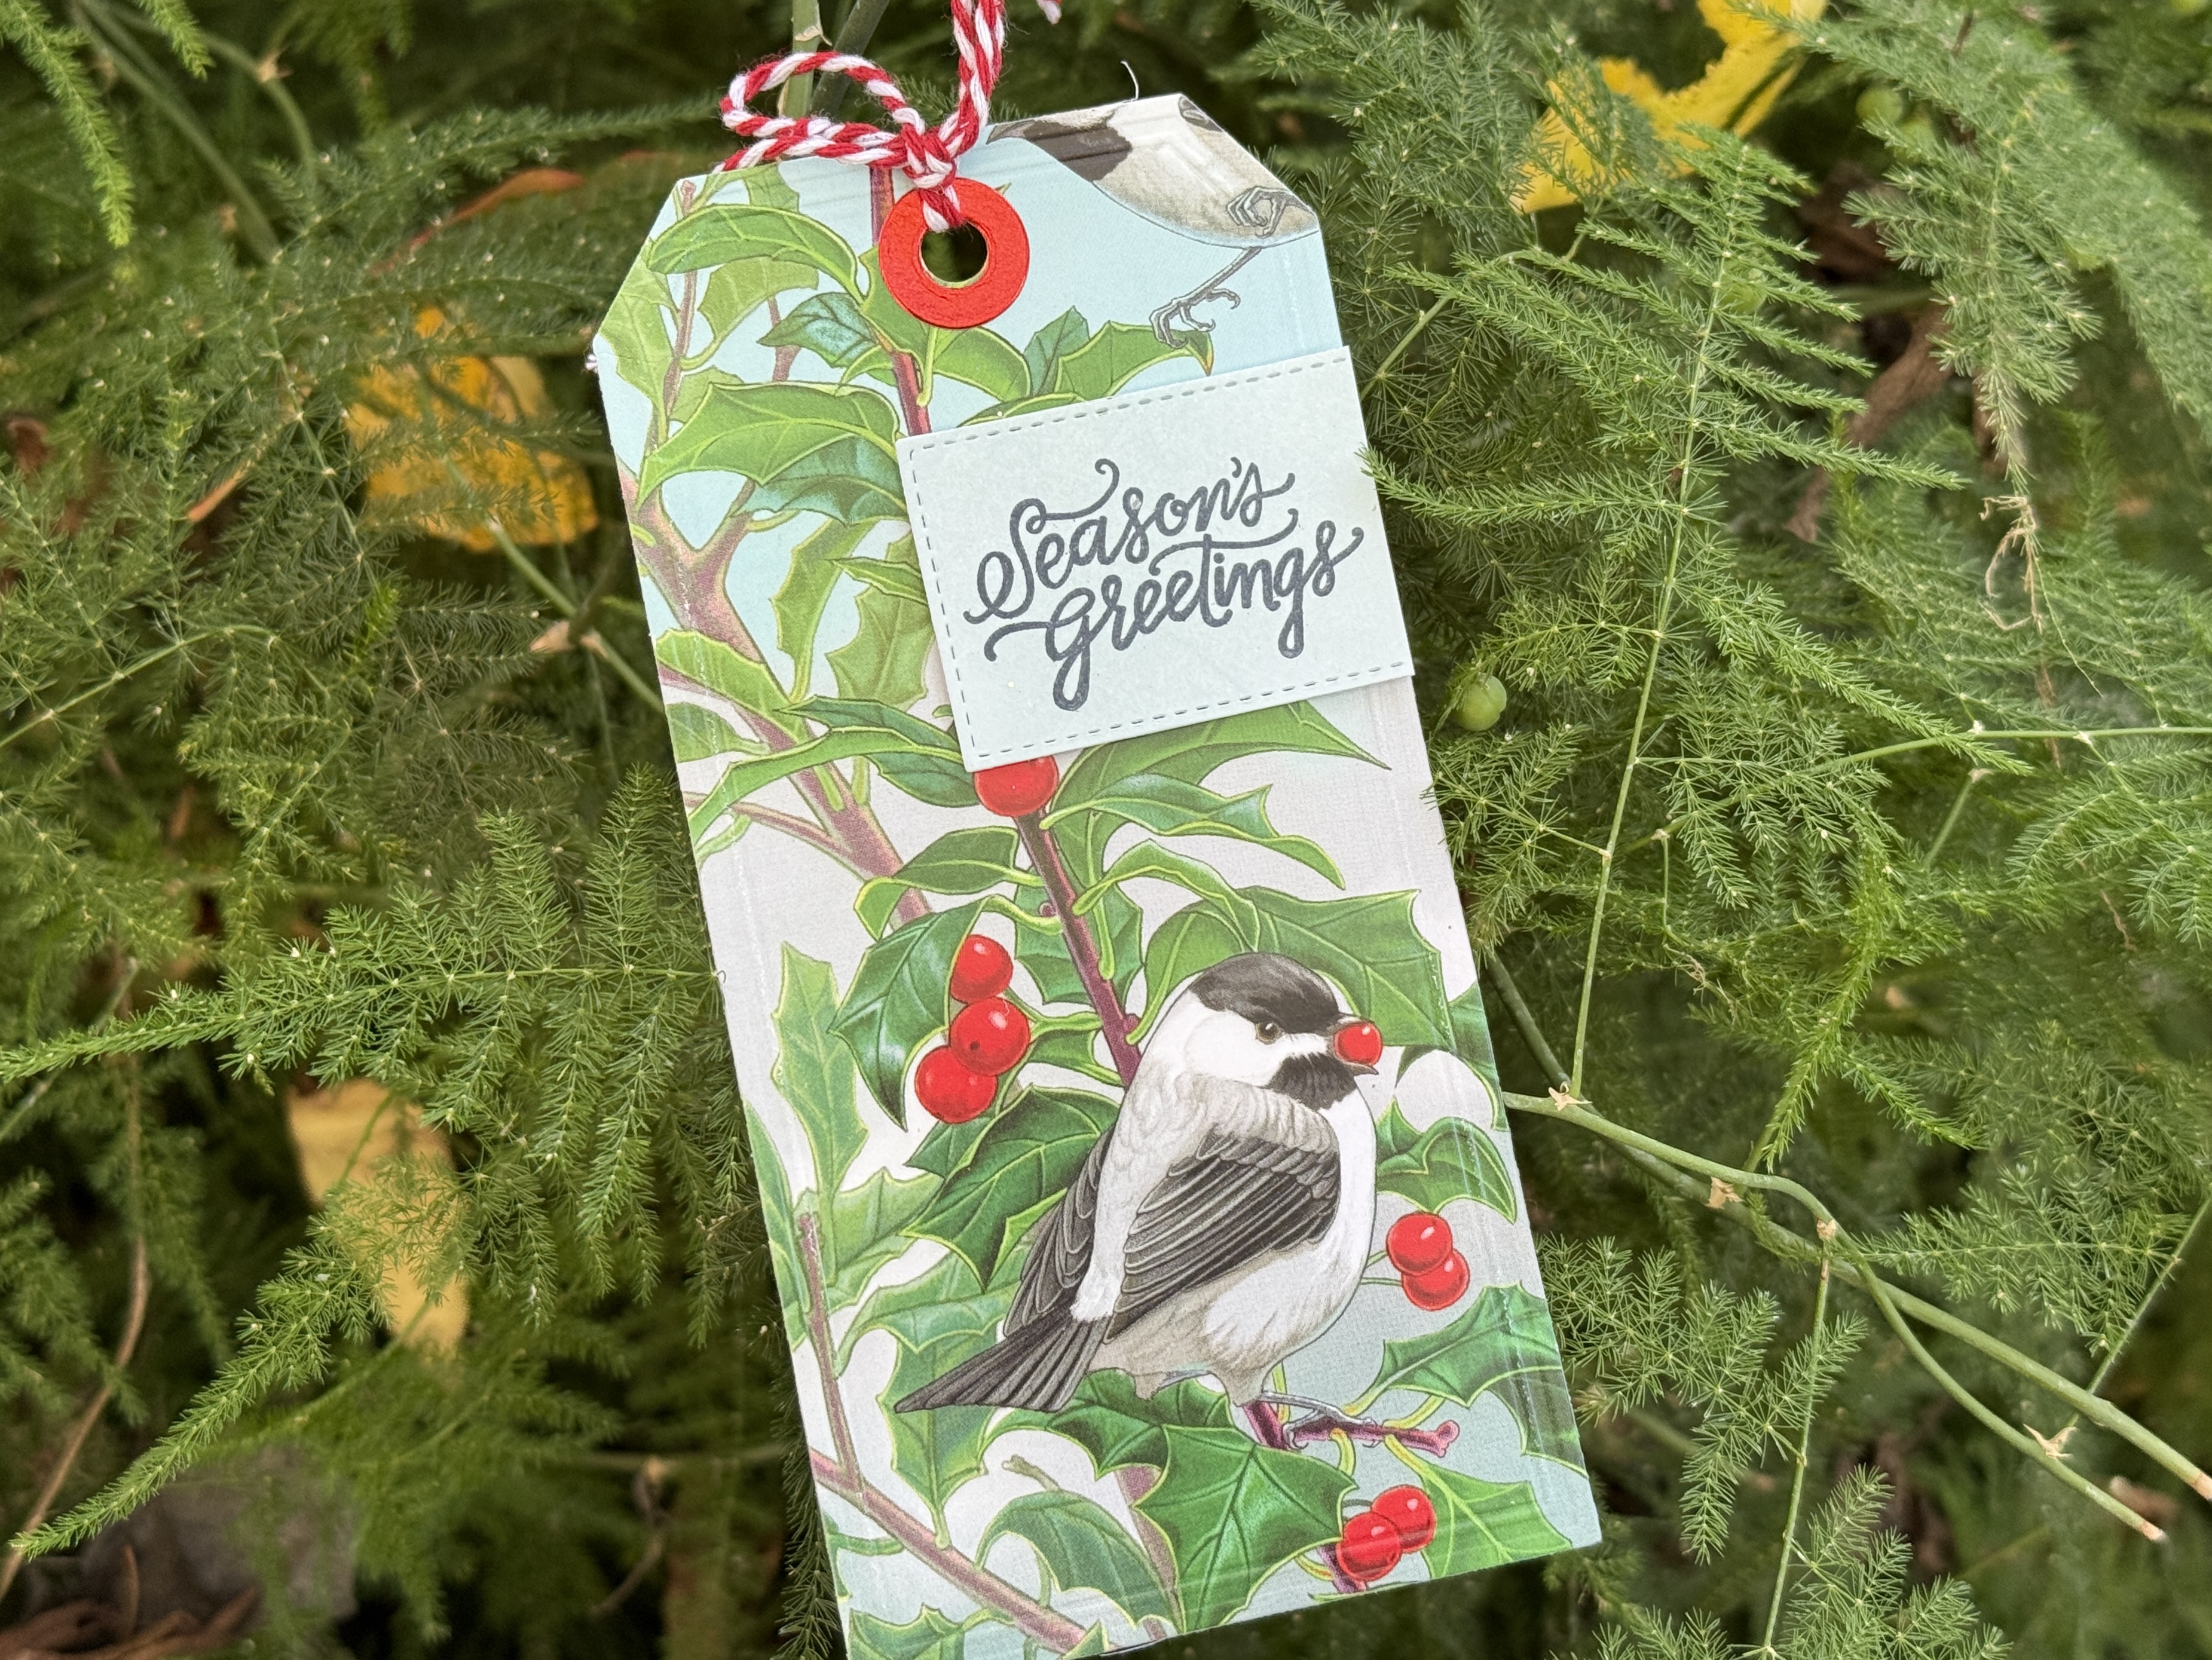
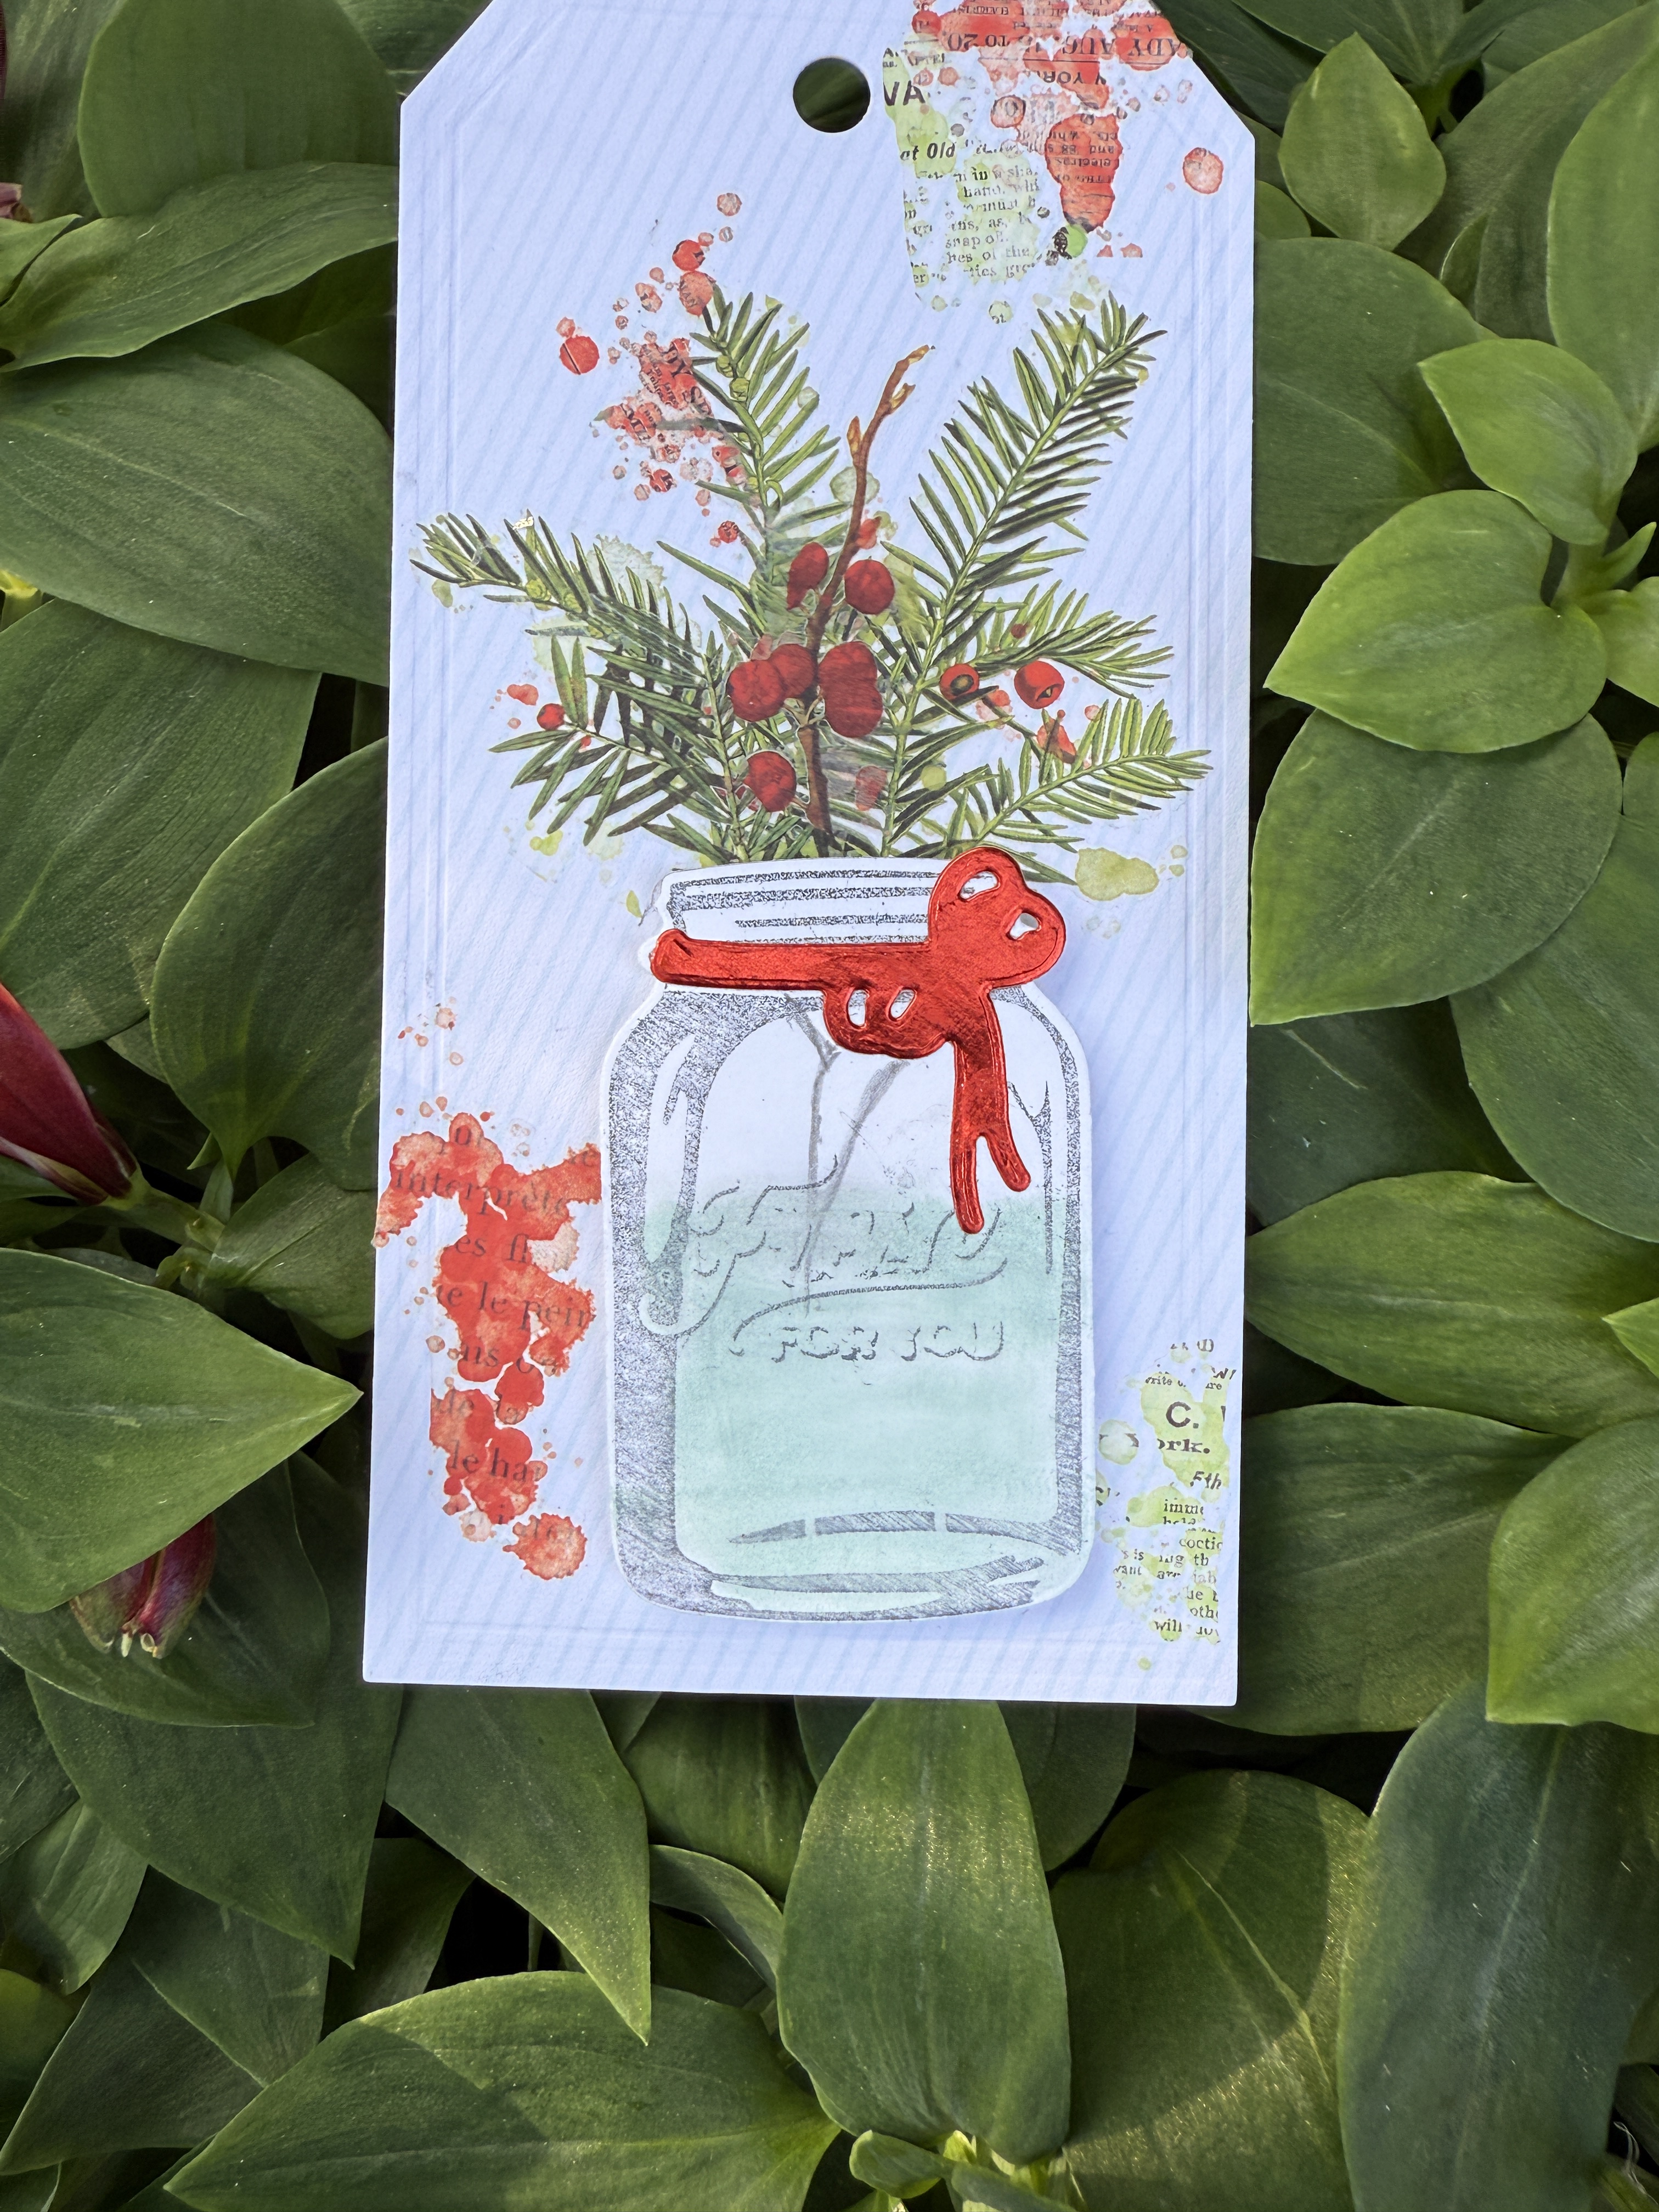
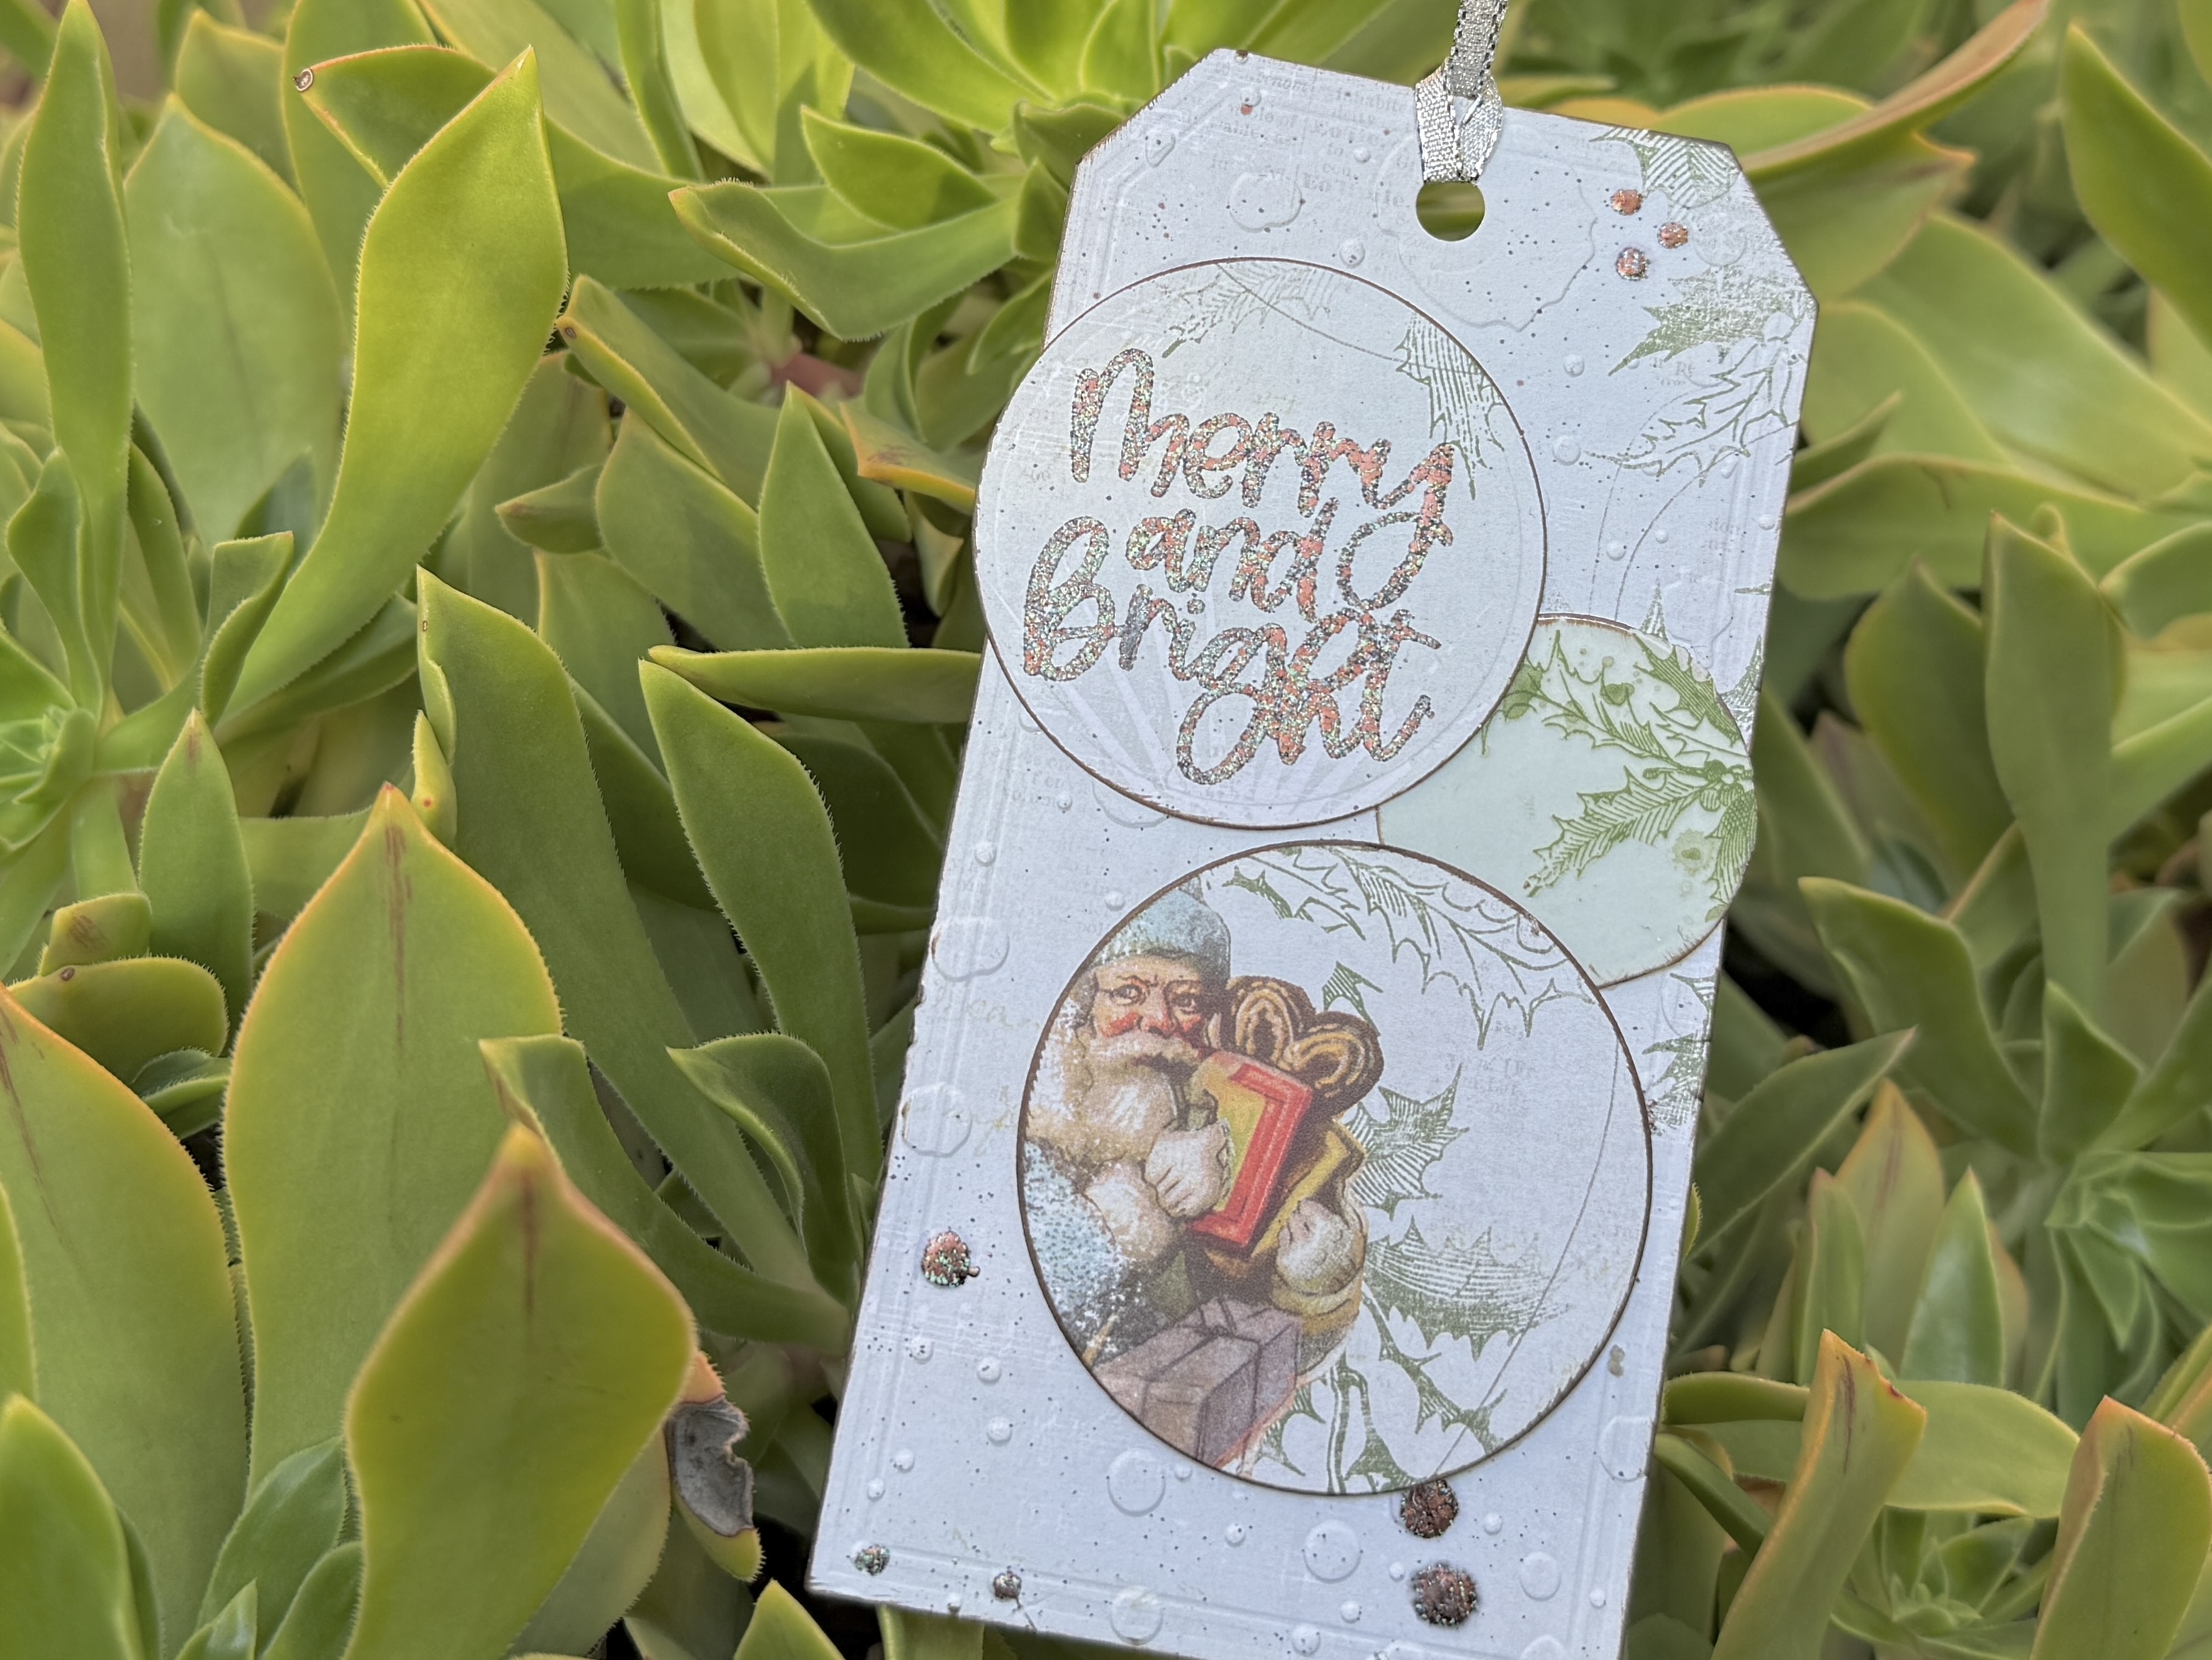
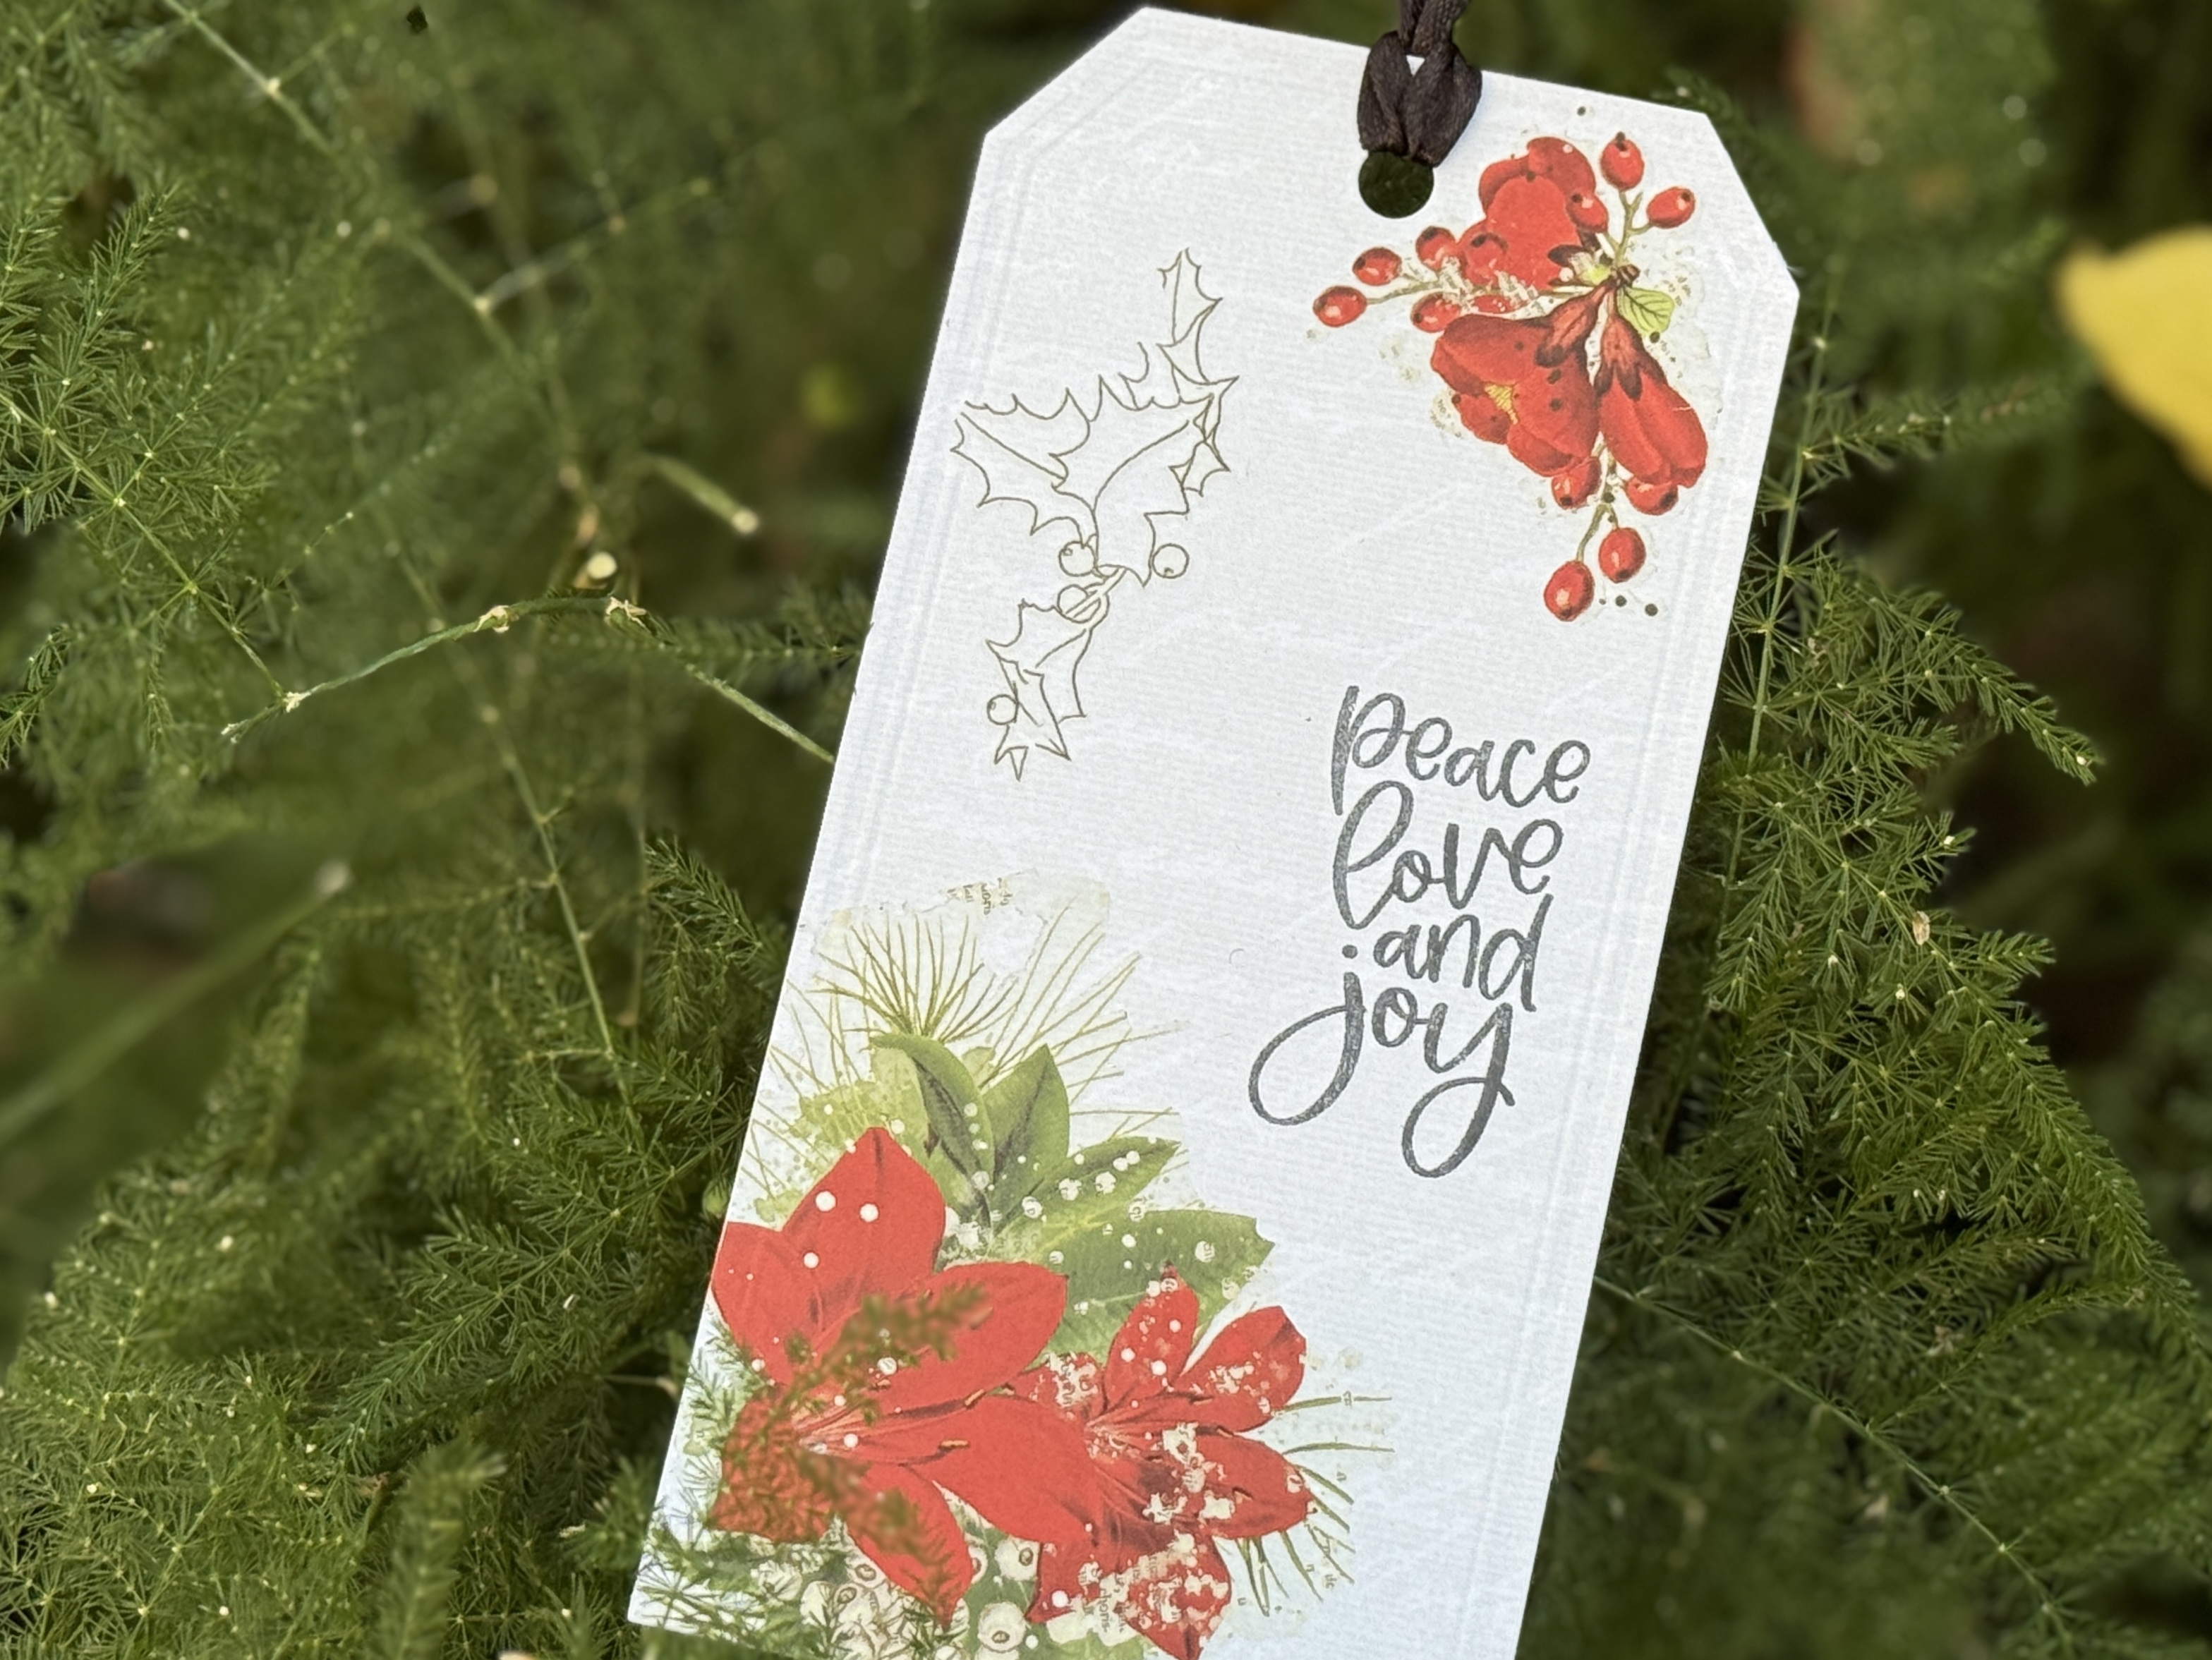
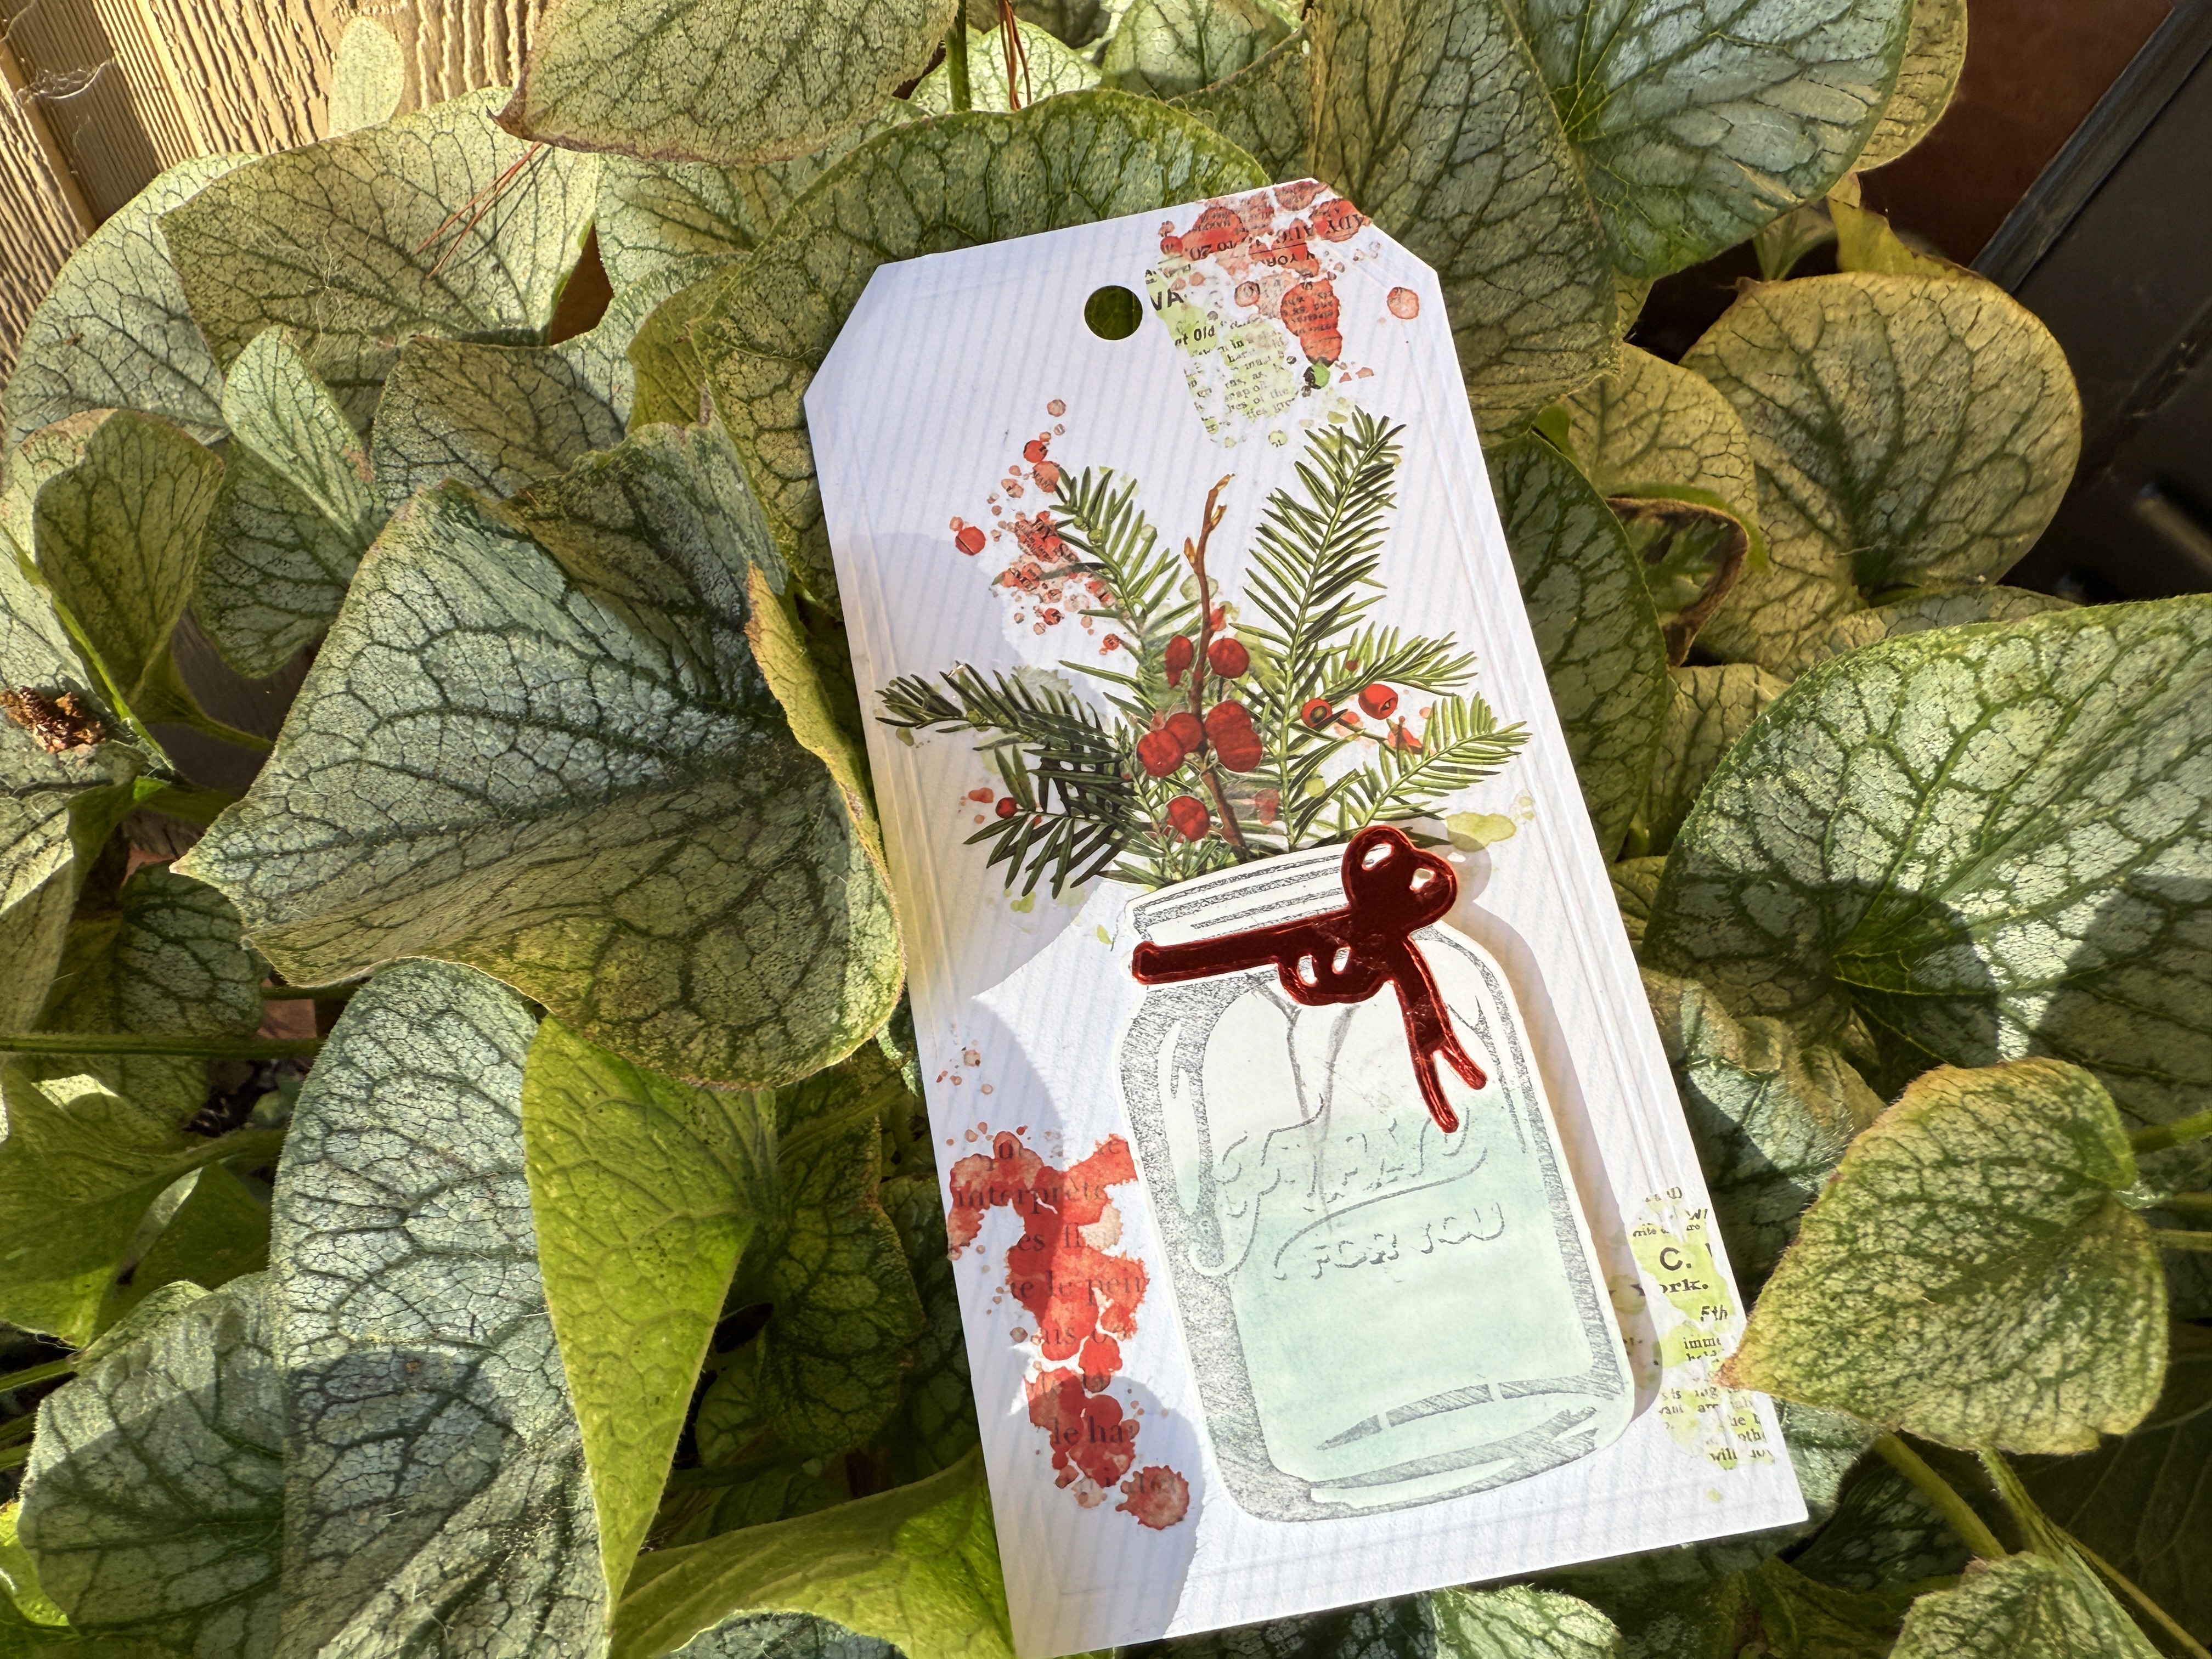
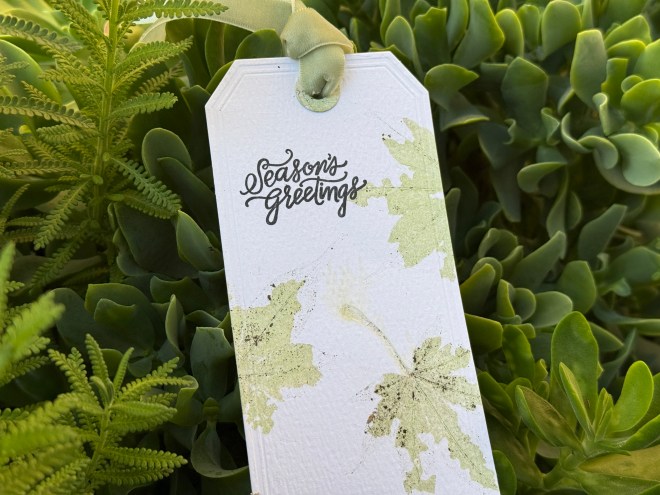
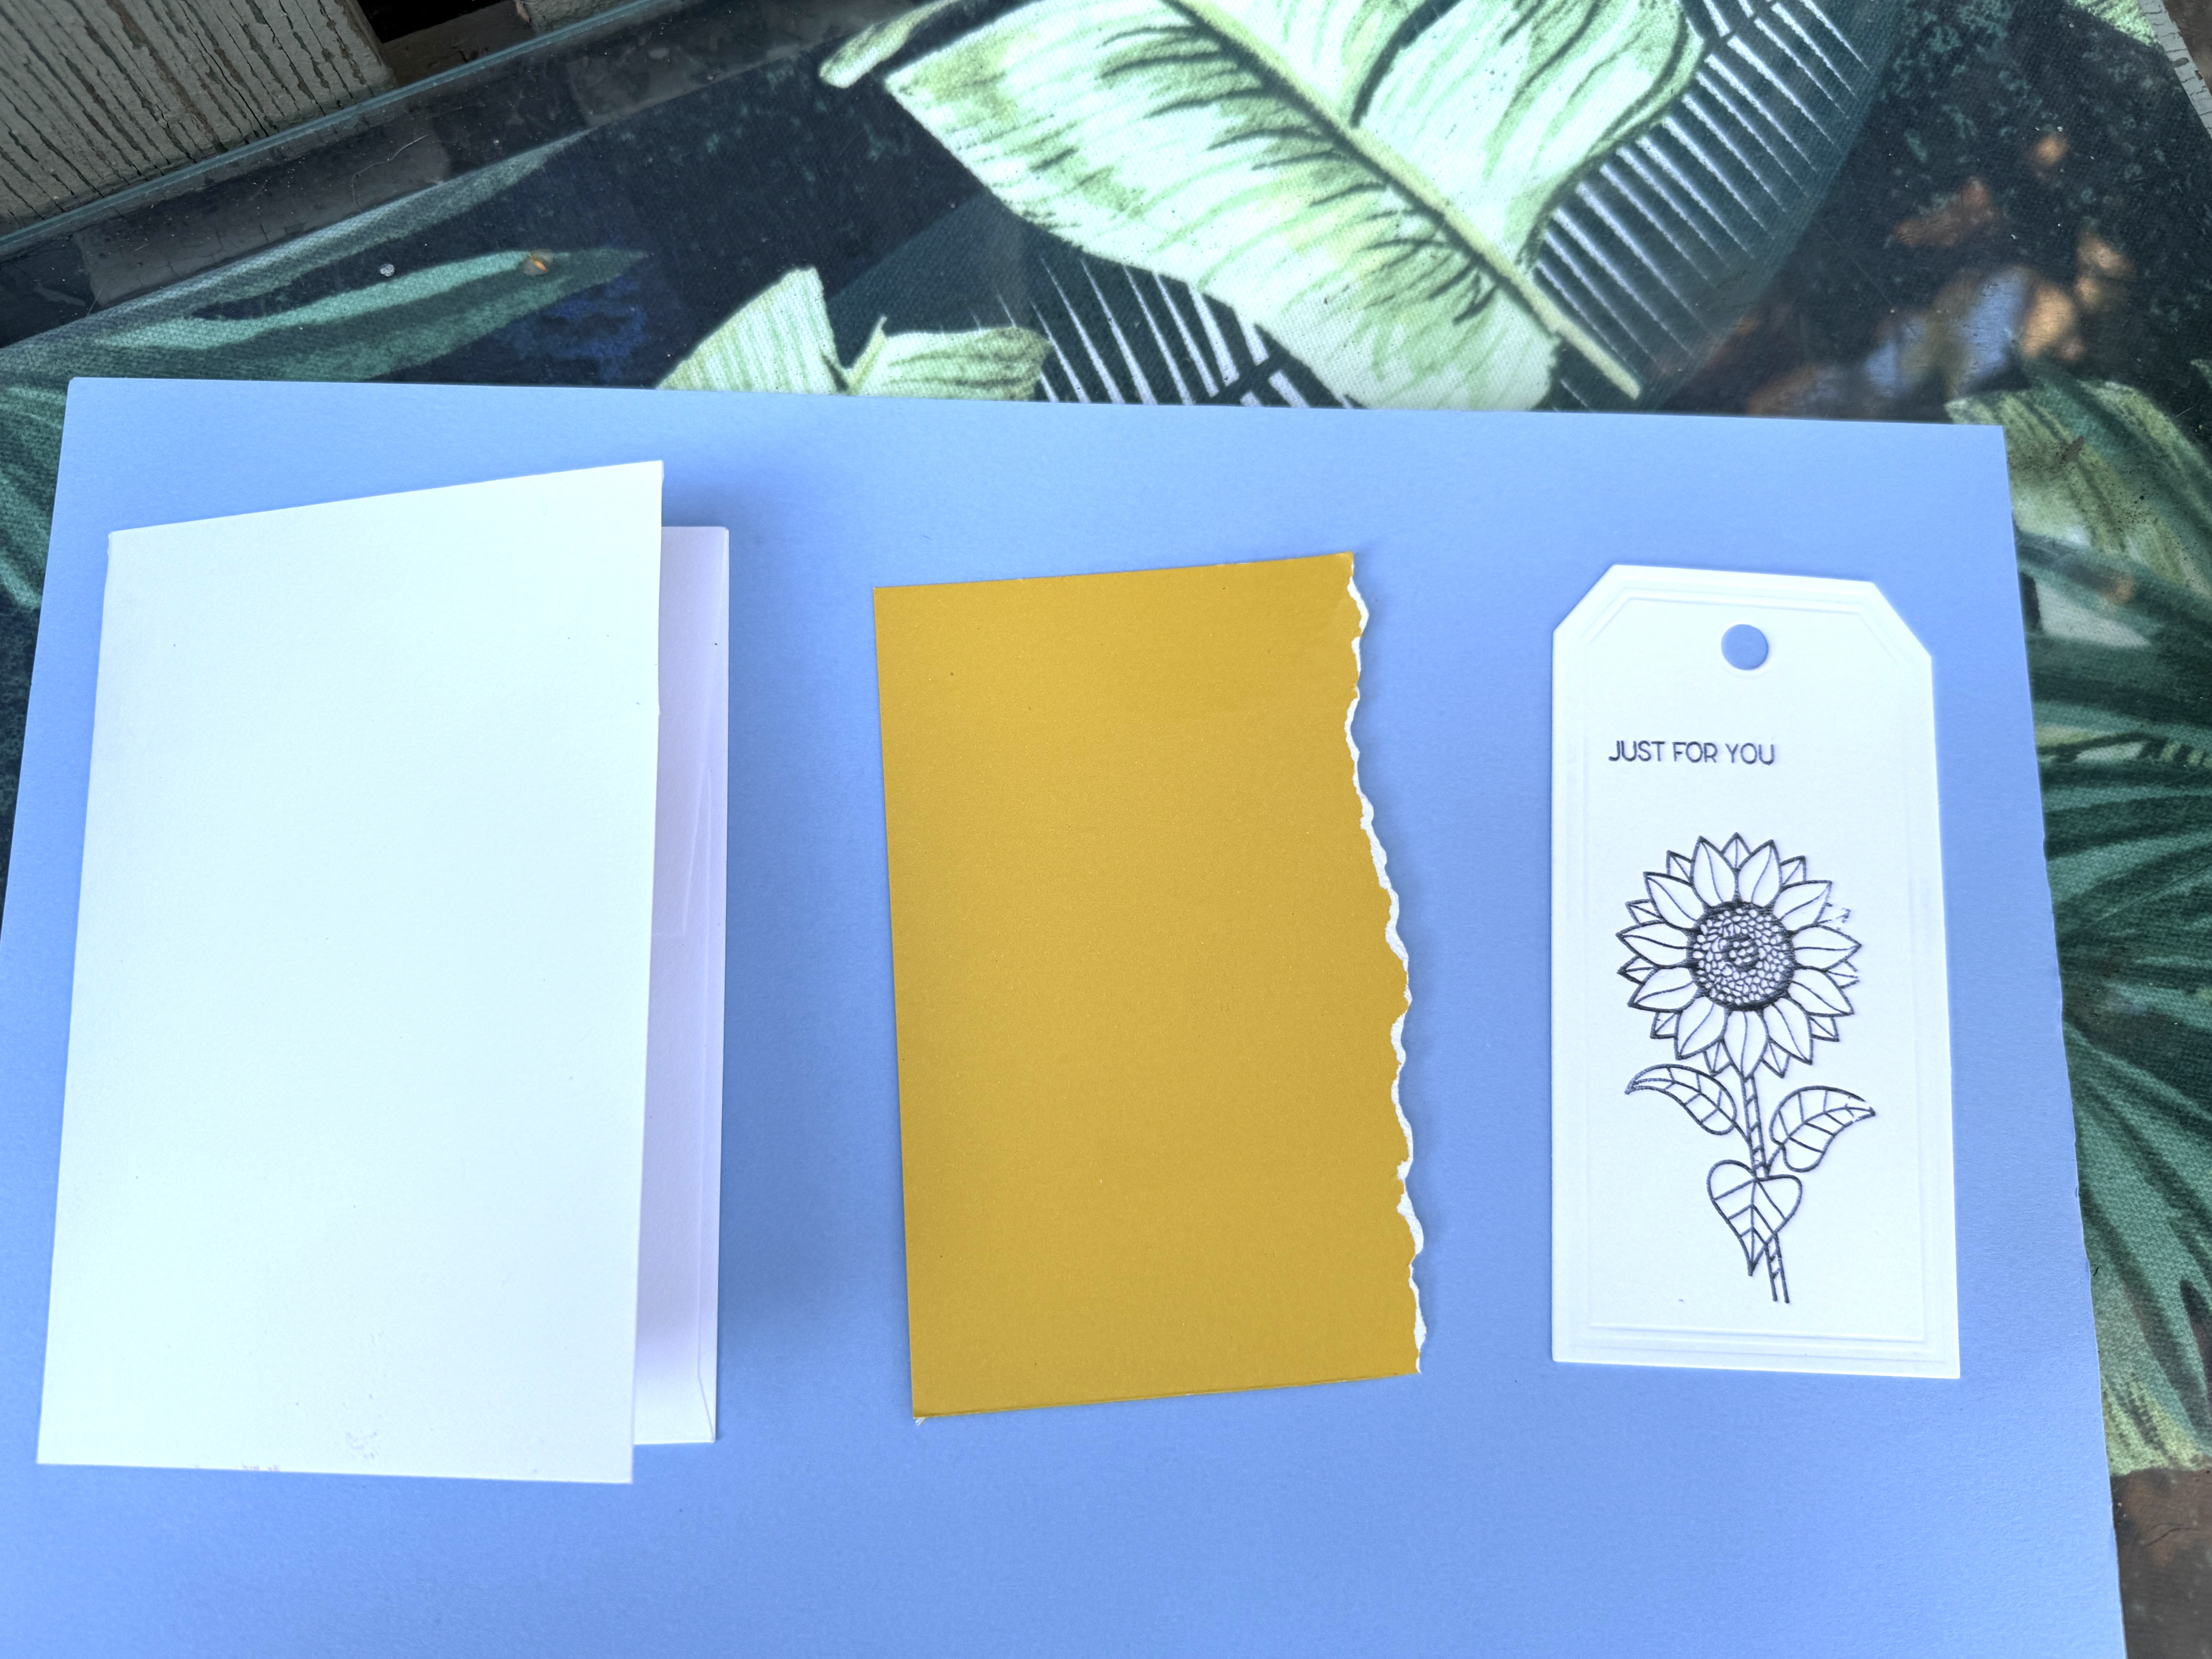
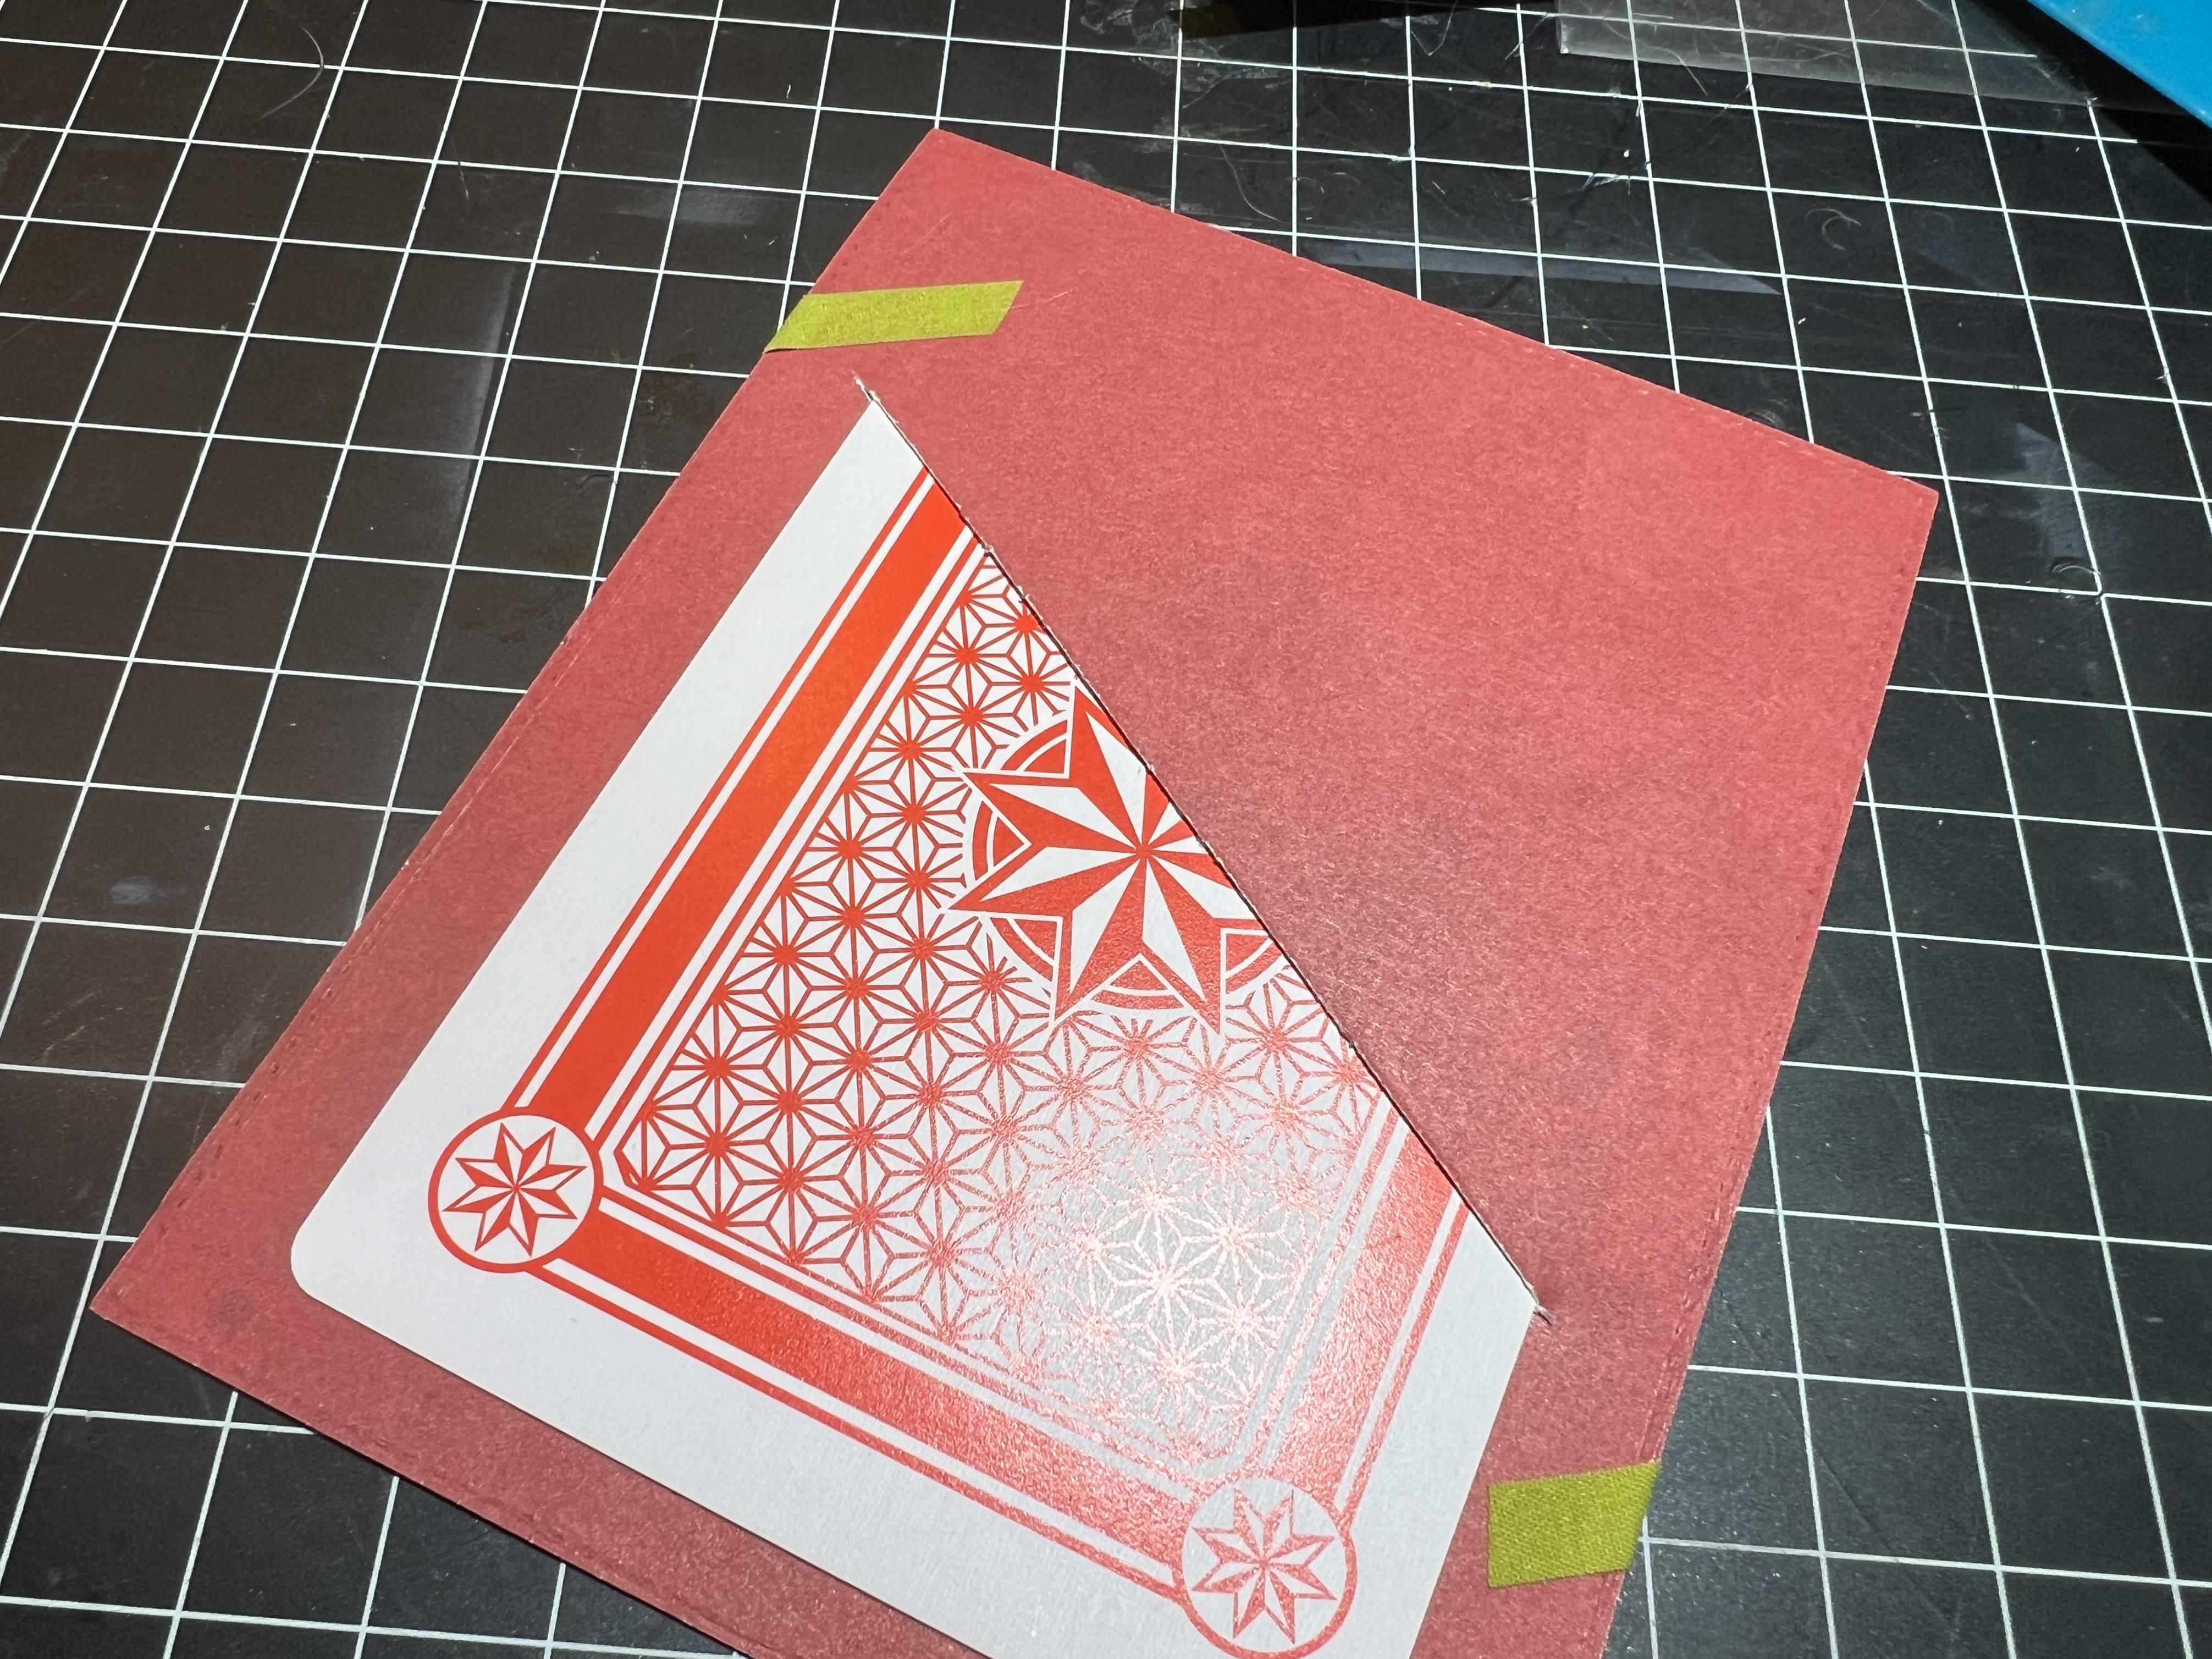
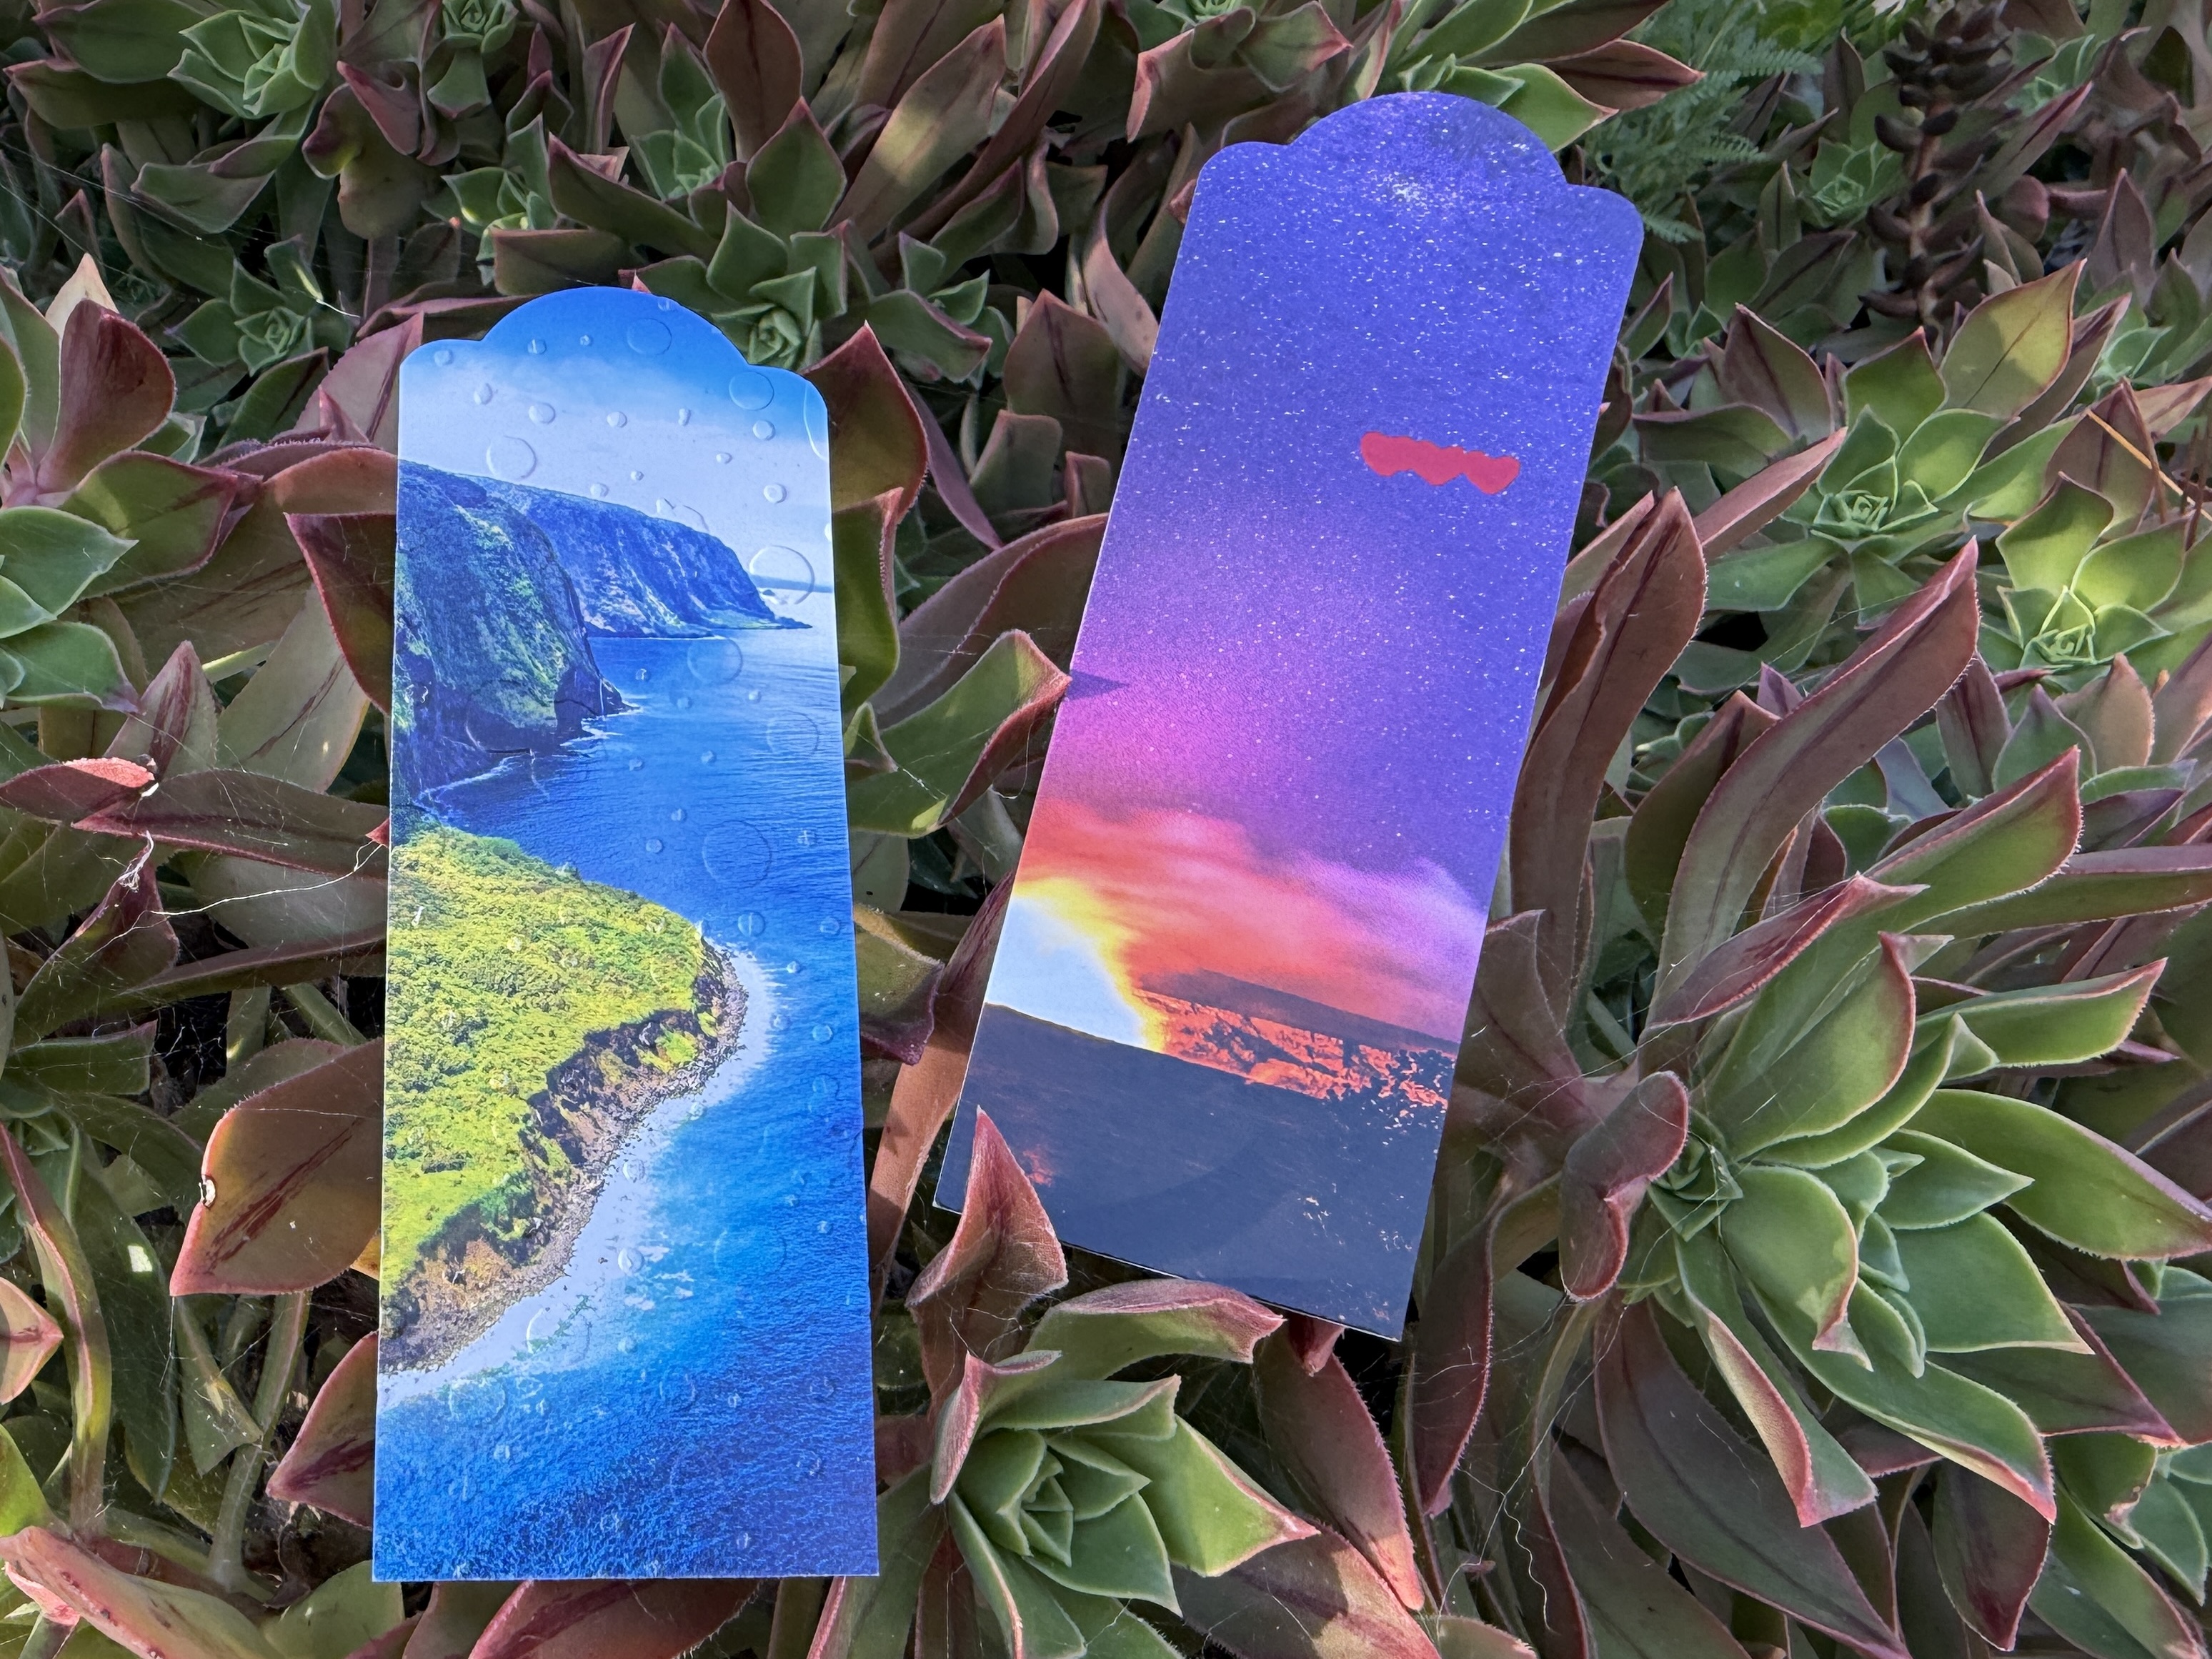
I used the heavier paper from the calendar’s cover to make a few bookmarks.


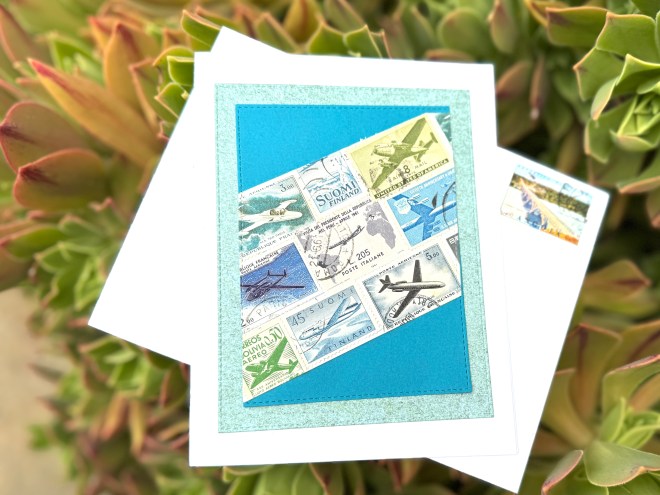
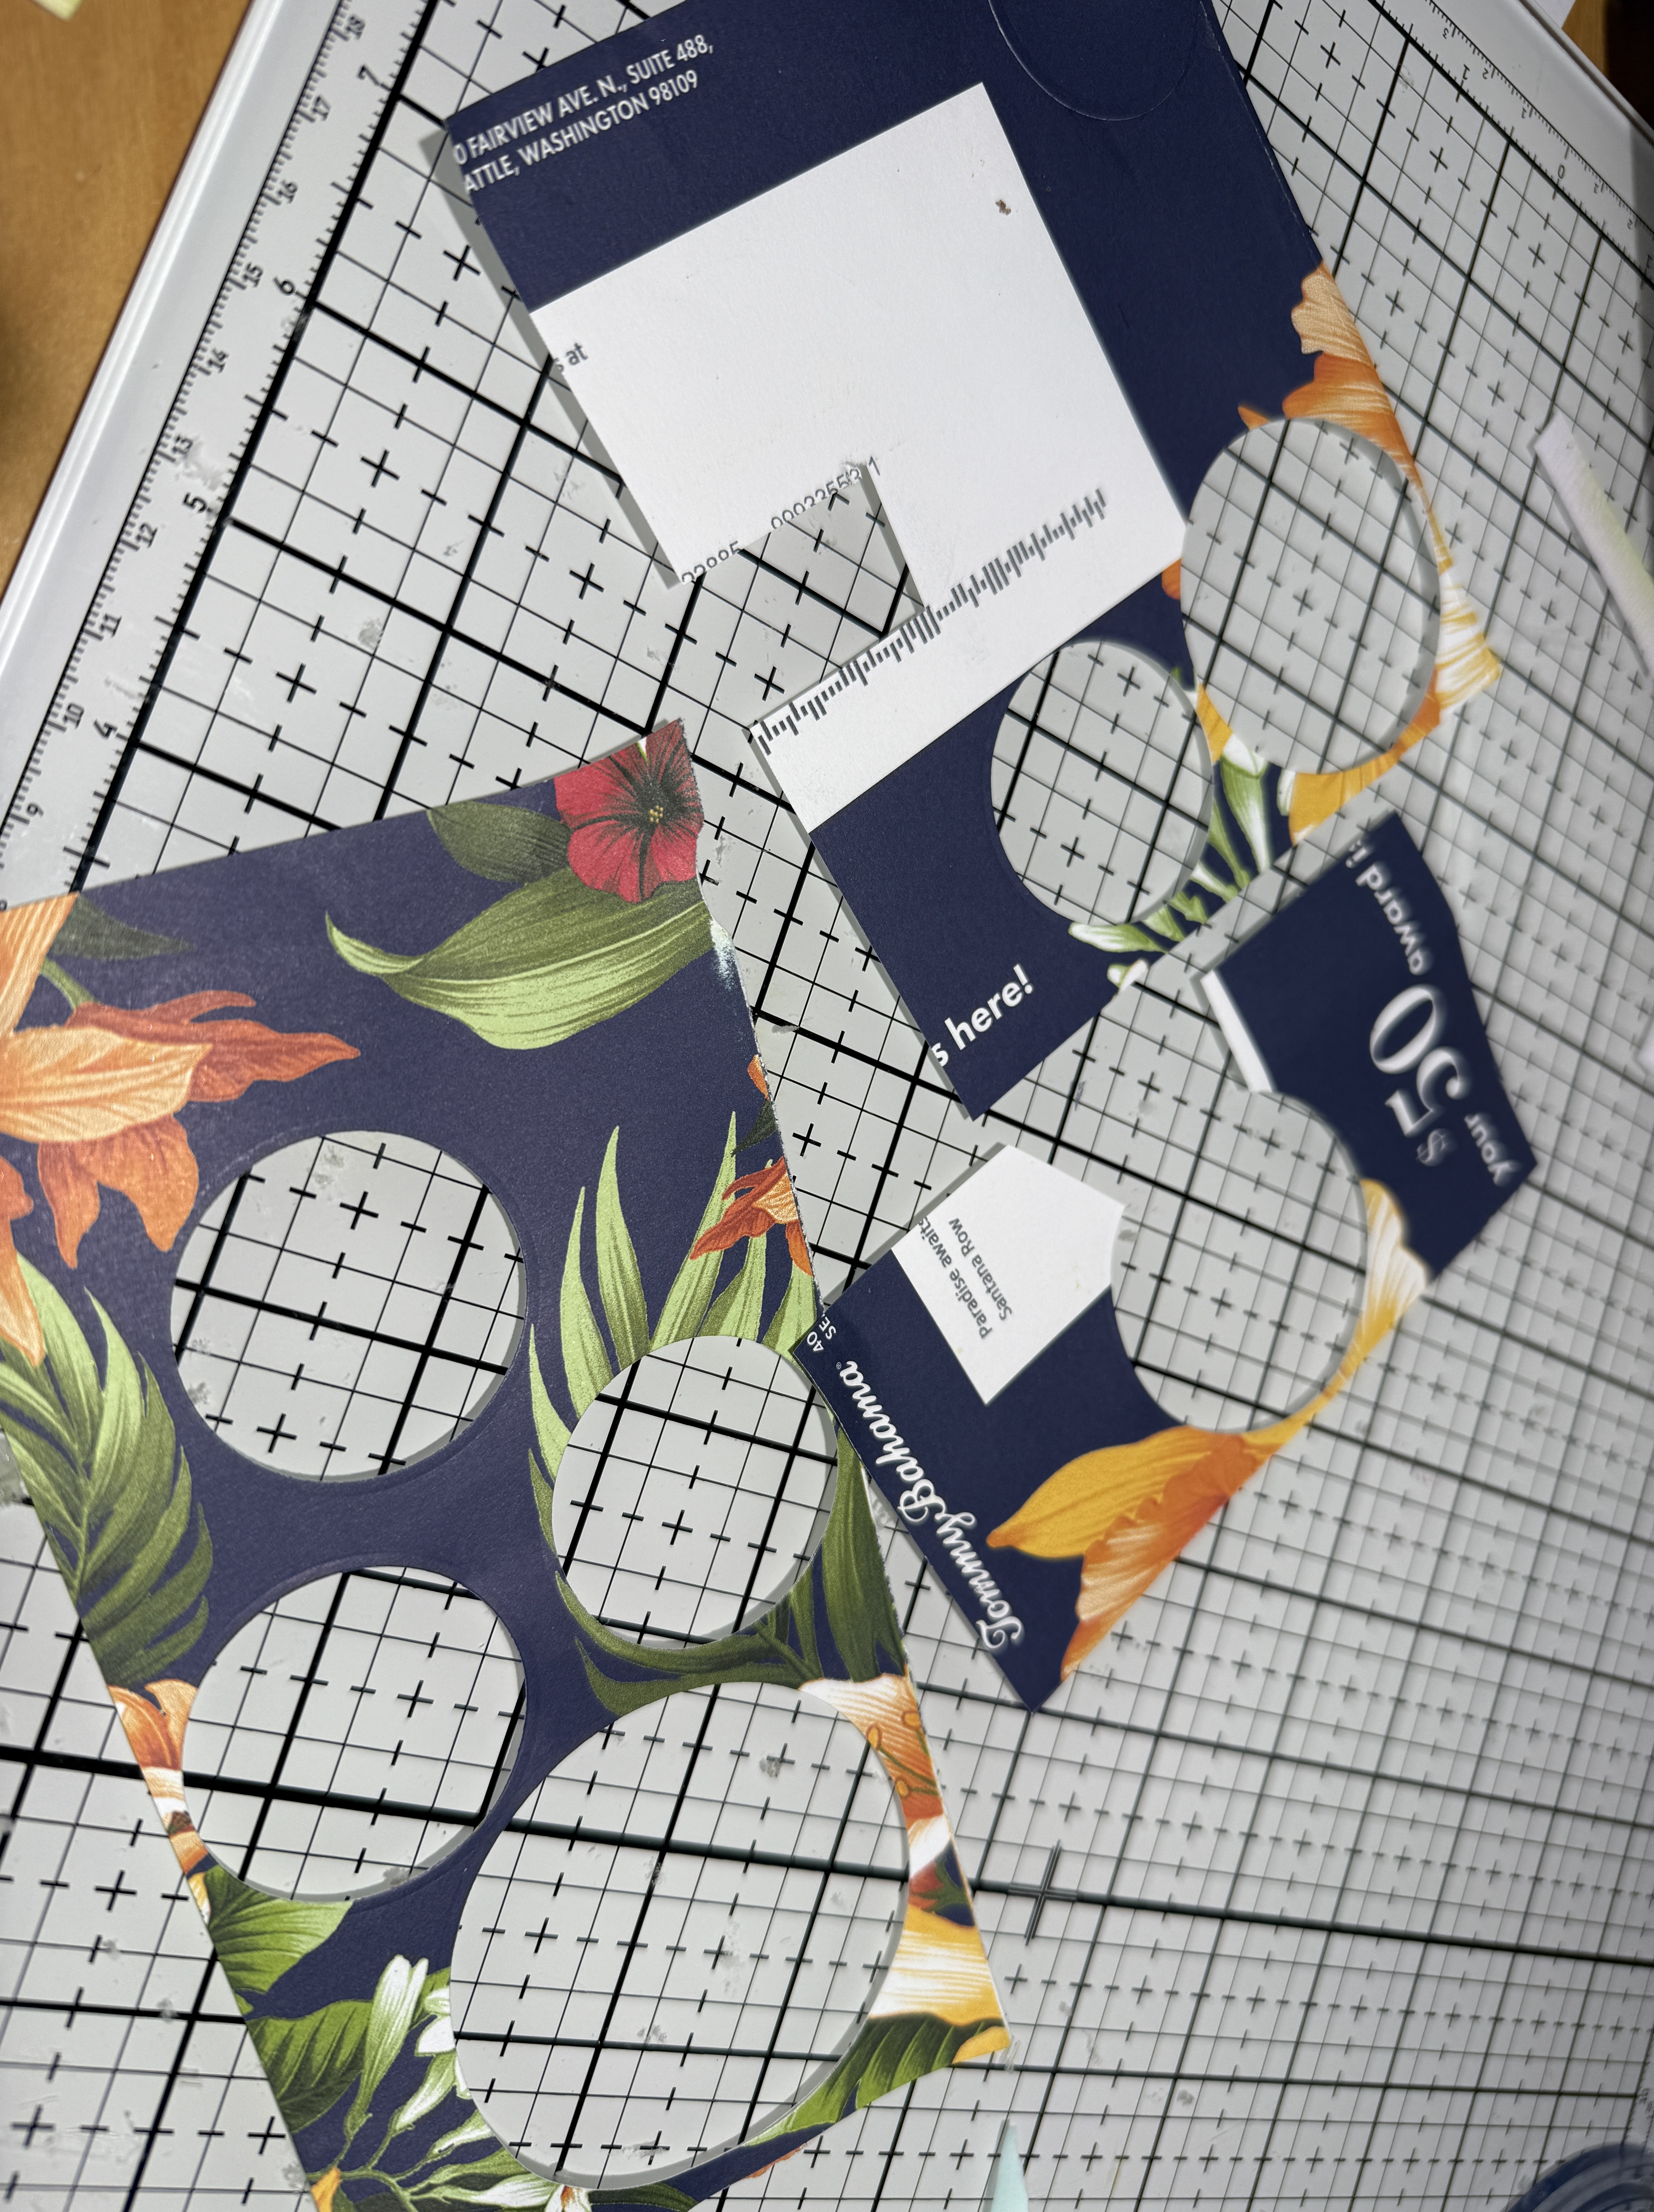
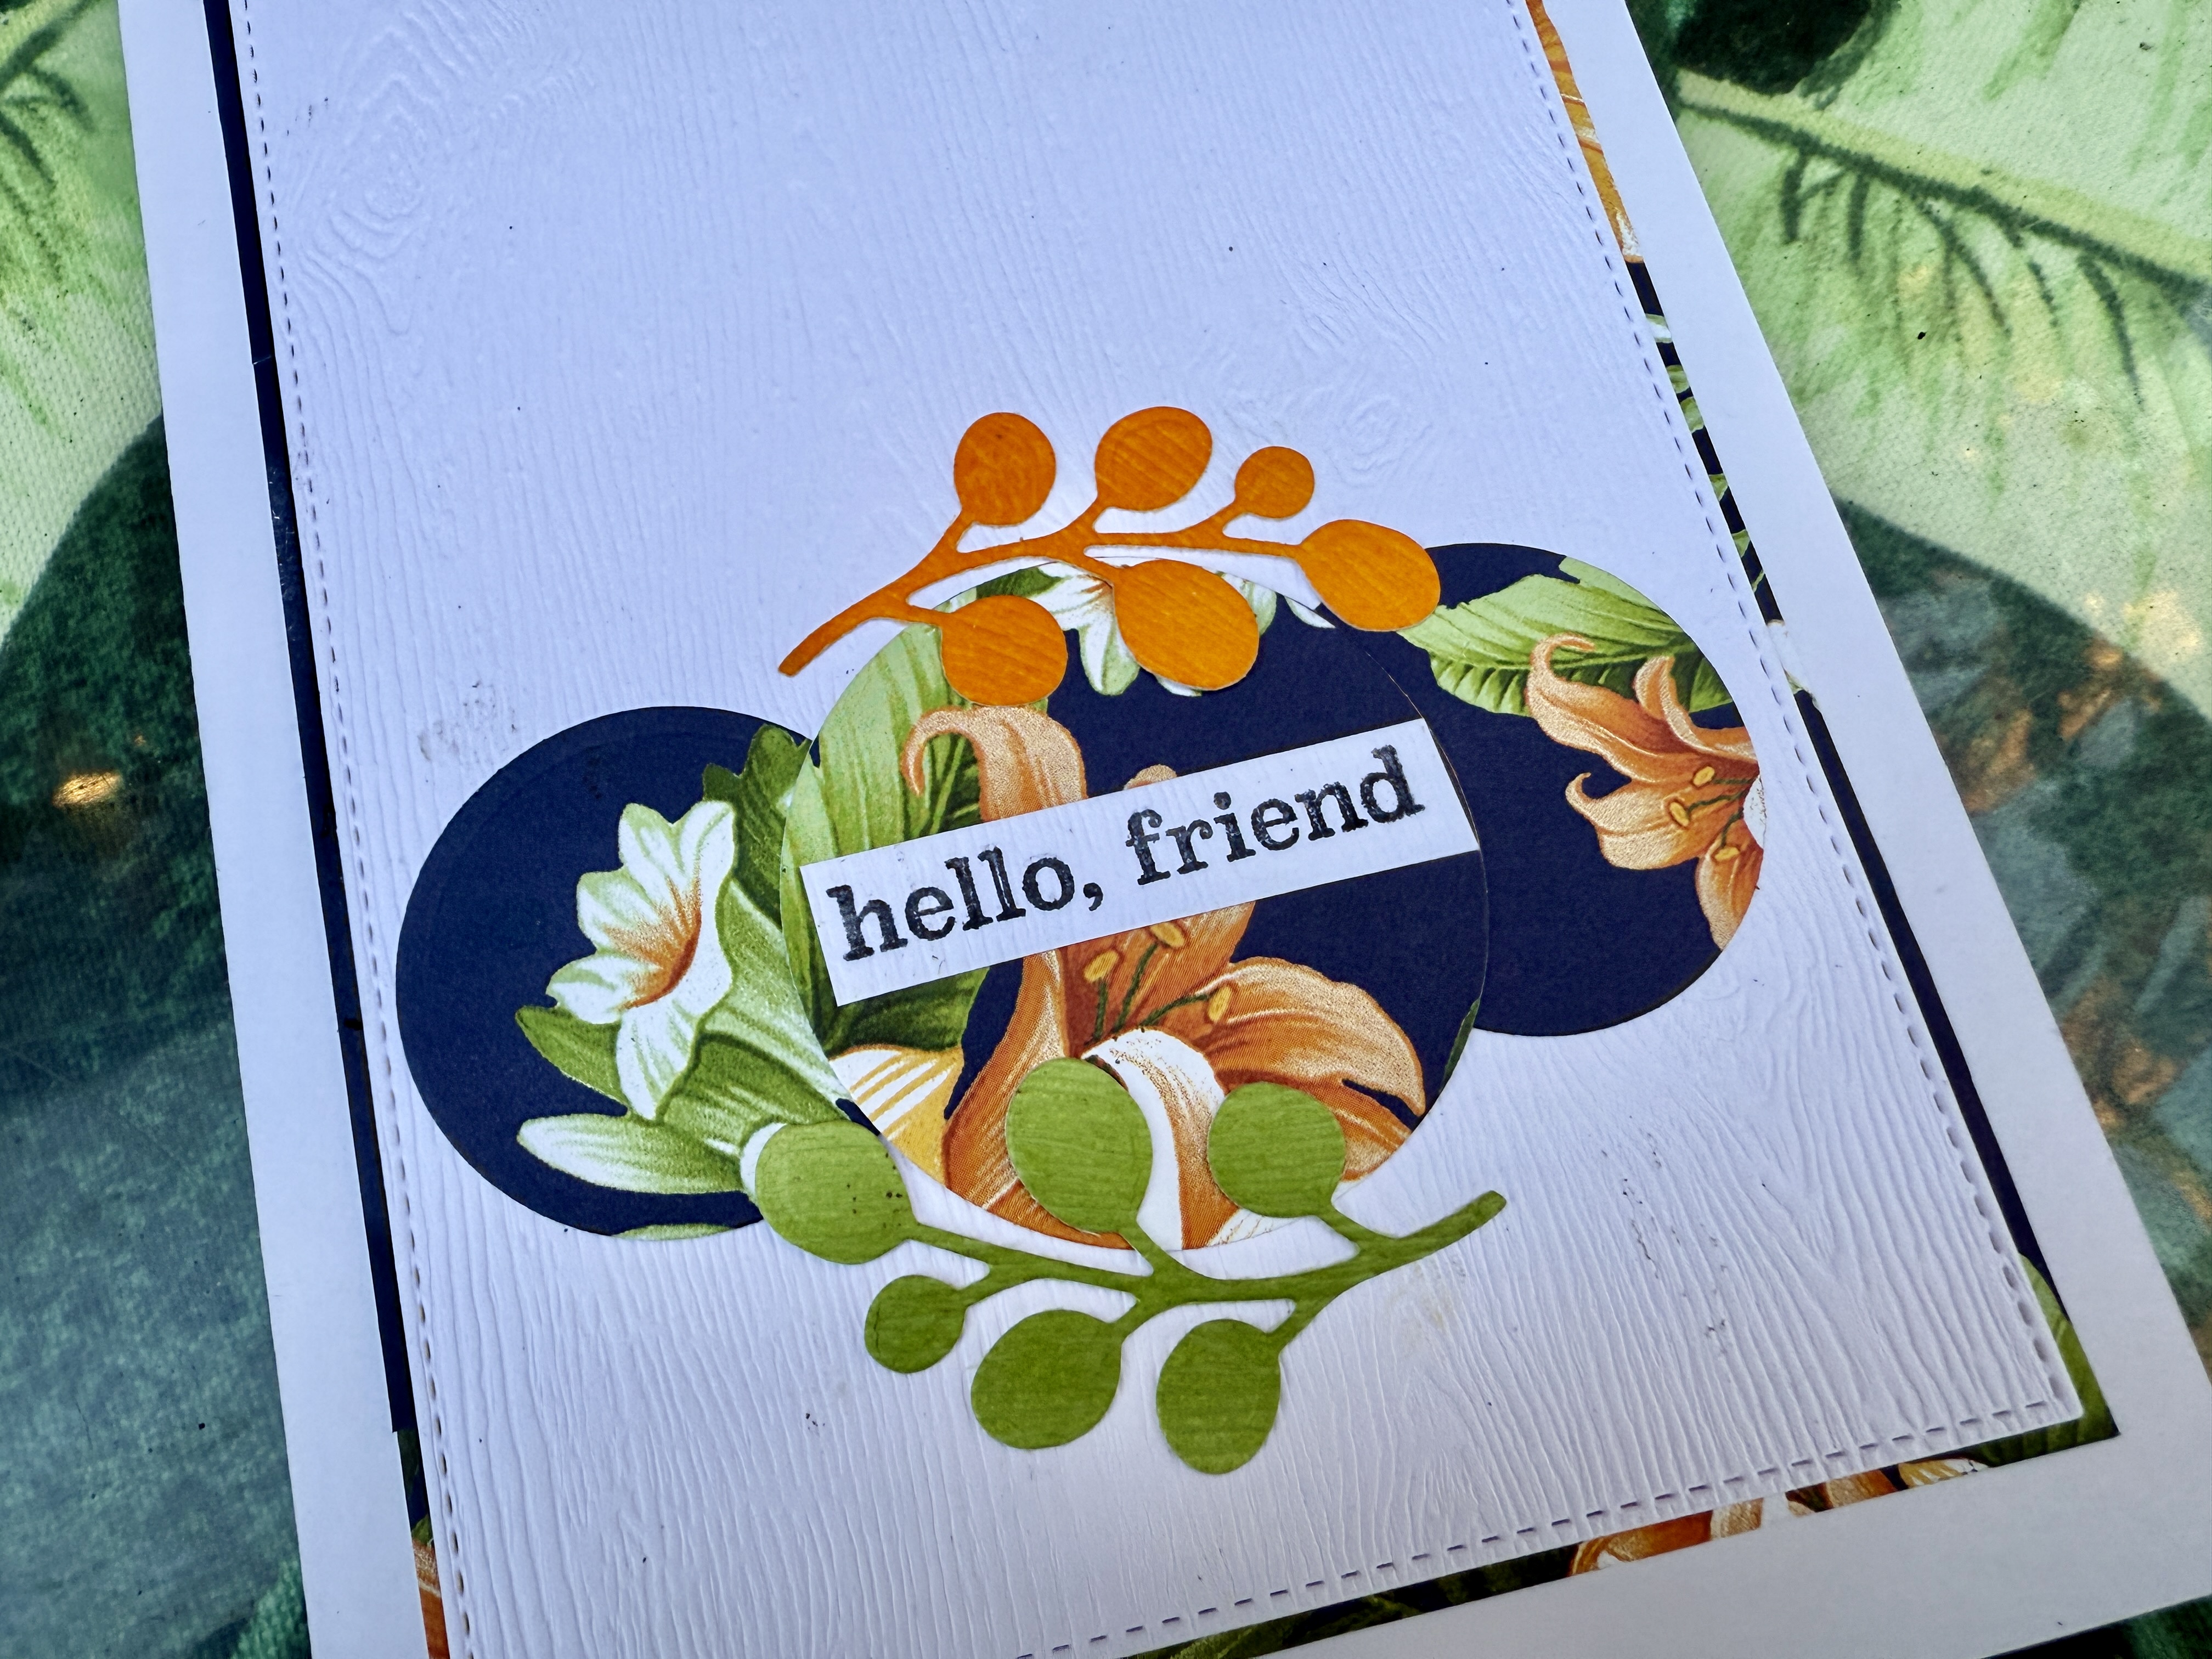
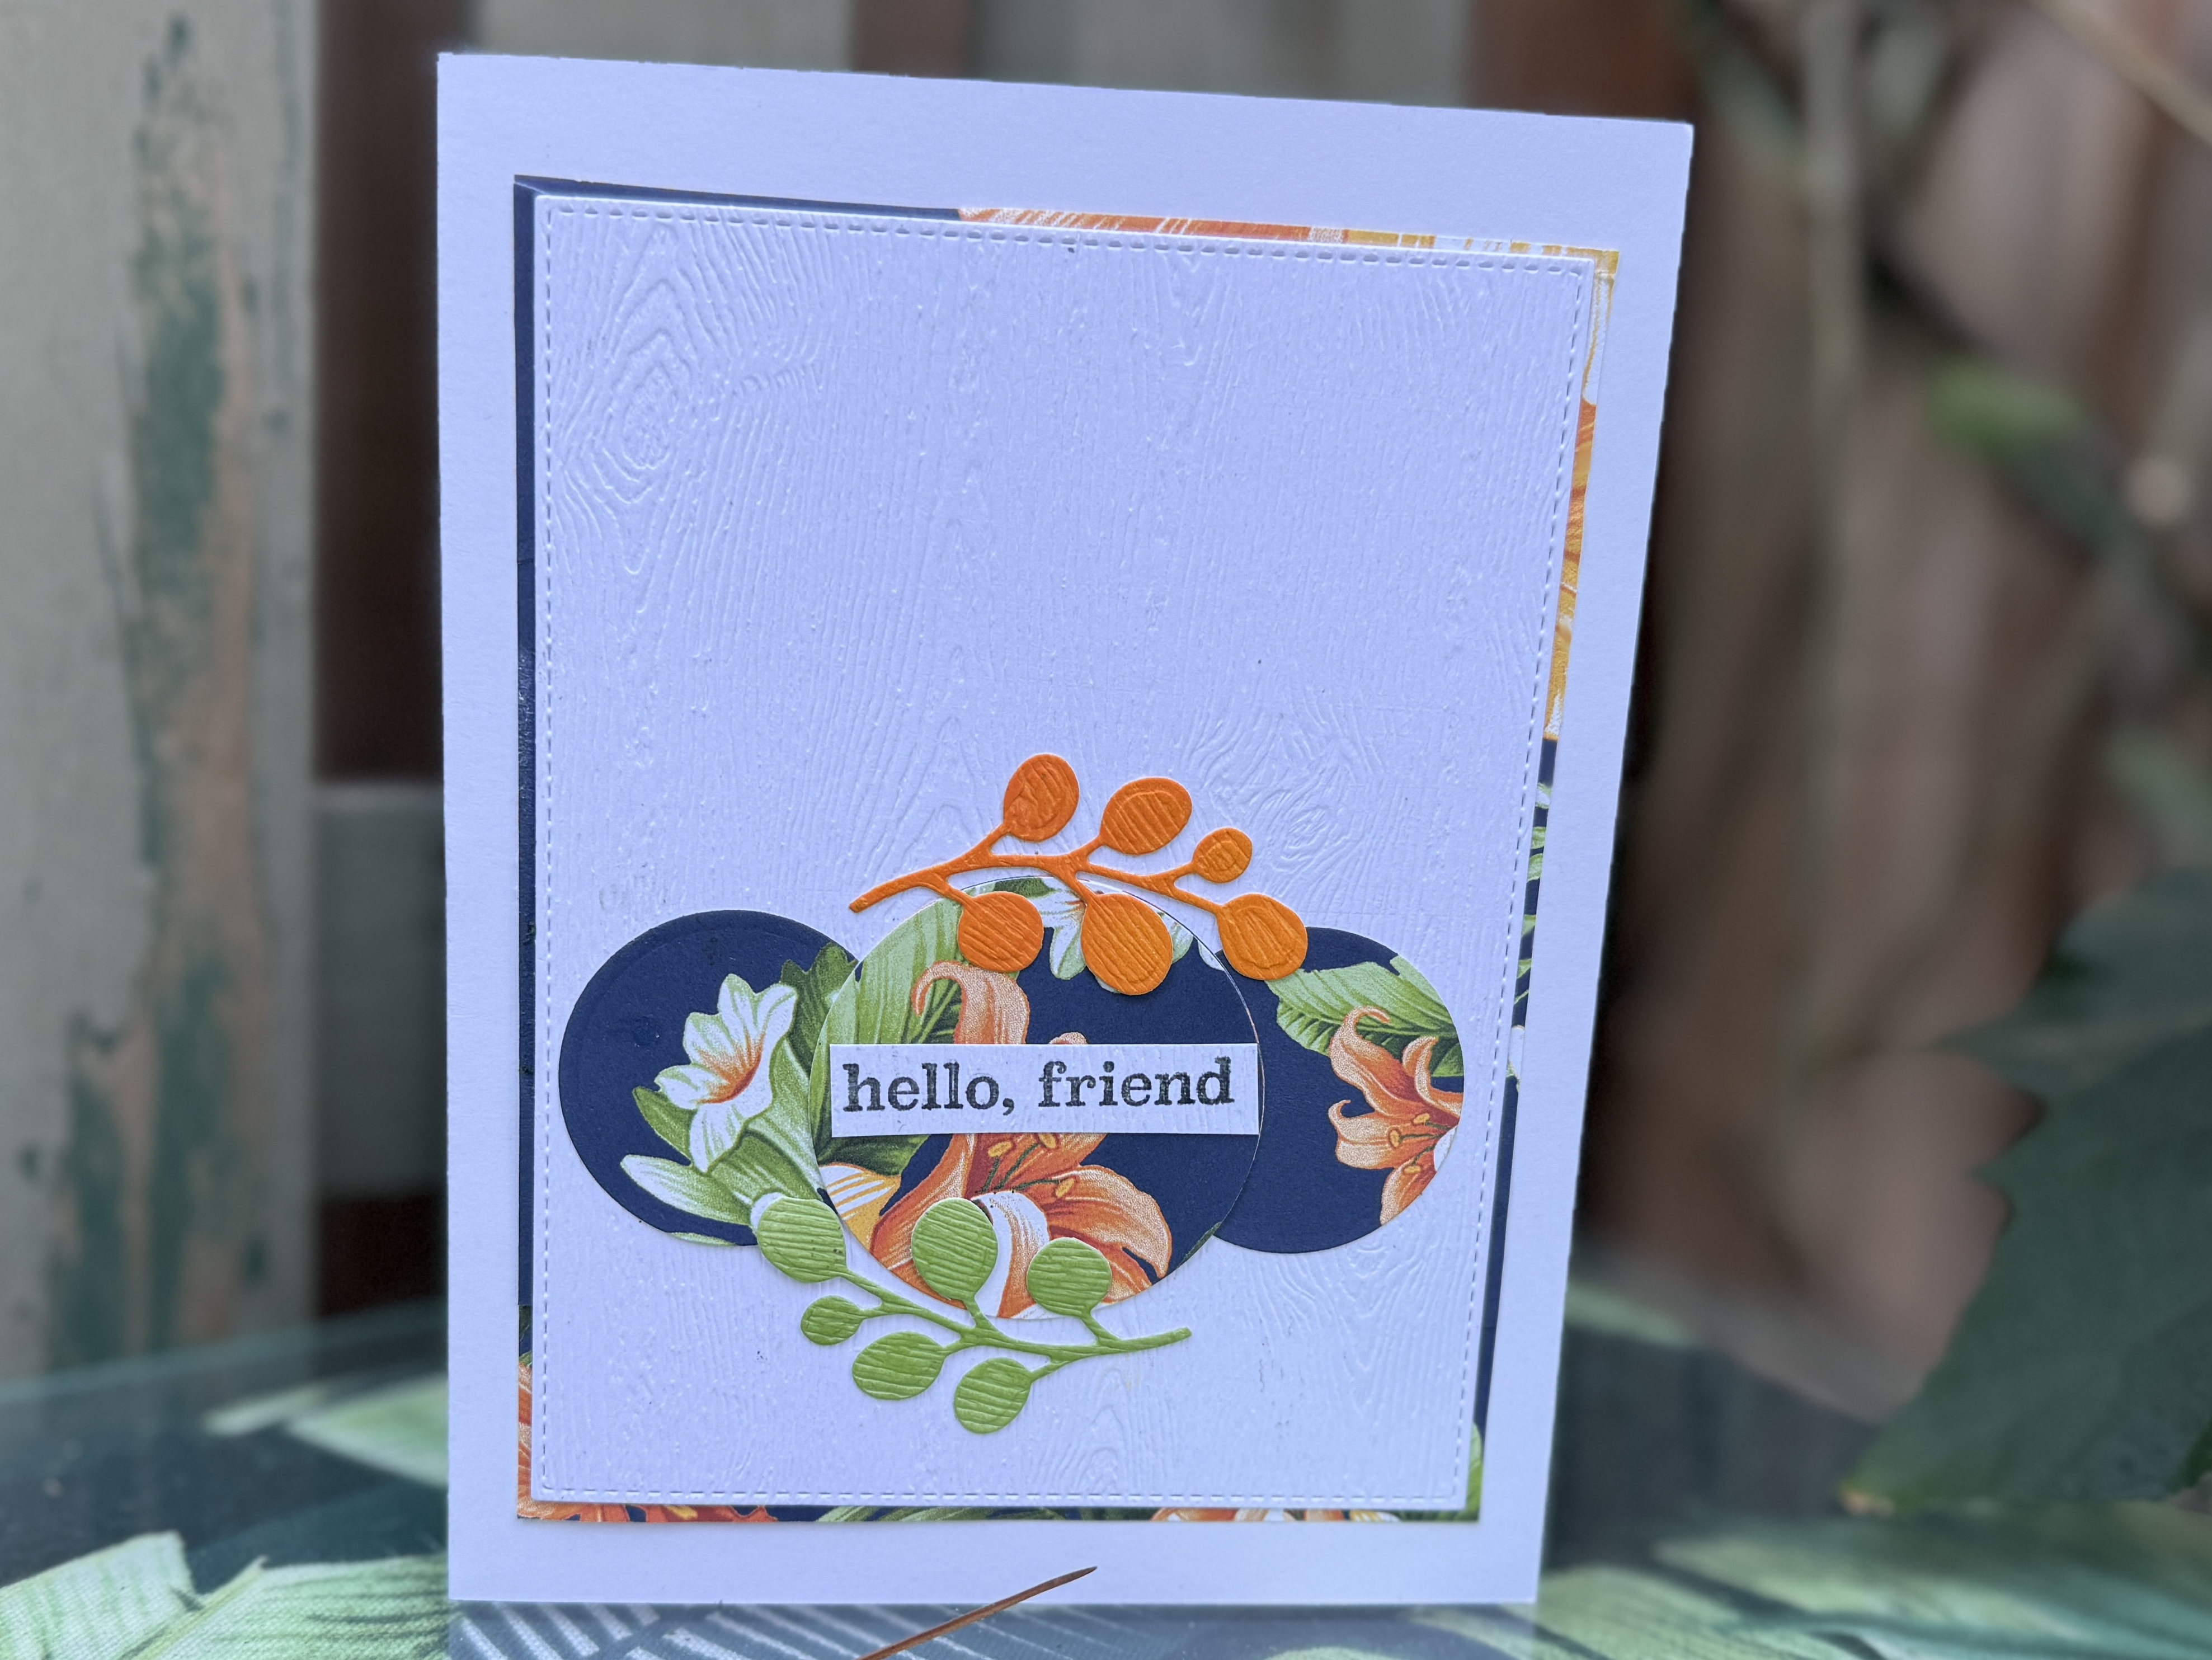
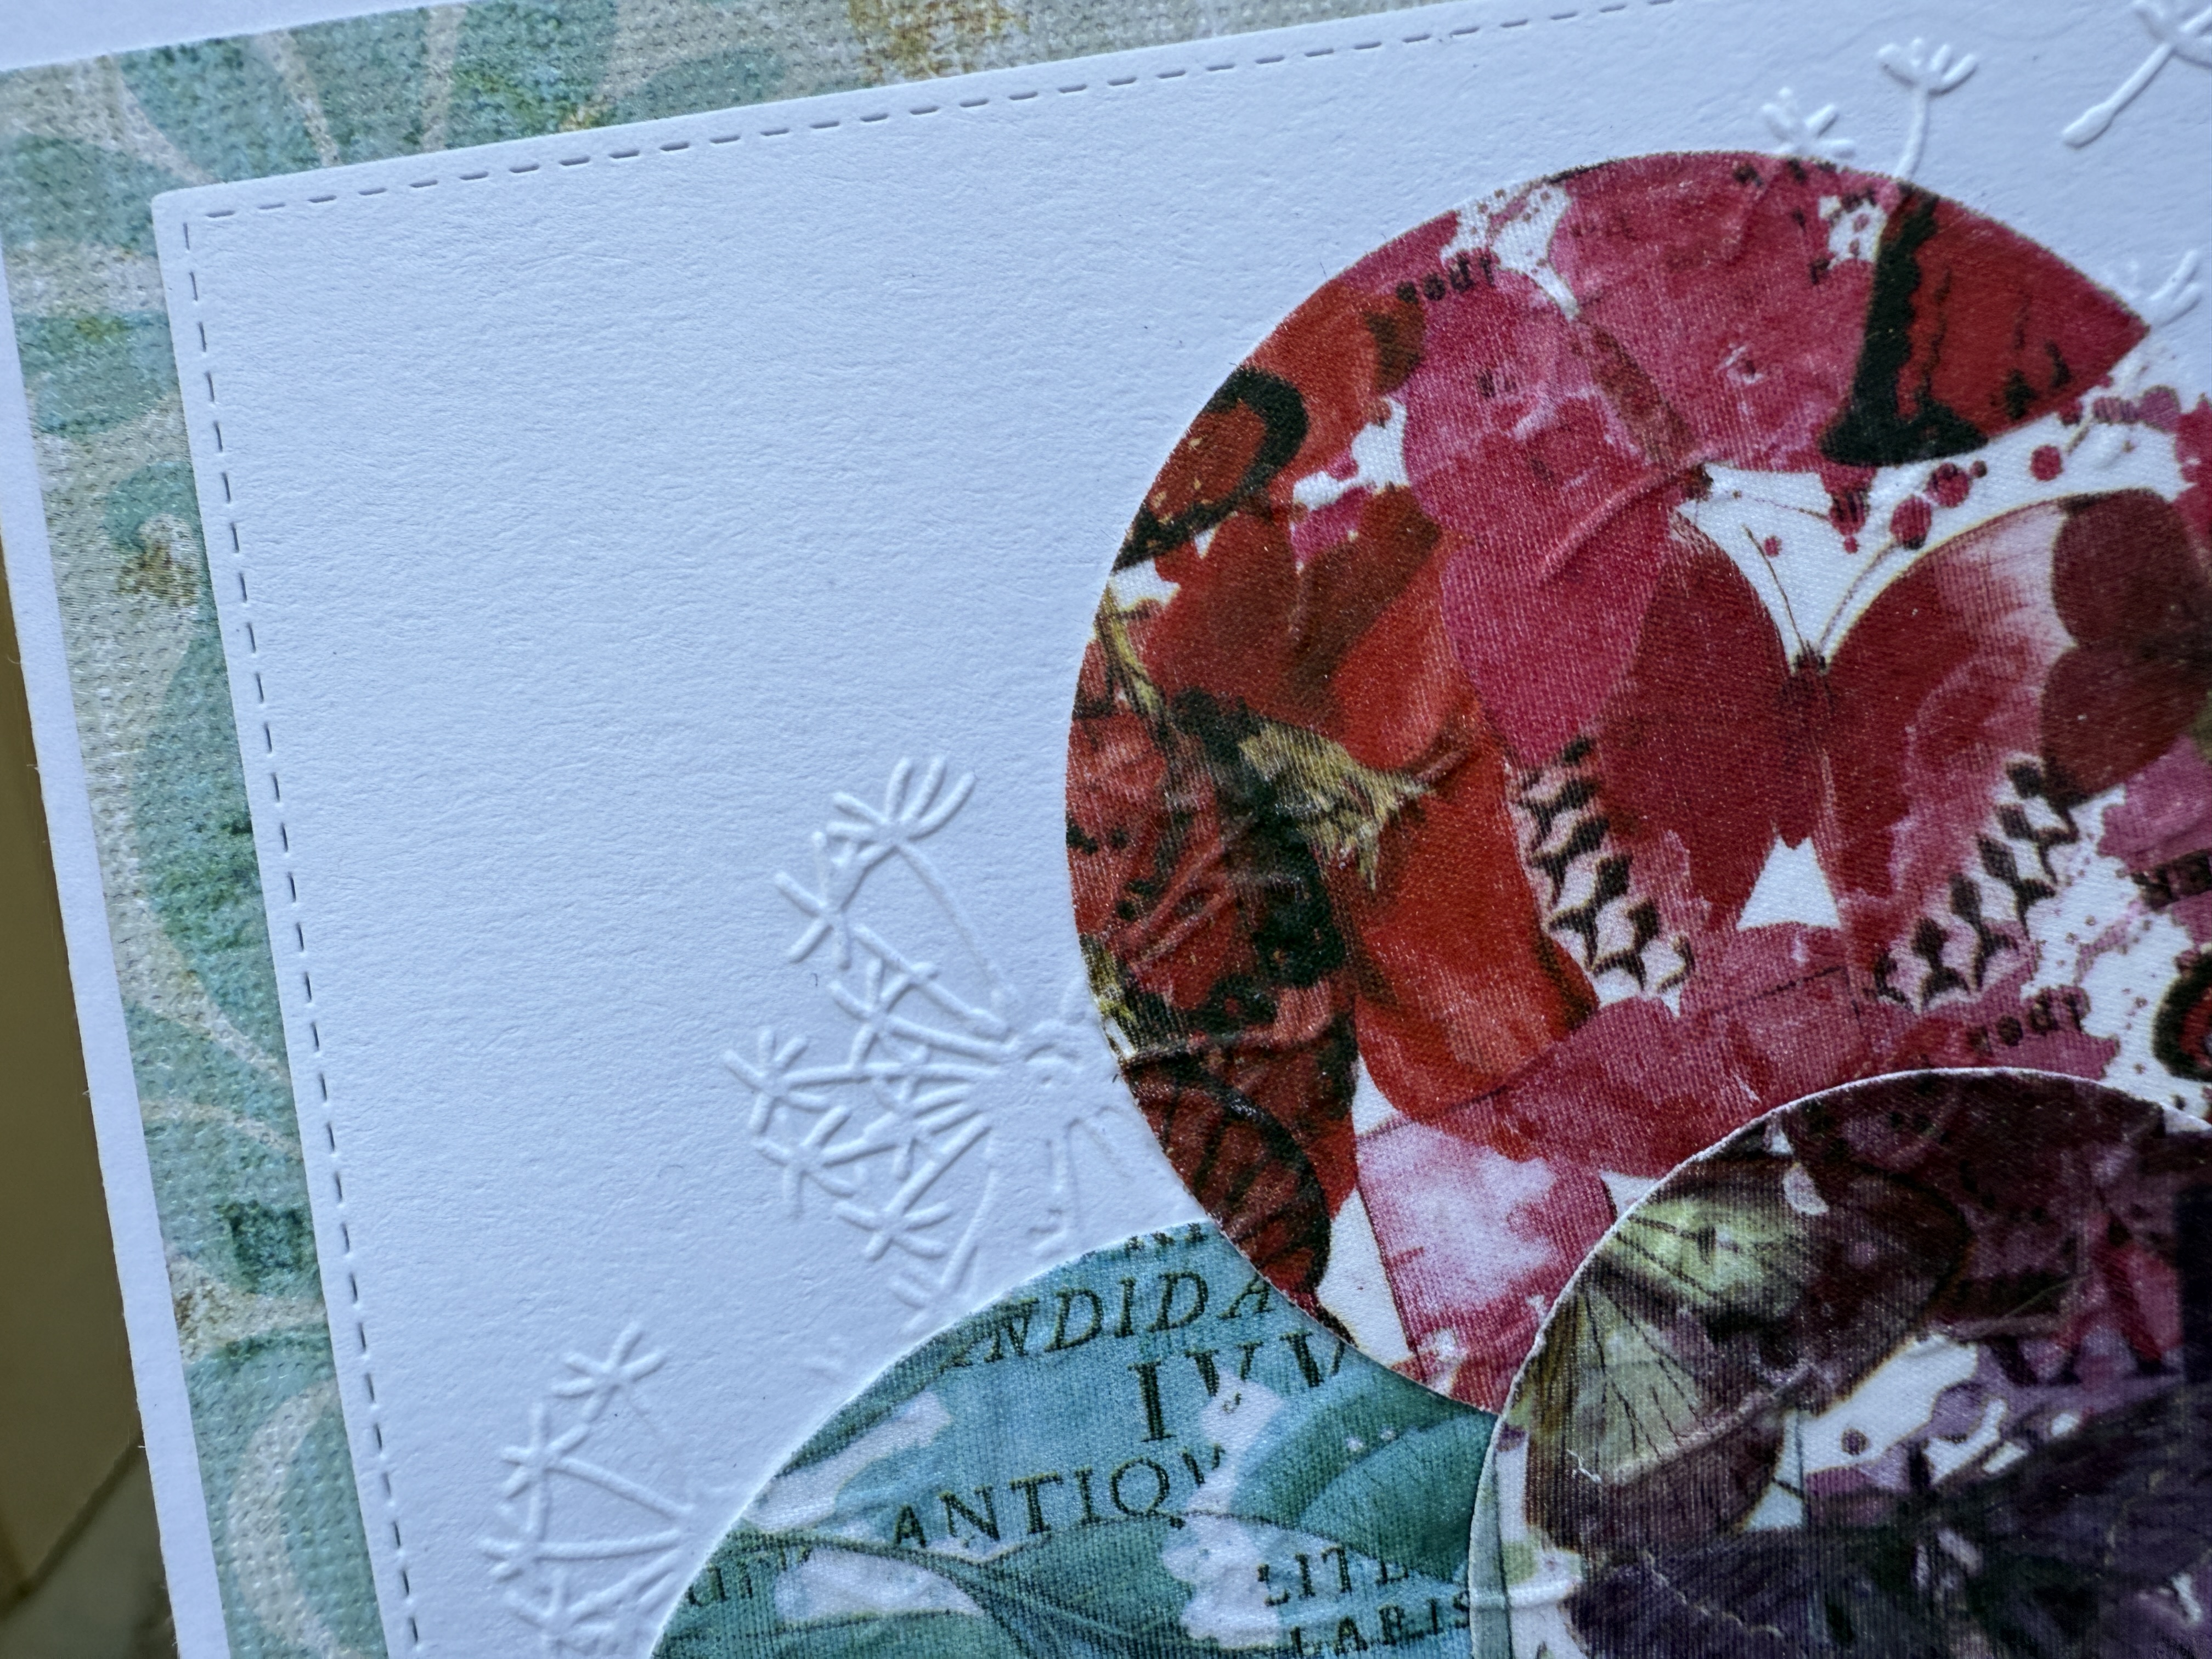
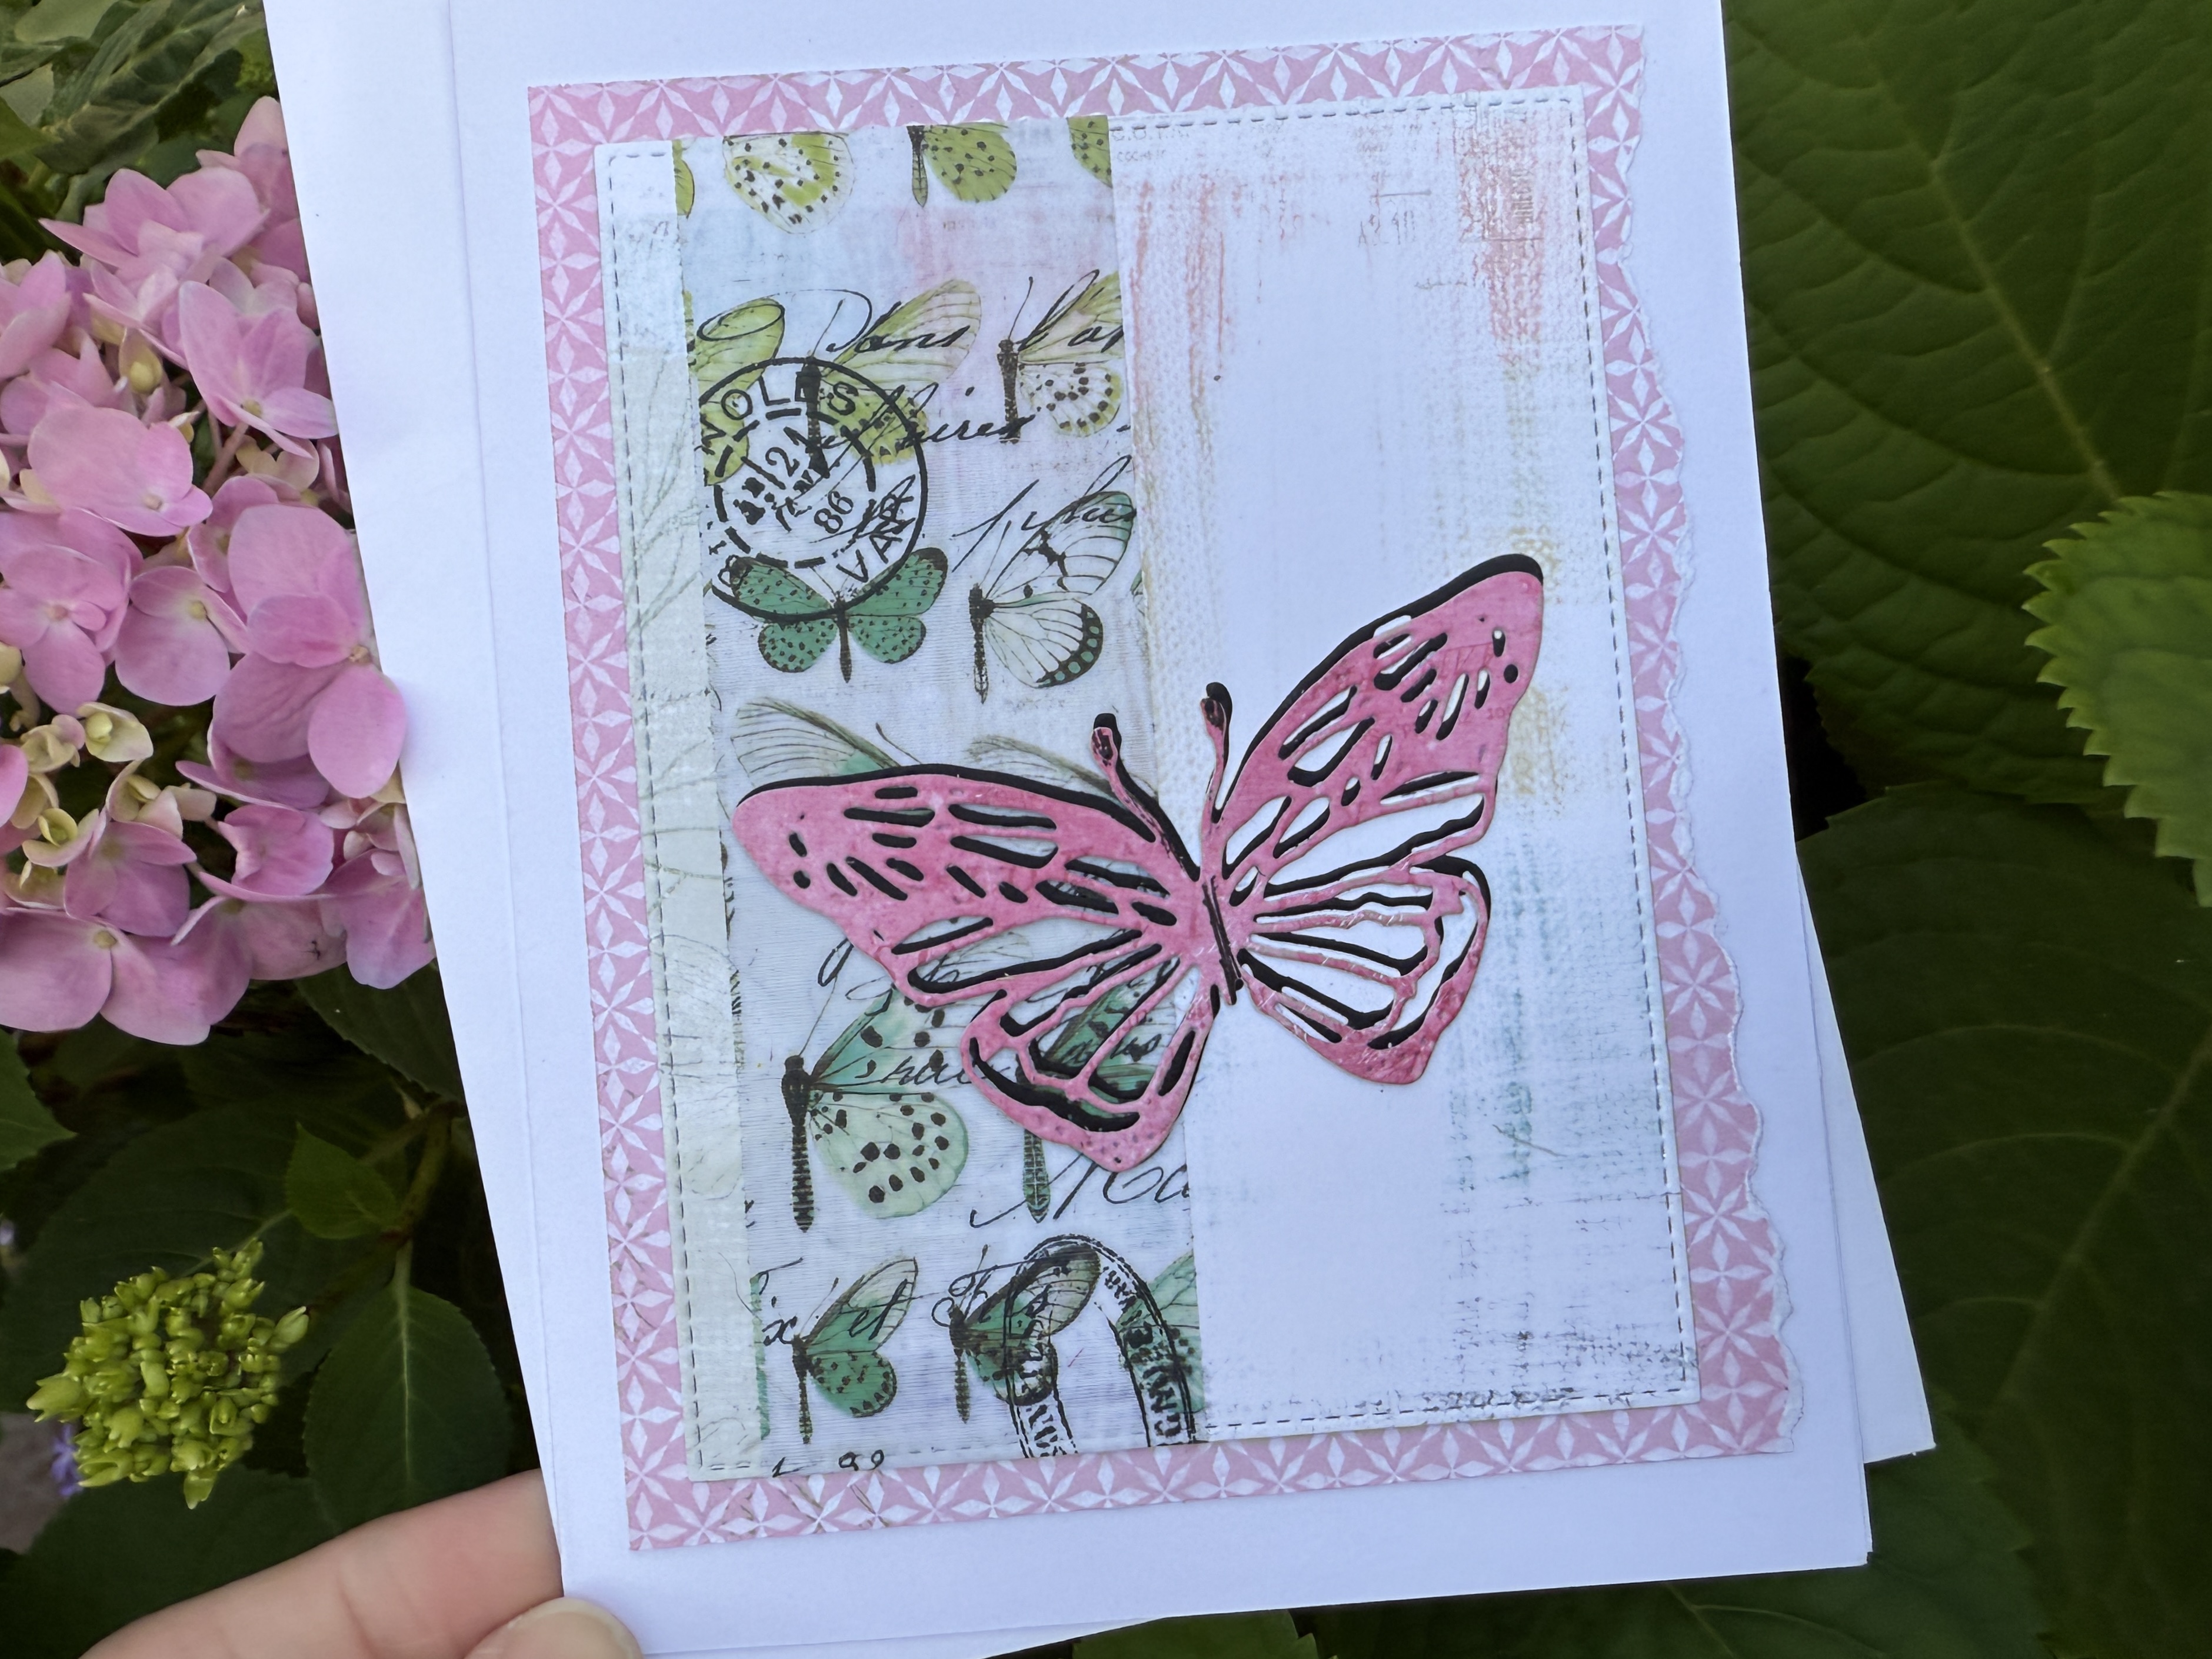
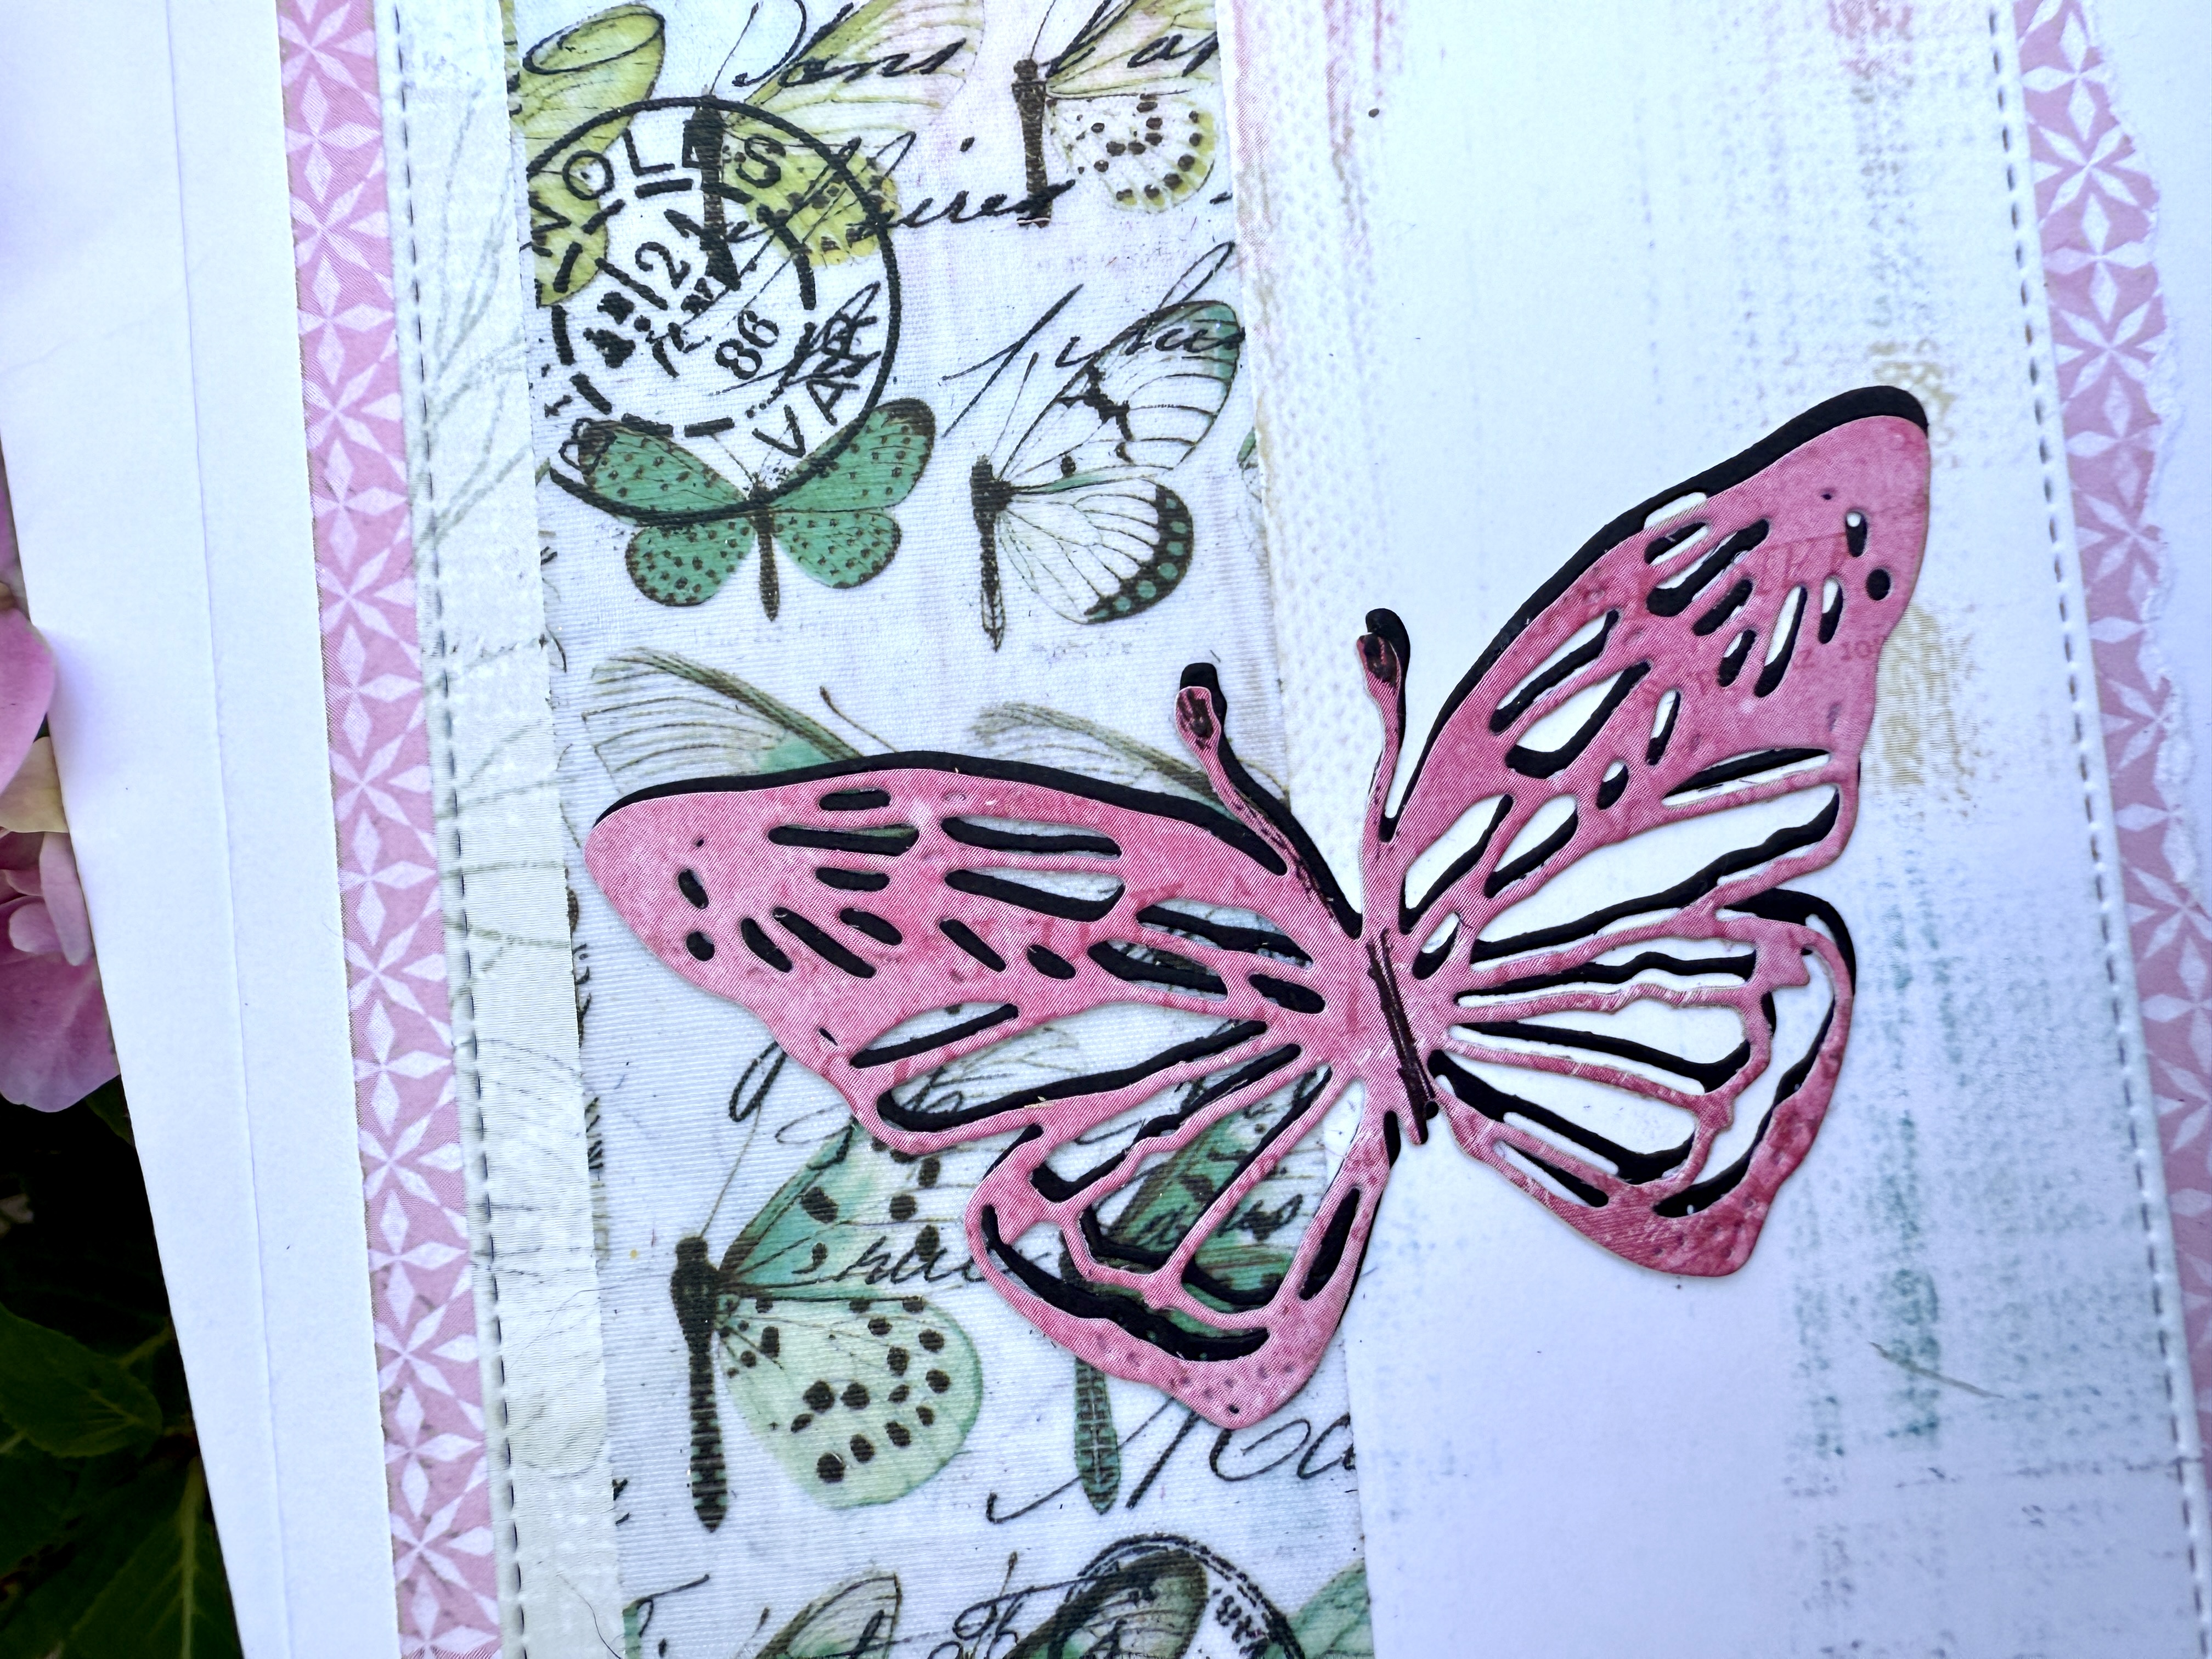
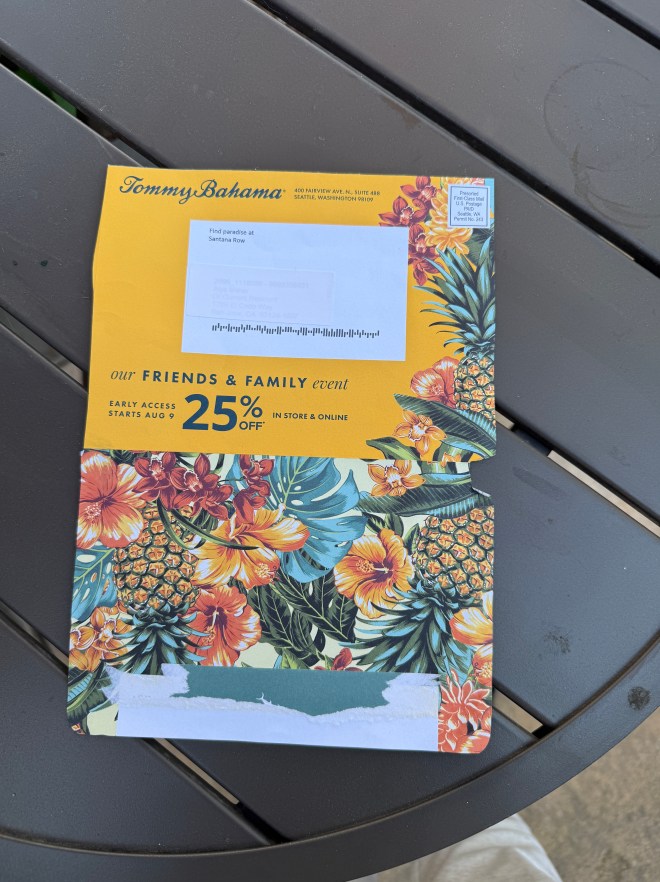
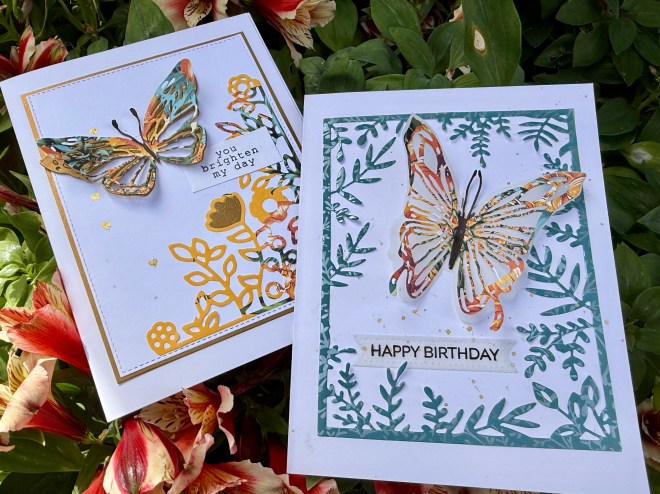
The following two cards are created with a Tommy Bahama mailer, in tropical oranges and greens.
I managed to cut two butterflies and the floral image from the mailer.
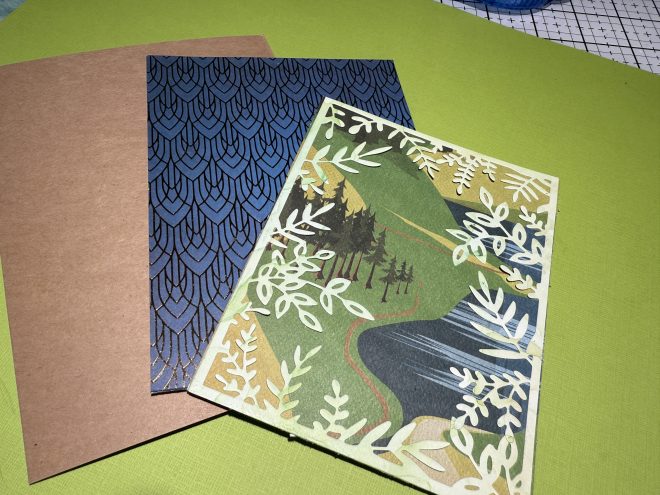
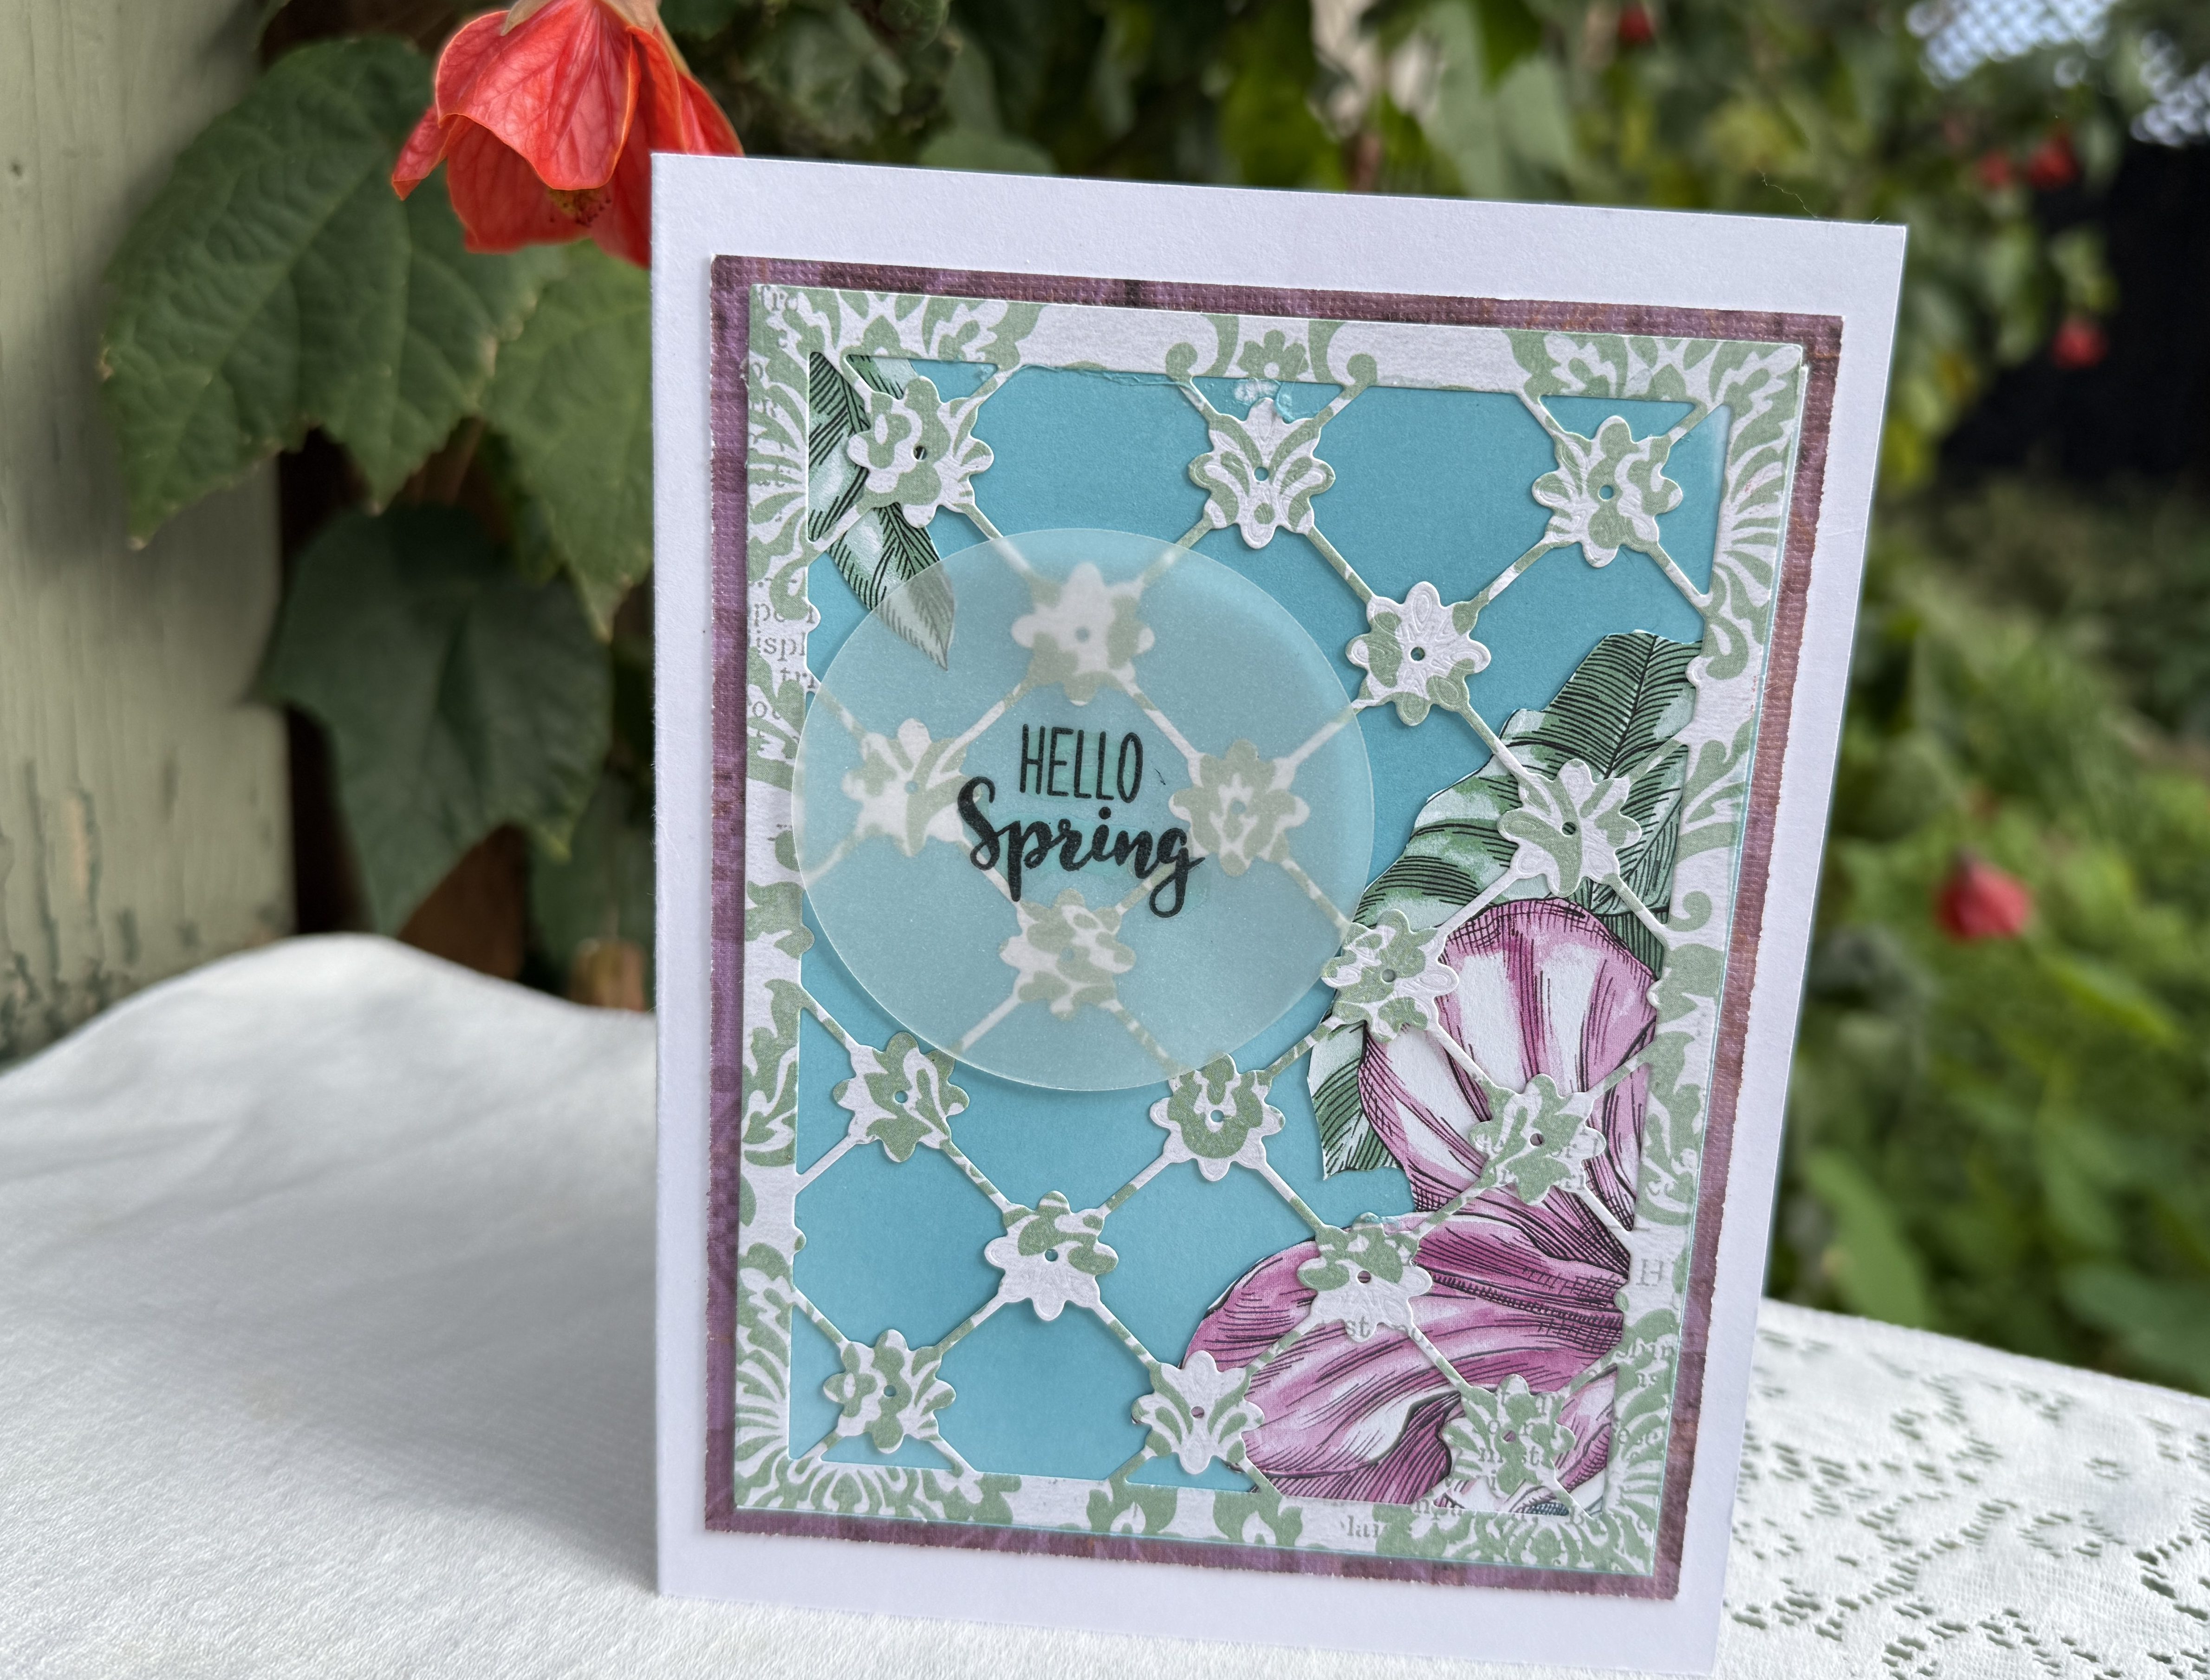
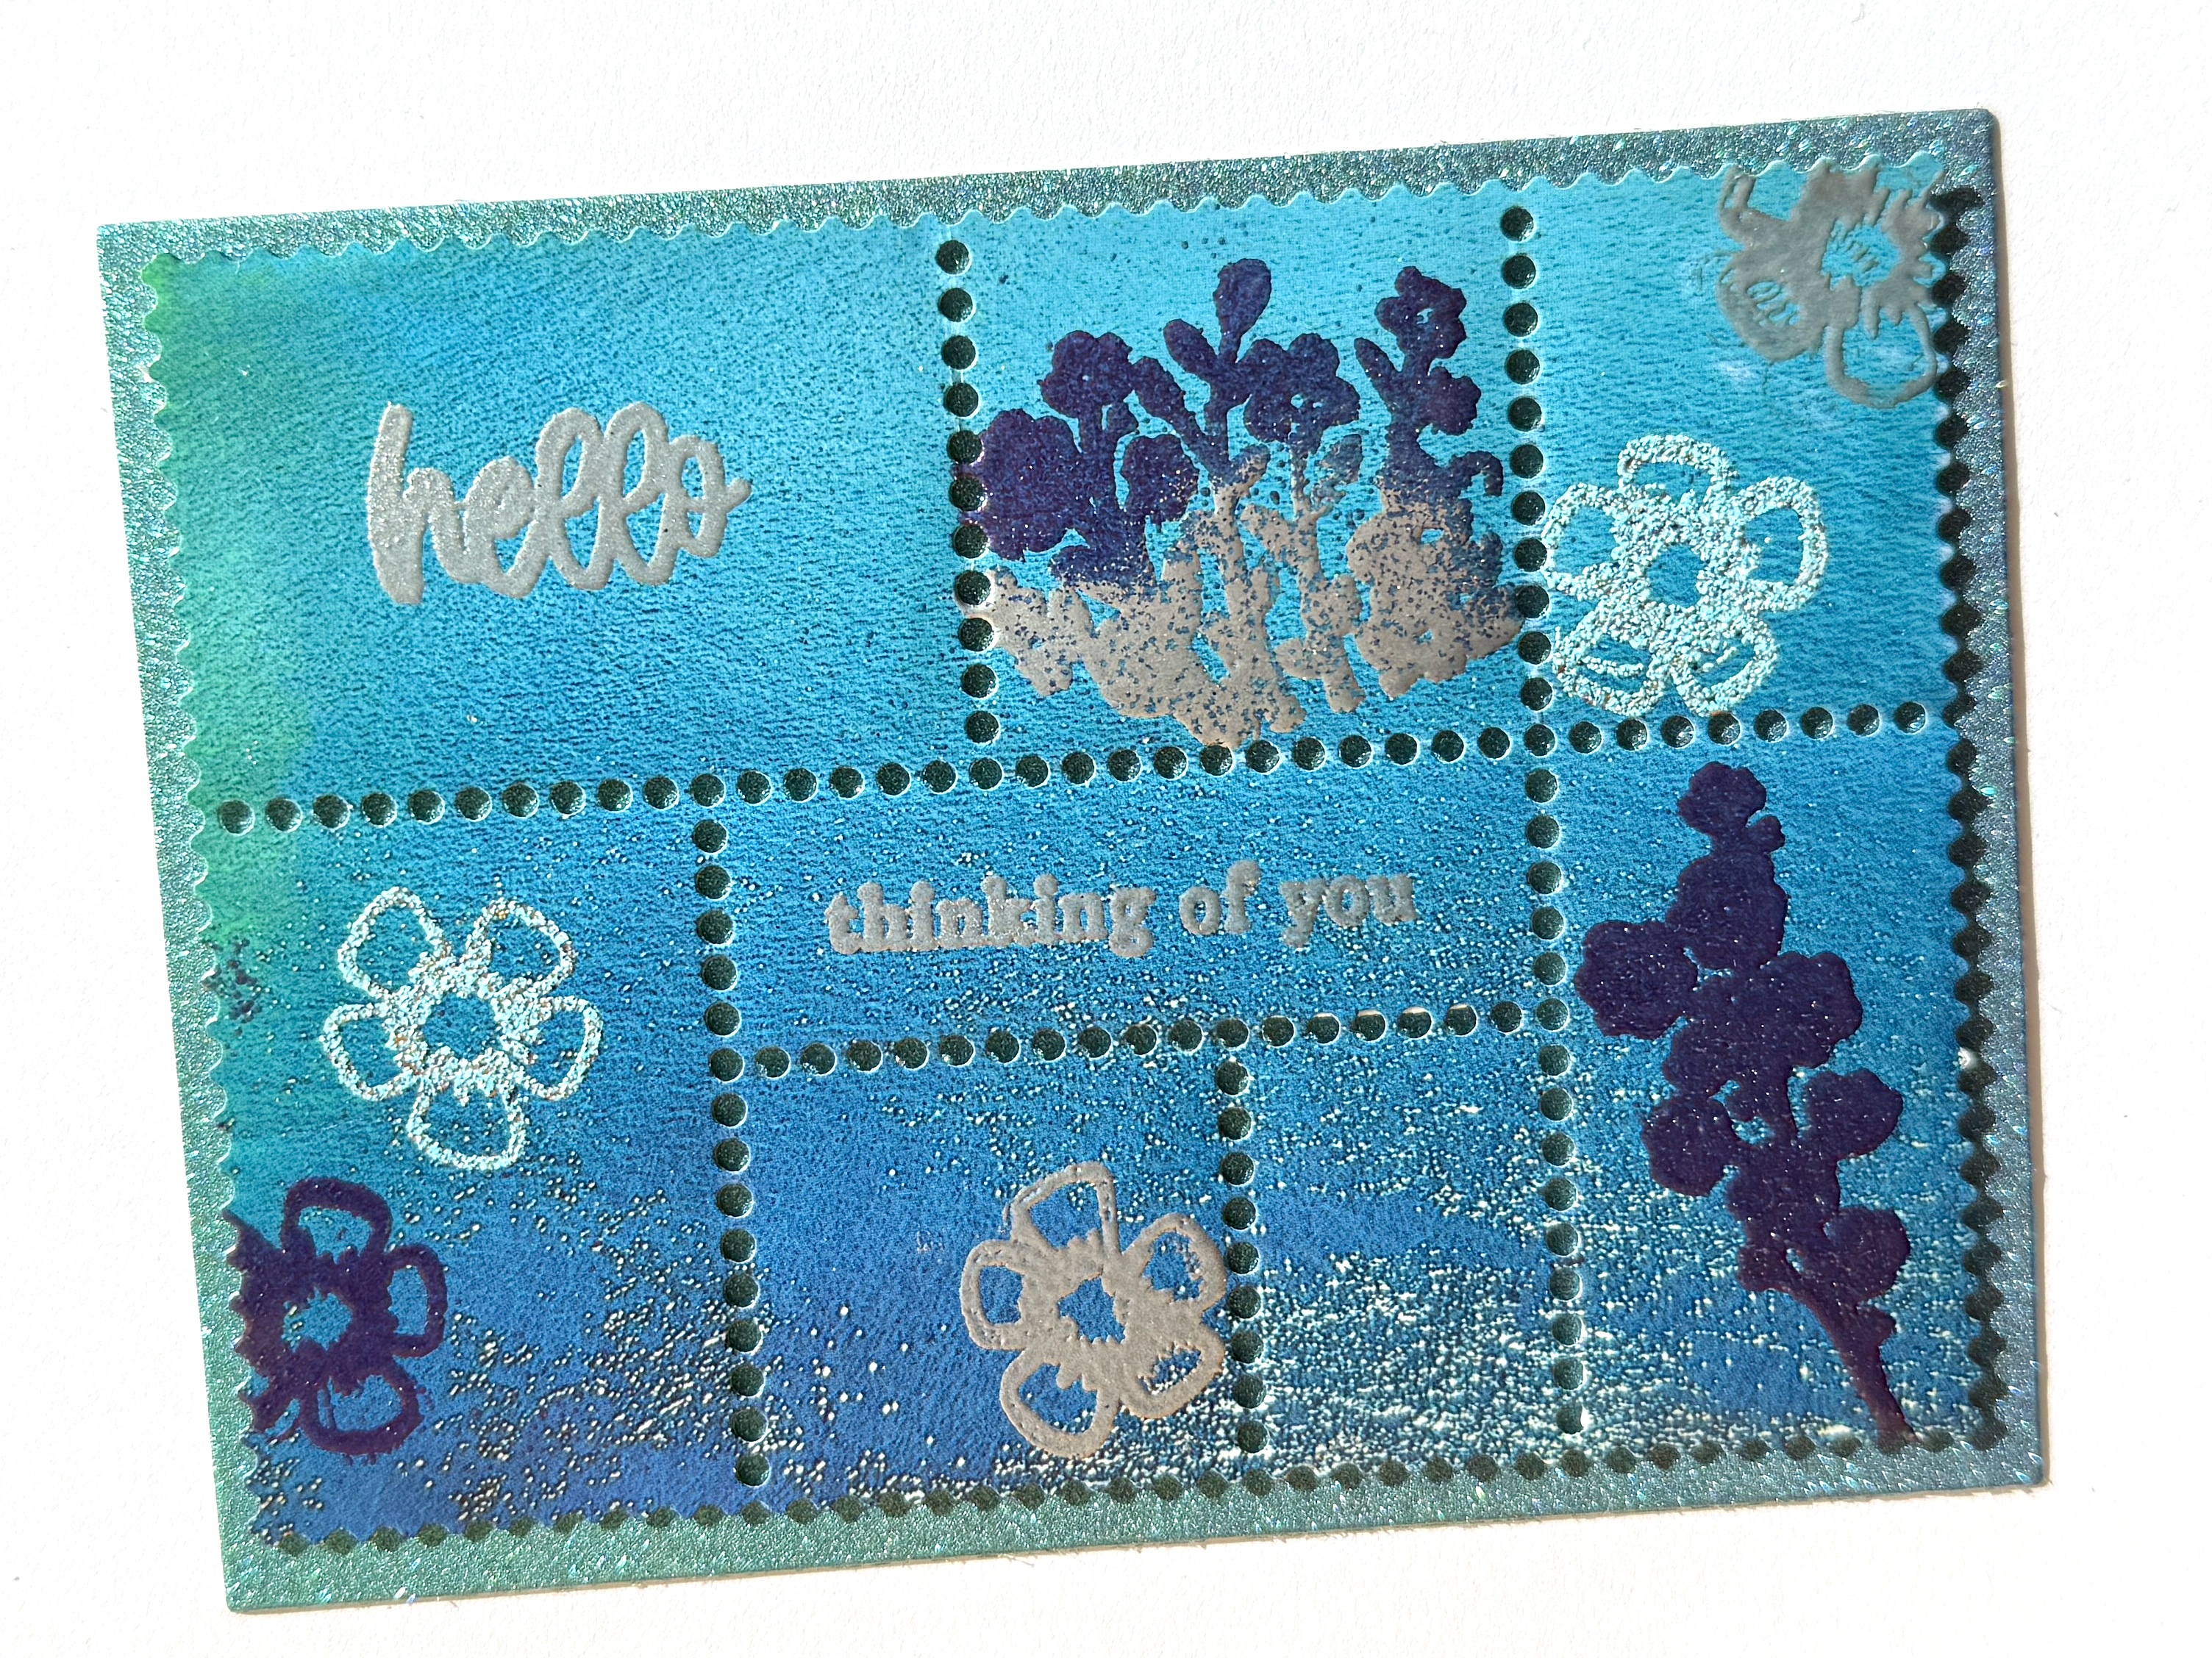
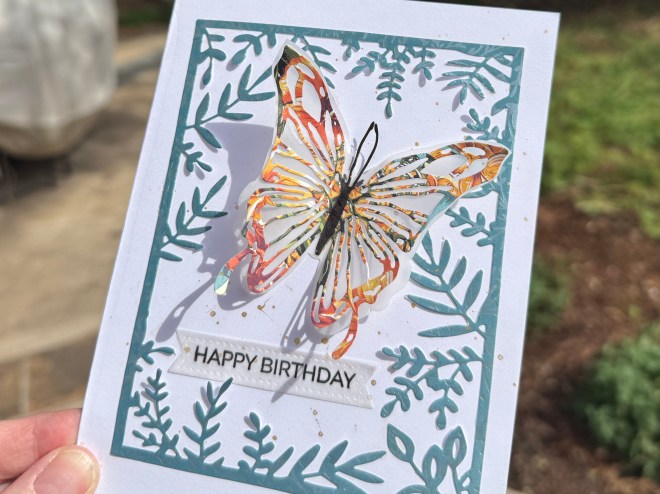
I used a piece of blue-and-silver paper left over from a set for the birthday card. The body of the butterfly is darkened using a black Sharpie marker, with a scrap of vellum behind the wings.
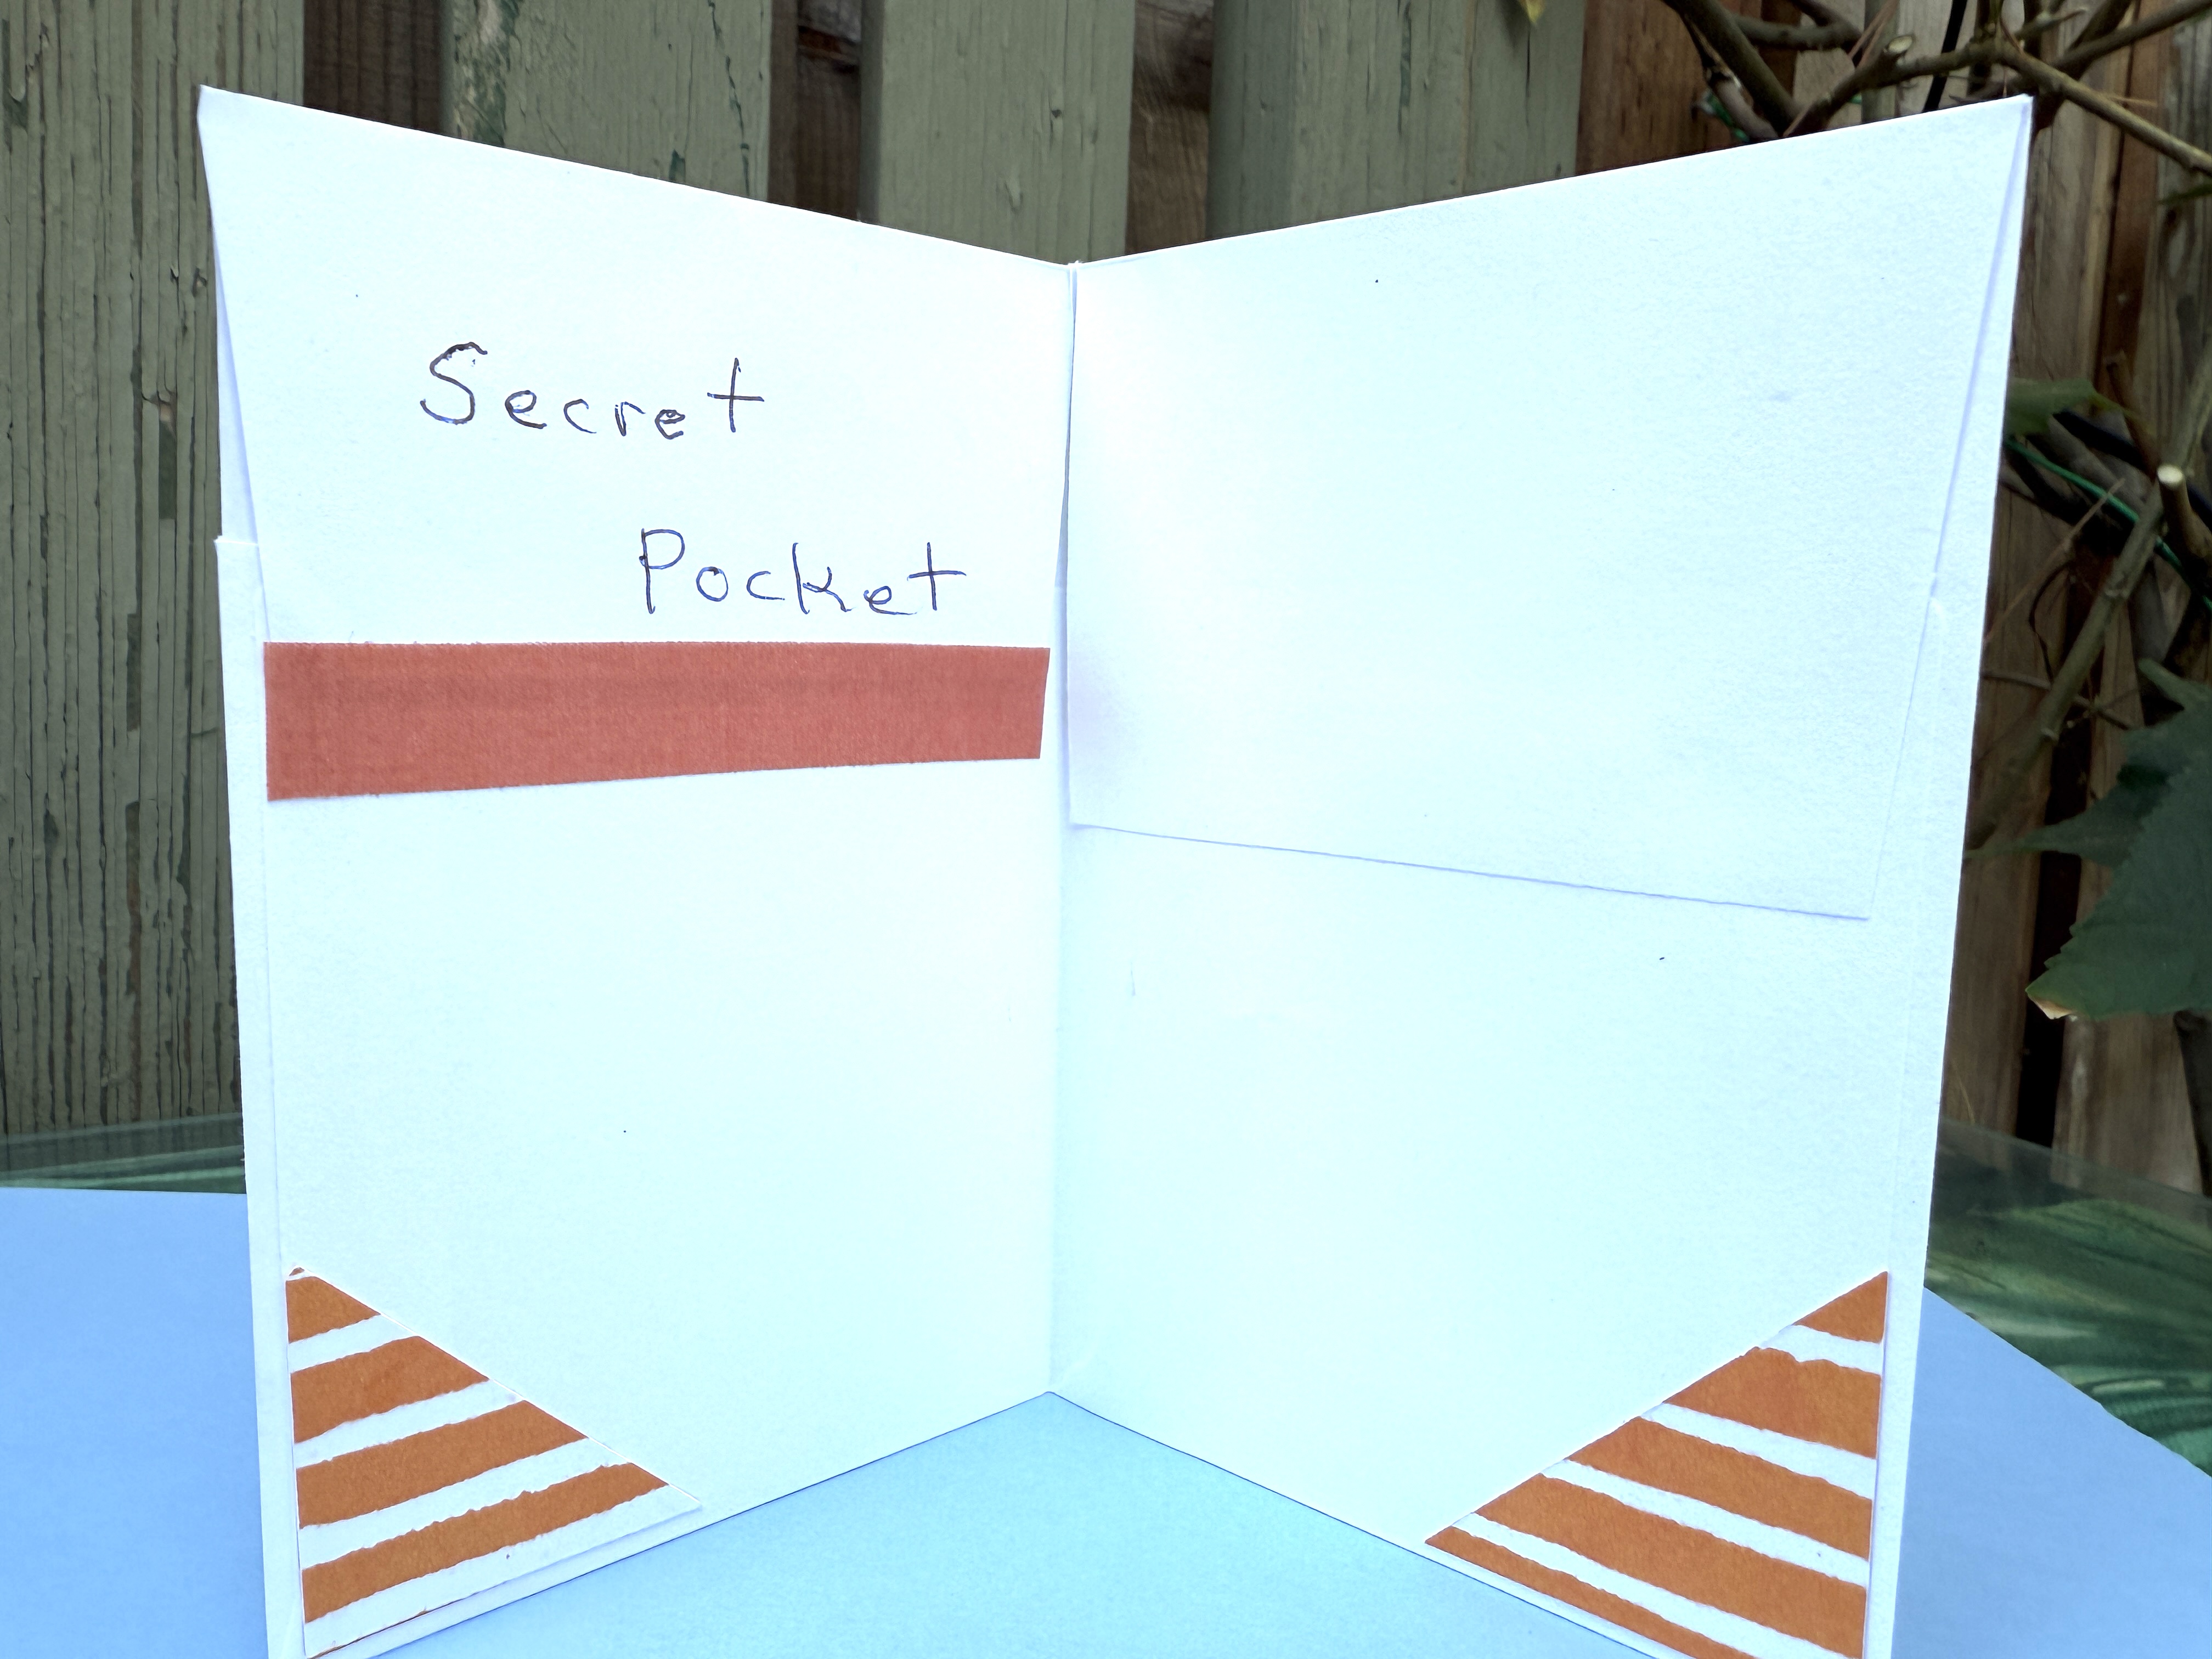
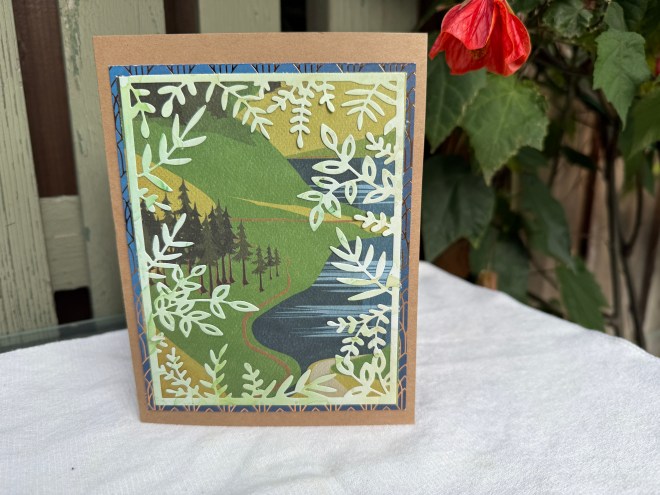
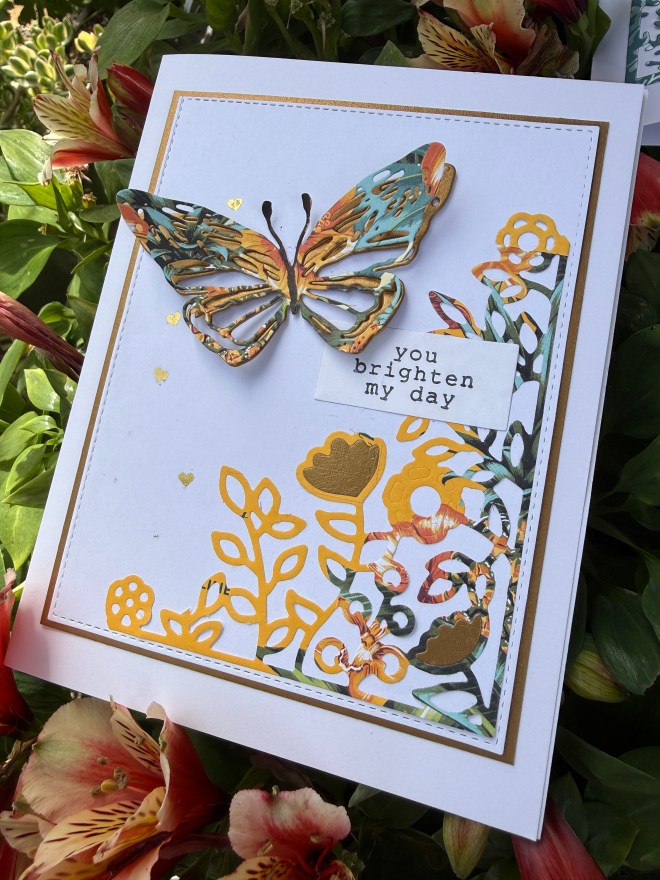
The second card uses a piece of gold card behind the butterfly, centered among a few flowers, and as a thin mat to frame the card. When the recipient opens the card, the butterfly wings lift up for the illusion of movement.
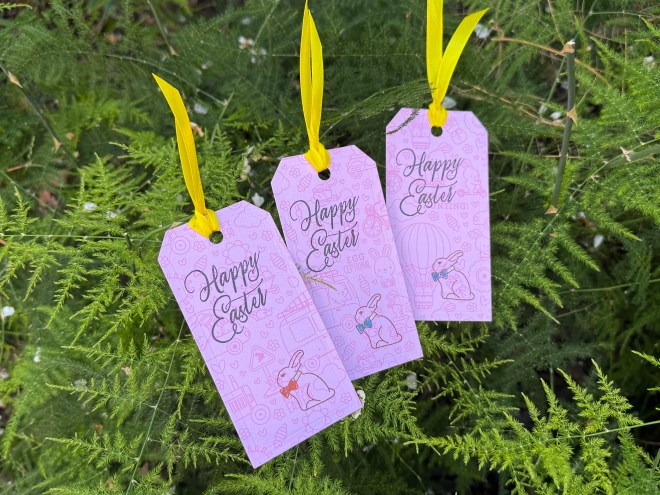
These three small gift tags will accompany some Easter chocolate for my family. I colored the bunny’s bow in Mike and our son’s favorite colors. I’m not sure where that scrap of yellow ribbon came from, but I had just enough for the three tags.
This “thinking of you” card is for a friend whose partner died in an auto accident earlier this year. They owned horses together. I fashioned this card after one of her horses, using a downloaded silhouette of a horse cut from patterned brown paper, which my sister passed on to me years ago.
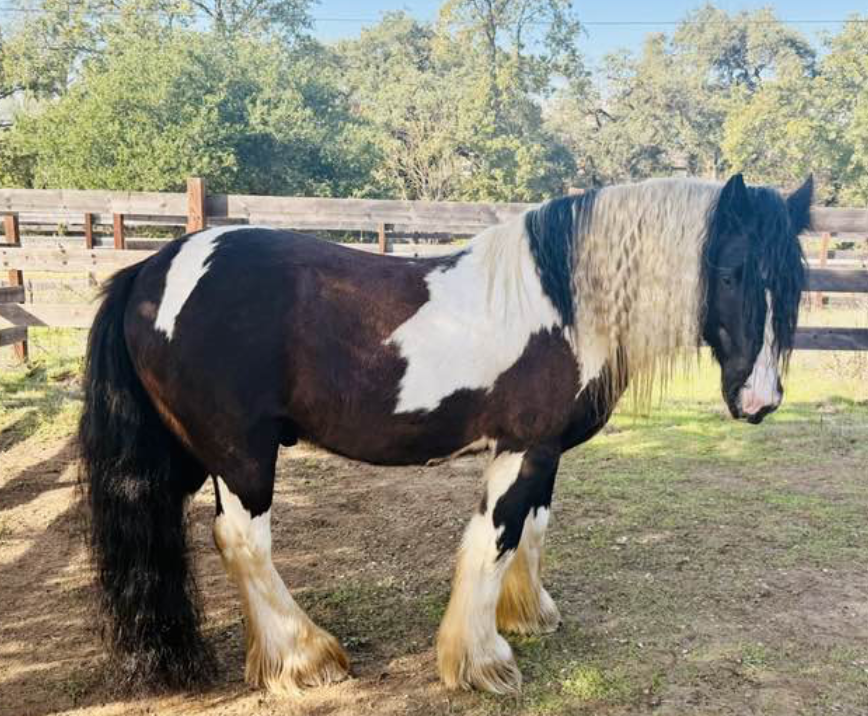
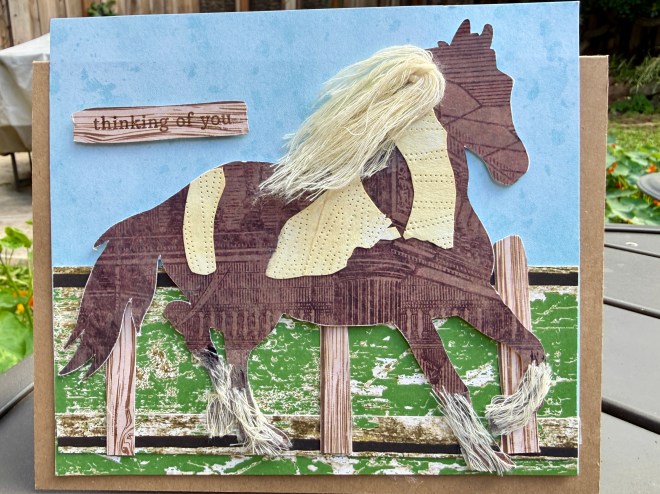
I cut the horse’s spots, the fence posts, and the background from scraps, and used leftover floss from a kit for the horse’s mane and hooves. She loved the card.
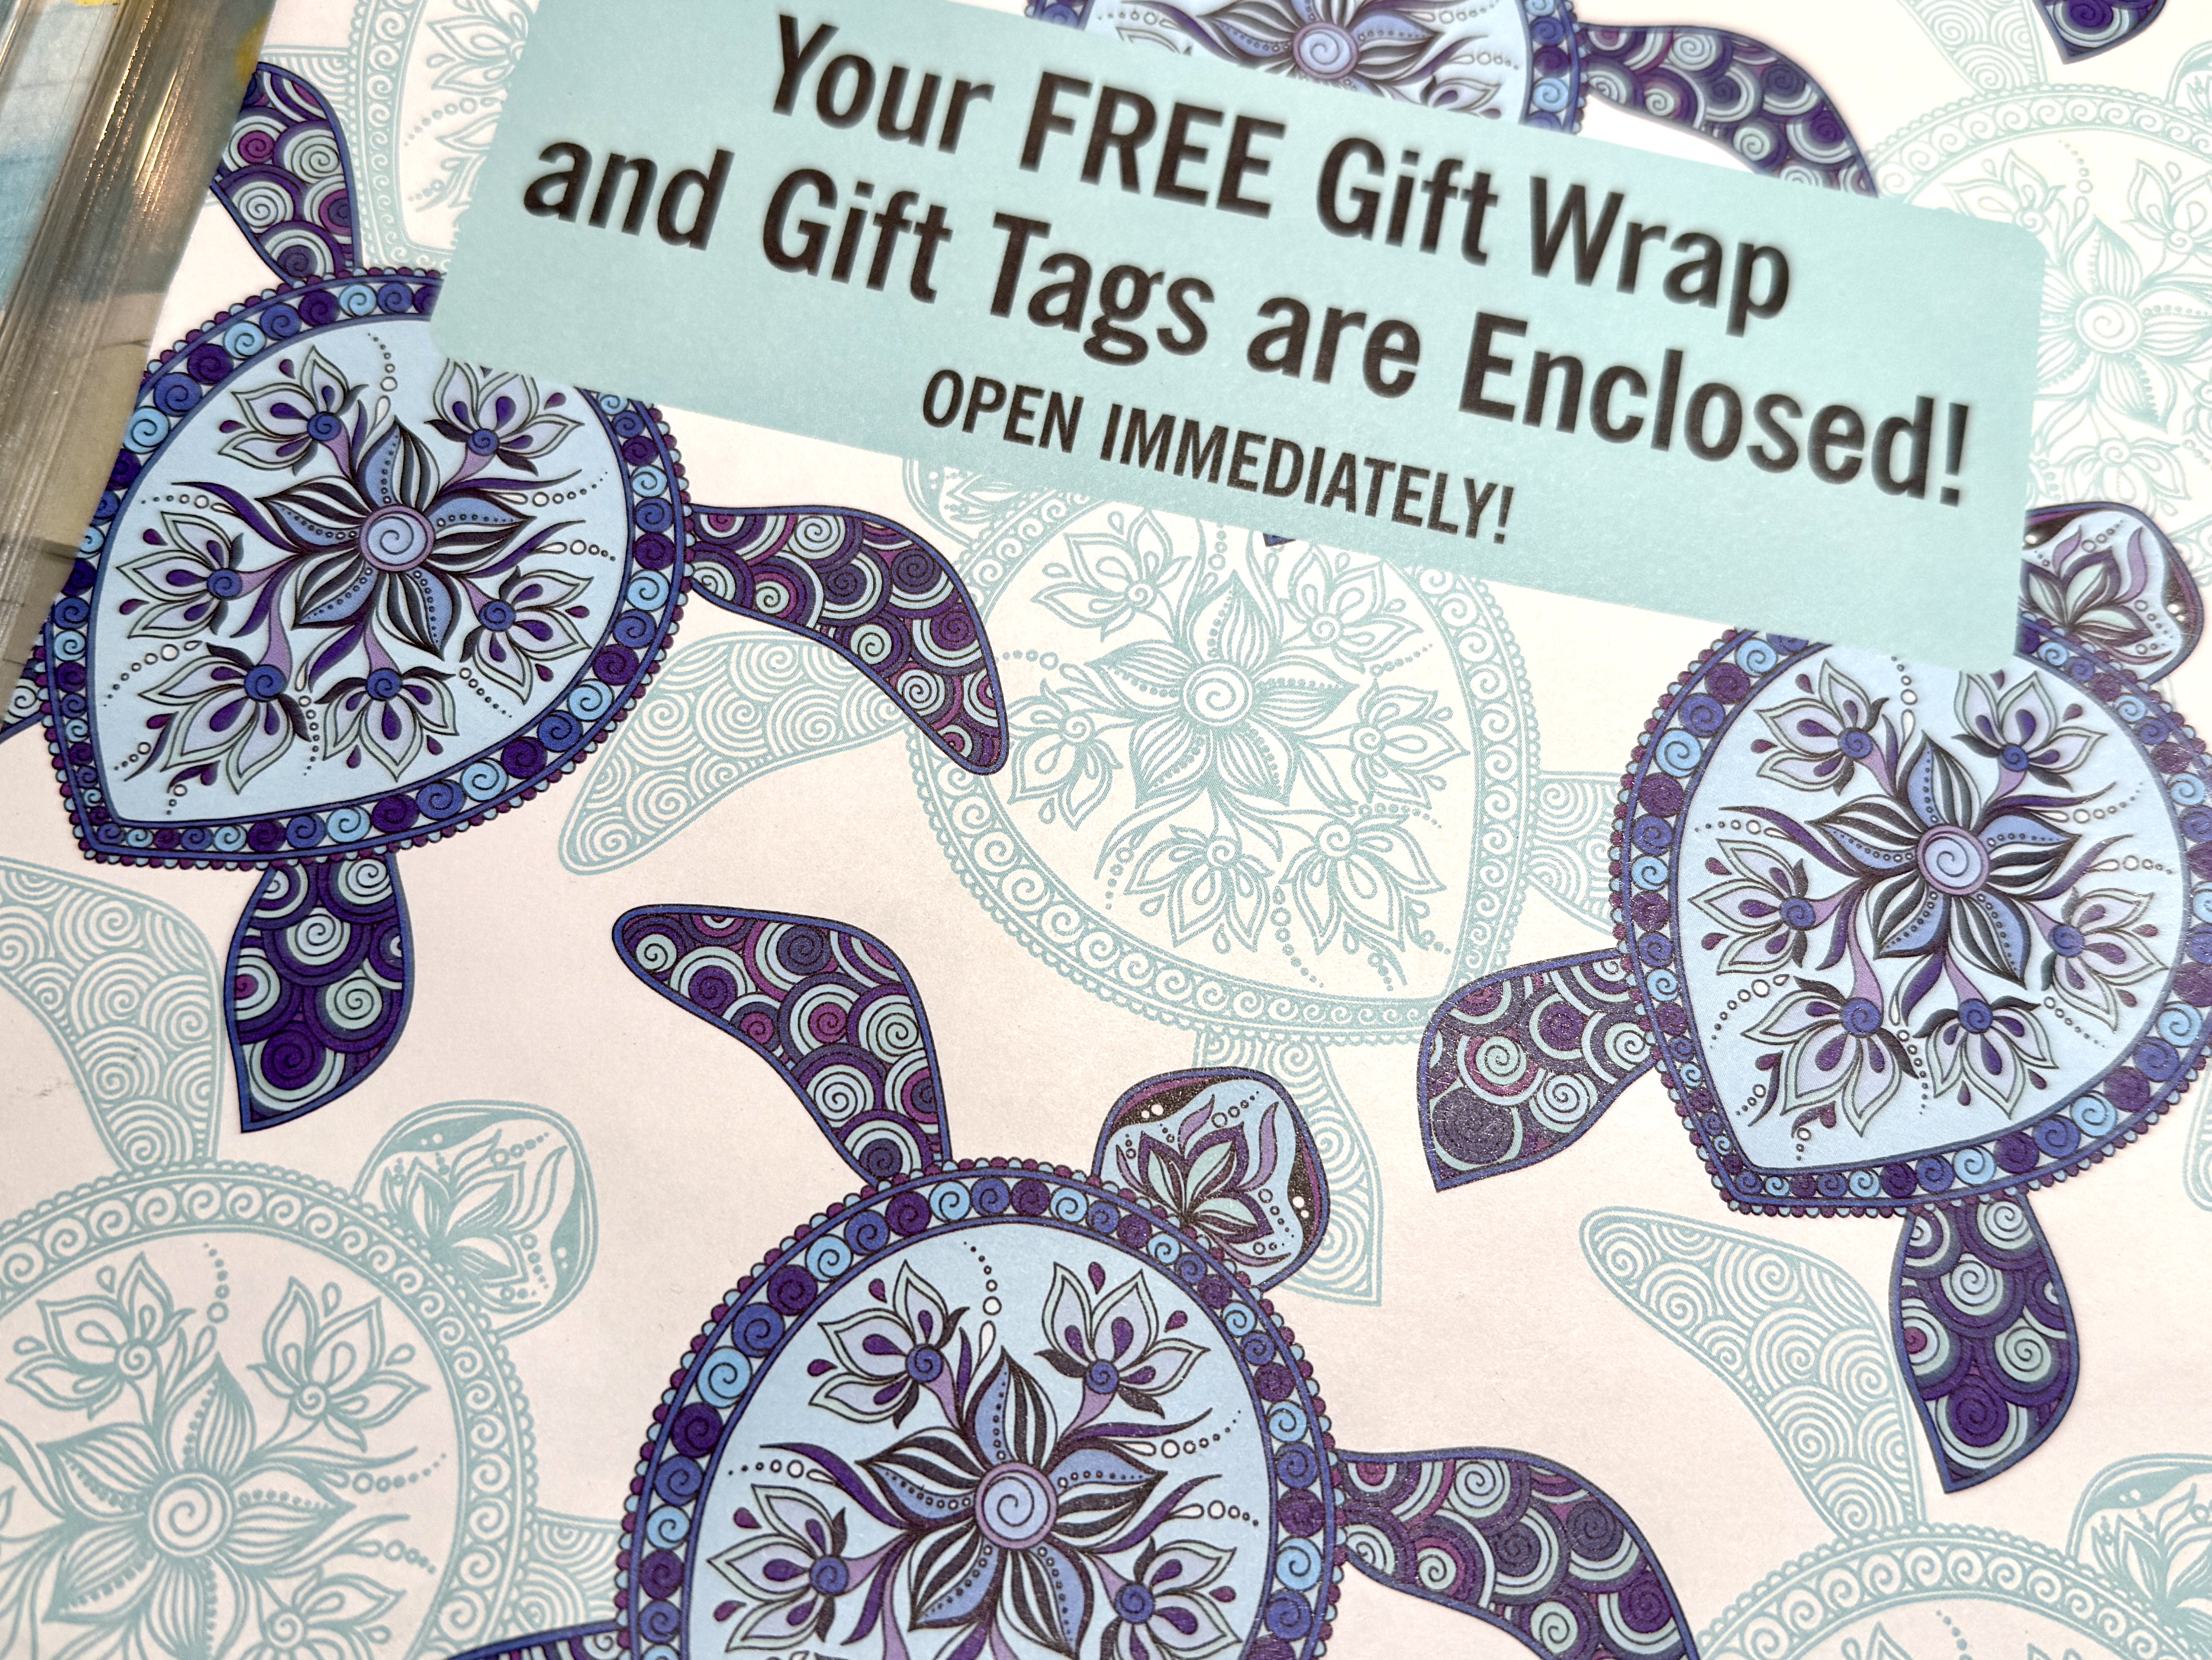
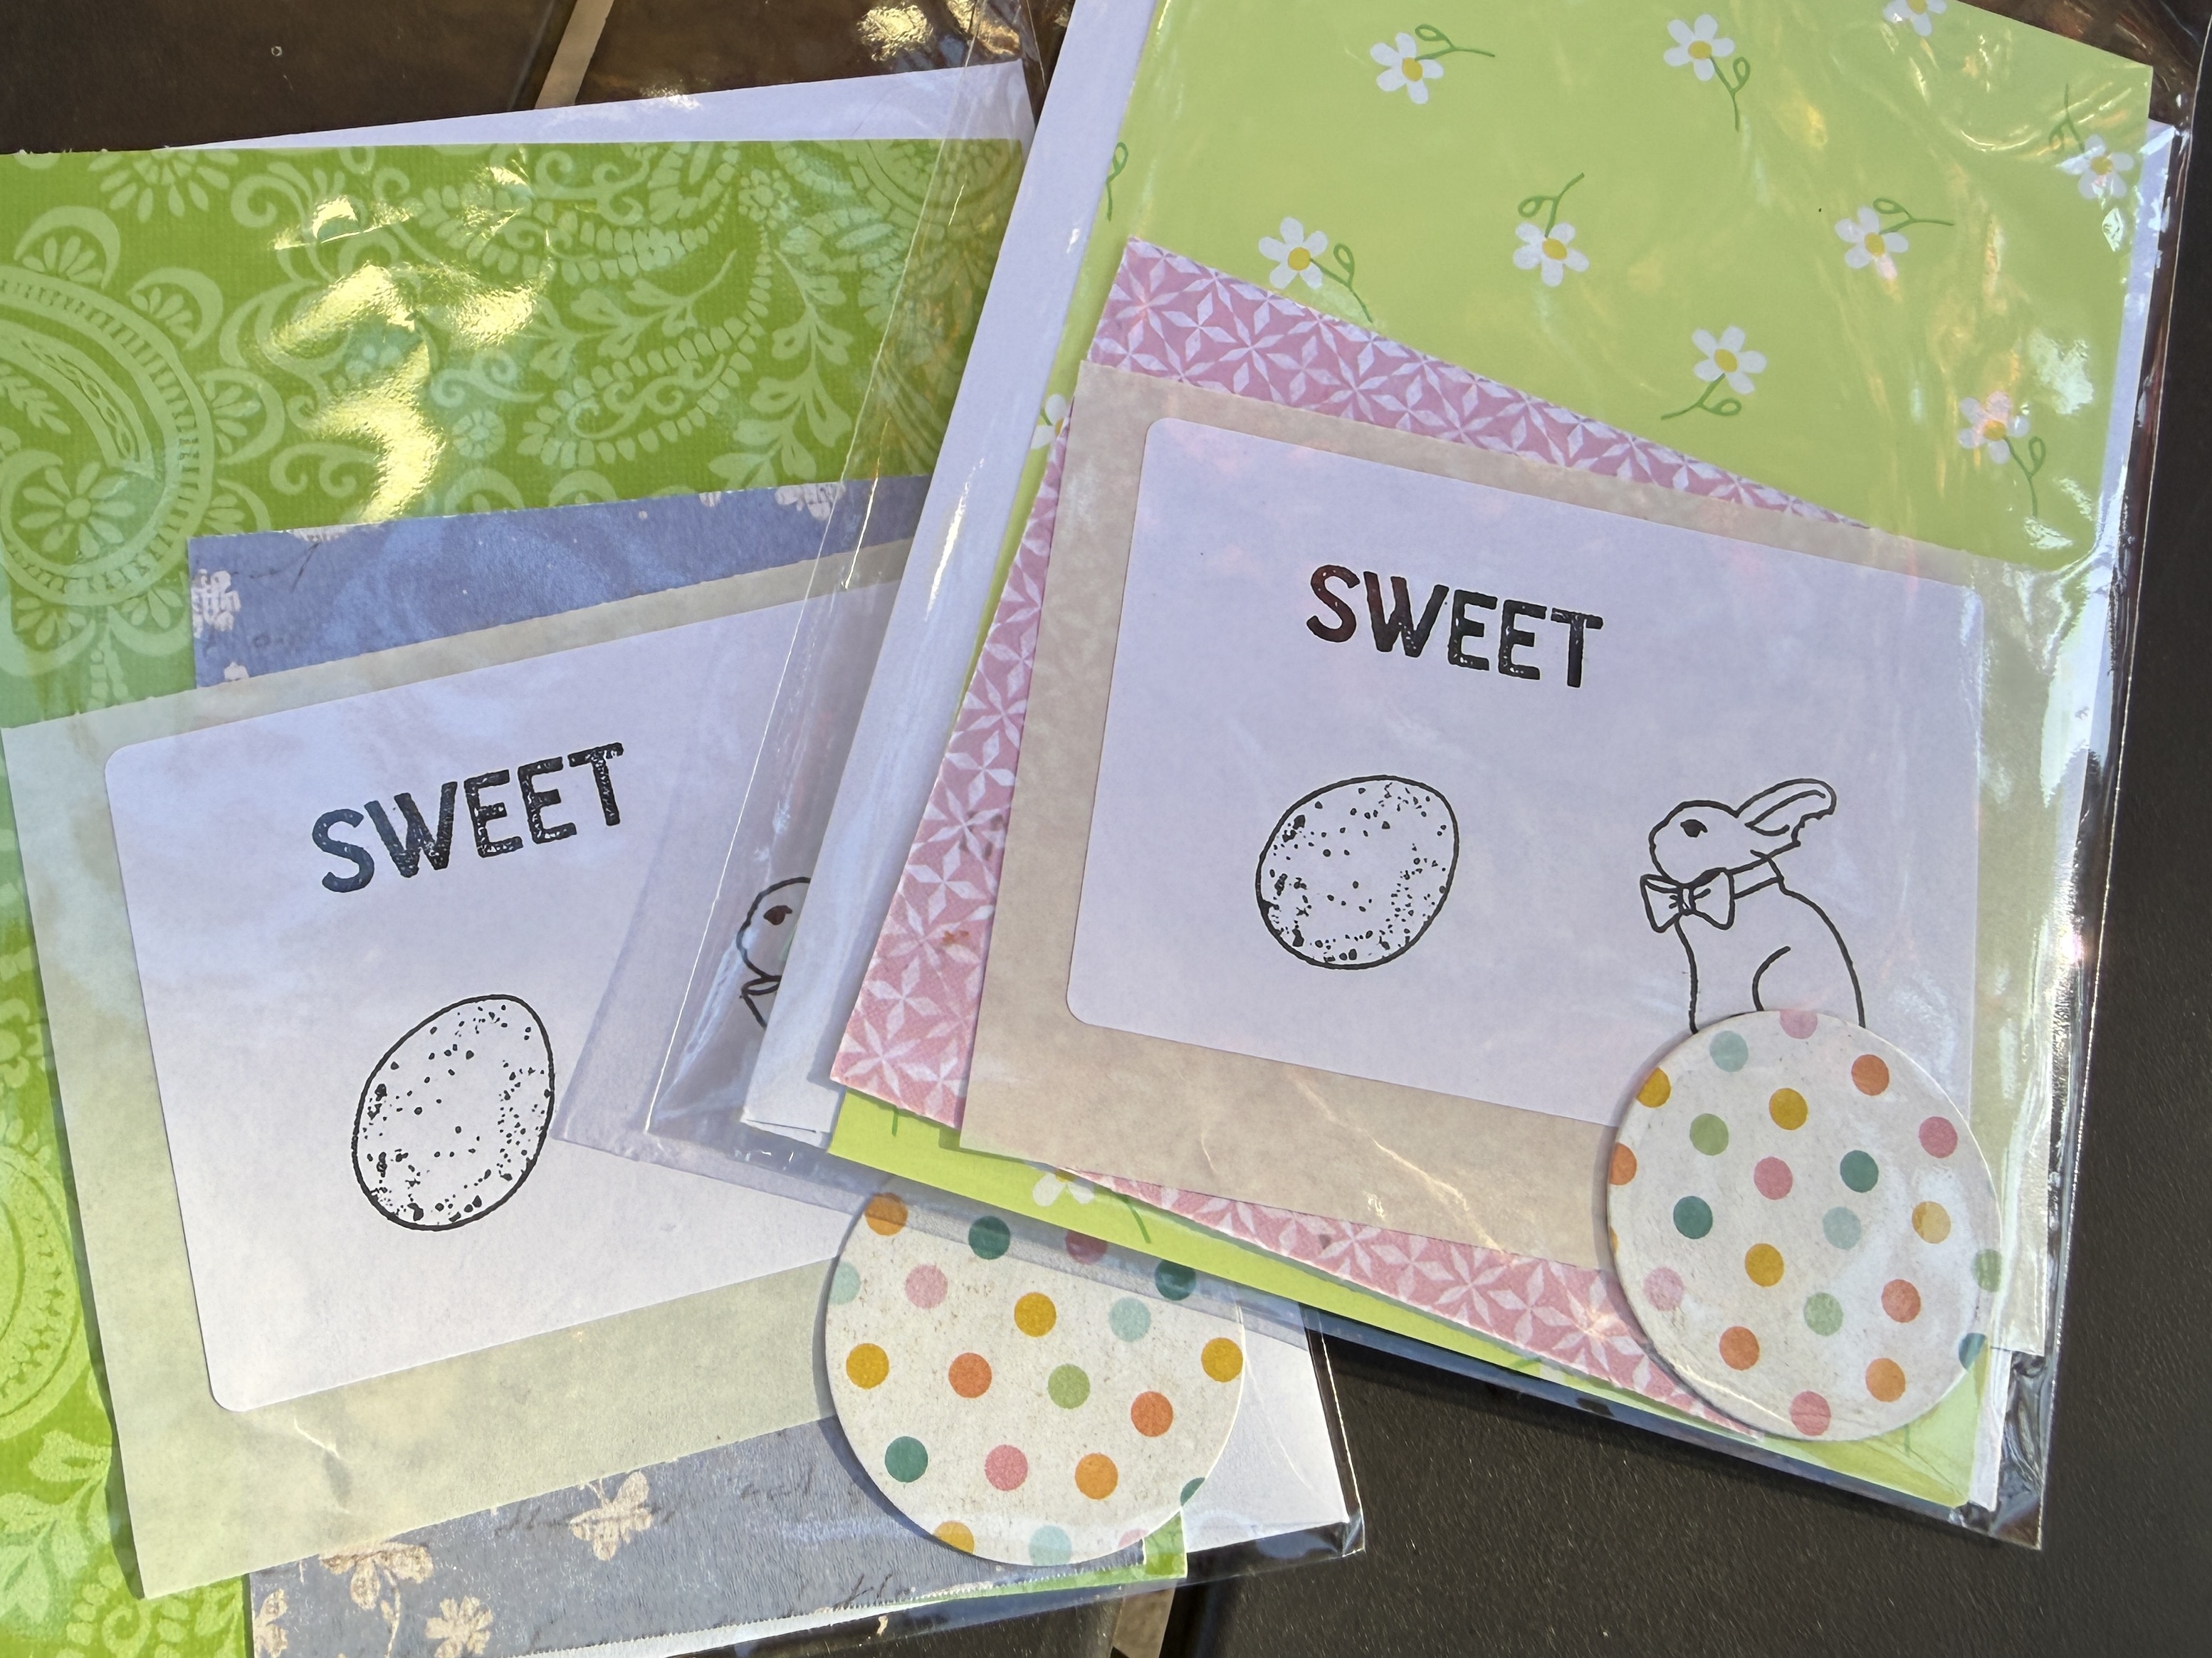
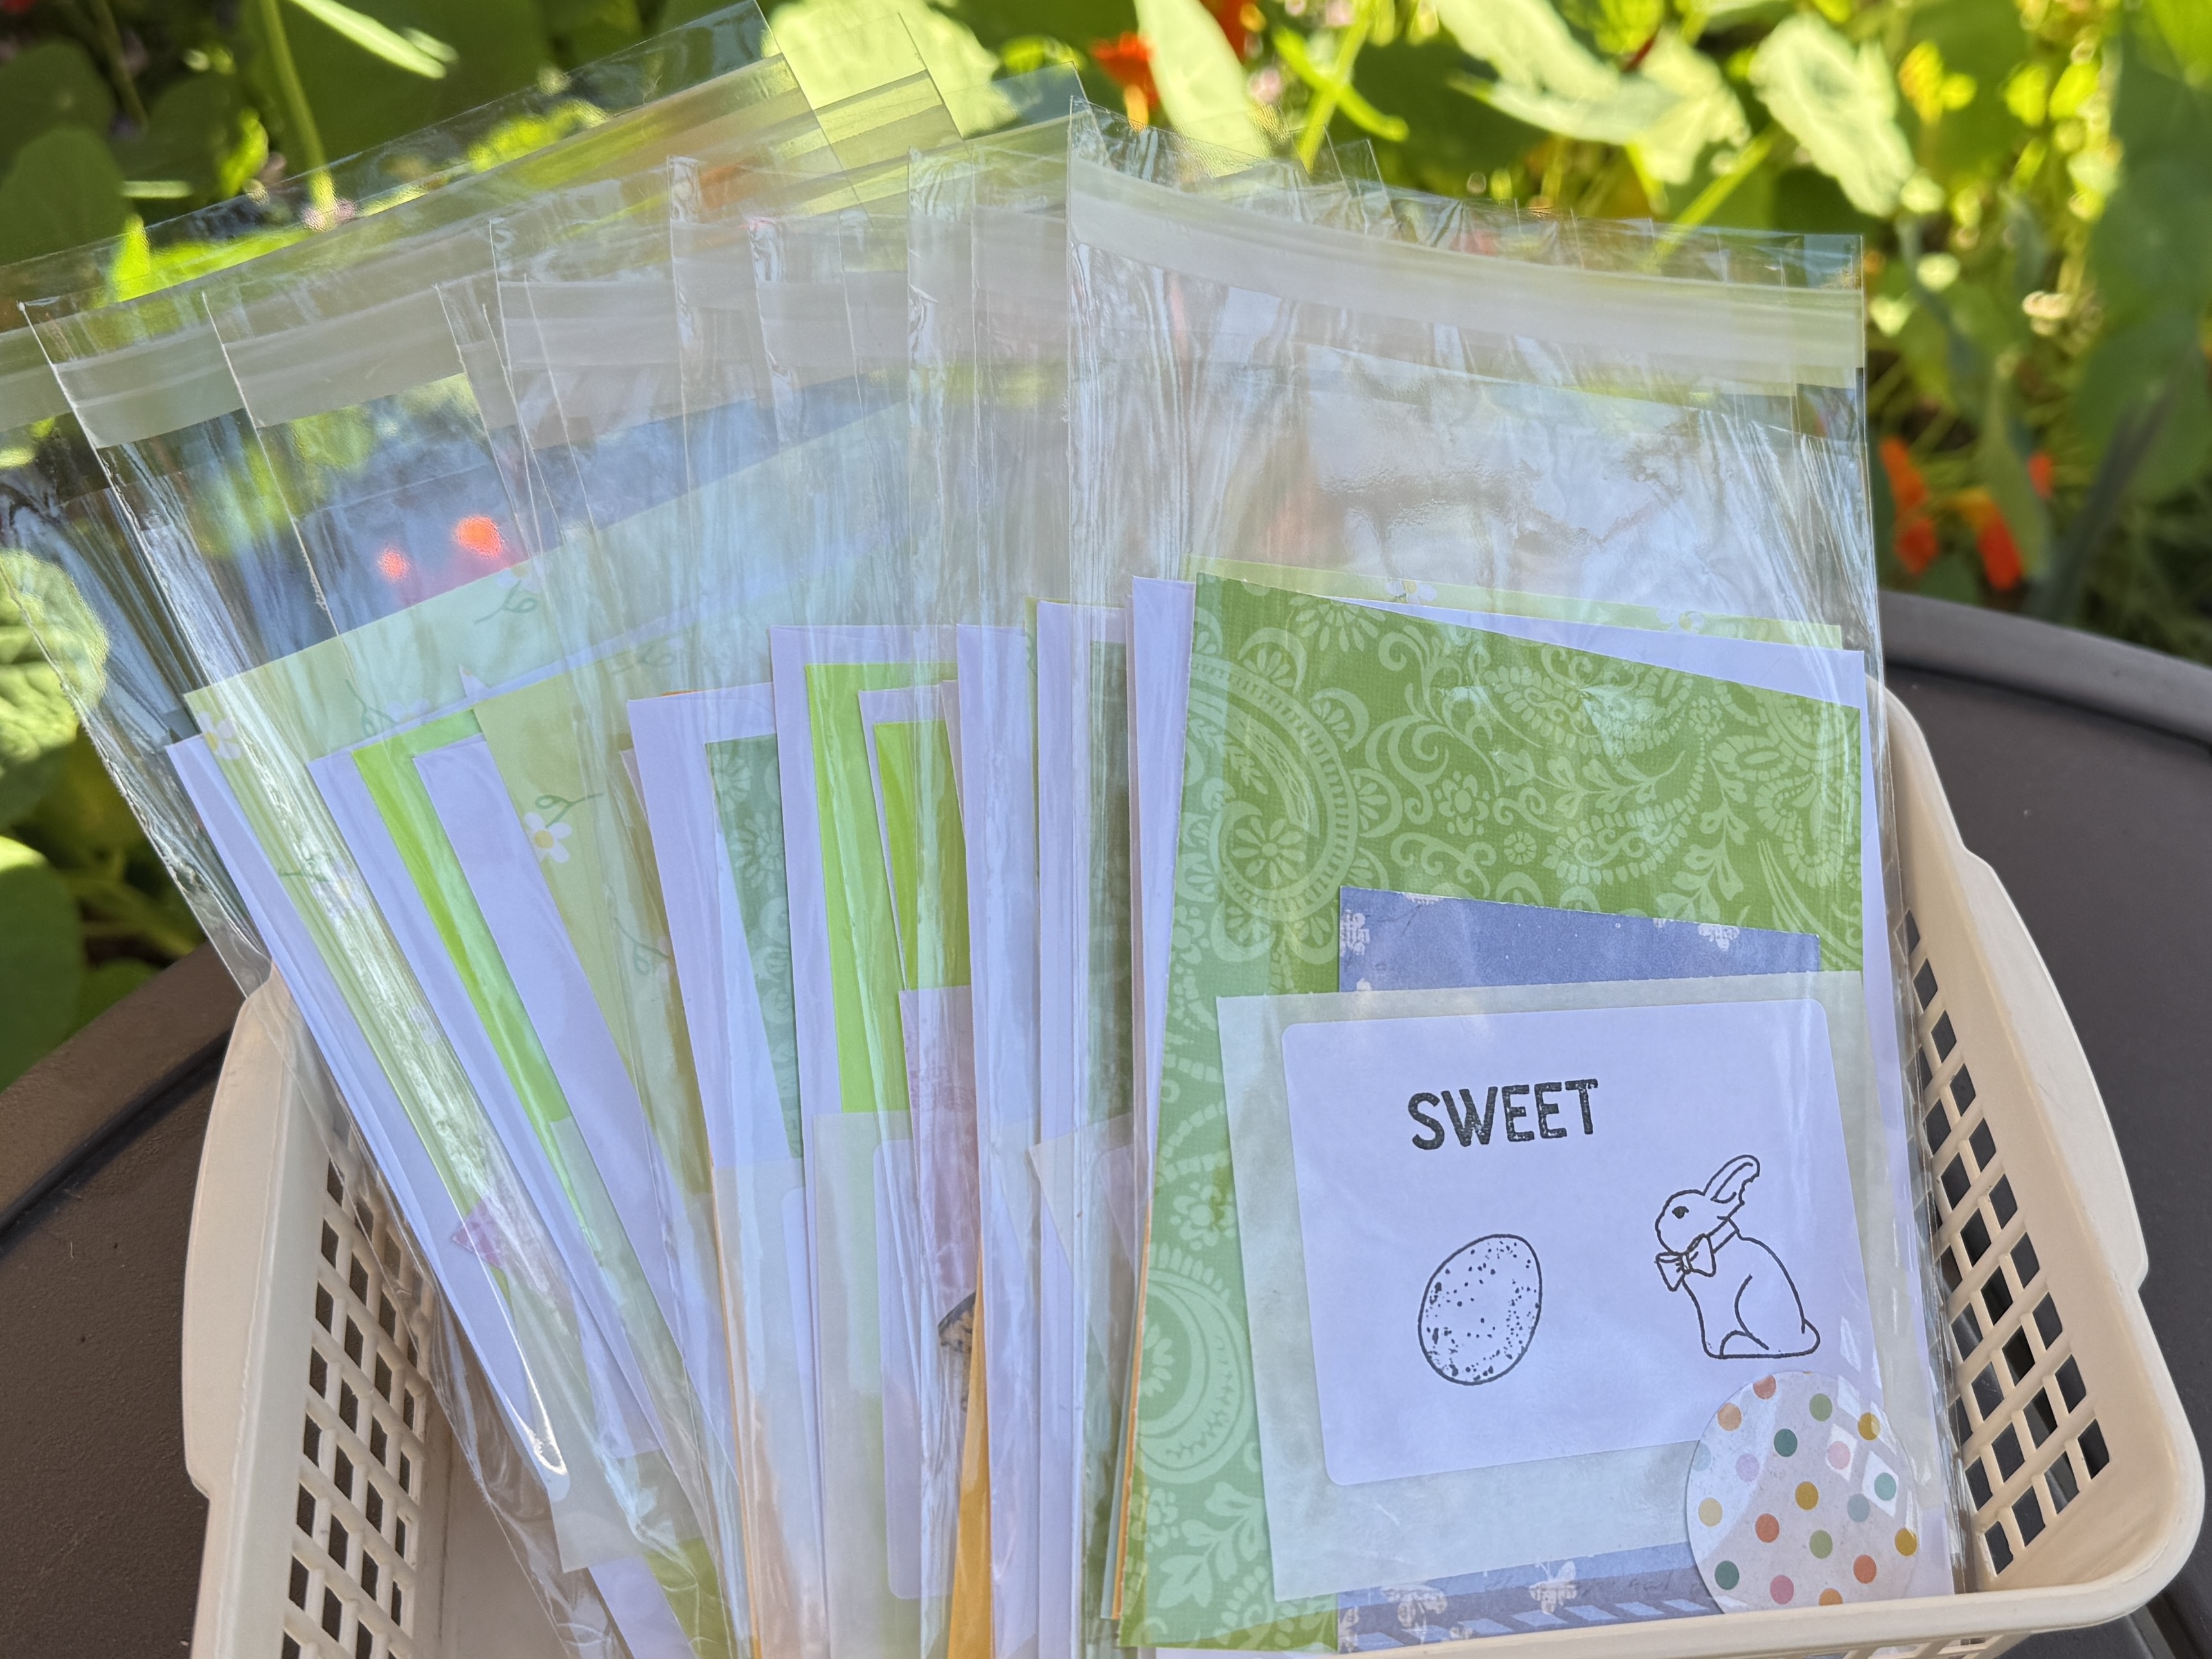
Using the last bits of my spring paper and some extra envelopes, I made fifteen crafting kits to put next to our children’s Little Free Library. They’re always a hit.
If you’re interested in what other bloggers are making and sharing, you can click on any of the links below.
Thanks as always for hosting, Kate.
Kate, Eva, Sue, Lynda,
Birthe, Turid, Tracy, Jan,
Moira, Sandra, Chris,
Claire, Jean, Dawn, Gwen,
Sunny, Kjerstin, Sue L, Vera,
Ann, Dawn 2, Carol, Preeti,
Viv, Karrin, Alissa, Tierney,
Hannah and Maggie