Thank you, Kate, for bringing us together for these monthly scrap-happy challenges. Kate and Gun have hosted this blog hop for a decade. Impressive, eh? Forget your troubles, come on get scrappy.
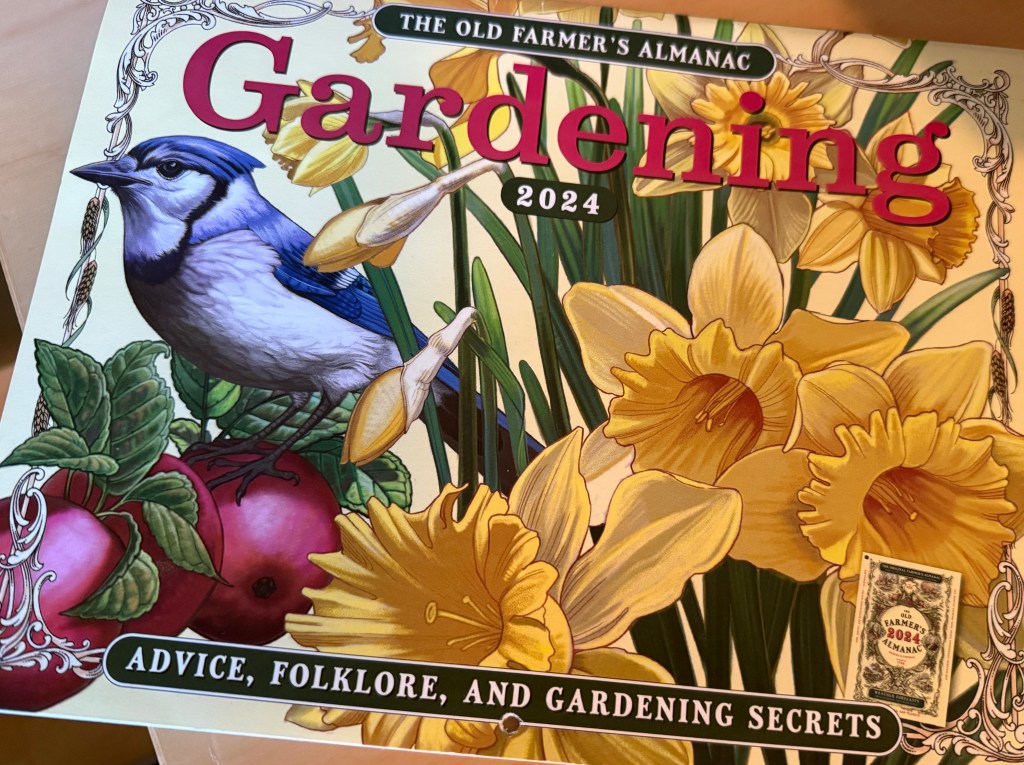
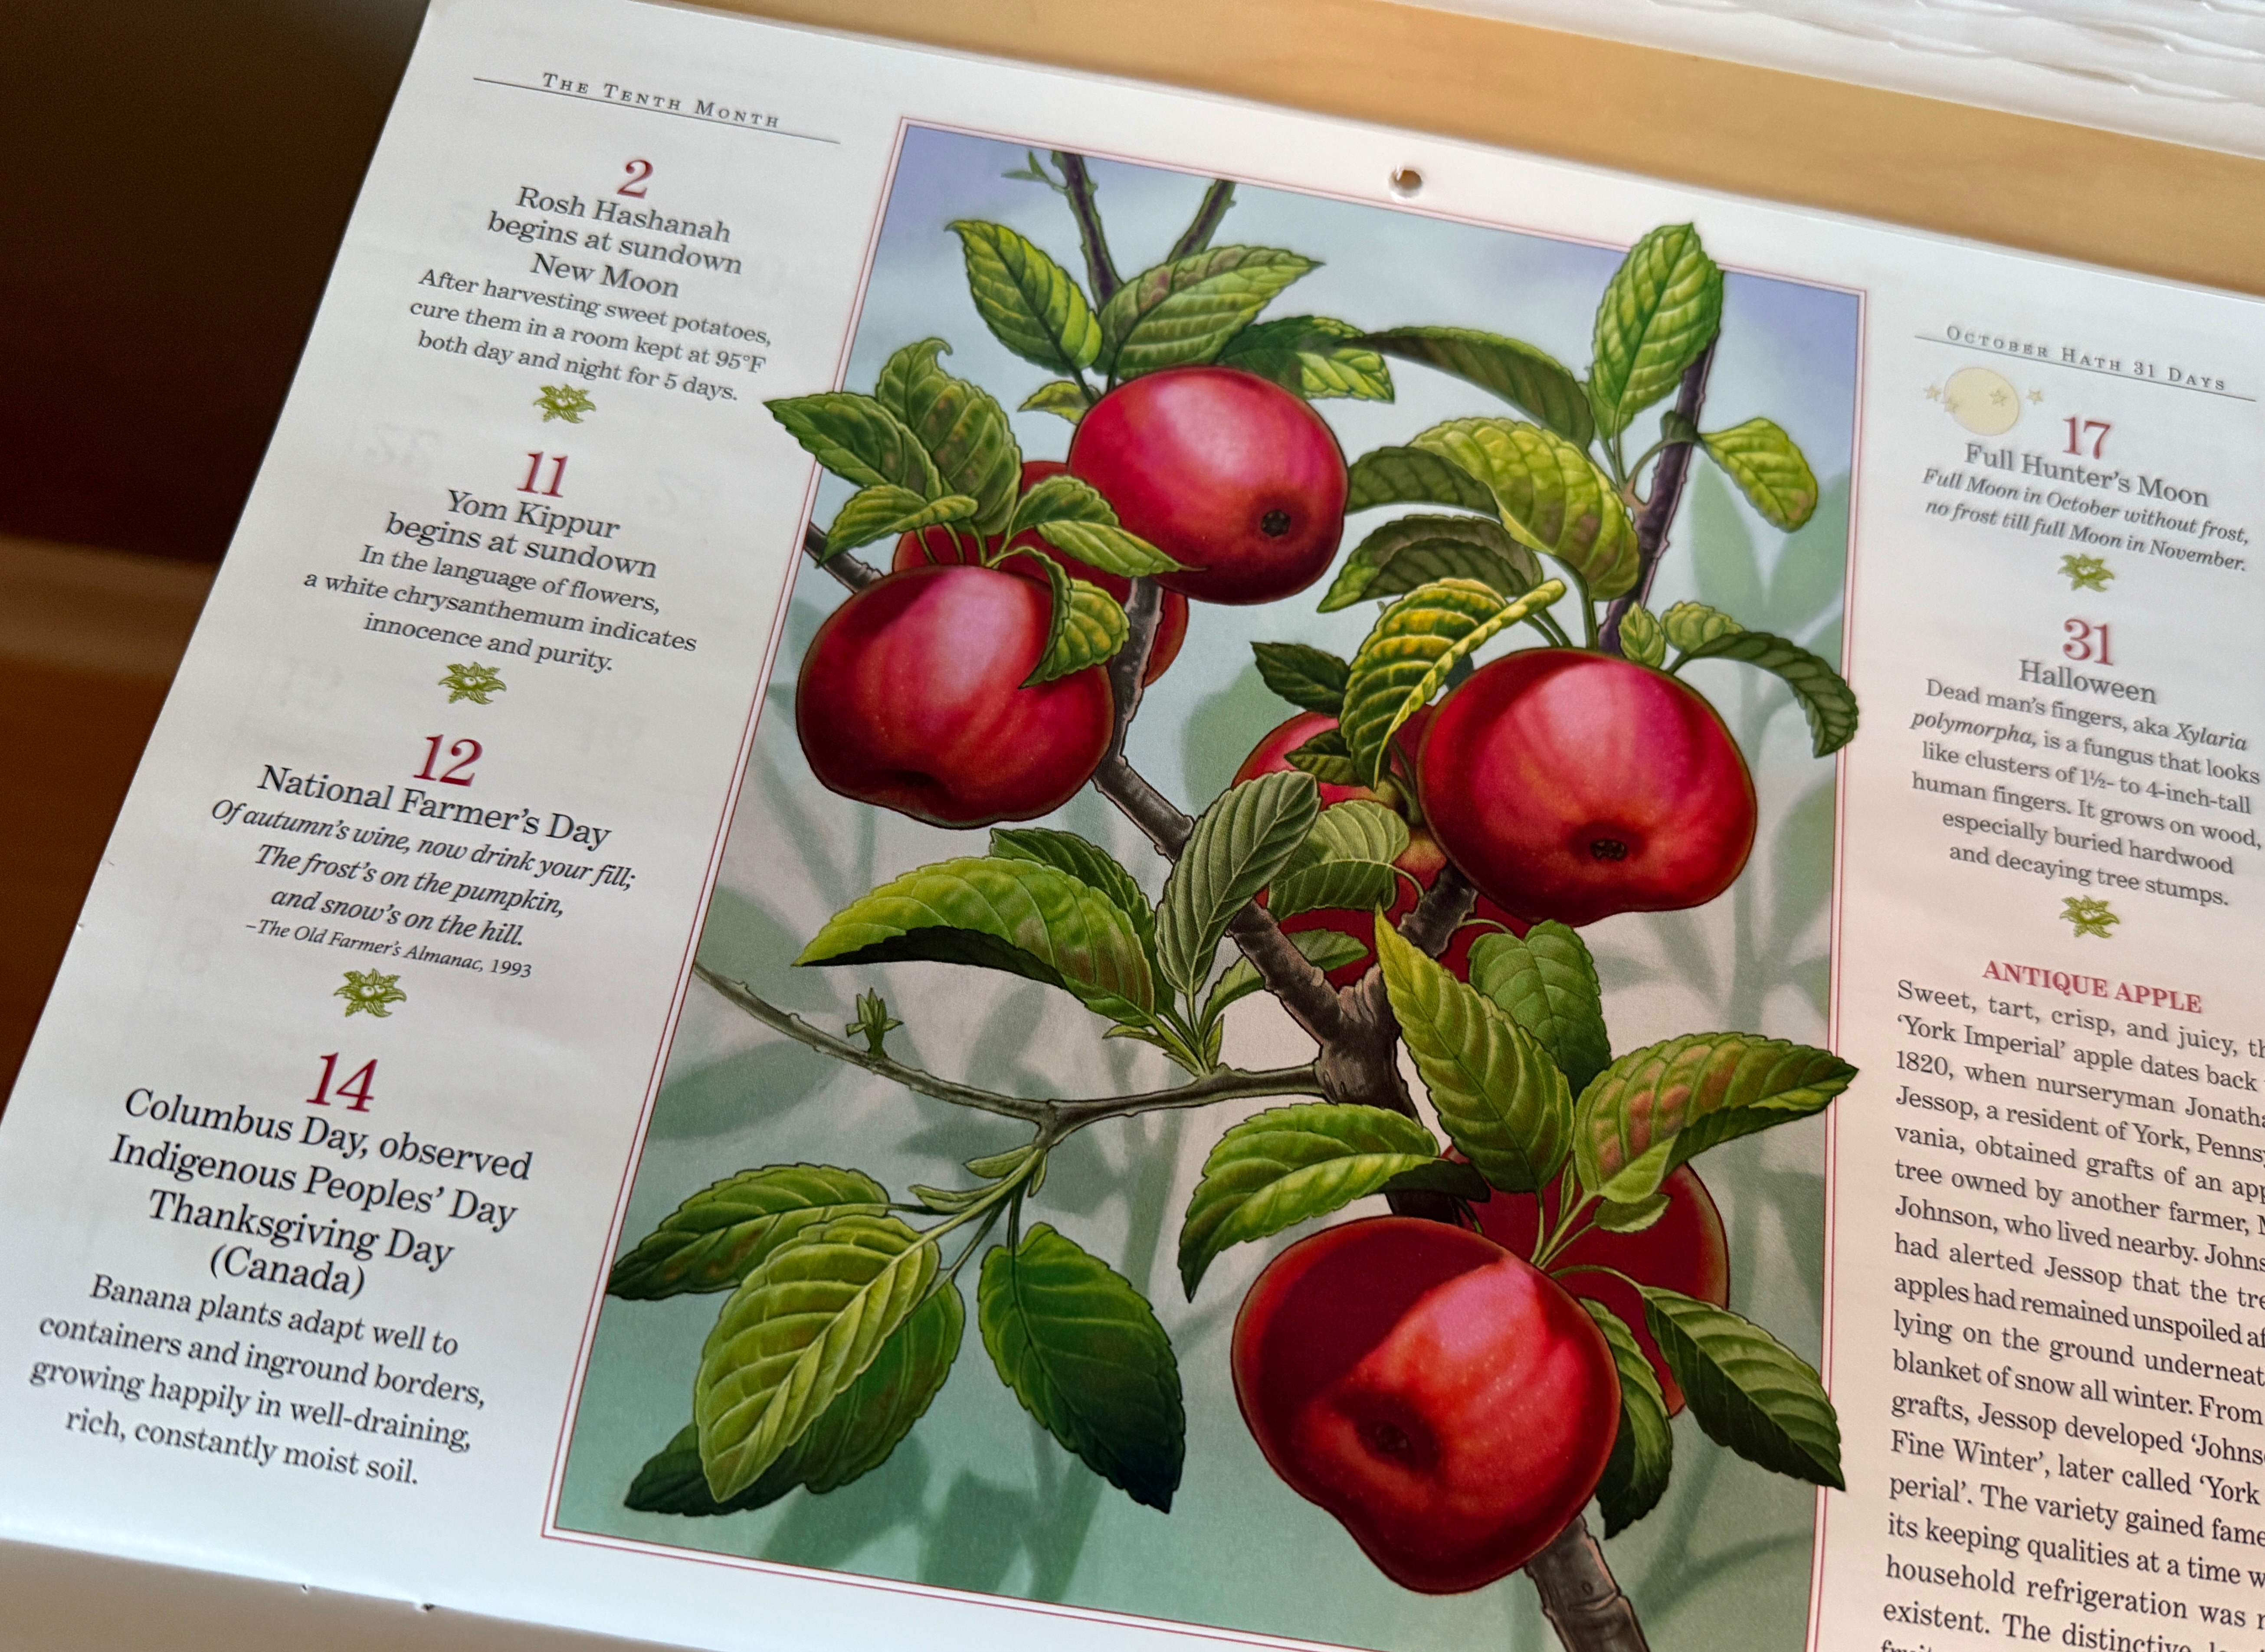
My contribution this month uses scraps of velum and several pages from last year’s The Old Farmer’s Almanac calendar to create three greeting cards.
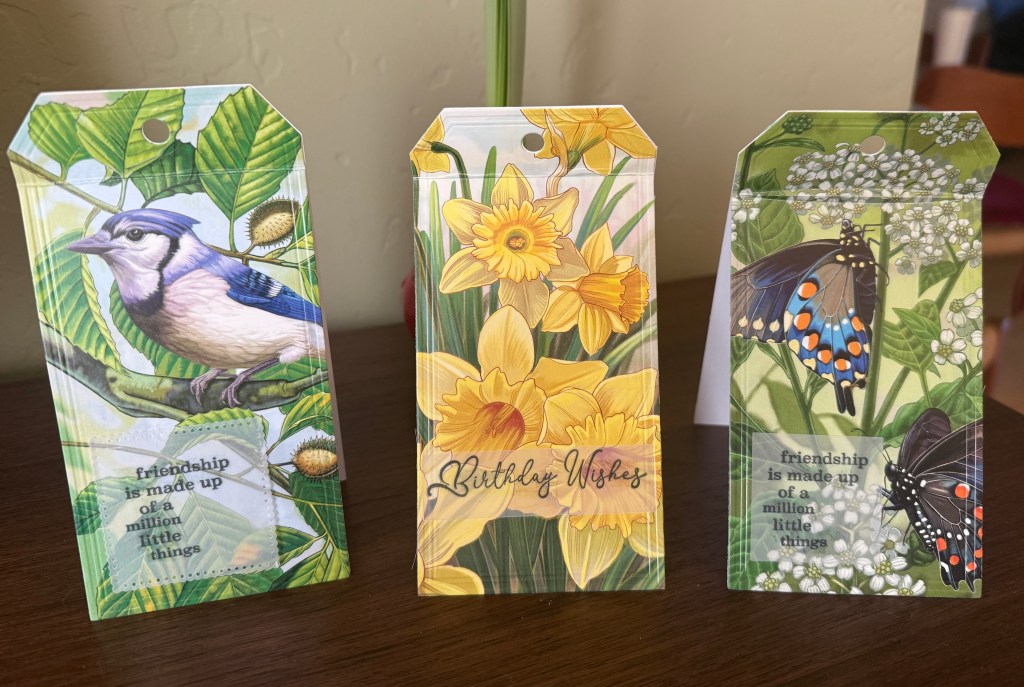
I used two pieces of heavy white card stock for the body of the card, then adhered a pretty section of the calendar to the card front. These illustrations by artist Kristen Kest are too pretty to toss.
I ran both layers through my nifty die cutter, then scored the top and glued it to the back layer.
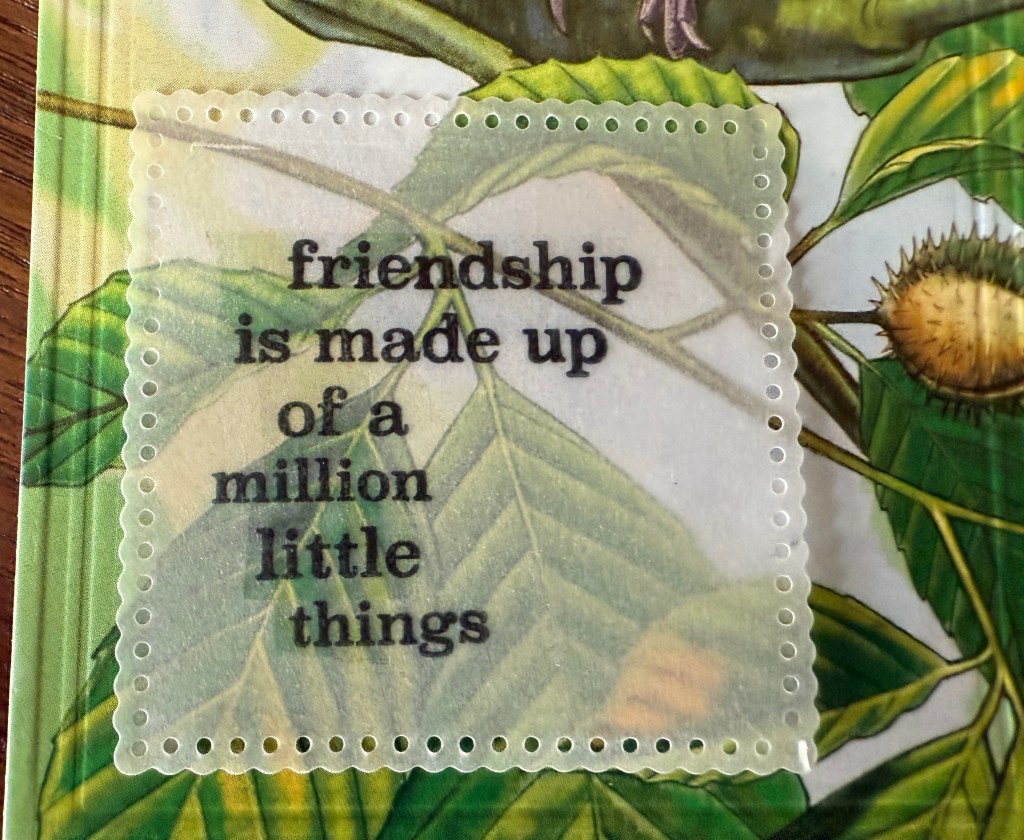
I stamped a couple of sentiments onto scraps of velum (I love using velum) and added them to the front of the card. Making these cards was quick, easy, and fun or in Kate’s parlance, scrap-happy.
I have a few more pages of the calendar to craft with. I hope to get to that next month.
Thanks as always, Kate.
Here’s a list of contributing scrap-happy bloggers:
October left town on Friday, foisting the reality of November and the most significant election of my lifetime, November 5. I’ve kept busy all month with organizing clients and social engagements, spending time with friends and family, and trying to avoid the news.
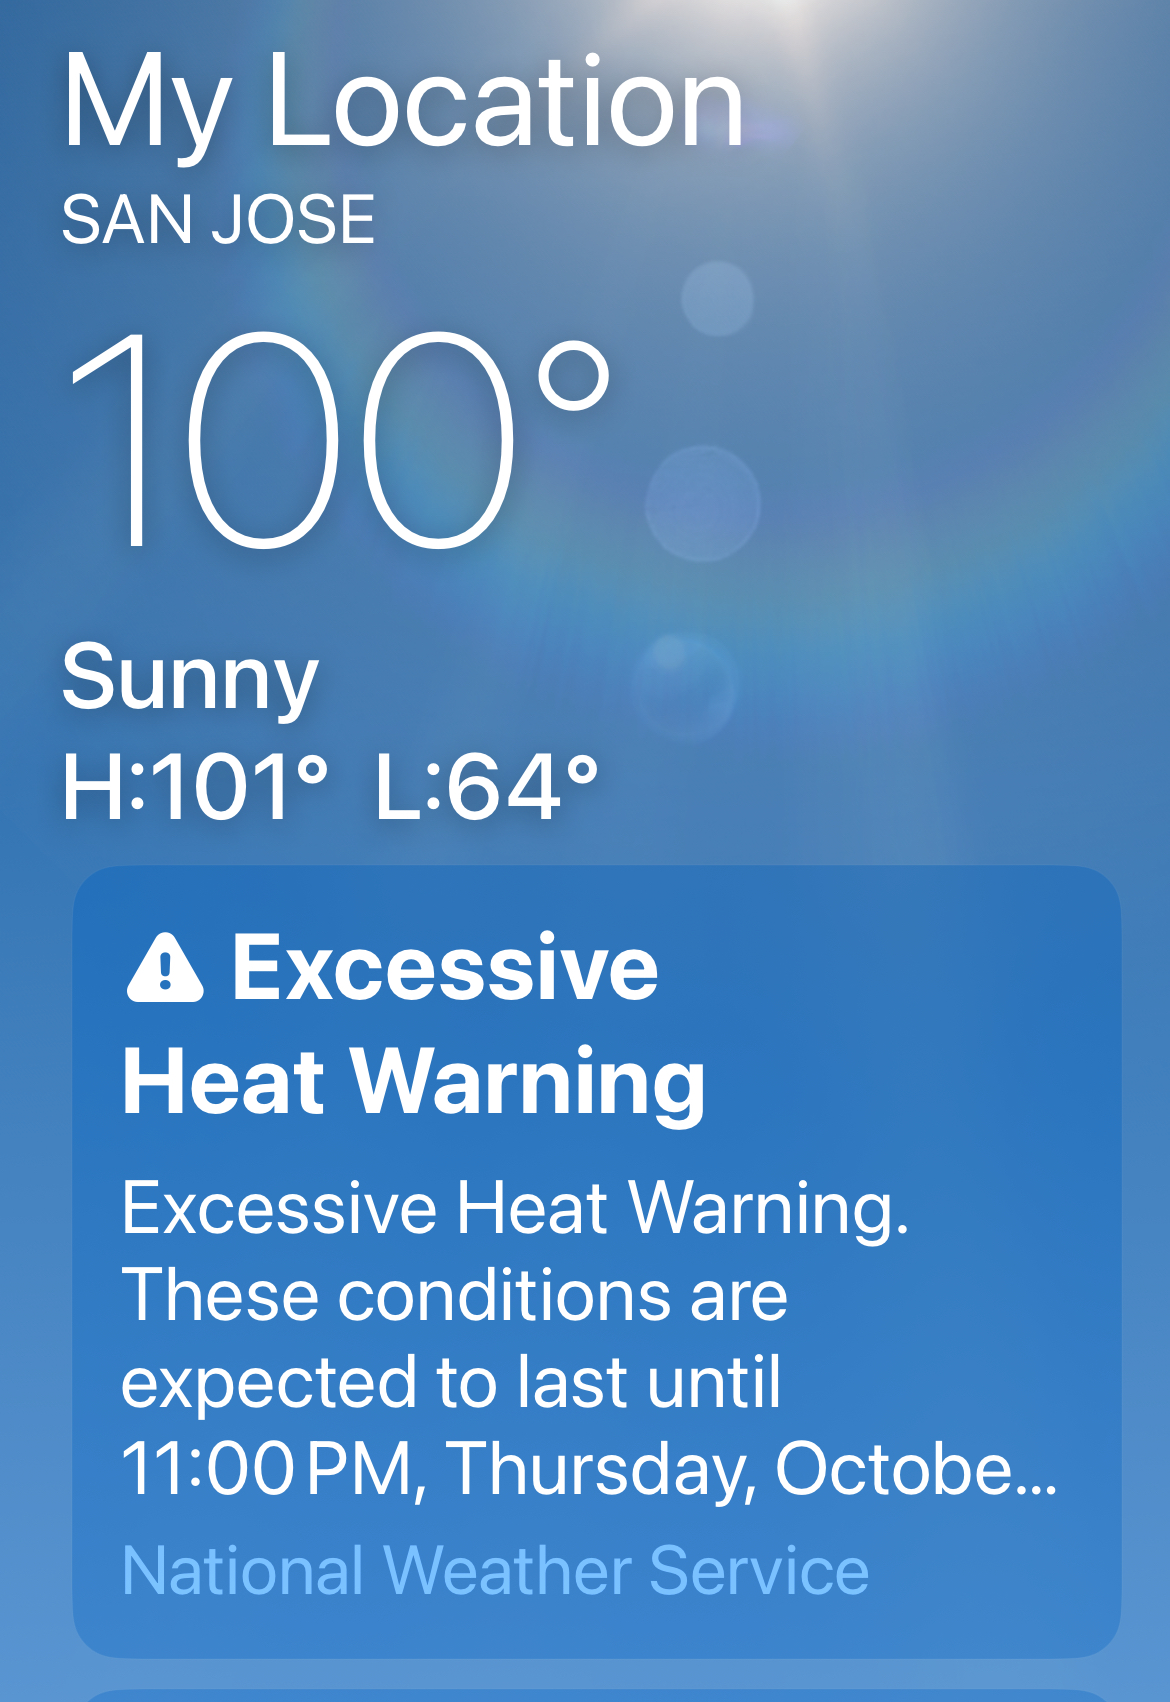
Unseasonably hot temperatures kept me out of the garden the first week of October. It’s hard to fathom triple-digit days at a time when the angle of the sun says fall, not July.
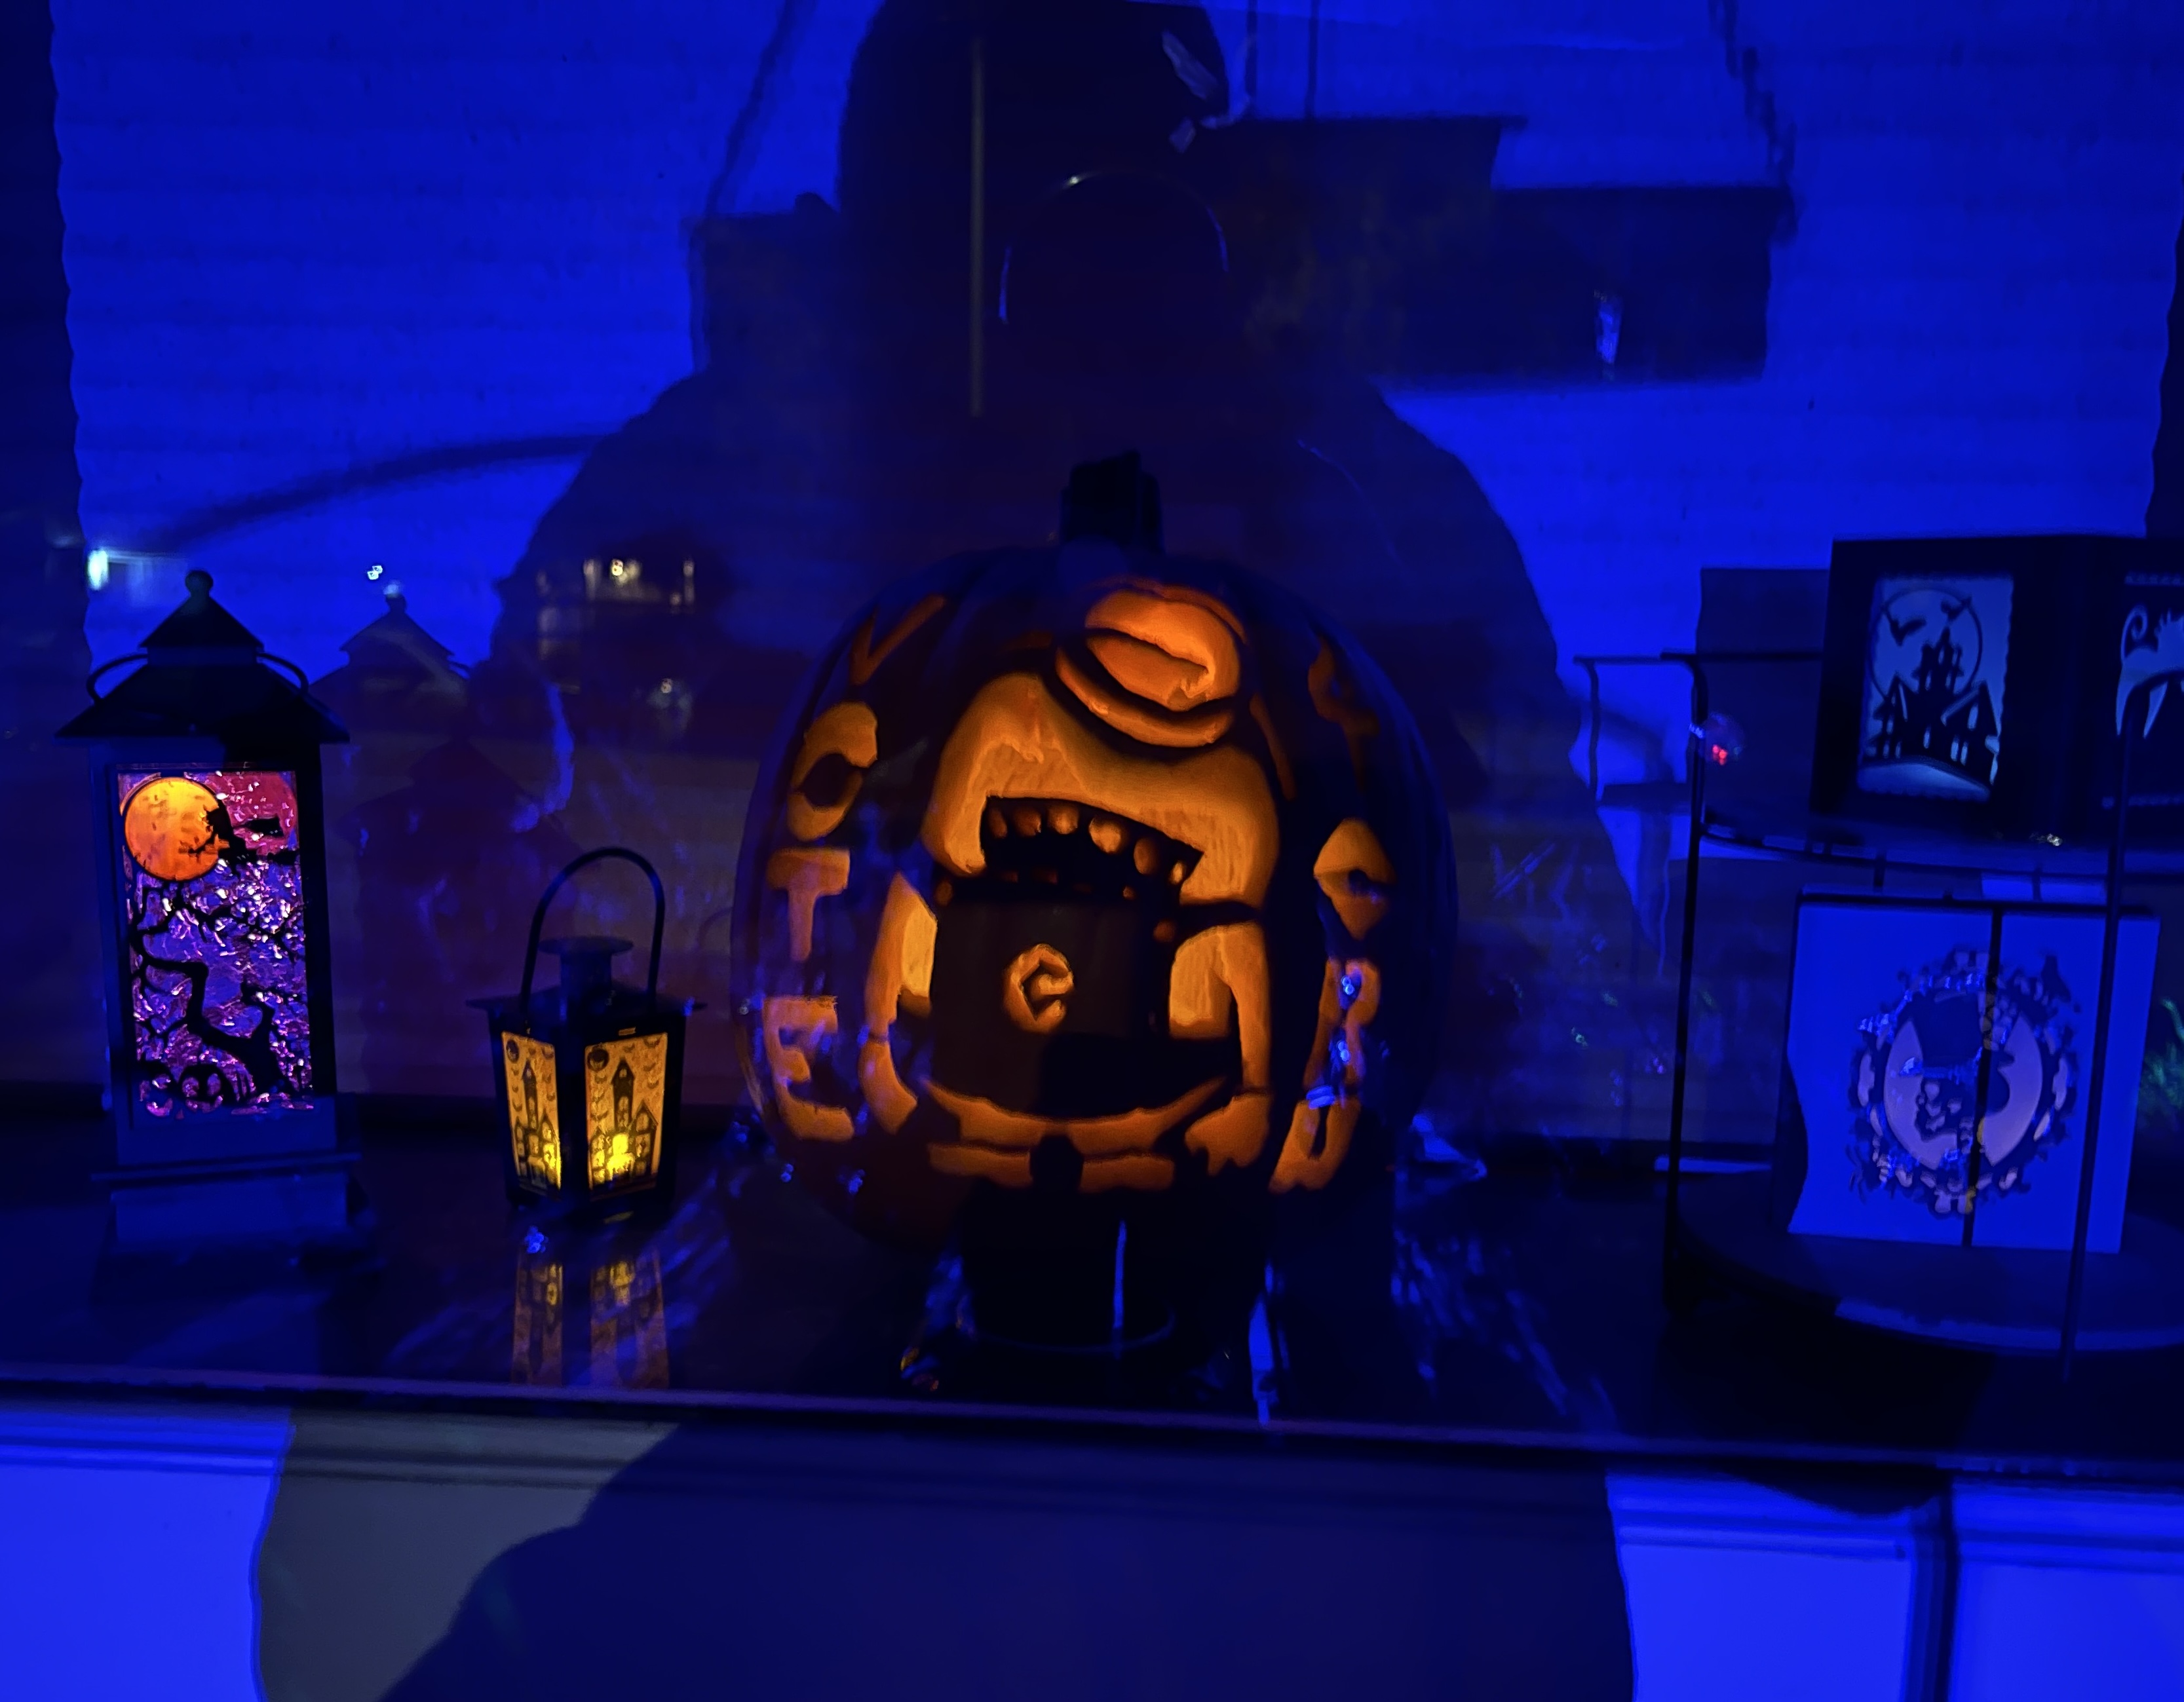
I celebrated my birthday on October 2, and we had fun handing out candy on Halloween. Mike carved three beautiful pumpkins for the front deck. Soon, they’ll join the compost bin. The seeds are outside for the squirrels to enjoy or to plant a pumpkin for next year.
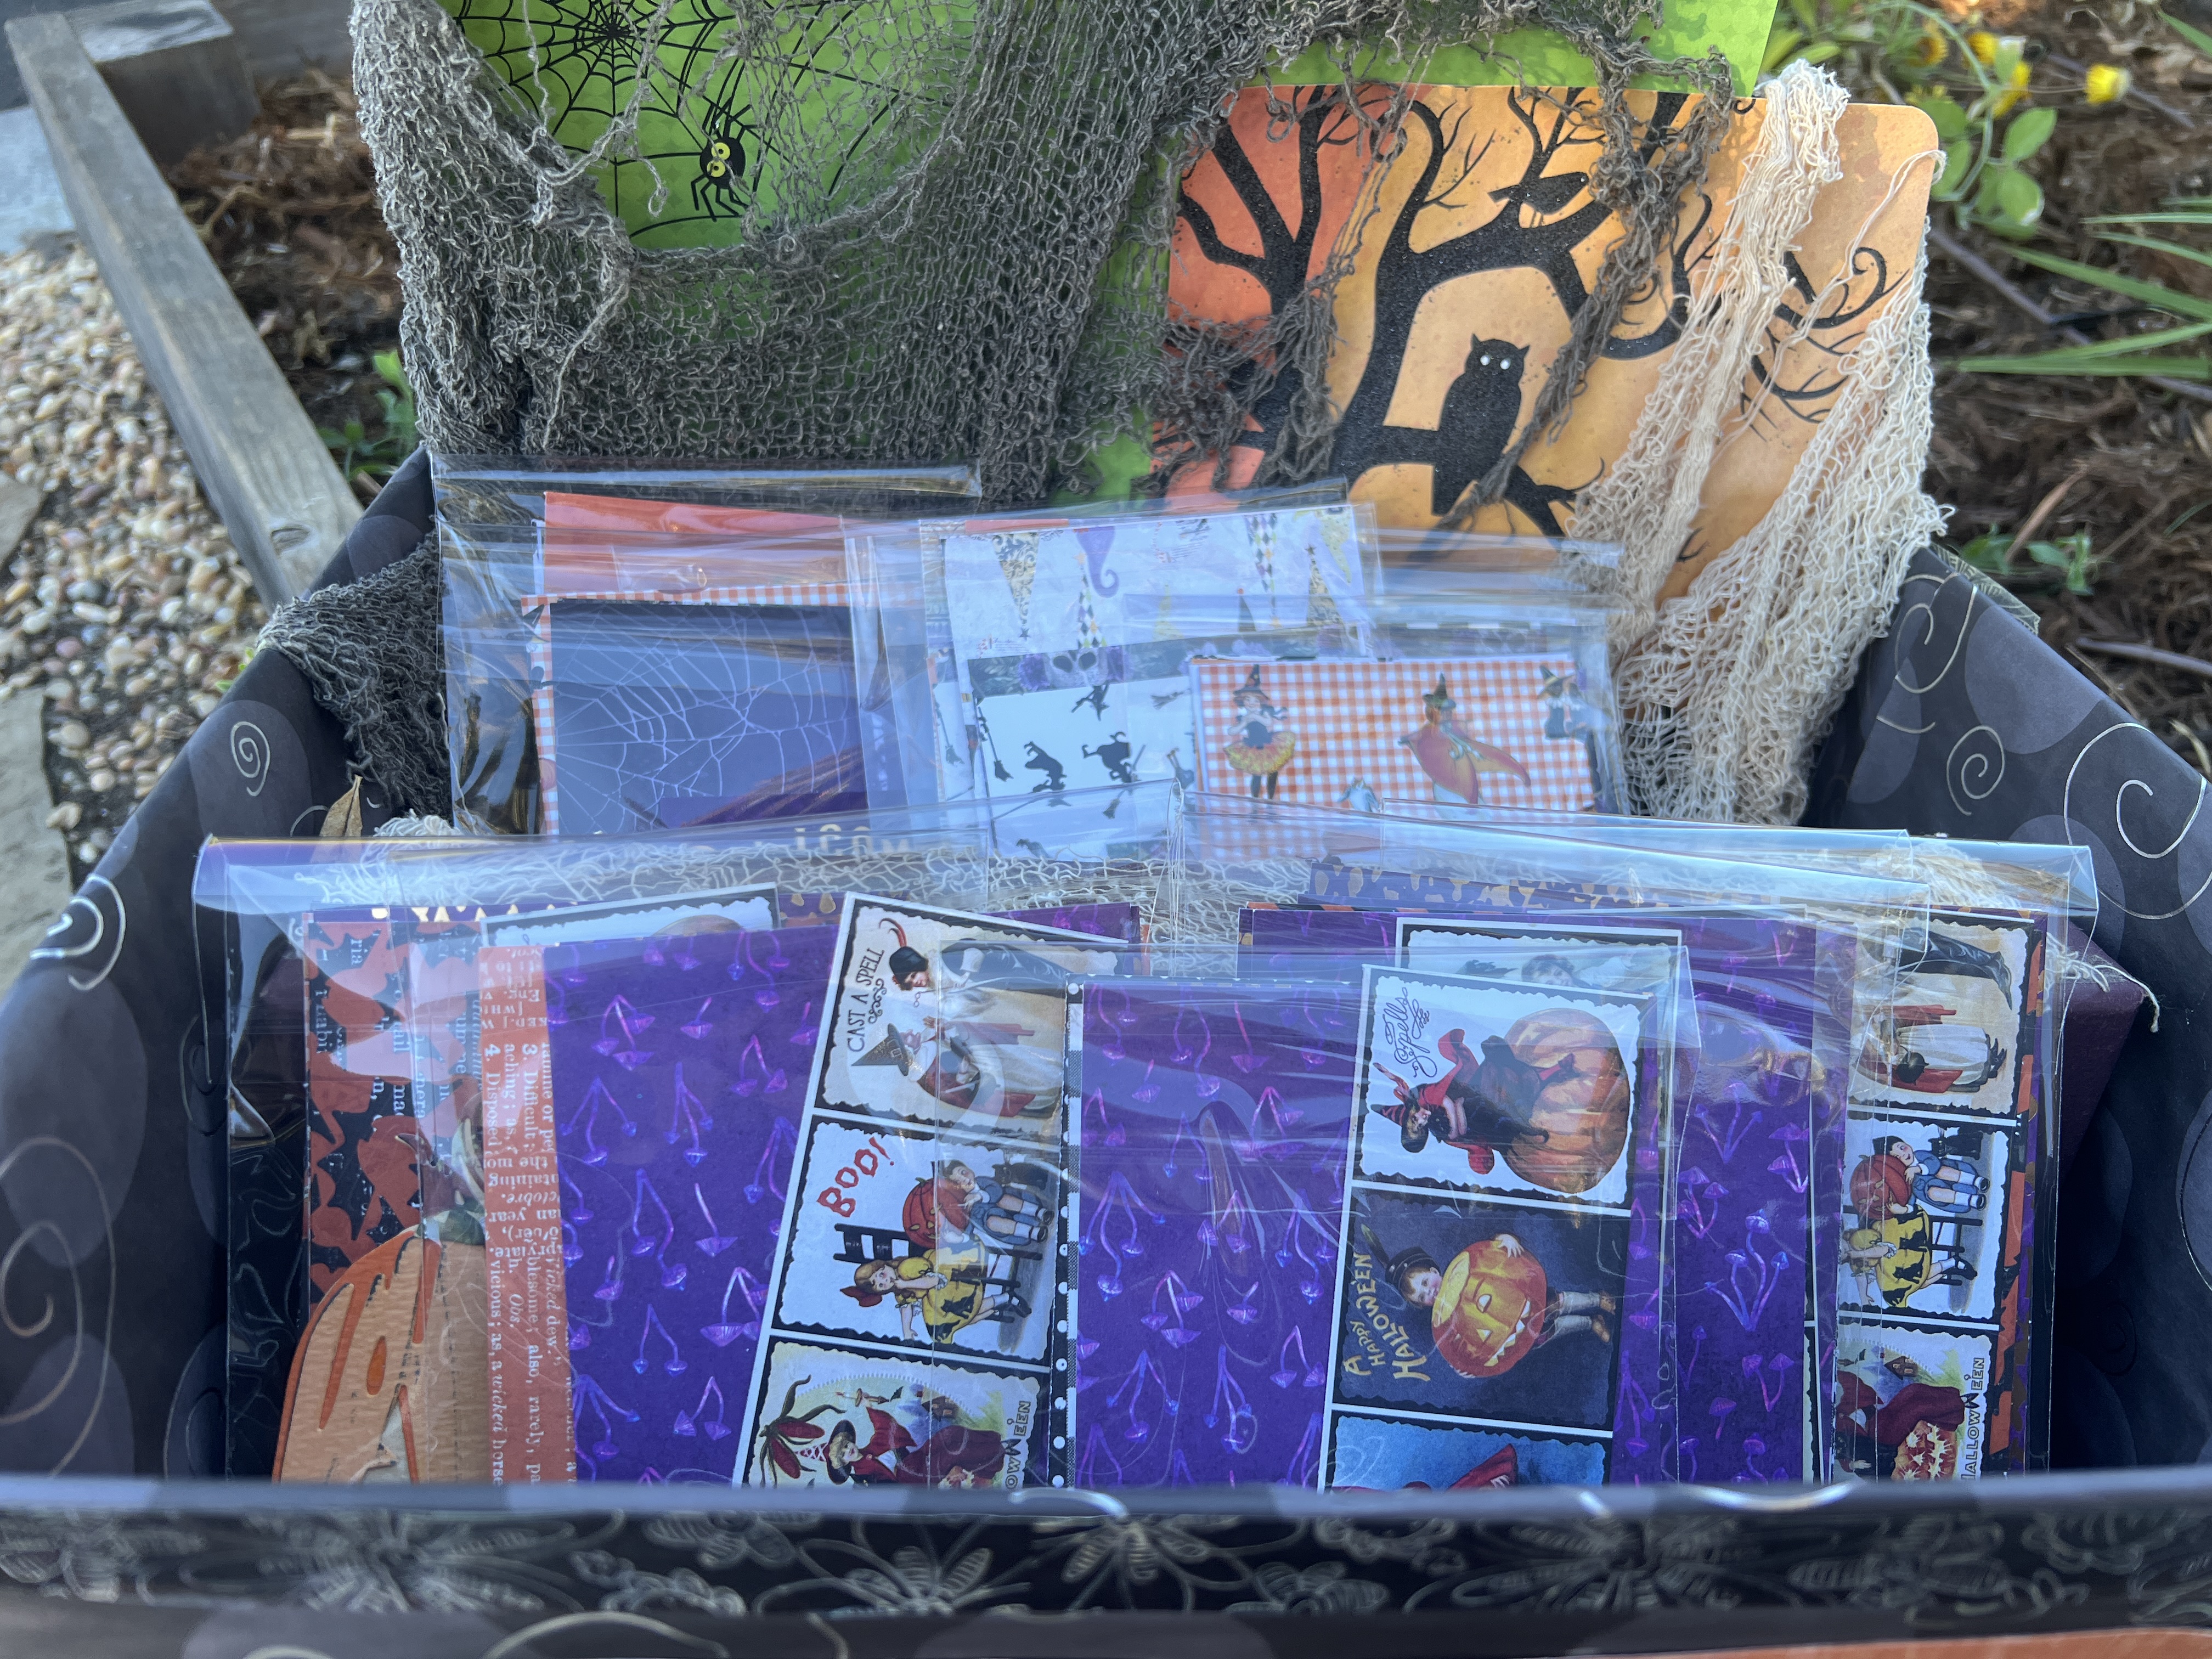
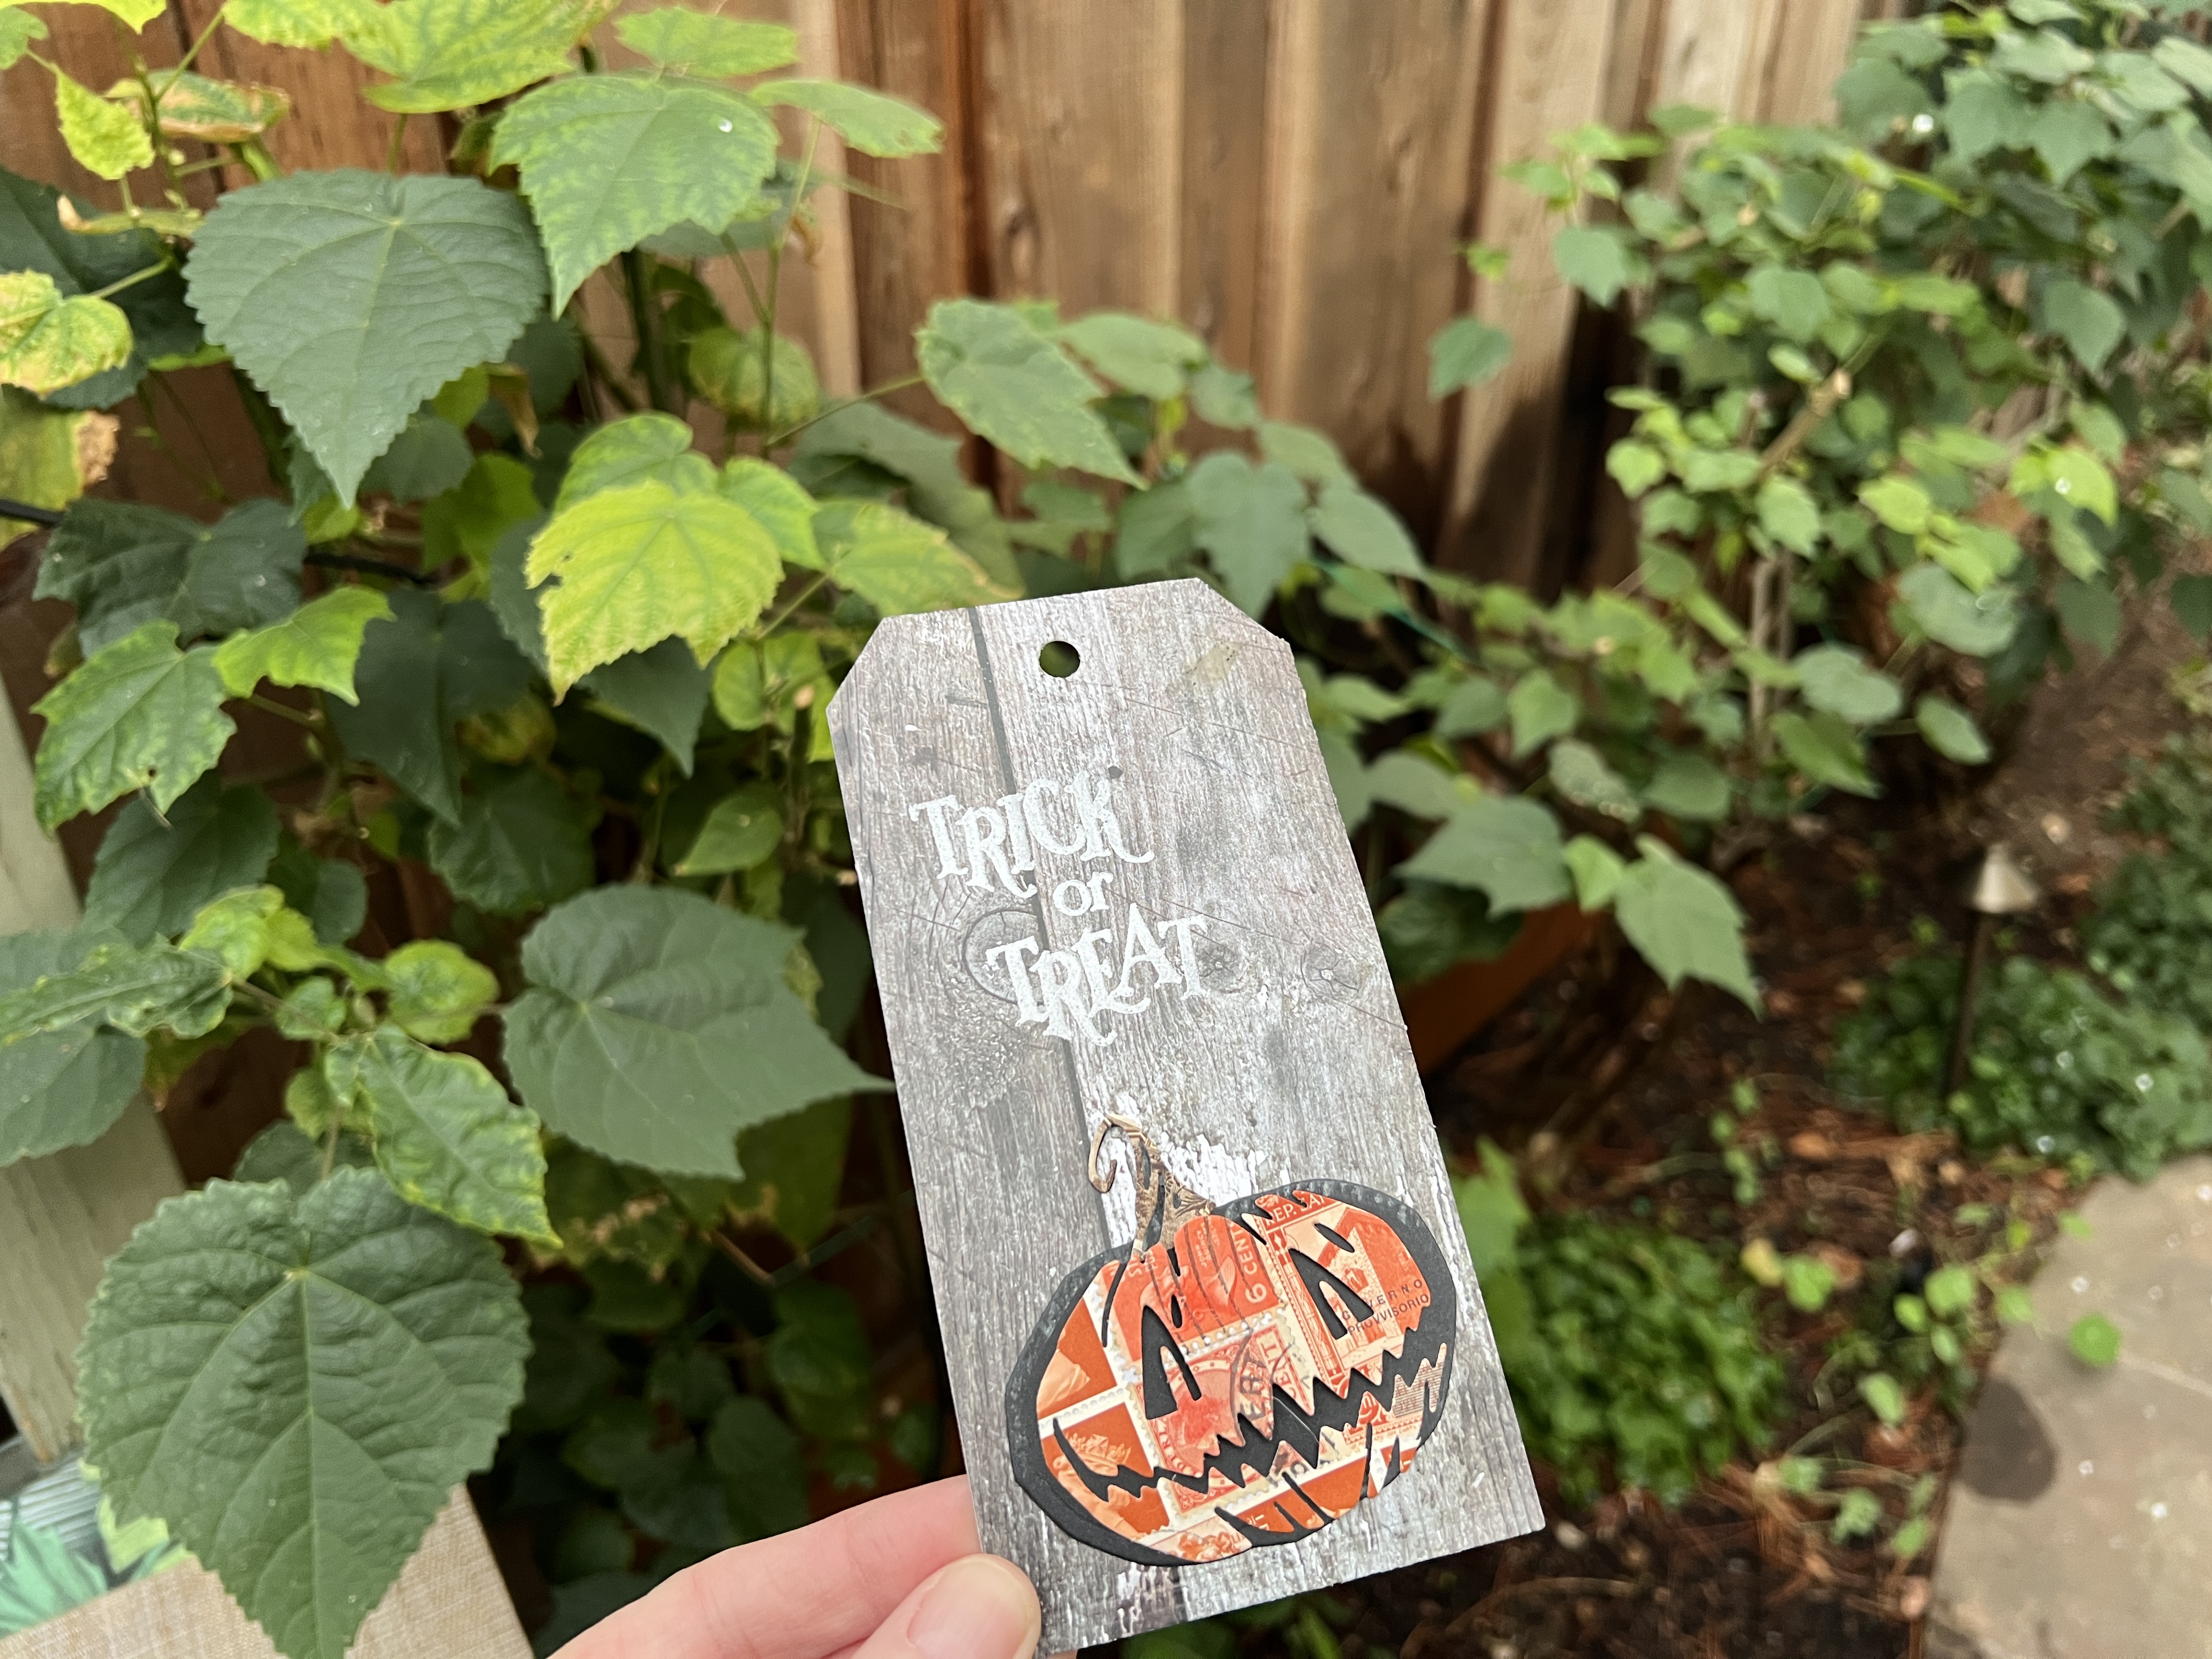
This year, I polished off the last of my Halloween paper and ephemera, making cards for friends, seasonal bookmarks, and craft-making kits next to the children’s Little Free Library. I offered seeds from my garden as well.
My friend Marcia gave me a treasure trove of vintage postage, so I had fun making a few pumpkins.
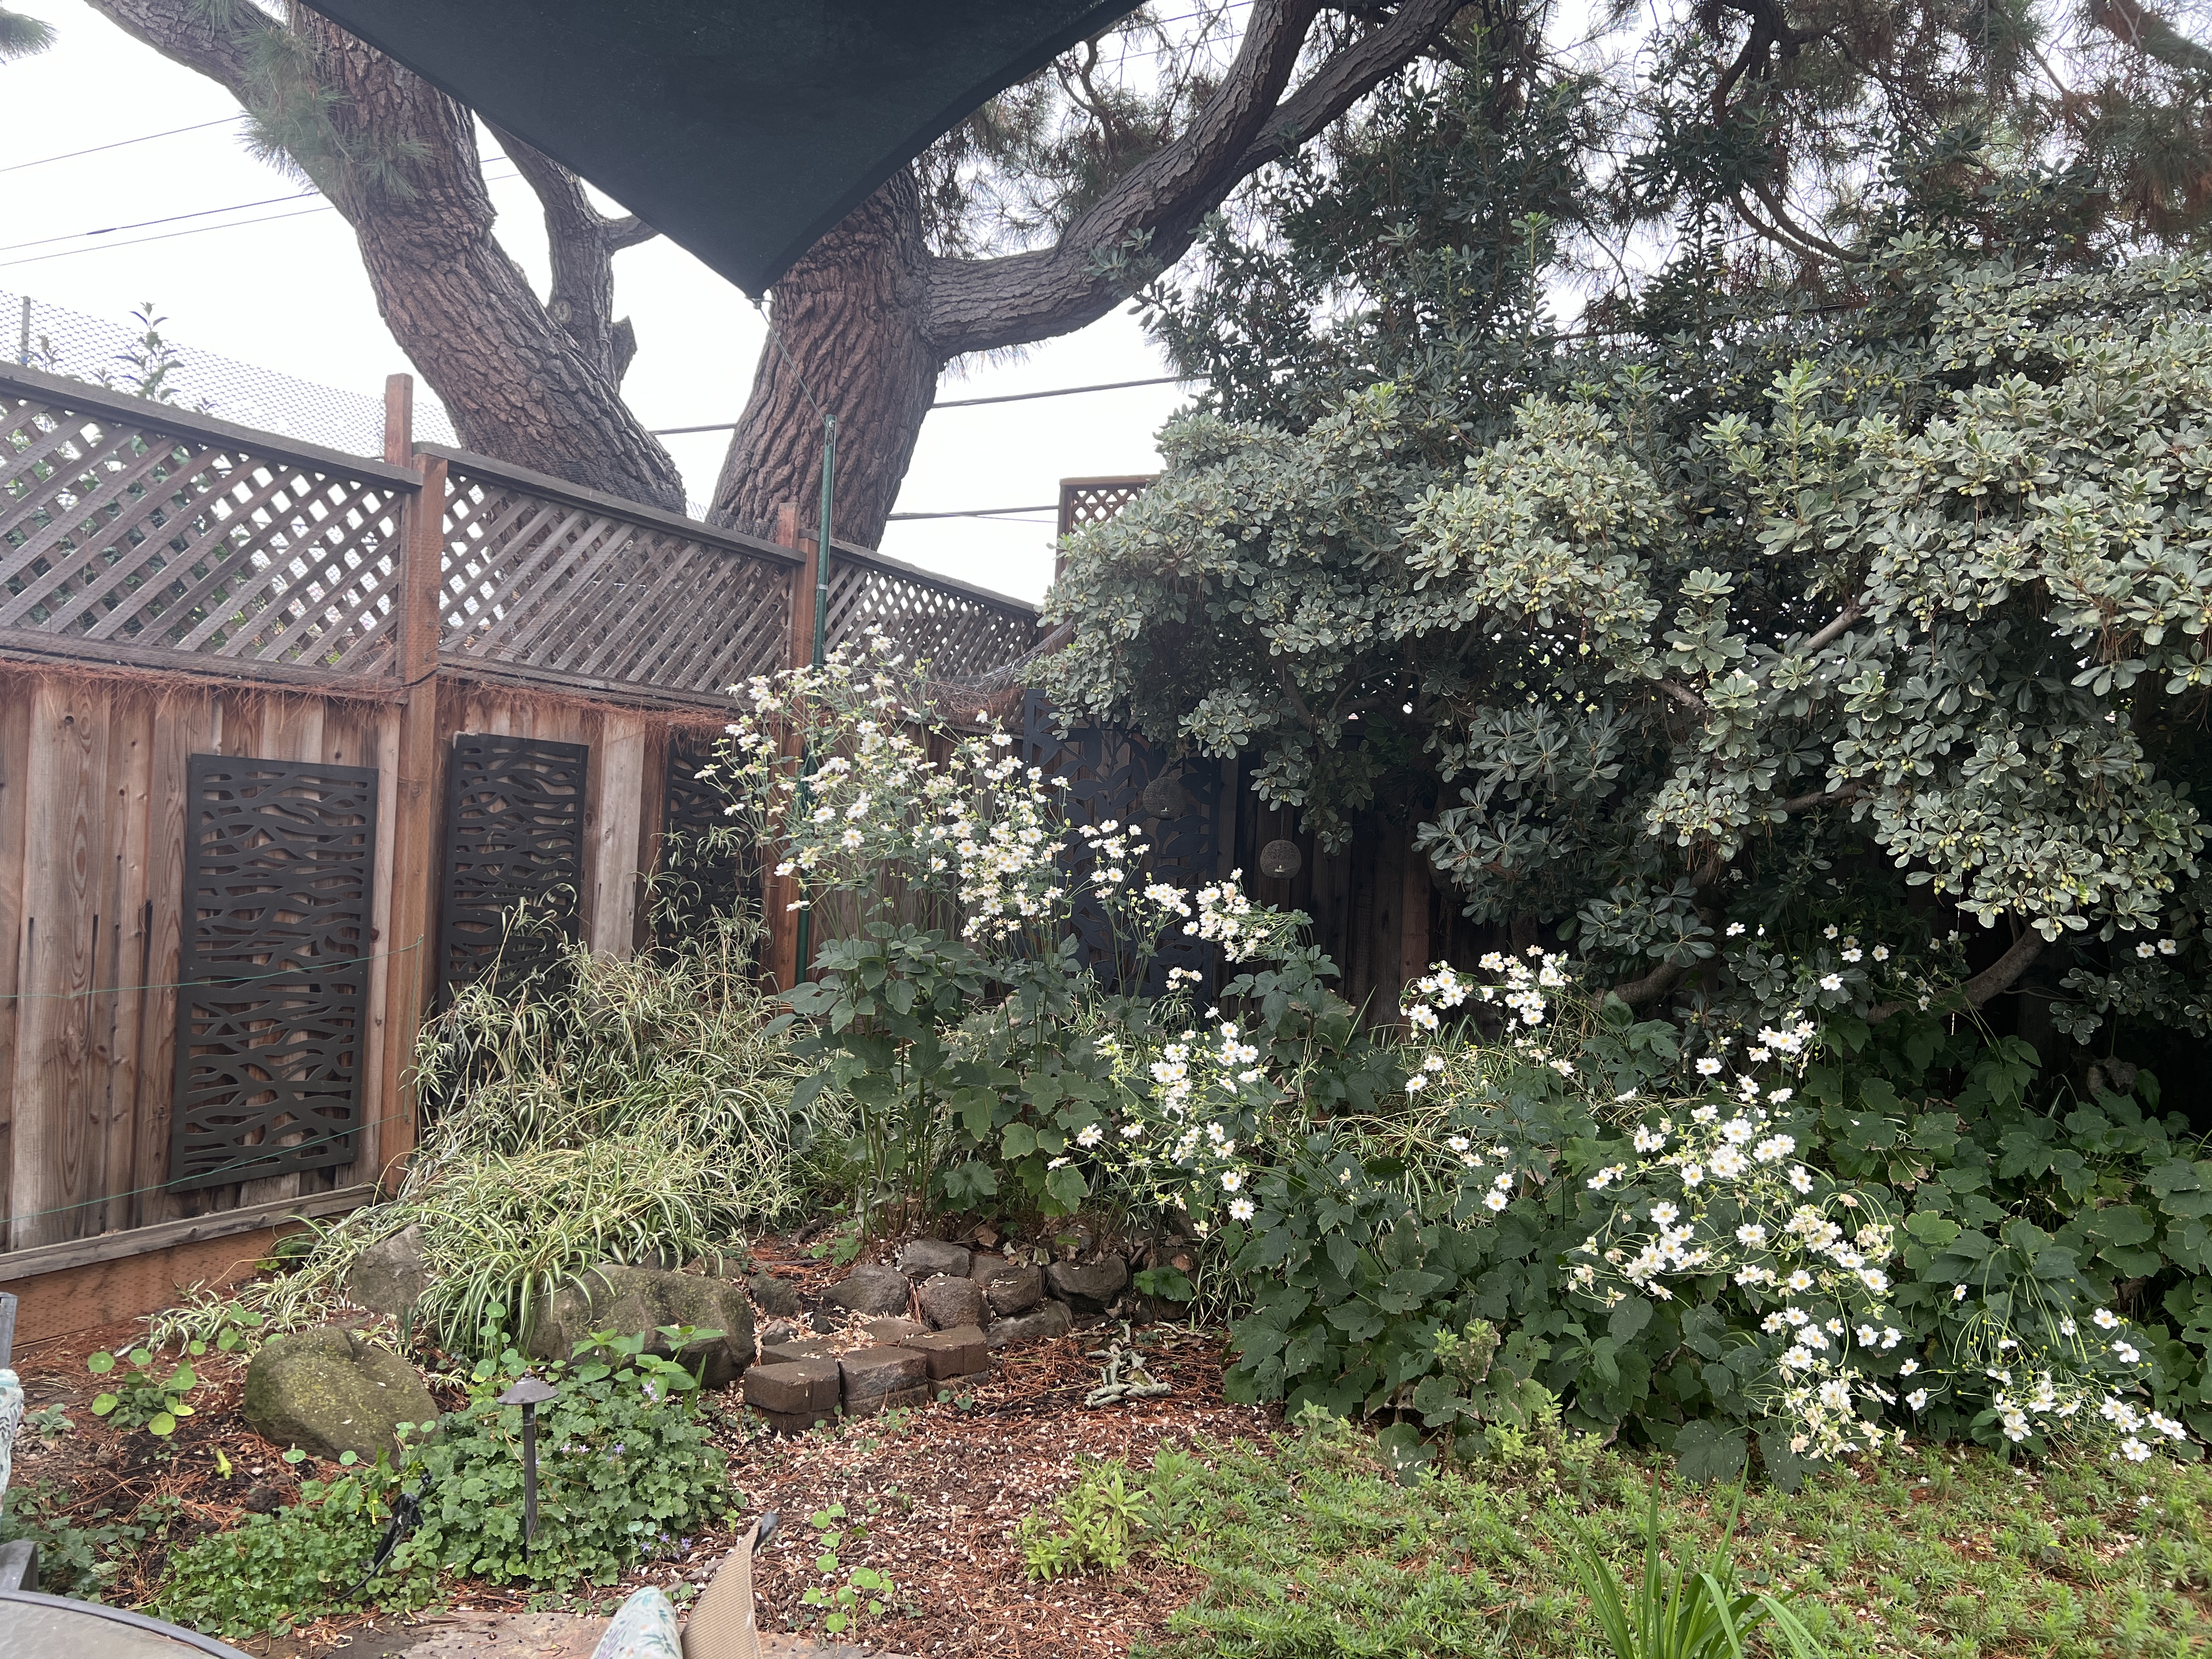
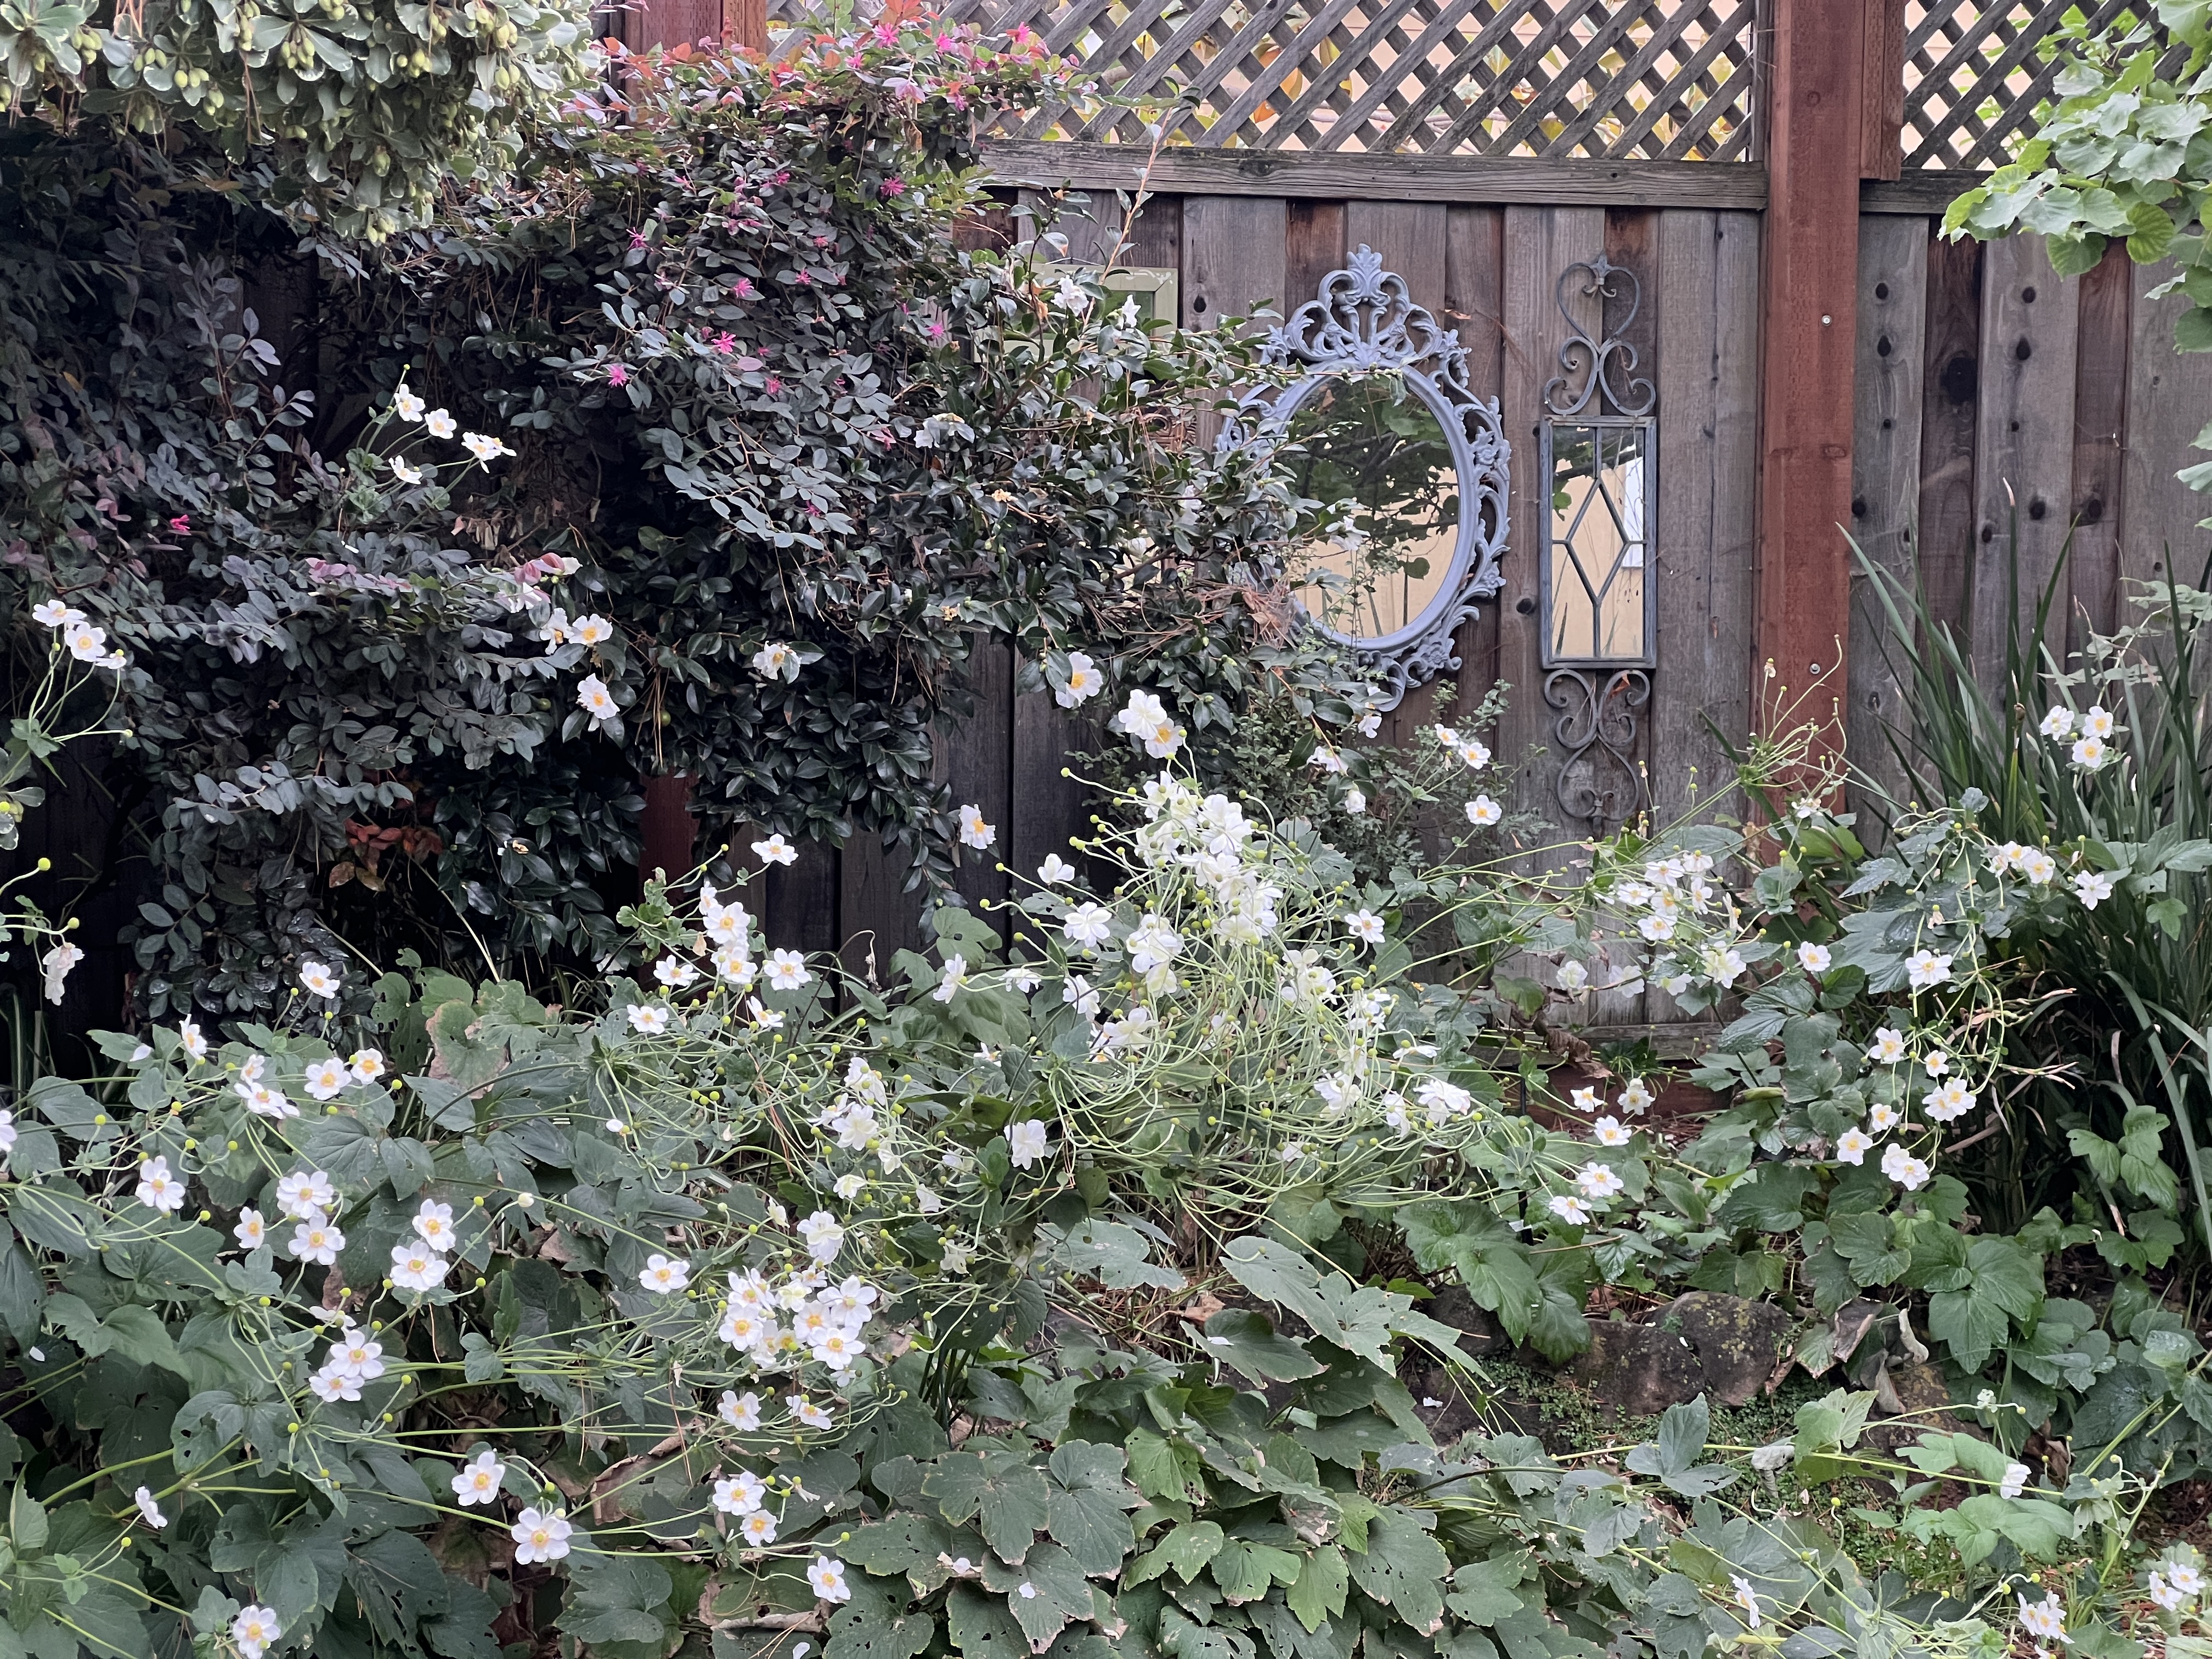
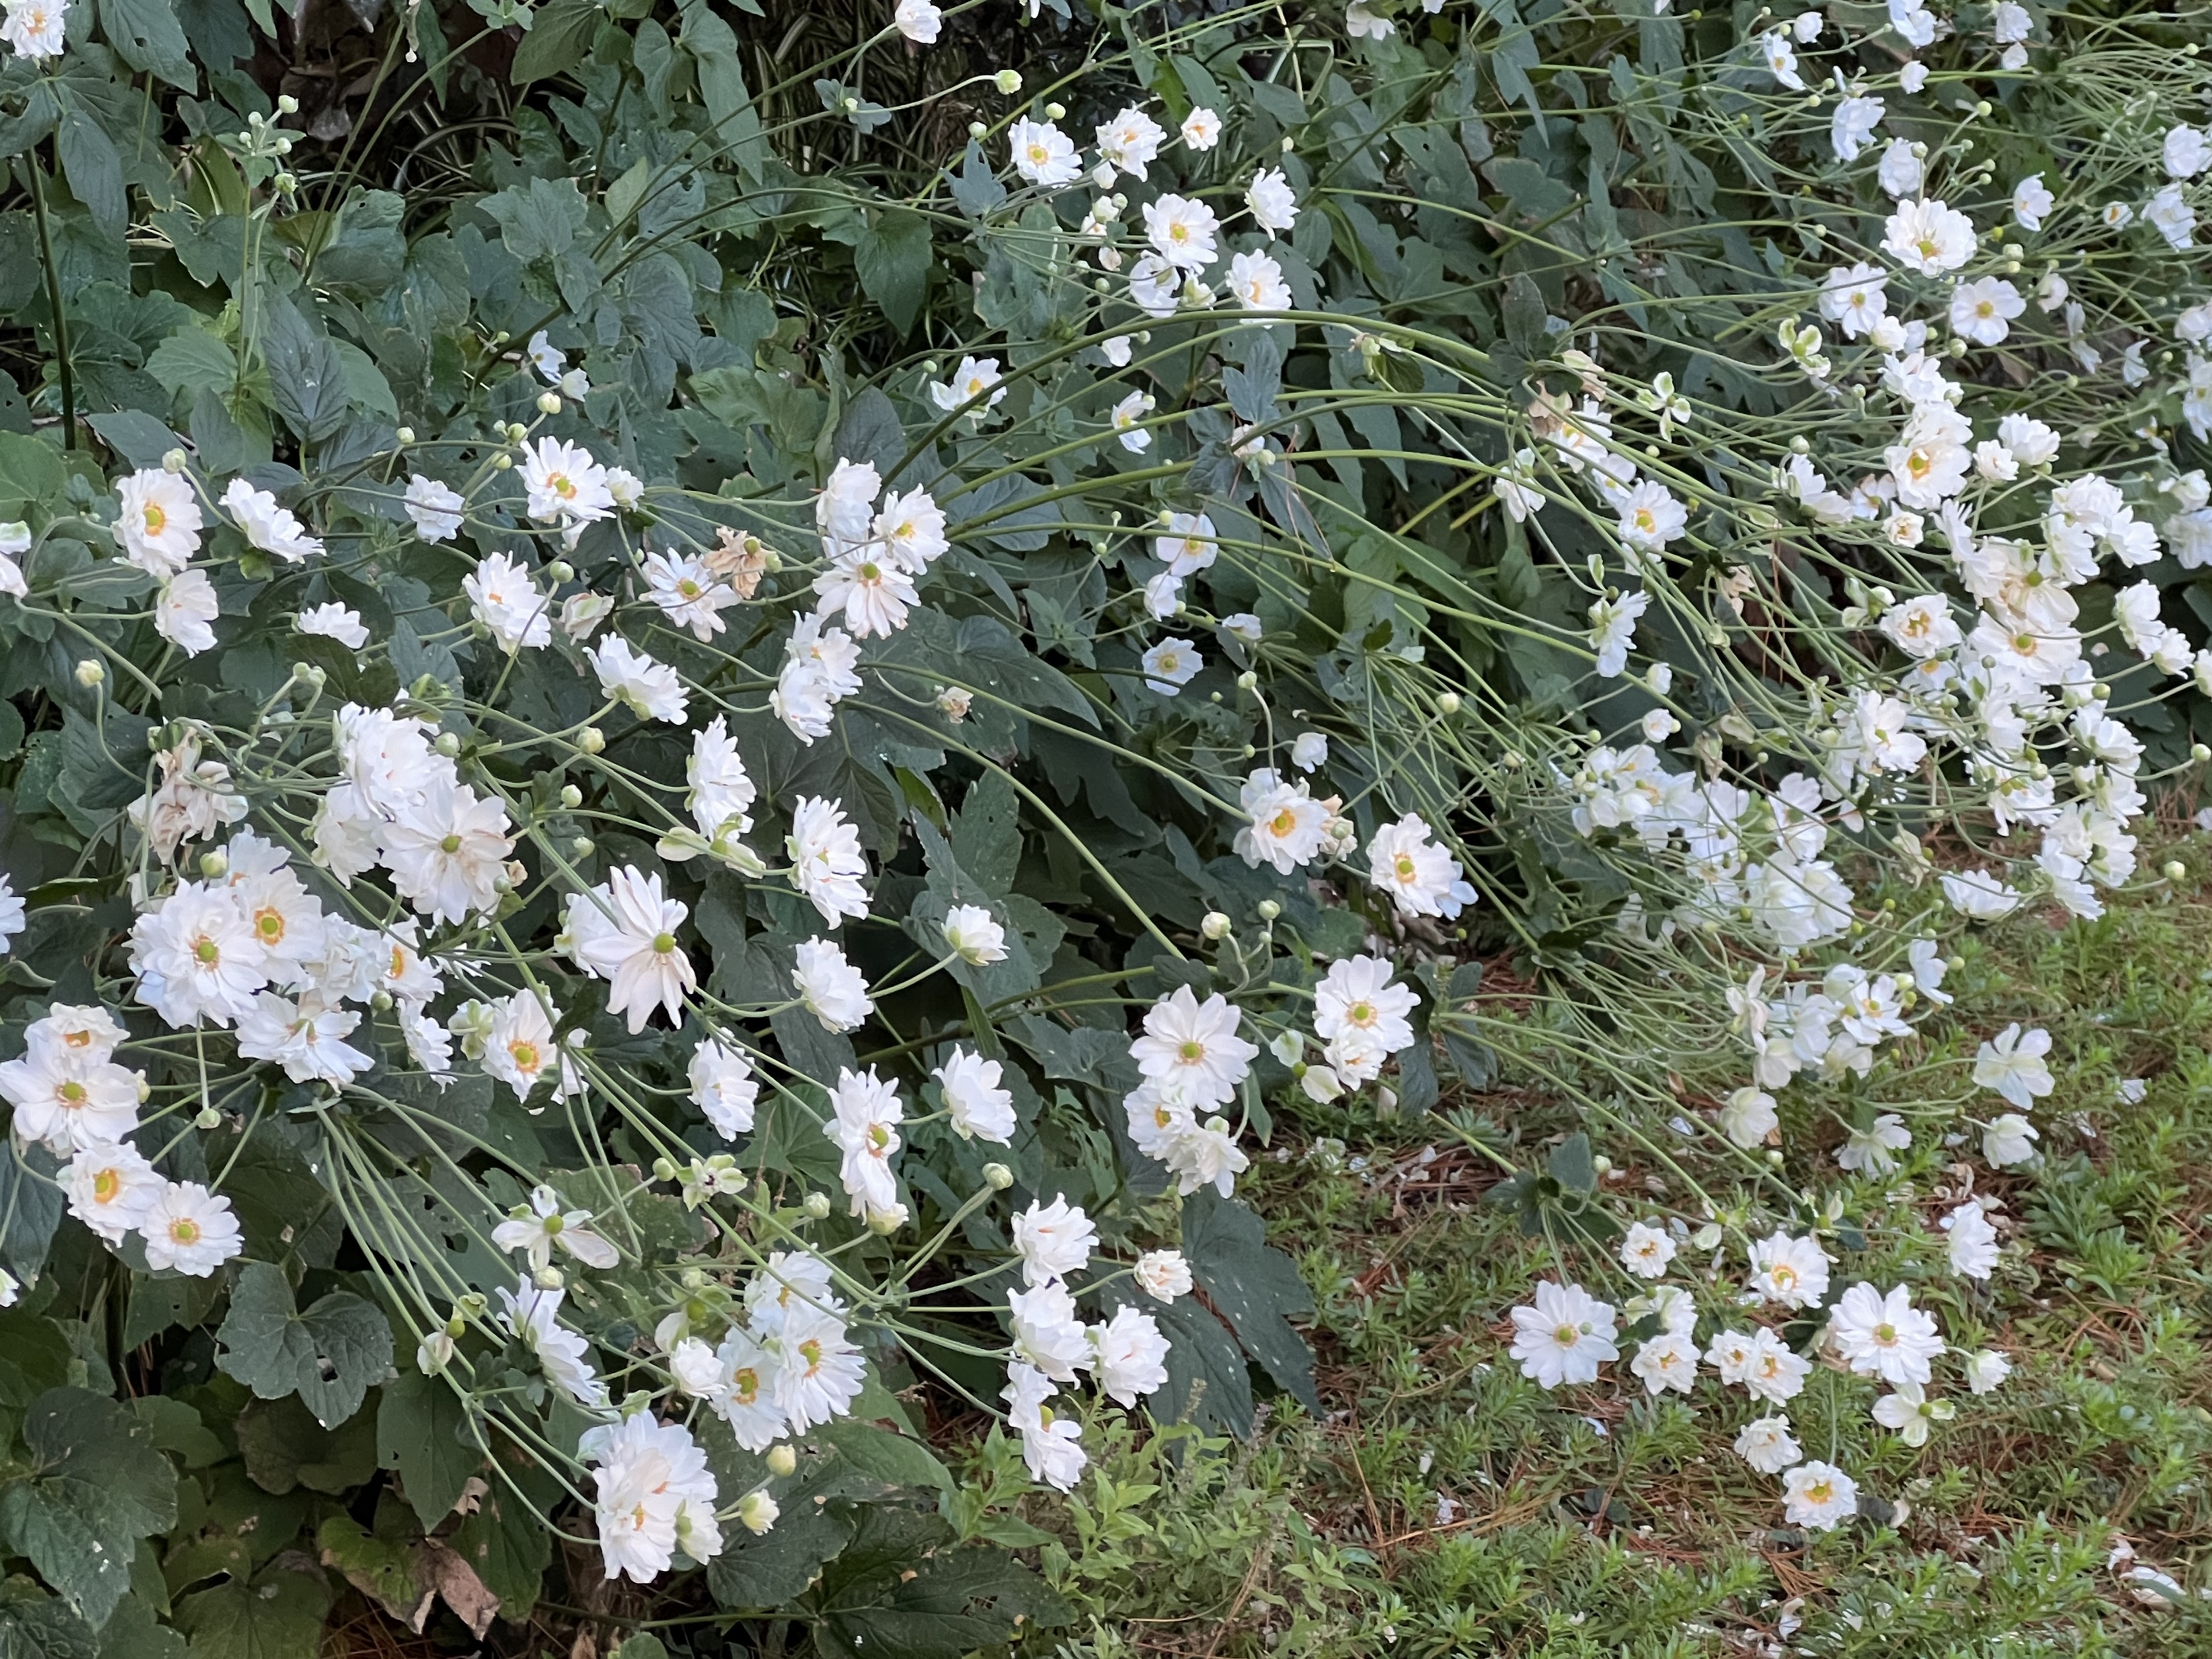
There are plenty of tasks in an autumn garden, and we’re finally enjoying the cool weather needed to get things done. I’ve been pruning where appropriate and removing spent annuals. The anemones grew tall this year, with the extra weight of blooms, bending them in a gentle arch to show off a snowy white skirt. I removed the flower stalks from the lower garden but left a pair of tall plants to go to seed. The hummingbirds will be along in a few months to harvest the seed fluff for their nests.
A second round of nasturtiums arrived on the scene, flaunting lovely saucer-sized leaves and a limited number of orange and red flowers. Nasturtiums self-seed in the spring and summer, dying off by the middle of July. The fall variety has proliferated in a section planted with freesia. They’re lovely.
This morning, I planted forty spring bulbs, a mixture of double yellow narcissus and grape hyacinth. I replaced the leggy coleus growing in a pot along our deck with cold-weather cyclamen. We enjoyed a light rain overnight, refreshing the garden and the stale air.
In the wee hours of Sunday, the US ends Daylight Saving Time (DST) or Falls Back. Here’s hoping this isn’t a metaphor for what could happen if this country doesn’t vote for Democracy. I’m cautiously optimistic for a better way forward.
“There’s no such thing as a vote that doesn’t matter.” – Barack Obama
As hobbies go, crafting greeting cards is an easy and creative outlet. Cards can be simple or complex, depending on the mood and available supplies. I’ve been a letter-writer my whole life, so there is a practical side to making cards. I’m increasing my output by trying different styles or techniques to avoid bogging down with the same thing. I’ve watched hours of videos over time, and through them, I’ve learned techniques, but my aesthetic doesn’t quite fit the mold.
In truth, I don’t fit the mold either, and I never have. I embrace my uniqueness and carry on.
To inspire myself, I’ve been creating cards featuring a circle. Focusing on the shape allowed me to limit my choices, which I found freeing.
Here’s an interesting data point:
“The circle has been known since before the beginning of recorded history. Natural circles are common, such as the full moon or a slice of round fruit. The circle is the basis for the wheel, which, with related inventions such as gears, makes much of modern machinery possible. In mathematics, the study of the circle has helped inspire the development of geometry, astronomy, and calculus.” – source Wikipedia
Today, the circle is the basis for the following cards:
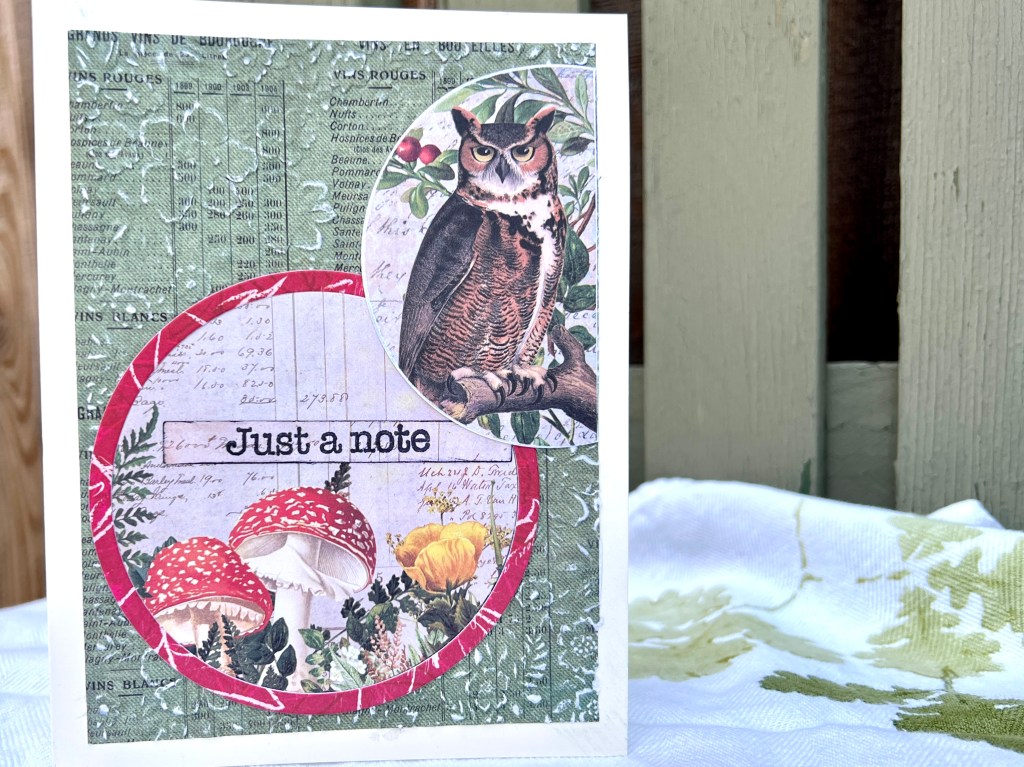
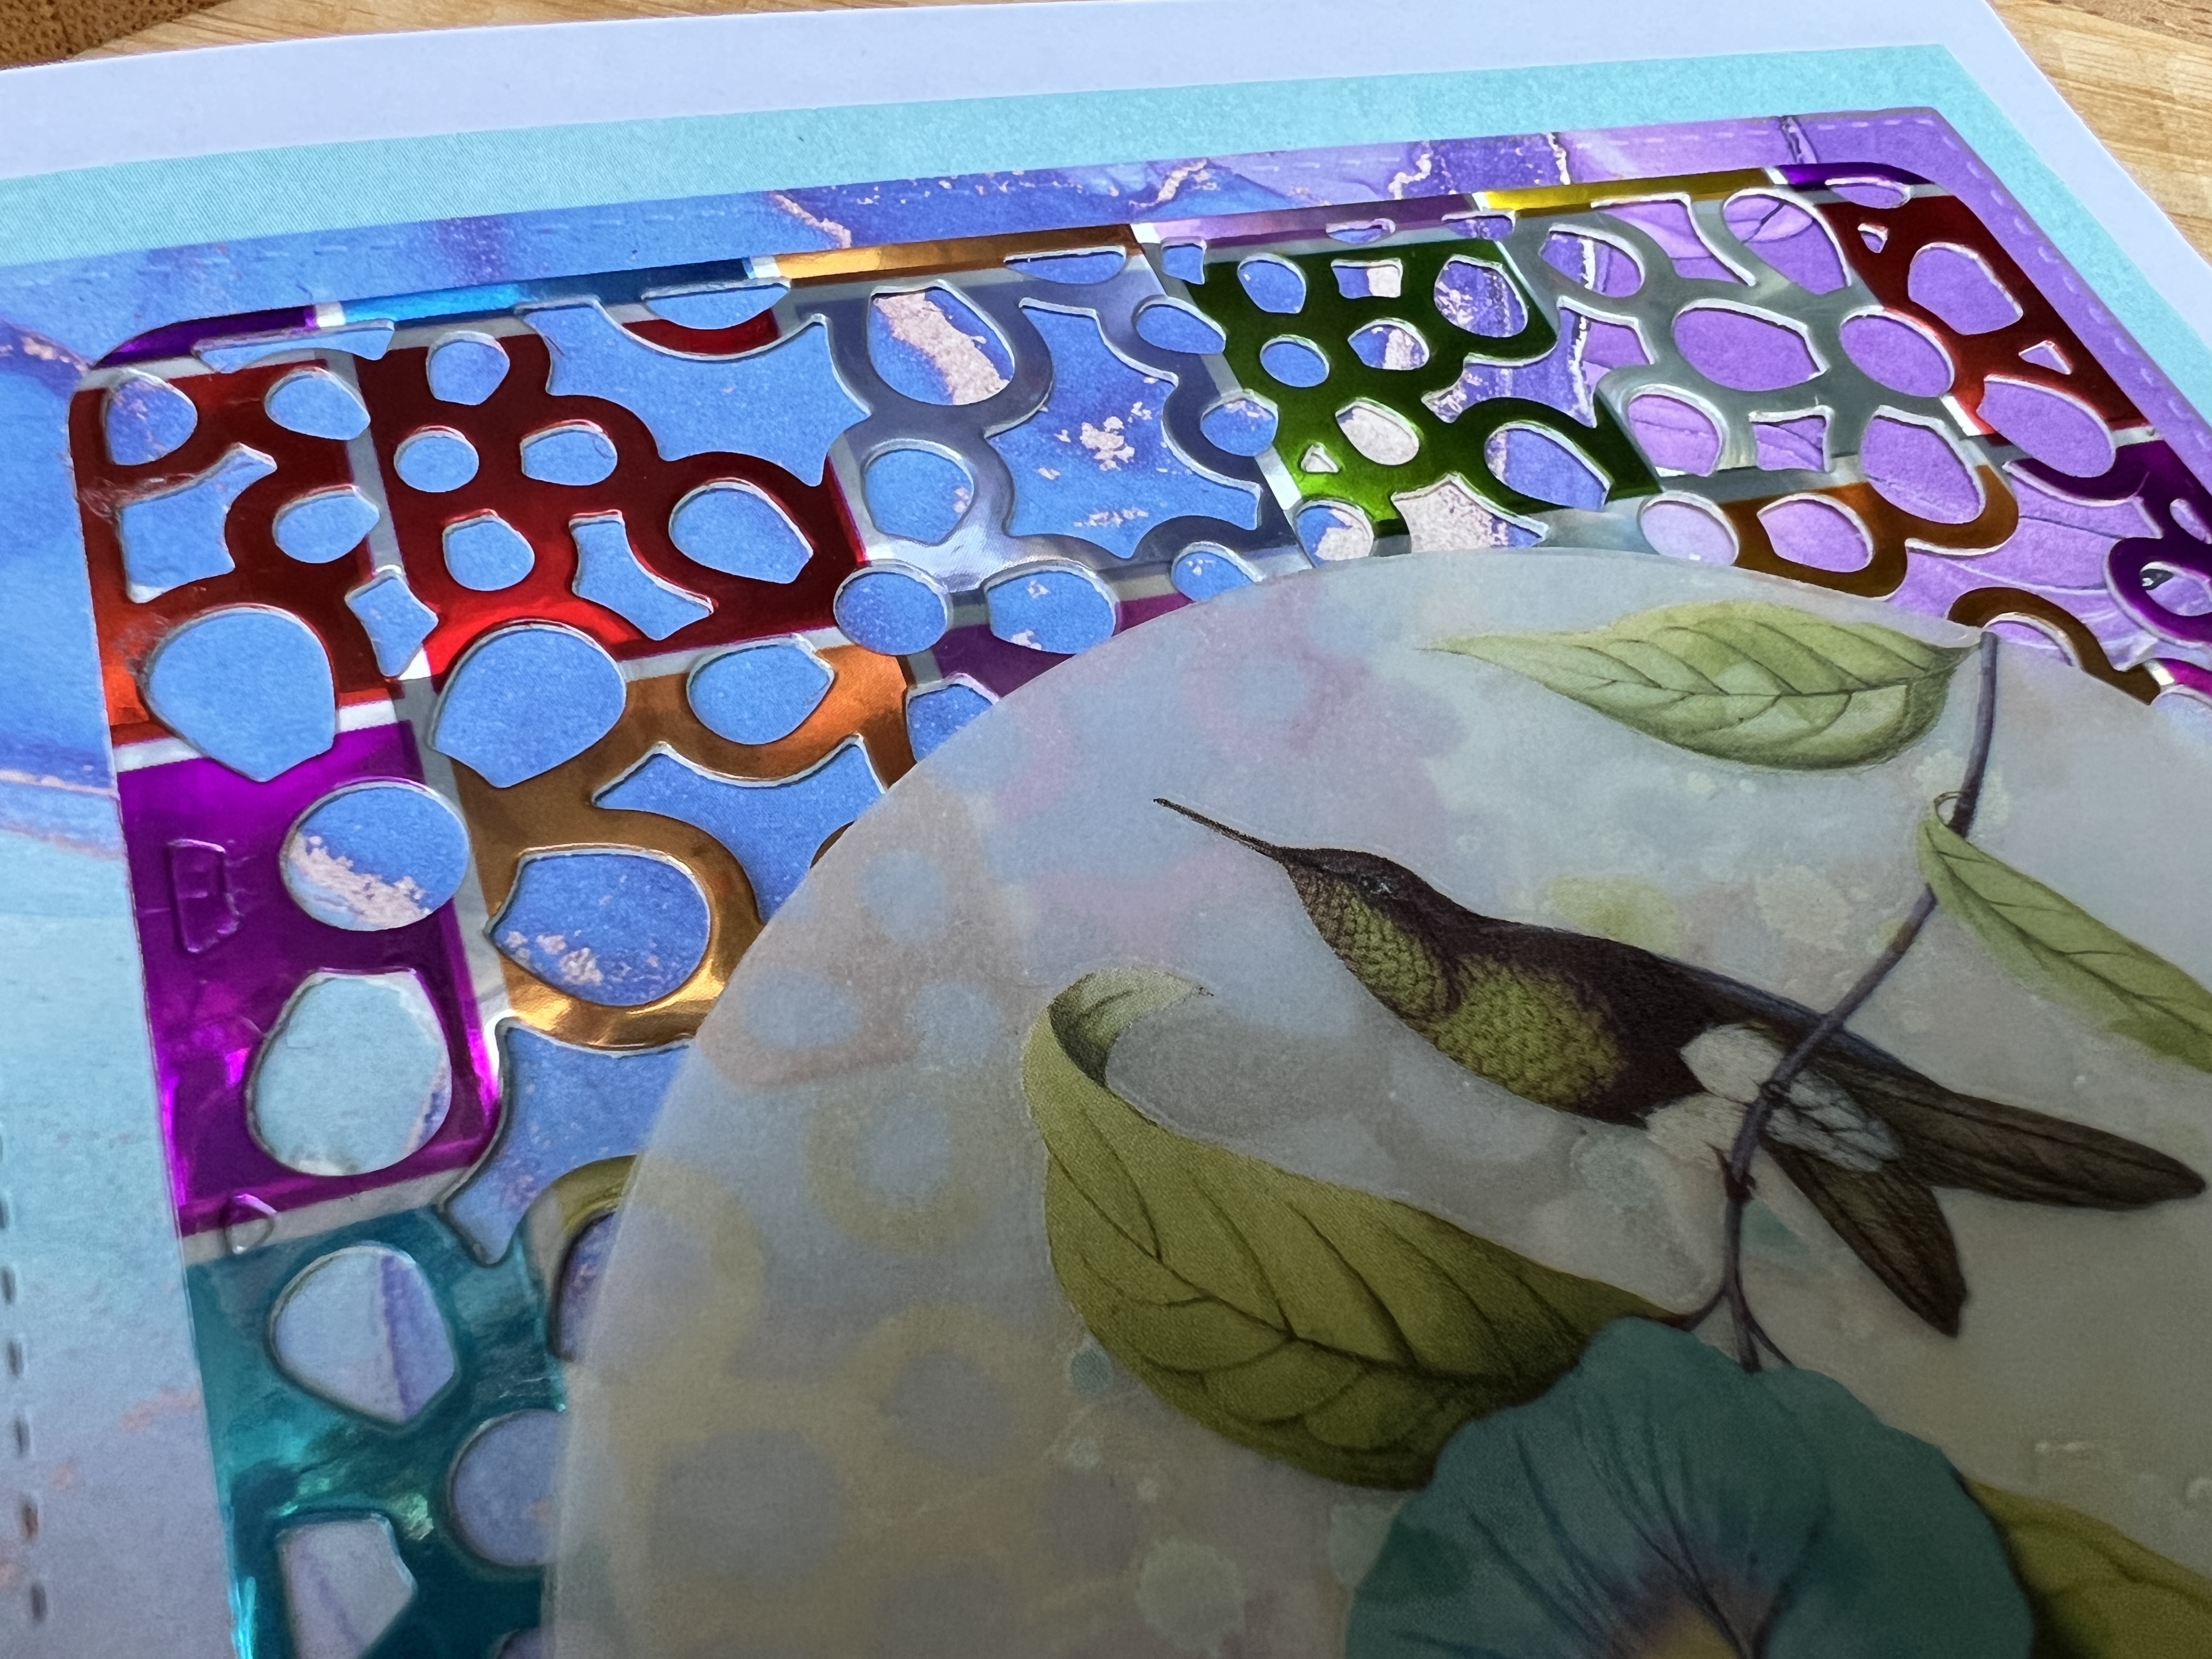
Card features two layers of vellum circles, a rub-on transfer, a repurposed folder and paper.I cut the center circle from extra-wide Washi tape, adding a sentiment and a simple background.This card features one-and-a-half circles. I love this pack of paper. I embossed the background. Technique: use a sanding block on the embossing to reveal the white paper backing.Three circles using scraps. I lined up strips on a sticky label, then cut it to shape. The larger ring is cut from the same scraps. A hummingbird rub-on transfer flies over the top.This card features three circles cut from a paper pack of botantical prints. The pale green paper is cut with a die, and the botanical print repeats behind that. Technique: inking edges for depth.
Another nice thing about this hobby: you can pass the time when it’s 105F outside. Our current heatwave has continued for twelve days with average temps 90F or above. Some of the plants are wilting and a few are showing signs of stress with burnt leaves. On the plus side, the tomatoes seem to be thriving and most of the succulents are getting by. It’s going to be a long summer.
On the 15th of each month, Kate invites bloggers to join in the fun of creating something from scraps. Participants create with fabric, metal, paper, and sometimes all three. If you have something to share made from scraps, please join us. You can contact Kate, linked above, for details.
I’m sharing three cards this month: two made from a reflective folder once used for school papers and a collage card.
My friend Mary Ann, also a cardmaker, gave me the folder and challenged me to create with it. Her scrap became my scrap; now it’s a pair of cards.
I love this sort of challenge, though I’ll admit that the intense shine and reflection of the folder gave me pause. It worked out in the end, though, and I had fun.
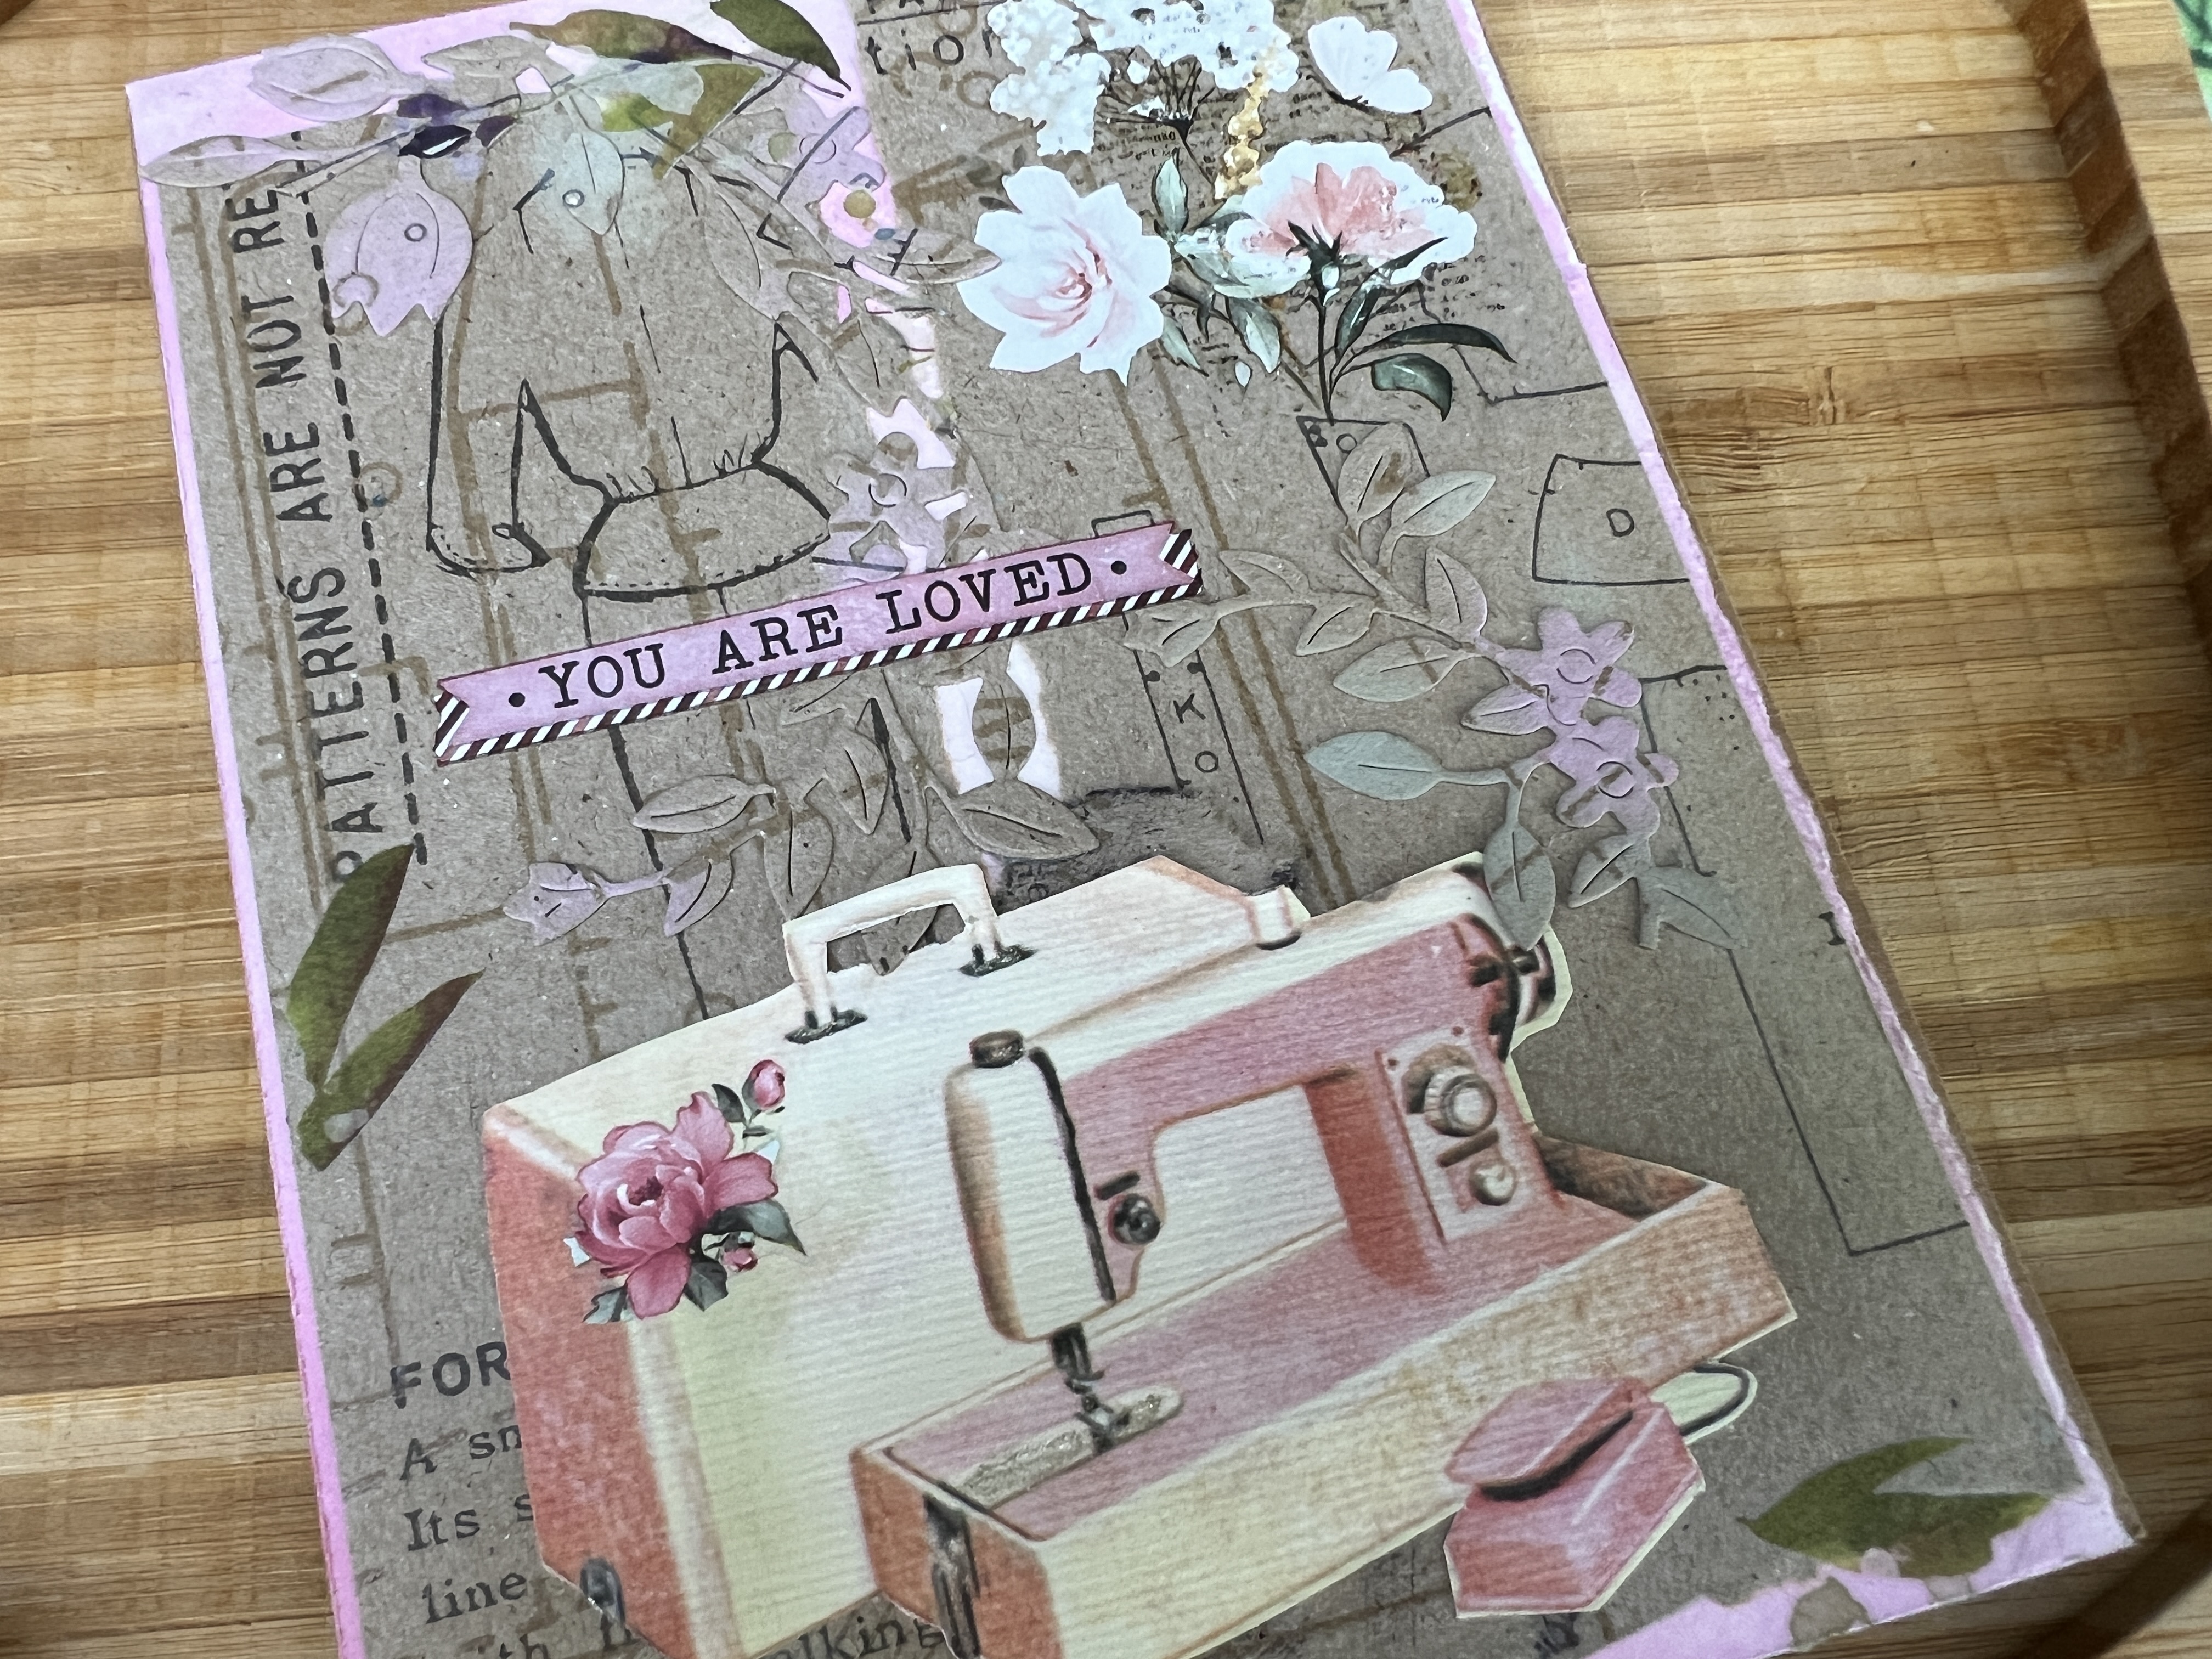
The pink card is my beginner’s attempt at collage. I follow a fabulous collage artist in Canada, and she inspired me to give it a go. You can take a look at Wilma’s gorgeous work here.
For the background, I used scrapbooking paper passed on from my sister featuring dress-maker patterns. I inked similar paper before die-cutting it into flowers. The pink sewing machine comes from a leftover piece of gift wrap. I used a few odds and ends of rub-on decals to add a bit of green and light pink. I want to study this medium in more detail to continue making this card style. It’s fun.
The following bloggers enjoy taking part in ScrapHappy. Click on any of the links below to see what they’re creating.
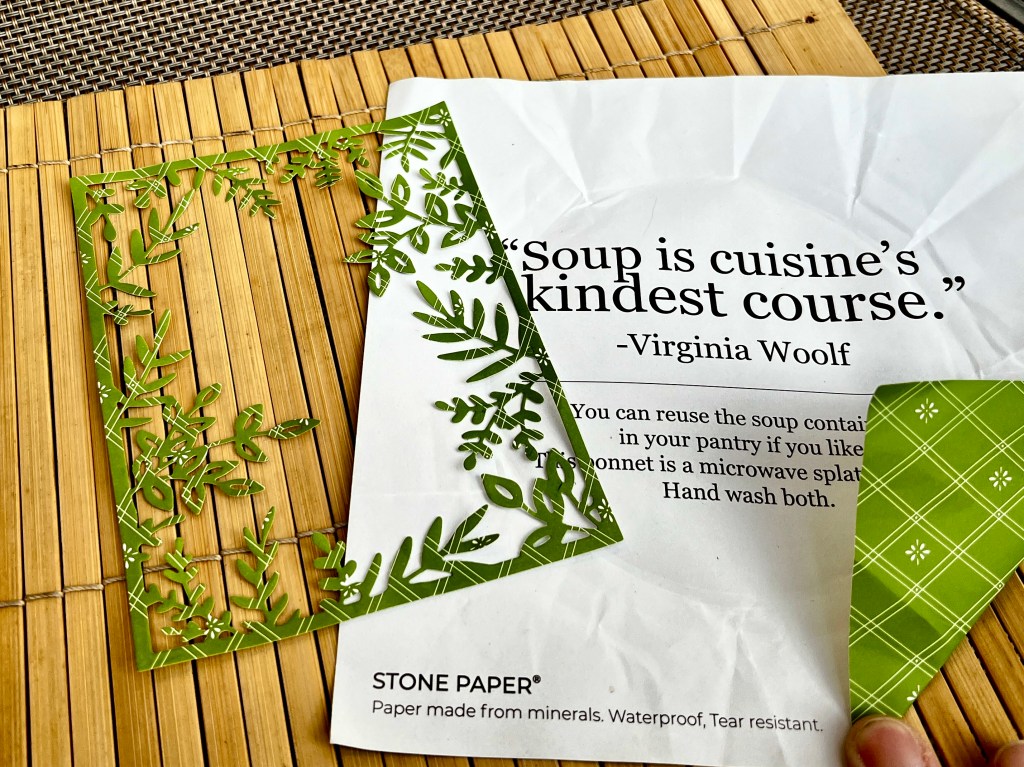
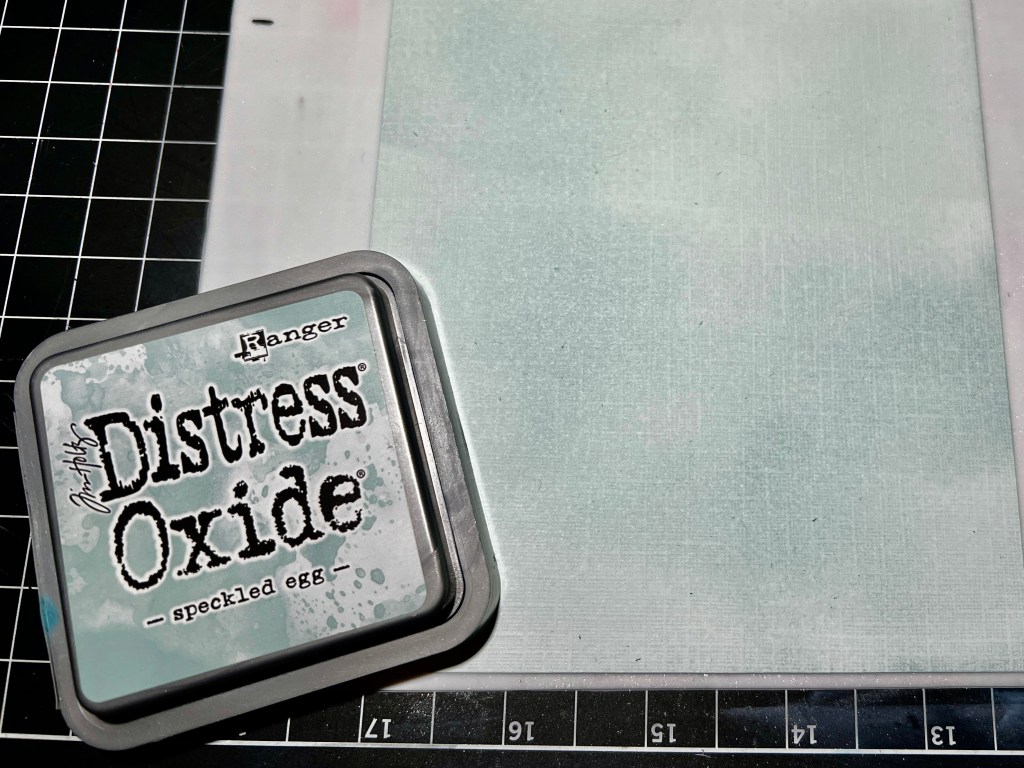
I made a card for this month’s ScrapHappy post (shocking, right?) using a scrap of white paper, inked to a lovely shade of blue, and a salvaged piece of Stone Paper®. Yup, Stone Paper is a thing.
Last fall, my friend Barbara sent us a care package from Spoonful of Comfort, a delicious, soup-based meal. The soup arrived with a reusable cover made from Stone Paper. We devoured the soup, and I saved the cover for a future card.
I’ve crafted with Stone Paper before. The paper is soft to the touch, easy to cut, strong, and sustainable.
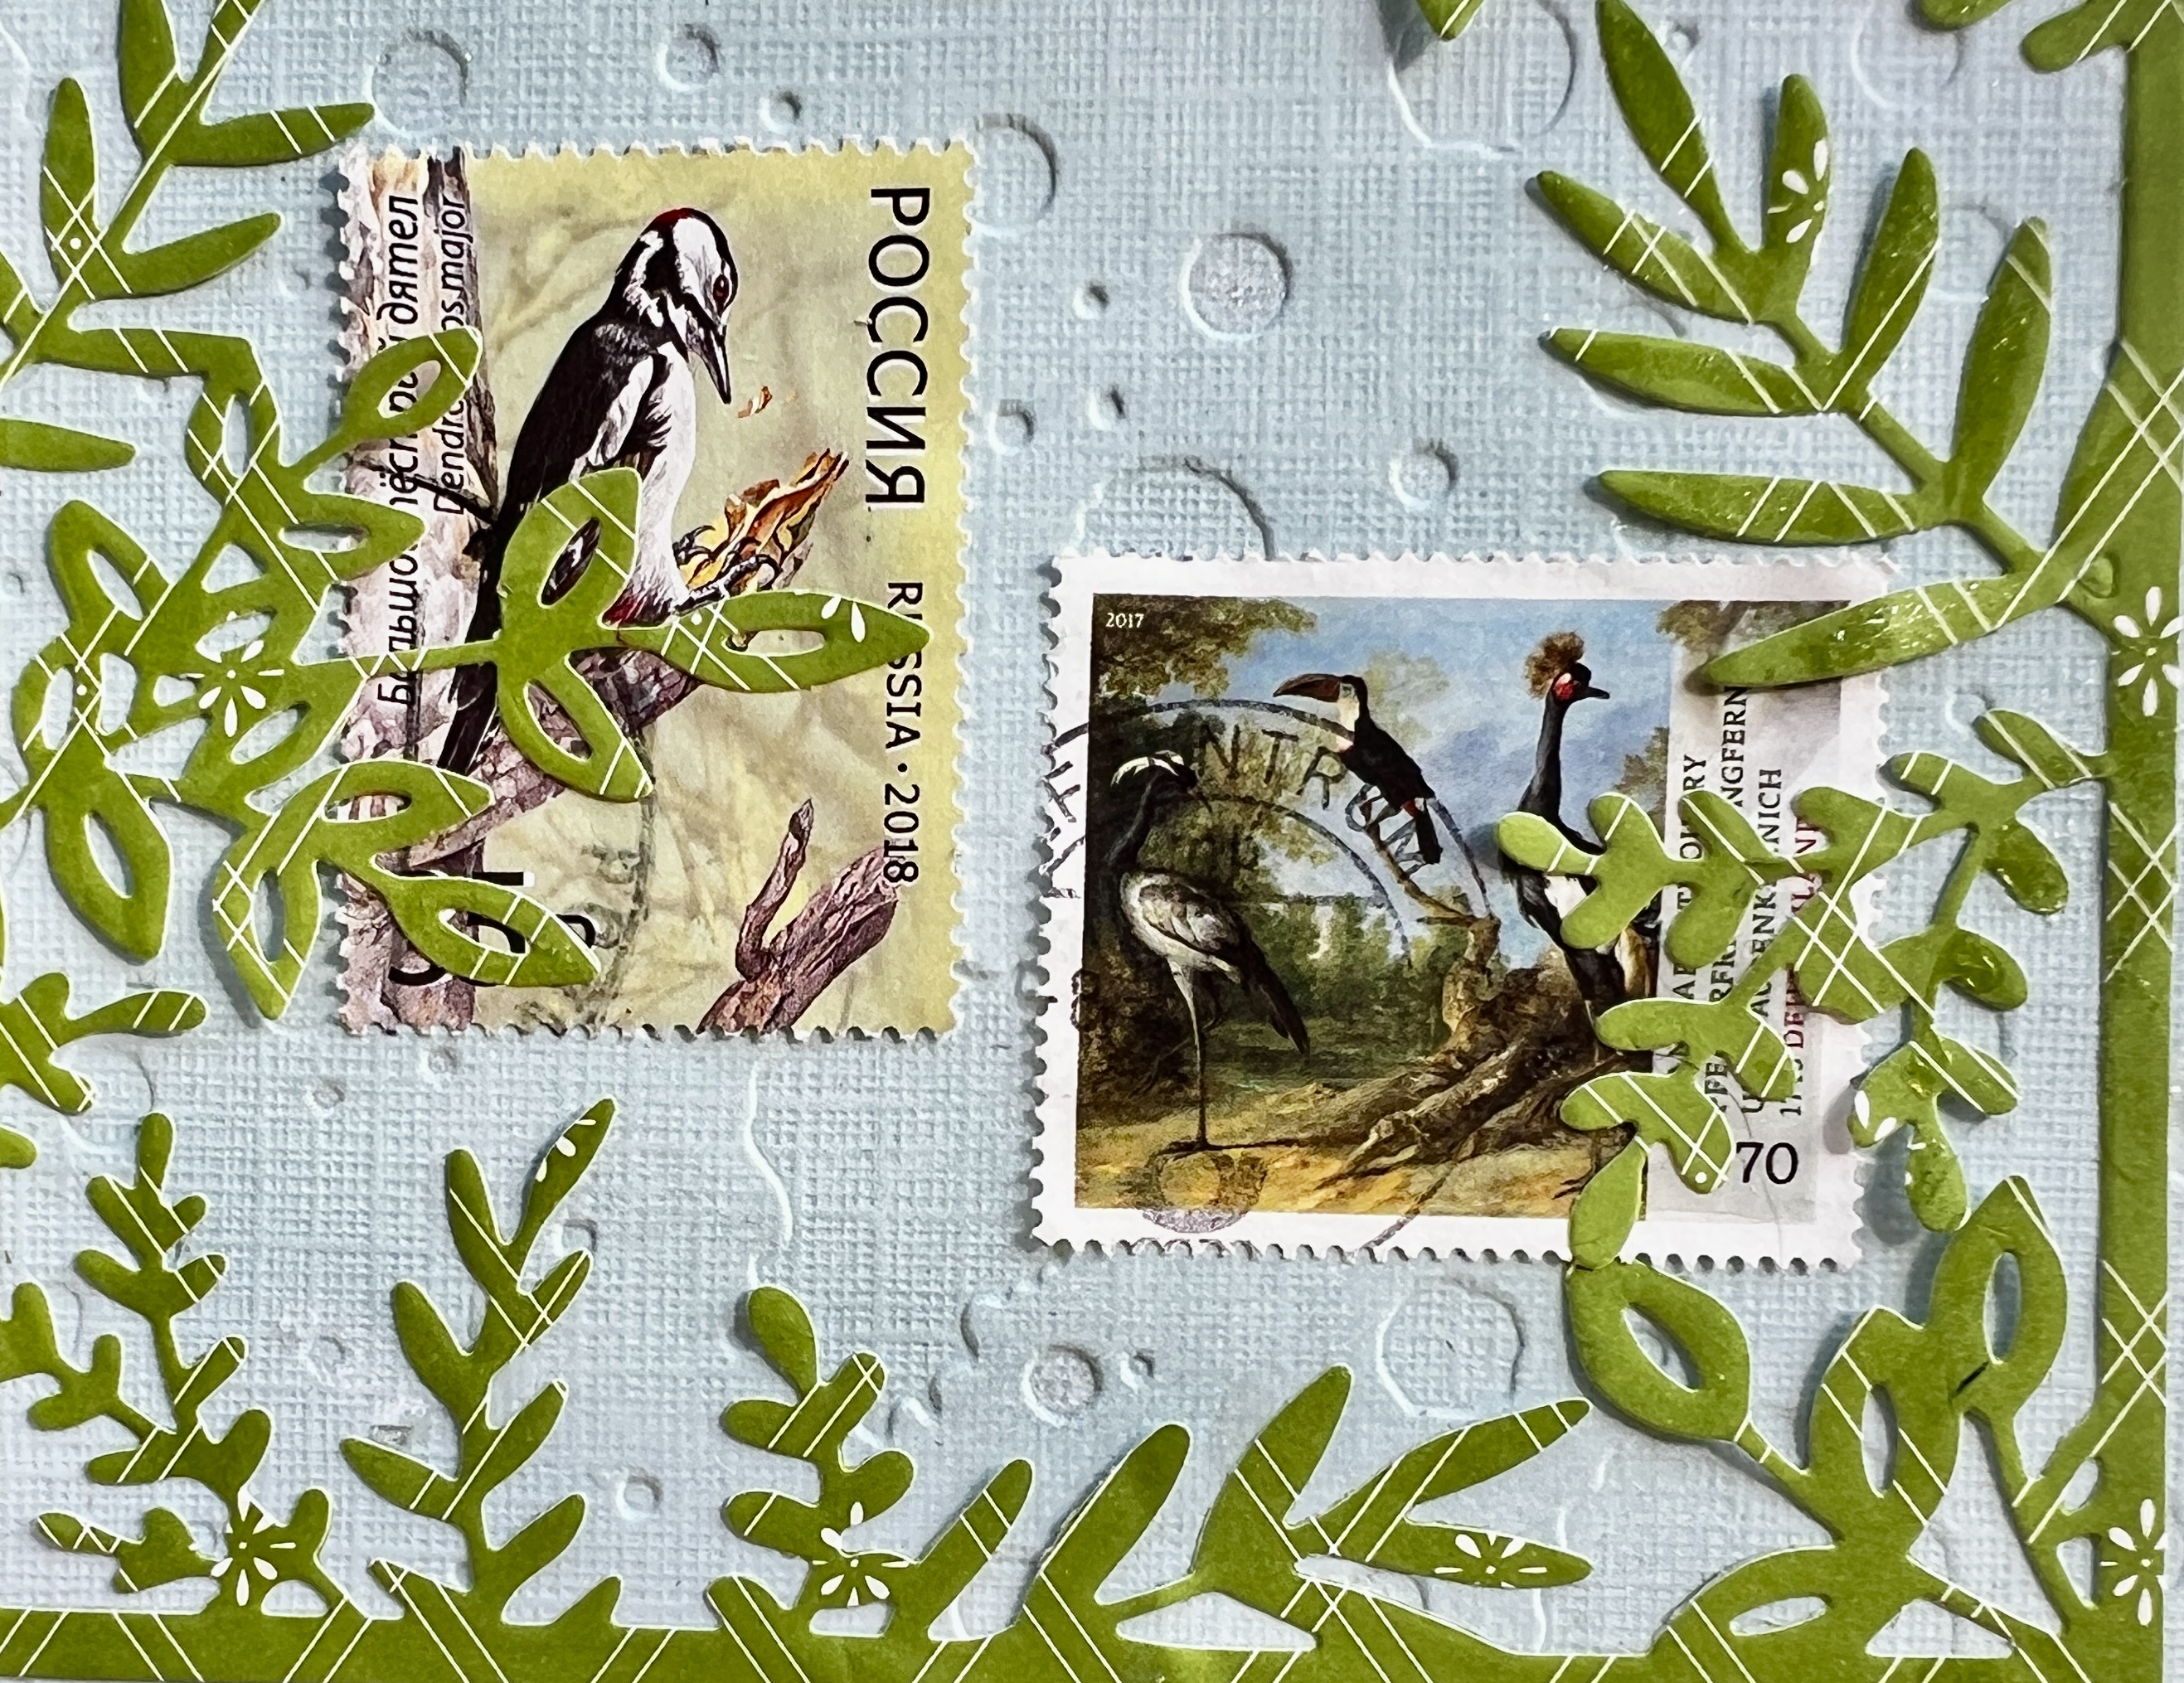
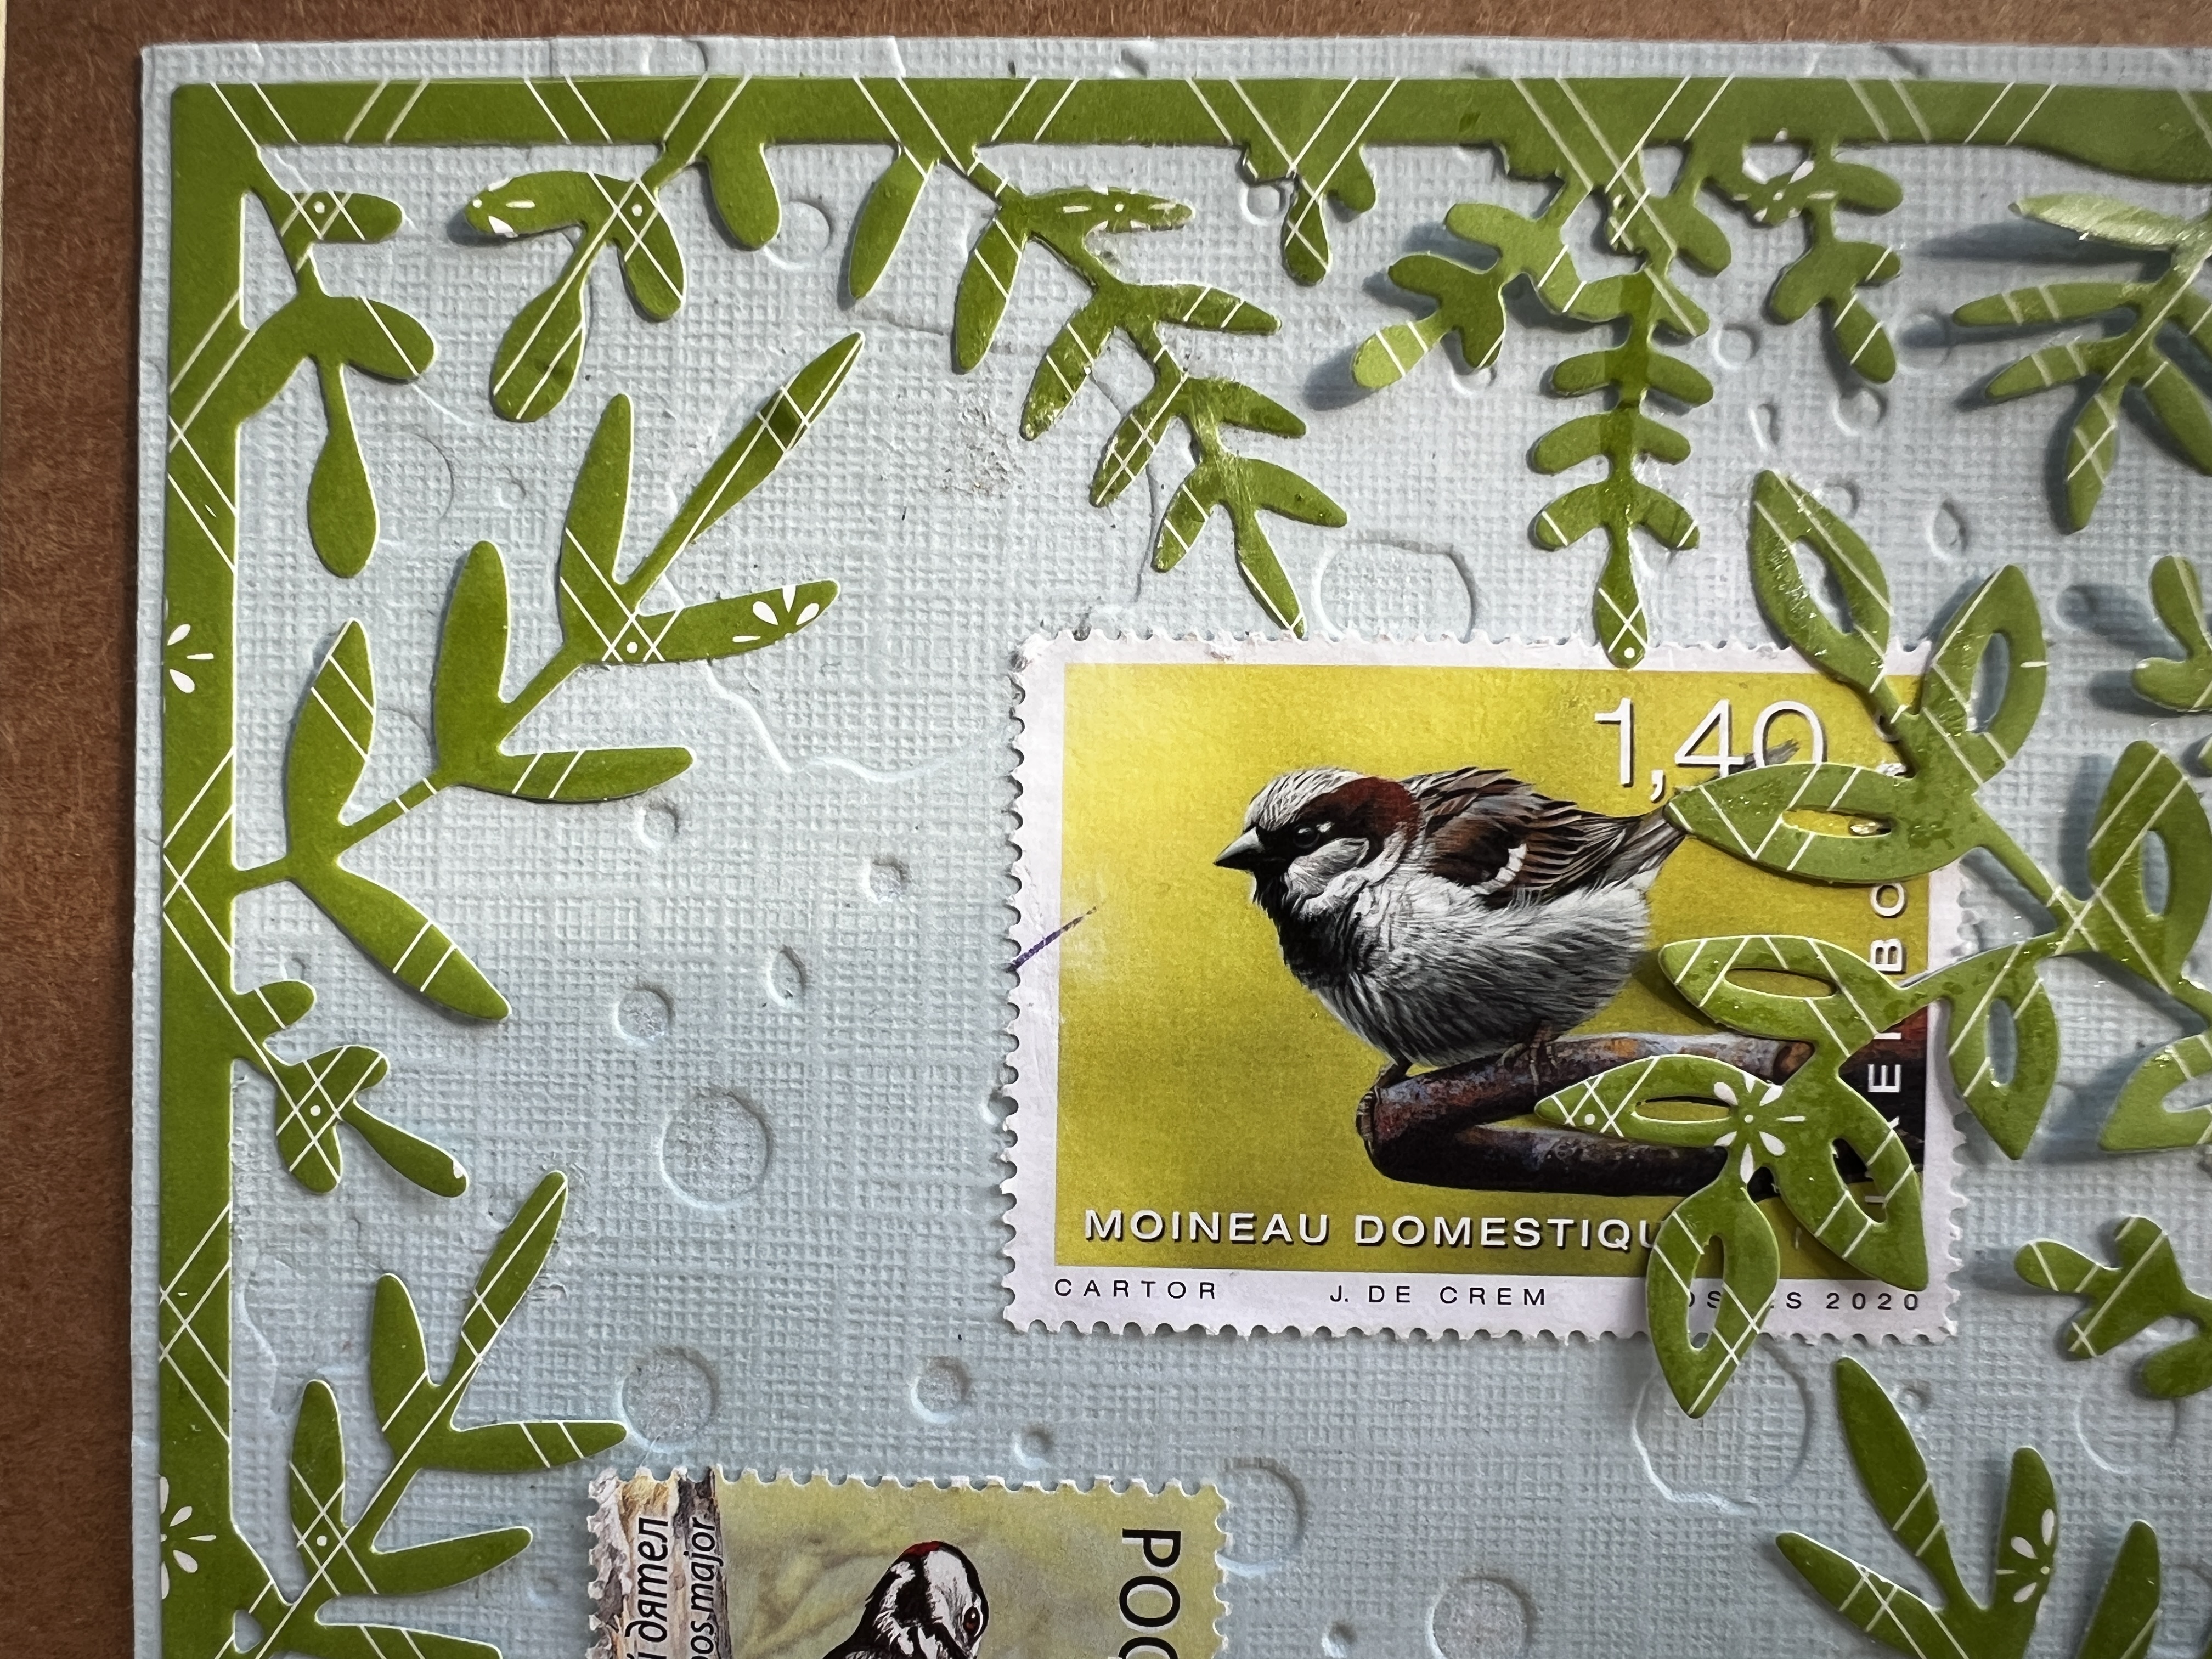
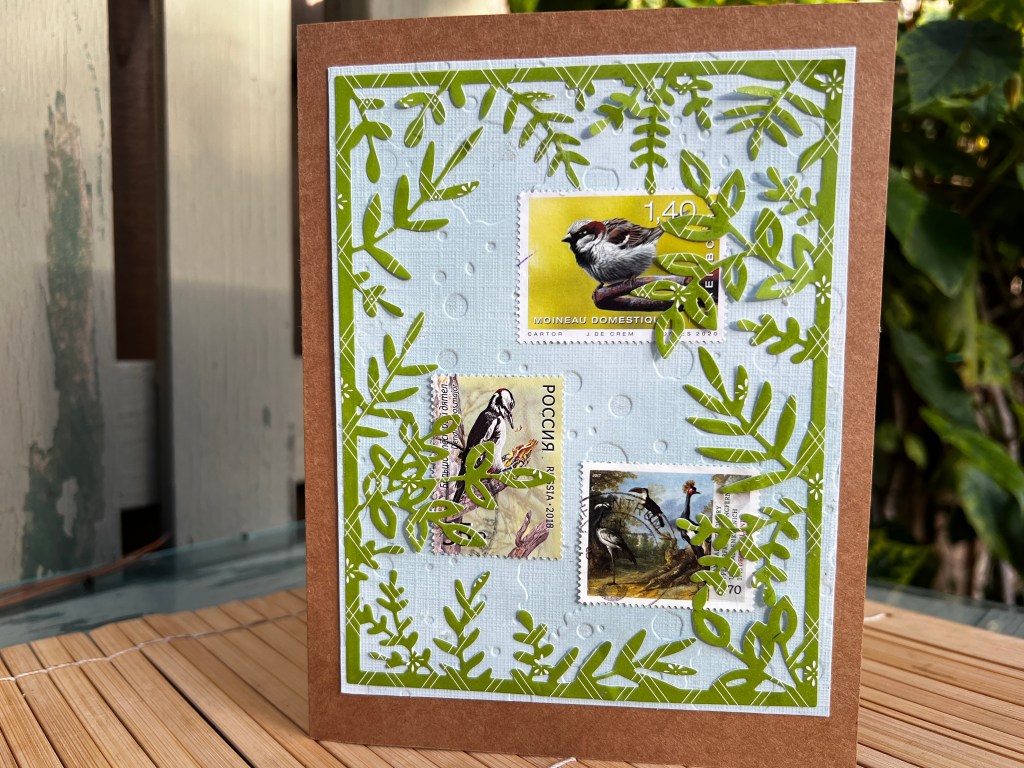
Barbara loves birdwatching, and as it often happens, the disparate pieces clicked. I made her a card by die cutting the “soup bonnet” from her gift and adding three wild bird postage stamps from my stash.
I added texture to the blue background using a spatter-patterned embossing folder, then used a glitter pen to create the illusion of raindrops on a window.
Thank you, Kate, for organizing ScrapHappy each month.
Click the links below to see what other crafters have shared this month. If you want to join us, please get in touch with Kate. She does a fantastic job keeping this fun and organized.
The cards featured in today’s post are the last in a series of greeting cards I designed using postage stamps. I’ll definitely make more in the future. You can read the first two posts here and here.
While most of my cards feature postage from several countries, this quilt-inspired card features sixteen flower stamps from Germany (Deutschland). I wanted to create a paper quilt, so I spaced the stamps symmetrically, with each color following a diagonal pattern. I used my quilt embossing folder to add to the effect and added a green border.
This card feels unfinished, but I’ve yet to figure out why. I love the stamps. It needs something to break up the symmetry, but what? Creative input is welcome.
The following two cards use a simple collage technique with a monochromatic theme. I had an extensive collection of blue stamps to begin with, so it allowed me to pick and choose. I went with the brightest blues, using sizes that allowed edge-to-edge contact.
Here is the finished card. I mounted the blue collage on a white background, then wrapped some vellum with a birthday sentiment so you can see all the images. I used fifteen stamps from eight countries: Austria, China, Finland, Germany, The Netherlands, Russia, the United Kingdom, and the US.
Purple stamps are uncommon, so I needed a die to feature the few that I had. I went with a heart.
In some cases I used the corner of a multi-colored stamp, saving the five prominent purple ones for the center. There is a bit of luck at play here, too. As I pulled together this card for my sister, I found one purple stamp from Canada, where we’re from. Sharon loves music, so finding the Charlie Parker stamp with the beautiful background seemed equally fortuitous.
I assembled the purple heart from twelve stamps representing Australia, Canada, France, Germany, India, The Philippines, Poland, Russia, Spain, and the US.
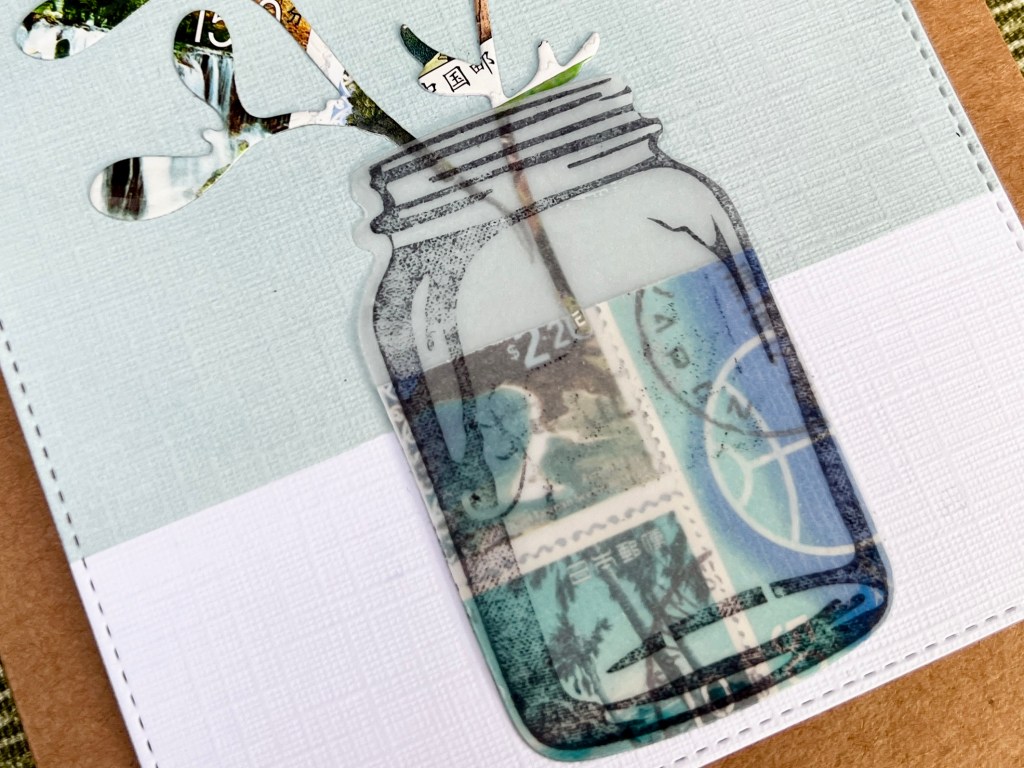
This last card is my favorite. I used three stamps for the greenery, five for the flower, and four for the vase. I like its simplicity.
I assembled this card using white textured card stock, giving the top third a wash of aqua ink. I stamped the image of the jar on vellum in black ink, then tucked a few blue stamps behind it. Postage used for this card came from China, Germany, Japan, The Netherlands, New Zealand, and Poland.
This is also a card that I can see myself replicating.
Before tidying my desk, I made a handful of bookmarks for our Little Free Library.
Playing with postage has been a lot of fun. Thank you for following along.
Today I’m sharing three of the cards I created using my postage stamp stash. The cards run the gamut from pedestrian to quirky. You can read more about the start of this process here.
Along the way, I tried keeping track of the countries represented as I created the cards. I had so much fun.
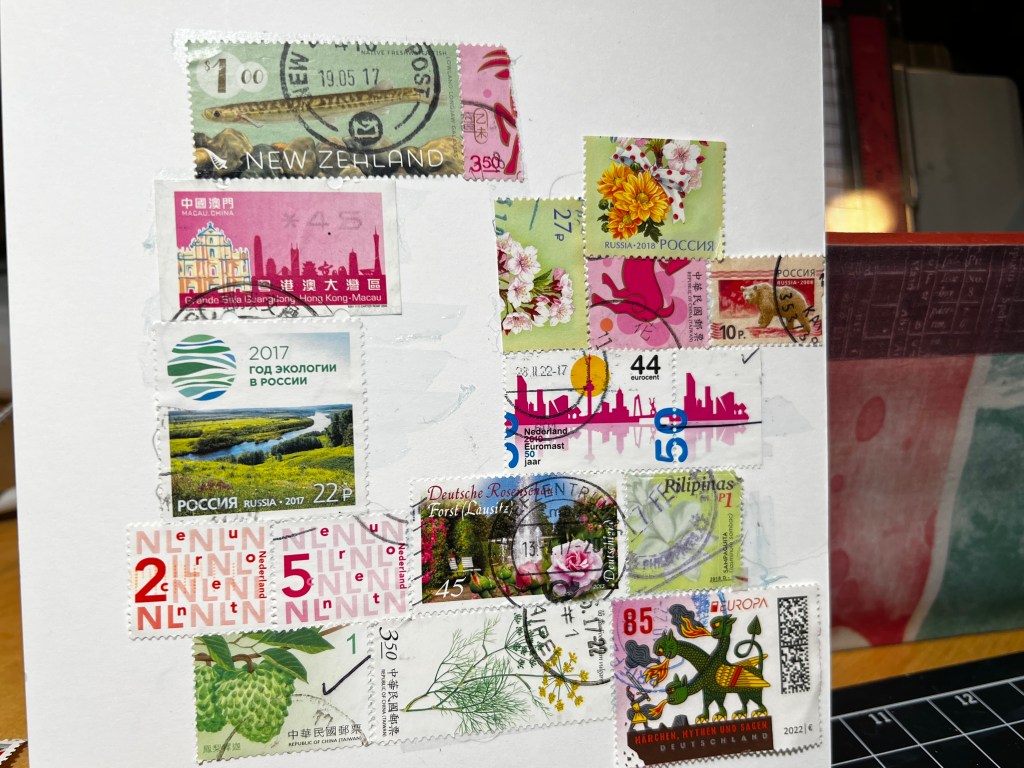
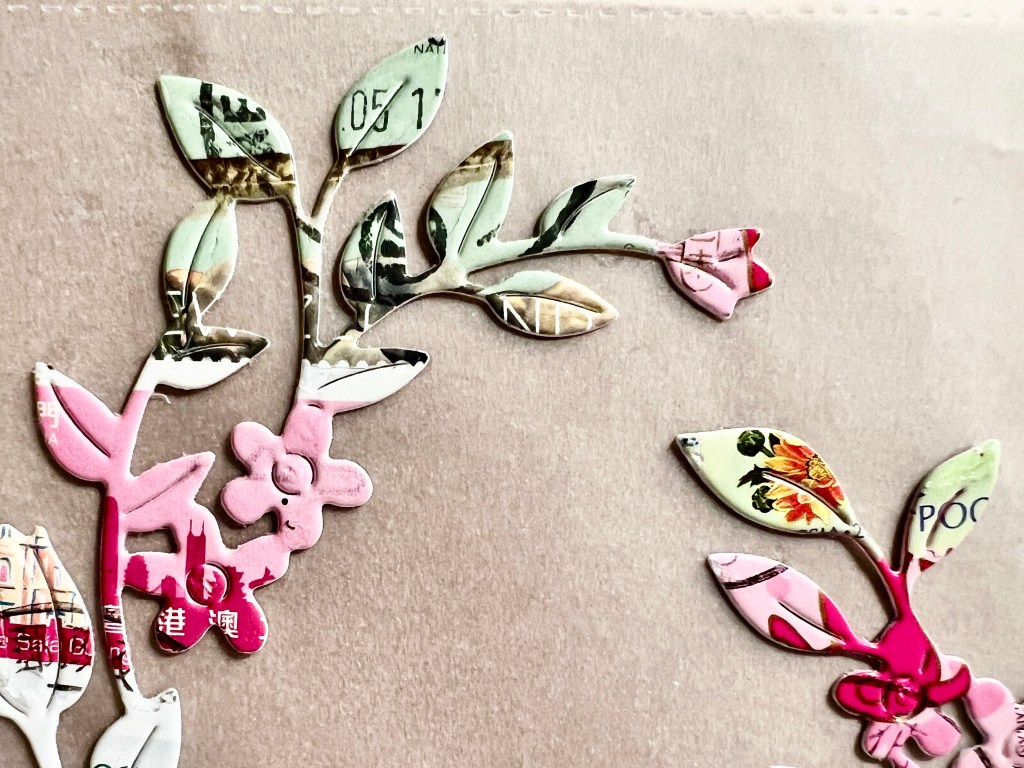
This first card took a bit of planning. I used a beautiful new floral die by Hero Arts and 15 stamps from nine countries. I had to cut two stamps to get the colors in the right place, but for the most part, I enjoyed the challenge of placing the whole stamp for maximum color effect.
Here’s how it looked just before running it through my die-cutting machine. Countries represented in this card include China, Germany, Hong Kong, The Netherlands, New Zealand, The Philipines, ROC-Taiwan, Russia, and the US.
Here is the finished card. I placed the floral postage wreath on velum, then added a hand-stamped sentiment to a pink paper scrap.
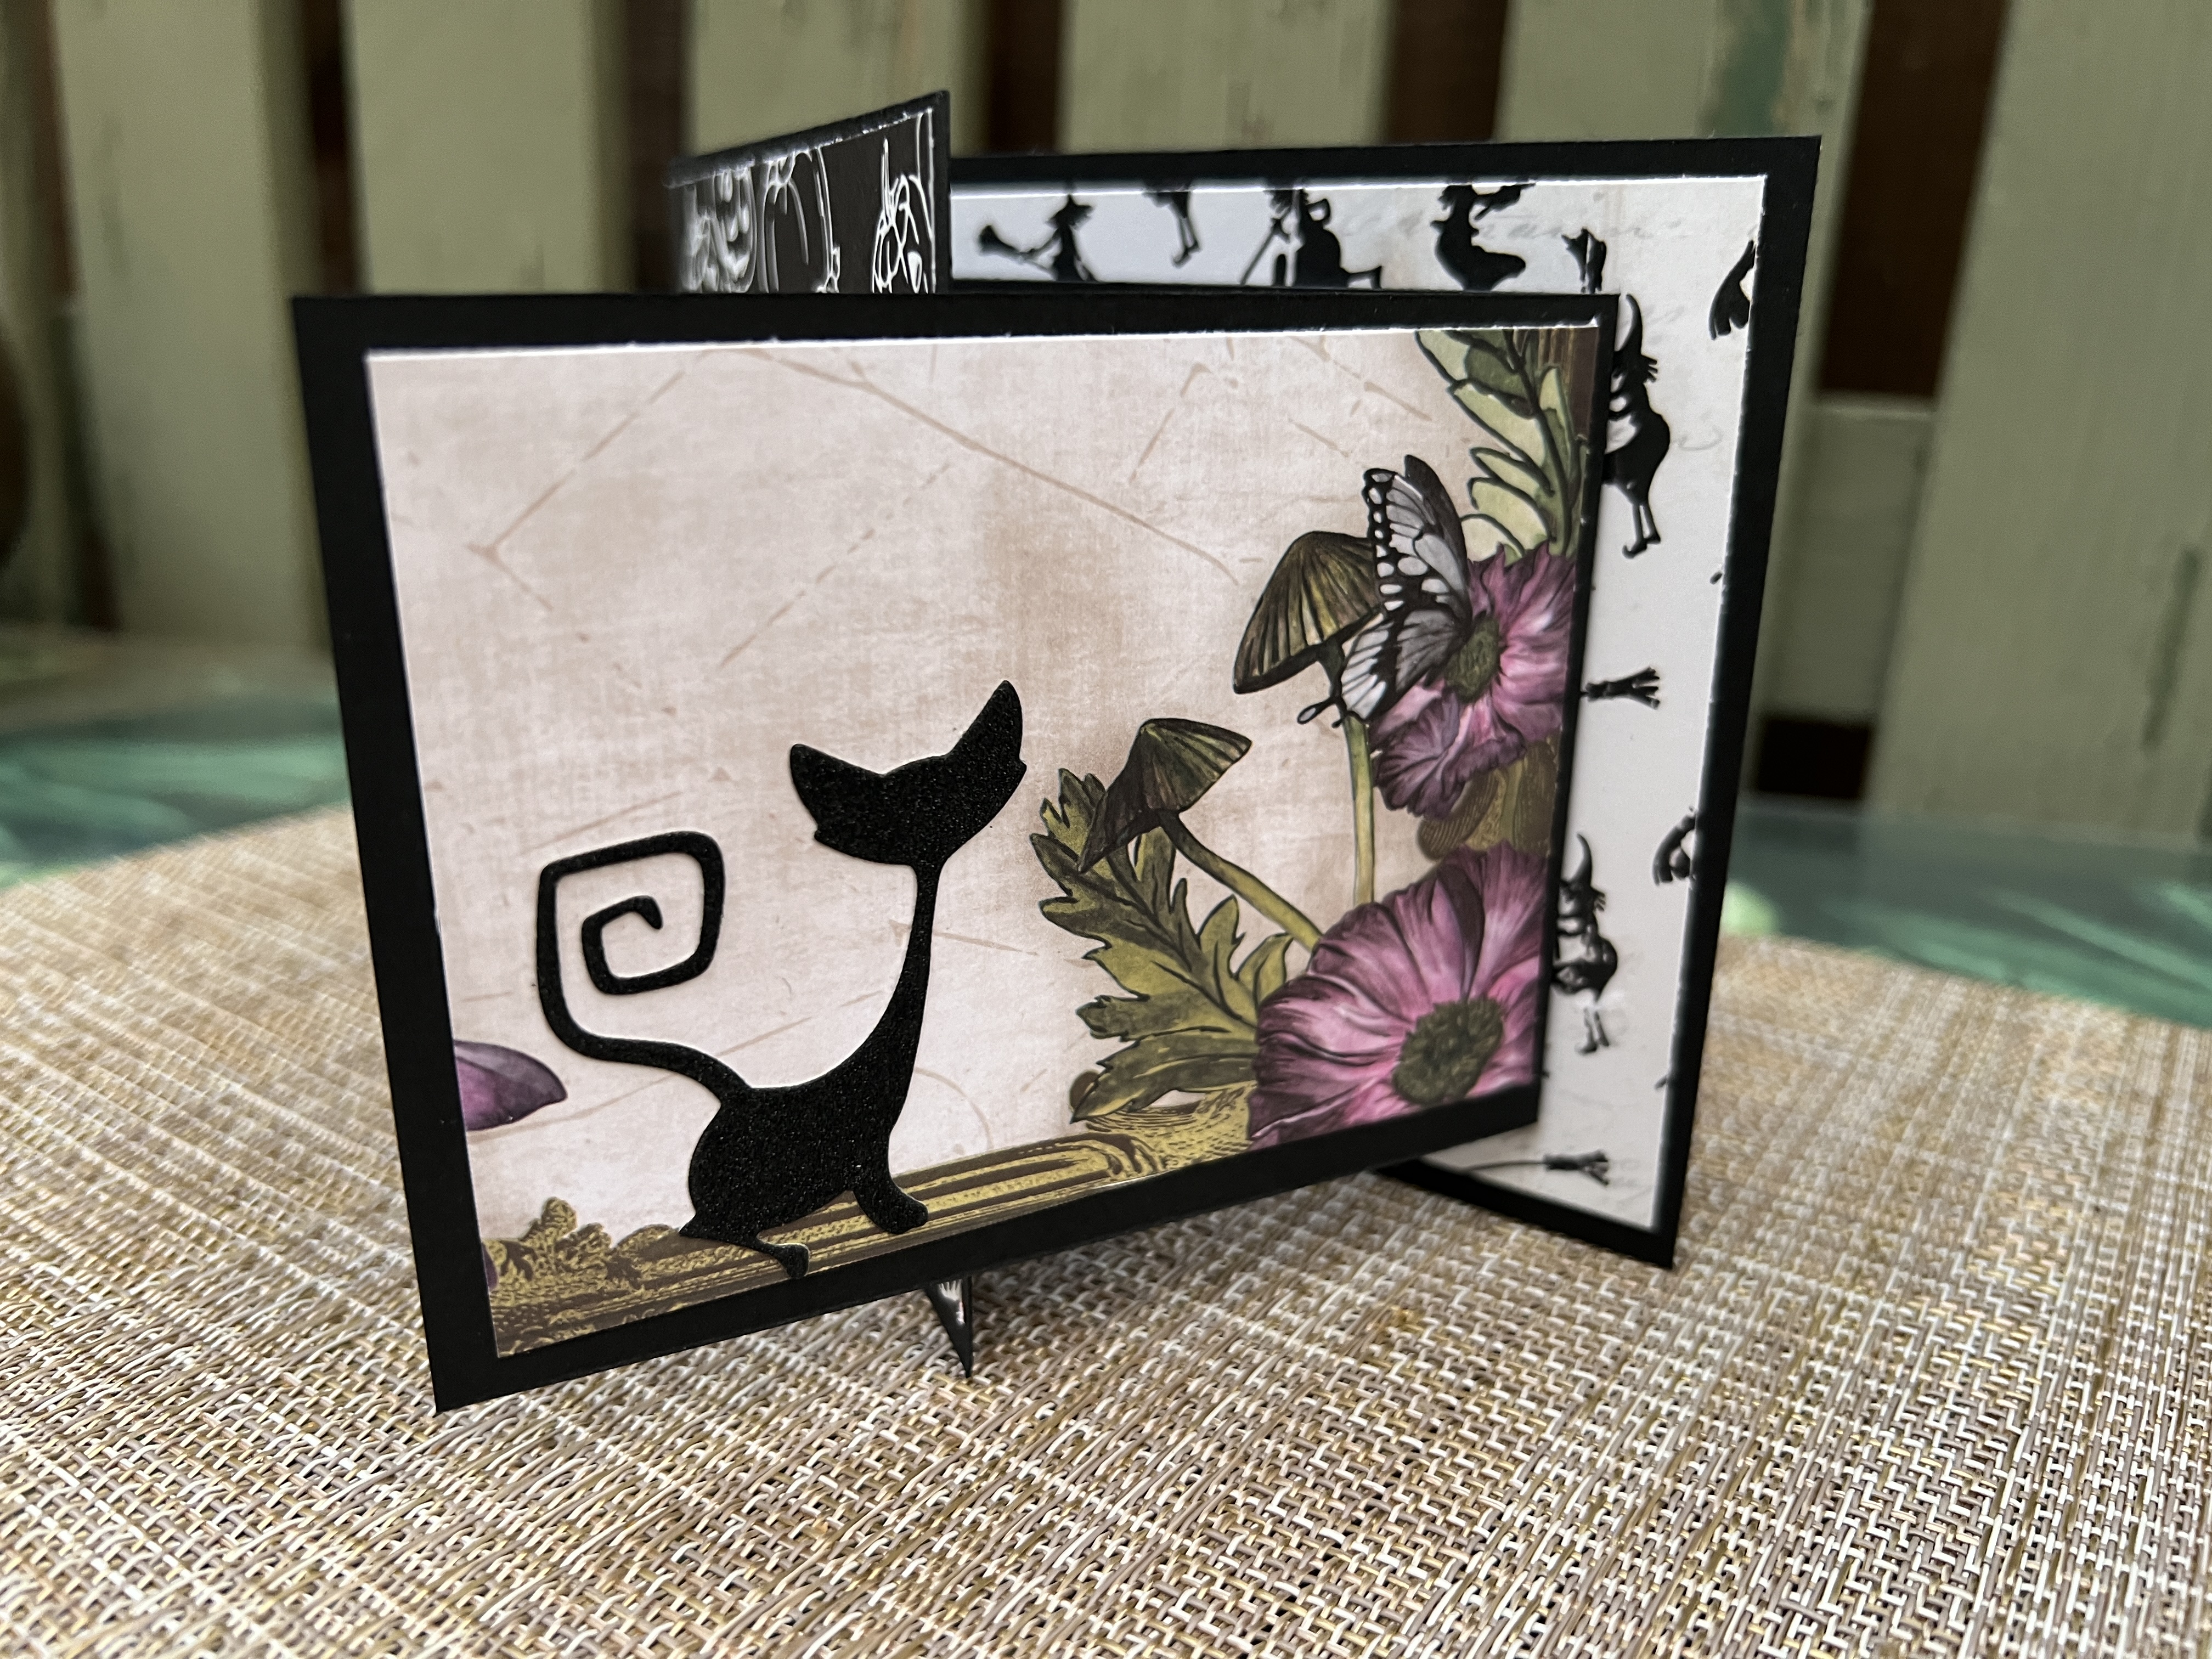
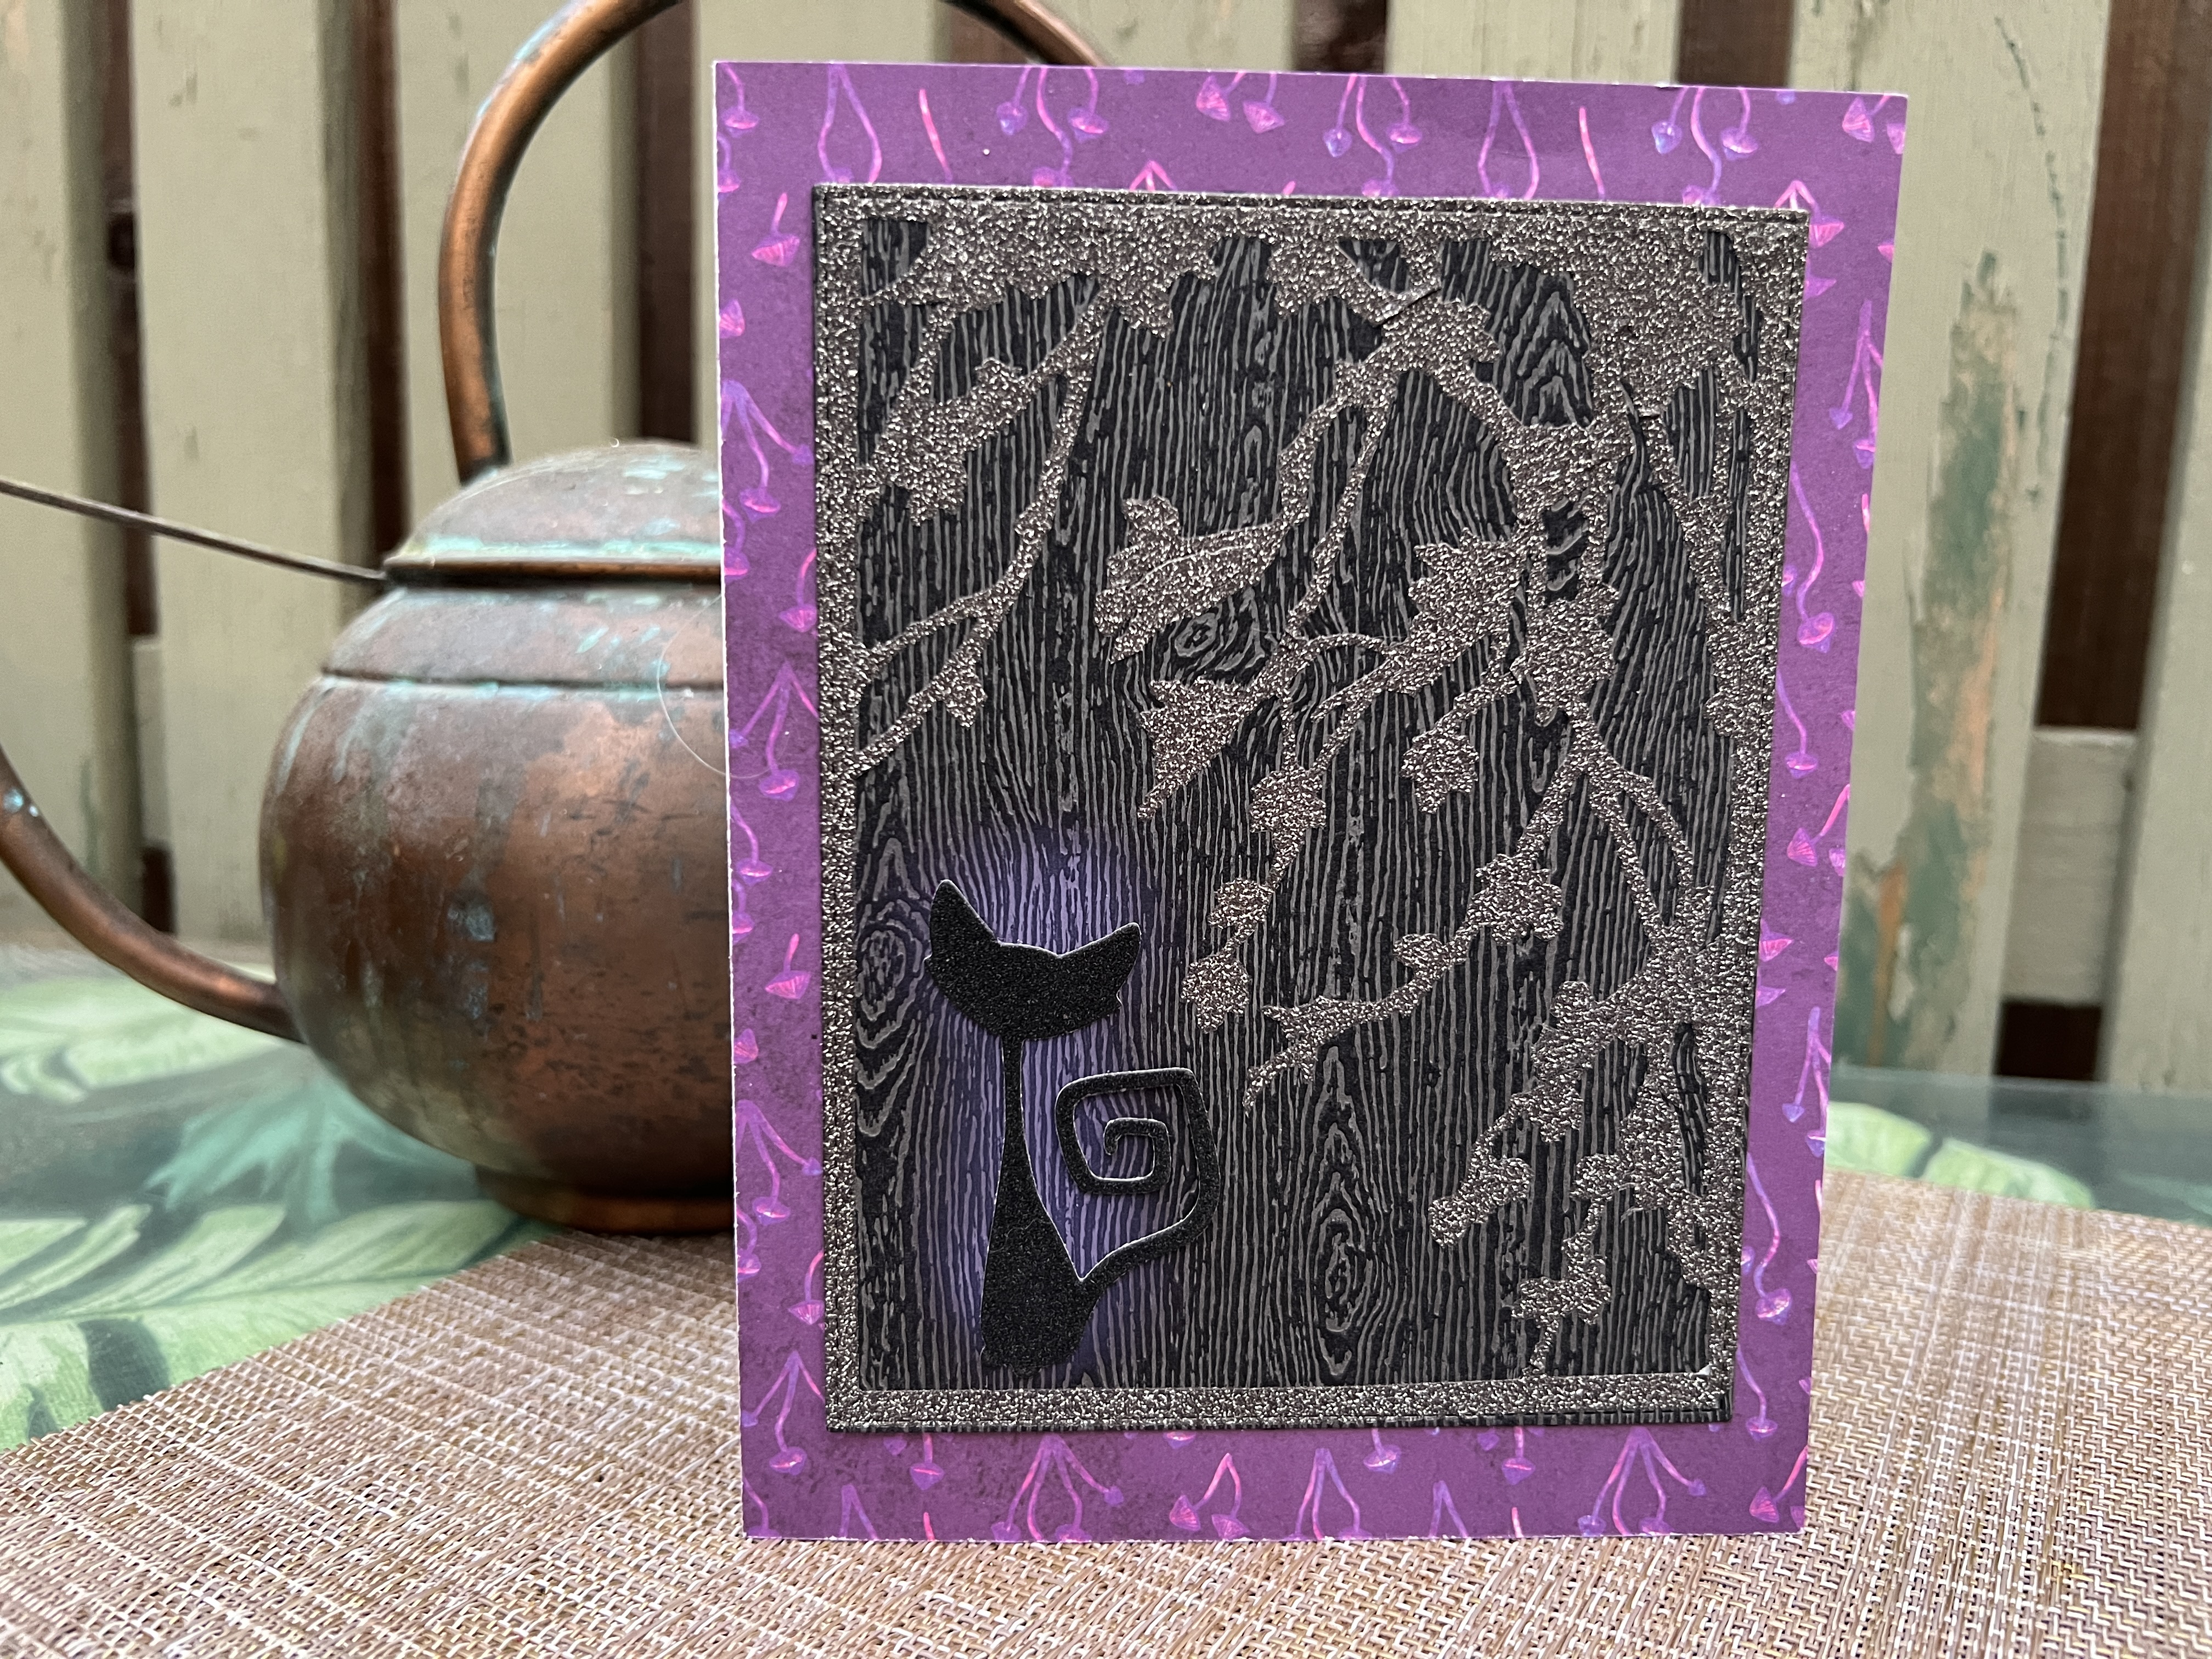
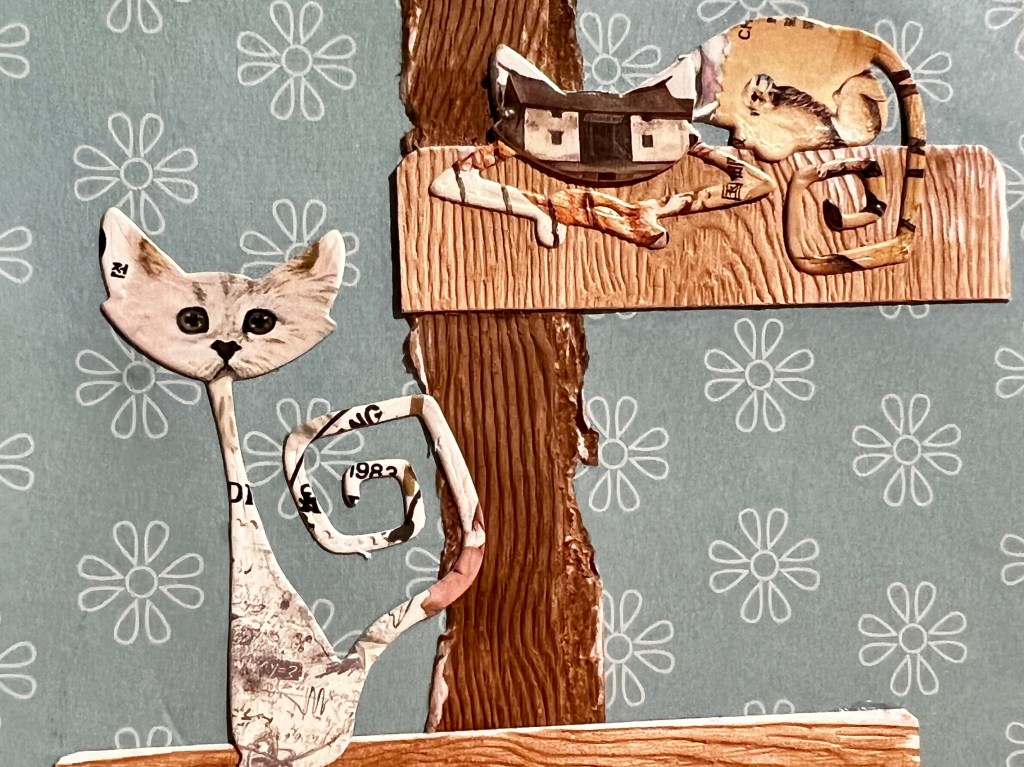
The next card falls into the quirky category. When sorting my stamps, I set aside images of cats, hoping for inspiration.
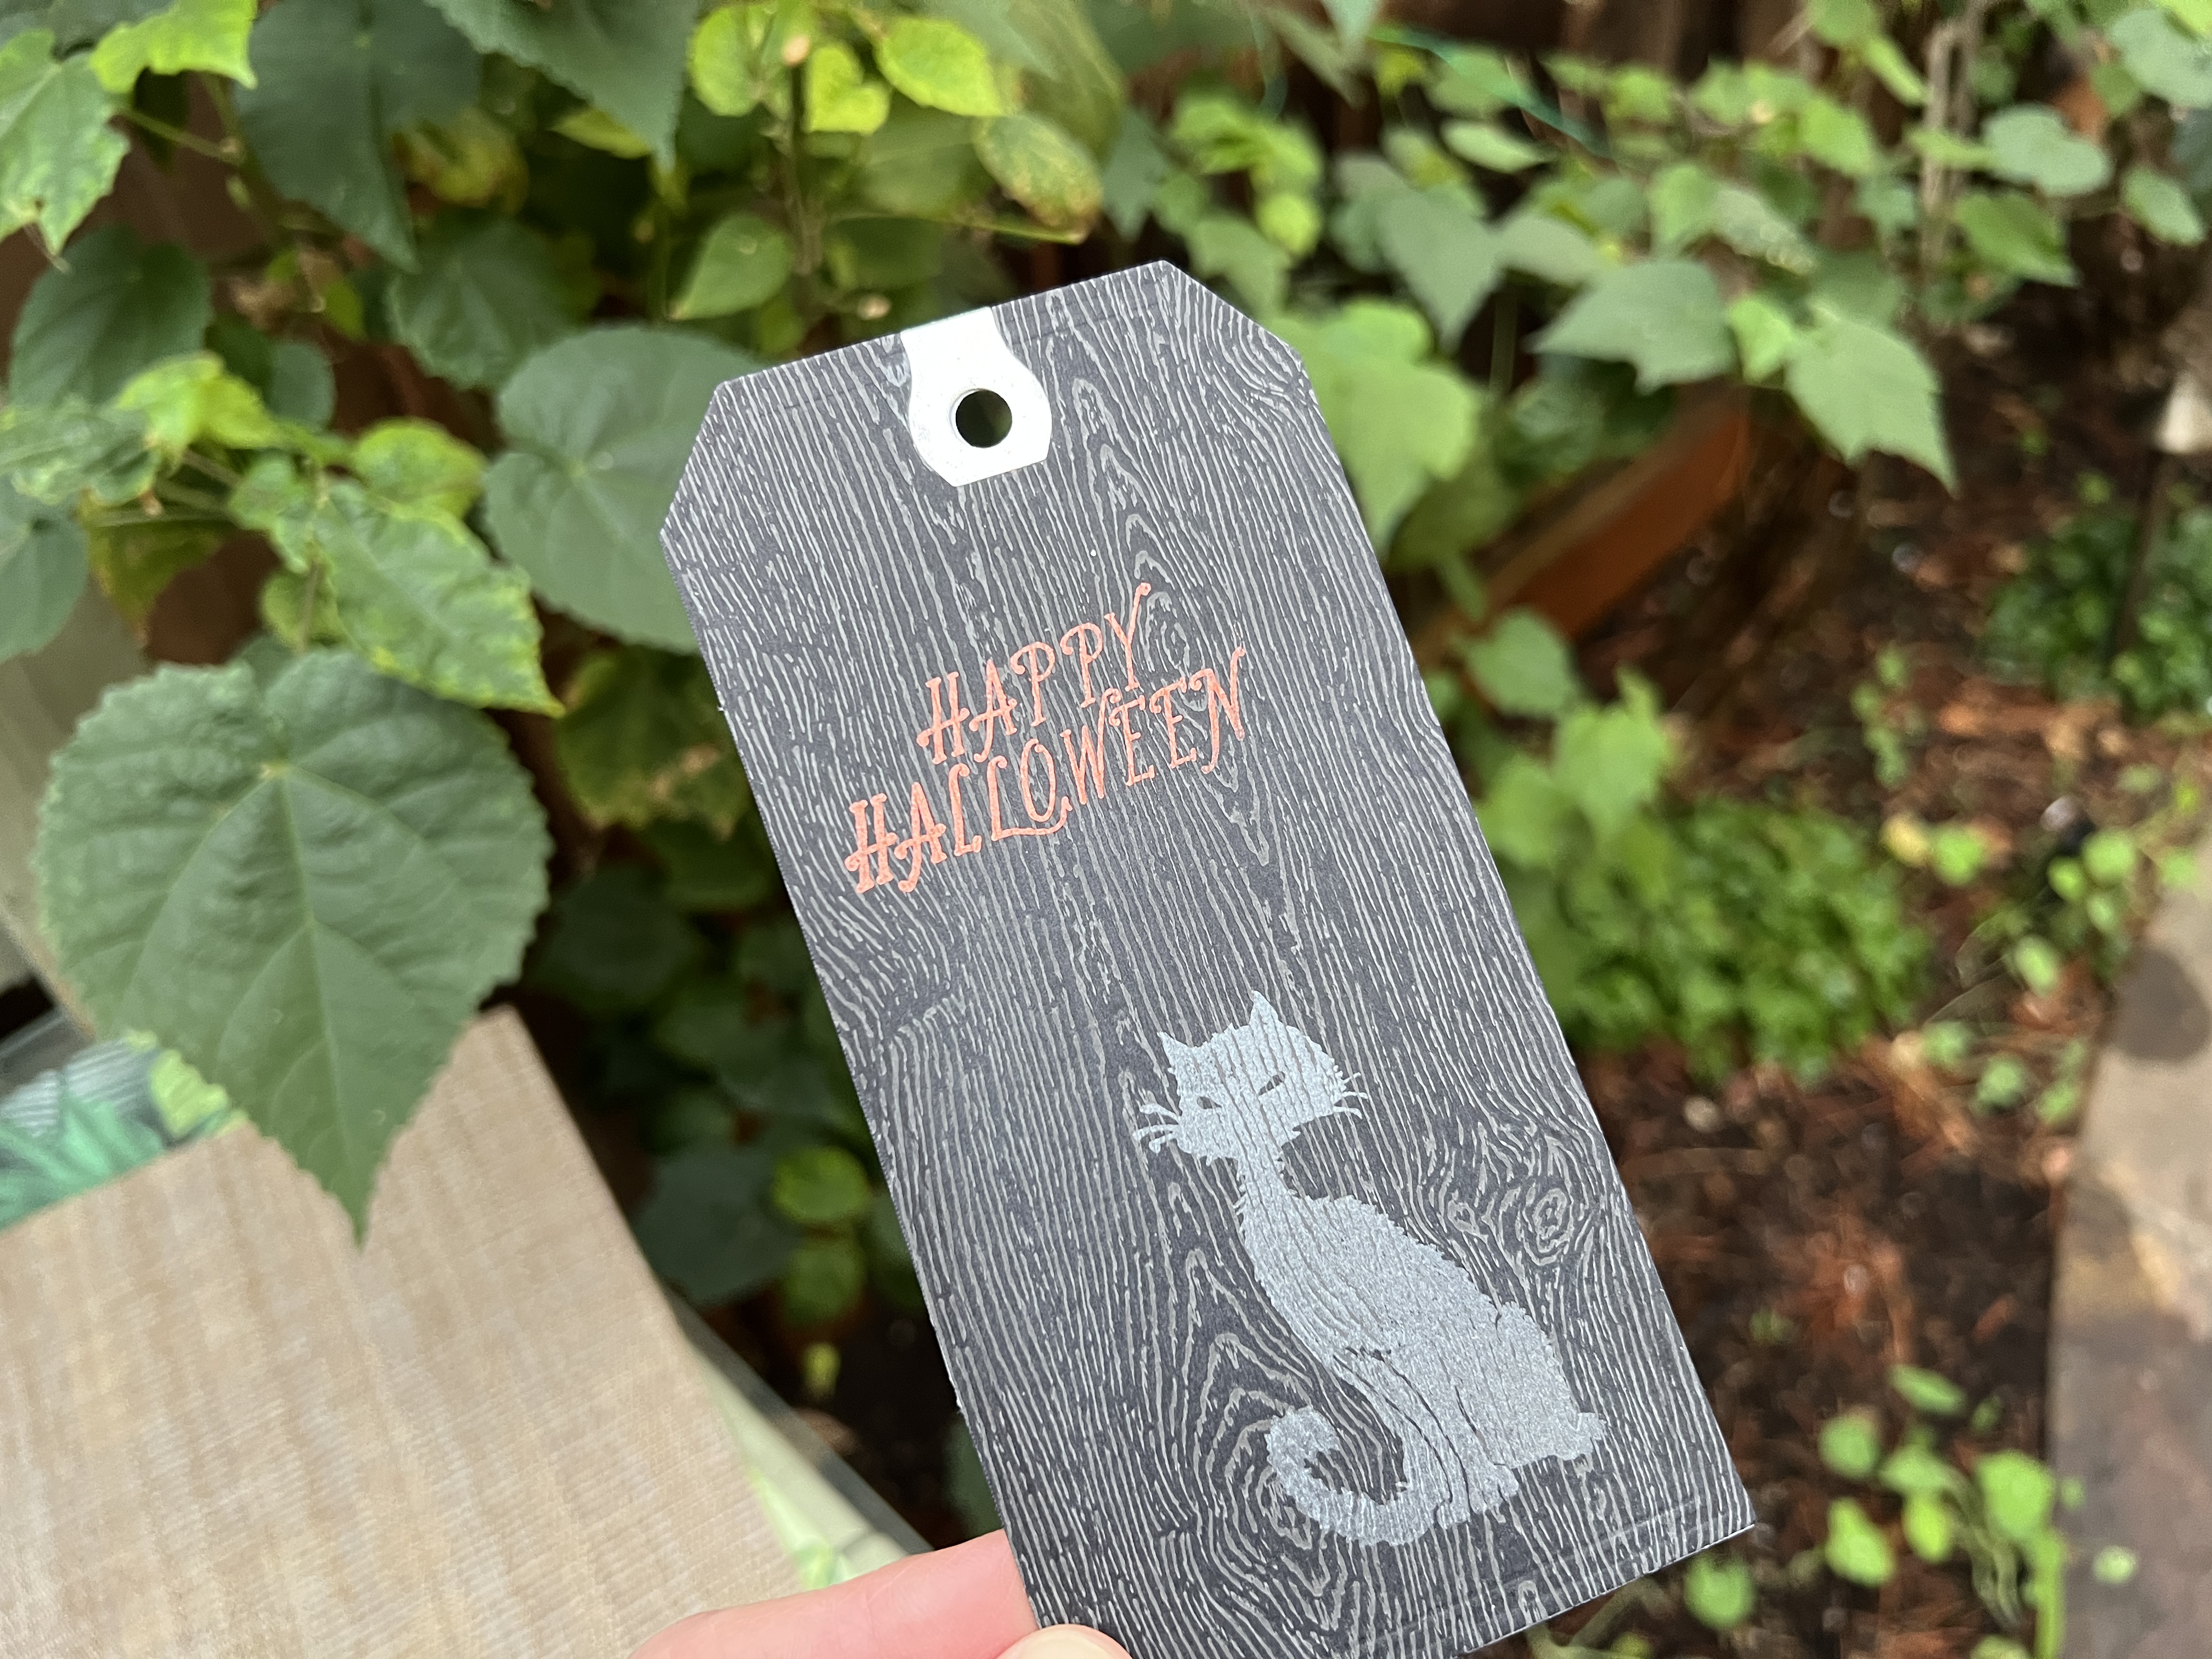
I have a set of Sizzix dies featuring cats, something I hoped to use at Halloween. It occurred to me that I could try using the cat dies with the images of the postage cats facing forward. It worked for two of the three cats. Before I knew it, I had “constructed” a cat condo using textured woodgrain paper, various inks, and a sanding block to emulate a well-loved cat tree.
I still needed a face for the middle cat, but the remaining cat postage didn’t work. After pawing through several more stamps and some trial and error, cat number three got a pair of cool glasses courtesy of this stamp from China.
I used coordinating colors for the body of each cat. I finished the card by adding floral paper to the background, reminiscent of kitschy wallpaper. Now that’s quirky. Countries represented in this card include China, Korea, Lithuania or Lietuva, Malaysia, The Netherlands, and the US.
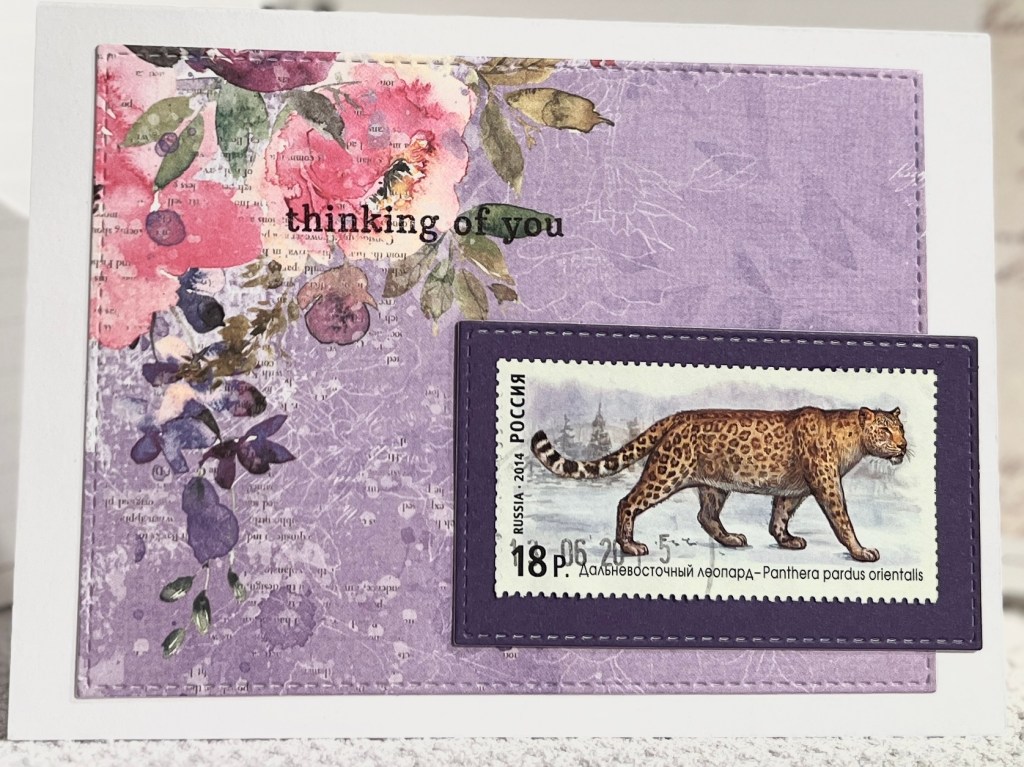
Today’s final card uses a single postage stamp from Russia. My sister loves wildcats, and her favorite color is purple. This over-sized stamp combines both. I used a stitching die to cut two rectangles, added the wild cat stamp to the smaller one, and stamped “thinking of you” in the upper corner. I know she’ll enjoy it.
It’s the middle of December, or in Kate-speak, it’s time to show off our monthly ScrapHappy challenge as we wind down the year.
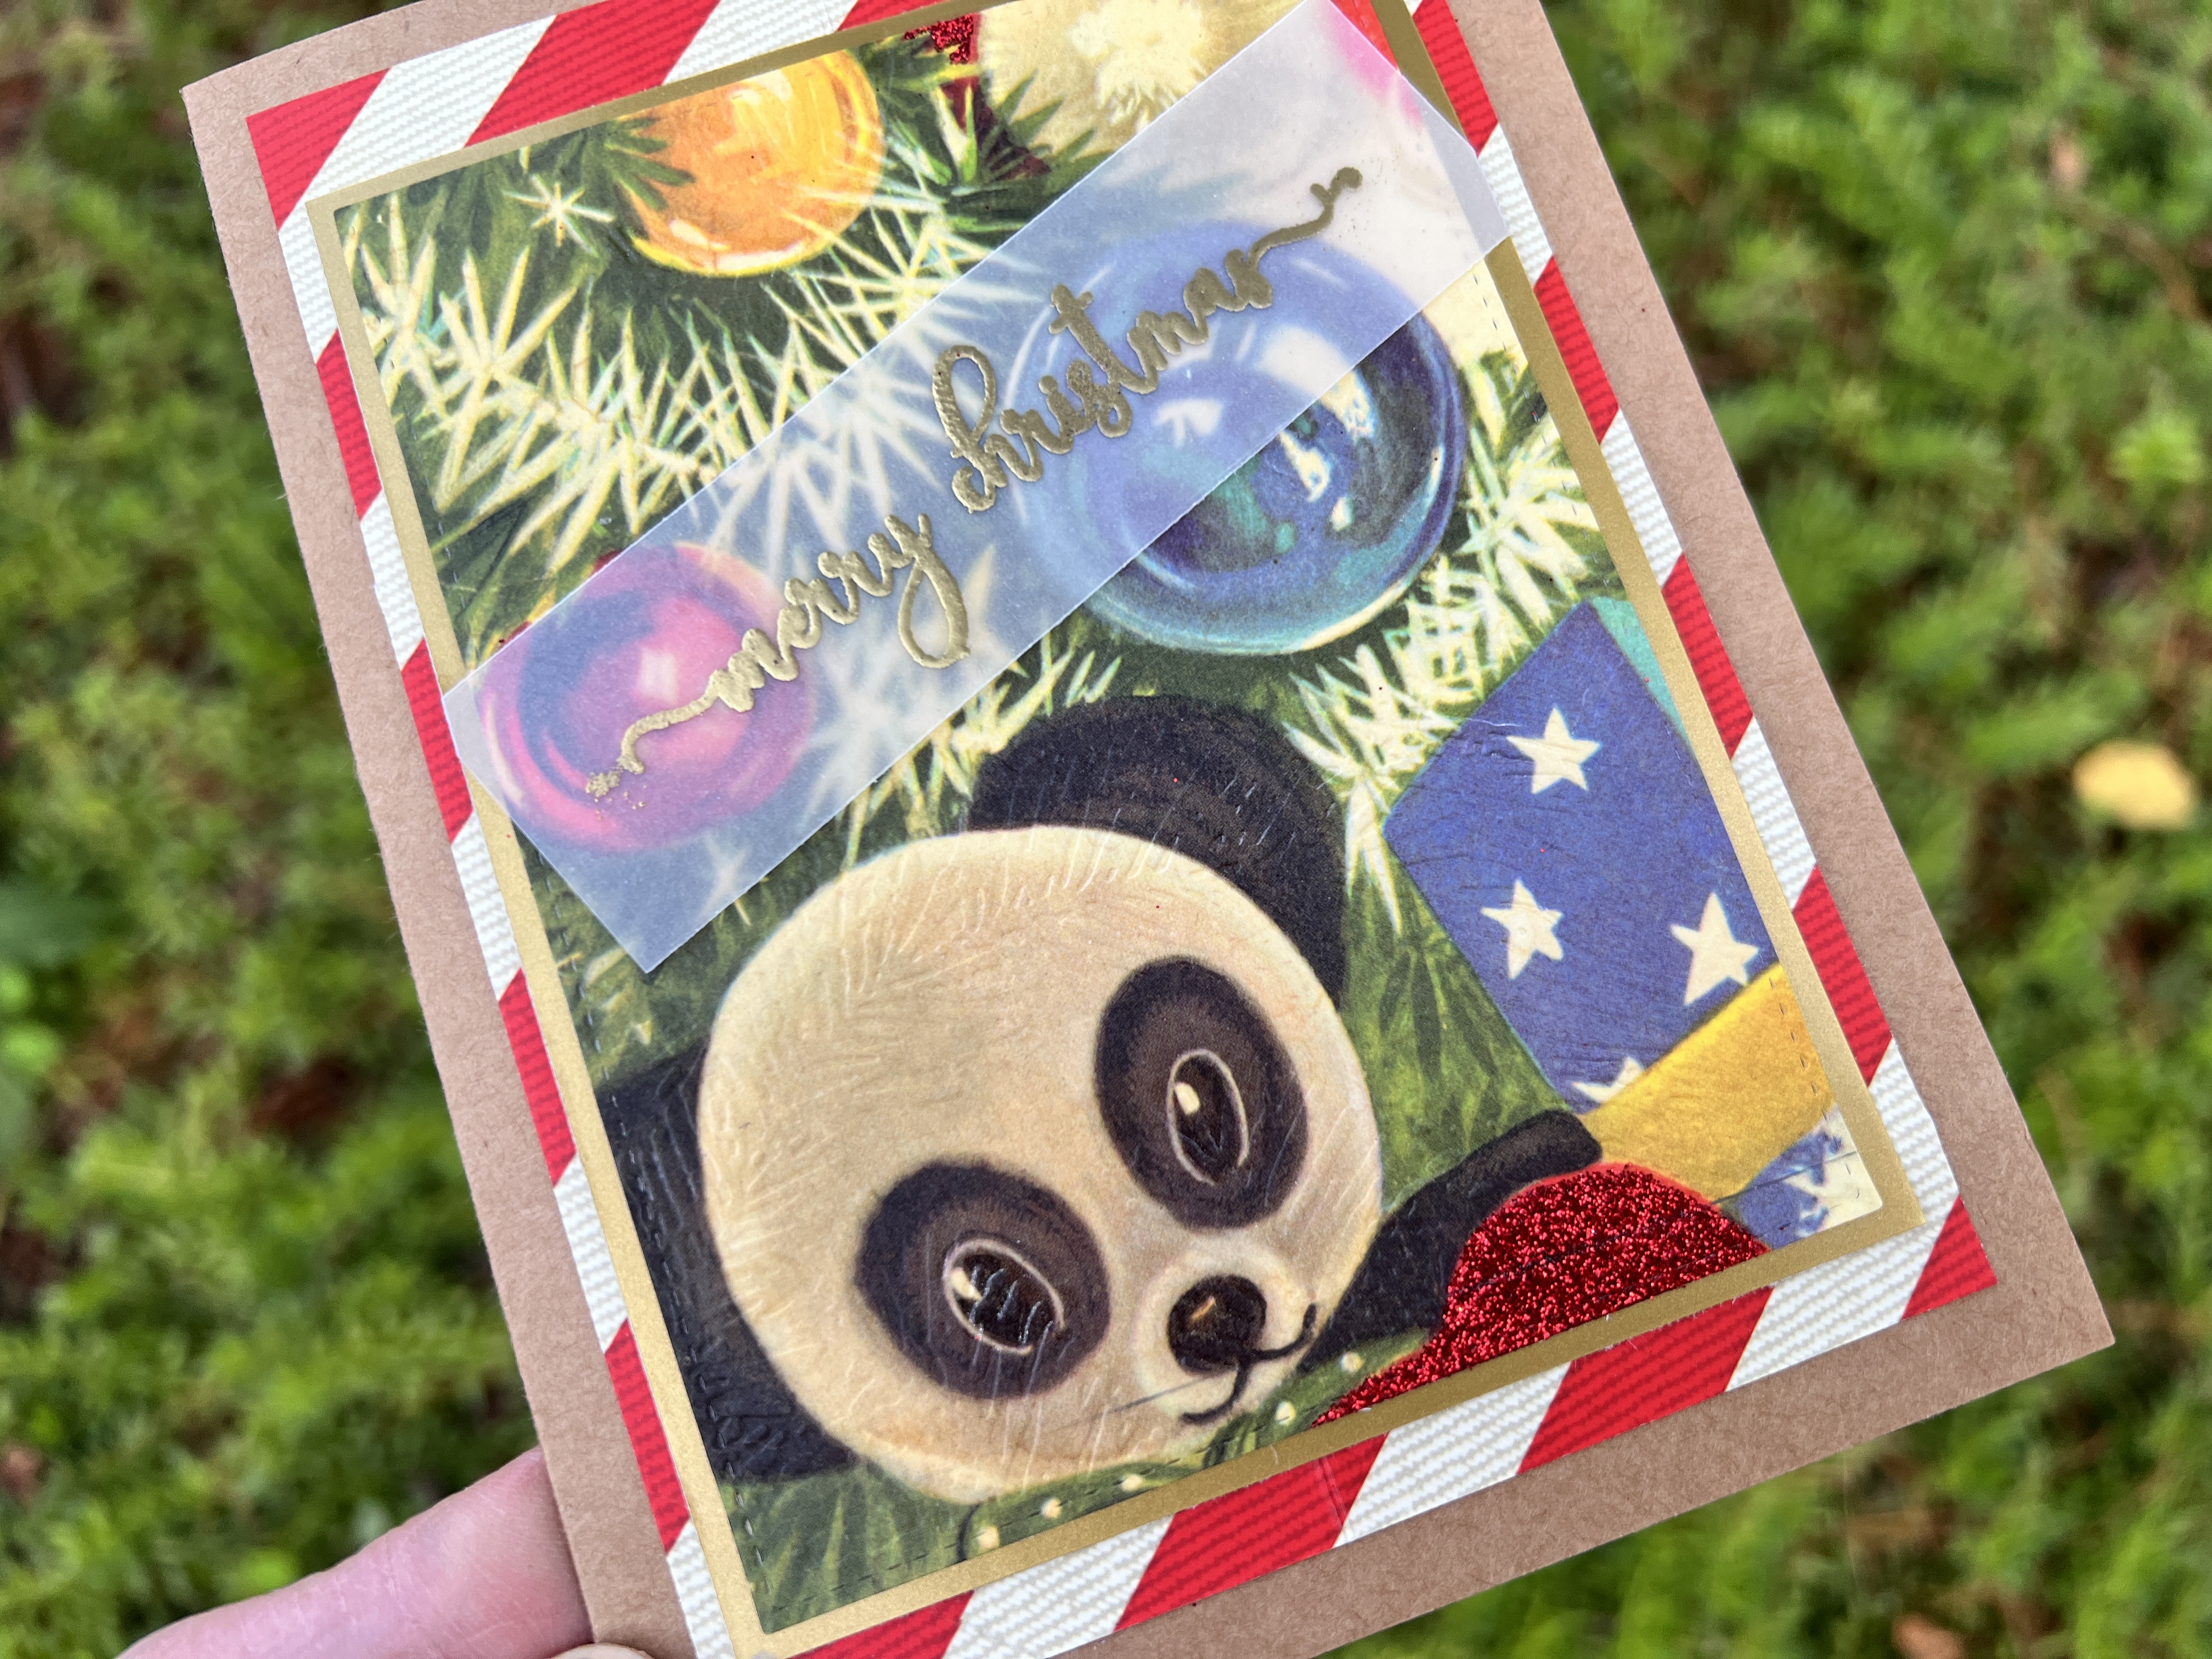
I have a few things to share this month, starting with a Christmas card made from a damaged gift bag.
After removing the striped paper from the sides and bottom of the bag, I selected the lower corner of the bag facade featuring a panda plushy. Those eyes melt my heart. Once cut to size, I used a dry embossing folder to add texture to the card, then cut it with a stitching die from my stash.
I created a mat for the card using the paper from the side of the gift bag and then added a thin border of gold paper for contrast. I used my glitter gel pen to add highlights where the original artist used them on the bag. A small greeting embossed on a heavy vellum finished the card.
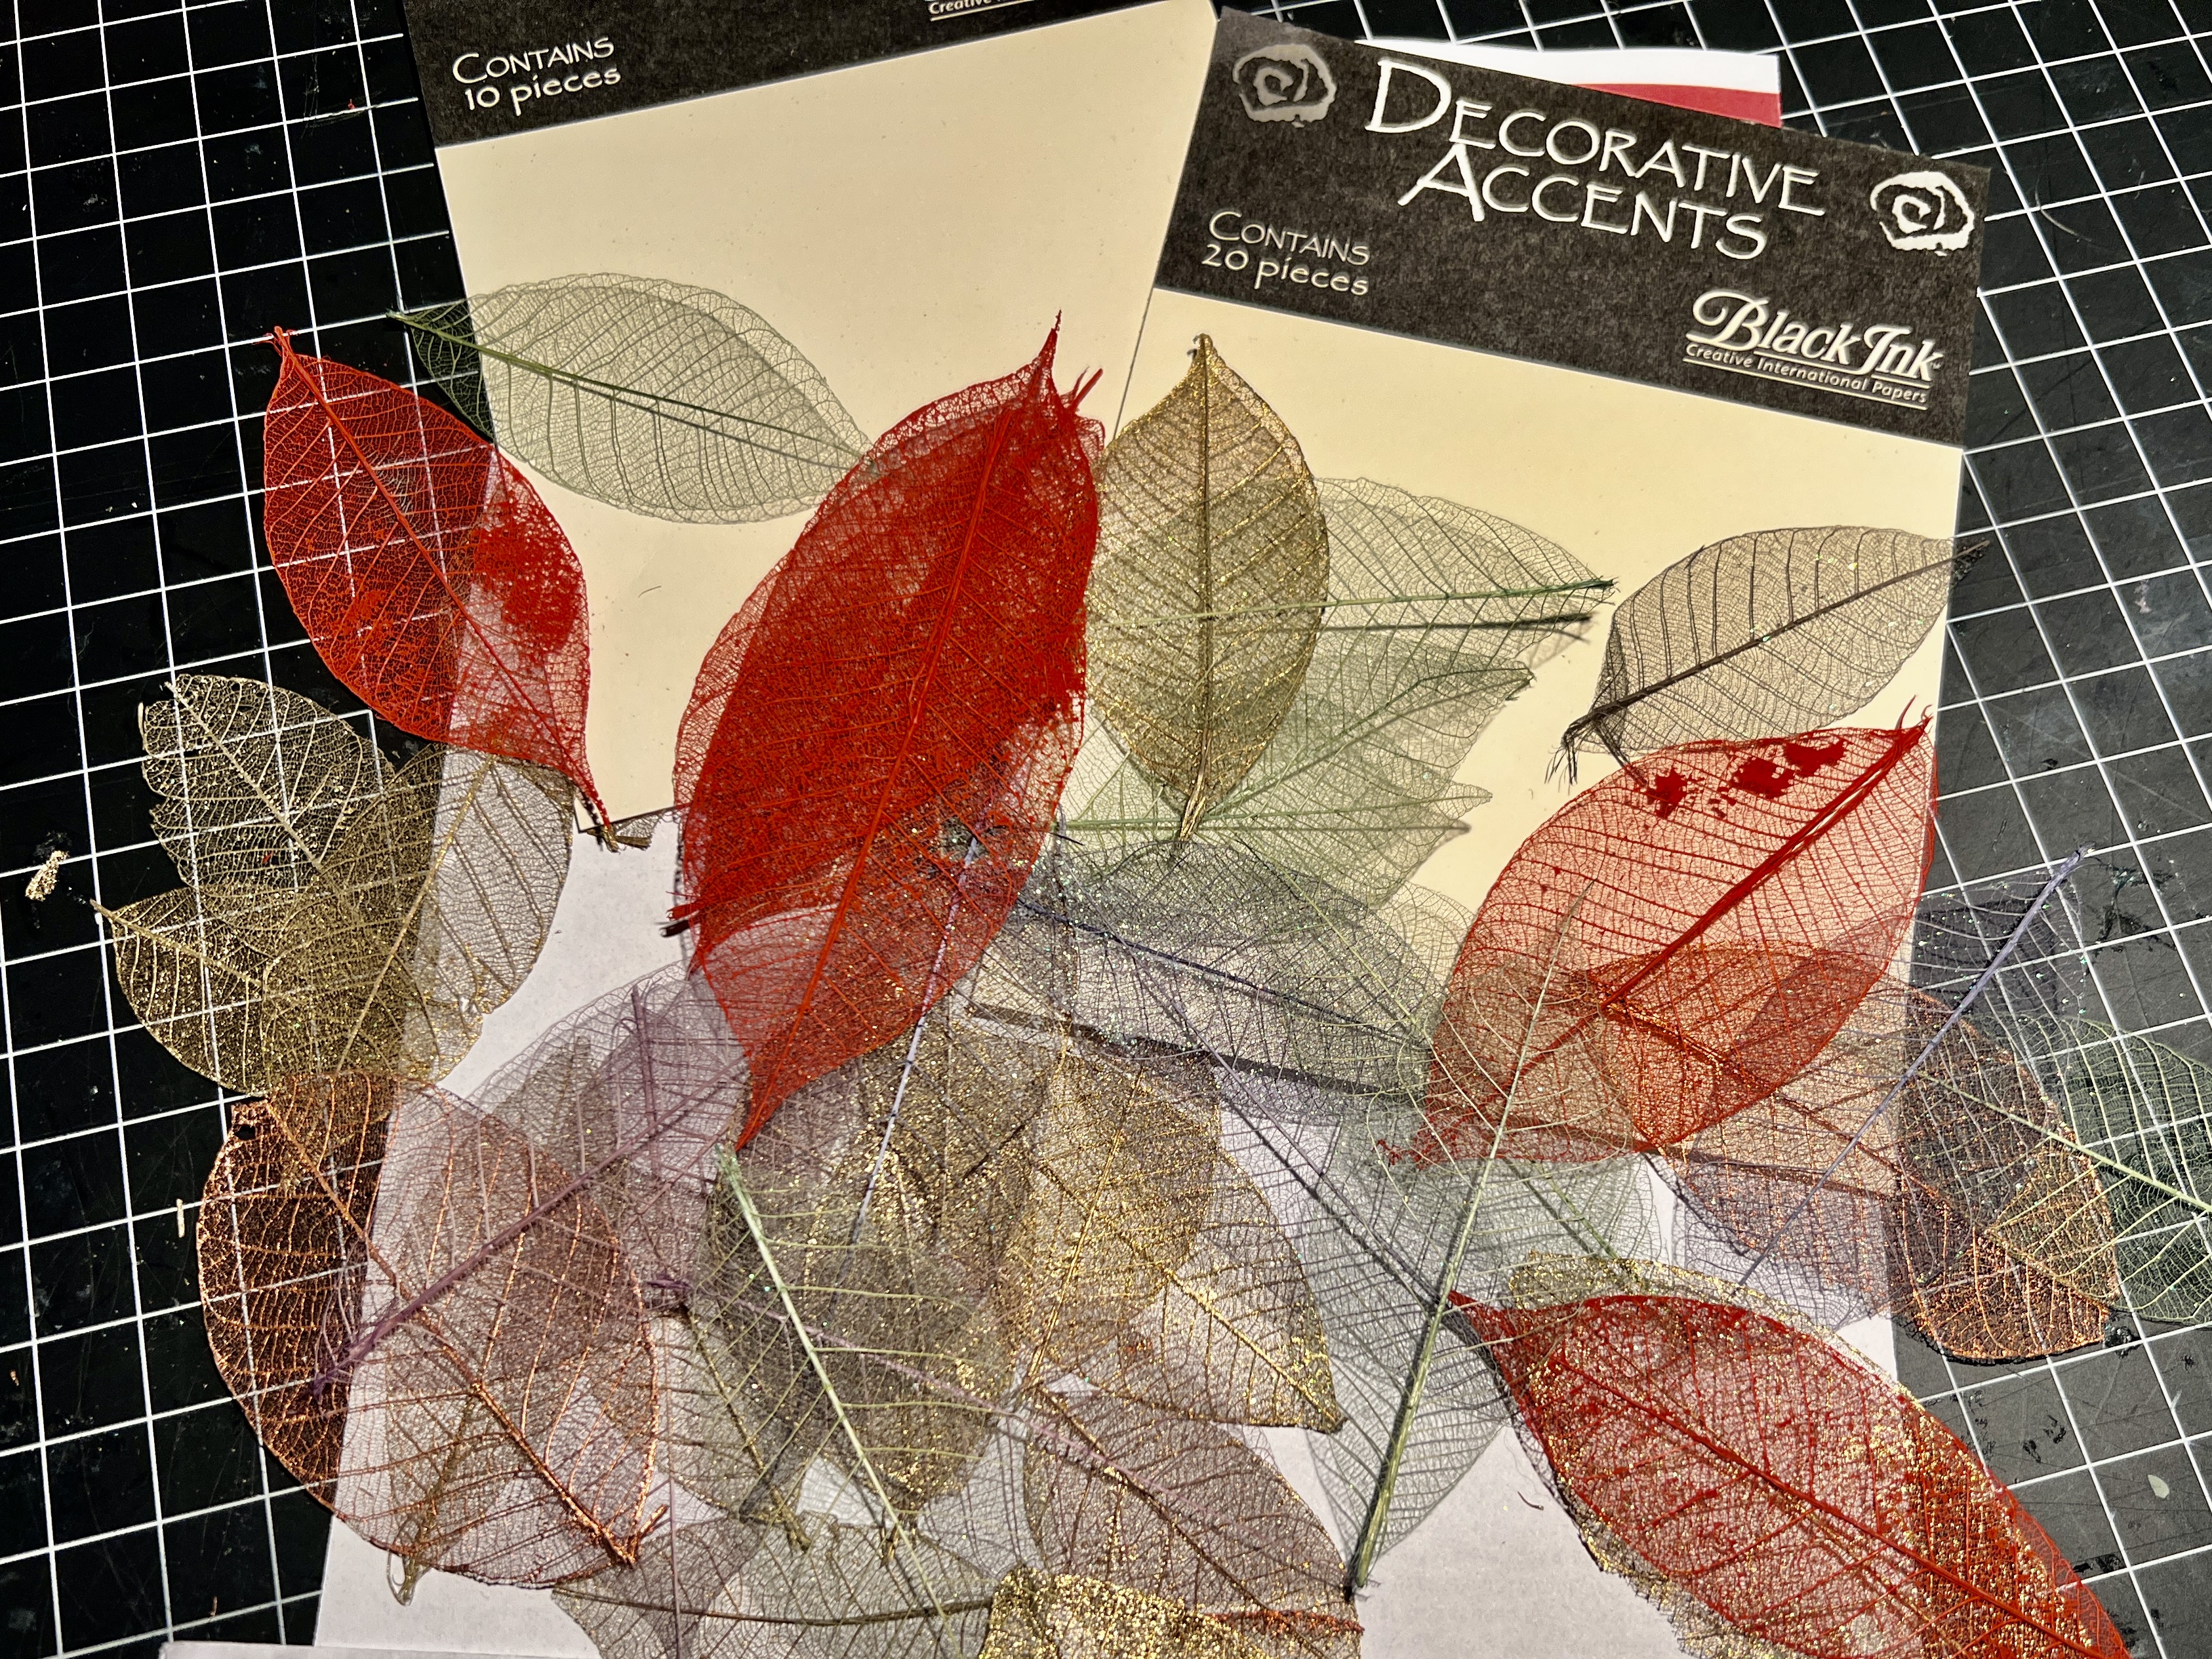
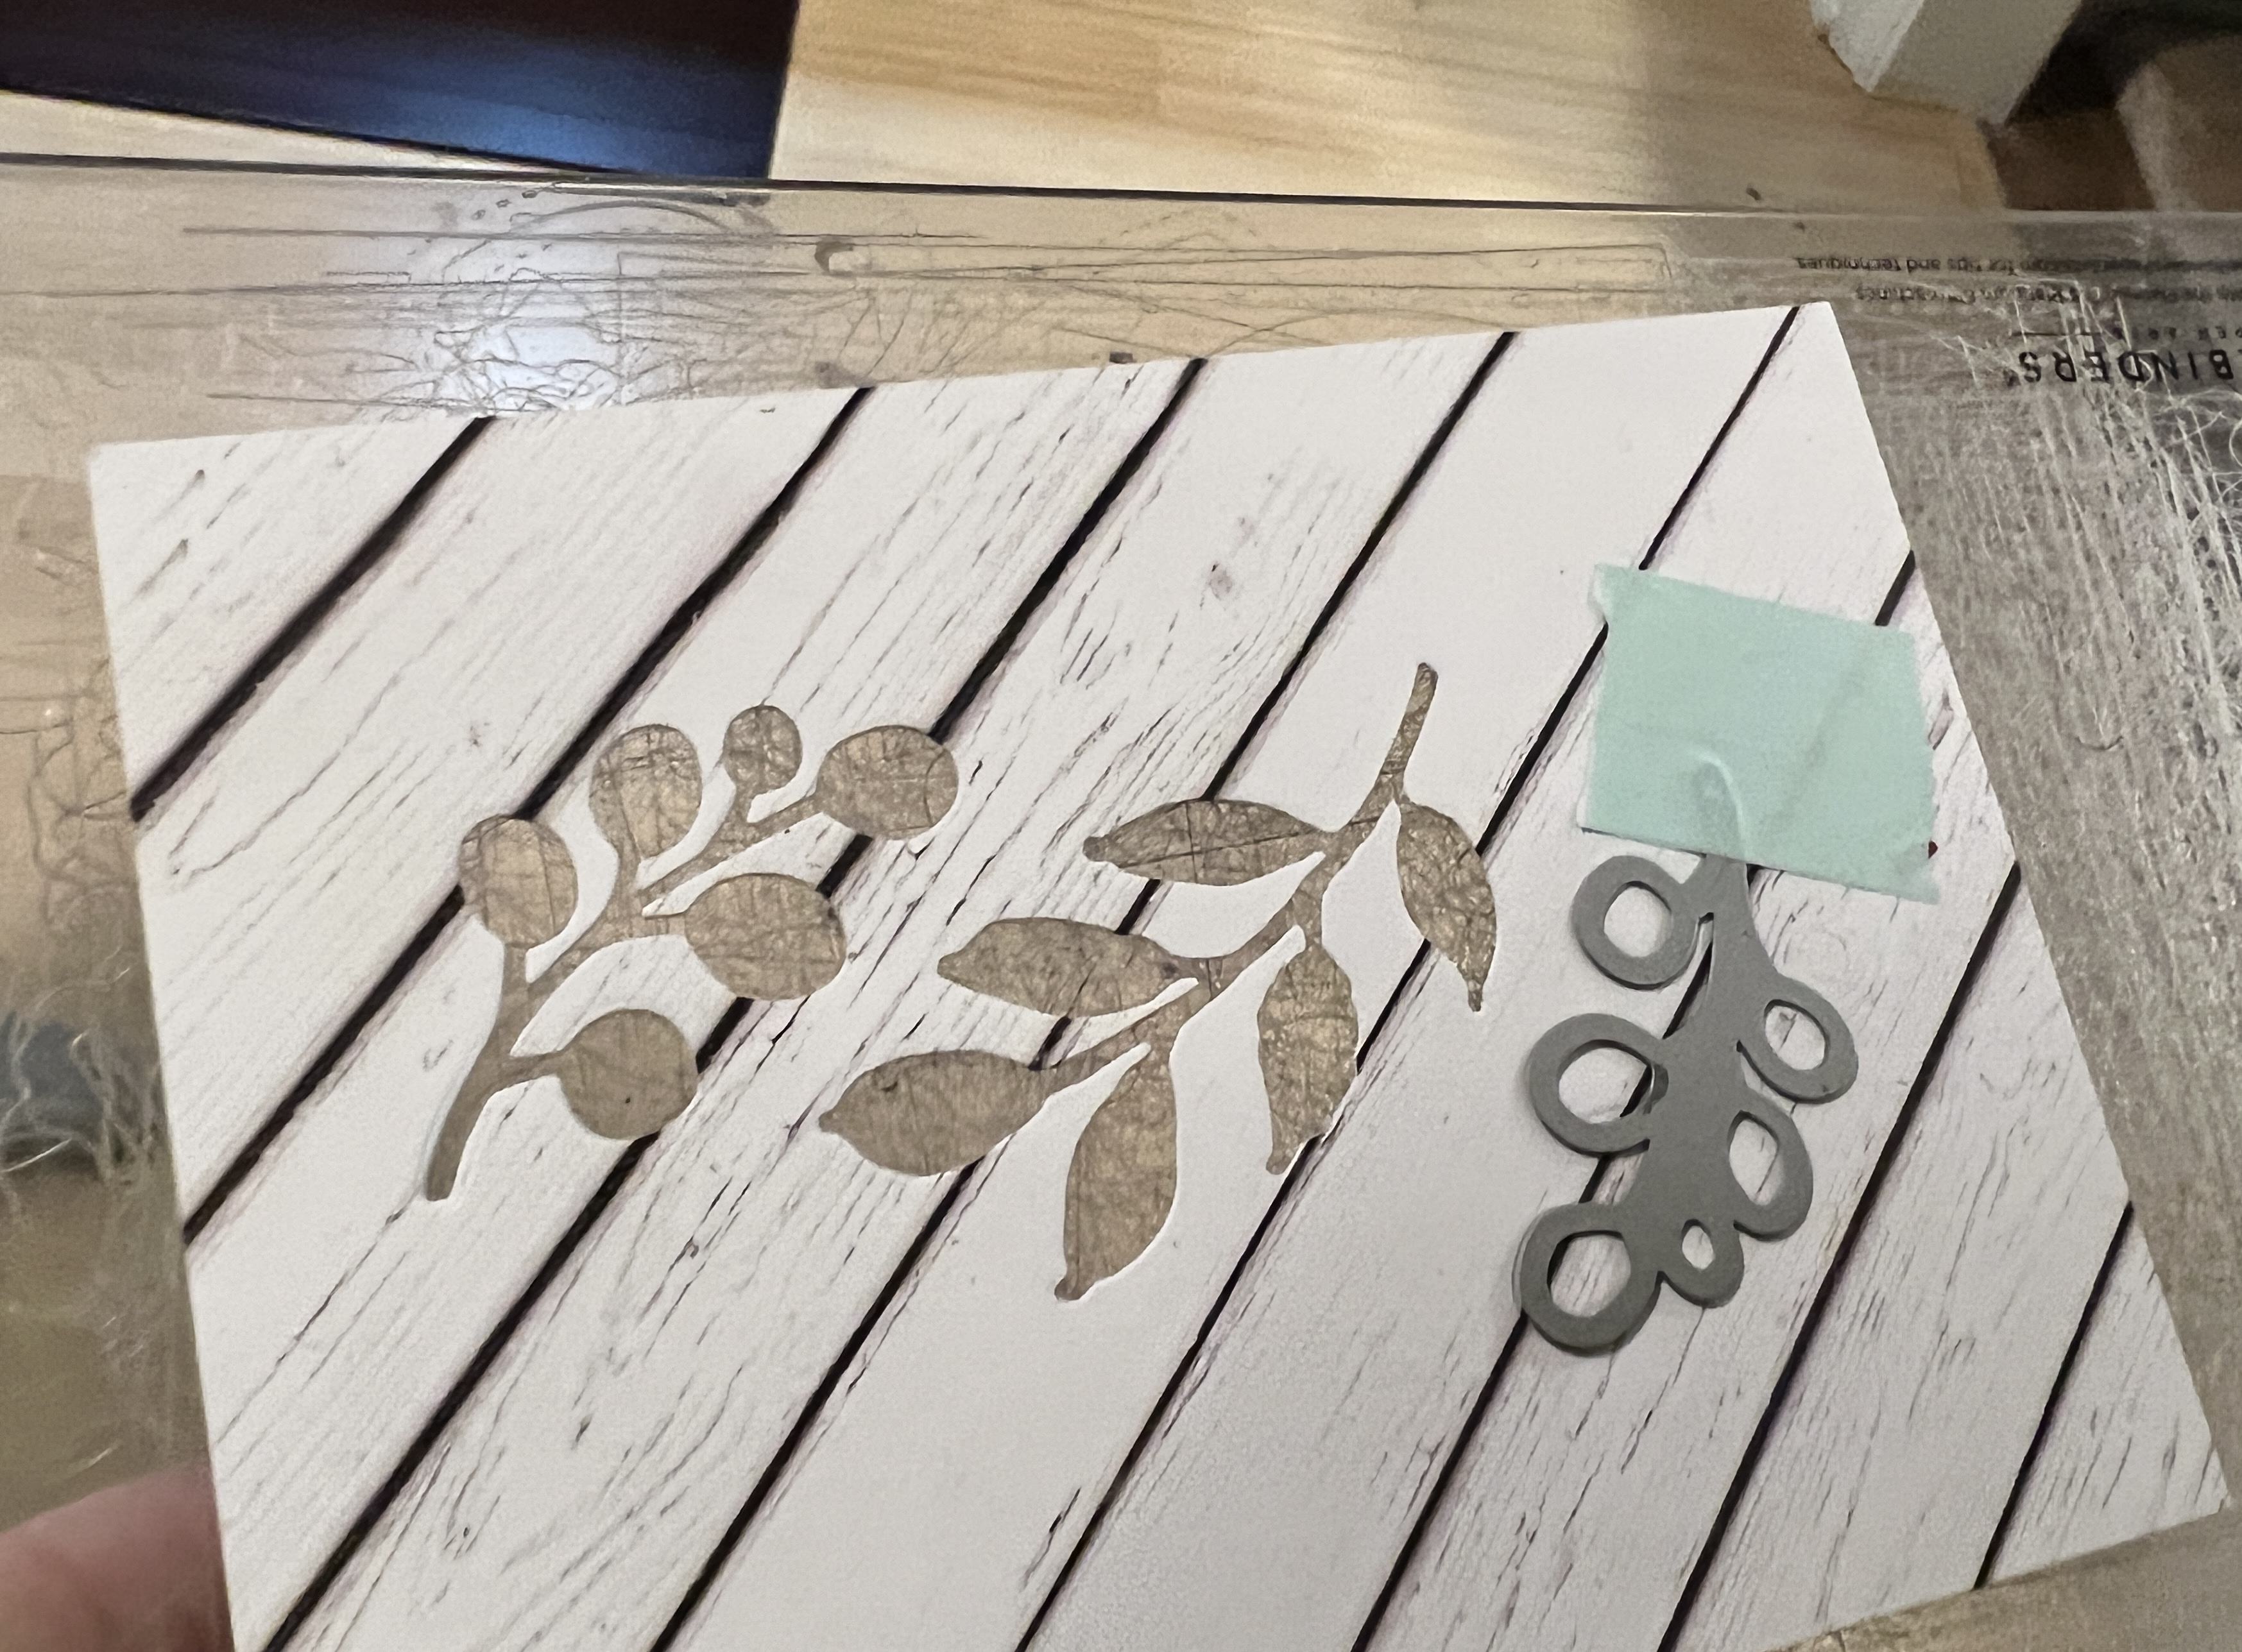
Next, I created a series of cards using leaf skeletons gifted by my friend Mary. She said, “I thought you could use these to make cards,” so I did. The leaves came in an assortment of sizes and colors.
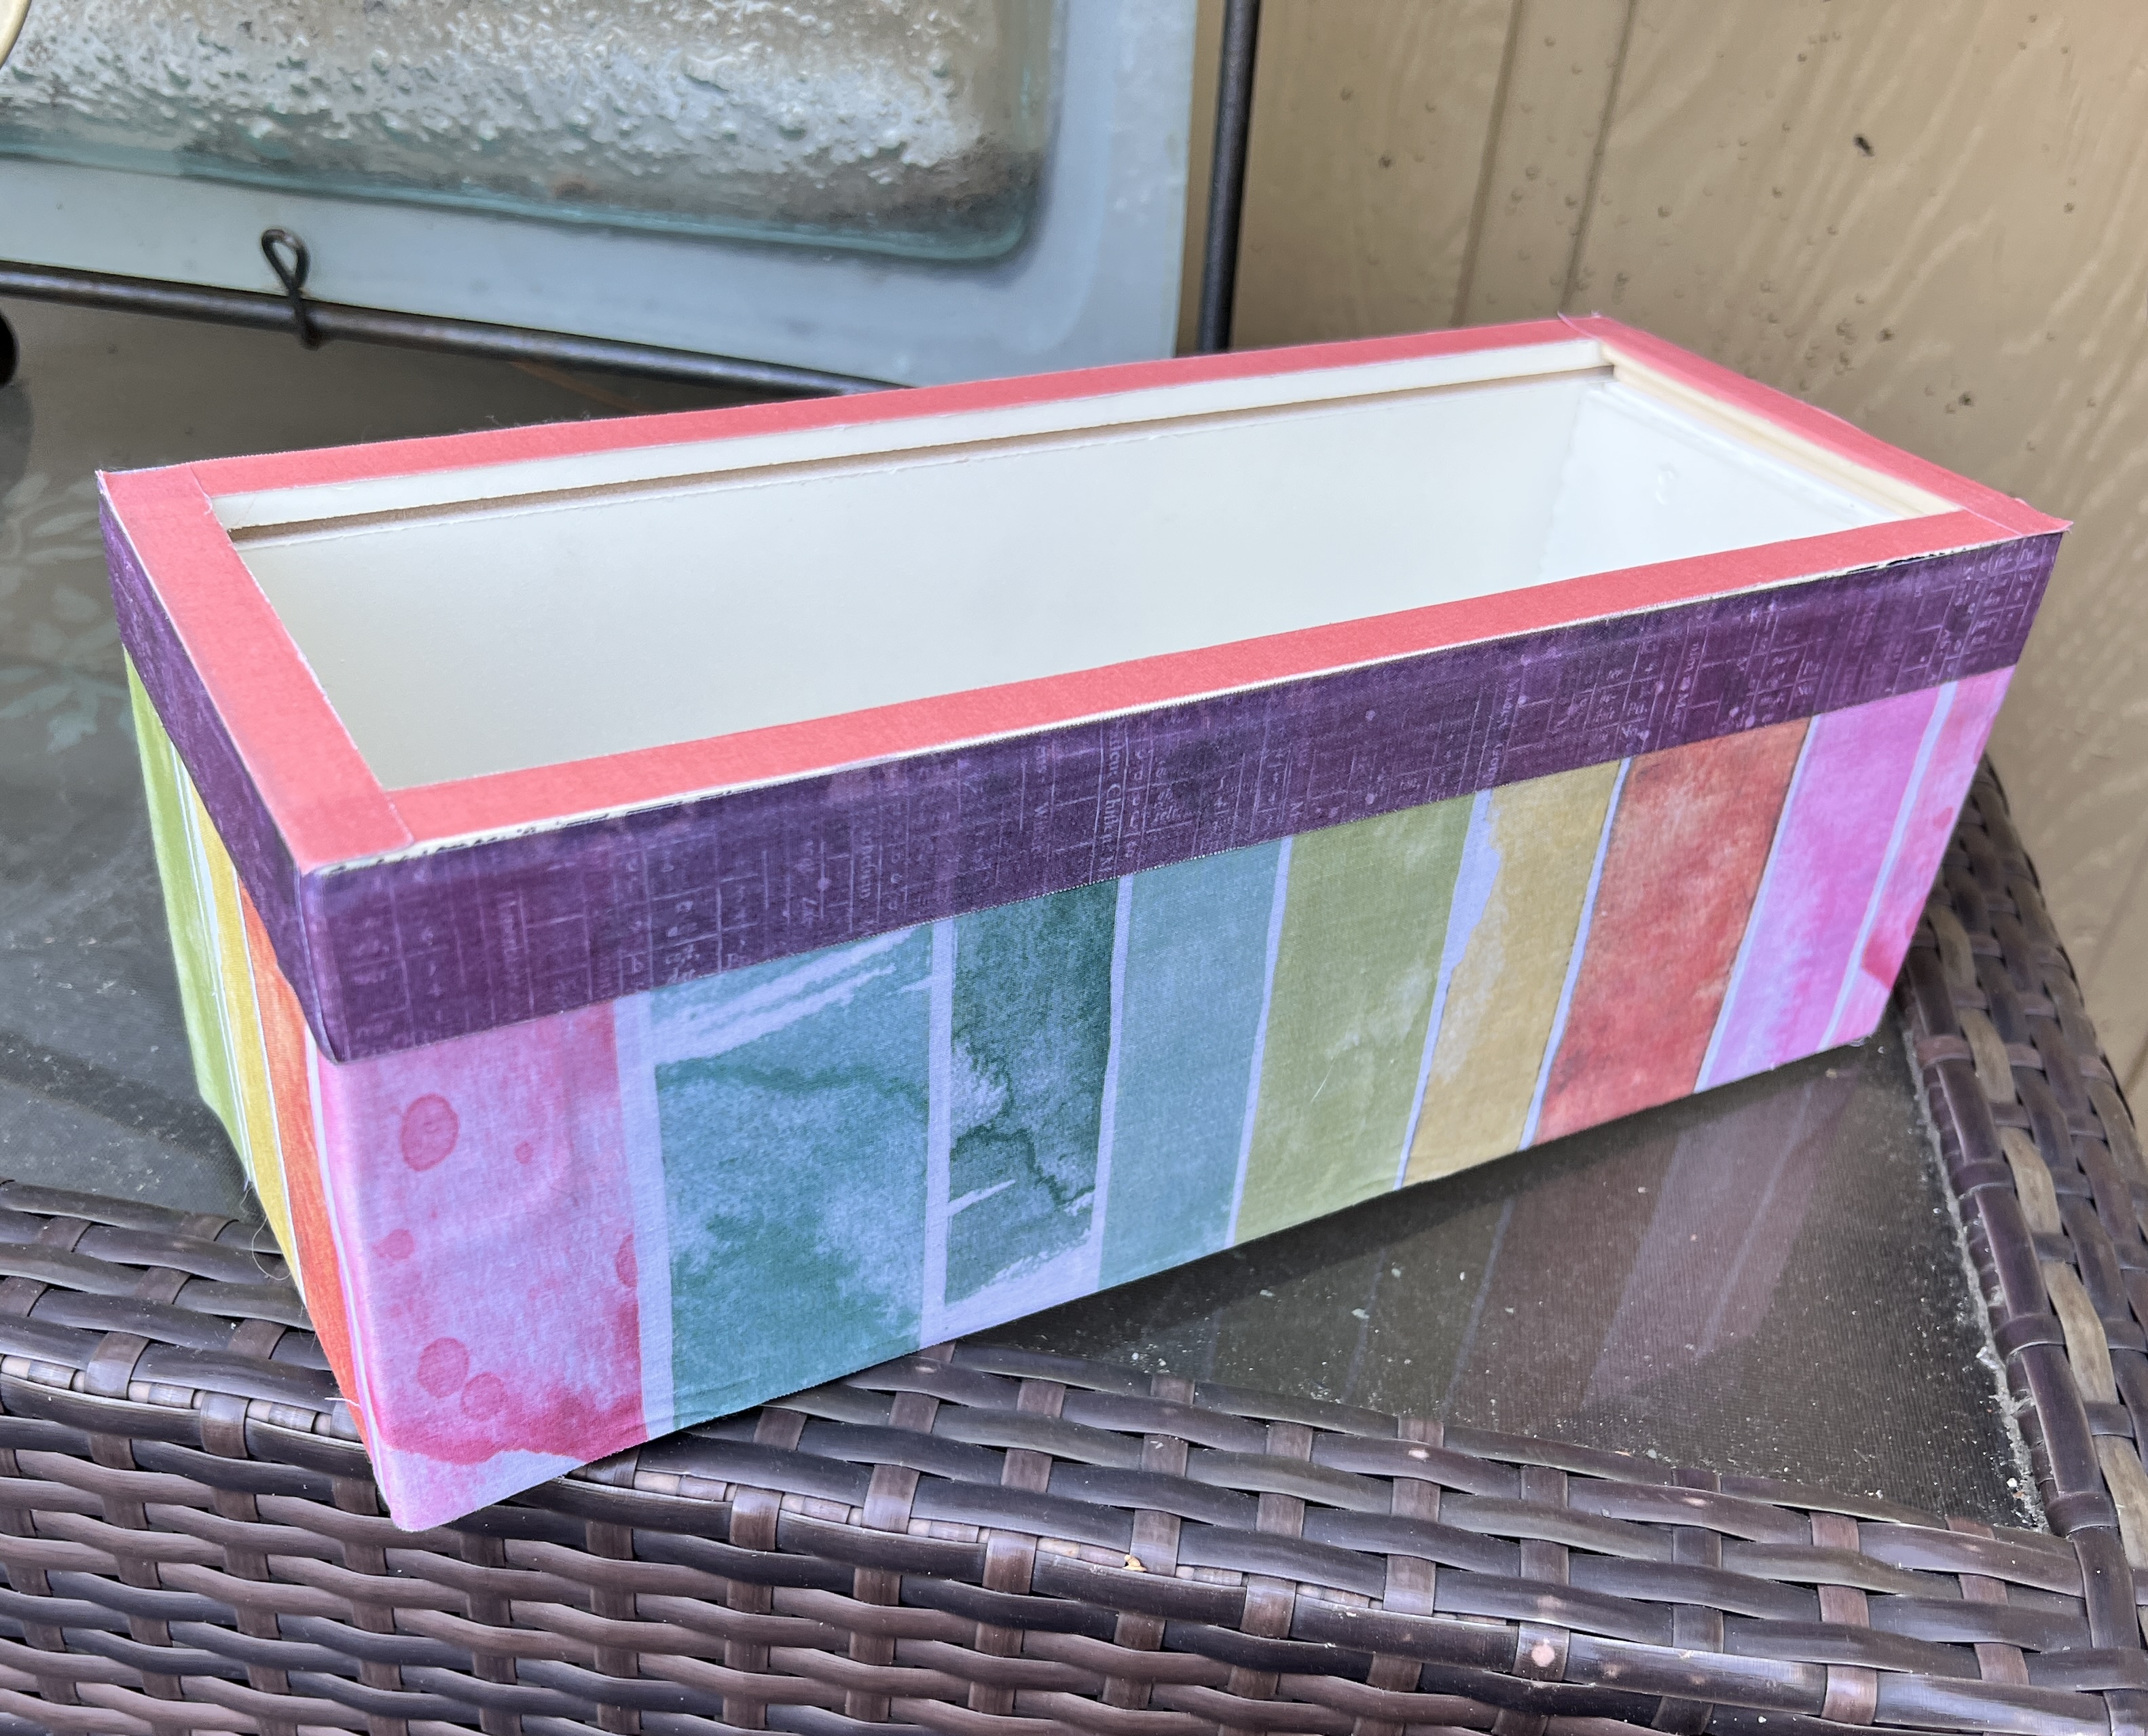
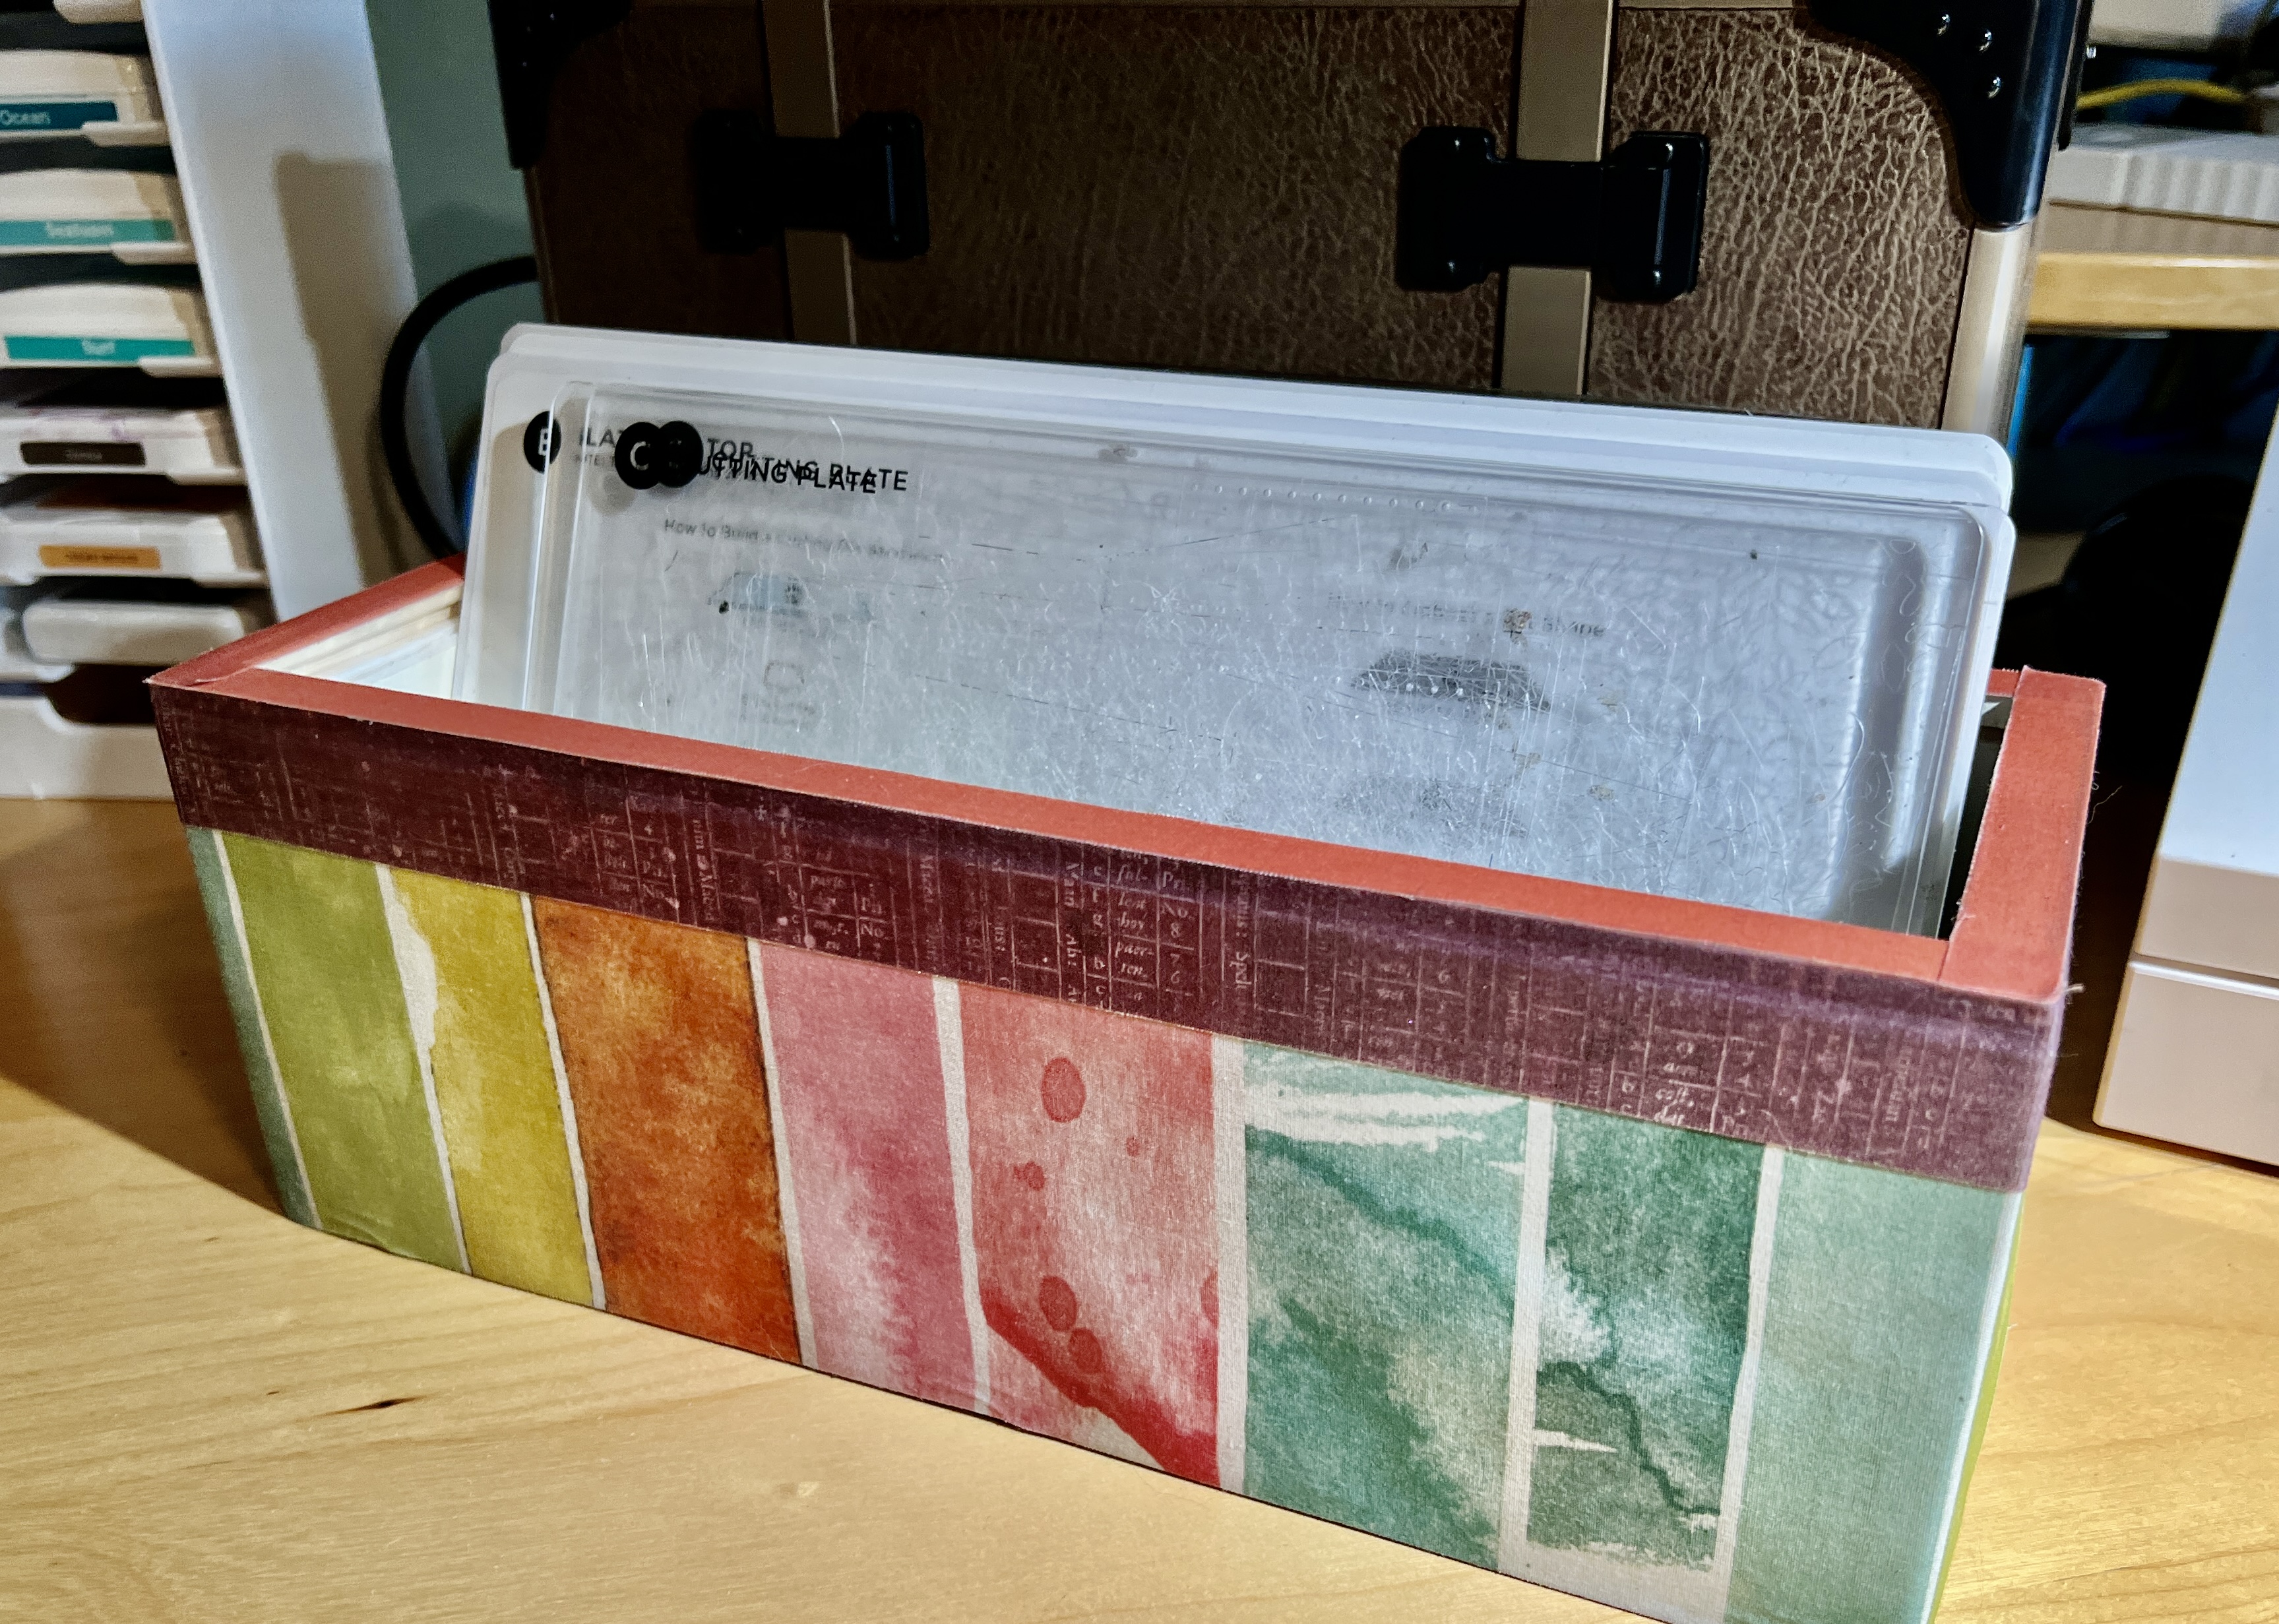
My last share is a wooden box gifted to Mike with a bottle of long-forgotten alcohol. I claimed the box for storage on my crafting table as it is sturdy and the perfect size for the various plates I use for my die and embossing machine.
It sat unadorned for a year before I gave it the Washi tape treatment. The wooden box has a slot for the lid, so one of the four sides needed leveling. I settled on take-out wooden chopsticks, building the edge in layers till even.
All three of these projects were a lot of fun. On that note, please look at some of the other fun ScrapHappy projects at the sites linked below.
Thanks, Kate, for inspiring us to put our scraps to use.
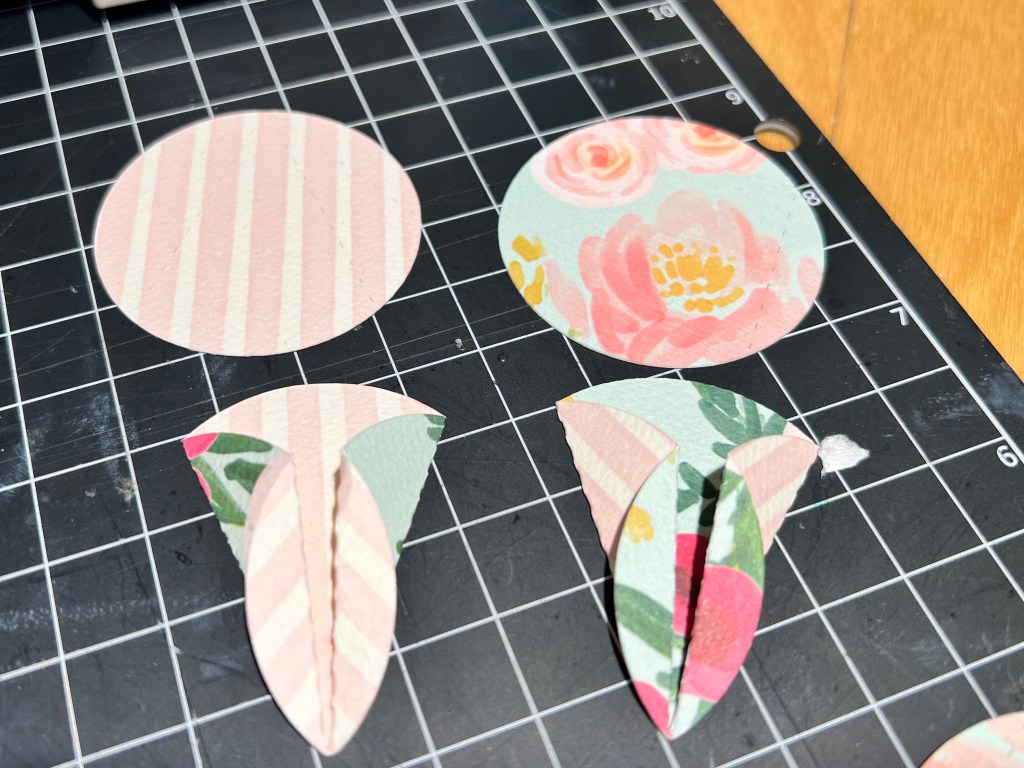
The 15th of the month arrived in a flash. I hate to miss one of Kate’s ScrapHappy posts, so I pulled some paper scraps and made a pair of cards.
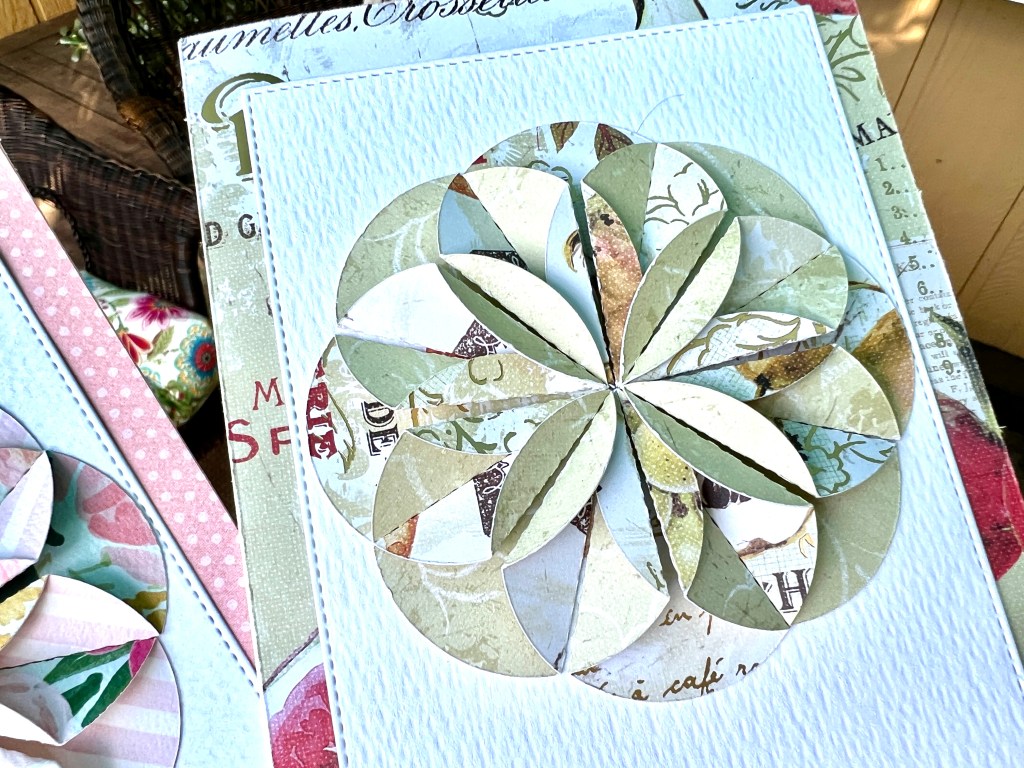
I used my Silhouette Cameo die-cutting machine to cut the circles. It feels like a touch of magic when you fold the edges of the circle into a V, showing the reverse side of the paper. I alternated the pattern to show off both sides of the print.
It will surprise no one that I have lots of floral paper in my stash. It’s what I’m drawn to again and again. The last two pics are closeups of the paper quilt. I used white water-color paper, but for some reason it looks blue in these shots.
That’s my small contribution this month. Please click the links below to see what other makers are up to. Thanks as always, Kate.
Once a month, Kate inspires a group of bloggers to dust off their scraps and embrace the ScrapHappy vibe. I’m always up for the challenge of creating from scraps. Kate is a talented quilter, a raiser of chickens, a gardener, and an all-around good soul. Check out her blog for more inspiration and fun.
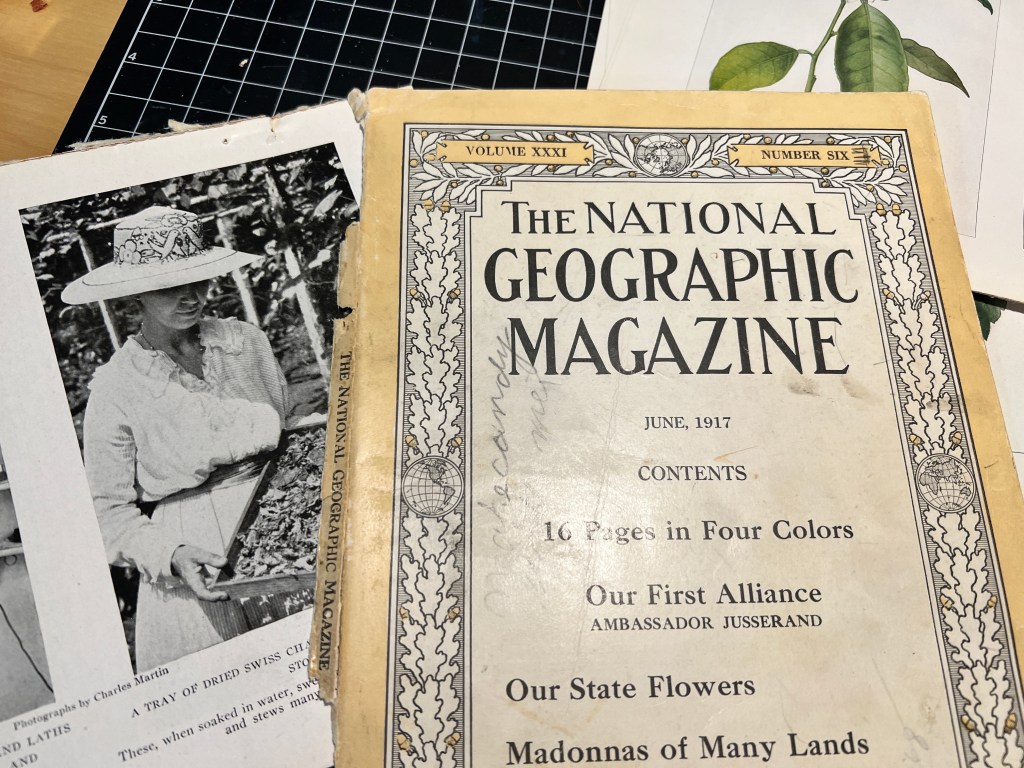
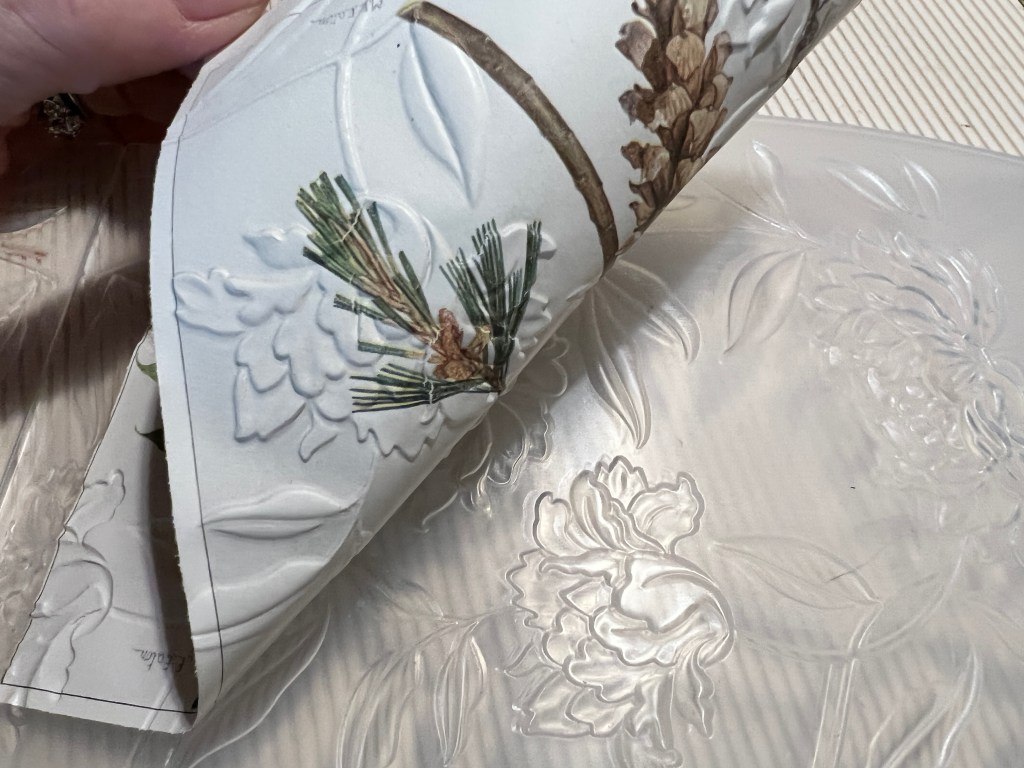
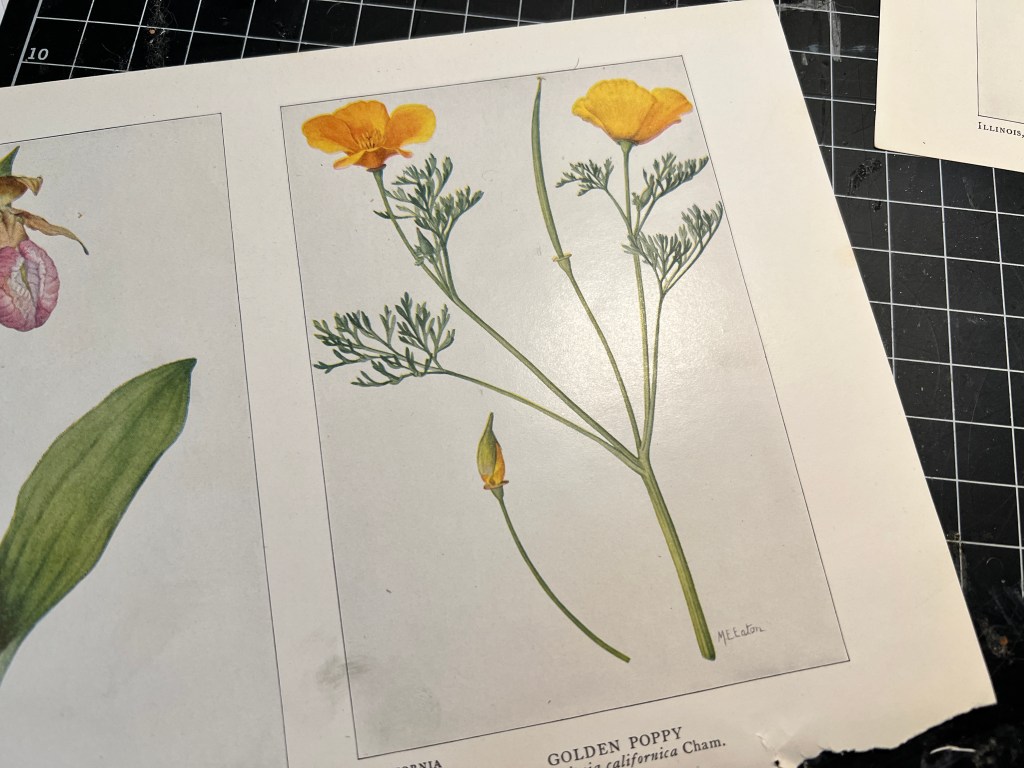
It’s fair to say that I took the directive to “dust off your scraps” literally. My friend Donna gave me a pair of National Geographic magazines several years ago. She knew I would appreciate the flower prints in the magazine’s fold.
I’ve pulled out both issues from my drawer many times, but I couldn’t decide what to do with them. It’s one thing to use a five-year-old-scrap but quite another when the scraps are pages of a magazine published over one hundred years ago. The fragile paper doesn’t leave any margin for error.
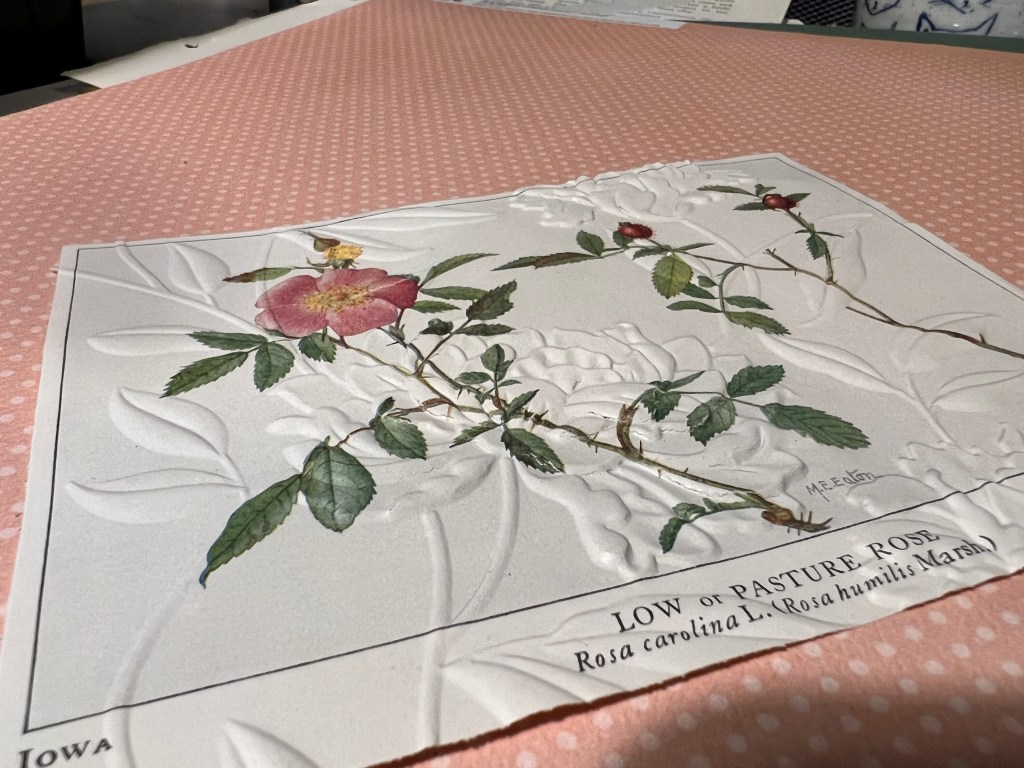
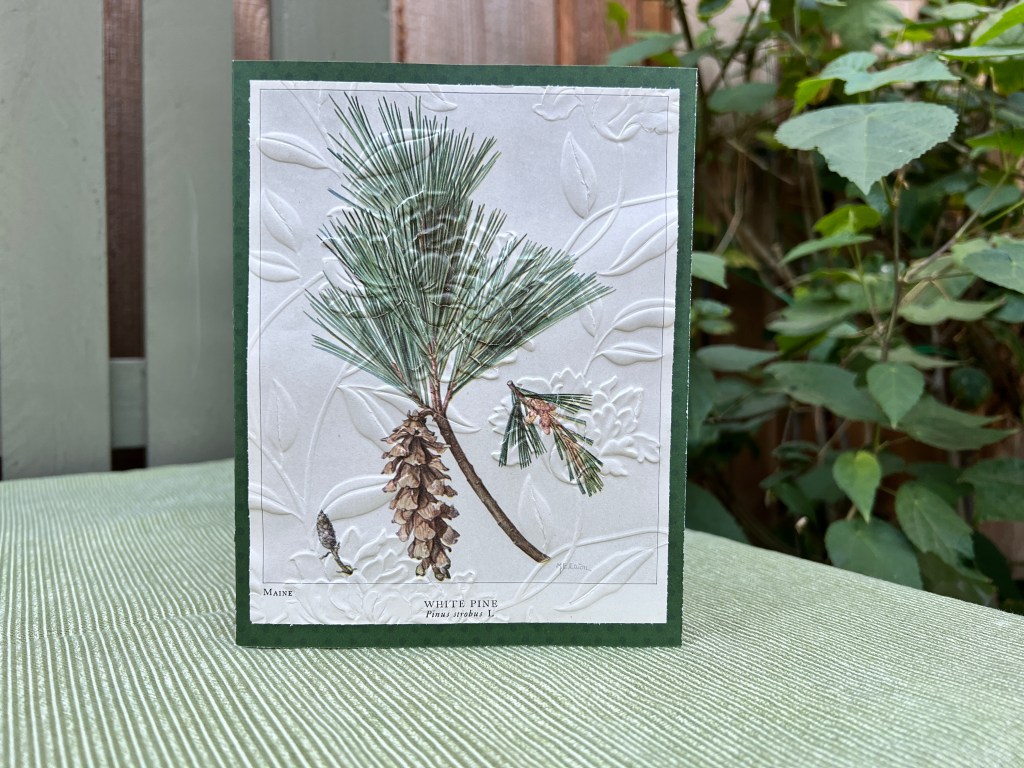
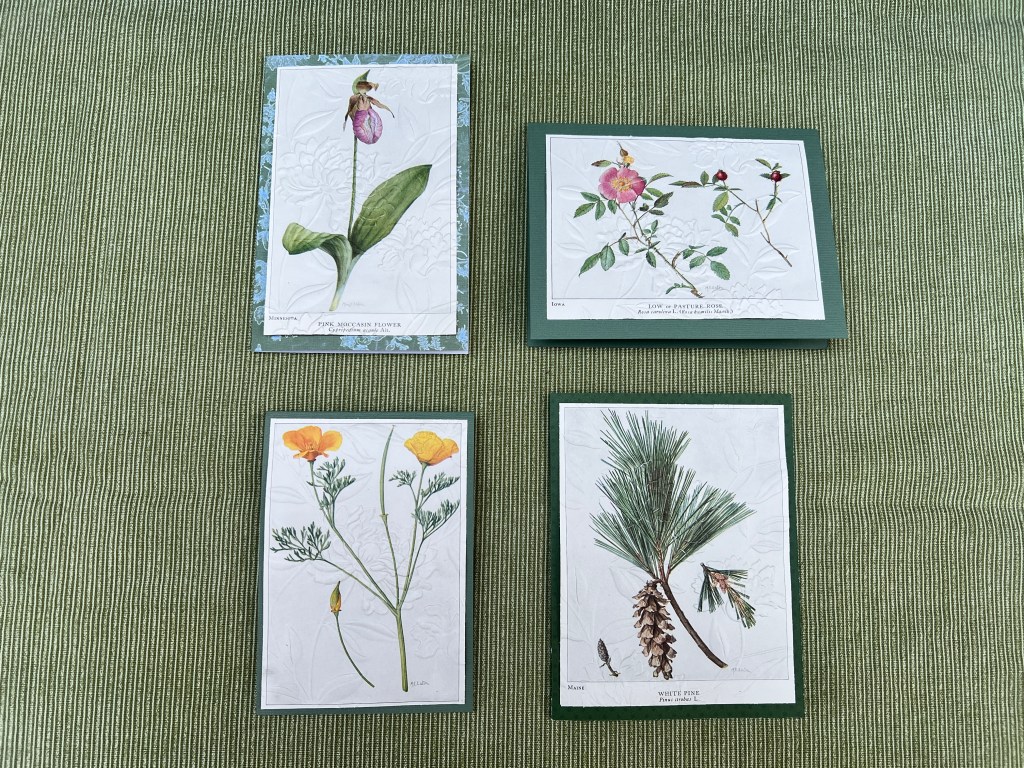
I decided to turn some of the smaller prints into cards. I trimmed them to size, leaving a small border and the identifying state and the flower’s name.
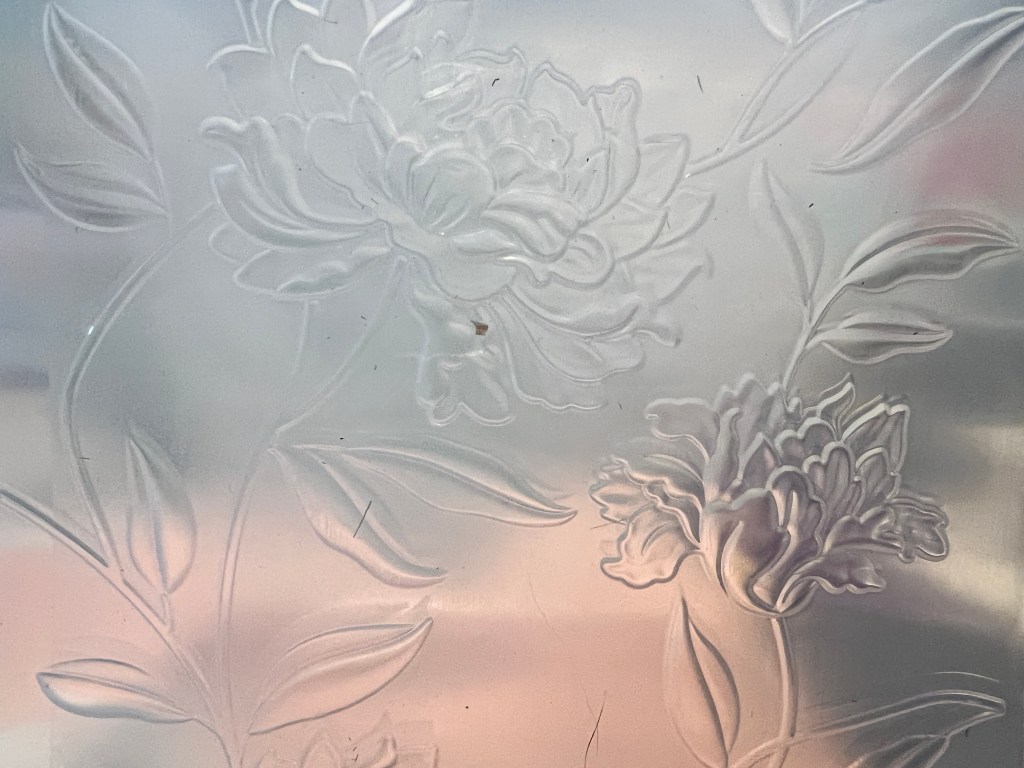
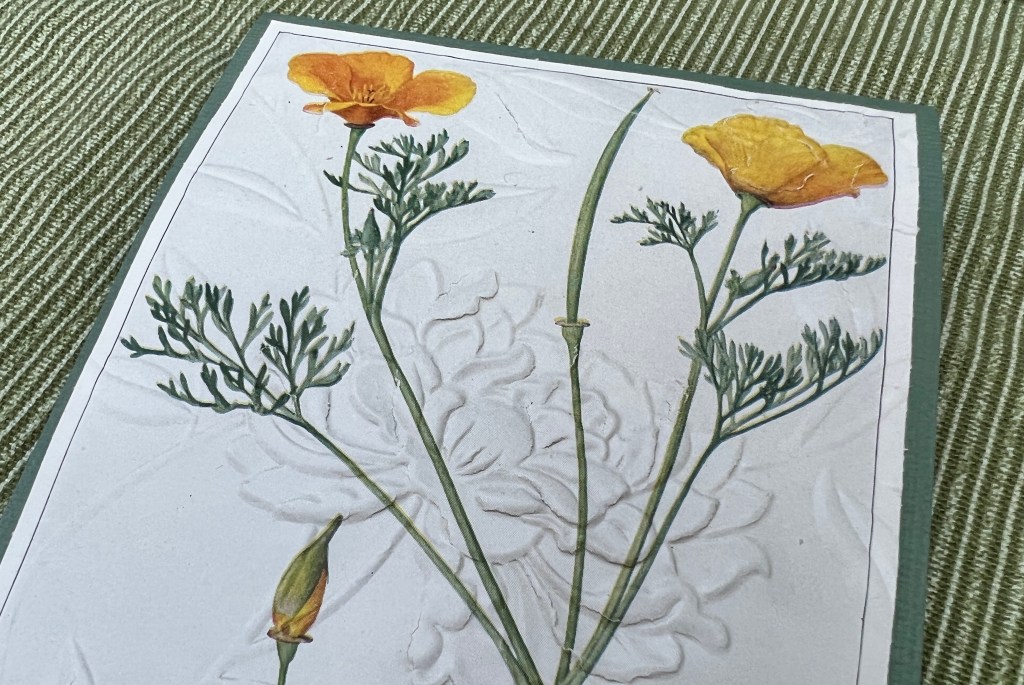
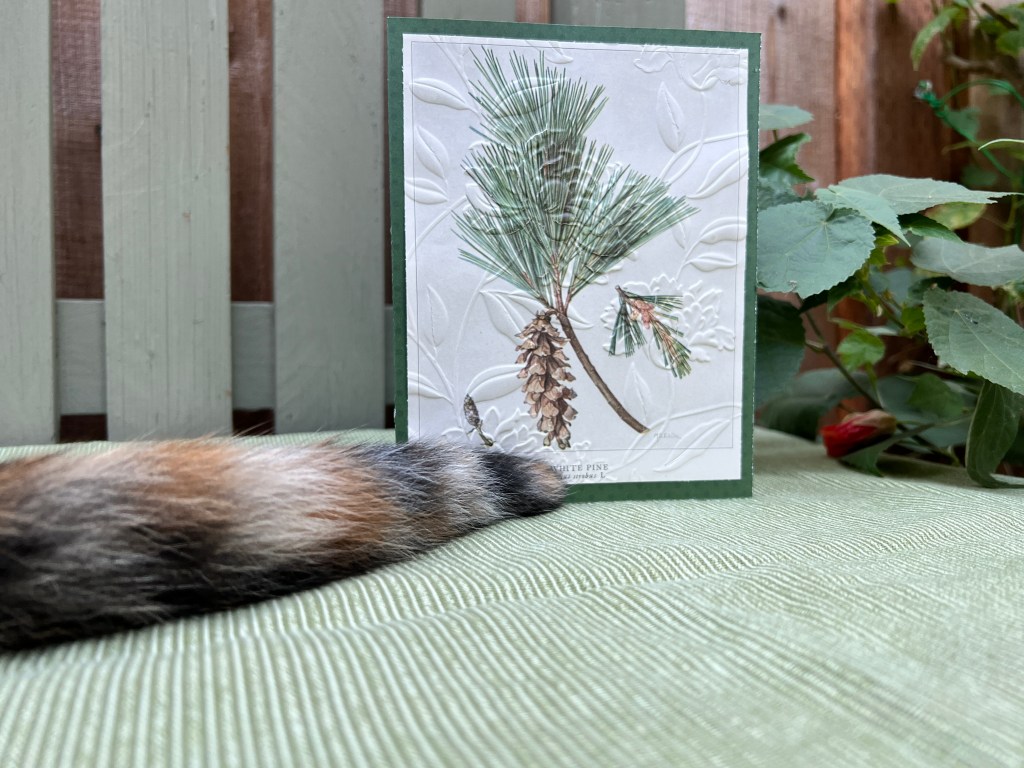
They needed a little oomph, so after testing on one of the magazine’s ads, I cautiously proceeded. I ran each print through my die machine using a floral embossing folder. It applies just enough pressure to emboss the card without tearing the paper.
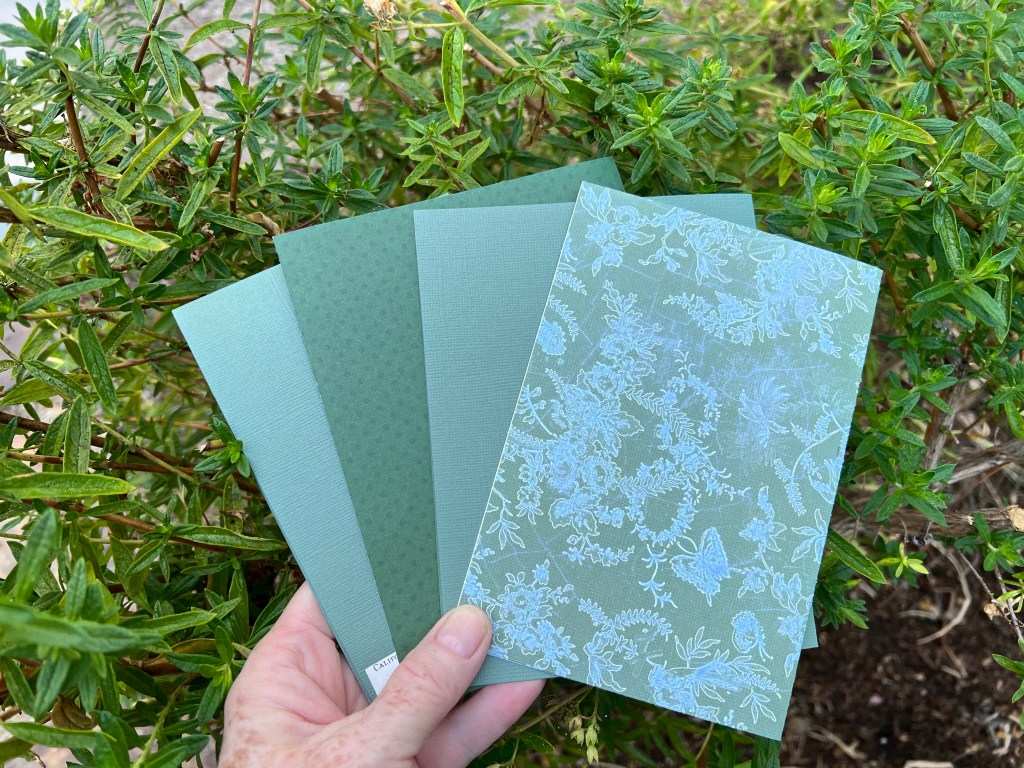
Using my green scraps, I found the perfect paper to create four cards.
I had one tear when I tried removing the tape backing. As a result, the California poppy description is on the back of the card. Otherwise, I’m both pleased and relieved with the results.
I’m looking forward to mailing the cards to dear friends.
Are you crafty? Scrappy? Come join us on the 15th of each month and let us see your ScrapHappy creation.


You must be logged in to post a comment.