Thrift Diving’s 30-Day Outdoor Overhaul Makeover

Two years ago I signed up for Serena’s Thrift Diving challenge: a 30-day outdoor patio makeover. She’s hosting another one this month, also outdoors. It’s amazing how these challenges can light a fire under your feet.

Serena hosts these challenges a few times a year. You can read about her April challenge here. Several of us sign up for the extra motivation that comes with a deadline. She even has a closed Facebook group where we can post pictures, ask questions and share in other do-it-yourself projects. It’s a lot of fun.

Today, however, I’m feeling the pressure of the challenge. We have college tours coming up this month and a weekend away chaperoning a school activity, so I need to keep moving. Writing this post will help me collect my thoughts. I have a good start thanks to Serena’s Outdoor Overhaul Makeover Journal. 

These are my goals for my 30-Day Outdoor Overhaul

Goal #1: Clean, *repair* and paint my old potting bench

green potting bench

15 year-old garden/potting bench

Repair wasn’t part of the deal, but this morning I moved the bench on my own to the patio for cleaning and broke one of the planks. The bench is 15 years old and stays outside year round so it’s not that surprising. It looks like they used staples instead of screws to attach the top planks. I’ll need to sort that out.

The broken plank exposed a few startled silver fish. After they vacated the premises I employed my multi-step cleaning process.

I used my small leaf blower to chase away the large debris. I used a small brush to clean the crevices, then a larger brush and finally gave it a strong blast with the hose before one last scrubbing.

We have two more sunny days before a set of storms pass through, so I’m taking advantage of the weather.

Then, finally, the fun begins: repainting my old potting bench

Goal #2: Research gate options for side yard

makeshift gate

Makeshift “gate” to keep Tessa and our other cats safe in the yard

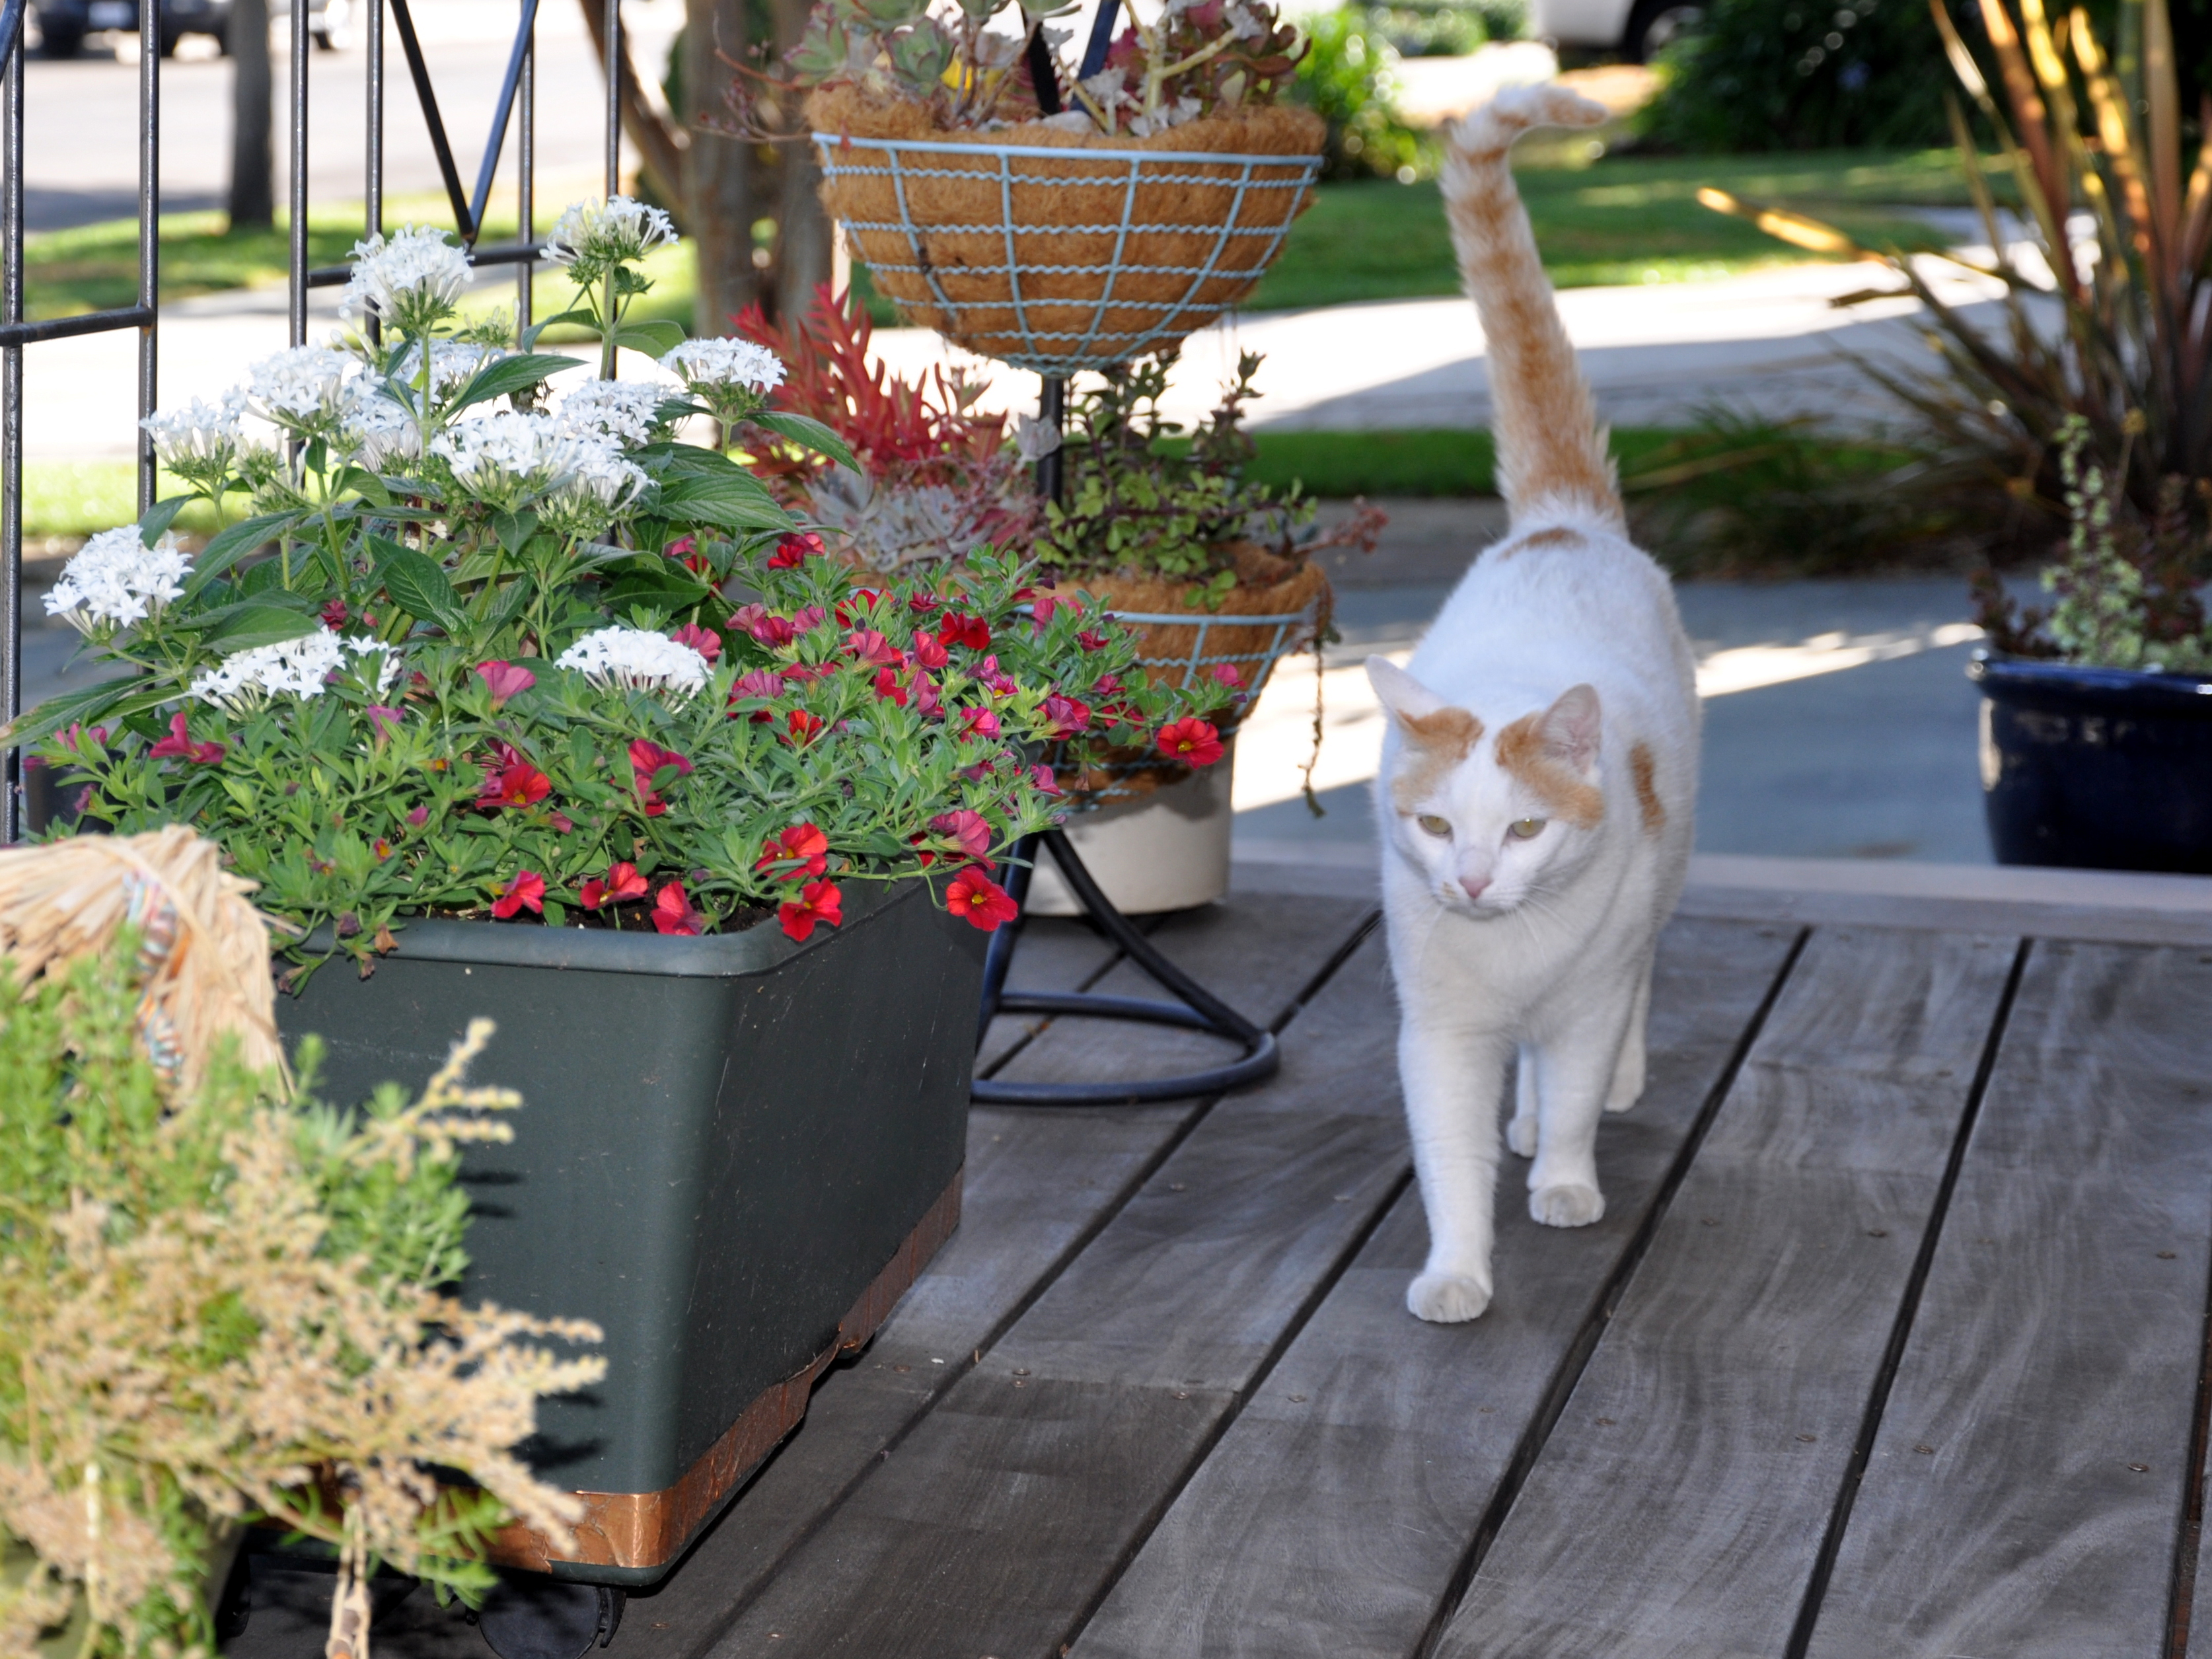
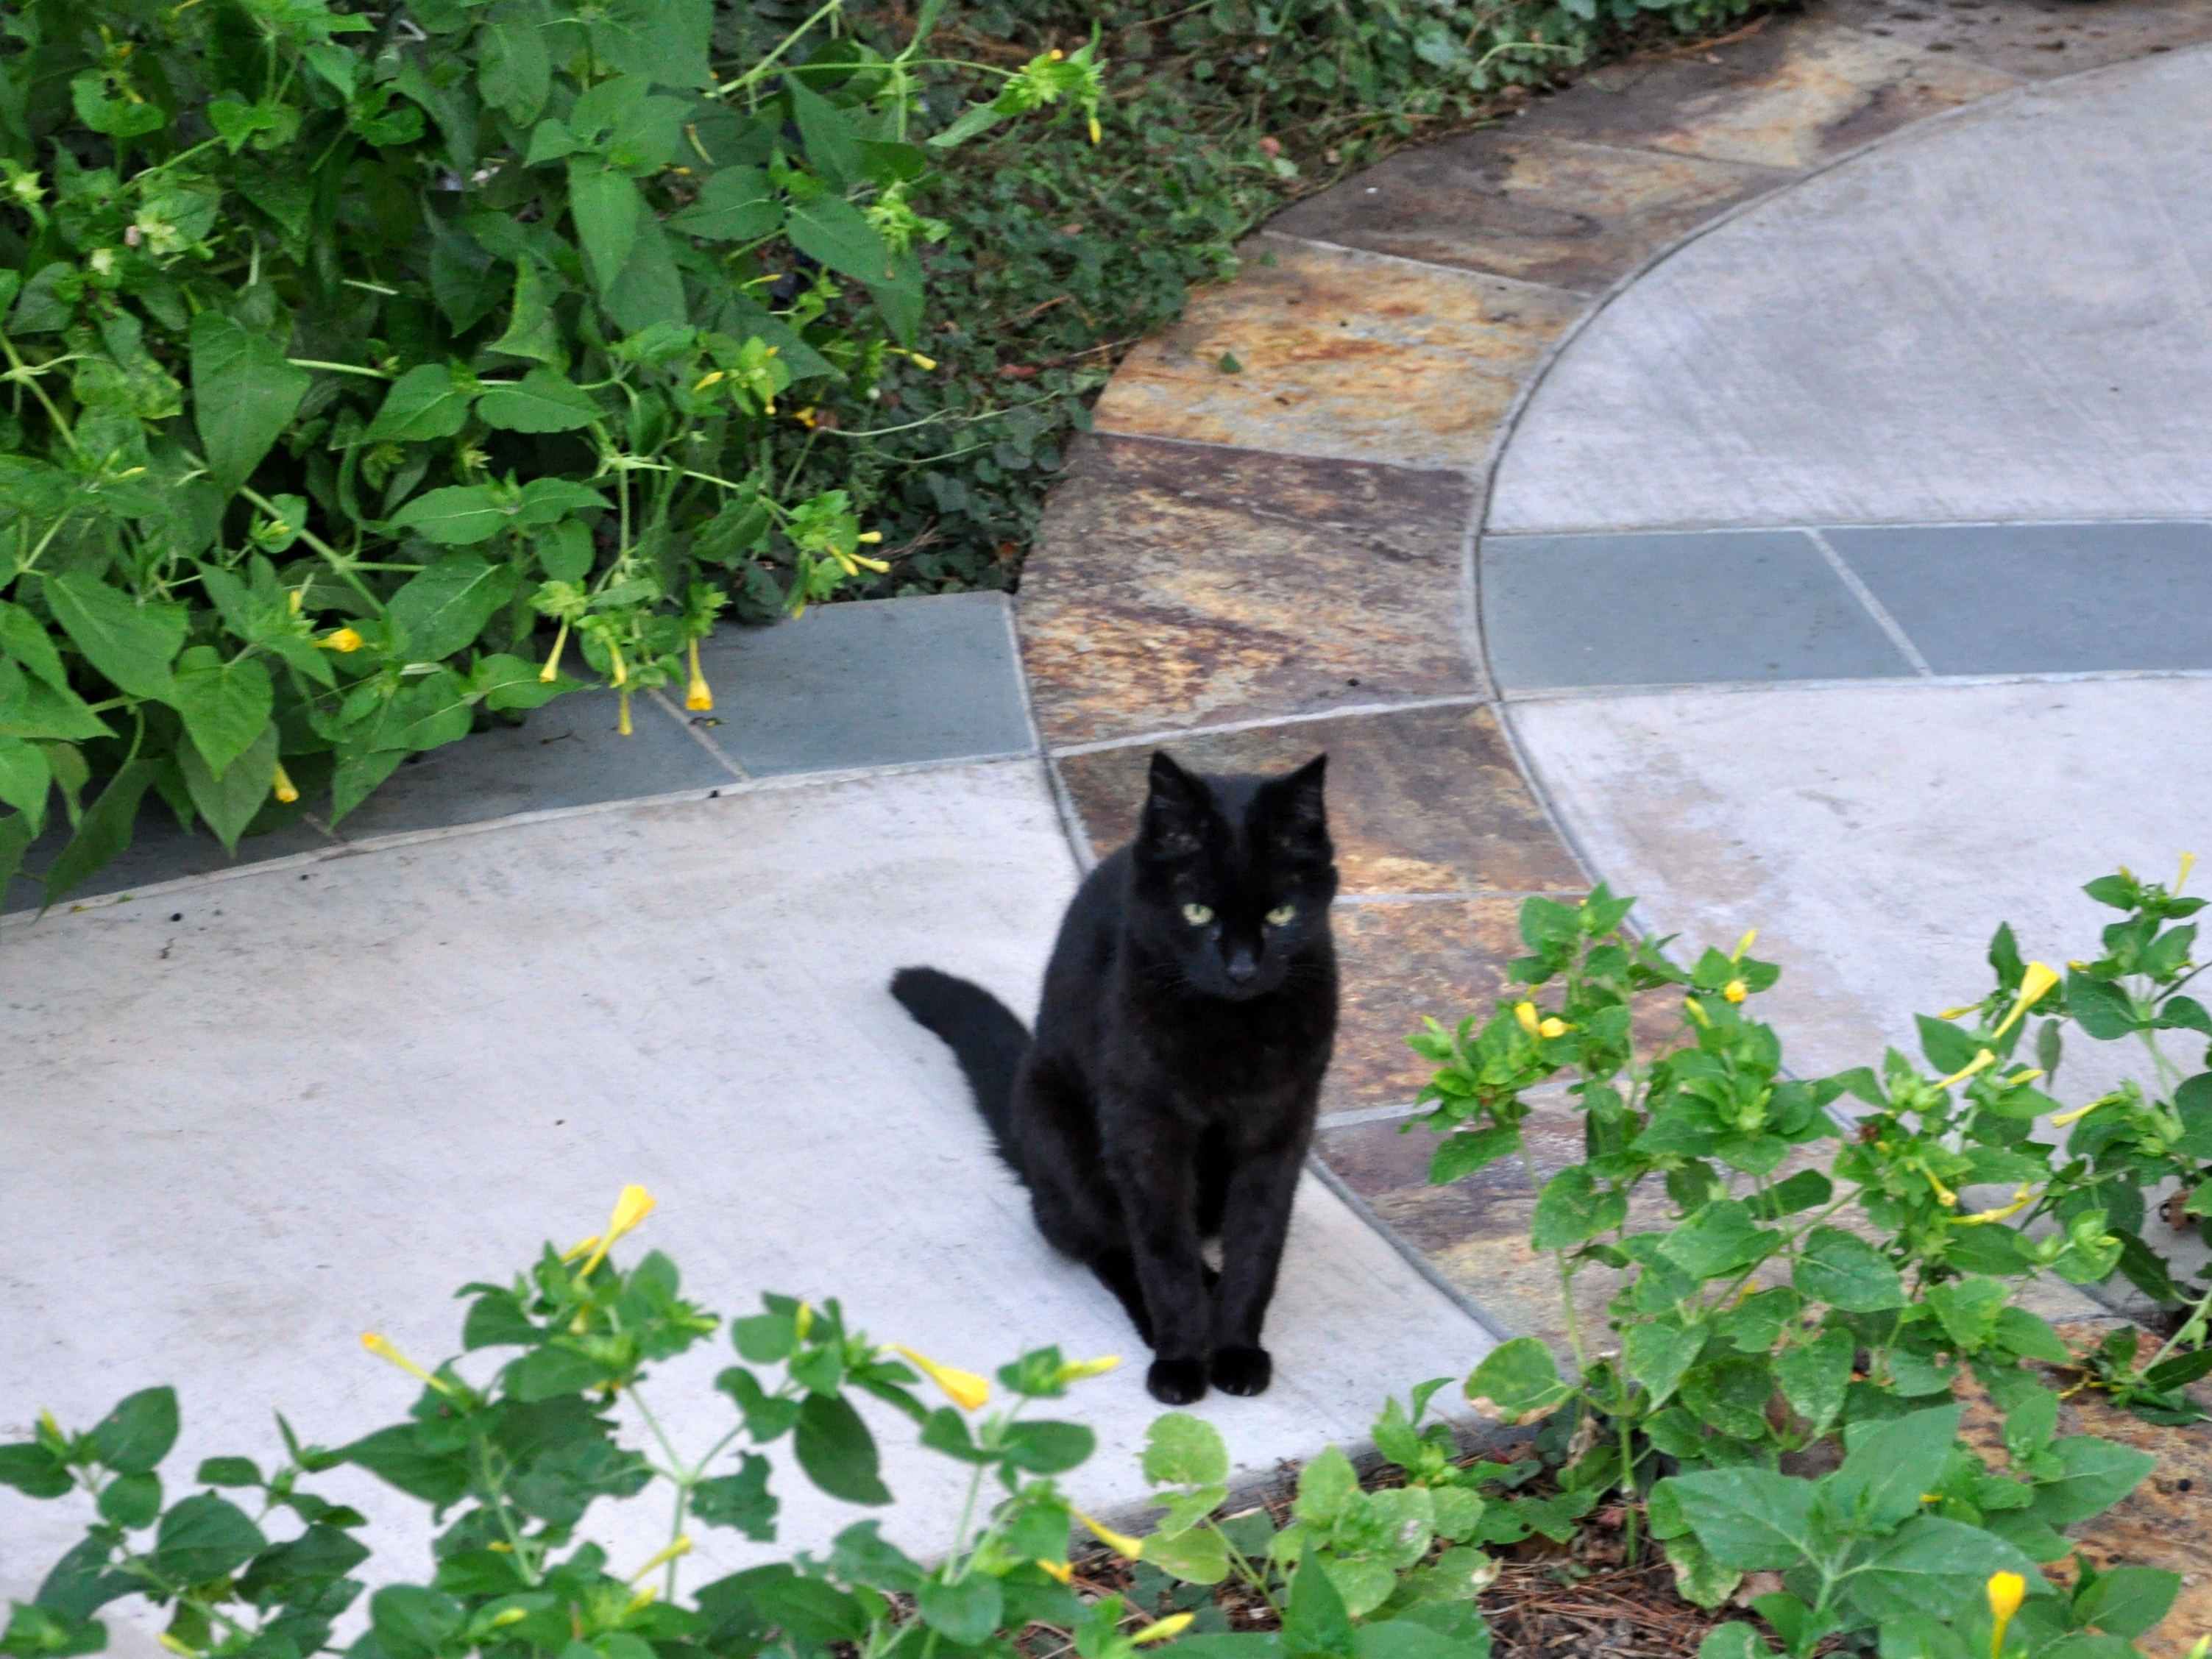
This is a long story, but I’ll try to make it quick. We had to replace the damaged fence along our side yard over a year ago. It took nine months from the start of the quotes to a finished fence for a variety of reasons. We had cat-netting along the old fence to keep the kitties safe in the yard. I wanted to add a second gate so we could reduce the amount of netting which gets tangled in the vines, but one that you could see through. The fence company couldn’t do it.  It’s now been six months and I still haven’t sorted out a quote or a DIY solution to keep our climbing kitten safe in the yard.

 Goal #3: Outdoor sandbox for cats

Tessa's future sandbox

Back corner of garden under neighboring pine tree

Yes, you read that correctly. When you have small children you keep your sandbox covered to avoid unwanted deposits from the cats. My boys are young adults and the sandbox is history, but our kitten, Tessa, prefers using the garden mulch to take care of business. I’m hoping to add a sandy area along the back fence to encourage her to use that instead. Cats like sand, so it should do the trick.

Goal #4: Camouflage and Beautify

back corner of garden

Back corner of garden where things don’t like to grow

The back corner of the garden has always been challenging. A large, neighboring pine tree shades the area, drops pine needles and sends up roots. It’s almost impossible to dig in that area, and when we have managed to wrangle the roots out-of-the-way to plant other things, they struggle to thrive.  I’m going to look for a planting box that sits on the soil at an angle. I’ll plant a shade-loving vine, then add a trellis behind the box. This will beautify the area, and at the same time camouflage Tessa’s outdoor facilities.  Win-win!

Goal #5: Create a step up to the raised garden along the back fence

Fence line

Raised garden bed along fence line. A few pavers should do the trick

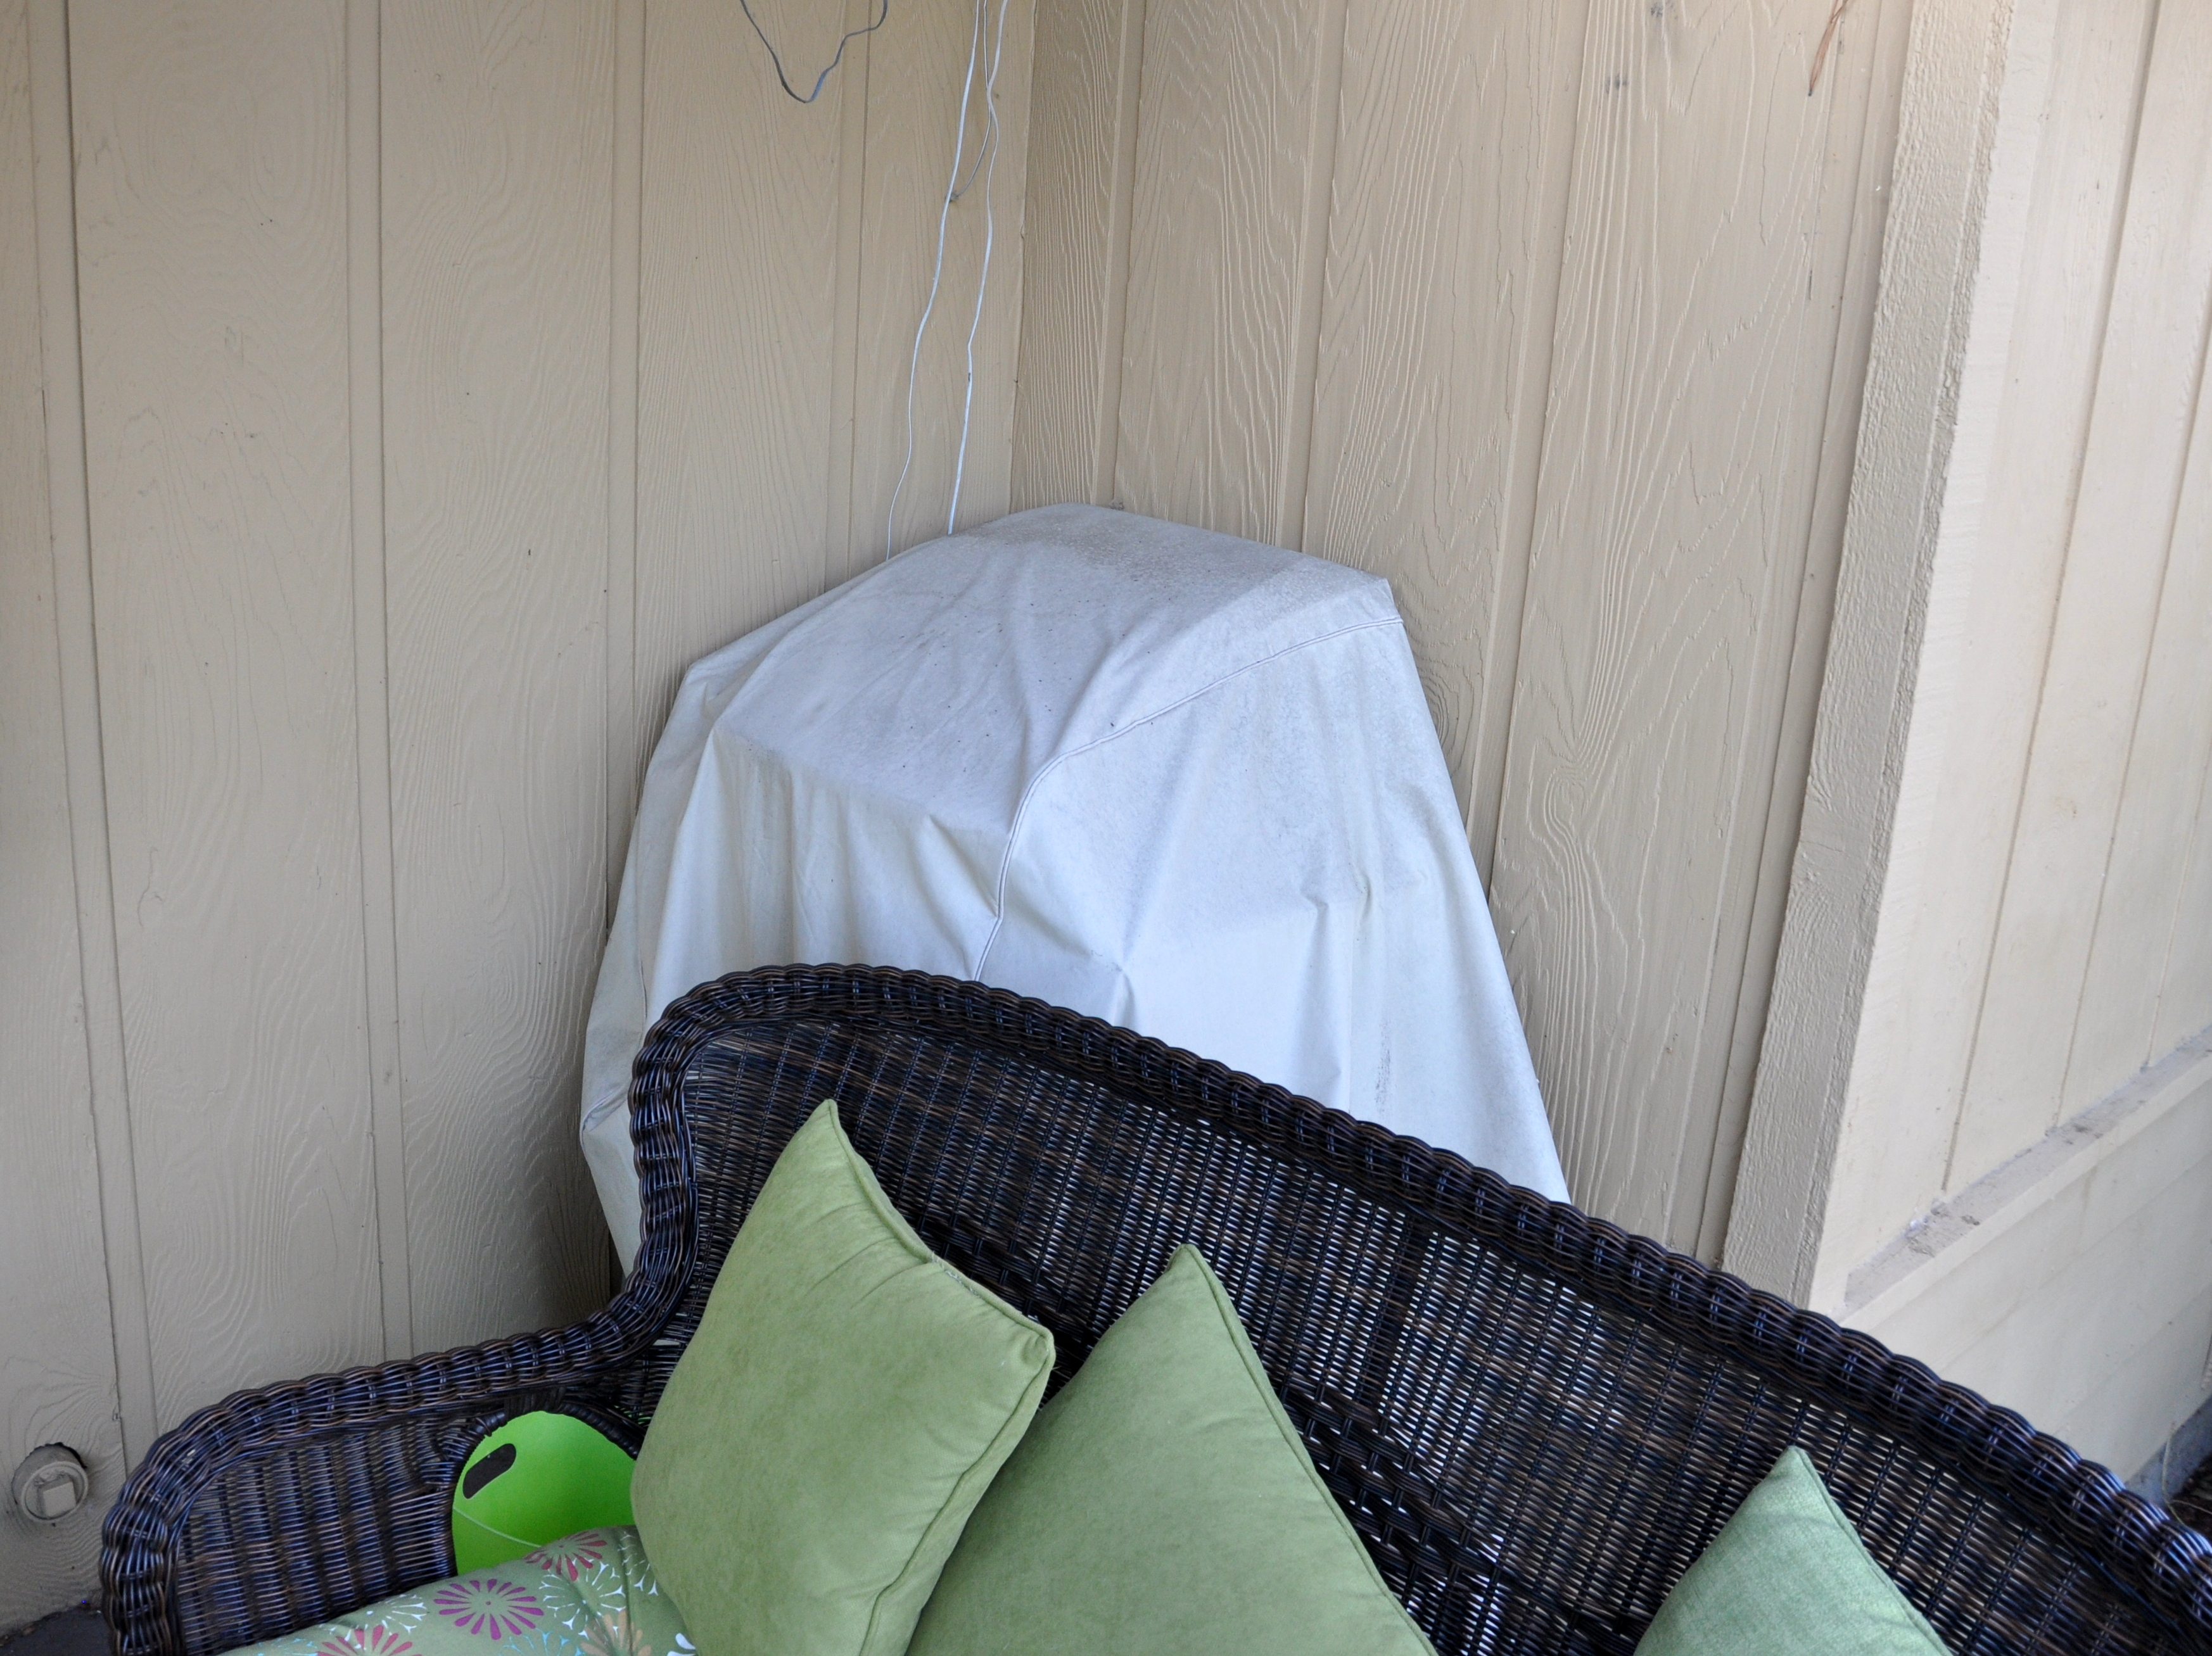
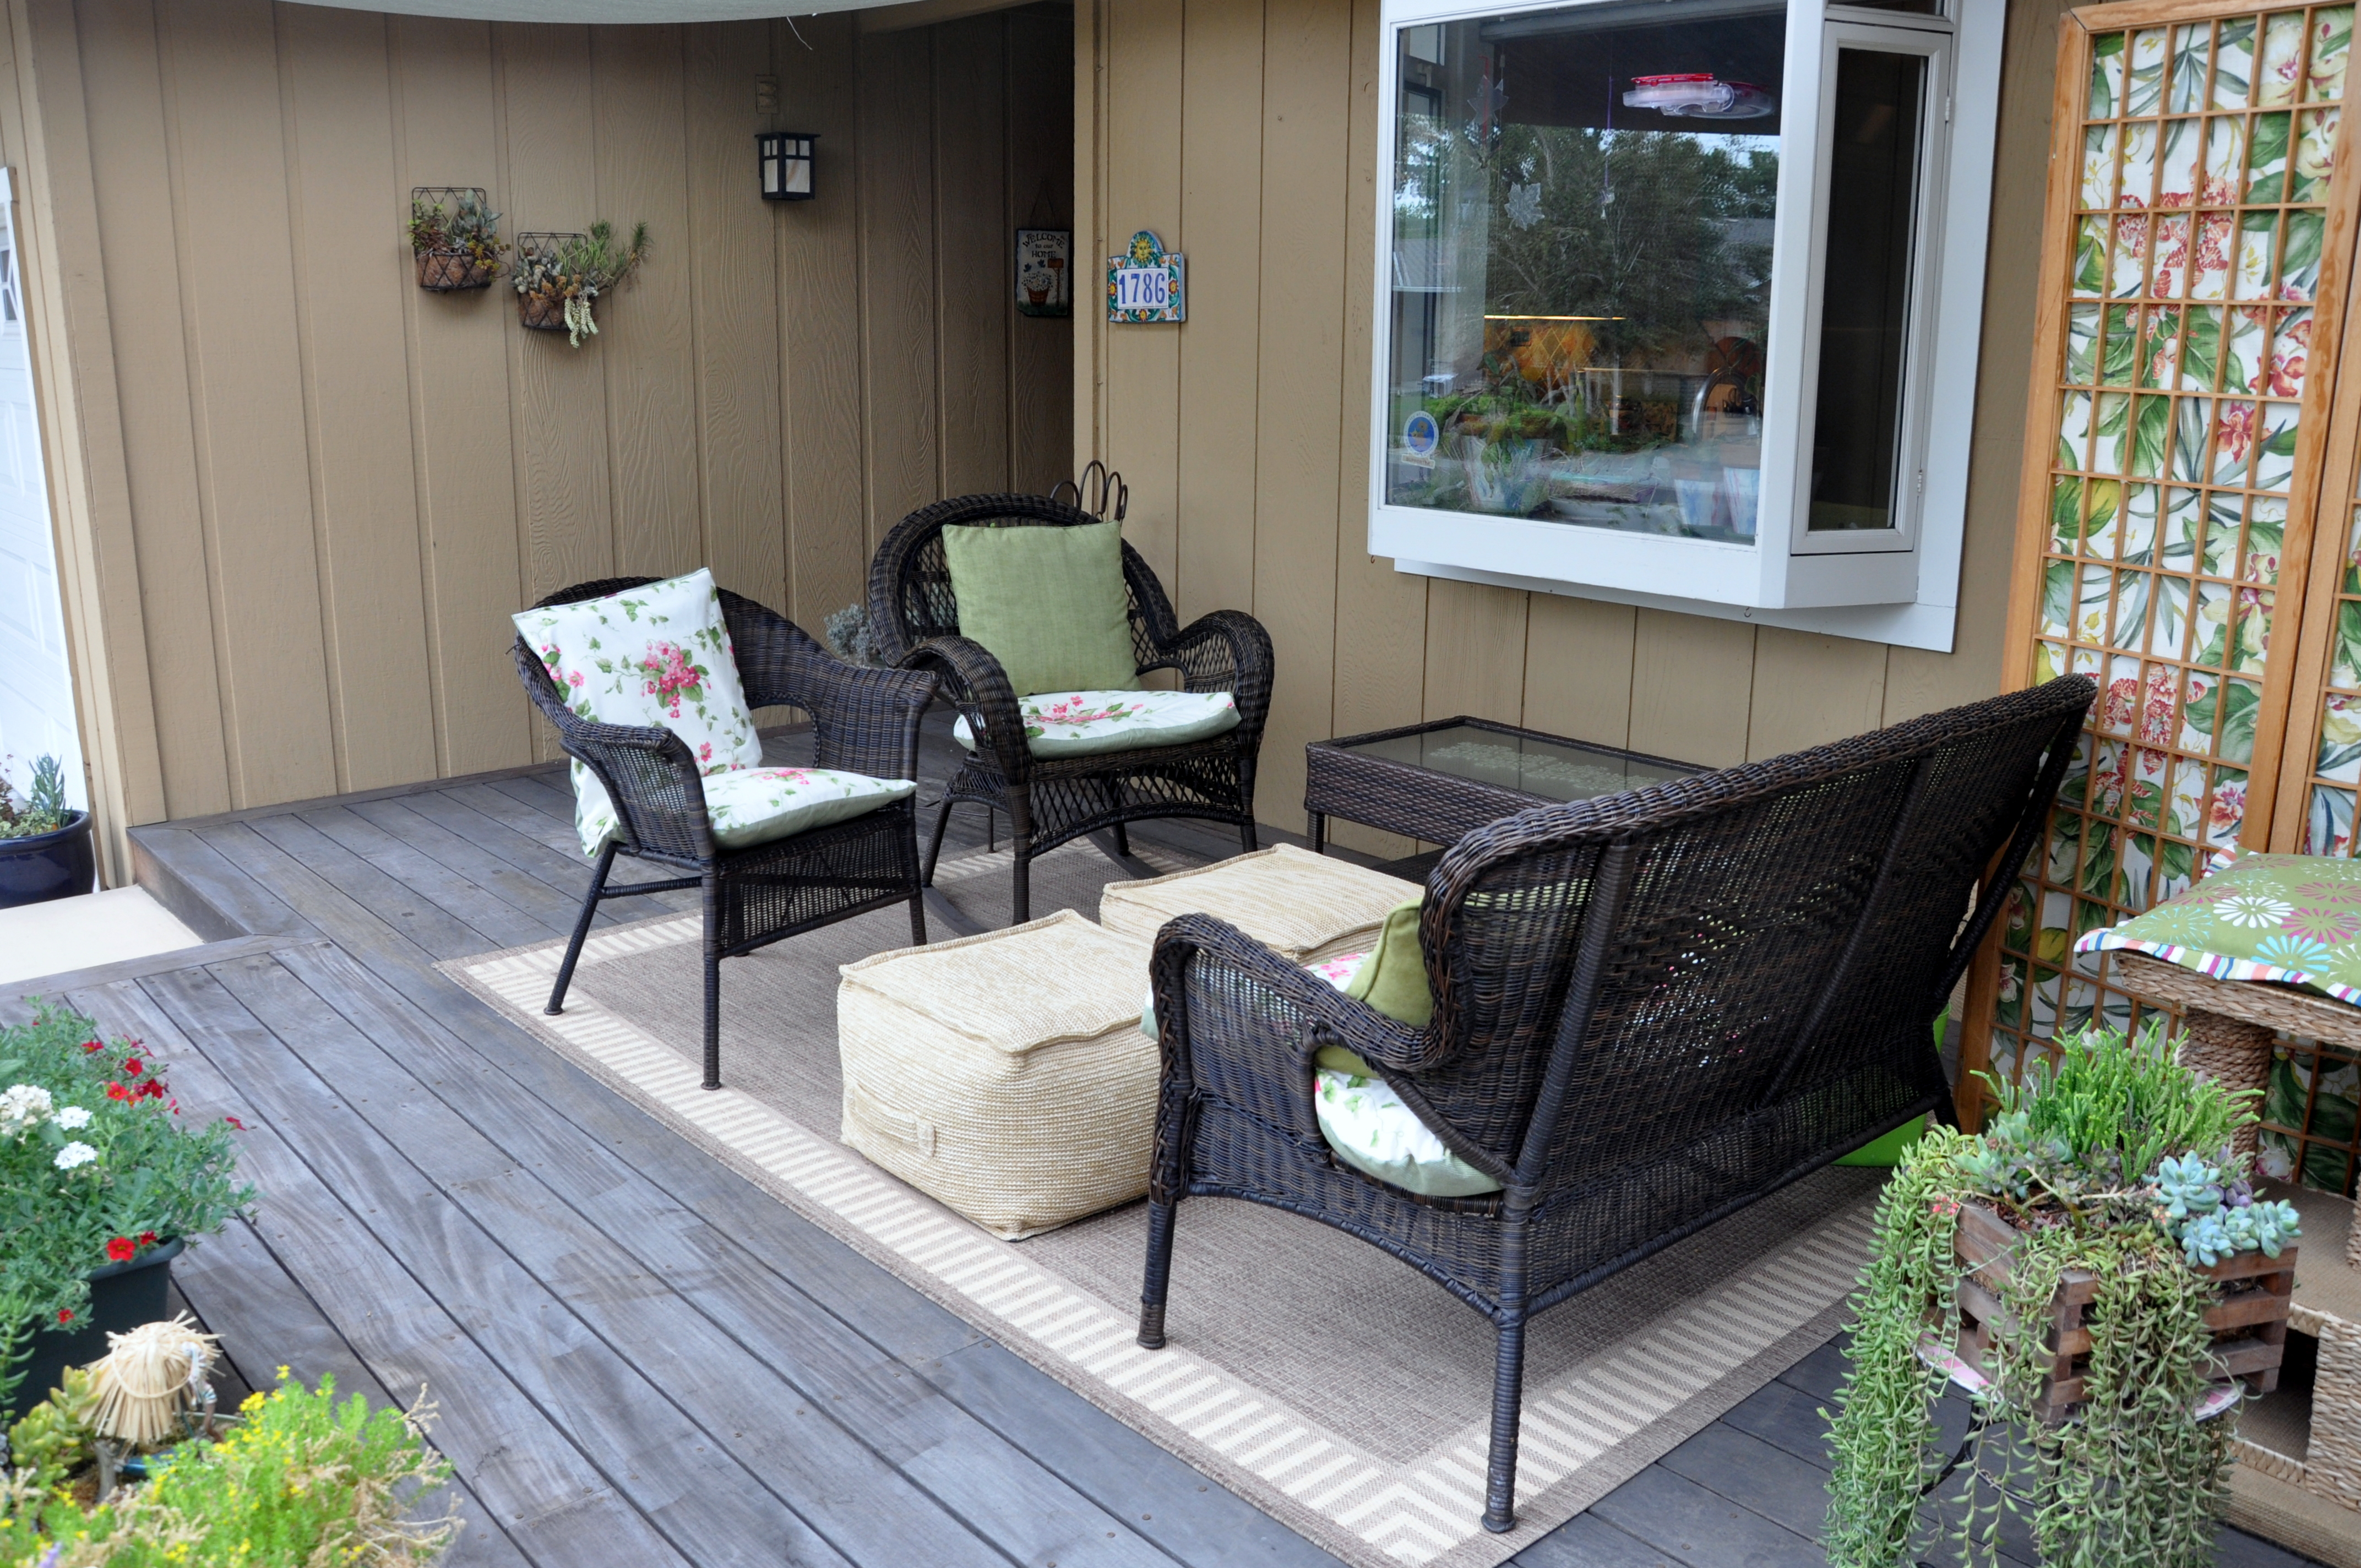
Ah, age! It doesn’t look like much of a rise, but I’m finding it increasingly difficult to get up and down from the raised planting area along the back fence. It hurts my back, or my knees or my feet. I don’t know why I didn’t think of this sooner, but I’m going to buy a few pavers to create one or two steps to make it more accessible. After these last storms I can remove the cover from the table and chairs.

Tessa loves spending time in the garden. It will be nice to have her company as I work through this 30-day challenge.

Tessa on the potting bench

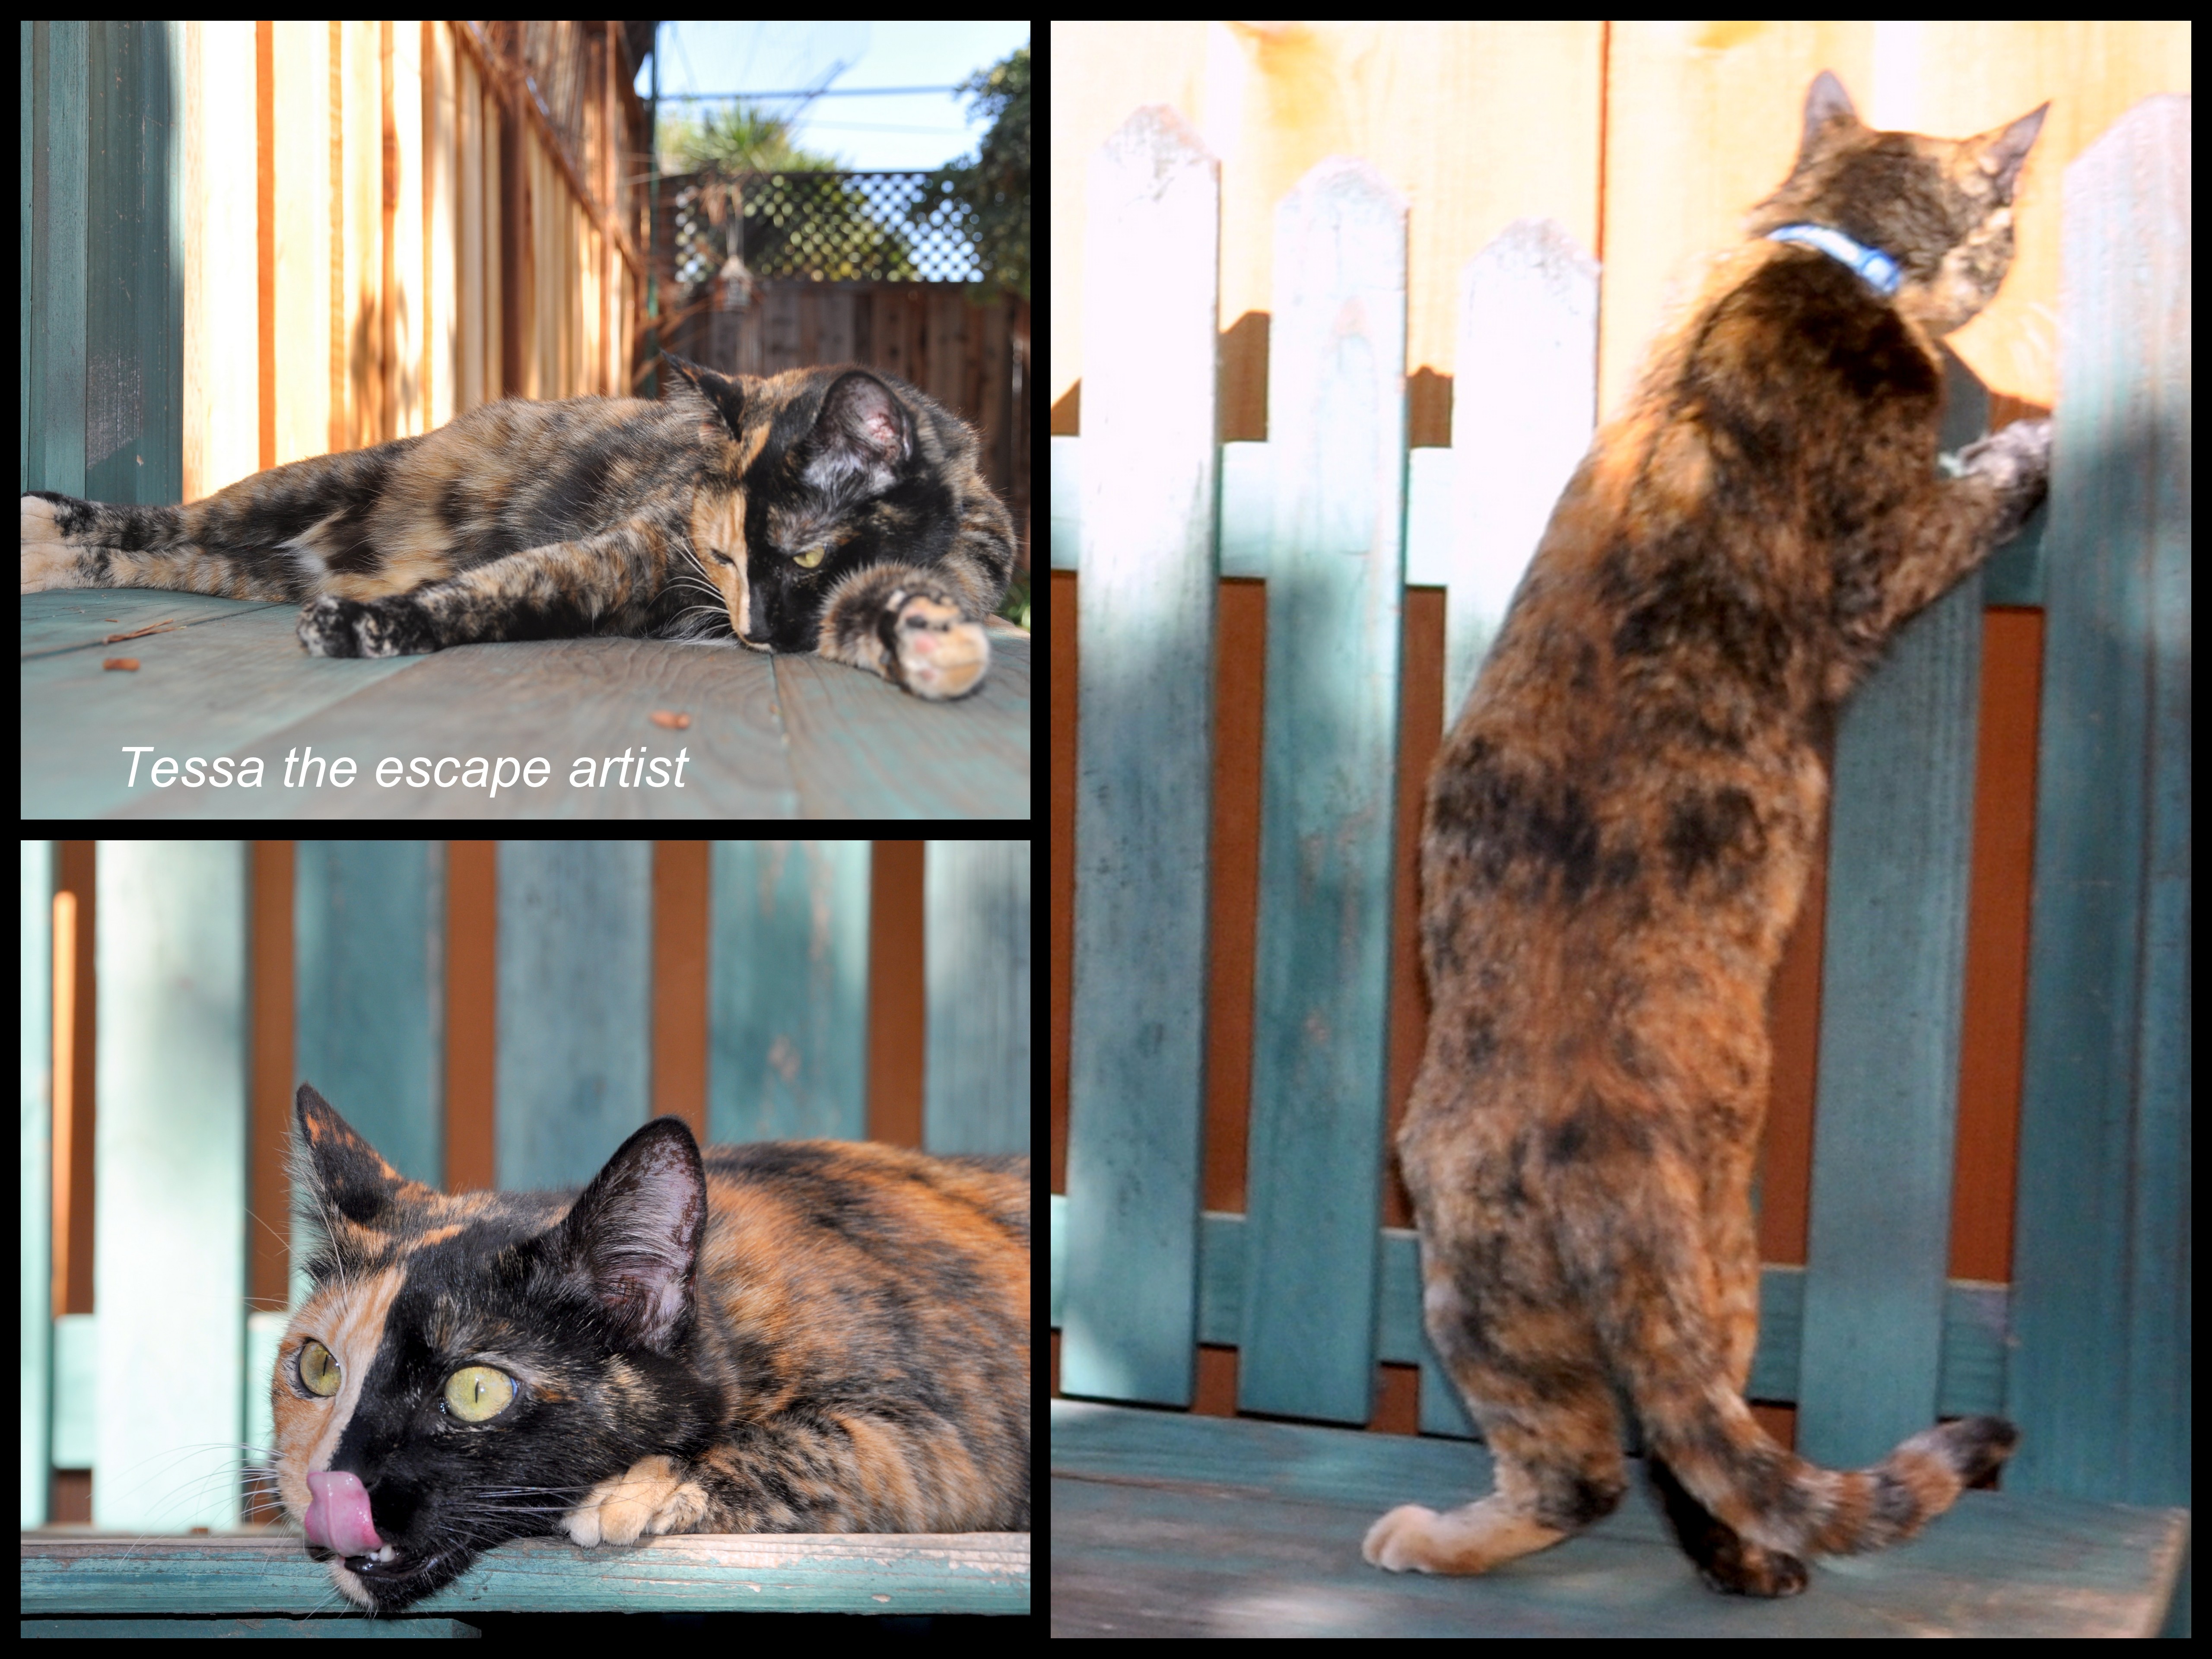
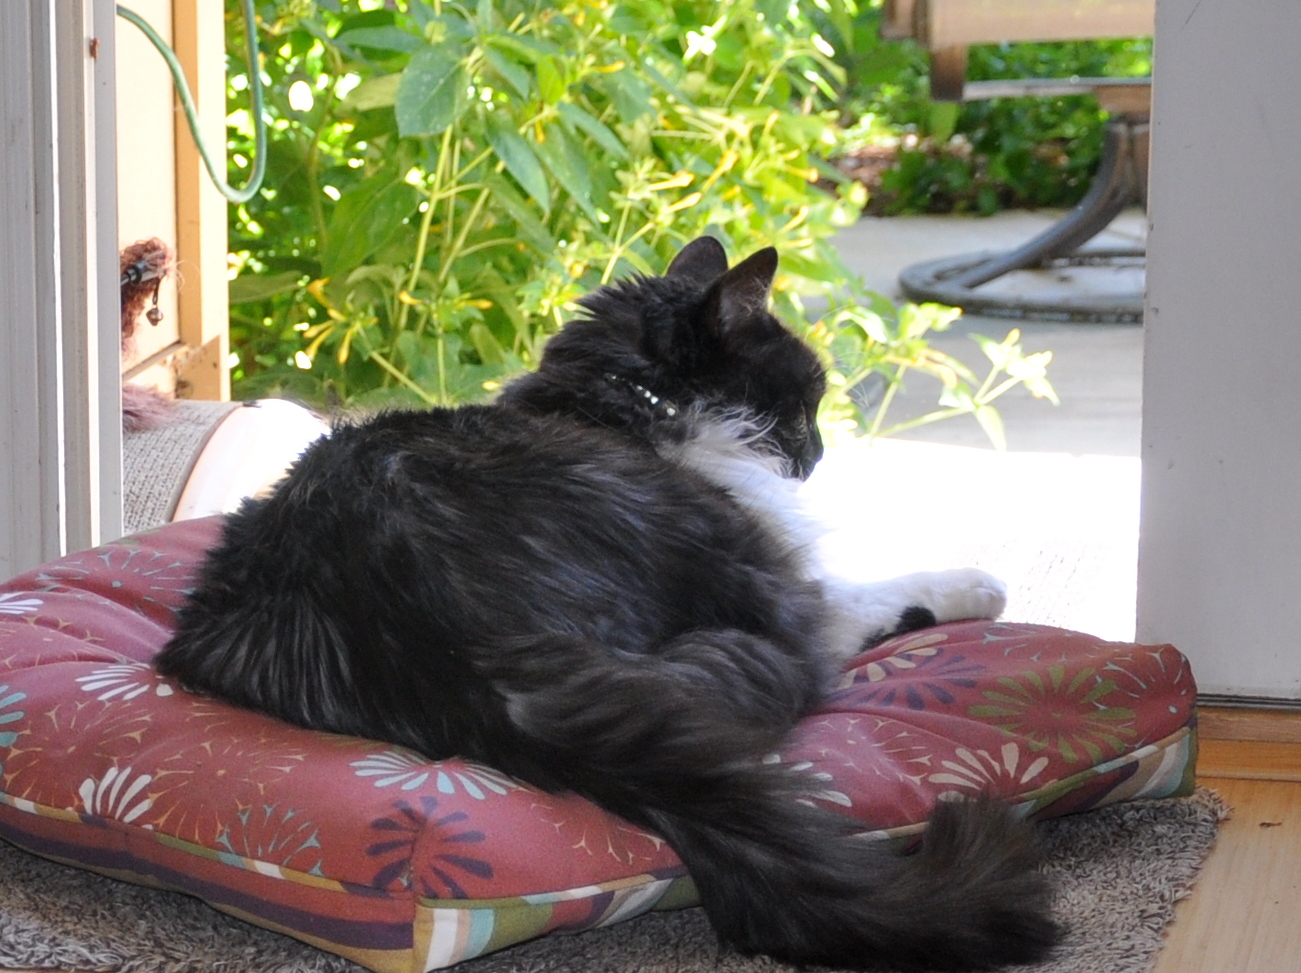
Tessa lounging and playing on the potting bench

Thank you Serena for inspiring us.

Do you have a room, patio or deck in need of some TLC?

30-Day Patio Makeover

In late June I signed up for Serena’s Thrift Diving challenge: a 30-day outdoor patio makeover. Serena hosts these challenges a few times a year. Many of her followers sign up for the fun of it and for the extra motivation that comes with a deadline.  I’m an avid follower of her down-to-earth, informative and fun blog.

Our deck needed refreshing more than a complete makeover, but I signed up for the July challenge anyway.

Deck in need of refreshing

Deck in need of refreshing

I forgot, momentarily, that I would be in Canada for nearly a third of the month, so I quickly realized that I better get to it.  It was the impetus I needed. I pulled together most of the details before boarding a plane July 18th.

I found Thrift Diving through Leilani of Keeping Up with Mrs. Smith. Serena and Leilani are DIY goddesses. I admire their skills with power tools and their can-do attitude.

Here are the results of my 30-Day Patio Revival

Goal #1: Power Wash the Deck

Believe it or not, this step was the most intimidating.  I don’t own a pressure washer, and I’d never tried using one. It’s a powerful tool requiring precautions. I borrowed a pressure washer from my friend Jasmin, then watched a couple of videos on how to use it before getting started. Comically, the hose detached at least twice, showering me with a startling blast of water before I finally got the hang of it.

My son helped me move everything off the deck, and then I got to work.

Power Washed Deck

Power Washed Deck

Mouse peruses the clean deck

Mouse peruses the clean deck

It worked so well, that I used it on the back patio, in the garage and along the driveway. I even pressure washed the table and chairs out back. They’ve never looked so good.

Pressure/Power Washing in Progress

Pressure/Power Washing in Progress

power washed patio

Clean Patio, Slinky Approved

Goal #2: Replace the Outdoor Carpet

A few years ago, I bought a light-weight area rug to go under the furniture. On the plus side, they crafted the rug from recycled materials and it was incredibly light in weight.

striped garden mat

Outdoor Rug by Gaiam

On the down side, and believe me this is a big one for me, I kept tripping over the edge. The lighter weight proved to be a major disadvantage. Even with furniture weighing it down, the edges would still lift up.  My balance is not what it used to be. It had to go.

Outdoor Area Rug

New Outdoor Area Rug

I shopped on-line for the perfect size, weight and color and found one in a neutral tone that is warmer, softer and a bit more substantial under foot. It arrived while I was away. It’s not always easy buying something like this on-line, but I’m pleased with the quality and design. The 15% off coupon was nice, too.

Goal #3: Make Slip Covers for the Patio Cushions

This is where the pressure of the 30-day challenge really came into play. I bought the fabric for new covers several months ago, then got busy with family, work and travel. The fabric sat there taunting me. I envisioned summer and fall passing me by, with that beautiful fabric remaining folded and unused.  Once I came to terms with the fact that I had to make the covers in stages, it was easier to get moving.

I set up the ironing board and ironed the fabric. Done for the day.

The ironing board in the middle of the kitchen

The ironing board in the middle of the kitchen

Then I dusted off the patio cushions and brought them inside. Done for the day.

lindy and slinky on the patio cushions

My “fancy” cutting table, also know as the living room floor. Slinky and Lindy liked the novelty of the outdoor cushions on the floor

lindy on the patio cushion

Lindy is probably wondering why I don’t just leave this cushion in the open doorway.

I worked in stages to get things done, and low and behold, I had three new slip covers.

Deck cushions squared corner

Squaring off the corner of the settee cushion

recovering deck chair cushions

I slip-covered two cushions together. I added cotton batting for softness and padding. The covers are also reversible

rocking chair recovered

Recovering the seat cushion for the rocking chair. Extra padding, squared off corners in front, and curved seams in back.

The floral print fabric was a bit more pricey, so I bought just enough for one side of the covers. I bought a less expensive, coordinating green stripe for the reverse side. I also bought extra padding to make the cushions more comfortable. (Please don’t mention this to the squirrels).

I’ve never made box corners before, but I like the way they look. I looked at a few sites, and found not only simple directions, but a blog with a sample of the same striped green fabric. What are the odds?

Goal #4: Use a Stencil

Serena uses stencils in a number of her projects. She’s a pro.

She revamped this gorgeous bathroom,

made a folding area for her laundry room,

and she even stenciled these pillows

I needed to start small, so using leftover craft paint and a $3 stencil, I added a pattern to the underside of our small patio table.

Stenciled Table

Stenciled Table: I turned the table upside down on a towel, then used my craft light so I could see in the small space.  I repeated the stencil pattern twice using craft paint on the underside of the table.

It was easy and fun, not to mention removable, if I didn’t like the results. Since I painted the underside of the table, I don’t need to worry about damaging it with use.

Goal #5: Hide the BBQ

We only use our BBQ once or twice a year, so the rest of the time it’s pushed to the corner of the deck. Even with a cover, it looks like an unwanted appliance shoved into a corner. I wanted to find a solution to mask the appearance but at the same time make it easy to get to.

BBQ on deck (before)

BBQ on deck (before)

I “borrowed” this folding screen from our garage to see if it would do the job. I like it! I plan to keep it on the deck.

BBQ after behind screen

Re-purposed folding screen hides the BBQ and a cozy cat bed

Like many things around here, this screen has had multiple uses over time. It once hid my young son’s “technology corner”, a spot in our living room where he liked to sit with his friends and his plush animals playing with his hand-held DS. Year’s later I removed the damaged paper from the screen and re-covered it with leftover fabric from my first swing cover. We used the screen in the garage for many years to mask the water heater and furnace and to discourage small hands from reaching into dangerous places. I’ve now pressed it into use on the deck.

View of the deck behind the furniture

There is a small cat bed behind the screen as well as the BBQ. I relocated this broken cat perch (it used to have a third level) from inside the house, and moved the potted succulent from the back garden to the front to fill in the space and add interest.

Impulse Purchase!

poufs

Poufs

These poufs are a complete afterthought, but one of my favorite additions. Boomdee has an aqua pouf on her deck. They’re part ottoman and part bean-bag chair. They make an easy-to-move foot rest, impromptu seating and a place to put your tray. I bought the last two at Target as they are clearing out everything for the back to school shoppers.

I sat with Mike on the deck this weekend, reading and chatting and enjoying the comfortable space. It feels good to have it pulled together once again.

Before:

deck before

Deck: Starting point

After:

deck after

Deck: After (new slip covers, new rug, stenciled table, screen to mask the BBQ, a pair of poufs and a few more plants)


deck after.JPG

Deck: After (alternate view)

Deck Garden

Deck Garden

Special thanks to Serena for inspiring us all. Have a look at Serena’s Before and After post at Thrift Diving.

Do you have a room, patio or deck in need of some TLC?

Save

Save

Save

Save

Save

Save

Save

Save