

As we head into the cooler autumn months, I’ve been reflecting on a few garden projects, notably thrifting, painting, and arranging mirrors along the corner garden fence.
I’ve hung mirrors in the garden before, and continue to enjoy the placement. (summer, 2021) Why look at a dull, brown fence when you can hang mirrors instead?

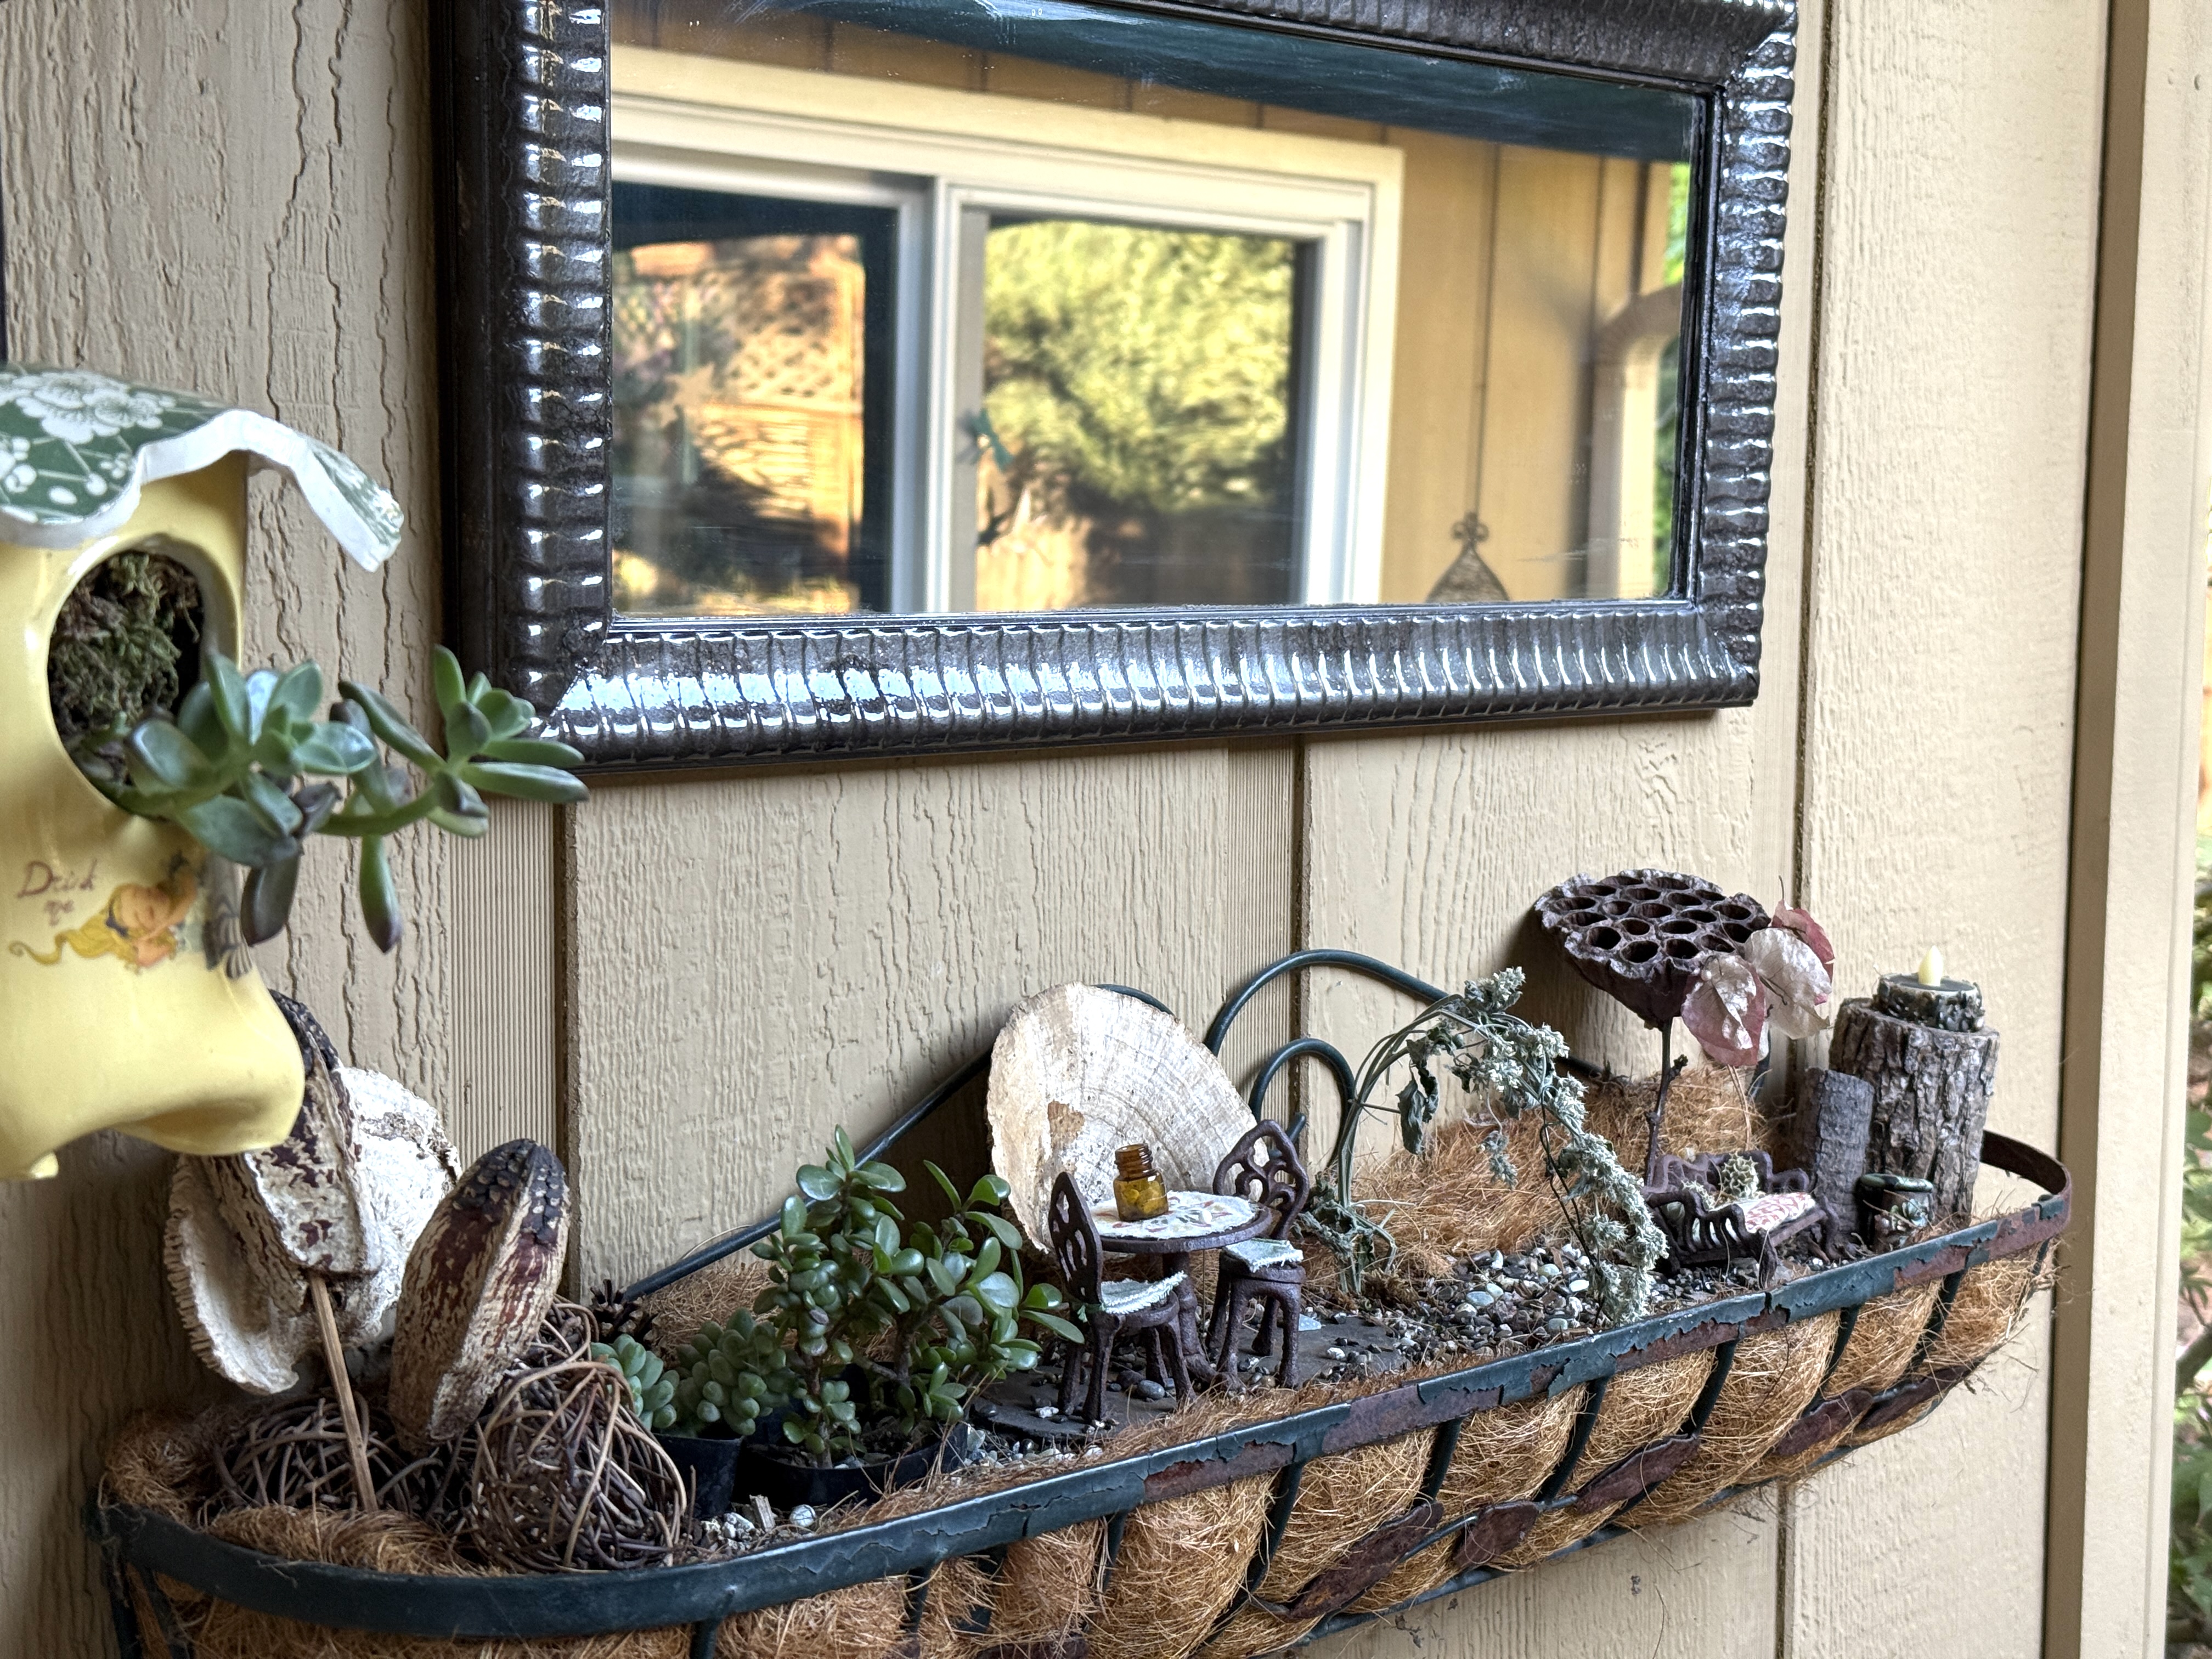
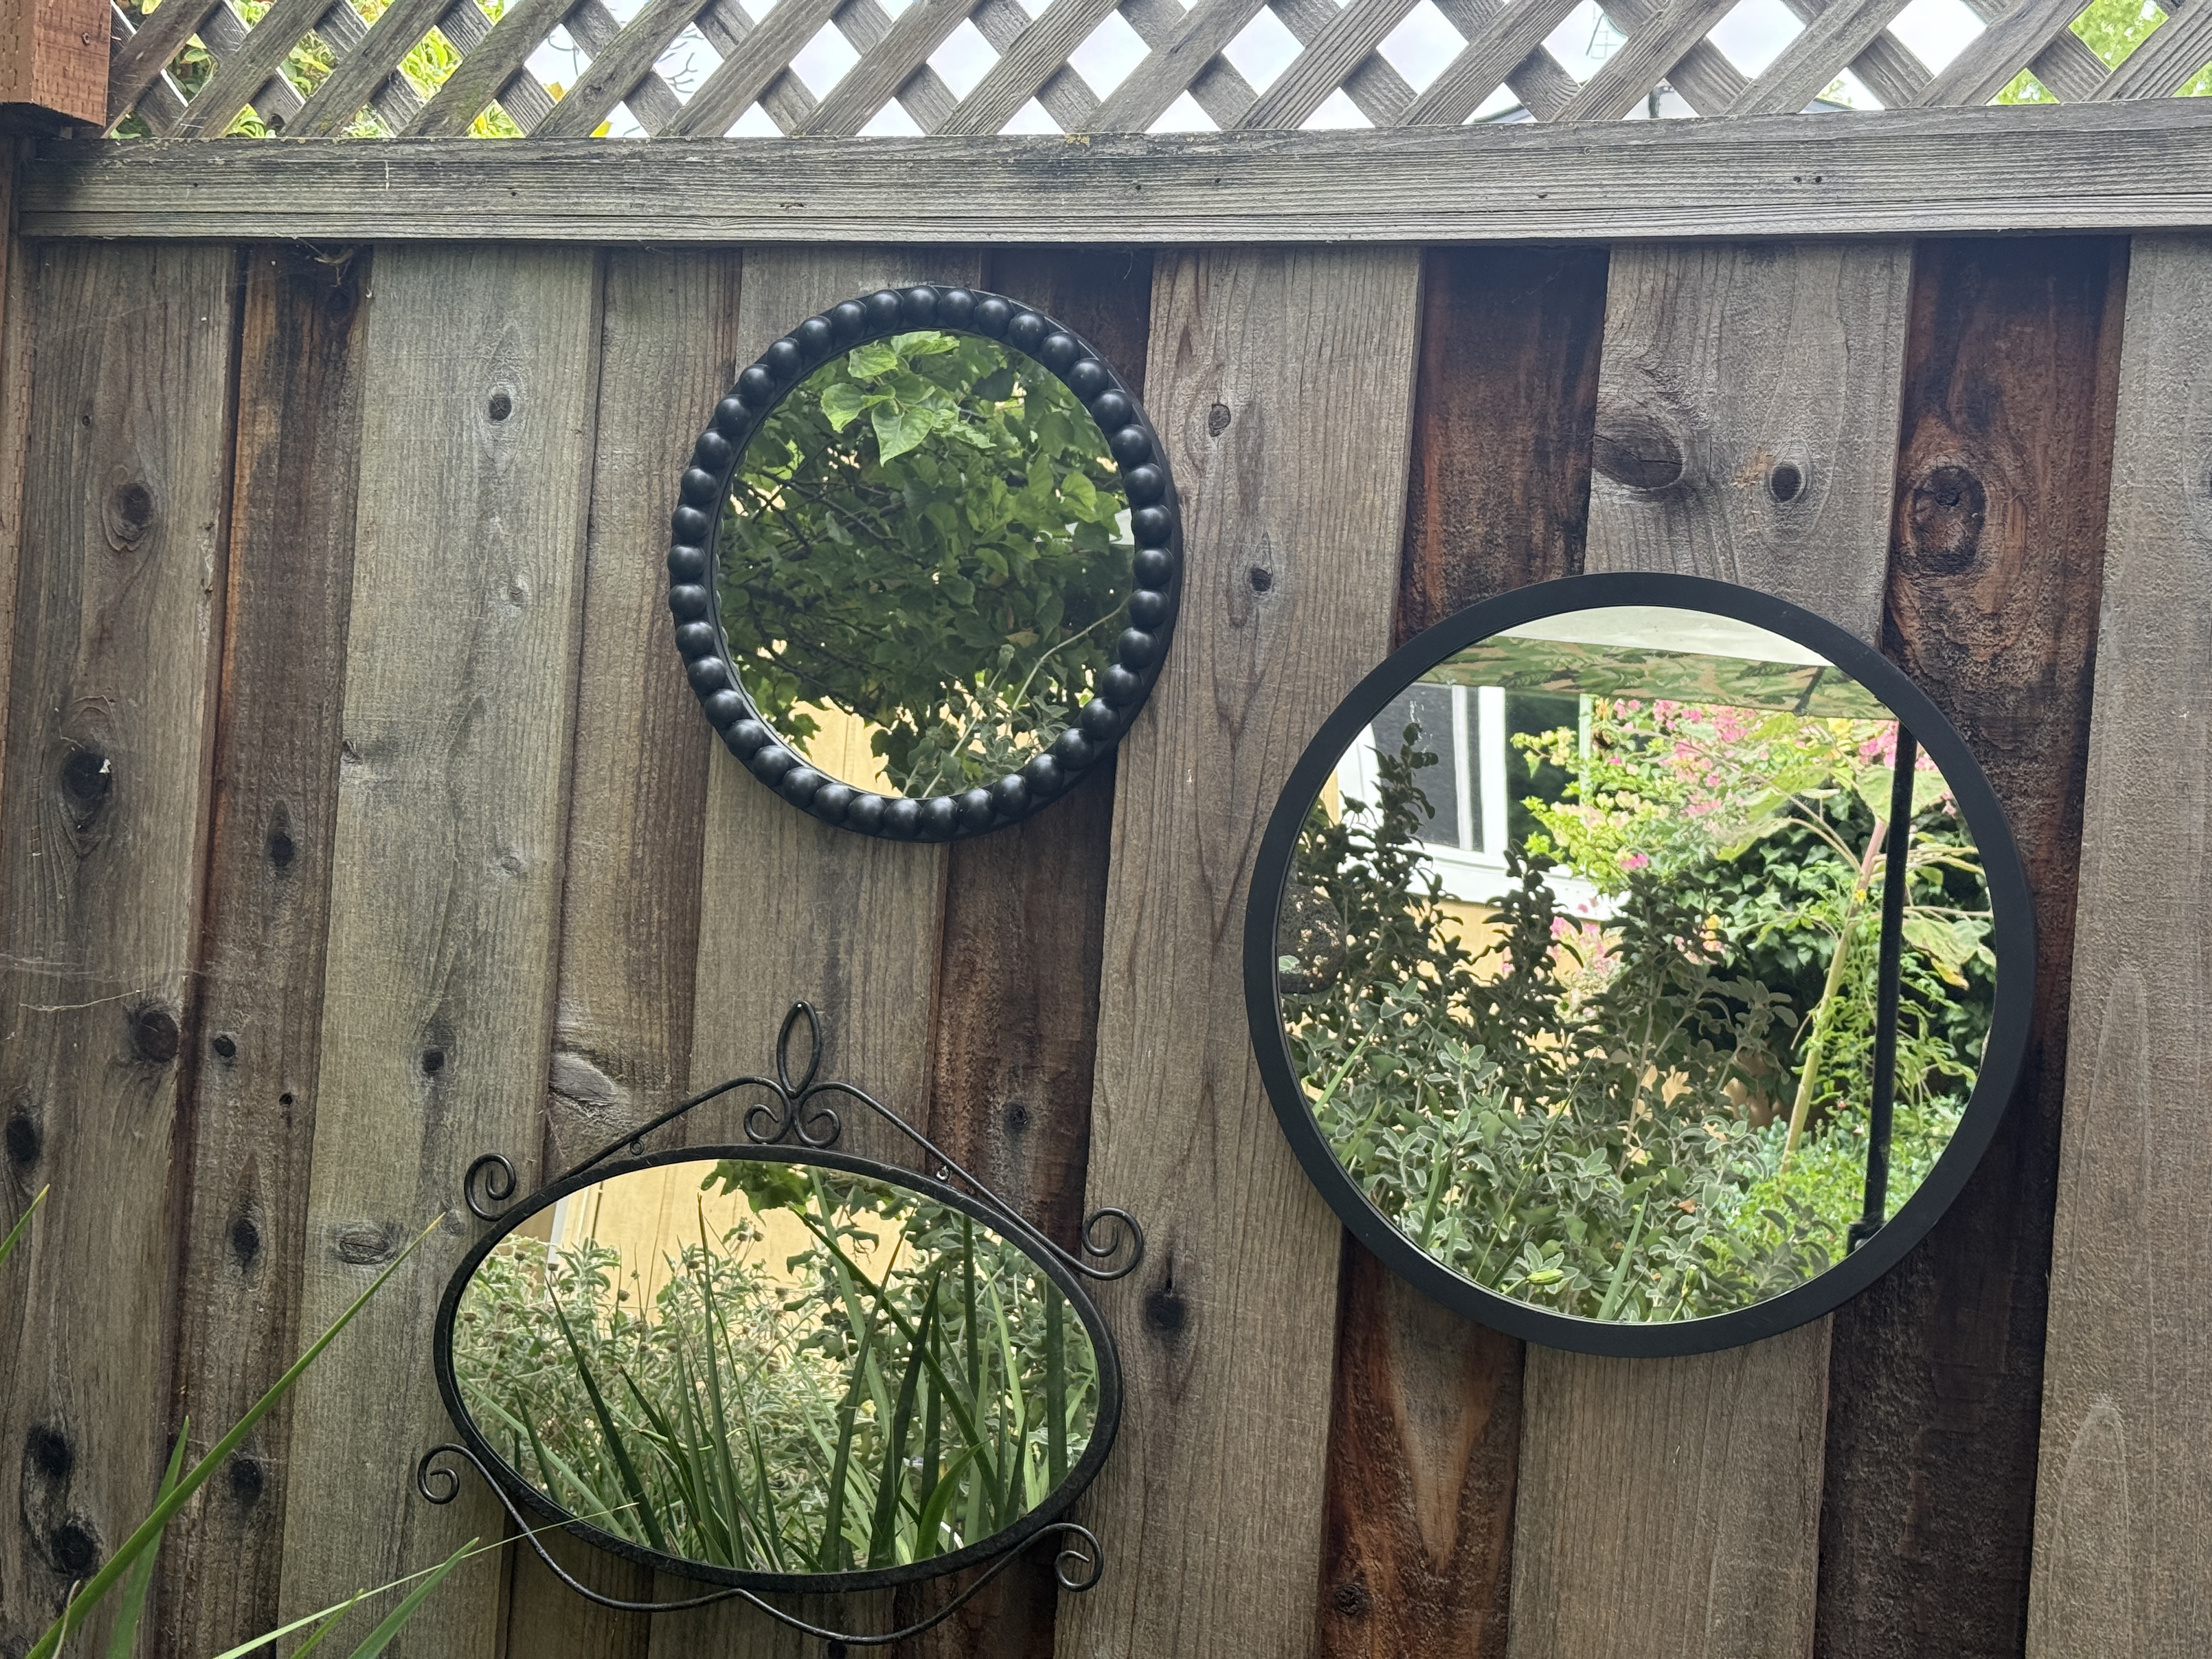
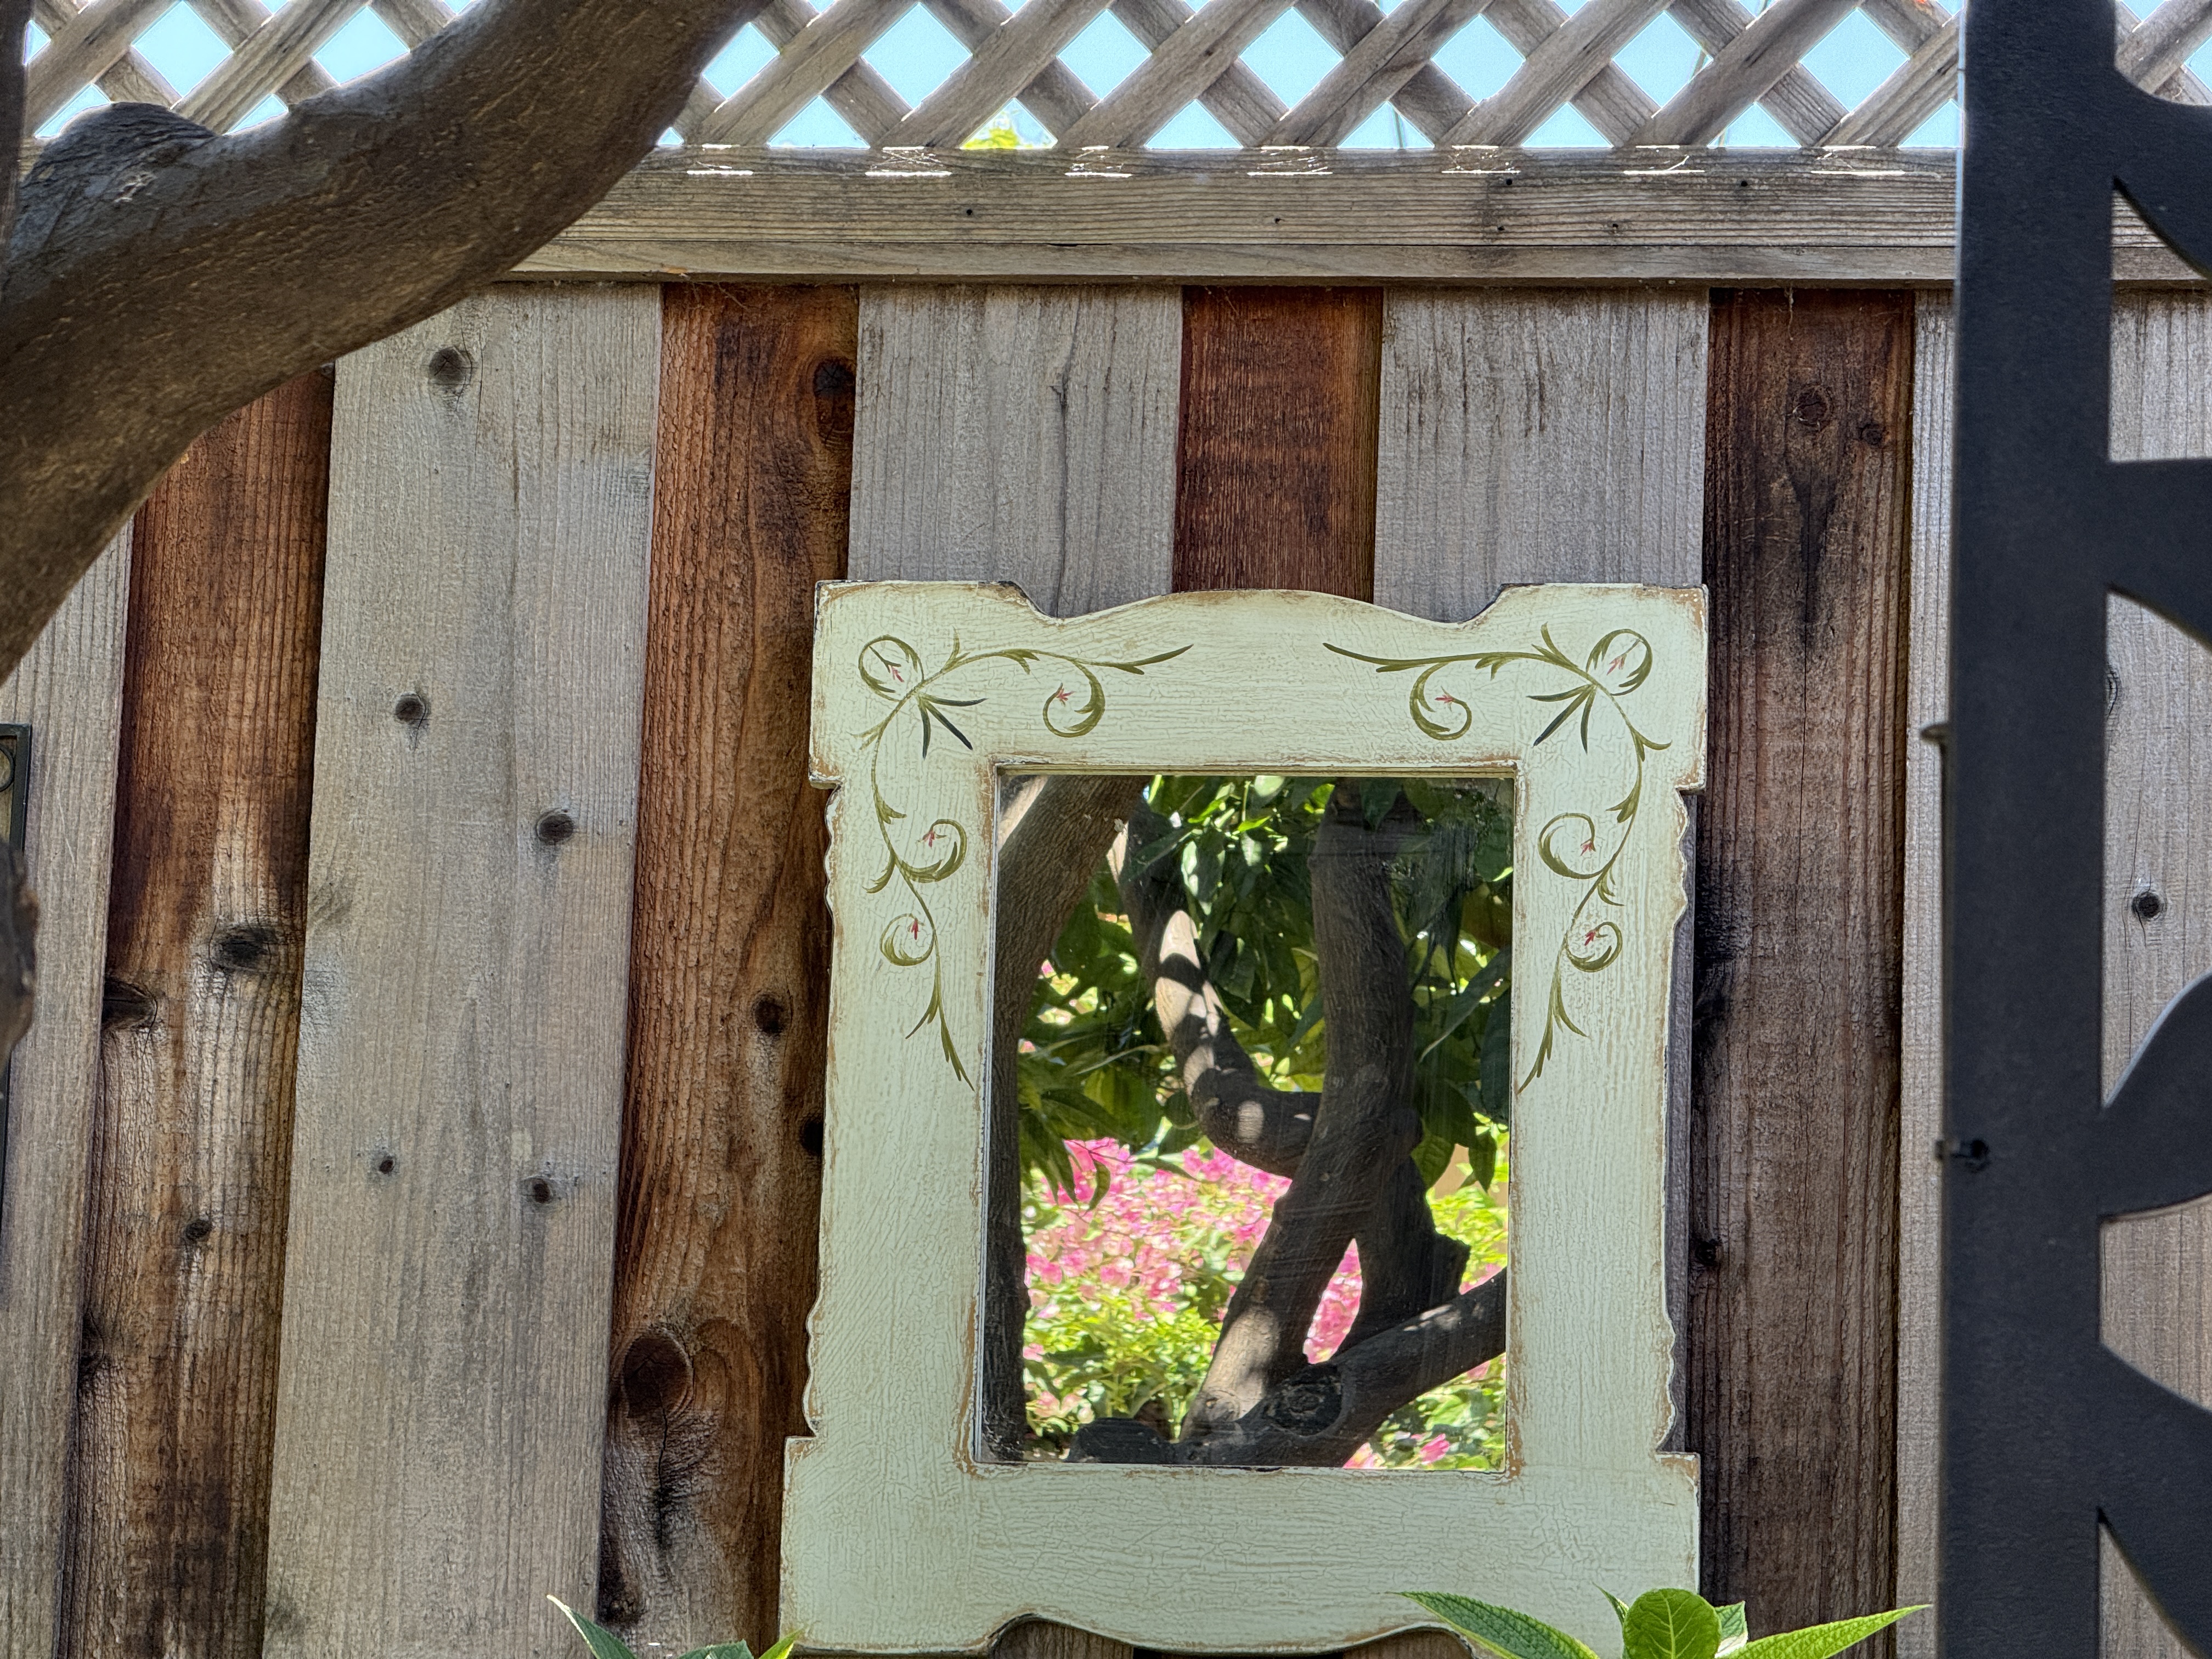
It wasn’t easy finding mirrors. I went to several thrift stores before my luck changed, and I found four mirrors at one of our local Goodwill Industries shops. Three of the mirrors had black frames, and the fourth was a shiny silver. I painted it a warmer color and hung it above my wall-mounted fairy garden.


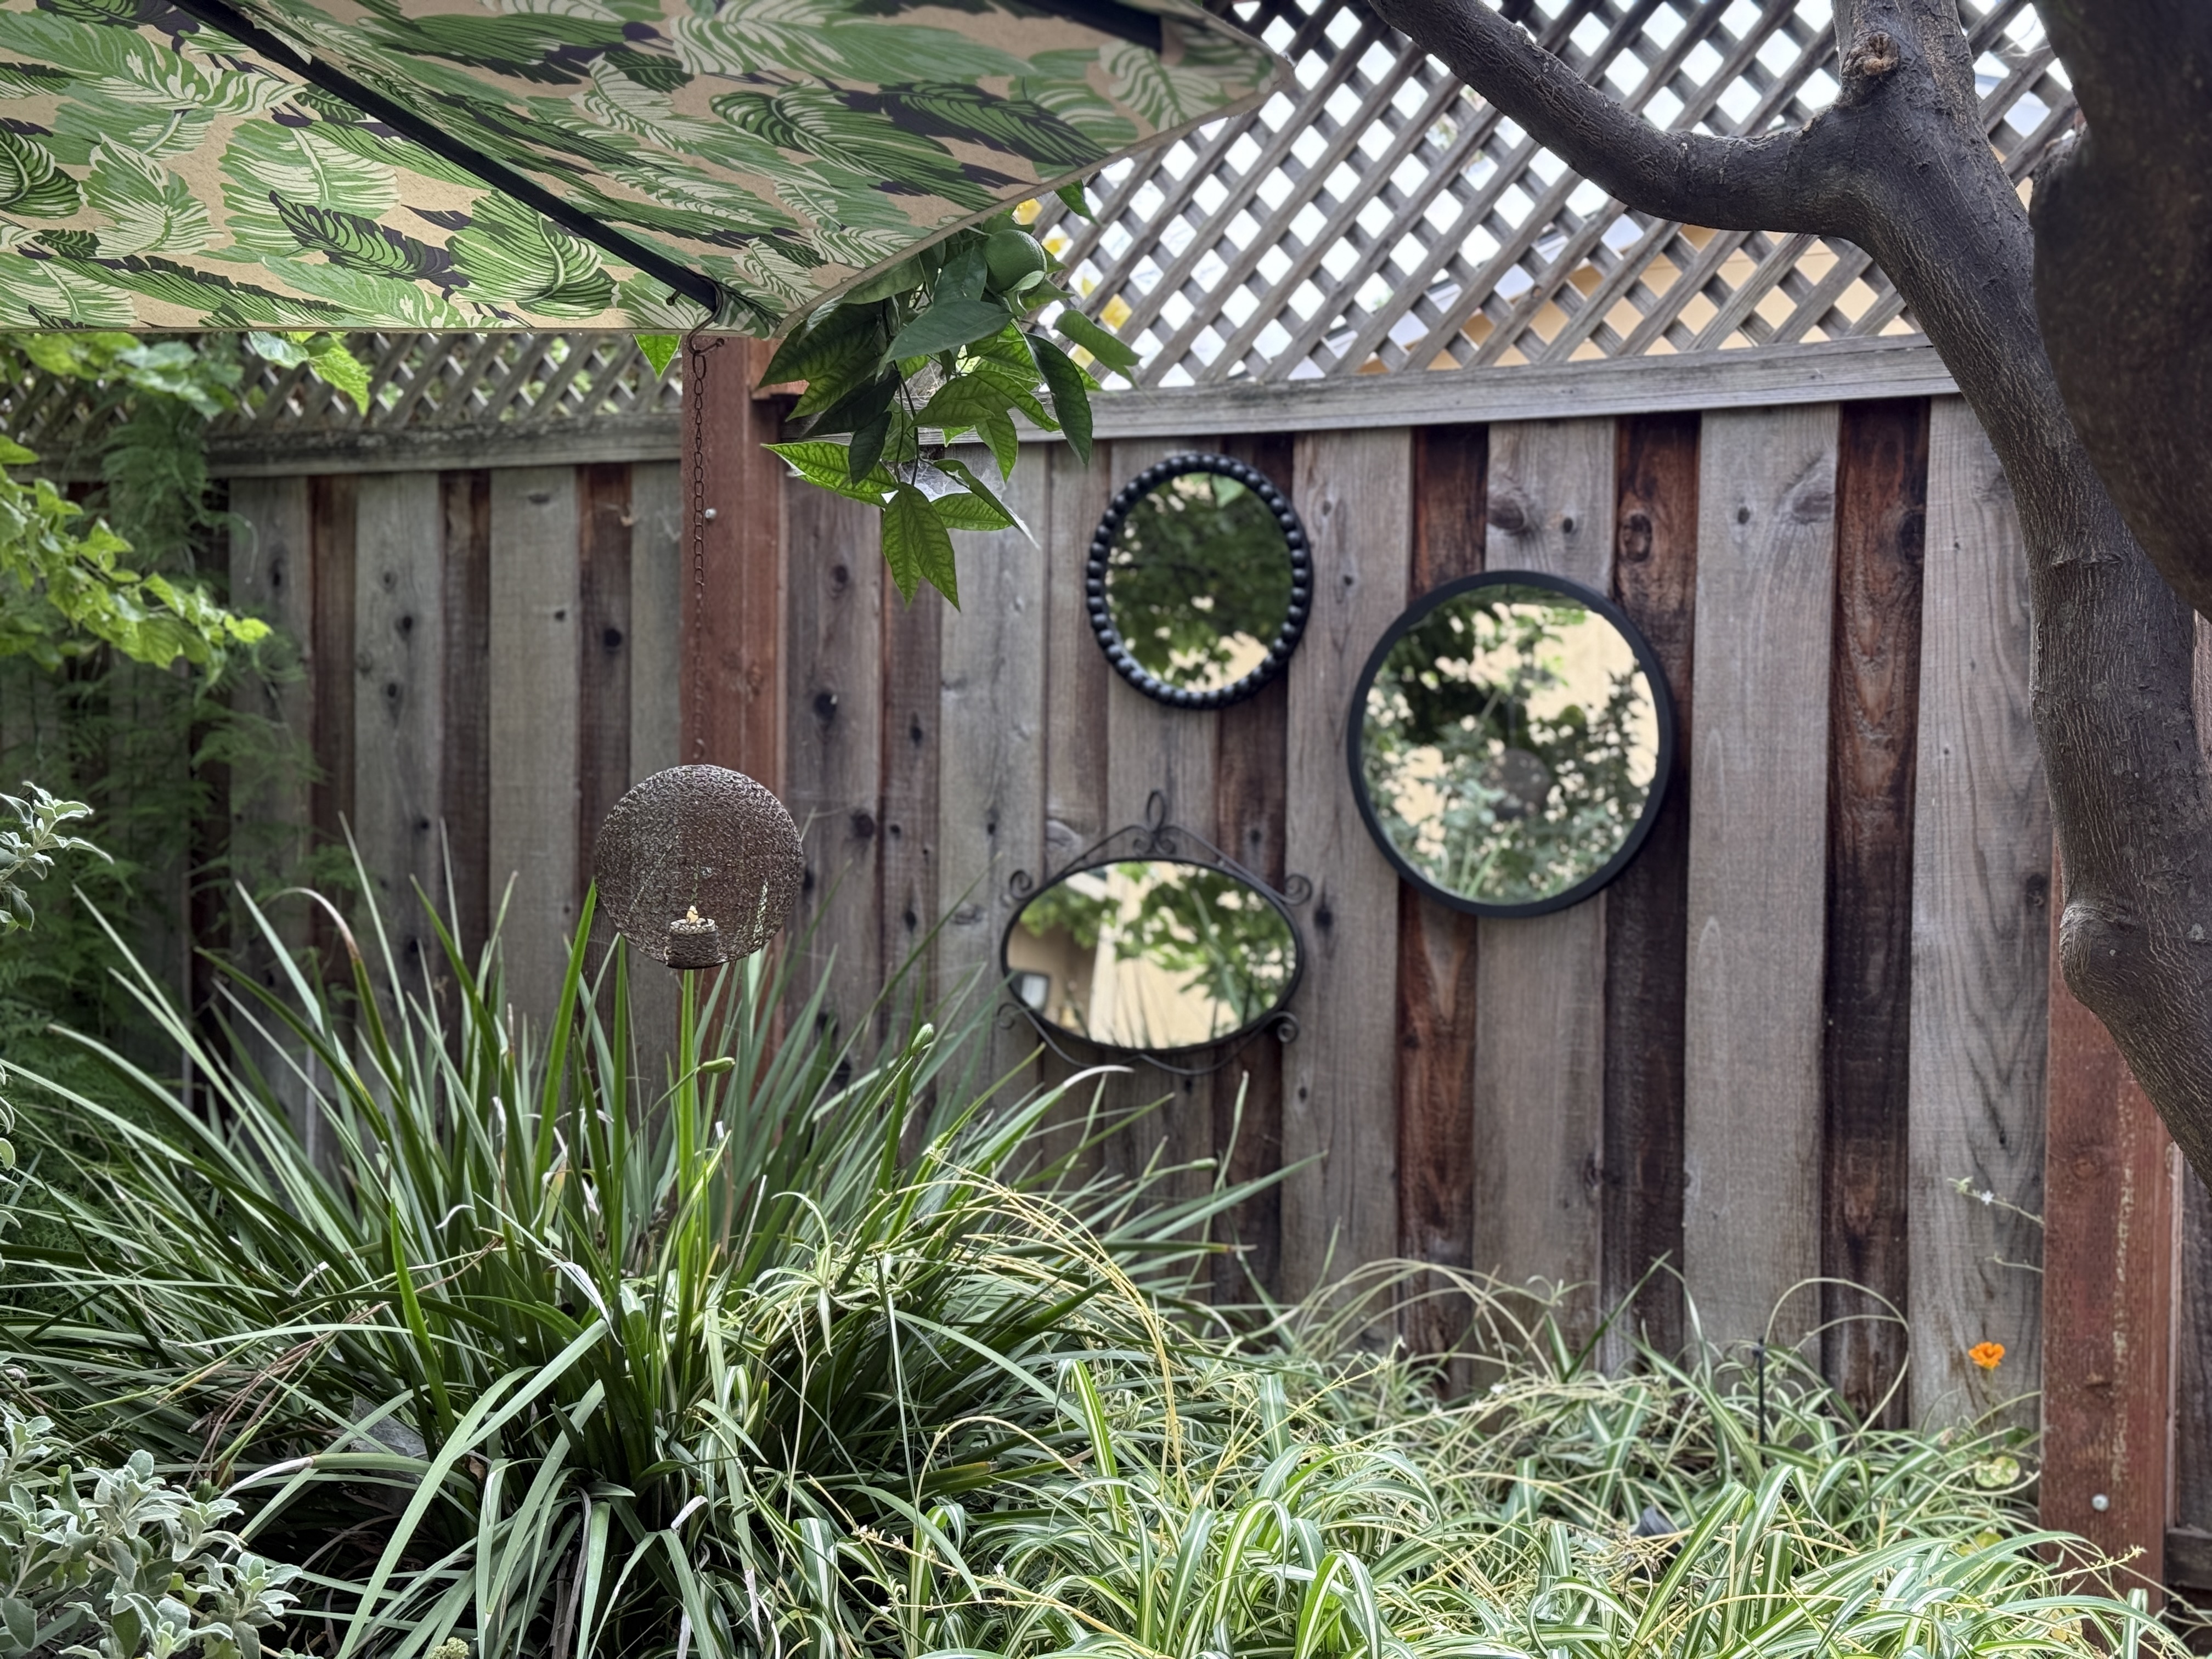
I hung the remaining three mirrors on the fence under the tree, only to realize I needed a few more to fill the space. Eventually, I found enough mirrors to fit the bill, and I’m pleased with the extra light and reflection they bring to that corner.

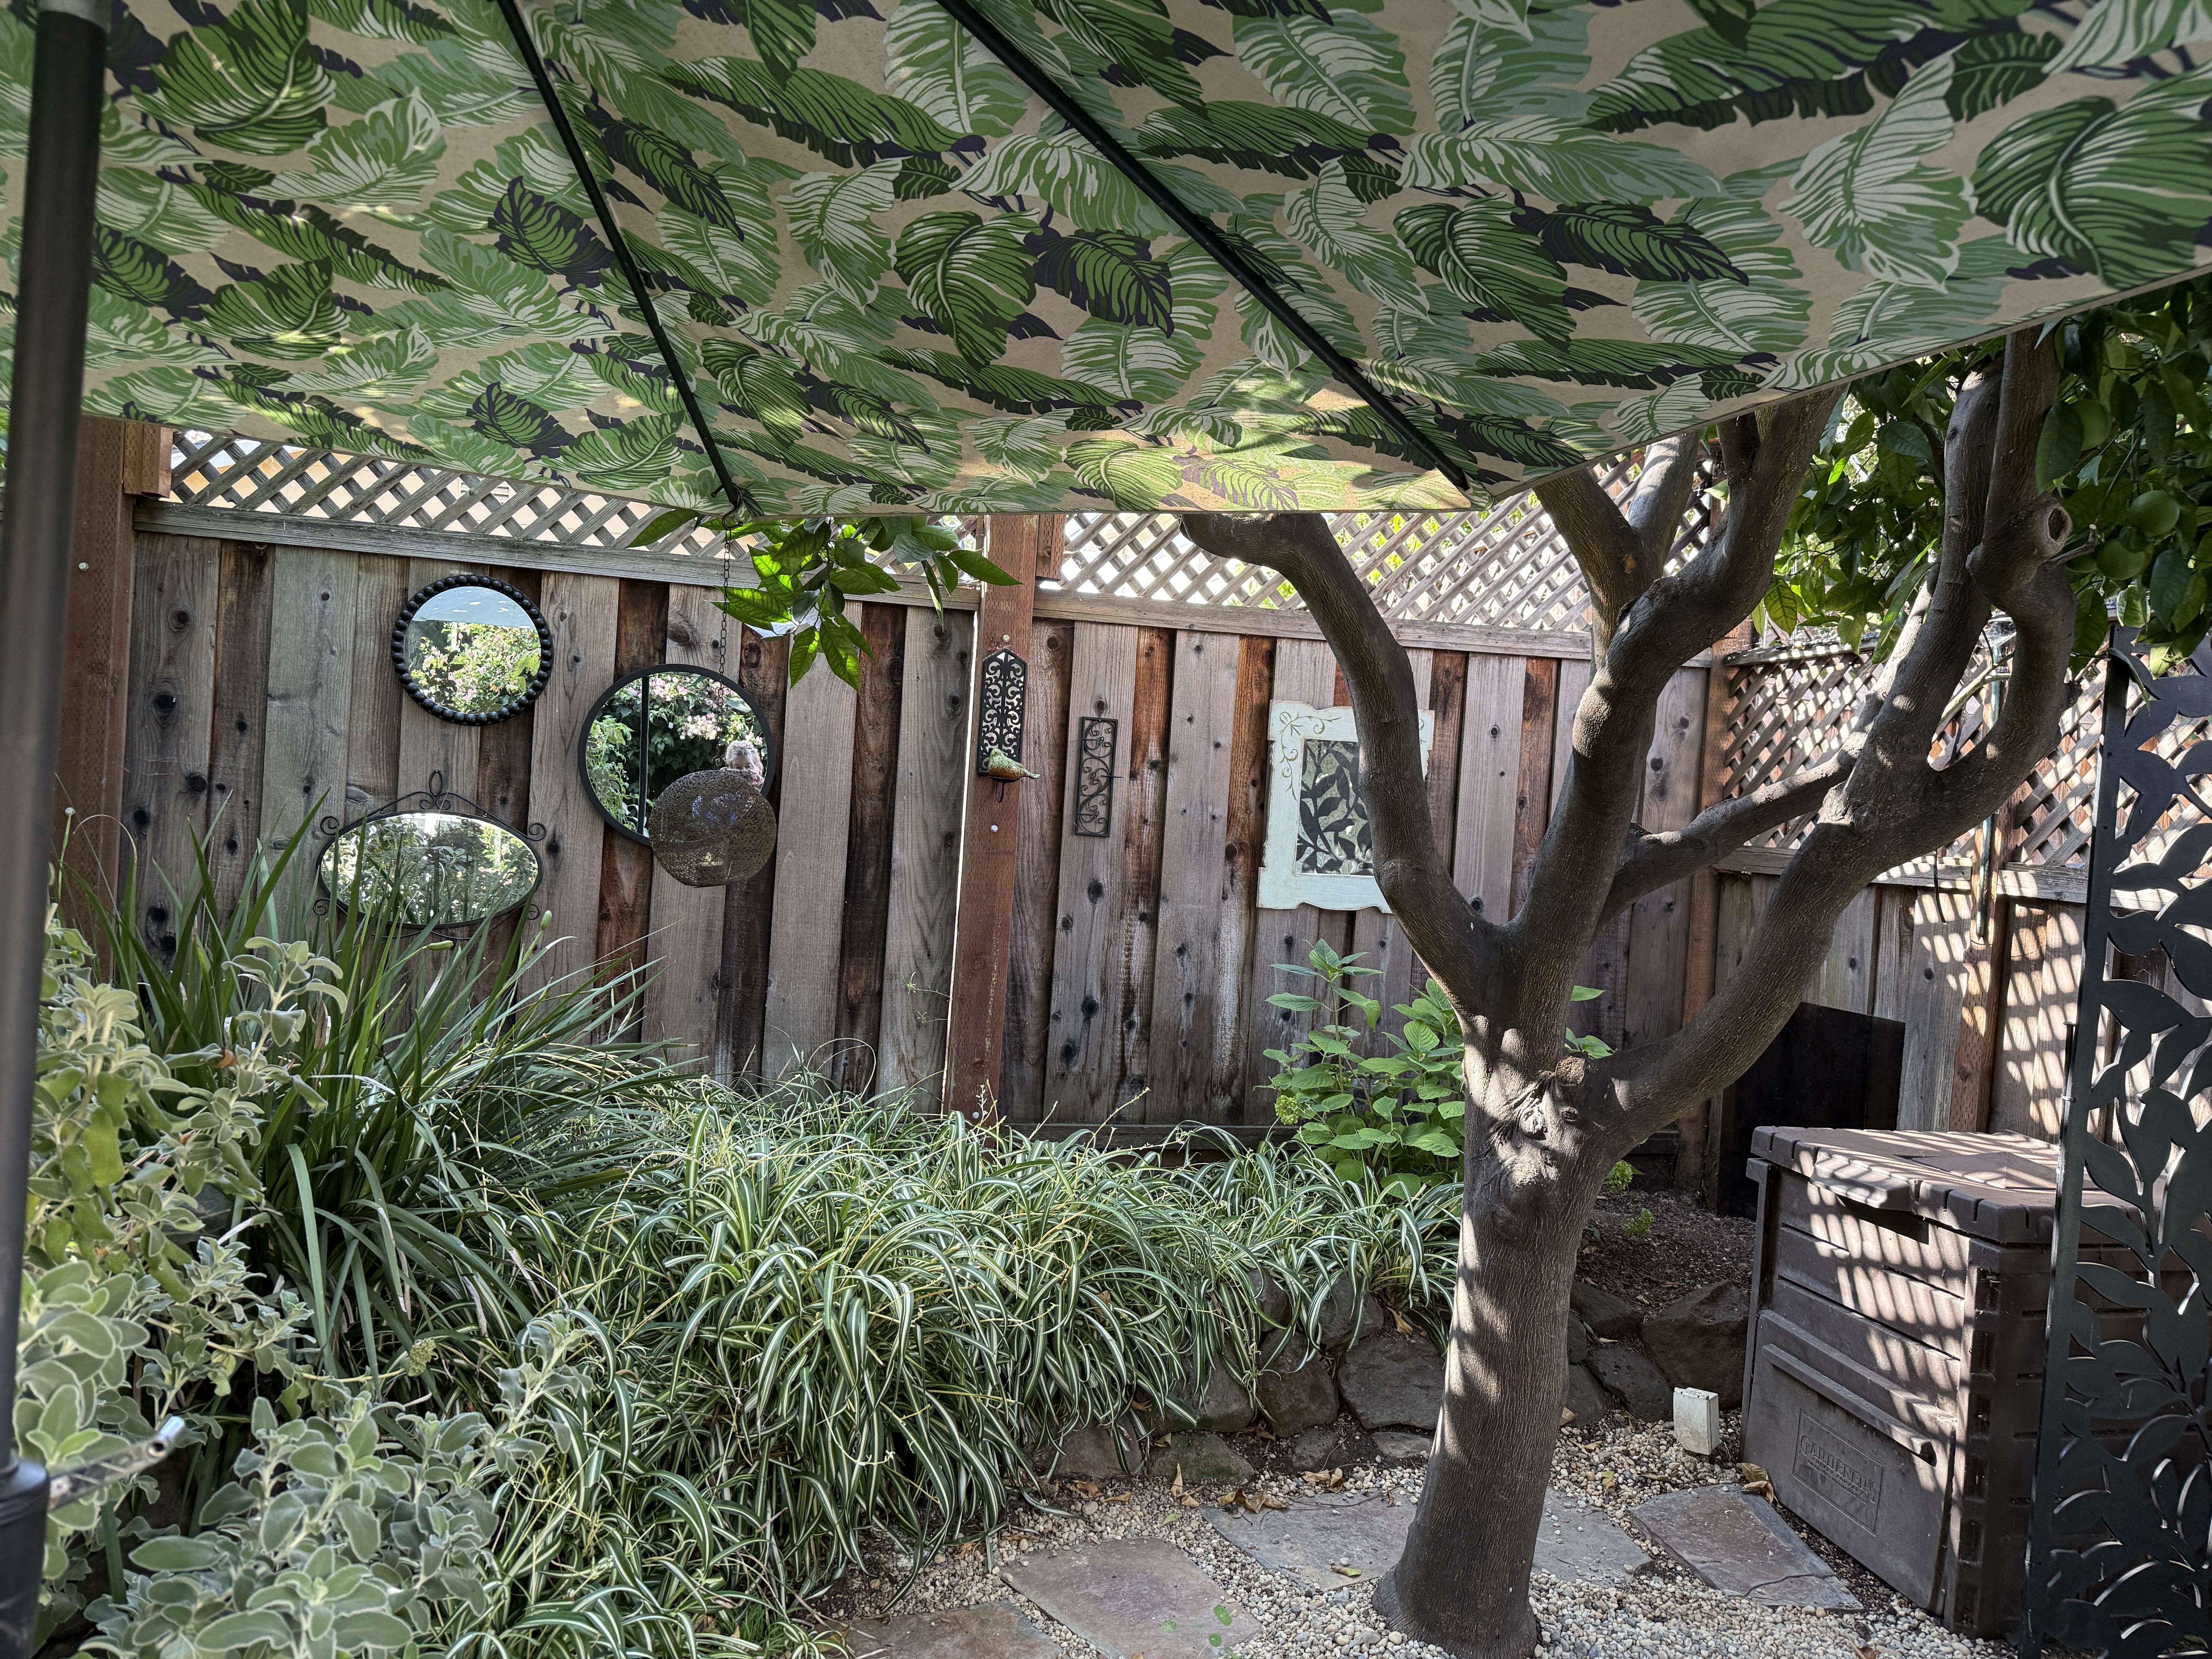
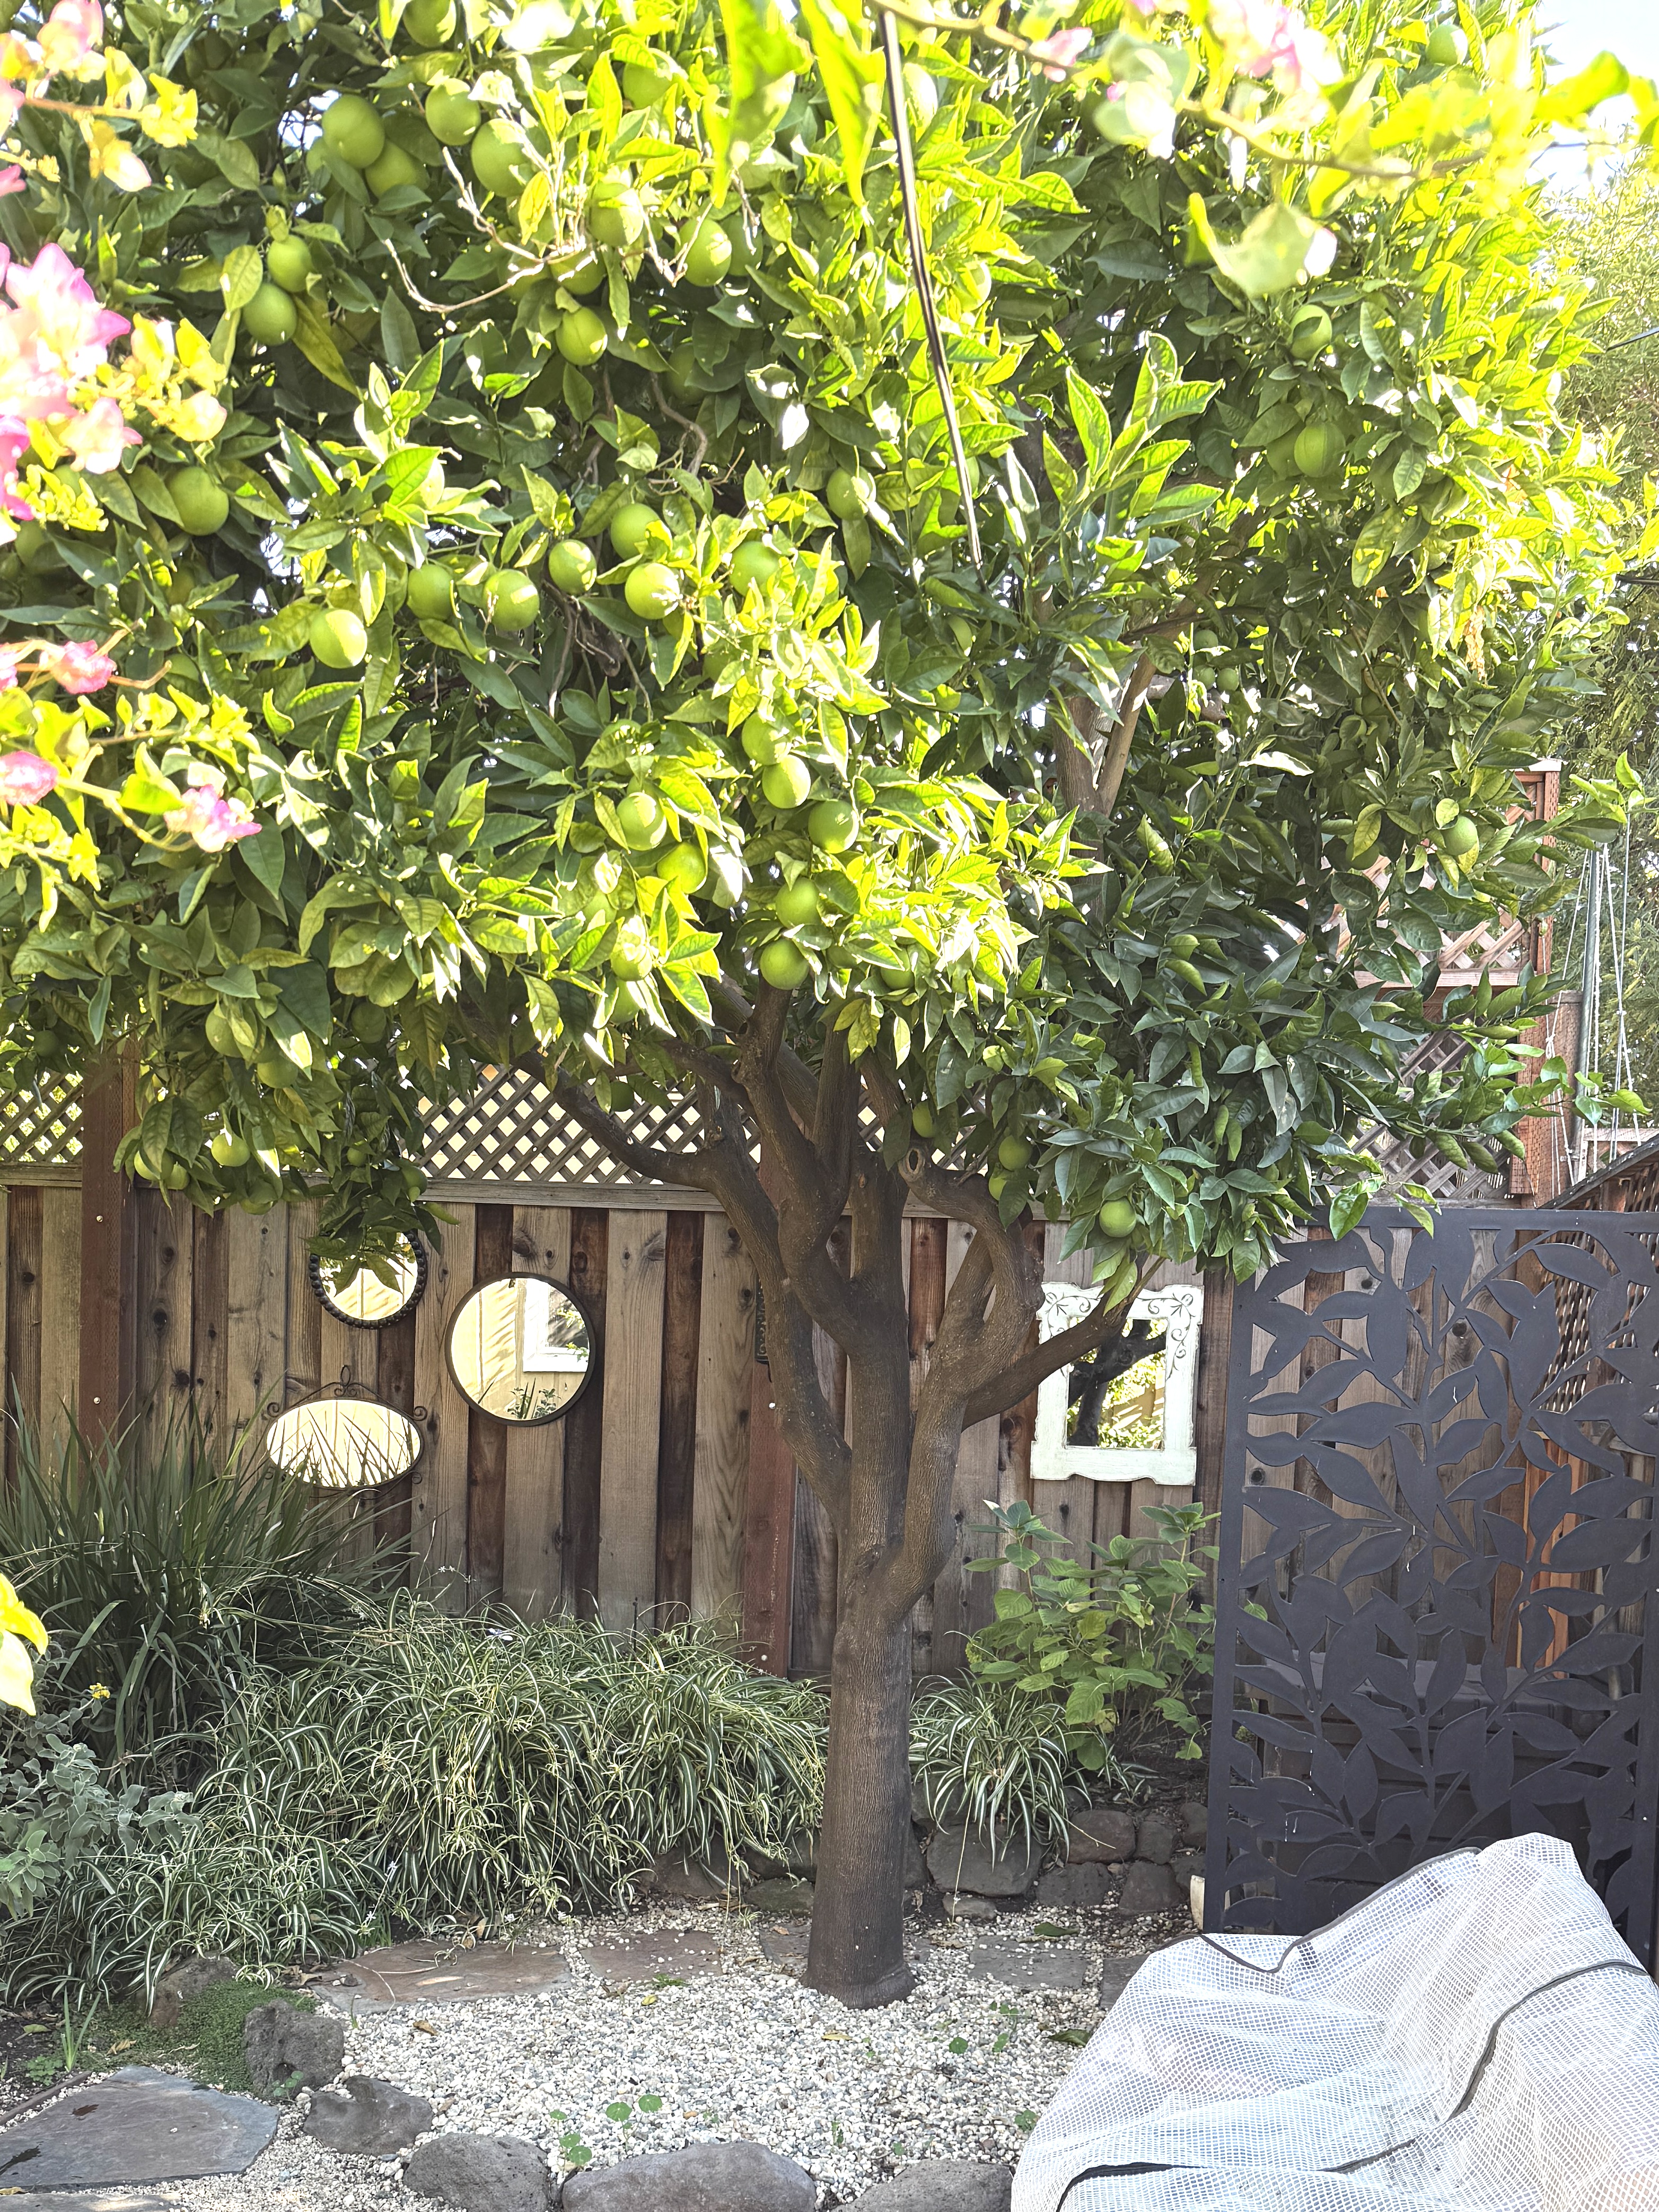
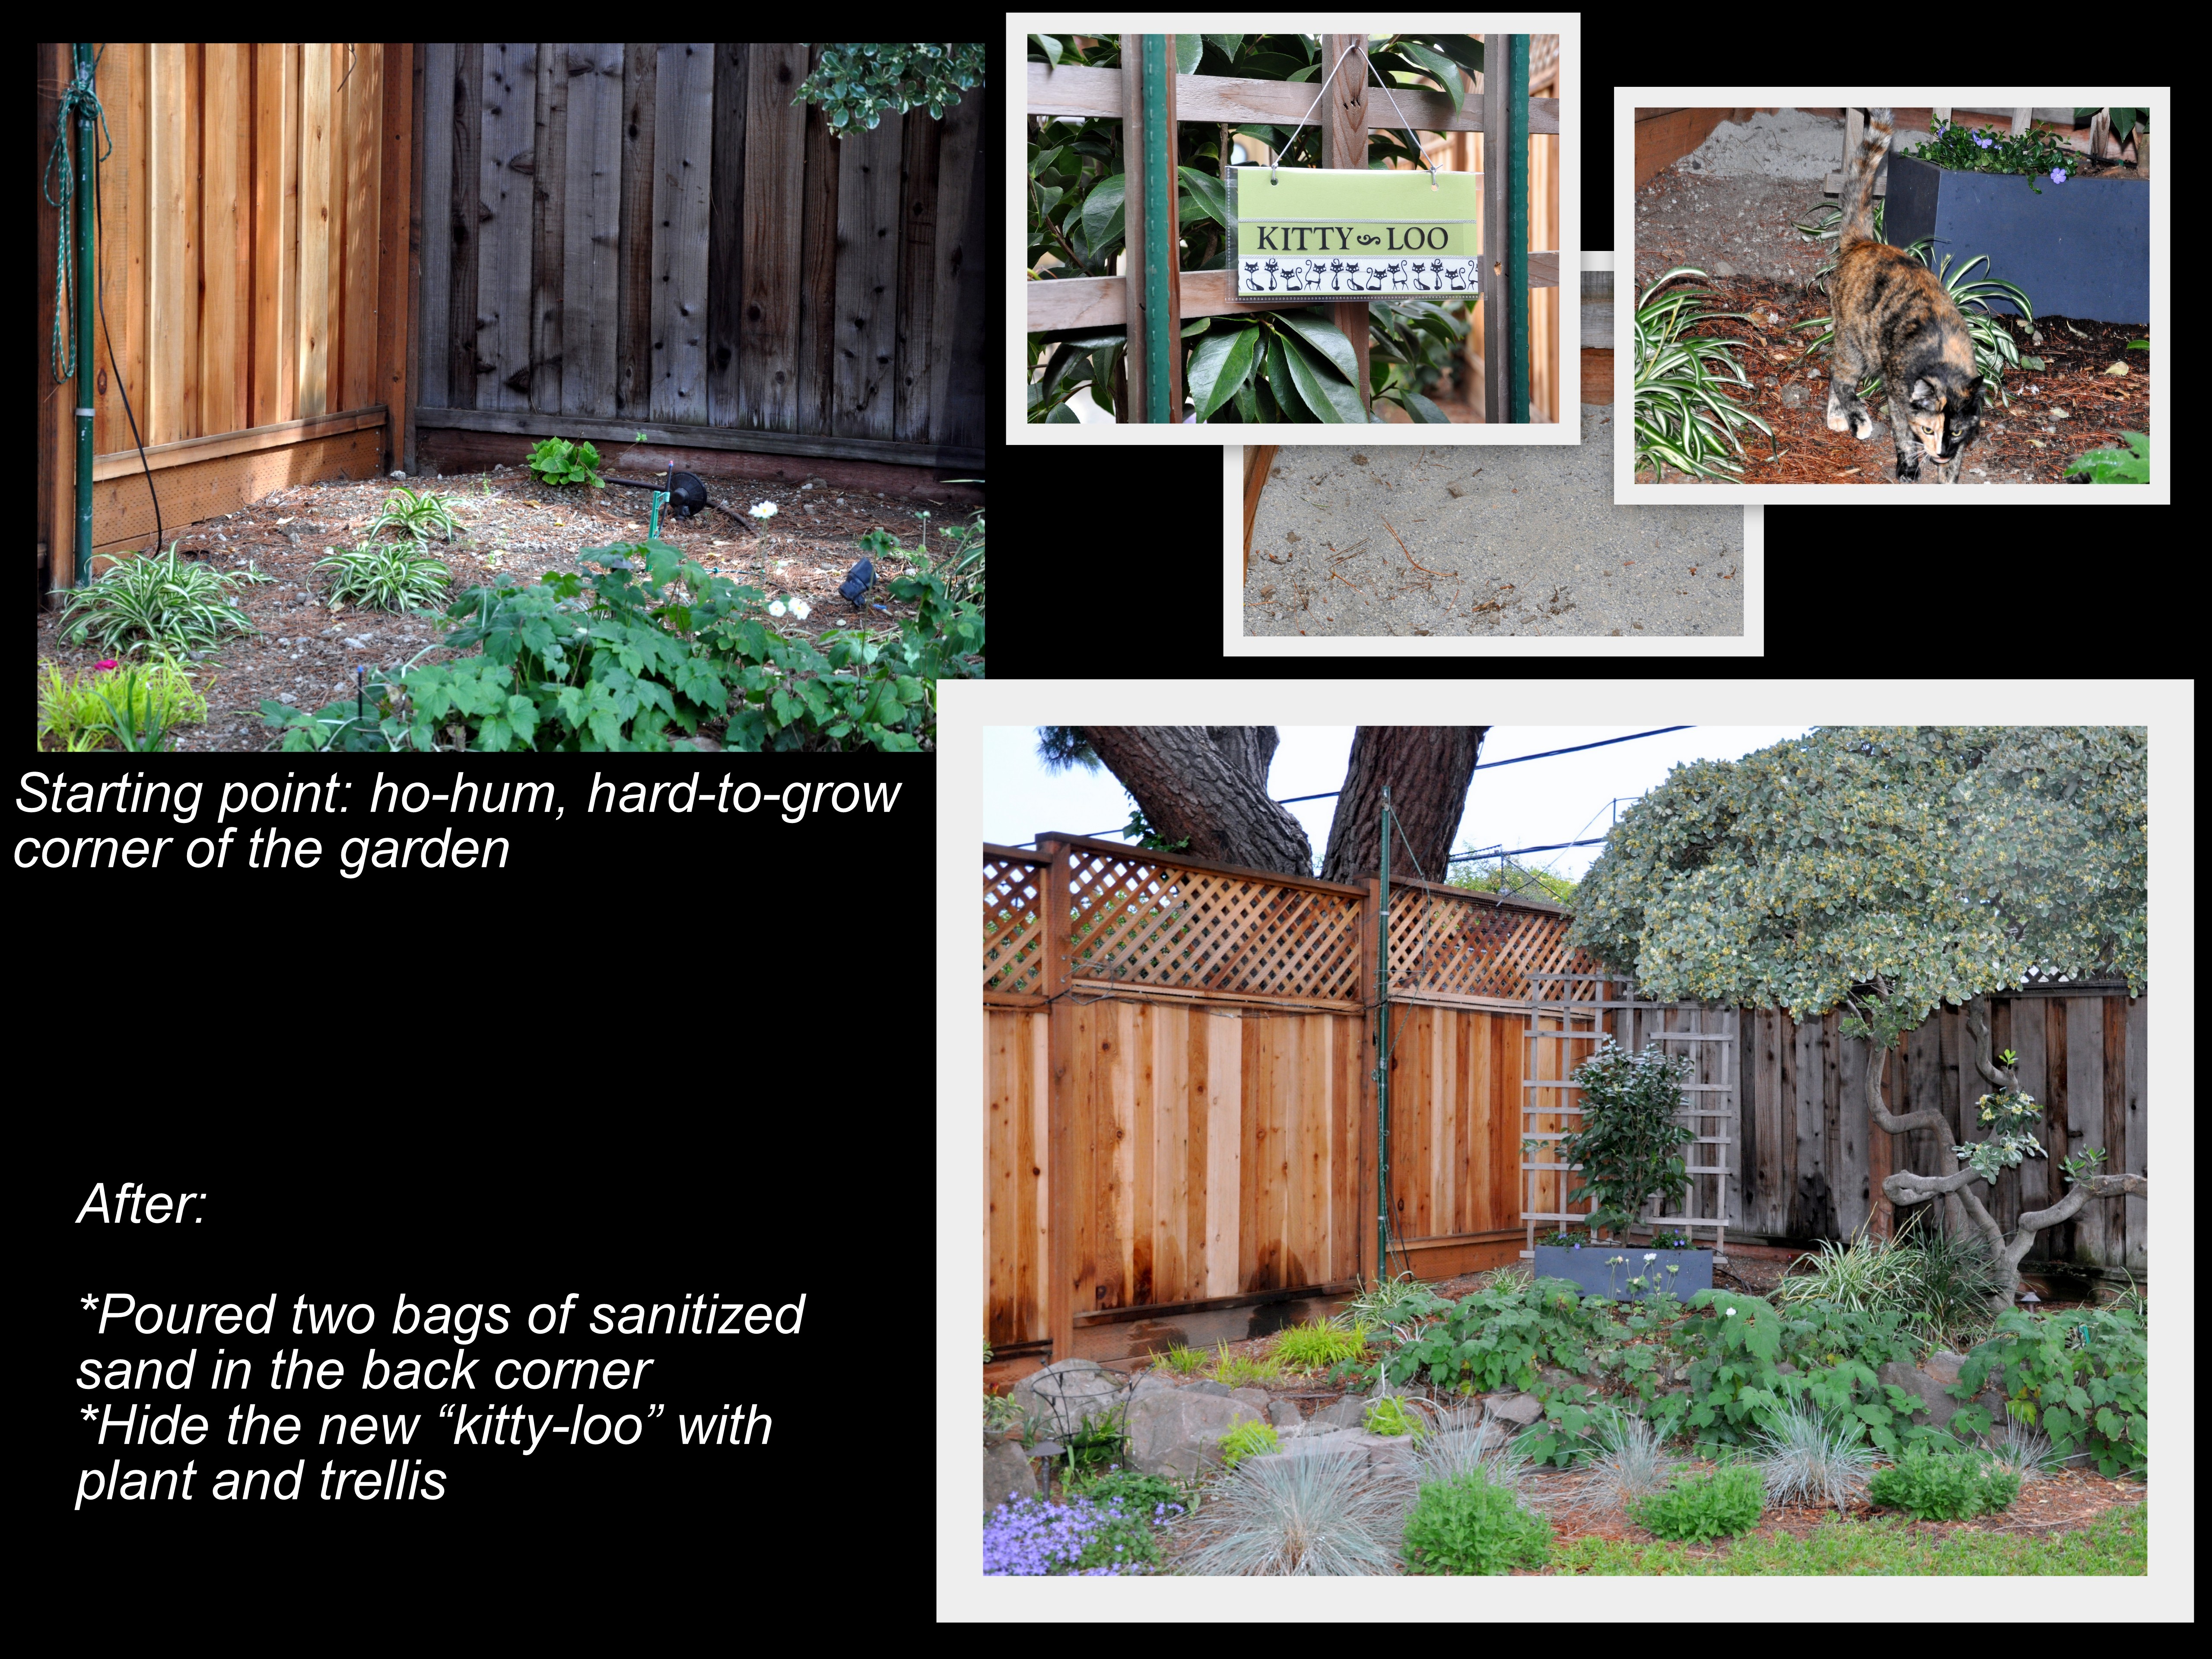
About a year ago, I made another change by removing the ferns growing under the orange tree in the same corner. The orange tree is about fifty years old, so the fruit it produces is no longer sweet. Further, the oranges are challenging to harvest. When we were younger, I climbed on the ladder to get some of the low-hanging fruit, but it wasn’t all that safe. We bought one of those extending poles with a fruit-gathering basket on the end, but it proved cumbersome. It also tended to break the branch with the fruit. The tree continues to provide shade and the wonderful scent of orange blossoms, but it had become a dumping ground of partially consumed fruit from hungry overnight critters. In the end, I hired a tree service to prune the tree, fruit and all, away from the fence. We’ve enjoyed a year without the mess of rotting oranges, fruit flies, and broken branches. I wish I had thought of it sooner.
Note: Move the slider, below, to see the orange tree and ferns, a year apart.

The last adjustment involved moving a molded panel with a leaf motif to disguise the enclosed compost system. Mike attached one side of the panel to the fence, and we repurposed a post to support the other side.
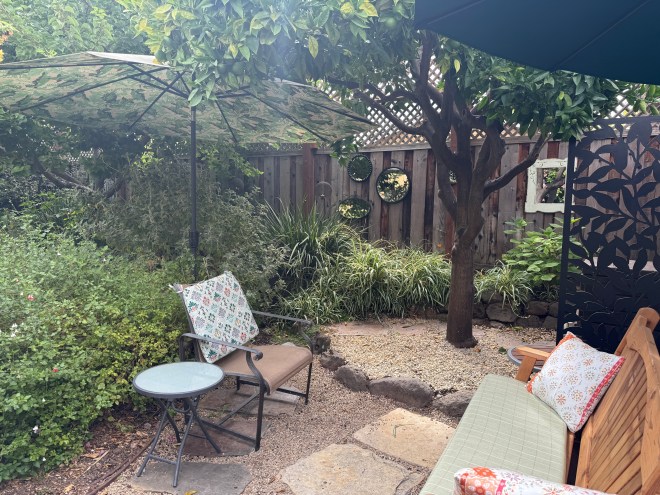

These changes opened up the space, allowing us to add a couple of chairs and small tables to accompany the glider. Removing the ferns lets us see the rock wall and the plants behind it, and we can now walk to and from the compost bin, especially in the wetter months, without rubbing up against wet ferns. I put down gravel and the self-seeded nasturtiums are coming up as predicted. They’re easier to manage, lower in height, and beautiful.
Another significant change to the garden involved removing our beautiful wisteria. It wasn’t a decision I took lightly, but in the end, it made sense. I’ll write more about that this week.


You must be logged in to post a comment.