The Fairy Garden Goes Native

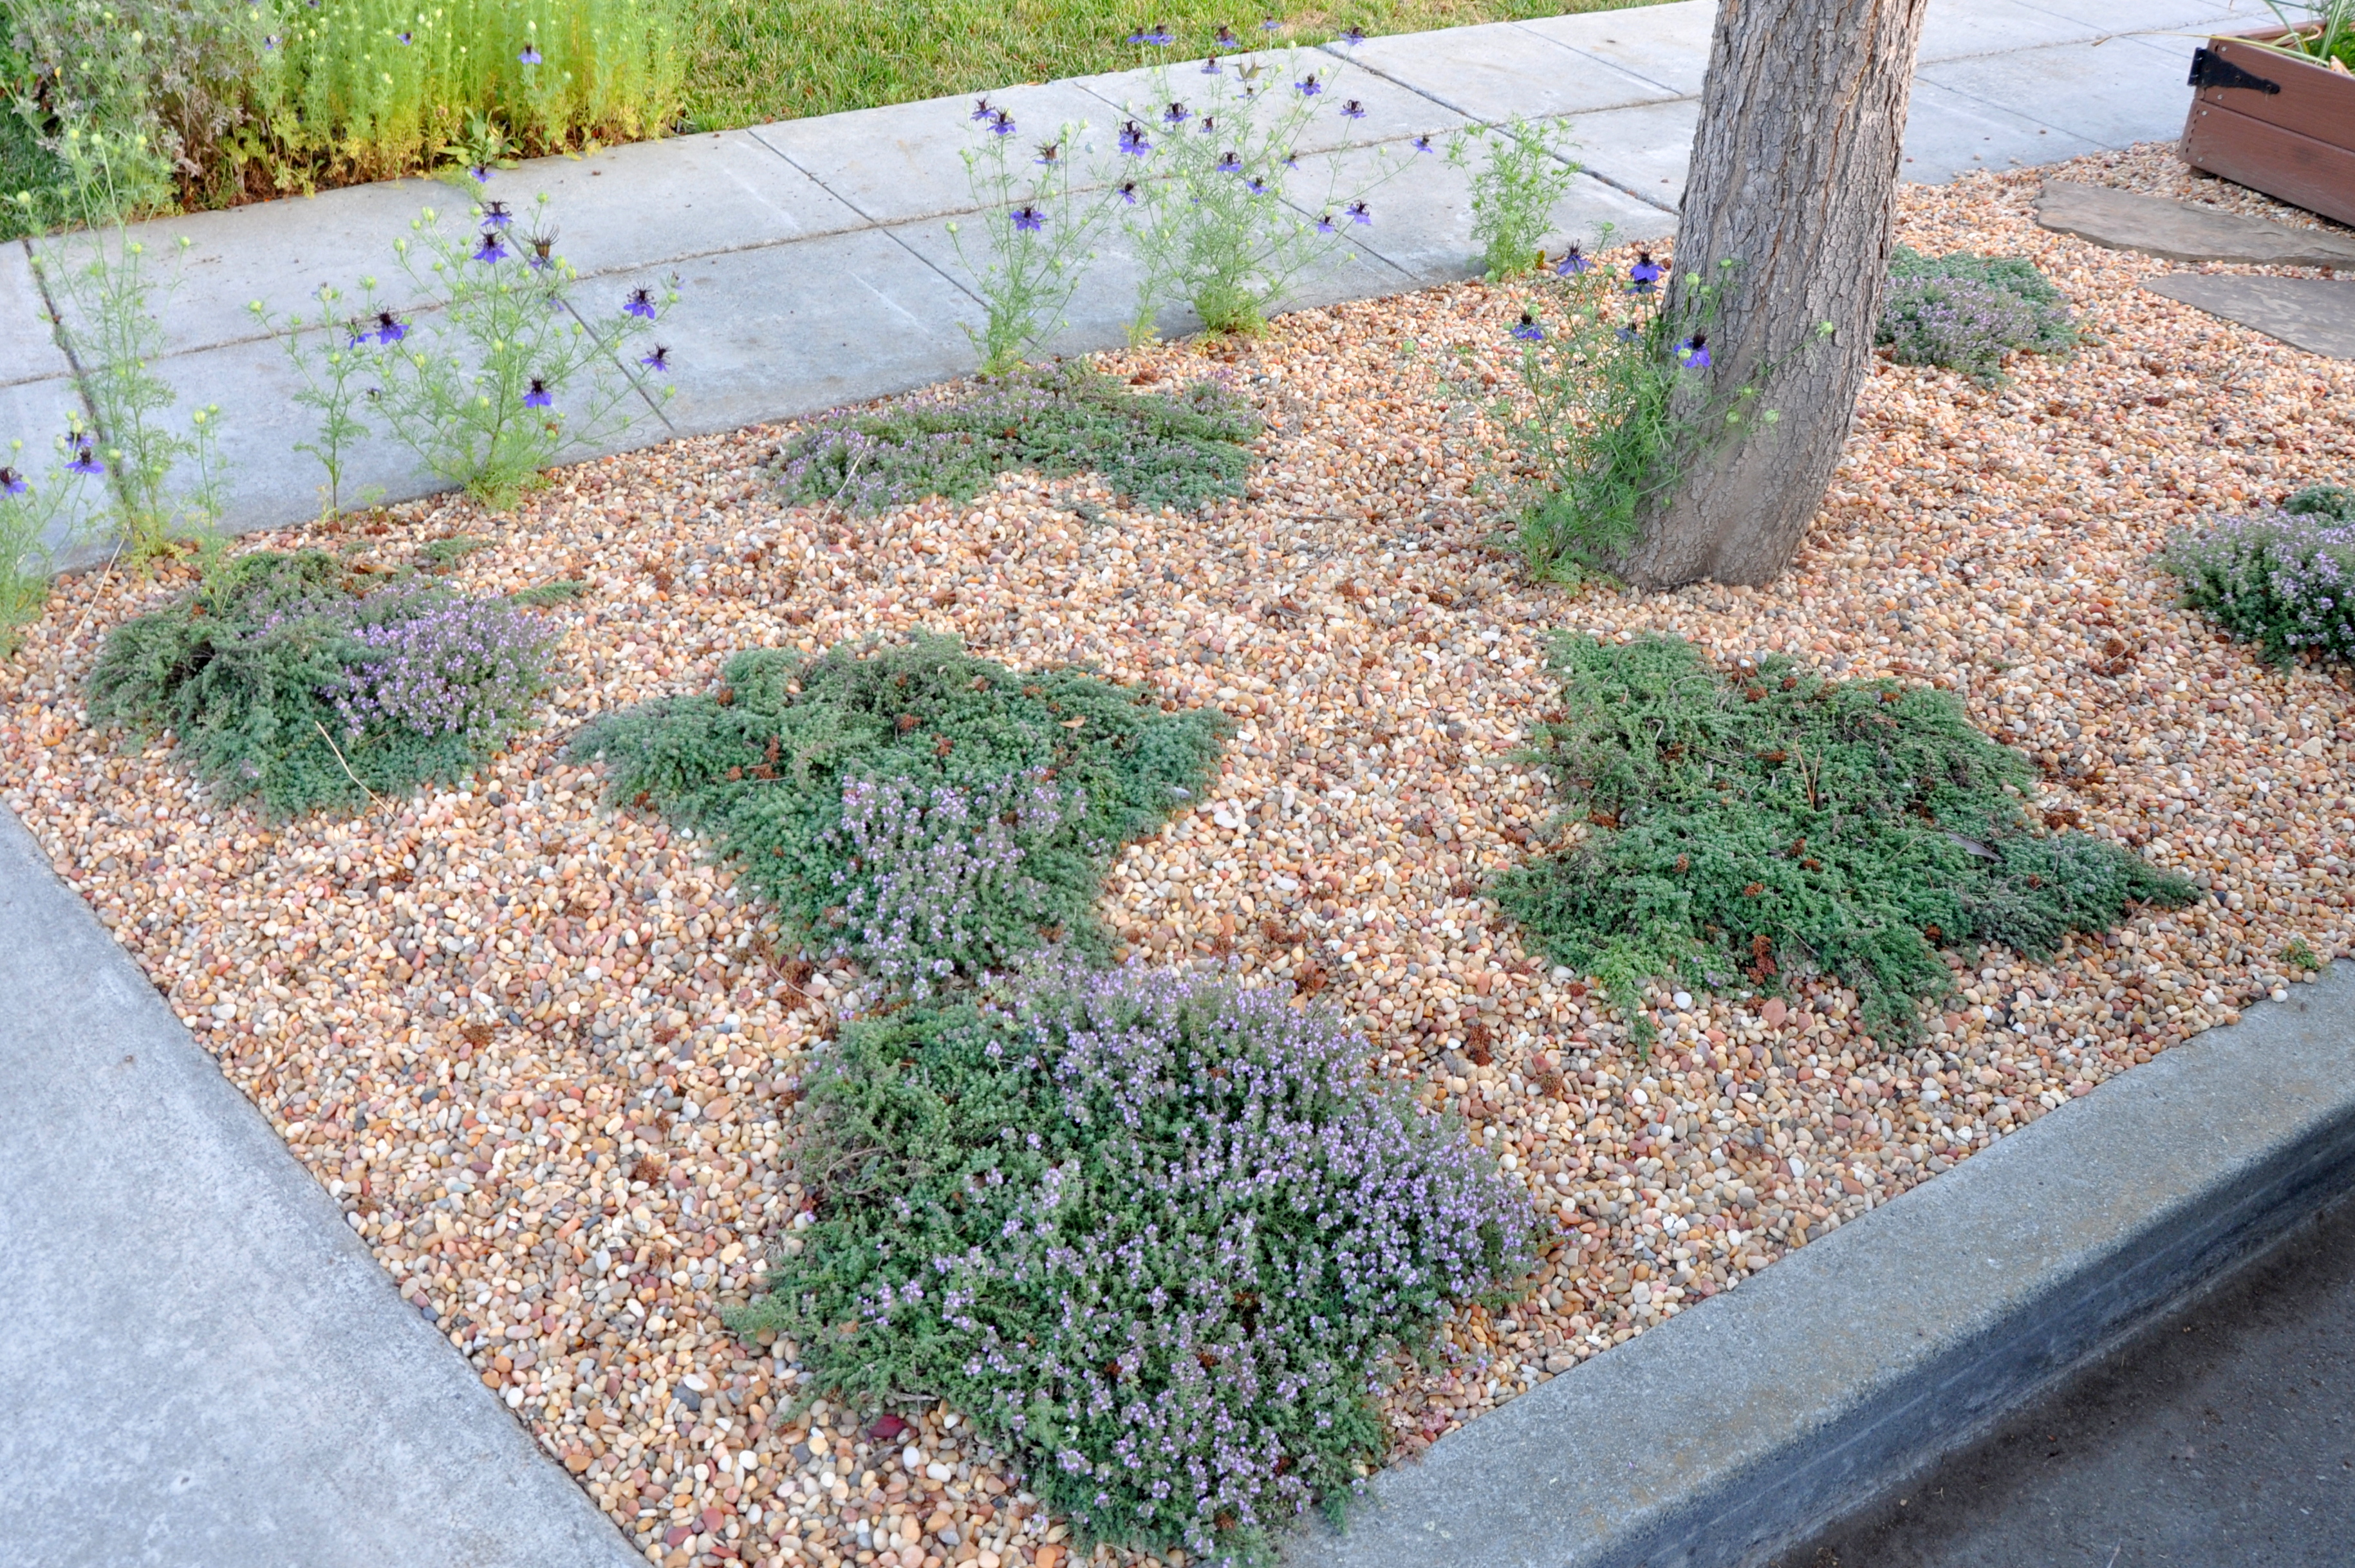
When water is at a premium, you cut corners where you can. I’ve emptied most of my pots, and either replanted with succulents or used the pots for something else.

Our deck top fairy garden requires very little water, but seeing those precious drops fall through the holes in the bottom spurred me to action. Last week, my miniature fairy garden went native.

succulent fairy garden

Fairy Garden Newly Planted with Succulents

I meant to save the markers so I could record the name of the plants, but they’ve gone AWOL…or I tossed them with the transplanting newsprint. The good news: the plants sat on my deck for two to three weeks without a drop of water. They passed the test!

Succulents Up Close

Succulents Up Close

I’m actually quite smitten with these plants. They fit right in, don’t you think?

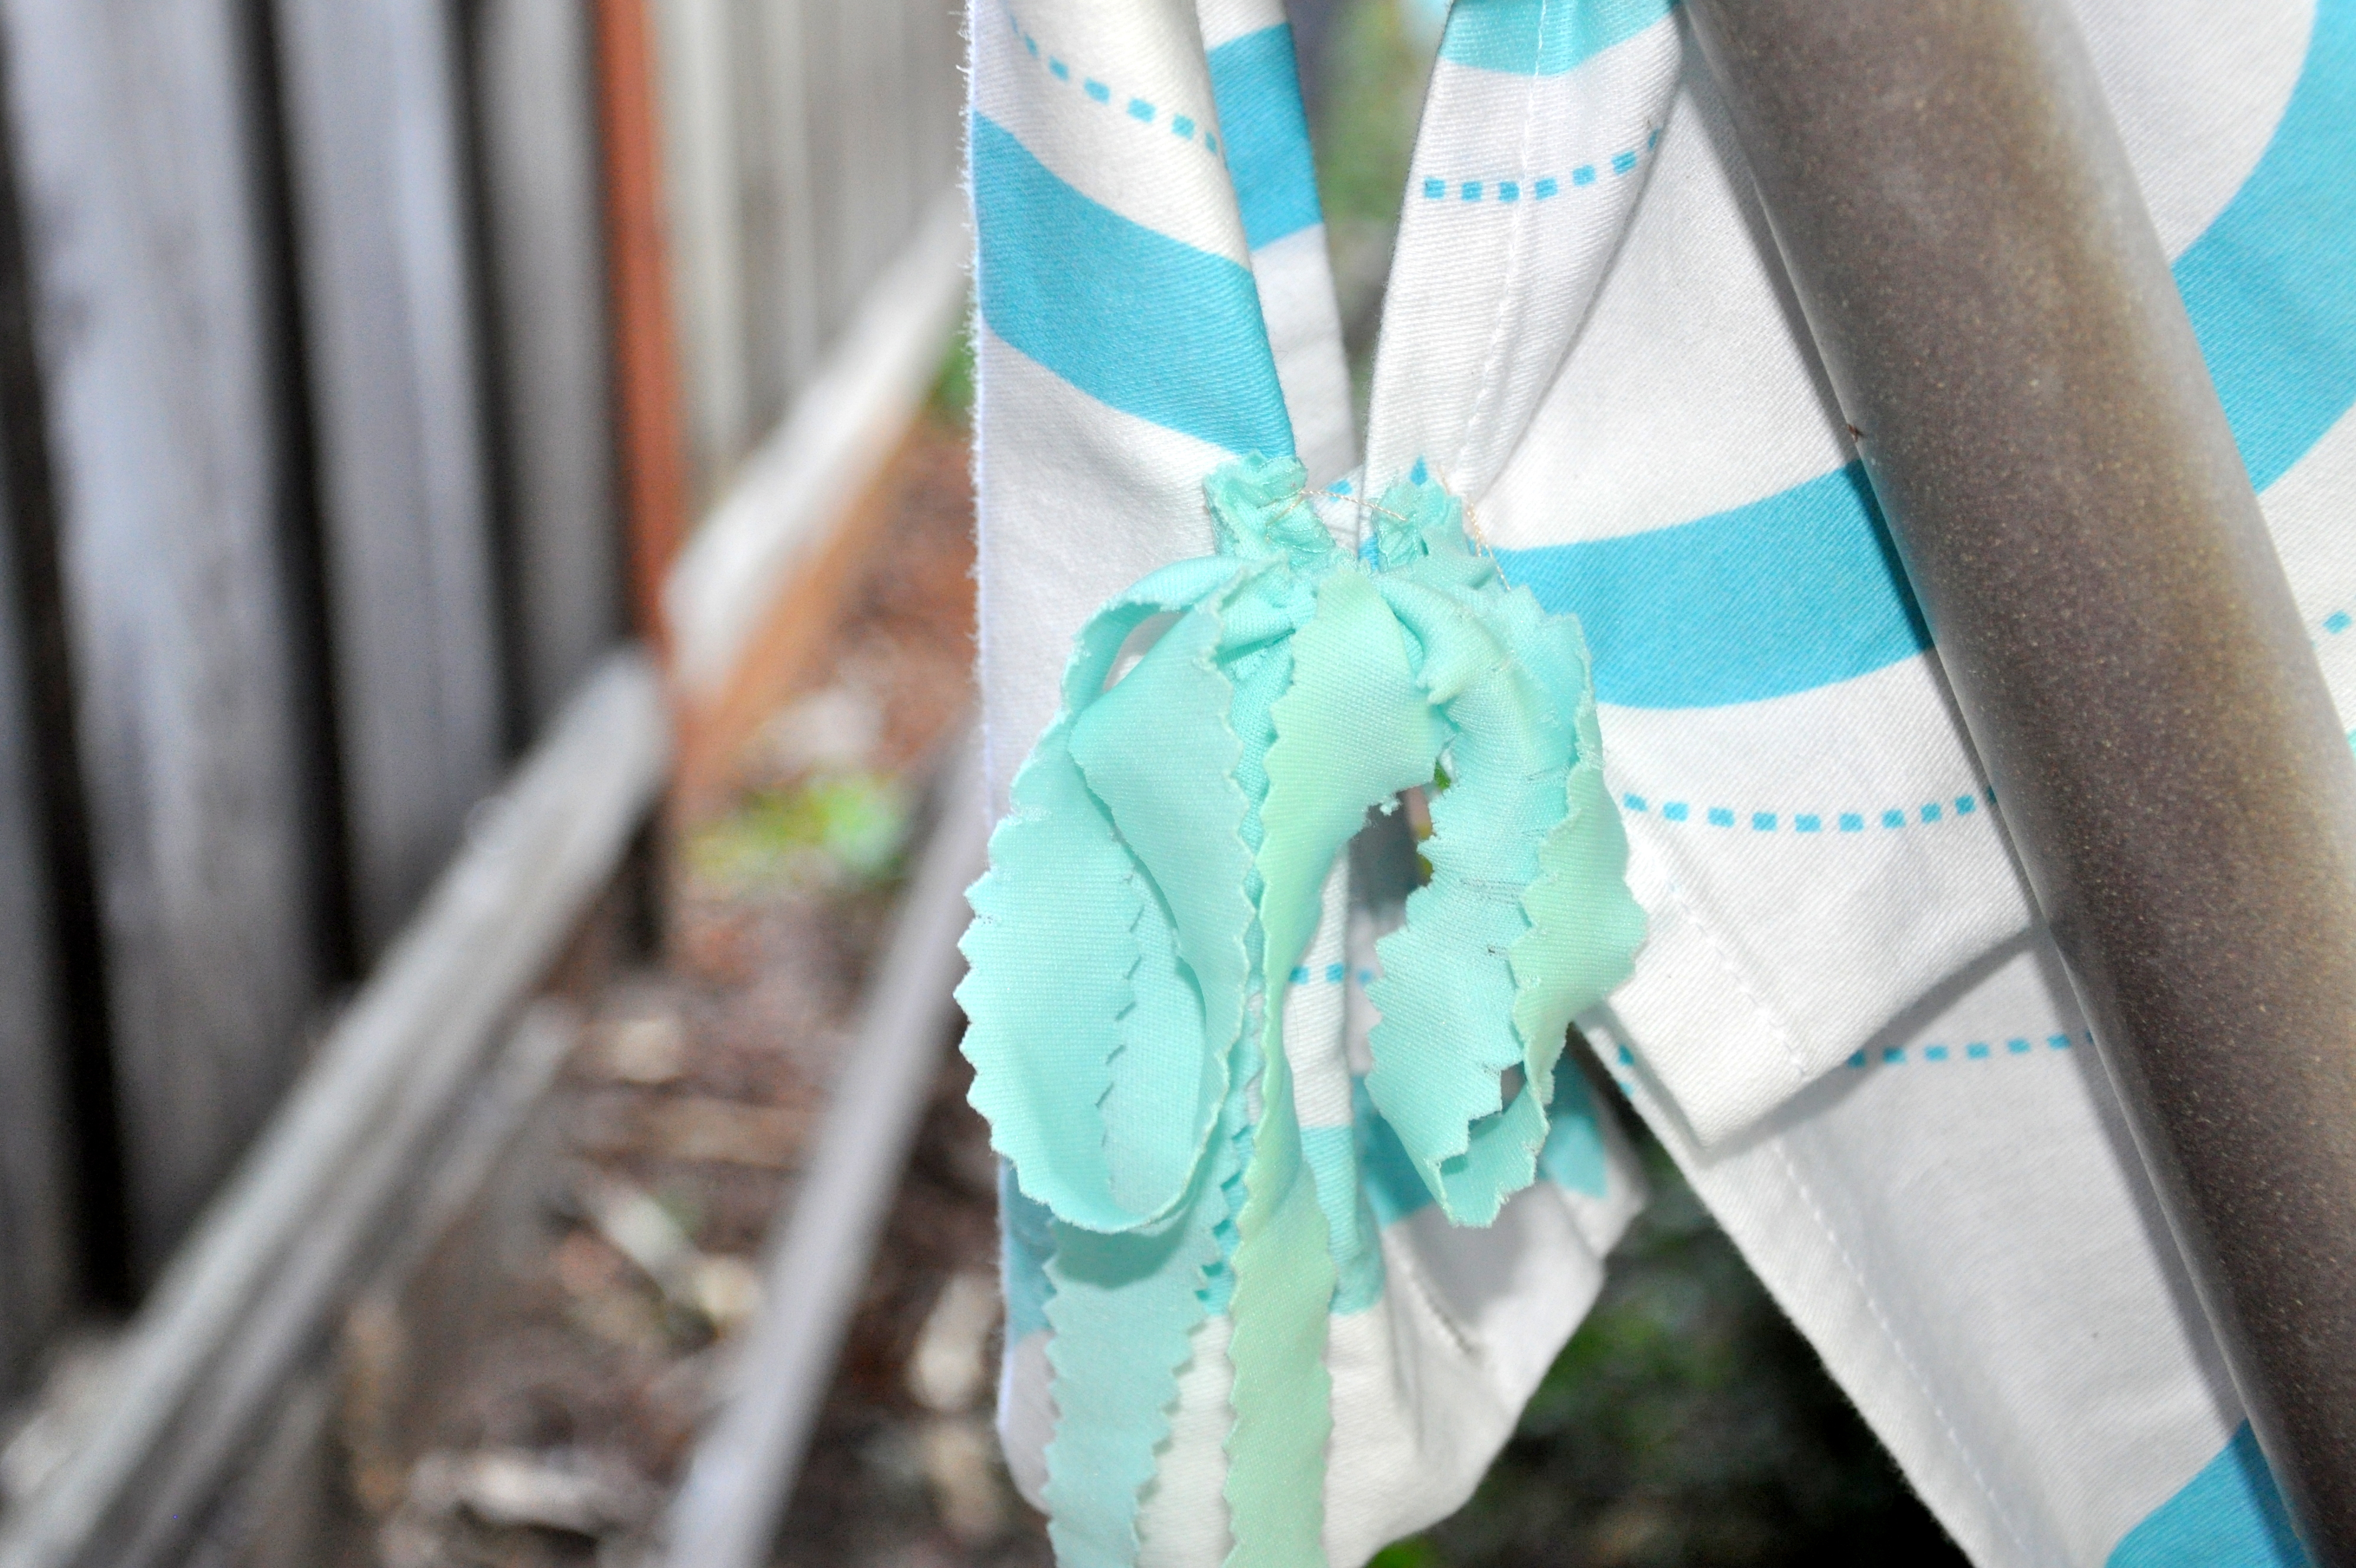
There’s a story behind the little wooden house (it used to be haunted!). You can read more about that here.  After replanting the garden, I spruced up the house with some new drapes. If you look closely, you’ll see that they’re carefully assembled from the finest Washi tape in the land. Nothing but the finest for mystical fairies. The new garden path is also special. I gathered those lovely, flat green stones on the beach in Victoria last summer. Wilma of the Creartfuldodger took Boomdee and me beach-combing along the beautiful island shore. These stones evoke special memories of that day.

You can view the gallery by clicking on the first photo, then follow the arrows. It took me a bit of time to sort that one out. ;-)

All the other treasures in the garden are found objects or gifts. The wooden house came from my son’s craft collection. I rescued it from the trash. The reading patio is an upside down candle holder and the charming chair, cat and rose pillow flew here from Canada via Boomdee. Marcia and her girls surprised me with the pink mushroom one cool fall day.

I built the (little) Little Free Library from matchboxes, stickers and an empty box. A clothes pin and a bit of duct tape keep it in place. A friend taught me how to make the heart-shaped chairs from the top of a champagne closure.

Are you a fairy gardener, too? It’s easy and fun and incredibly relaxing. You can garden anywhere at any time, limited only by your imagination. Jump right in. The [lack of water] is fine!

Postscript: You won’t believe this. Just before sitting down to write this, I received an out-of-the-blue package from my friend Kristi. Inside: her lovely note and a couple of fairy garden treasures. Check back tomorrow, for updates. I can’t wait to show them off.  Thanks, Kristi xox

Purple Garden Palooza

garden triangle may

Purple garden palooza

Peter Piper may have picked a peck of pickled peppers, but I’m picking purple petals from my perfect garden. It’s a purple palooza.

Ha! Say that three times.

The small corner garden near the walkway to our door looks like royalty. It’s awash in three shades of purple, with dots of orange and green accents. Last year’s sweet peas re-seeded and came back in a royal flush.

sweet peas

Sweet peas

sweet pea flower gives way to seed

Sweet pea flowers give way to seed pods

They’re in good company too. Love-in-a-Mist scattered seeds everywhere and now lines the sidewalk in a purple haze. Pay no attention to the dying grass in the background. The lawn is on its way out.

love in a mist lining the sidewalk

Self-seeding love-in-a-mist line the walkway

The Statice flowered early this year, showing pearly white blooms in the center of the calyx.  I love the way they compliment each other.

statice with flowers

Statice: calyx and flowers

One California poppy grows at the edge, but I fear a dog is lifting its leg once a day as the foliage is looking a bit…tired. The plant is still hanging in there though. Go Team Violet! Go state flower!

california poppy

California poppy wrapped up for the night

love in a mist closeup

Love-in-a-mist blooms and seed pods

Things you many not know:

(I didn’t)

The word ‘purple’ comes from the Old English word purpul which derives from the Latin purpura, in turn from the Greek πορφύρα (porphura), name of the Tyrian purple dye manufactured in classical antiquity from a mucus secreted by the spiny dye-murex snail.-Wikipedia

Today, science has revealed much more about purple than our ancestors ever realized: Purple is the most powerful visible wavelength of electromagnetic energy. It’s just a few steps away from x-rays and gamma rays. – Color Matters

The color purple is a rare occurring color in nature and as a result is often seen as having sacred meaning. Lavender, orchid, lilac, and violet flowers are considered delicate and precious. –Bourn Creative

Napping Pillows

garden swing cushions side view

Napping pillows

It’s been a whole week since I slip-covered my swing. Emboldened by my success (no shredding squirrels) I went ahead and made a couple of pillows to go with it. If you’re going to nap on a swing, pillows are a must.

Using the same criteria for the cover, i.e. cheap and easy, here is what I did:

I bought a pillow sham from our local Goodwill for $1.59. On the plus side, the tiny aqua polka dots coordinated well with my new slip cover and you can’t beat the price. The downside: all those fussy ruffles.  On careful inspection, I knew I could remove them without damaging the rest of the sham.

Pillow sham with ruffles

Thrift store pillow sham with ruffles

After cutting away the larger sections of the ruffle, I used my seam ripper to remove the remaining thread. This sort of ‘lap work’ is therapeutic.

Pillow sham with ruffles removed-001

Pillow sham after removing ruffles

With the ruffles and stitches gone, I cut the sham in half. I did the same with an old pillow.

old pillow

Tired pillow gets a new life

I inserted each half of the pillow with the open end first so that the finished pillow seam pointed up. This made it easier to sew the opening of the sham closed. Voila, napping pillows at the ready.

garden swing with cushions

Nap-ready

What were you up to this weekend?

Organizing Your Herbs and Spices

lavender flowers dried

Dried Lavender

Thanks for sharing your thoughts and suggestions on last week’s Organize This post. I’m passionate about organizing and gardening, so writing a weekly feature should be fun.

Cathy, the fabulous cook, gardener and blogger at Words and Herbs is looking for a way to organize her extensive collection of herbs and spices in a ‘very small spice cupboard.’

Since I’ve not seen Cathy’s kitchen or her spice collection, the following ideas are generic in nature, and should apply to everyone.

Gather and Review:

While it’s tempting to skip this tedious step, it’s often the most fruitful. Haul out all your herbs and spices from cabinets, counter tops and drawers and spread them out in one place. If you love to cook, you probably have an extensive collection.

Spread a large table-cloth or newspaper on your table or counter so it’s easy to tidy up any spills. Set out your spice and herb jars and packets so you can see everything. If you have 50 jars or less, alphabetize into A – L and M – Z. If you have 100 or more, break it down even further. Alphabetizing serves two purposes: it allows you to search for duplicates and it makes it easier to keep your spices in order for regular use. Most markets and grocery stores display spices in alphabetical order so you can find what you’re looking for. It makes sense to do this at home as well.

Consolidate:

If you have duplicates, see if you can consolidate them into one container. Before doing so, check the herbs or spices for potency and freshness.  According to Spices Inc., whole spices and dried herbs, leaves and flowers will keep 1 – 2 years, whereas ground spices and herbs will keep for about a year.

Purge:

Painful, I know, but if your spices have gone off, or have lost potency or flavor, it’s time to let them go. Did you buy a special ingredient that you’ll never use it again? It’s okay to let that go too. You can’t recoup the cost and those spices are taking up valuable cupboard space. Finally, if you’re a fabulous cook, you may receive gifts of herbs and spices. After graciously thanking the giver, consider passing them on.

Organize:

Yes! Now you can put your system in place.

Spices are best stored in glass containers with tight lids in a cool, dry place. Though you’ll want them close by when you prepare your dishes, you don’t want them close to the stove (too hot) or the dishwasher (too humid). Boy, those spices are temperamental!

Consider investing in a generically sized set of jars. When the jars are all one size, it makes it easier to see what you have and easier to put it back where you found it. It’s also helpful if you’re the cook, but someone else puts things away.

At home, we have the luxury of large kitchen drawers. Our spices are laid on their sides in a   drawer for easy access. In smaller spaces, I’ve helped clients organize spices in a drawer by relocating items like tea towels, or seldom used utensils to another location, freeing up drawer space.

If storing them in drawers is out of the question, consider storing your spices in bins you can easily remove from your cupboards. Spice jars are small and not really well suited for the average design of a cupboard. Lift out bins take care of two issues: they contain the smaller jars, keeping them from rolling to the back of the cupboard and they catch spills, making clean up a lot easier.

There are a number of gadgets on the market designed for organizing spices, but I’ve found that most of them are limiting, either in size or ease of use. Most cooks have far more spices than the average storage system allows. The simpler the better.

Finally, all kitchens are not created equally. A fabulous cook living in a small studio apartment will find it challenging to house everything. Consider rotating your meals in such a way that you can get by with less, or store your less frequently used herbs and spices in a shoe box in an out-of-the-way place.  Just be sure to keep an index card listing what you have and where with your other spices so you can retrieve what you need when you need it.

Bon appétit!

Note:

Do you organize or organise? I’m writing from North America so I organize with a ‘z’. Apologies to my readers outside of the US and Canada. You can read more about the origins of the word at Grammarist.


Campus Quilt Gem

t shirt side of quilt-005

For years I’ve seen ads like this in the back of magazines. You send in a pile of t-shirts and they come back to you as a quilt. A few of my clients have mentioned the idea to me as well but I don’t know anyone who followed through.

Though I love to sew, I’ve never learned to quilt. I lack the patience, but love the idea and the finished results. The idea of making sentimental clothing into a functioning quilt however, intrigued me. In the ‘old days’ most discarded clothing saw a new life as a quilt. Nothing went to waste.

So after helping my sister clean out some drawers, we decided to turn her small pile of keepsake t-shirts into a sentimental quilt.

sharon explains the quilt

Sharon worked on this ad campaign at The Mercury News

Campus Quilts has the ordering process down to a science. I made a deposit online, then ordered a package with directions. They send you a large waterproof envelope for mailing your shirts, along with assorted fabric swatches and a detailed order form. You let them know what order to place your shirts, what kind of backing you want and if you want strips of fabric between each shirt. We opted for the strips and it turned out nicely.

t shirt side of quilt

Four shirts, including one with a button placket

The dark fabric frames each panel.  There are two styles of machine quilting and even an option to add photo panels or an embroidered name.

t shirt side of quilt-001

Closeup of purple flannel backing and machine stitches

Our design is a simple one, but turned out even better than we imagined. Sharon chose her favorite color for the back of the quilt and black for the framing.

We’re tickled pink.

Sharon with quilt

The quilt is big and cozy

tshirt side of quilt-005

The boys were nice enough to hold up the quilt for the photo, but asked to remain incognito

The Shirts:

Top row, San Jose Mercury News and a pair of wildlife t-shirts
2nd row, A gift from Mike, work shirts from Zazzle and Pindar (no she never went to prison)
3rd row, More shirts from Pindar
4th row, Shirts from the Spartan Daily, San Jose State University

Contentment

curb garden purple flowers

Scabiosa ‘Vivid Violet‘

con·tent·ment
/kənˈtentmənt/
noun
a state of happiness and satisfaction
The gardener spent a lovely 45 minutes working in the curb garden today.”

Gardening brings about a unique contentment: The work is satisfying, the results are rewarding, and the time spent with my face towards the earth grounds me like nothing else.

We had a nice breeze today, keeping the temperatures manageable.  Once finished with my appointments for the day, I spent ‘drop-in’ garden time at the curb. I love working the curb  garden. I can take care of the entire box in about an hour, then continue to enjoy the fruits of my labor from my kitchen window.

curb garden snap dragons, freesia

Snapdragons, Freesia, Cilantro and a self-seeded yellow annual

curb garden love in the mist, gravel

Love in a mist volunteering around the edges. Wooly thyme slowly filling in over the gravel.

curb garden yellow pest

Can you spot the visitor on this yellow flower?

The last of the daffodil foliage looked tired and spent, so I trimmed the bunches down to a few inches and tidied up the rest of the bed.

I spotted one or two lady bugs visiting the aphids. The ‘ladies in red’ generally consume a lot of aphids in one sitting, but they are currently outnumbered. I snipped off a few of the heavily infested branches and hope the ladybugs will tell their friends to return at dusk and take care of the rest.

curb garden pests aphids

Aphids!

My son pointed out a small wasp’s nest inside the hollow ceramic bird perched in the center of the garden. The ‘bird’ used to be part of a ‘self watering’ system but it broke off at the base. I put it at the top of the small trellis over the winter for a bit of color. Since wasps eat garden pests too, I’m going to leave the nest undisturbed. I know many people have aggressive wasps that chase them around the garden, but the ones that nest near our house are fairly mellow. Case in point: I lifted the ceramic bird, spotted the nest and one adult who simply hovered nearby till I replaced her nest. I guess she’s content too.

curb garden yellow bird

Ceramic bird housing a wasp’s nest

Did you find contentment today?

curb garden mint and daffodils

Chocolate mint escaping the confines of the box

Swinging into Action

aqua swing collage
I like to curl up on the couch with a cup of hot tea and a small pile of mending. The cats gather ’round as buttons return to their proper place. It’s therapeutic.

Unfortunately my garden swing is too big to bring indoors. So as the sun set on a warm Sunday afternoon, I sat in the garden instead. More specifically, I knelt, squatted and contorted my body around the edges of my damaged swing. You can read more about the squirrel damage here.

torn swing

Busy squirrels make quick work of my swing

I’ve been gathering materials for the job at hand with the following criteria: the repairs had to be cheap and easy. I spent hours on the original swing cover only to see it destroyed by a nesting squirrel. I love all animals, including squirrels and after all, Sunday was Mother’s Day. Mama squirrel is just looking for fluff to line her nest. My goal: restore the swing so that it’s attractive and functional, but with a minimal investment of time and money.

Here’s what I did:

After trimming away the damaged cover I cut the remaining polyfill stuffing till the edges were even. Using the stuffing from a worn out cushion, I filled in the area, then covered it with part of an old tea towel. It was challenging, working my needle and thread around the edges of the swing, but I wanted the stitches to be small and taught. It doesn’t look pretty, but once covered it doesn’t matter.

swing repair with tea towel

Tea towel repair

I used a bit of Nature’s Miracle to clean the rest of the surface stains. Now to make it look pretty again.

I found a cloth shower curtain at a local thrift store. I liked the cheerful print and the fact that it matches my blue end-tables. It took about 15 minutes to make the cover with minimal sewing.

I draped the curtain over the swing, tucking a few inches underneath the built in pillow running along the swing’s top edge. I draped the rest of the curtain over the back. By hand, I took a few stitches through the folds of the swing cover, then attached a couple of ties to hold it in place.

Covering the built-in cushion

Covering the built-in cushion

new swing cover ties

Swing ties for easy removal

recovered swing aqua

Swinging into action

All told, I probably spent a few hours putting it all together and for under $10.

Materials On Hand:

  • polyfill batting from old cushion
  • tea towel from the rag-bag
  • fabric ties made from thrift store remnant

Purchased:

  • thrift shop shower curtain, $6
swing, table and flowers

Ready for relaxing (pot filled with stuffing nearby)

As for the squirrels, I’ve left them a peace-offering. I took all the scraps from the damaged swing, shredded them into small pieces, and stuffed them into an empty pot near the swing.  As I was finishing up, I heard rustling in the bushes, then saw what I think is a baby possum climbing the fence. I called to my boys to grab the camera and they shot a few pics as the little one ambled along the fence. She exited the yard through the lattice. At least she was heading away from the swing.

opossum or rat?

Baby opossum or rat?


Organize This: From Chaos to Calm, One Week at a Time

Organizing people, places and things has always been a passion. My mom said she found me in her room organizing socks at the age of two. All embellishing aside, that story illustrates my interest from an early age.

About two months ago I decided to add a feature to my blog and polled all of you with suggested titles. I’ve combined the two most popular titles into one overly long title for now, but will plan some additional tweaking as time goes on.

Organizing Garden Tools

I’m going to kick off the feature with some garden tool organization. I’ve been using this system for three years now, with great success.

In the past I would make do with the odd bucket or two-dollar tool caddy, but as you know, when your hobby grows, so to do your tools. I headed to our local hardware store and put together a system for ten bucks.

For starters, I wanted to personalize my new tool organizer.  I have nothing against Husky who made this fabulous system, but you must admit they have a grouchy-looking logo.  Since I’m organized at heart, I used a jewelry finding full of hearts.  I covered the grumpy husky with a permanent marker, then attached the hearts with a safety-pin.  Now I can change out the bucket jewelry when the mood strikes.

Husky Bucket Jockey

I hid the logo with a jewelry finding (with apologies to Husky®)

I use the inner pockets to store my hand tools, including spades, pruning tools, and hand saws. My garden fork hangs from an outer pocket, originally intended for a drill. I cut an unused garden glove to cover the prongs so I don’t scrape my leg on the rough edges as I carry it from place to place.

Bucket Interior

Bucket interior

Gloved garden fork

Gloved garden fork

Drill holder doubles for tools and gloves

Drill holder doubles for tools and gloves

The Bucket Jockey includes a strap attached to the exterior. I don’t know its intended use, but I’ve re-purposed it for twine. One of the tricks I learned on a garden tour was to cut several lengths of twine ahead of time so you have them at the ready when you need them. I threaded several pre-cut lengths of twine through a couple of binder rings.  They’re attached near the ball of twine.

Strap and Hook

Strap and hook attachment

Garden Twine and binder ring

Pre-cut strands of garden twine attached with binder rings

strap holds garden twine

Strap holds garden twine

"Bucket Jockey ®" for garden tools

Organized and ready to garden

Now all my hand-held tools and garden accessories reside in one easy-to-access, portable system.

Your Turn

I would love to hear your ideas for future posts. What are your organizing interests or challenges?

If you want to make a request privately, you can write to me using my contact form.

Here are a few general ideas:

Home Office/Small business:

Efficient use of email

Managing paper flow

Effective filing

Kitchen:

Improving layout and work flow

Shopping and meal planning

Dealing with ‘granny gear’

Holidays:

Organizing the holidays

Organizing gift-giving

Micro-Organizing:

Socks, socks and more socks

Where should I store the cat food?

Drowning in magazines

etc.

I’m looking forward to your comments, below.

When Ordinary is Extraordinary

Sleeping Fairy Baby

Sleeping Fairy Baby

There’s nothing extraordinary about gathering around the table on a Sunday afternoon. Maybe you’re eating a slice of toast or reheating your tea. It’s a cool, early spring day.

But this isn’t just any old Sunday. Gathered around the table is a group of women who’ve met through blogging. We’ve formed enduring friendships across the miles that allow us to sit comfortably in our pajamas, talking and laughing and sharing gifts. It feels as though we’ve known each other for a lifetime.

Aristotle said that “The whole is greater than the sum of its parts.” That’s how I felt the entire trip. Our shared energy and enthusiasm for each others lives was palpable. The ordinary seemed extraordinary.

On that same Sunday afternoon, Pauline who blogs at the Contented Crafter presented each of us with a hand-crafted, personalized glass and bead dangler. We were all ‘in the moment’ and didn’t stop of course to capture her words, but now I wish we had. Pauline gathered crystals, beads and charms then infused them with one-of-a-kind reflections of each of us. It was moving hearing her thoughts as she shared each one.

Once home, it was tricky photographing the full length of this charmer without sacrificing the detail. Instead, I’ve photographed it in sections, so you can see the charms up close. I took pictures of the dangler in my garden to maximize light, but when not on a photo shoot, it hangs in my living room window. It’s 22 inches (55cm) long.

Pauline captured my love of fairy gardening at the top. There is also a fairy baby since I enjoy nurturing the small children next door. The teapot represents sustenance (and also happens to be my beverage of choice). There’s a small clock in honor of my passion for organizing and a tiny book, celebrating our Little Free Library. There’s a cat of course, sitting on the moon. Isn’t it just like a cat to make itself at home anywhere?

There are two separate hearts, entwined to show our friendship and a third heart that says ‘Made With Love.’

I’ll say!!!

Pauline enriched the rest of the dangler with gorgeous stone, glass and crystal beads.

Here it is:

section one

Garden fairy, clock book

section two

Crystal beads in warm browns and purple hues, tea-pot and butterfly, cat on the moon

section three

Two hearts = friendship

section four

Beads, hearts and crystals

section five

Bottom half of fairy baby, butterfly and beads

DSC_0040

Part of a long strand of gorgeous beads and silver fixings

section six

Crystal globe

We’re all back home now continuing with our lives, but changed profoundly by the experience. When I see the dangler reflecting the light, I’m reminded that what makes ordinary, extraordinary is friends.

Revitalizing my Garden Swing: The Squirrel Dilemma

garden swing cover

Making a cover for the swing

If you’ve been following along, you’ll know that I made a cover for my swing a few years ago after one too many years in the sun and rain. It looked great for a couple of seasons, but last July a nesting squirrel started taking it apart. The soft cotton cording was the first to go. Mama squirrel returned to remove the rest of the upper corner and at that point the cover was beyond repair. Originally I thought I would sew a new cover, but omit the nest-worthy piping. Apparently the poly fill is just as appealing. They’ve been making off with that for the last month as well.

garden swing damage

The squirrel folded back the corner, then chewed through the piping

garden swing exposed stuffing

My half-hearted attempt at covering the swing with a bright shower curtain

My neighbor saw the squirrel race through his yard with a mouthful of white batting last month and thought the squirrel was foaming at the mouth. We had a good laugh over that one. Last week I found a small scrap of the pink fabric used for the piping underneath the orange tree. We now have two squirrel’s nests in the tree in addition to the ‘condo’s going up in our neighbor’s tree.

swing stuffing and blanket

Just when I thought it couldn’t get any worse

So, what do I do with the swing? At this point, I need to replace the stuffing and make a new cover. I’m reluctant to spend money on the higher-quality outdoor fabric, only to have it shredded once again, but anything cheaper will fade quickly, so that doesn’t seem like a good use of money either. I did provide a nice offering for their nest last year, but it wasn’t enough. They took all the leftover piping, the strands of yarn, part of the swing upholstery and the batting.

What would you do?

2015 Squirrels in the garden

Mischievous and cute