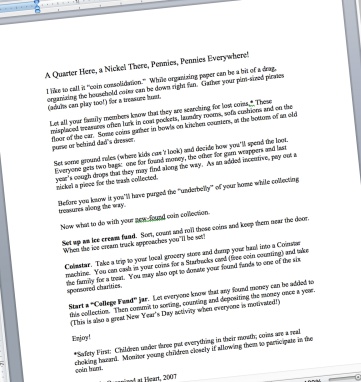
 A fellow blogger posted this question earlier in the week, so I decided to investigate myself. You can always cut and paste text to a post, but sometimes you want to save a document as a link. Here’s how.
Most documents saved in MS Word or Word for Mac will have the .doc extension, for example:
A Quarter Here, A Nickel There.doc
You want to “save as” then select PDF from the drop down menu.
Using my example, your document now looks like this
A Quarter Here, A Nickel There.pdf
Now add a new post and save it as a draft. We’ll come back to it in a bit.
This is where it might get confusing. There are two places to Add Media in a post. One appears at the top of post drafts. It’s how most of us upload photos.
To the left of this draft under Dashboard, there is also a place to add Media. Hover over the word Media. You’ll see two options: Library and Add New. This is where you’ll add your document.
Click on Add New. You’ll see the option to browse and from there you can upload any document on your computer.
Once you’ve uploaded and saved your document, return to your draft post.
In the body of your post, click on Add Media, this time from the top of the edit screen (where you upload photos). Your document will appear there at the top of the list.
To confirm, simply preview your post and click on the link.
Here’s an article I wrote a few years ago for my organizing blog and linked to this post:
A Quarter Here, A Nickel There
It’s fun trying new things. Let me know if you’re inspired to add a document to your own posts. It could be a list of all the plants in your garden (a huge project for me but it’s on my list), a knitting pattern, or even a mini e-book.
Please let me know if you have suggestions for improving this post to make the instructions clearer or easier to follow.
Happy media sharing!
